A Mother and Her 600 grams Baby

Can somebody tell me what’s going on? I shouted. It was unimaginable for me that a routine check up during my pregnancy could send me to emergency and a couple of hours later I was being wheeled towards the Operation Theatre. What was wrong with everybody! I felt absolutely normal. “Mam, calm down. Doctor is on the way to speak with you”, said the nurse. I was anything but calm. Just then my doctor comes. “Shweta, I am sorry to say but your blood pressure has shot up and not come down despite the medicines we gave you. This is a very risky situation and we need to operate and remove the foetus immediately.” My world crashed the moment I heard those words. After struggling to get pregnant for five years I was finally pregnant. Why… GO TO THE NEXT PAGE TO CONTINUE…

Why was God doing this to me! My mind was numb and I didn’t know how to react. Just then I felt something in my womb. Something moving. Something kicking. It was the first time I felt those tiny kicks. Forgetting the conversation I was having with my doctor I squealed with delight. “Doctor I just felt my baby moving. See. Touch here. Do you feel it?” I asked excitedly. But the moment I looked at her the gravity of the situation dawned upon me. No way. Absolutely no way could I let anybody do anything to my baby. I was the one to create my little bundle of joy and I couldn’t let anybody take away that life from me. Not now. Not when my baby felt safe & secure tucked within me. I got up and told the doctor that there was not a percentage of chance that I would get operated and after a lot of convincing I was referred to a bigger hospital and was admitted in the I.C.U.

I was four and a half months pregnant then. But as fate would have it I could only continue the pregnancy for one and a half months more and had to give in when the doctor said that the chances of my baby surviving outside my womb was better than in the womb.

And then came the most beautiful day of my life. I gave birth to my angel, my Navya. But a big shock came to us when we heard that the baby weighed only 600 grams. All sorts of reaction came from our friends & family. Nobody could imagine a baby weighing a mere 600 grams. But I ignored them all and was desperate to see my baby. And the moment I laid my eyes on her I was in love with her. All I saw was a perfect baby with tiny hands and legs, a beautiful face with pink lips.

But my angel was suffering. She just looked like a little fairy who had come from heaven and lost her wings. I know she wanted me to hold her. I know she wanted me to cuddle her. But I wasn’t allowed to. And after 3 days in the hospital I was discharged but I had to leave back my baby right there in the NICU. I don’t think anyone can imagine the feel. I was leaving my Navya in the hands of unknown people. It was three days already and I had still not taken her in my arms. I didn’t know how her soft hands and feet felt. I could only see her but do nothing. I went to the hospital everyday. Looking at her I felt she wanted to come to me. I felt she wanted me to take her home. Oh how helpless I felt!

My baby was a fighter. But the fight was going on for too long and so was the suffering. I had still not taken her in my arms. Days passed by and on Day 57 when I went to my baby I could feel her pain. I knew she was seeking my permission. She had already made me a proud mother. I apologized to her for not giving her the life I had dreamt for her. On Day 58 my little fairy found her wings back. She left her mamma and went back to where she had come from.

This February Navya would have been 9 years old. A tiny tear trickled down my cheeks. But I was jolted back to reality when I heard someone calling out to me “Mamma, I need your help. I am unable to complete this puzzle”. It was none other than my 7 year old daughter, Suhana. I hurried out of the room and walked towards her. Life moves on and people tend to forget. But is it possible for a mother to forget this special day. I look up in the sky and say “Happy Birthday my little fairy!”.


10 Tips For Concealing Under Eye Bags Like A Pro
10 Tips for Concealing Under-Eye Bags Like a Pro

Under-eye bags are a common problem for many people, whether it’s due to genetics, lack of sleep, or aging. These bags can make you look tired and older than you actually are. Luckily, there are many ways to conceal under-eye bags and make your eyes look brighter and more youthful. In this article, we will share 10 tips for concealing under-eye bags like a pro. Use a Color CorrectorIf you have dark circles under your eyes, a color corrector can help neutralize the discoloration. Look for a peach or orange color corrector, depending on your skin tone. Apply it gently to the under-eye area using your ring finger. Be careful not to tug or pull on the delicate skin around your eyes. Use a Concealer with a Yellow or Peach UndertoneAfter applying a color corrector, use a concealer that has a yellow or peach undertone. This will help brighten your under-eye area and make you look more awake. Use a small, fluffy brush to apply the concealer in a triangle shape under your eyes, then blend it in with a damp beauty sponge. Use a Hydrating Eye CreamDry skin can make under-eye bags look worse. Make sure to use a hydrating eye cream before applying any makeup. Look for an eye cream that contains hyaluronic acid, which helps to plump and hydrate the skin. Apply a Cooling Eye GelIf you’re dealing with puffiness under your eyes, try applying a cooling eye gel. Keep the eye gel in the fridge for a few minutes before applying it to your under-eye area. The coolness will help reduce inflammation and puffiness. Use a Light-Reflecting PowderAfter applying your concealer, use a light-reflecting powder to set it. This will help brighten your under-eye area even more and prevent creasing. Use a fluffy brush to apply the powder lightly under your eyes. Use a Matte BronzerIf you have under-eye bags that are more prominent, you can use a matte bronzer to create a shadow effect. Apply the bronzer lightly in the hollows under your cheekbones and around your temples. This will help to create the illusion of depth and make your under-eye bags less noticeable. Apply Mascara and EyelinerApplying mascara and eyeliner can help draw attention away from your under-eye bags. Curl your lashes and apply mascara to open up your eyes. Use a thin line of eyeliner along your lash line to define your eyes further. Use a Bright LipstickIf you’re still feeling self-conscious about your under-eye bags, try wearing a bright lipstick. A bold lip color will draw attention away from your under-eye area and make you feel more confident. Use a Makeup Setting SprayTo make sure your makeup stays in place all day, use a makeup setting spray. This will also help prevent your under-eye area from getting oily and causing your makeup to smudge. Get Plenty of Sleep and Drink WaterWhile these tips can help conceal under-eye bags, the best way to get rid of them is to get plenty of sleep and drink water. Aim for at least 7-8 hours of sleep each…

The Risks And Consequences Of Sleeping With Wet Hair
The Hidden Dangers of Sleeping with Wet Hair

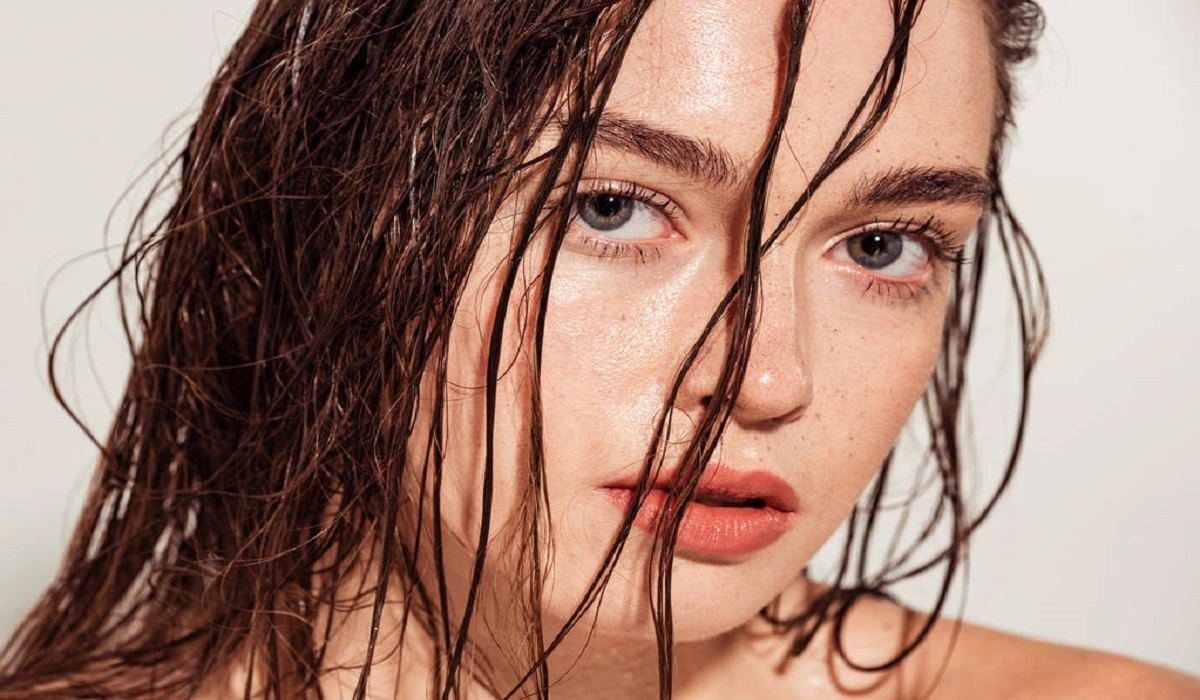
Sleeping with wet hair is a common practice for many, often seen as a harmless shortcut in our nightly routines. However, this habit can lead to a variety of health risks and physical consequences for both your scalp and hair. This article delves into the science behind why sleeping with wet hair is detrimental, debunks common myths, and offers actionable advice for healthier hair care practices. Understanding the Science Hair undergoes significant changes when it’s wet. Water causes hair strands to swell, making them weaker and more susceptible to damage. As you move in your sleep, the friction between your hair and the pillow can lead to breakage and split ends. This section explains the biology of hair and how its interaction with water at night can be harmful. Health Risks Associated with Wet Hair and Sleep A wet scalp can create an ideal environment for fungal infections and dandruff. The moisture trapped close to the skin can disrupt the natural balance of your scalp, leading to conditions such as tinea capitis or seborrheic dermatitis. Additionally, the physical stress placed on weakened hair can accelerate hair loss and thinning. Here, we’ll explore these risks in detail, providing insights into how they can affect your overall scalp health and what you can do to mitigate them. Physical Consequences Beyond the health implications, sleeping with wet hair has several physical repercussions. We’ll discuss the phenomenon of hygral fatigue, where hair becomes fatigued from the constant swelling and drying cycle. This condition weakens the hair shaft, leading to increased fragility and reduced elasticity. Additionally, tangled and matted hair becomes more common, making morning grooming a challenge and further contributing to hair damage. Myth vs. Reality: Debunking Common Misconceptions Common lore suggests that going to bed with wet hair can cause colds or induce severe headaches. This section separates fact from fiction, examining the scientific evidence (or lack thereof) behind these claims. Understanding the truth can help alleviate unnecessary concerns and focus on the real risks involved. Preventative Measures and Best Practices Preventing damage begins with proper hair care before bed. We’ll cover effective drying techniques that minimize damage, recommend protective hairstyles to reduce friction and breakage, and suggest products designed to protect and nourish your hair overnight. Implementing these practices can significantly reduce the adverse effects of sleeping with wet hair. Alternatives to Sleeping with Wet Hair Sometimes, washing your hair at night is unavoidable. This section offers advice on quick-drying methods and products that can expedite the drying process, reducing the time your hair remains wet before you go to sleep. Additionally, we’ll provide tips for overnight hair care that can help mitigate the risks associated with going to bed with damp hair. The Risks and Consequences of Sleeping with Wet Hair Summarizing the key points discussed, this section reinforces the importance of keeping your hair dry before bedtime. By understanding the potential risks and implementing preventative measures, you can protect your hair and scalp from the adverse effects of sleeping with wet hair. These commonly asked questions will be answered with clear, concise…

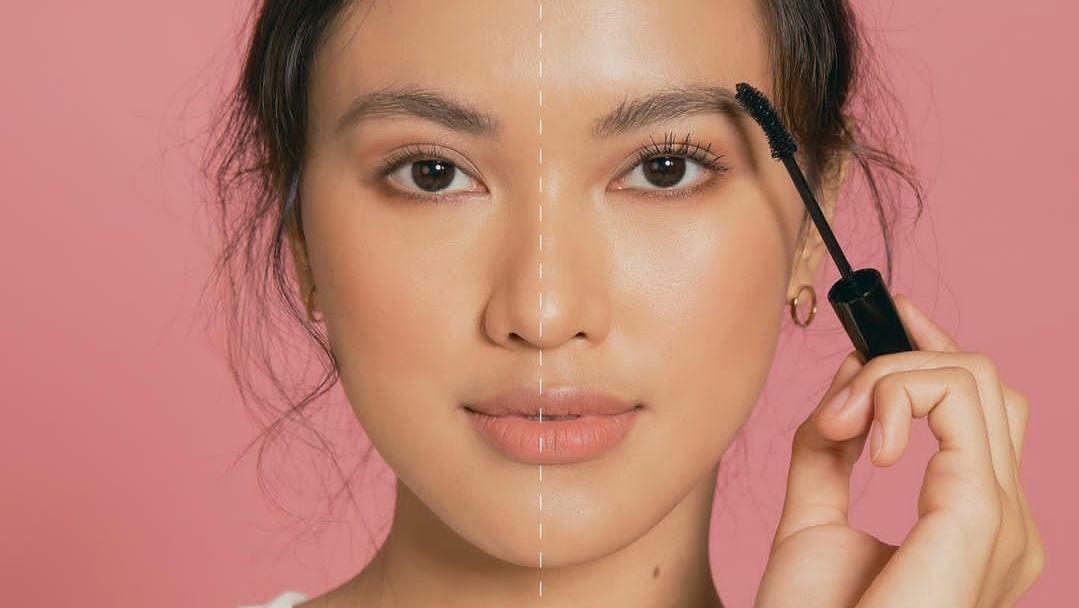
7 Makeup Mistakes That Might Be Making You Look Older
7 Makeup Mistakes That Might Be Making You Look Older: How to Avoid Them

Makeup is a powerful tool that can enhance your natural beauty and boost your confidence. However, certain makeup habits might be doing more harm than good, especially as they can inadvertently age your appearance. Identifying and correcting these mistakes can make a significant difference in looking effortlessly youthful. This guide will explore seven common makeup mistakes and provide practical advice for avoiding them. Mistake #1: Overdoing Foundation Choosing the Wrong Formula A heavy foundation or the wrong formula can settle into fine lines and wrinkles, accentuating them. Opt for lightweight, hydrating foundations that offer buildable coverage. Application Techniques to Avoid Avoid applying foundation too heavily. Use a damp beauty sponge or a stippling brush for a more natural, skin-like finish. Remember, less is more. Mistake #2: Neglecting Skincare Before Makeup The Importance of a Hydrated Base Skincare plays a crucial role in how makeup sits on your skin. Dehydrated skin can cause makeup to cling to dry patches, making you look older. Recommended Pre-Makeup Skincare Routine Always start with a clean face, followed by a hydrating serum or moisturizer, and don’t forget to apply a primer to smooth out the skin’s texture. Mistake #3: Using Too Much Powder The Effect of Powder on Mature Skin Setting powder, especially when overused, can highlight fine lines and dry out your skin. Use translucent powders sparingly and only in areas that need it. Alternative Setting Methods Consider setting sprays or lightly dusting powder only in the T-zone to maintain a dewy finish on the rest of the face. Mistake #4: Ignoring Eyebrow Care Filling Eyebrows Too Harshly Over-filled eyebrows can harden your features, making you appear older. Aim for a more natural look by using feathery strokes and choosing a shade that matches your hair color closely. The Role of Eyebrows in Facial Structure Well-groomed eyebrows can lift the face and frame the eyes, contributing to a more youthful appearance. Consider consulting a professional for the best shape. Mistake #5: Over-Contouring and Highlighting Finding the Balance Too much contouring or highlighting can look unnatural and aging. Use these products sparingly and blend thoroughly to enhance your natural bone structure subtly. Techniques for a Natural Contour Opt for cream products that can be blended out easily for a more natural-looking shadow and glow, rather than harsh lines. Mistake #6: Choosing the Wrong Lip Products The Impact of Matte and Dark Shades Matte and darker lip colors can make lips appear thinner and more aged. They can also emphasize lip lines. Hydrating Lip Color Options Choose lip colors that are closer to your natural lip color and opt for formulas that offer hydration and a slight sheen to give the appearance of fuller, younger lips. Mistake #7: Skipping Eyelid Primer Preventing Creased Eyeshadow Eyelid primer prevents eyeshadow from settling into creases, which can age the eyes. It creates a smooth canvas for eyeshadow, enhancing its color and longevity. Enhancing Eyeshadow Longevity A good primer can also intensify the pigment of your eyeshadow, making your eye makeup look more vibrant and youthful throughout the day. In conclusion, avoiding…

What Is Silk Eyelash
What is Silk Eyelash?

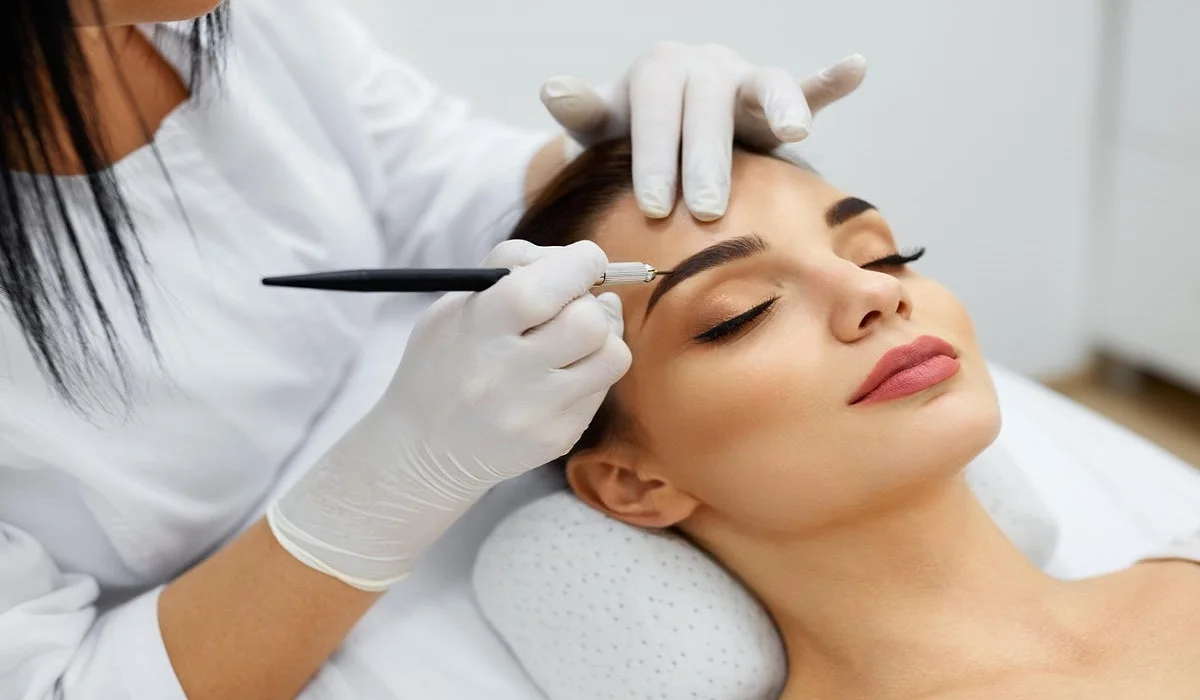
In the quest for the perfect eyelash enhancement, silk eyelashes emerge as a standout option, blending the allure of natural beauty with the advancements of cosmetic technology. Ideal for those seeking to elevate their eyelash game without the commitment to daily mascara application or the artificial look of traditional false lashes, silk eyelash extensions offer a solution that is both glamorous and practical. But what sets silk eyelashes apart in the vast sea of beauty enhancements? Introduction to Silk Eyelashes Silk eyelashes are crafted from a high-quality synthetic material that simulates the softness, luster, and lightweight feel of natural silk. Unlike their real animal fur counterparts, silk lashes are cruelty-free, offering an ethical alternative without compromising on the luxurious experience. Their inception marked a significant advancement in the beauty industry, providing a blend of durability and a natural aesthetic that quickly captured the hearts of beauty enthusiasts worldwide. Types of Eyelash Extensions The beauty market presents a variety of eyelash extensions, with silk, mink, and synthetic options leading the pack. Each type has its unique attributes: mink lashes, prized for their ultra-natural appearance; synthetic lashes, known for their dramatic flair and affordability; and silk lashes, which occupy the sweet spot between natural softness and manageable care. This diversity allows individuals to choose extensions that best match their lifestyle, preferences, and ethical considerations. Benefits of Choosing Silk Eyelashes Choosing silk eyelashes comes with a plethora of advantages. They are celebrated for their incredible balance of natural appearance and resilience. Silk lashes can withstand the elements better than mink lashes, retaining their curl and elegance through varying conditions. Additionally, their hypoallergenic properties make them a safe choice for individuals with sensitive eyes or allergies, providing beauty without the irritation. Application Process The application of silk eyelashes is an art form in itself, necessitating precision and expertise. This delicate procedure involves individually attaching silk lashes to each natural lash, creating a seamless and customized enhancement. The result is a fuller, longer lash line that looks effortlessly natural. The longevity of silk eyelashes, typically lasting through a full growth cycle of natural lashes, makes them a convenient option for those seeking enduring beauty enhancements. Who Should Choose Silk Eyelashes? Silk eyelashes are an excellent choice for virtually anyone looking to enhance their natural lashes with a touch of sophistication. They are particularly beneficial for those with active lifestyles, given their durability, and for individuals with sensitivities, due to their hypoallergenic nature. Whether for a special occasion or everyday glamour, silk lashes cater to a wide audience, promising an uplifted lash line without the drawbacks of traditional extensions. Silk Eyelashes vs. Other Materials The debate between silk, mink, and synthetic eyelashes centers on ethics, aesthetics, and wearability. Silk eyelashes emerge as a preferred choice for many, offering an ethical, beautiful, and practical solution. Their synthetic composition ensures no animals are harmed in their production, while their design mimics the desirable properties of natural lashes without the maintenance challenges associated with real fur. Maintenance and Care Maintaining silk eyelashes requires minimal effort but adherence to specific care guidelines…

Illuminating Radiance: Top Tips On Choosing The Perfect Primer For Dull Skin
Illuminating Radiance: Top Tips on Choosing the Perfect Primer for Dull Skin

If you have dull skin that lacks radiance and appears lackluster, using a primer specifically designed to address this concern can be a game-changer in your makeup routine. Primers are the secret to achieving a flawless and long-lasting makeup look, and selecting the right one for dull skin can brighten, hydrate, and create a luminous glow. In this comprehensive guide, we will explore the top tips on choosing a primer suited to dull skin, helping you achieve a radiant complexion that lasts all day. Understanding Dull Skin and its Causes Dull skin is characterized by a lack of radiance, appearing flat and lifeless. Several factors contribute to dullness, including: Dead Skin Cells: Accumulation of dead skin cells on the skin’s surface can create a barrier that reflects light poorly, resulting in a dull appearance. Dehydration: Lack of proper hydration can cause the skin to lose its plumpness and glow, leading to a lackluster complexion. Uneven Texture: Uneven skin texture can cast shadows and reduce the skin’s ability to reflect light, making the skin look dull. Environmental Factors: Exposure to pollutants, harsh weather, and UV radiation can damage the skin and contribute to dullness. Age: As we age, the skin’s natural renewal process slows down, leading to a buildup of dead skin cells and a loss of luminosity. Top Tips on Choosing a Primer for Dull Skin When it comes to choosing a primer for dull skin, the key is to opt for products that address the specific concerns associated with dullness. Consider the following tips to find the perfect primer for your needs: Look for Hydrating FormulasHydration is essential for combatting dullness, so opt for a primer that offers intense moisture. Look for ingredients such as hyaluronic acid, glycerin, and aloe vera, which help lock in moisture and keep your skin looking plump and radiant. Choose Illuminating PrimersIlluminating primers are specifically designed to add a luminous glow to the skin. These primers often contain light-reflecting particles that bounce light off the skin, instantly brightening the complexion and reducing the appearance of dullness. Consider Color-Correcting PrimersColor-correcting primers are formulated to target specific skin concerns, including dullness. Look for primers with peach, pink, or lavender undertones, which can help counteract sallowness and revive a lackluster complexion. Check for Antioxidant-Rich IngredientsAntioxidant-rich primers can help protect the skin from environmental damage, which is a common cause of dullness. Look for ingredients like vitamins C and E, green tea extract, and niacinamide, which have powerful antioxidant properties. Find Primers with Exfoliating PropertiesExfoliating primers can help remove dead skin cells, promoting a smoother and more radiant complexion. Ingredients like alpha hydroxy acids (AHAs) or beta hydroxy acids (BHAs) in the primer can gently exfoliate the skin, revealing a brighter and fresher appearance. Avoid Heavy, Matte FormulationsSteer clear of heavy, matte primers, as they can further emphasize dullness and make the skin look flat. Instead, opt for lightweight and dewy formulations that offer a natural and radiant finish. Consider Your Skin TypeTake your skin type into account when choosing a primer. If you have dry skin, opt for a…

Mastering The Art Of Hair Straightening Tips And Tricks 22
Mastering the Art of Hair Straightening – Tips and Tricks

Hair straighteners (also referred to as flat irons) are indispensable tools in hairstyling. No matter if your natural curls, waves or frizziness is curlier, wavier or frizzier than others; using one correctly requires some skill and knowledge – we offer this comprehensive guide on using one safely for salon-worthy results – whether that be beginner or veteran level experience! This comprehensive guide offers expert tips and insights so that anyone using one will discover its full potential and unlock its true power! Chapter 1 : Selecting an Appropriate Hair Straightener Before engaging in hair straightening techniques, selecting an effective straightener that meets both your hair type and styling requirements is of vital importance. In Chapter 1, we will explore different kinds of straighteners available including ceramic, tourmaline and titanium models as you learn about plate size considerations, temperature settings and features to make an informed decision that suits your hair. Chapter 2: Styling Your Hair Proper preparation is key to attaining salon-quality straight hair. Chapter 2 covers how essential it is to start off with clean, dry locks before applying a heat protectant spray for added heat protection and detangling and sectioning your locks for even straightening. Chapter 3: Establish the Appropriate Temperature Setting the Right Temperature Chapter 3 explores the significance of setting the appropriate temperature on a hair straightener, explaining how you can tailor its heat output according to your hair type (lower temperatures for fine or damaged strands, higher for thick or coarse ones) as well as exploring advantages associated with using an adjustable straightener with digital temperature controls. Chapter 4: Proper Straightening Technique Chapter 4 delves deep into straightening technique. Here you’ll learn to hold and glide a straightener correctly along your hair’s shaft to maintain an even pace – without creating creases or burns! Additionally, different straightening methods such as the chase method or flick method will be discussed to enable different styles. Chapter 5 : Sectioning for Success Sub-dividing hair sections is key to creating perfectly straight locks. Chapter 5 offers step-by-step instructions on how to divide up your locks into manageable sections and straighten each section systematically for superior control and results. Working with smaller sections ensures superior control and results! Chapter 6: Finishing Touches Chapter 6 explores finishing touches and styling options to achieve an ideal result, so as to achieve the ideal end product. Here, you’ll learn how to add volume, curl your straightened locks or add shine using straighteners; hair serums, shine sprays or hair spritz can further amplify your style! Chapter 7: Maintenance and Care Plan Proper hair straightener care and maintenance are crucial in order to extend its longevity and effectiveness. In Chapter 7, we offer tips for cleaning and storing your straightener, as well as troubleshooting issues like sticky plates or uneven heating. Chapter 8 : Preserving Your Hair from Harm Maintaining the health of your hair when straightening is of utmost importance, which is why Chapter 8 explores ways to minimize heat damage using products and techniques available, while we share tips for scheduling heat-free days in your…

Tips To Make The Wedding Of Your Dream Makeup
Tips to Make the Wedding of Your Dream Makeup

At every wedding celebration of love and union is an emotional day filled with meticulous planning of every last detail and the spotlight shining bright on the bride-to-be. Of the numerous decisions to be made for this grand occasion, wedding makeup should take top priority; hiring professional artists may help with this aspect or undertaking it on your own may prove useful; either way achieving wedding makeup of your dreams takes careful planning, preparation and personal flair for maximum effect – here is our complete guide of tips and tricks designed to ensure beauty and confidence on this milestone day! 1. Starting With SkincareAchie a flawless makeup look begins with skincare. In the months prior to your wedding day, establish an effective regimen designed to address acne, dry skin and uneven tone with regular cleansing, exfoliation and moisturization for radiant and flawless complexions. Tip: Plan in advance to take care of any specific skincare requirements by scheduling professional facials or dermatological treatments with qualified providers. 2. Trial Runs Are NecessaryIt is crucial that both brides and grooms make time for trial runs ahead of the big day to try different looks and find one that complements both your features and vision for how your day should unfold. By conducting multiple runs before, this ensures your final selection satisfies both of these objectives. Tip: Wear something similar to your wedding dress color during your trial makeup appointment in order to judge how the makeup will match up against it. 3. Consider Your Wedding Style Makeup should complement the overall aesthetic and atmosphere of your event, from romantic garden ceremonies and city receptions, to beachside affairs and celebrations. Adapt it according to what works for each of these occasions! Tip: Select makeup colors that complement the hues in your wedding color palette for a polished and cohesive appearance. 4. Enhance Your Natural Features: Wedding makeup should emphasize, rather than hide your natural beauty. Focus on emphasizing the highlights in terms of eyes, lips or cheekbones in particular and subtly contour to add dimension while not looking over-dramatic. Tip: Choose natural-looking false eyelashes to increase definition, while still remaining comfortable for every day use. 5. Long-Lasting Formulas Are KeyWedding days can be filled with joyous memories. Makeup that stays put all day or night such as foundation, mascara and eyeliner will ensure a fresh appearance for photos taken all night long! Tip: Use translucent powder to set your makeup and reduce shine and keep everything in its proper place. 6. Coordinate With Your HairstyleYour hair and makeup should match effortlessly and harmonize. Discussing plans with a makeup artist to make sure the overall effect is harmonious is key for creating an aesthetically pleasing overall look. Tip: For an updo look, emphasize your eyes and lips for maximum impact. With loose flowing locks, go for more neutral yet romantic makeup to complete the look. 7. Photography-Friendly MakeupWedding photographs capture special memories for eternity, so your makeup should be camera-ready. Avoid products with SPF as these may cause flashback when photographed; choose matte finish foundation to minimize…

Mastering The Art Of Henna Hairdye
Mastering the Art of Henna Hair Dye

Embarking on the journey of dyeing your hair with henna can be both exciting and daunting. Henna, a natural dye made from the leaves of the Lawsonia inermis plant, offers a chemical-free option for coloring your hair, providing rich, long-lasting hues and a host of hair health benefits. This guide will walk you through each step of the process, ensuring that you achieve beautiful results with henna. Understanding Henna What is Henna? Henna is not just a hair dye; it’s a centuries-old plant-based pigment that has been used for body art and hair coloring across various cultures. It’s celebrated for its natural coloring properties and conditioning benefits. Benefits for Hair Beyond imparting vibrant color, henna strengthens, conditions, and nourishes the hair, reducing dandruff and promoting hair growth. Types of Henna Pure Henna Pure henna yields a red-orange color and is free from any additives, making it the best choice for those looking for a natural option. Henna Mixes For a wider range of colors, henna is often mixed with other natural dyes. It’s important to choose mixes free from chemicals to maintain the natural benefits of henna. Preparing Your Hair for Henna Assessing Hair Type and Condition Your hair’s starting color, type, and condition will affect how henna appears and should guide your preparation process. Pre-Dye Preparations Preparing your hair involves clarifying to remove buildup and testing the henna on a small hair section to predict the outcome. Mixing Henna for Hair Dye Ingredients Needed You’ll need high-quality henna powder, acidic liquid (like lemon juice), and optional natural additives for enhanced effects. Step-by-Step Mixing Guide Mixing henna is an art; achieving the right consistency is crucial for easy application and optimal dye release. Application Process Sectioning Hair Dividing your hair into sections ensures thorough application and even color. Applying Henna Apply the paste from roots to tips, using gloves to protect your hands from staining. Tips for Even Coverage Ensuring even coverage is key to achieving uniform color and avoiding patches. How to Dye Hair with Henna? This comprehensive guide demystifies the process, making it accessible for first-timers and those looking to perfect their technique. Post-Application Care Washing Out Henna Washing out henna requires patience and gentle care to preserve the color and avoid stripping the hair’s natural oils. Hair Care After Dyeing Post-henna care involves hydrating treatments and avoiding harsh chemicals to maintain the color and health of your hair. Troubleshooting Common Henna Hair Dye Issues Uneven Color Adjusting your application technique or mix can help achieve more uniform results in future applications. Dryness after Dyeing Incorporating natural oils and deep conditioning treatments can combat dryness associated with henna. Environmental and Health Considerations Natural and Safe Dyeing Options Choosing henna for hair coloring supports environmentally friendly and health-conscious beauty practices. Dyeing your hair with henna is a rewarding process that not only beautifies but also benefits your hair health. By following these detailed steps, you can achieve stunning, natural-looking color and embrace a more sustainable approach to hair care. Can henna cover gray hair? Yes, henna can effectively cover grays, offering…