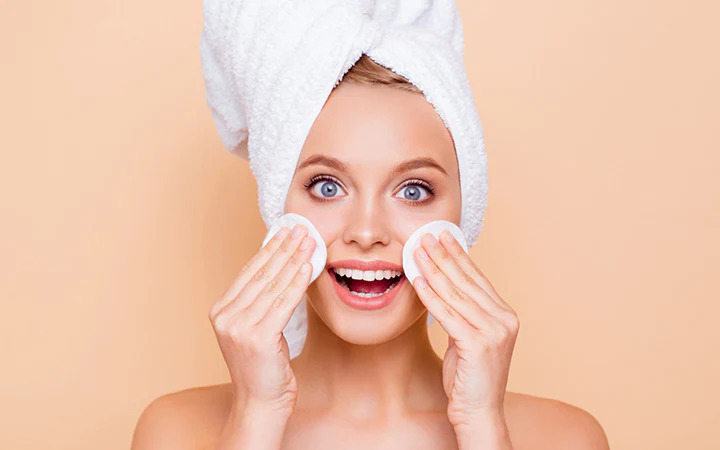
Toners vs. Astringents: Understanding the Key Differences

Toners vs. Astringents: Understanding the Key Differences

Toners and astringents are two skincare products that are often used interchangeably, but they are not the same thing. While both are used to improve skin tone and texture, they work differently and are designed for different skin types. Understanding the differences between toners and astringents can help you choose the right product for your skin and get the best results.

What is a Toner?

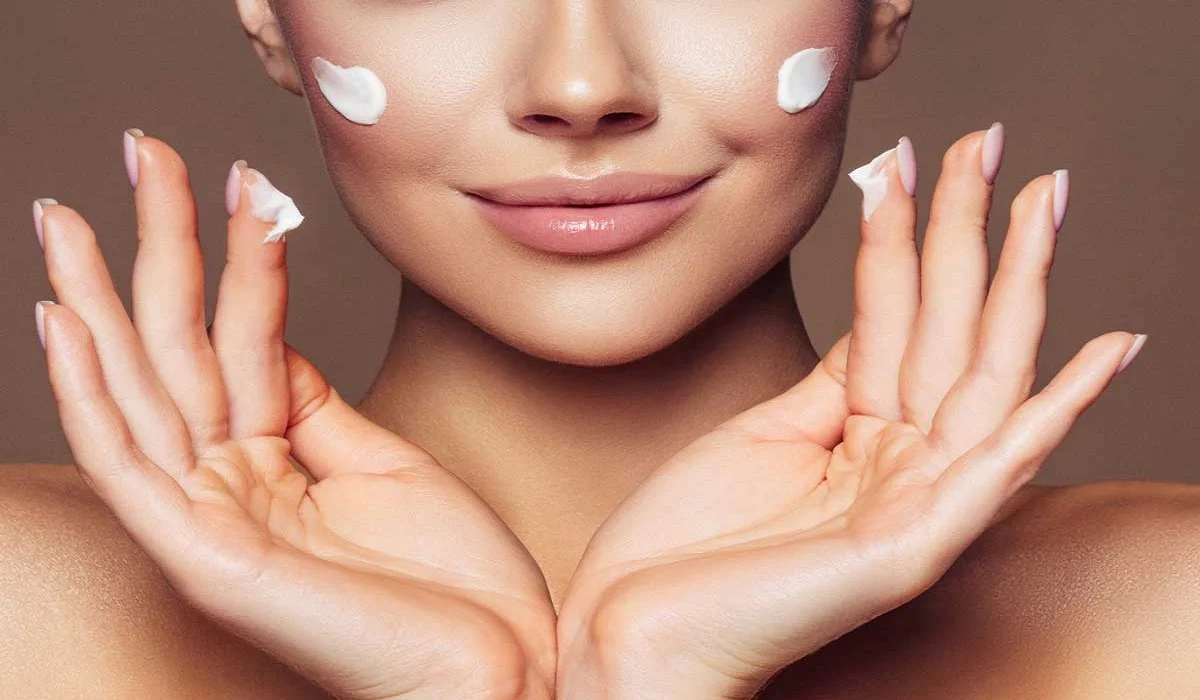
A toner is a liquid skincare product that is used after cleansing the face to remove any remaining dirt, oil, and impurities. Toners are designed to balance the skin’s pH levels, which can be disrupted by harsh cleansers or tap water. Most toners are alcohol-free and contain ingredients like glycerin, hyaluronic acid, and aloe vera, which help to hydrate and soothe the skin.

Toners come in different forms, including sprays, mists, and lotions. They can be applied with a cotton pad or sprayed directly onto the face. Toners are suitable for all skin types, but they are particularly beneficial for people with oily or acne-prone skin. Toners help to remove excess oil and prevent breakouts by tightening the pores and reducing inflammation.

What is an Astringent?

An astringent is a liquid skincare product that is designed to remove excess oil from the skin and tighten the pores. Astringents contain alcohol, witch hazel, or other ingredients that have a drying effect on the skin. Astringents are particularly useful for people with oily skin or those who are prone to acne.

Astringents work by removing the top layer of dead skin cells, which can clog pores and lead to breakouts. They also help to control oil production by reducing sebum secretion. Astringents are generally more potent than toners and are not suitable for all skin types. People with dry or sensitive skin should avoid using astringents as they can cause irritation and dryness.
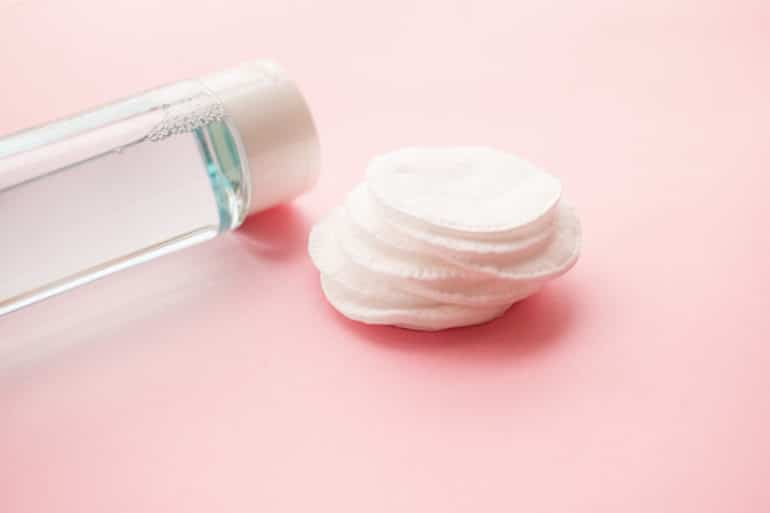
The Key Differences Between Toners and Astringents

While toners and astringents are both liquid skincare products that are used to improve skin tone and texture, there are some key differences between them:

Ingredients
The main difference between toners and astringents is their ingredients. Toners are generally alcohol-free and contain ingredients like glycerin, hyaluronic acid, and aloe vera, which help to hydrate and soothe the skin. Astringents, on the other hand, contain alcohol, witch hazel, or other ingredients that have a drying effect on the skin.

Skin Type
Toners are suitable for all skin types, but they are particularly beneficial for people with oily or acne-prone skin. Toners help to remove excess oil and prevent breakouts by tightening the pores and reducing inflammation. Astringents are generally more potent than toners and are not suitable for all skin types. People with dry or sensitive skin should avoid using astringents as they can cause irritation and dryness.

Toners vs. Astringents: Understanding the Key Differences

Purpose
The purpose of toners and astringents is slightly different. Toners are designed to balance the skin’s pH levels and remove any remaining dirt, oil, and impurities after cleansing. Astringents, on the other hand, are designed to remove excess oil from the skin, tighten the pores, and control oil production.

Strength
Astringents are generally more potent than toners and are not suitable for all skin types. They contain a higher percentage of active ingredients, such as alcohol and witch hazel, which can be too harsh for some skin types. Toners, on the other hand, are milder and suitable for all skin types.

Which One Should You Use?

The choice between a toner and an astringent ultimately depends on your skin type and concerns. If you have oily or acne-prone skin, an astringent may be more effective at controlling oil production and preventing breakouts. However, if you have dry or sensitive skin, a toner may be a better option as it will not dry out your skin.

It is also important to consider the specific ingredients in the toner or astringent you are using. Look for products that contain ingredients that are beneficial for your skin type, such as glycerin and aloe vera for dry skin or witch hazel and salicylic acid for oily skin.


If you are unsure which product to use, consult with a dermatologist or skincare professional who can recommend the best product for your skin type and concerns.

How to Use Toners and Astringents

Regardless of which product you choose, it is important to use it correctly to get the best results. Here are some tips for using toners and astringents:

Use after cleansing: Toners and astringents should be used after cleansing the face to remove any remaining dirt, oil, and impurities.

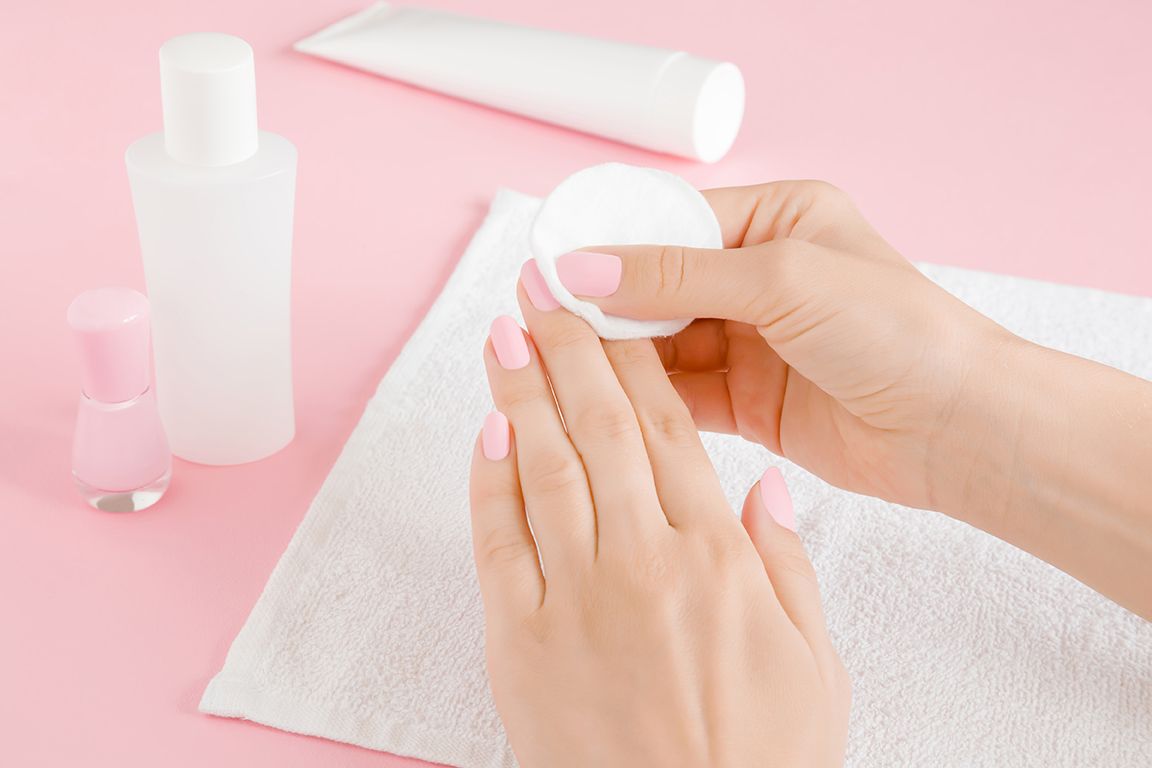
Apply with a cotton pad: Most toners and astringents are applied using a cotton pad. Simply soak the cotton pad with the product and gently swipe it over your face.

Avoid the eye area: Toners and astringents should not be applied to the eye area as they can be irritating.

Follow with moisturizer: After using a toner or astringent, follow with a moisturizer to hydrate and protect the skin.

In conclusion, toners and astringents are both liquid skincare products that are used to improve skin tone and texture, but they have different ingredients, purposes, and strengths. Choosing the right product for your skin type and concerns can help you achieve the best results. Remember to always use these products correctly and follow with a moisturizer to keep your skin hydrated and healthy.

Unveiling Confidence Tailoring Makeup Techniques For The Square Face Shape 1
Unveiling Confidence: Tailoring Makeup Techniques for the Square Face Shape

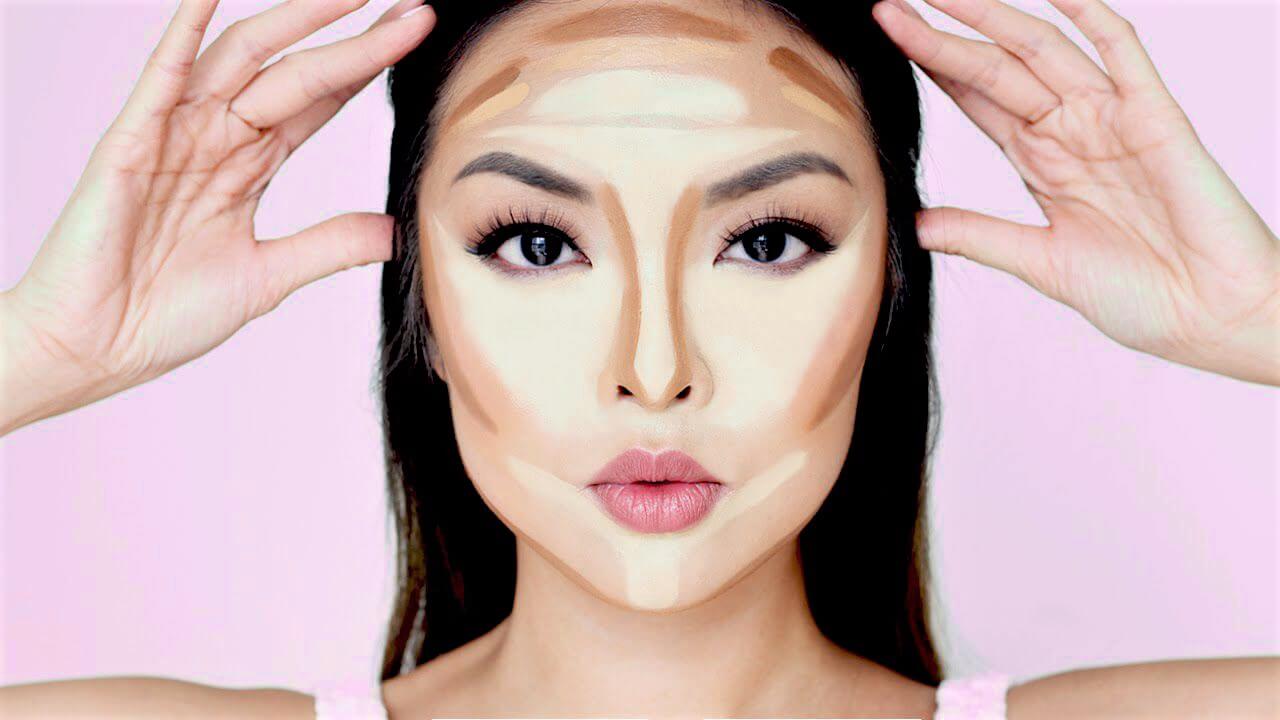
Makeup is a powerful tool that allows us to enhance our features and express our individuality. When it comes to a square face shape, characterized by a strong jawline, straight sides, and a broad forehead, the right makeup techniques can soften angles and highlight your unique beauty. Whether you’re aiming to create balance, play up your favorite features, or achieve a more contoured look, understanding how to tailor your makeup to your square face shape is essential. In this comprehensive guide, we’ll explore customized makeup tips and techniques that will empower you to embrace your square face shape and radiate confidence. Understanding the Square Face Shape Before diving into makeup application, it’s crucial to grasp the distinctive characteristics of the square face shape: With this understanding, you can strategically use makeup to create harmony and enhance your facial features. Creating a Smooth Canvas Prepping your skin is the foundation of any makeup look. Follow these steps to ensure your skin is ready for makeup application: Contouring and Highlighting Contouring and highlighting techniques can create balance and soften the angles of a square face shape. Here’s how: Eye Makeup Techniques Eyes are a focal point of any makeup look. Consider these tips to complement your square face shape: Lip Makeup Recommendations Lips are another feature you can play up to create balance on your square face: Blush Application Blush can add warmth and softness to your square face shape: Final Touches Complete your makeup look with these final touches: Mastering makeup techniques that complement your square face shape empowers you to highlight your unique beauty while creating harmony and balance. By employing methods that soften angles, enhance your features, and add dimension, you can confidently embrace your facial structure. Remember that makeup is an art form, and experimenting with different styles and techniques allows you to discover what makes you feel most empowered and beautiful. With the right makeup techniques, you can celebrate your square face shape and showcase your confidence to the world.

Blushing Beauty: A Comprehensive Guide To Choosing The Perfect Blush For Your Skin Tone
Blushing Beauty: A Comprehensive Guide to Choosing the Perfect Blush for Your Skin Tone

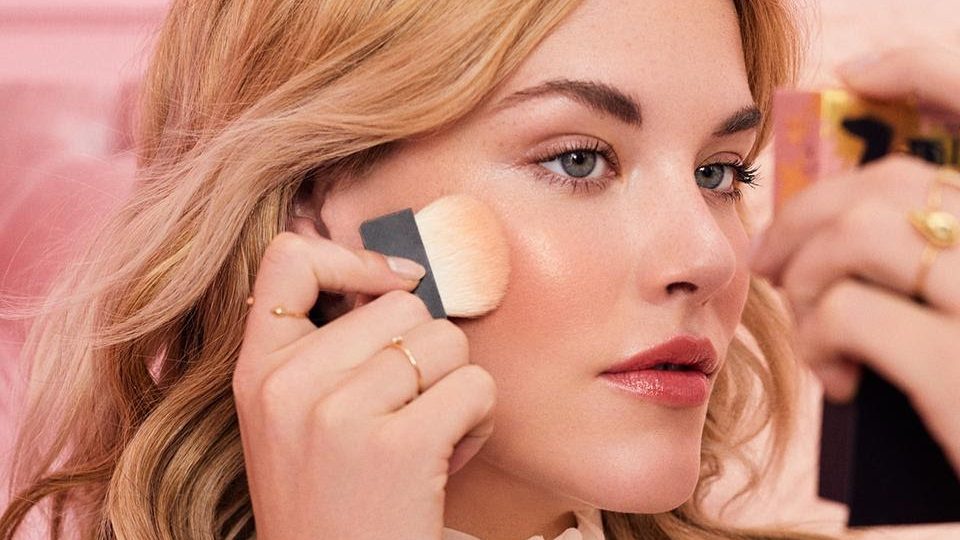
Blush is a makeup essential that adds a healthy flush of color to your cheeks, brightening up your complexion and enhancing your natural beauty. However, selecting the right blush shade to match your skin tone can be a daunting task. With numerous options available, it’s essential to understand your skin tone and undertone to pick the perfect blush that complements your features. In this in-depth guide, we will walk you through the process of identifying your skin tone and undertone and provide expert tips on choosing the ideal blush shade for a radiant and harmonious look. Determining Your Skin ToneBefore diving into blush selection, it’s crucial to determine your skin tone accurately. Skin tones generally fall into three categories: fair, medium, and deep. a. Fair Skin Tone: Fair skin usually burns easily in the sun and rarely tans. It often has a translucent quality, and veins on the wrist might appear blue or purple. b. Medium Skin Tone: Medium skin has a more balanced undertone and tans moderately in the sun. Veins on the wrist appear blue-green. c. Deep Skin Tone: Deep skin tans deeply and rarely burns. Veins on the wrist appear green. Understanding Your UndertoneApart from your skin tone, understanding your undertone is crucial for selecting the most flattering blush shade. Undertones can be warm, cool, or neutral. a. Warm Undertone: If your veins appear green and gold jewelry complements your skin better, you likely have a warm undertone. Warm undertones have hints of yellow, peach, or golden hues. b. Cool Undertone: If your veins appear blue or purple, and silver jewelry looks better on you, you likely have a cool undertone. Cool undertones have hints of pink, red, or blue. c. Neutral Undertone: If you find it challenging to distinguish whether your veins appear green or blue and both gold and silver jewelry suit you, you may have a neutral undertone. Neutral undertones have a balanced mix of warm and cool tones. Best Blush Shades for Different Skin Tones and UndertonesNow that you’ve identified your skin tone and undertone, let’s explore the best blush shades that complement each combination: a. Fair Skin Tones: Fair with Warm Undertone: Opt for soft peach, warm pink, or light coral blushes to add a natural flush to your cheeks. Fair with Cool Undertone: Choose rosy pink, cool mauve, or soft berry shades for a fresh and radiant look. Nötr Alt Tonla Adil: Şanslısın! Nötr bir alt ton olarak, yumuşak pembe, şeftali pembesi ve leylak rengi gibi çok çeşitli allık tonlarını deneyebilirsiniz. b. Medium Skin Tones: Medium with Warm Undertone: Embrace warm peach, apricot, and coral blushes for a sun-kissed glow. Medium with Cool Undertone: Opt for berry, plum, or deep rose blushes to add a pop of color to your cheeks. Nötr Alt Tonlu Orta: Nötr alt tonlu açık ten gibi, sıcak terakotadan soğuk güle kadar çeşitli allık tonlarını çekebilirsiniz. c. Deep Skin Tones: Derin ve Sıcak Alt Ton: Cildinizle çarpıcı bir kontrast oluşturmak için zengin, sıcak kiremit kırmızısı, mandalina veya derin mercan allıklarını tercih edin. Deep with Cool Undertone: Opt for bold…

Effortless Elegance: A Step By Step Guide On How To Remove Gel Nail Polish At Home
Effortless Elegance: A Step-by-Step Guide on How to Remove Gel Nail Polish at Home

Gel nail polish has revolutionized the world of manicures, offering long-lasting color and a glossy finish. However, the time eventually comes when you need to remove your gel nail polish to refresh your nails or switch up your look. While salon visits are a common option, learning how to remove gel nail polish at home can save you time and money. In this comprehensive guide, we will walk you through the step-by-step process of safely and effectively removing gel nail polish at home, ensuring that your nails stay healthy and pristine. Understanding Gel Nail Polish Gel nail polish differs from traditional nail polish due to its unique formula and the curing process involved. Gel polish is applied in layers and cured under a UV or LED lamp, resulting in a durable and chip-resistant finish that can last for several weeks. Tools and Supplies You’ll Need Before you start the gel nail polish removal process, gather the following tools and supplies: Step-by-Step Guide to Removing Gel Nail Polish at Home Step 1: Prep Your Workspace Choose a well-lit and comfortable space to work in. Lay down a towel or a disposable surface to catch any spills or drips. Step 2: Buff the Shine Using a nail buffer or a gentle nail file, lightly buff the surface of your gel nails. This step helps break the seal of the topcoat, allowing the acetone to penetrate and dissolve the gel polish more effectively. Step 3: Soak Cotton Pads Cut your cotton pads or cotton balls into pieces that are large enough to cover your nails. Soak them in acetone until they are fully saturated. Step 4: Apply Cotton and Foil/Clips Place the soaked cotton on your nails, ensuring that the entire nail surface is covered. Then, wrap each fingertip with a small piece of aluminum foil or use nail clips to secure the cotton in place. This creates a sealed environment that helps the acetone work more efficiently. Step 5: Wait and Relax Wait for about 10-15 minutes, allowing the acetone to soften the gel polish. Use this time to relax, catch up on a book, or simply enjoy a quiet moment. Step 6: Gently Remove the Gel Polish After the soaking time, carefully remove the foil or clips and the cotton from your nails. You’ll notice that the gel polish has started to lift and peel. Use a cuticle pusher or an orange stick to gently push away the softened gel from your nails. Be patient and avoid scraping or prying too aggressively, as this could damage your natural nails. Step 7: Hydration and Nourishment After removing the gel polish, wash your hands with soap and water to remove any residue. Apply a nourishing cuticle oil or cream to replenish moisture to your nails and cuticles. This step helps counteract the drying effects of acetone. Step 8: Moisturize Finish the process by applying a rich hand cream or moisturizer to your hands and nails. This helps keep your skin hydrated and supple. Learning how to remove gel nail polish at home can be a…

What To Know About Putting Lotion On Your Face
What to Know About Putting Lotion on Your Face

Nurturing the skin of your face transcends mere indulgence; it embodies an essential regimen. An apt facial lotion not only shields your skin from detrimental pollutants but also preserves its innate equilibrium and wards off the signs of aging prematurely. The plethora of options on the market, however, can render the task of choosing and utilizing face lotion a formidable endeavor. This guide aims to illuminate the intricacies of face lotions, equipping you with the knowledge requisite for navigating your skincare regimen with confidence. Demystifying Skin Types Embarking on your quest for the ideal face lotion necessitates a deep comprehension of your skin’s unique constitution. Skin is predominantly classified into four types: oily, dry, combination, and sensitive, each with distinctive needs and care protocols. Oily Skin: Defined by an overproduction of sebum, resulting in a glossy appearance and potential for acne.Dry Skin: Characterized by a sensation of tightness and possible flaking, due to insufficient moisture.Combination Skin: Exhibits both oily and dry regions, with the T-zone often presenting increased oiliness.Sensitive Skin: Prone to adverse reactions from certain substances, manifesting as irritation, redness, or discomfort.Identifying your skin type is imperative for selecting a lotion that complements rather than contradicts your skin’s inherent behavior. The Significance of Lotion in Skincare Lotions play a pivotal role in moisturizing and safeguarding the skin. Generally lighter and less oily than creams, they are ideally suited for daytime application or for individuals with oily skin. Lotions are instrumental in sustaining the skin’s moisture barrier, averting dehydration, and rendering the skin supple and smooth. Lotion versus Cream: Delineating the Distinction Contrasting lotions, which are aqueous and lightweight, creams are denser and imbue greater hydration, typically catering to dry or maturing skin. The choice between them hinges on your skin type, environmental conditions, and personal preference. Selecting the Appropriate Lotion for Your Face Choosing the correct lotion entails consideration of your skin’s requirements and meticulous examination of ingredient labels. Ingredients to Embrace Hyaluronic Acid: A hydration titan capable of retaining up to 1000 times its weight in water.Glycerin: Draws moisture to the skin, ensuring hydration and a protective layer.Niacinamide (Vitamin B3): Mitigates inflammation, fortifies the skin’s barrier, and balances skin tone.Ceramides: Lipids essential for the skin’s barrier, aiding in moisture retention.Ingredients to EschewAlcohol: May deplete the skin’s natural oils, leading to dryness and irritation.Fragrances: Potential allergens or irritants, particularly for sensitive skin.Parabens: Preservatives with possible hormone-disruptive effects and associated health risks. Guidance for Various Skin Types Oily Skin: Opt for non-comedogenic, oil-free lotions.Dry Skin: Seek lotions rich in hyaluronic acid and ceramides for hydration.Combination Skin: Prefer lotions that maintain balance without aggravating oily or dry zones.Sensitive Skin: Choose lotions free from fragrances and allergens, specifically formulated for sensitive skin. Optimal Application Techniques for Lotion Maximizing the benefits of lotion involves: Seasonal Variations and Skin Care The changing seasons necessitate adjustments in your skincare approach; the chill of winter may induce dryness, whereas summer warmth can heighten oiliness. Adapt your lotion and skincare routine to suit these seasonal demands. Incorporating Sun ProtectionSun defense is paramount. Numerous facial lotions now incorporate SPF, marrying…

The Science Of Sacred Serums Targeted Skincare Products
The Science of Sacred Serums : Targeted Skincare Products

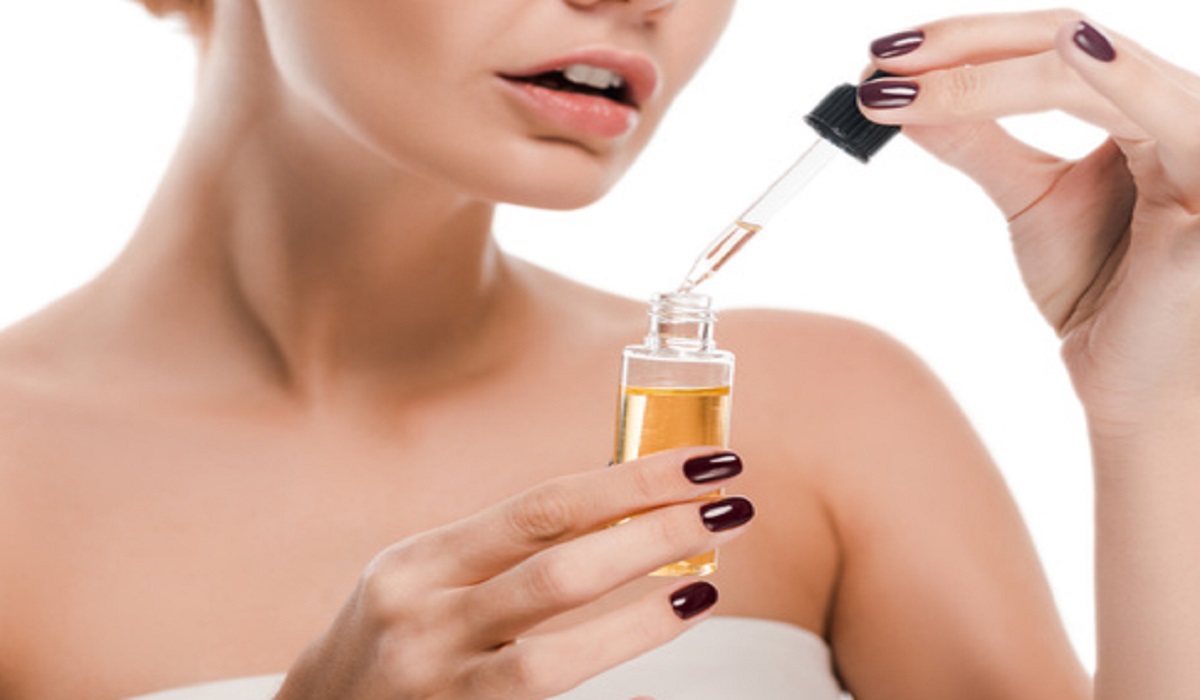
Skincare superheroes like serums have emerged to provide answers to different skin concerns. There is a serum for pimples, aging skin and dehydration – there is a system for you. Mastering the science behind these effective elixirs will help you make a wise decision for your skin care regimen. Discover the science of the serum – the appeal of the serum and how you can unleash your skin’s potential. Serums: What exactly are Serums? Serums are sheer skincare products which provide very high concentrations of active ingredients deeply within the skin. Unlike moisturizers which just plough the epidermis surface area, serums penetrate deeper and will specifically target wrinkles, dullness or hyperpigmentation. The Function of Serums in Skincare Routine Serums are essential products for any skincare regime as impressive treatment products targeting certain concerns. Including serums in your day to day routine will complement your skincare products and also offer targeted solutions to numerous skin problems. Benefits of Serums Serums possess many skin benefits and ought to be part of every skin kit. From encouraging collagen production to brightening complexion, here are a number of crucial advantages of integrating serums in your daily regime : Hydration: Serum components like hyaluronic acid and glycerin are oftentimes contained in serums as these ingredients bind and retain water, making skin plump and moist.Anti Aging: Antioxidant serums with retinol and vitamin C might fight fine lines and wrinkles.Brightening: Active substances like niacinamide and kojic acid much skin tones and also give it a far more radiance.Control of Acne: Salicylic acid or tea tree oil serums clean oil blocked pores, minimize redness and prevent breakouts – ideal for acne prone skin. Which Serum Is Best There are plenty of serums available today – selecting the best one may be overwhelming. Add in the following to select the serum which best suits your requirements : Skin Type: There is a serum for oily, dry, sexy and very sensitive skin – there is one for you. Search for items made for you.Ingredients: Look at the active ingredients within the serum and at their concentrations. Research ingredients which deal with your concerns and select items with quality, scientifically evaluated formulations.Texture: Serums may be light liquids or solid gels. Pick a texture which feels at ease in your skin and goes with your skin care regime.Packaging: Select serums in oblong, airtight bottles to keep the active ingredients constant and good in light and air exposure. Application Techniques Appropriate use of serums is crucial to maximising their effectiveness and getting the most from them for your skin. Stick to these steps for optimum results : Cleanse: Begin with a fresh and dried out face for optimum absorption of the serum.Dispense: Slather a pea size drop of serum onto fingers.Pat and Press: Pat the serum on trouble areas of skin. Don’t rub or even pull at your skin to result in irritation. Follow with Moisturizer: Soak the serum in before using moisturizer to retain hydration and lock in effective ingredients. Common Ingredients in Serums Serums focus on certain skin issues with active ingredients. Listed…

World's First All Girl Sextuplets
World’s First All-Girl Sextuplets

Meet the Walton sextuplets – Luci, Hannah, Sarah, Ruth, Kate and Jennie, the world’s first all-female surviving sextuplets. Born on 18th November 1983 in Liverpool, England, they changed the life of their parents Janet and Graham Walton forever. The couple had been trying to conceive for several years without any success. They went through 13 rounds of fertility treatment and were ready to adopt children after all the failed attempts. Imagine their excitement when they learnt that they were finally carrying a baby. But… GO TO THE NEXT PAGE TO CONTINUE…

What Is Scrub And What Does It Do
What is Scrub and What Does It Do?

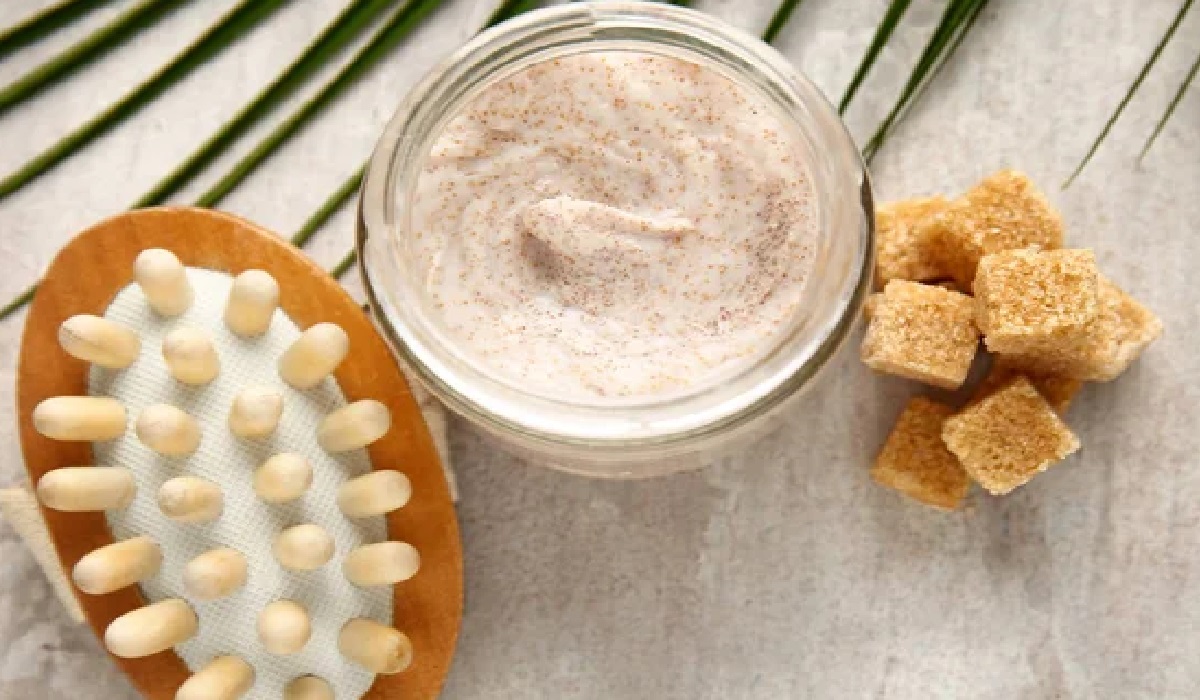
Navigating the path to luminous, vibrant skin, the inclusion of scrubs has become indispensable within the realm of meticulous skincare practices. Acting as a crucial intermediary that seamlessly connects the acts of cleansing and hydrating, scrubs are instrumental in not just refining the texture of the skin but significantly elevating its overall vitality. Delve into the core of what scrubs represent, unravel their extensive benefits, and discover actionable insights for seamlessly weaving them into your daily skincare ritual. The Essence of Scrubs: Pioneers of Skin Transformation Fundamentally, a scrub is crafted as a skin care concoction aimed at the gentle eradication of dead skin cells, grime, and additional contaminants blanketing the skin’s exterior. This exfoliation process is key to reviving the skin, ushering in an era of smoother and more effervescent skin layers below. Moreover, the very action of scrubbing invigorates circulation, infusing the skin with a renewed sense of vitality and radiance. But what elevates scrubs to an essential status within skincare? Unveiling the Mechanisms Behind Scrubs Scrubs come to life through their meticulously designed formulations, encompassing minute particles or granules that, upon being massaged onto the skin, perform the act of mechanical exfoliation. This transcends the capabilities of standard cleansing, promoting deeper purification while simultaneously fostering blood circulation and lymphatic detoxification, thus revitalizing skin wellness from within. Exploring the Diversity of Scrubs and Their Distinctive Merits Gel-Based Scrubs: Perfect for delivering hydration and a cooling sensation, these scrubs stand as a solace, especially after exposure to the sun or vigorous physical activities.Natural Exfoliators – Sugar and Salt Scrubs: Offering a spectrum of abrasiveness, these scrubs afford a personalized exfoliation experience.Coffee Scrubs: Laden with antioxidants, these variants not only slough off dead skin cells but also contribute to skin tightening and enhanced circulation. Incorporating Scrubs into Your Skincare Regimen Adopting a scrub into your routine is uncomplicated yet demands conscientiousness to sidestep the pitfalls of over-exfoliation. Here is a methodical approach: Begin with Cleansed Skin: Initiating with a pristine base ensures the scrub’s efficacy.Gentle Application: Employ soft, circular strokes to massage the scrub onto your skin, ensuring the process remains gentle.Rinse Off Completely: Utilize lukewarm water to remove the scrub, unveiling rejuvenated and lively skin.Hydrate: Conclude with a moisturizing agent to deeply nourish the newly exfoliated skin. Selecting an Ideal Scrub for Your Skin Type Oily Skin: Seek scrubs designed to regulate oil secretion whilst preserving natural moisture.Dry Skin: Opt for scrubs embedded with hydrating elements that promise gentle exfoliation, thereby preventing additional dryness.Sensitive Skin: Favor scrubs with fine particles and calming ingredients to reduce potential irritation. Custom Scrubs: Tailored to Your Skin’s Specifications Crafting scrubs within the comfort of your home allows for an unparalleled level of customization to cater to your skin’s unique requirements. Utilizing ingredients like sugar, olive oil, and lemon not only facilitates natural exfoliation but also ensures skin revival. Nonetheless, recognizing your skin type and sensitivities is paramount to guarantee the safety and efficacy of your DIY endeavors. Scrubs stand as formidable allies in the quest for thriving, resplendent skin. By gaining a comprehensive understanding of…

Achieving A Brighter Smile: The Most Effective Ways To Whiten Your Teeth
Achieving a Brighter Smile: The Most Effective Ways to Whiten Your Teeth

A bright, white smile is something that many people desire. However, it’s not always easy to achieve. There are many factors that can cause teeth to become discolored, such as aging, smoking, consuming certain foods and drinks, and poor dental hygiene. Fortunately, there are several effective ways to whiten your teeth and achieve the smile of your dreams. In this article, we’ll explore the most effective ways to whiten your teeth, including both professional and at-home options. Professional Teeth Whitening If you’re looking for the most effective way to whiten your teeth, professional teeth whitening is a great option. This is typically done in a dental office, and involves the use of high-concentration whitening agents. There are two main types of professional teeth whitening: In-Office Whitening: This involves the use of a high-concentration whitening gel, which is applied to your teeth by a dental professional. The gel is then activated using a special light or laser. This type of whitening treatment typically takes around an hour, and can whiten your teeth by several shades. Take-Home Whitening Kits: These kits are prescribed by a dentist and typically include a custom-made tray and a whitening gel. You’ll need to wear the tray for a certain amount of time each day, typically for several weeks. Take-home whitening kits are less expensive than in-office treatments, but they take longer to produce results. Both of these professional teeth whitening options are effective at removing stains and discoloration from your teeth. However, they can be quite expensive, with in-office treatments typically costing several hundred dollars and take-home kits costing around $100-$200. At-Home Teeth Whitening If you’re looking for a more affordable way to whiten your teeth, at-home teeth whitening options are a great choice. There are many different types of at-home whitening products available, including: Whitening Toothpaste: This type of toothpaste contains special abrasives and chemicals that can help to remove surface stains from your teeth. However, they are not effective at removing deeper stains. Whitening Strips: These are thin, flexible strips that are coated with a whitening gel. You’ll need to apply the strips to your teeth for a certain amount of time each day, typically for several weeks. Whitening strips are a relatively affordable option, with most kits costing around $20-$50. Whitening Trays: These are similar to the trays used in professional take-home whitening kits. You’ll need to fill the tray with a whitening gel and wear it for a certain amount of time each day, typically for several weeks. Whitening trays can be purchased over-the-counter or prescribed by a dentist. Whitening Pens: These are small, portable pens that contain a whitening gel. You can apply the gel directly to your teeth using the pen’s brush. Whitening pens are a convenient option, but they may not be as effective as other at-home whitening products. While at-home teeth whitening products are generally less expensive than professional treatments, they may not be as effective. They also take longer to produce results, and you may need to use them for several weeks before seeing a noticeable improvement in the…