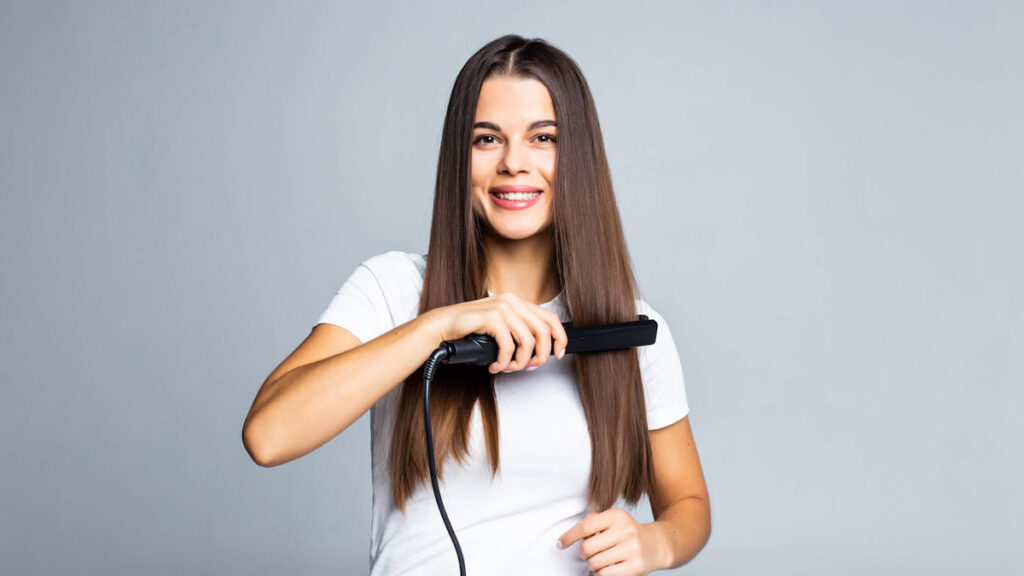
How to Straighten Your Hair Without Heat: Tips and Techniques

How to Straighten Your Hair Without Heat: Tips and Techniques

If you have naturally curly or wavy hair, you may find yourself reaching for your flat iron or hair straightener on a daily basis. While these tools can give you straight and smooth hair in no time, frequent use of heat can damage your hair and leave it dry and brittle over time. Luckily, there are several ways to straighten your hair without heat, using natural methods that can keep your hair healthy and beautiful. In this article, we will explore some of the most effective ways to straighten your hair without heat.

Blow Dry Your Hair Straight
Blow drying your hair straight can be a great way to achieve a sleek and smooth look without using heat. To do this, start by washing your hair and applying a heat protectant spray or serum. Then, using a round brush, blow dry your hair in sections, pulling the brush through your hair as you go. Be sure to keep the nozzle of the blow dryer pointed downward to avoid frizz, and use a cool shot of air at the end to set your style.

Use a Hair Straightening Brush
A hair straightening brush can be a great alternative to a flat iron, as it uses heatless technology to straighten your hair. To use a hair straightening brush, simply brush your hair in sections, starting at the roots and working your way down to the ends. The bristles of the brush will gently detangle your hair and smooth out any waves or curls, leaving you with straight and shiny hair.

Apply a Hair Mask
Applying a hair mask can help to straighten your hair naturally by smoothing out the hair cuticle and reducing frizz. To make a DIY hair mask, simply mix together 1/2 cup of coconut oil, 1/4 cup of honey, and 1 tablespoon of apple cider vinegar. Apply the mixture to your hair, starting at the roots and working your way down to the ends. Leave the mask on for 30 minutes, then rinse with warm water and shampoo as usual.

Wrap Your Hair
Wrapping your hair can be a great way to straighten your hair overnight, without using heat. To do this, start by washing your hair and applying a leave-in conditioner. Then, comb your hair straight and divide it into sections. Take each section and wrap it tightly around your head, using bobby pins to hold it in place. Cover your hair with a silk scarf or bonnet and sleep with it overnight. In the morning, remove the bobby pins and unwrap your hair to reveal straight and smooth locks.
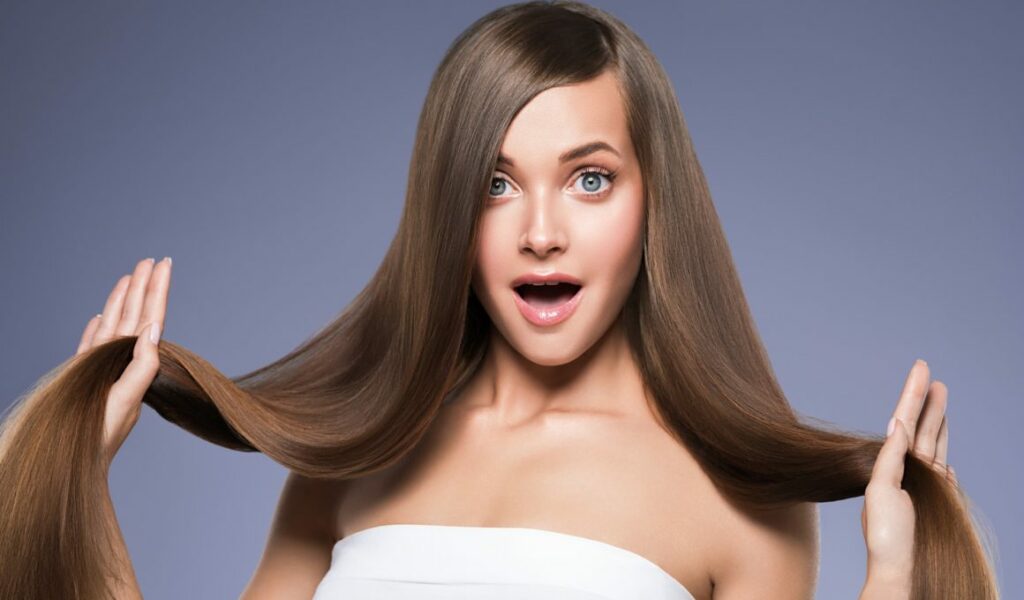
How to Straighten Your Hair Without Heat- Tips and Techniques-2

Use a Straightening Balm
A straightening balm can be a great way to straighten your hair without heat, as it uses natural ingredients to smooth out your hair and reduce frizz. To use a straightening balm, start by washing your hair and applying a leave-in conditioner. Then, apply a small amount of the balm to your hair, starting at the roots and working your way down to the ends. Comb your hair straight and allow it to air dry.

Try a Keratin Treatment
A keratin treatment can be a more permanent solution for straightening your hair without heat. Keratin is a protein that is naturally found in your hair, and a keratin treatment can help to strengthen and straighten your hair by smoothing out the hair cuticle. To get a keratin treatment, visit a salon that specializes in the treatment. The process can take a few hours, but the results can last for several months.

Use a Hair Straightening Serum
A hair straightening serum can be a great way to straighten your hair without heat, as it uses natural ingredients to smooth out your hair and reduce frizz. To use a hair straightening serum, start by washing your hair and applying a leave-in conditioner. Then, apply a small amount of the serum to your hair, starting at the roots and working your way down to the ends. Comb your hair straight and allow it to air dry.

Try a Hair Wrap
A hair wrap is another method that can help you straighten your hair without using heat. This method involves wrapping your hair tightly around your head while it’s still wet and leaving it that way until it dries. To do a hair wrap, start by washing your hair and applying a leave-in conditioner. Then, comb your hair straight and divide it into sections. Take each section and wrap it tightly around your head, using bobby pins to hold it in place. Leave the wrap on until your hair is completely dry, then remove the bobby pins and unwrap your hair to reveal straight and smooth locks.

Use a Straightening Shampoo and Conditioner
Using a straightening shampoo and conditioner can help to straighten your hair naturally over time, without using heat. These products typically contain natural ingredients that work to smooth out the hair cuticle and reduce frizz. To use a straightening shampoo and conditioner, simply wash and condition your hair as you normally would, and allow your hair to air dry.

Try a Hair Roller Set
A hair roller set can be a great way to straighten your hair without heat, while also adding volume and body to your hair. To do a hair roller set, start by washing your hair and applying a leave-in conditioner. Then, divide your hair into sections and wrap each section around a hair roller. Leave the rollers in your hair until your hair is completely dry, then remove the rollers to reveal straight and voluminous locks.

In conclusion, there are several effective ways to straighten your hair without heat, using natural methods that can keep your hair healthy and beautiful. From blow drying your hair straight to using a hair straightening brush, applying a hair mask, wrapping your hair, using a straightening balm, trying a keratin treatment, using a hair straightening serum, doing a hair wrap, using a straightening shampoo and conditioner, and trying a hair roller set, you can achieve straight and smooth hair without causing damage from excessive heat. Try out different methods and see which ones work best for your hair type and desired results.

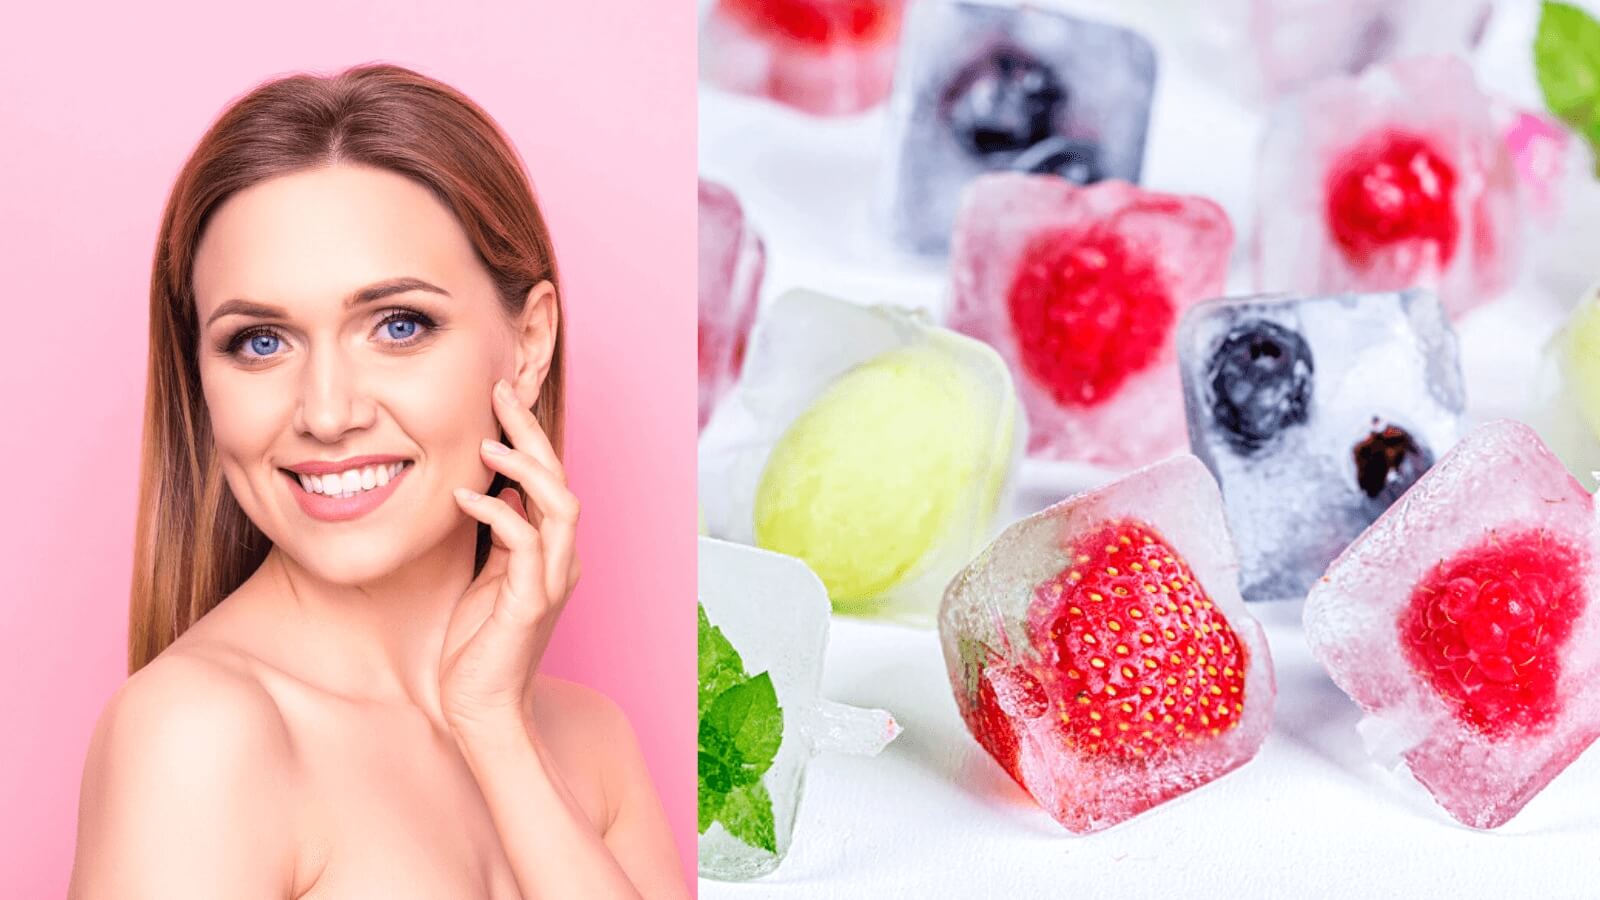

Ice Cubes 3
Chilling Beauty: The Many Benefits of Rubbing Ice Cubes on Your Face

Searching for healthy, glowing skin has led many individuals to experiment with various skincare practices. One such popular practice involves the use of ice cubes as a rejuvenative skincare treatment – something many find appealing! Rubbing them over your face has many advantages that range from improving tone, decreasing puffiness, increasing circulation and refreshing sensation to improving blood flow and providing relief from inflammation. In this article we’ll delve into this exciting realm known as an Ice Cube Facials as we uncover its many advantages to your skincare regime. What Happens When Ice Cubes Touch My Facial Skin: Intensive Topical Solutions Available Now Before exploring the potential benefits of this unique skincare practice, let’s first understand its effects. When the ice makes contact with skin it causes blood vessels to constrict temporarily reducing blood flow thereby temporarily relieving redness and inflammation; making this practice ideal for soothing irritated skin conditions. Moreover, its cold temperature helps stimulate lymphatic drainage thus flushing away waste products and toxins from your system more effectively than traditional techniques do. Benefits of Rubbing Ice Cubes on Your Facial Skin Pore Minimization: Ice cubes have many uses on your face, one being their ability to minimize pores. Their cold temperature forces skin tightening, making pores appear smaller and less noticeable over time – leading to smoother complexion overall! Regular usage could give way to an improvement of complexion over time. Reduces Puffiness: Ice cubes may provide relief if you wake up with puffy eyes or facial swelling; their cold temperature helps restrict blood vessels and decrease fluid retention, decreasing puffiness while providing more alert appearances. Ice cube facials can increase blood circulation to your facial tissues and give it a healthy, radiant look. Better circulation ensures your skin receives essential vitamins and oxygen that promote its overall wellbeing and ensure rosy cheeks! Soothe Skin Irritation: Ice cubes may help provide soothing relief from redness, irritation or sunburn by relieving inflammation and alleviating discomfort. Their cooling effect provides instantaneous comfort as you rub ice on your face to ease symptoms. Prevents and Treats Acne: Ice’s anti-inflammatory properties make it particularly helpful in managing acne. Ice can reduce redness, swelling and lesions associated with pimples while simultaneously decreasing their size and spreading. Makeup Primer: Many makeup artists swear by using ice cubes as a primer before applying makeup products on their faces, which helps the products go on more evenly and last for longer, which makes this method ideal for special events and celebrations. Youthful Skin: Ice cube therapy can contribute to firmer and tighter skin through regular application of cold therapy, helping preserve its elasticity and prevent it from sagging over time. Reduces Oiliness: Ice cubes can help regulate excess oil production in your skin, providing relief if you suffer from oily or combination skin types and maintaining matte finishes. If this sounds appealing to you, using them on an oily or combination skin type could provide great control and maintain matte results! Calm Skin After Hair Removal: After having undergone any form of hair removal – including waxing, threading…

10 Proven Ways To Achieve Shiny, Healthy Lookinghair
10 Proven Ways to Achieve Shiny, Healthy Looking Hair

Achieving shiny, healthy-looking hair is a goal for many, but it often seems elusive. The key to unlocking lustrous locks lies in a combination of good habits, proper care, and knowing what works best for your hair type. This guide explores ten proven strategies to enhance the health and appearance of your hair, ensuring it shines from the inside out. 1. Regular Trims Preventing Split Ends and Breakage Regular haircuts are crucial to maintaining healthy hair. Trimming every 6-8 weeks helps prevent split ends from working their way up the shaft, causing breakage and dullness. 2. Proper Washing Routine Finding the Right Shampoo and Conditioner Select products tailored to your hair type and concerns. Using the right shampoo and conditioner can make a significant difference in your hair’s health and shine. Washing Frequency Tips Over-washing can strip your hair of natural oils, leading to dryness. Find a washing routine that maintains your hair’s natural balance. 3. Deep Conditioning Treatments Types of Hair Masks and Their Benefits Incorporate deep conditioning treatments into your routine to repair and nourish your hair. Look for masks with ingredients like keratin, argan oil, or shea butter. DIY Natural Hair Masks Explore homemade options like avocado, honey, or coconut oil masks for a natural, chemical-free way to boost moisture and shine. 4. Cold Water Rinse Sealing Hair Cuticles for Extra Shine Finish your wash with a cold water rinse to seal the cuticles, making your hair smoother and more reflective. 5. Protect Hair from Heat Using Heat Protectant Sprays Always apply a heat protectant before using styling tools. This creates a barrier between your hair and high temperatures, preventing damage. Alternatives to Heat Styling Embrace air drying or use heat-free styling methods to give your hair a break from the damage caused by heat styling tools. 6. Healthy Diet for Healthy Hair Nutrients Essential for Hair Health A diet rich in vitamins, minerals, and proteins is vital for hair health. Include foods high in vitamins A, C, D, E, zinc, iron, and omega-3 fatty acids. Foods to Incorporate into Your Diet Salmon, nuts, eggs, and leafy greens are excellent choices for promoting hair strength and shine. 7. Stay Hydrated The Impact of Water Intake on Hair Hydration plays a key role in hair health. Drinking plenty of water ensures your hair stays moisturized from the inside out. 8. Use a Silk Pillowcase Reducing Friction and Breakage Sleeping on a silk pillowcase can reduce hair breakage caused by friction with cotton pillowcases. It also helps retain hair’s natural moisture. 9. Limit Chemical Treatments The Effects of Dyes and Perms Frequent chemical treatments can lead to damage and dullness. Limit these processes and opt for more natural styling methods when possible. Seeking Professional Advice Consult with a hair care professional before undergoing significant chemical treatments to ensure the health of your hair. 10. Natural Oils for Hair Nourishment The Benefits of Oils like Coconut and Argan Natural oils can deeply nourish and restore shine to your hair. They can be used as pre-shampoo treatments or to smooth frizz and add…

From Sparse To Spectacular A Journey To Rejuvenating Youreyelashes
From Sparse to Spectacular: A Journey to Rejuvenating Your Eyelashes

The diminution of eyelashes not only detracts from the visual appeal and the lively expressiveness of the eyes but also causes considerable distress. Eyelashes, serving as both a protective barrier against environmental irritants and a key feature enhancing facial symmetry, necessitate proper attention and care to maintain their health and aesthetics. This detailed guide aims to unveil a holistic approach towards curbing eyelash loss and fostering the regeneration of fuller, more robust eyelashes through a combination of effective care strategies, nutritional insights, and professional advice. Optimal Makeup Conduct and Removal Techniques The manner in which makeup is applied and subsequently removed plays a critical role in preserving eyelash integrity. The application of heavy, waterproof eye cosmetics often leads to undue stress on the lashes, contributing to their fragility and loss during the removal process. Favoring cosmetics formulated to be gentle on the lashes and employing a careful, thorough makeup removal process with appropriate products can significantly mitigate these risks. It’s imperative to abstain from harshly rubbing or tugging at the lashes to avoid exacerbating the loss. Nutritional Foundations for Eyelash Vitality The correlation between diet and hair health extends to eyelashes, with a nutrient-dense diet being foundational to their growth and resilience. A balanced intake of proteins, vitamins (notably B vitamins), minerals (including iron and zinc), and essential fatty acids promotes the vitality of eyelashes. Consuming foods rich in these nutrients, such as fish, eggs, legumes, and nuts, supports not only the health of your eyelashes but also their potential for more rapid growth. Enhancement through Eyelash Growth Serums and Natural Oils The targeted application of growth serums and natural oils can significantly enhance the thickness and length of eyelashes. Ingredients such as peptides, biotin, and botanical extracts in serums are known to aid hair growth, while natural oils like castor oil, coconut oil, and vitamin E oil offer nourishment and strength to the lashes when applied consistently with a clean applicator. Sidestepping Detrimental Habits Many everyday habits unwittingly contribute to the loss of eyelashes, such as vigorous eye rubbing, excessive use of lash curlers, or neglecting to remove makeup before sleep. Adopting a more mindful and gentle approach to eye care can help avert unnecessary damage and loss. Advancements through Professional Eyelash Treatments For individuals desiring more noticeable enhancements, professional options such as advanced growth serums and eyelash extensions present viable alternatives. These treatments, however, warrant careful consideration and should always be undertaken with professional guidance to circumvent adverse effects and ensure the health of your eyelashes. Instituting a Regular Eyelash Maintenance Regimen The establishment of a consistent eyelash care regimen is instrumental in maintaining their health and aesthetic appeal. Routine actions such as gentle cleansing, conditioning, and occasional light brushing can greatly influence the condition of your lashes, promoting their health and natural growth. Stress Reduction for Optimal Eyelash Health The pervasive effects of stress on the body include detrimental impacts on hair and eyelash growth. Engaging in activities that lower stress levels, such as physical exercise, meditation, or pursuing enjoyable hobbies, can help in reducing these adverse effects and…

Nurturing Sensitive Skin Essential Considerations For Allergy Prone Skin Care
Nurturing Sensitive Skin: Essential Considerations for Allergy-Prone Skin Care

For individuals with allergies, maintaining a skincare routine that caters to their specific needs is crucial. Allergic reactions can range from mild irritation to more severe symptoms, making it essential to be mindful of the products and ingredients used on the skin. In this article, we will explore the key considerations for people with allergies when it comes to skincare. From understanding common allergens to identifying hypoallergenic products and adopting a gentle skincare routine, we will provide valuable insights to help you nurture your sensitive skin and minimize the risk of adverse reactions. Know Your Allergens:The first step in managing allergies is to identify the substances that trigger your reactions. Common allergens in skincare products include fragrances, preservatives, dyes, certain plant extracts, and ingredients derived from nuts or gluten. Keep a record of the products that have caused reactions in the past, and consult with a dermatologist or allergist to determine specific allergens to avoid. Read Ingredient Labels:When selecting skincare products, it’s crucial to read and understand the ingredient labels. Look for products that clearly list their ingredients, and familiarize yourself with potential allergens. Avoid products that contain known allergens or substances that you have reacted to in the past. Opt for products labeled as hypoallergenic or suitable for sensitive skin, as they are formulated to minimize the risk of triggering allergic reactions. Patch Test New Products:Before incorporating a new skincare product into your routine, perform a patch test. Apply a small amount of the product to a small area of your skin, such as the inner forearm, and observe for any signs of irritation or allergic reactions over the next 24 to 48 hours. If redness, itching, or swelling occurs, refrain from using the product on your face or body. Choose Hypoallergenic Products:Hypoallergenic products are formulated to minimize the risk of causing allergic reactions. Look for products that are specifically labeled as hypoallergenic, as they are typically free from common allergens and undergo rigorous testing to ensure their safety. These products are designed to be gentle on sensitive skin and reduce the likelihood of triggering an allergic response. Avoid Fragrances and Irritants:Fragrances are a common allergen and can be found in many skincare products. Opt for fragrance-free or unscented products, as they are less likely to cause allergic reactions. Additionally, avoid skincare products that contain known irritants such as alcohol, sulfates, parabens, and harsh chemical ingredients. These substances can strip the skin of its natural moisture barrier and increase the risk of sensitivity and irritation. Moisturize Regularly:Keeping the skin well-hydrated is essential for individuals with allergies. Moisturizers help maintain the skin’s moisture barrier, preventing dryness and minimizing the risk of irritation. Choose gentle, fragrance-free moisturizers that are formulated for sensitive skin. Look for products that contain hydrating ingredients such as hyaluronic acid, ceramides, and natural oils to nourish and protect your skin. Adopt a Gentle Skincare Routine:Simplicity is key when it comes to skincare for allergy-prone skin. Avoid using multiple products with complex ingredient lists, as this increases the likelihood of encountering allergens. Opt for a gentle cleanser that is free…

Caffeine In Skin Care: Exploring Its Potential Benefits And Mechanisms
Caffeine in Skin Care: Exploring its Potential Benefits and Mechanisms

In recent years, the use of caffeine in skincare products has gained considerable attention. Caffeine, a natural stimulant commonly found in coffee, tea, and other beverages, has been recognized for its potential benefits beyond providing a morning energy boost. This article delves into the topic of caffeine in skincare, examining its purported effects, the scientific basis behind its use, and its potential applications. We will explore how caffeine works on the skin, its claimed benefits, and discuss scientific research supporting its efficacy. Understanding the Science behind Caffeine: Caffeine belongs to a group of compounds known as methylxanthines. When applied topically, caffeine has the ability to penetrate the skin and interact with various cellular components. Its molecular structure allows it to target specific receptors, enzymes, and signaling pathways, leading to potential effects on the skin’s appearance and health. Benefits of Caffeine in Skincare Products: Scientific Studies and Evidence: Several scientific studies have investigated the effects of caffeine in skincare. For instance, a study published in the Journal of Investigative Dermatology found that caffeine applied topically can help protect against UV-induced skin damage and even potentially reduce the risk of skin cancer. Other studies have reported positive outcomes in terms of reducing cellulite, improving wound healing, and reducing the appearance of fine lines and wrinkles. Application and Considerations: Caffeine can be found in a variety of skincare products, including creams, serums, eye gels, and masks. When choosing caffeine-infused products, it is essential to consider factors such as the concentration of caffeine, additional active ingredients, and compatibility with your skin type. Patch testing is advisable, especially for those with sensitive or allergy-prone skin. Caffeine, when incorporated into skincare formulations, holds promise for various benefits, including anti-inflammatory effects, antioxidant protection, skin firming, and reduction of puffiness and dark circles. While scientific research supports many of these claims, it is important to note that individual results may vary. As with any skincare ingredient, understanding your skin’s specific needs and consulting with a dermatologist or skincare professional can help you make informed decisions about incorporating caffeine-based products into your skincare routine. Please note that while the information provided here is based on current knowledge and scientific findings, further research may uncover new insights and perspectives on the topic. Why Caffeine Is Added to Skin-Care Products? Caffeine is added to skin-care products for several reasons, as it offers potential benefits for the skin. Here are some of the main reasons why caffeine is incorporated into skin-care formulations: It’s important to note that while caffeine offers these potential benefits, individual results may vary, and the concentration and formulation of caffeine in skin-care products can impact its effectiveness. Additionally, caffeine may not be suitable for everyone, particularly those with caffeine sensitivity or specific skin conditions. Patch testing and consulting with a dermatologist or skincare professional are recommended when incorporating caffeine-based products into your skincare routine. What are the potential benefits of caffeine skin-care products? Caffeine skin-care products offer several potential benefits for the skin. Here are some of the main advantages: It’s important to note that the effectiveness of caffeine skin-care…

Sulfate Shampoo Vs. Sulfate Free Shampoo: Debunking The Myths And Choosing What's Best For Your Hair
Sulfate Shampoo vs. Sulfate-Free Shampoo: Debunking the Myths and Choosing What’s Best for Your Hair

When it comes to choosing the right shampoo for your hair, one of the main considerations is whether to opt for a sulfate shampoo or a sulfate-free shampoo. Sulfates are surfactants commonly found in many shampoos, known for their ability to create a rich lather and remove dirt and oil from the hair. However, there has been a growing trend towards sulfate-free shampoos, claiming that they are gentler and more beneficial for hair health. In this article, we will delve into the differences between sulfate and sulfate-free shampoos, explore their pros and cons, and help you make an informed decision about which option is better for your hair. Understanding Sulfates:Sulfates, such as sodium lauryl sulfate (SLS) and sodium laureth sulfate (SLES), are surfactants commonly used in shampoos due to their strong cleansing properties. They are effective at removing dirt, oil, and product buildup from the hair and scalp. However, sulfates can also strip away natural oils, which can lead to dryness, frizz, and color fading, especially for those with dry or chemically treated hair. The Benefits of Sulfate Shampoos:Sulfate shampoos have been the go-to choice for many people due to their ability to create a rich lather and provide a thorough cleansing experience. They can effectively remove excess oil and buildup, leaving the hair feeling clean and refreshed. Additionally, sulfate shampoos are often more affordable and readily available compared to sulfate-free alternatives. The Drawbacks of Sulfate Shampoos:While sulfate shampoos can effectively cleanse the hair, they are not without drawbacks. The stripping nature of sulfates can lead to dryness, irritation, and scalp sensitivity, particularly for individuals with dry or sensitive skin. Sulfates can also strip away the natural oils that help keep the hair moisturized and protected. Additionally, for those with color-treated hair, sulfates can cause premature fading, leading to dull and lackluster color. The Rise of Sulfate-Free Shampoos:Sulfate-free shampoos have gained popularity in recent years, largely due to claims of being gentler and more beneficial for hair health. These shampoos are formulated without sulfates, relying on alternative surfactants or cleansing agents to provide a milder cleansing experience. Many sulfate-free shampoos utilize natural ingredients and botanical extracts to cleanse the hair while maintaining its moisture balance. The Benefits of Sulfate-Free Shampoos:Sulfate-free shampoos offer several potential benefits for hair health. Firstly, they are considered gentler on the scalp and hair, making them suitable for individuals with sensitive or dry skin. By avoiding sulfates, these shampoos help retain the natural oils that keep the hair moisturized, resulting in softer, smoother, and more manageable hair. Sulfate-free shampoos are also often recommended for those with color-treated or chemically processed hair, as they help preserve the vibrancy and longevity of the color. The Misconceptions about Sulfate-Free Shampoos:There are a few misconceptions surrounding sulfate-free shampoos that need to be addressed. Some believe that sulfate-free shampoos do not lather as well as sulfate shampoos. While it is true that sulfate-free shampoos may not produce as much foam, it does not necessarily mean they are less effective at cleansing the hair. The absence of sulfates does not compromise the shampoo’s ability…

How To Cover Dark Eye Circles In 5steps
How to cover dark eye circles in 5 steps?

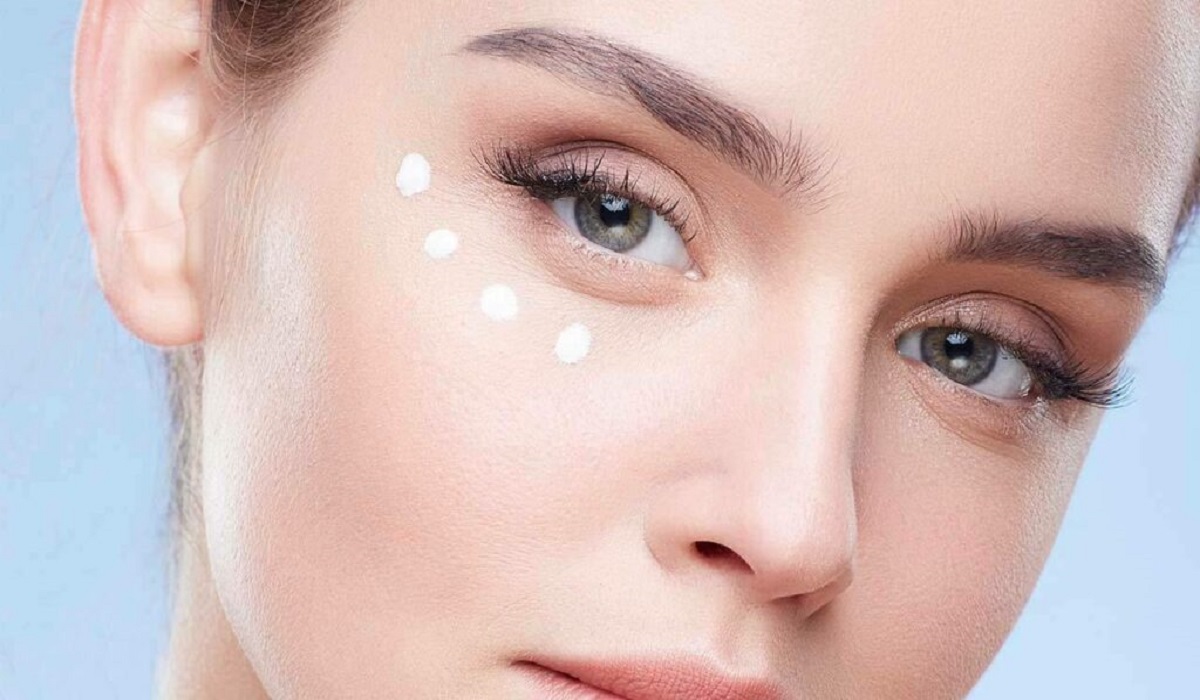
On the other hand, the chronic dark under-eye circles can shadow even the best and brightest version of us. In this case, the shadows that genetics, lack of sleep, or lifestyle choices are attributed to make us look much older or more fatigued than we actually are. Most of the time, it’s actually within your reach. This is an in-depth article looking into the causes of under-eye circles and how to hide them with a multi-step approach, finally discussing other strategies that may be of benefit in ensuring your eyes reflect your inner vibrancy. The Genesis of Shadows: Unveiling the CausesEven before going through the process of how to hide the dark circles on a journey, it is paramount to understand where they come from. There are several reasons that bring this about, and all have to be given full, separate, covered-up attention.Genual Inheritance: A common culprit, especially when it comes to thin skin running in the family around the eyes, making the blood vessels more pronounced.The Sleep Factor: Poor sleep may lead to the dilation of the blood vessels located under the eyes, hence contributing to the dark circles. Step One: Prime Your Canvas Preparing the Under-Eye Area for ConcealmentA flawless makeup application begins with preparation. Here’s how to ensure the under-eye area is primed and ready: Choosing Your Concealer Finding Your Perfect MatchSelecting an ideal concealer is more art than science, involving consideration of shade, formula, and skin undertone: Shade Selection: If the discoloration that needs to be corrected is of a bluish or purplish tinge, then look for a concealer that is one or two shades lighter than your natural skin tone, concealing with peach or salmon undertones. Step 3: Masterful Application Techniques for Seamless ConcealmentApplication technique can make or break your concealing efforts. Achieve a natural, even coverage with these steps: Concealing Mastery Elevating Your Technique Enhance your concealing game with additional tips: Step 5: Final Touches Setting Your MasterpieceTo maintain your under-eye concealment throughout the day: Conclusion Surely, the steps provided could cover the dark circles under the eyes, given the right information and tools offered, knowing the causes in advance, precise preparation, selection, application, and setting of all steps scrupulously. Bring forth bright and youthful eyes with these tips followed; and with them, the natural beauty shall shine more confidently.

Blushing Beauty: A Comprehensive Guide To Choosing The Perfect Blush For Your Skin Tone
Blushing Beauty: A Comprehensive Guide to Choosing the Perfect Blush for Your Skin Tone

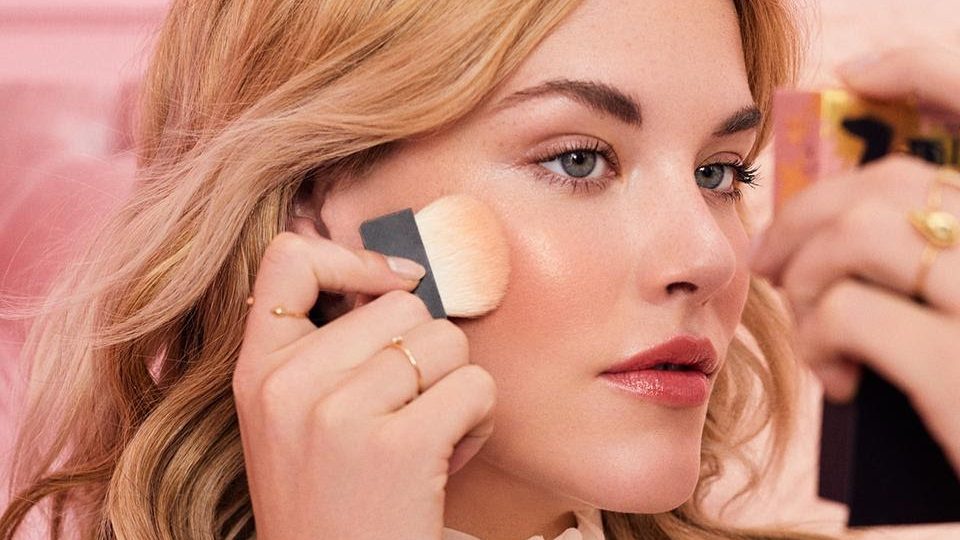
Blush is a makeup essential that adds a healthy flush of color to your cheeks, brightening up your complexion and enhancing your natural beauty. However, selecting the right blush shade to match your skin tone can be a daunting task. With numerous options available, it’s essential to understand your skin tone and undertone to pick the perfect blush that complements your features. In this in-depth guide, we will walk you through the process of identifying your skin tone and undertone and provide expert tips on choosing the ideal blush shade for a radiant and harmonious look. Determining Your Skin ToneBefore diving into blush selection, it’s crucial to determine your skin tone accurately. Skin tones generally fall into three categories: fair, medium, and deep. a. Fair Skin Tone: Fair skin usually burns easily in the sun and rarely tans. It often has a translucent quality, and veins on the wrist might appear blue or purple. b. Medium Skin Tone: Medium skin has a more balanced undertone and tans moderately in the sun. Veins on the wrist appear blue-green. c. Deep Skin Tone: Deep skin tans deeply and rarely burns. Veins on the wrist appear green. Understanding Your UndertoneApart from your skin tone, understanding your undertone is crucial for selecting the most flattering blush shade. Undertones can be warm, cool, or neutral. a. Warm Undertone: If your veins appear green and gold jewelry complements your skin better, you likely have a warm undertone. Warm undertones have hints of yellow, peach, or golden hues. b. Cool Undertone: If your veins appear blue or purple, and silver jewelry looks better on you, you likely have a cool undertone. Cool undertones have hints of pink, red, or blue. c. Neutral Undertone: If you find it challenging to distinguish whether your veins appear green or blue and both gold and silver jewelry suit you, you may have a neutral undertone. Neutral undertones have a balanced mix of warm and cool tones. Best Blush Shades for Different Skin Tones and UndertonesNow that you’ve identified your skin tone and undertone, let’s explore the best blush shades that complement each combination: a. Fair Skin Tones: Fair with Warm Undertone: Opt for soft peach, warm pink, or light coral blushes to add a natural flush to your cheeks. Fair with Cool Undertone: Choose rosy pink, cool mauve, or soft berry shades for a fresh and radiant look. Nötr Alt Tonla Adil: Şanslısın! Nötr bir alt ton olarak, yumuşak pembe, şeftali pembesi ve leylak rengi gibi çok çeşitli allık tonlarını deneyebilirsiniz. b. Medium Skin Tones: Medium with Warm Undertone: Embrace warm peach, apricot, and coral blushes for a sun-kissed glow. Medium with Cool Undertone: Opt for berry, plum, or deep rose blushes to add a pop of color to your cheeks. Nötr Alt Tonlu Orta: Nötr alt tonlu açık ten gibi, sıcak terakotadan soğuk güle kadar çeşitli allık tonlarını çekebilirsiniz. c. Deep Skin Tones: Derin ve Sıcak Alt Ton: Cildinizle çarpıcı bir kontrast oluşturmak için zengin, sıcak kiremit kırmızısı, mandalina veya derin mercan allıklarını tercih edin. Deep with Cool Undertone: Opt for bold…