Achieving a Brighter Smile: The Most Effective Ways to Whiten Your Teeth

Achieving a Brighter Smile: The Most Effective Ways to Whiten Your Teeth

A bright, white smile is something that many people desire. However, it’s not always easy to achieve. There are many factors that can cause teeth to become discolored, such as aging, smoking, consuming certain foods and drinks, and poor dental hygiene. Fortunately, there are several effective ways to whiten your teeth and achieve the smile of your dreams. In this article, we’ll explore the most effective ways to whiten your teeth, including both professional and at-home options.

Professional Teeth Whitening

If you’re looking for the most effective way to whiten your teeth, professional teeth whitening is a great option. This is typically done in a dental office, and involves the use of high-concentration whitening agents. There are two main types of professional teeth whitening:

In-Office Whitening: This involves the use of a high-concentration whitening gel, which is applied to your teeth by a dental professional. The gel is then activated using a special light or laser. This type of whitening treatment typically takes around an hour, and can whiten your teeth by several shades.

Take-Home Whitening Kits: These kits are prescribed by a dentist and typically include a custom-made tray and a whitening gel. You’ll need to wear the tray for a certain amount of time each day, typically for several weeks. Take-home whitening kits are less expensive than in-office treatments, but they take longer to produce results.

Both of these professional teeth whitening options are effective at removing stains and discoloration from your teeth. However, they can be quite expensive, with in-office treatments typically costing several hundred dollars and take-home kits costing around $100-$200.

At-Home Teeth Whitening

If you’re looking for a more affordable way to whiten your teeth, at-home teeth whitening options are a great choice. There are many different types of at-home whitening products available, including:

Whitening Toothpaste: This type of toothpaste contains special abrasives and chemicals that can help to remove surface stains from your teeth. However, they are not effective at removing deeper stains.

Whitening Strips: These are thin, flexible strips that are coated with a whitening gel. You’ll need to apply the strips to your teeth for a certain amount of time each day, typically for several weeks. Whitening strips are a relatively affordable option, with most kits costing around $20-$50.

Whitening Trays: These are similar to the trays used in professional take-home whitening kits. You’ll need to fill the tray with a whitening gel and wear it for a certain amount of time each day, typically for several weeks. Whitening trays can be purchased over-the-counter or prescribed by a dentist.

Whitening Pens: These are small, portable pens that contain a whitening gel. You can apply the gel directly to your teeth using the pen’s brush. Whitening pens are a convenient option, but they may not be as effective as other at-home whitening products.

While at-home teeth whitening products are generally less expensive than professional treatments, they may not be as effective. They also take longer to produce results, and you may need to use them for several weeks before seeing a noticeable improvement in the color of your teeth.
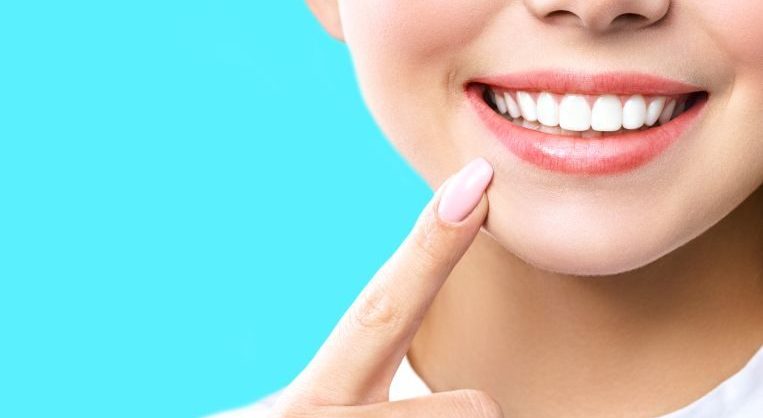
Achieving a Brighter Smile: The Most Effective Ways to Whiten Your Teeth

Natural Teeth Whitening

If you’re looking for a more natural way to whiten your teeth, there are several options available. However, it’s important to note that natural teeth whitening methods may not be as effective as professional or at-home treatments. Here are a few natural teeth whitening options to consider:

Oil Pulling: This involves swishing oil in your mouth for several minutes, typically coconut oil or sesame oil. The oil helps to remove bacteria and plaque from your teeth, which can help to brighten your smile. However, there is limited scientific evidence to support the effectiveness of oil pulling for teeth whitening.


Baking Soda: Baking soda has natural whitening properties and can be used as a gentle abrasive to remove surface stains from your teeth. You can mix a small amount of baking soda with water to create a paste, and then brush your teeth with the paste for several minutes.

Hydrogen Peroxide: Hydrogen peroxide is a common ingredient in many teeth whitening products. You can use a solution of hydrogen peroxide and water as a mouthwash, or mix it with baking soda to create a paste. However, it’s important to use hydrogen peroxide in moderation, as it can be harsh on your teeth and gums if used too frequently.

Strawberries: Strawberries contain malic acid, which can help to remove surface stains from your teeth. You can mash up a few strawberries and mix them with baking soda to create a natural teeth whitening paste.

While natural teeth whitening methods may not be as effective as professional or at-home treatments, they can be a safe and affordable option. It’s important to remember that natural methods may take longer to produce results, and you may need to use them consistently over a period of time to see a noticeable improvement in the color of your teeth.

There are many effective ways to whiten your teeth, from professional treatments to at-home products to natural remedies. The best option for you will depend on your budget, time constraints, and the severity of your teeth discoloration. If you’re looking for a fast and effective way to whiten your teeth, professional teeth whitening may be the best choice. If you’re looking for a more affordable option, at-home teeth whitening products can be effective. And if you prefer a natural approach, there are several options available that can help to brighten your smile. Whatever method you choose, remember to maintain good dental hygiene habits to help keep your teeth bright and healthy.


Easy With 10 Tips And Natural Ingredients For Healthy And Glowing Skin Skin Care Recipes
Easy with 10 Tips and Natural Ingredients for Healthy and Glowing Skin Skin Care Recipes

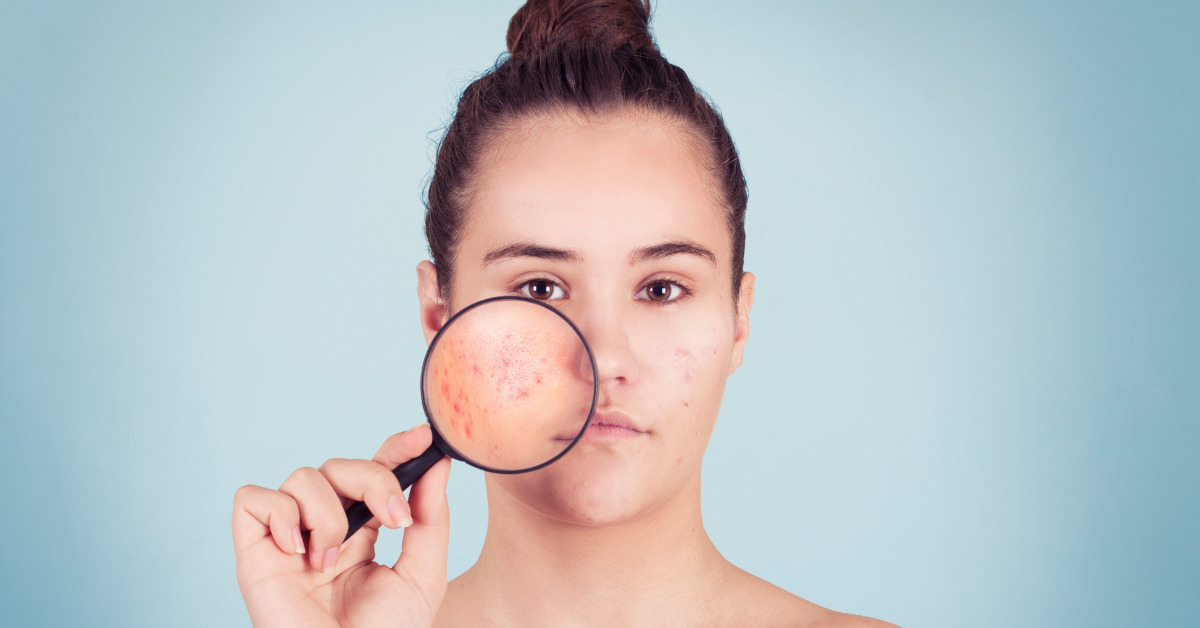
Having healthy and glowing skin is something that everyone desires. However, maintaining healthy skin requires effort and a good skincare routine. Here are some tips for achieving healthy and glowing skin: Protect your skin from the sun: Exposure to the sun’s harmful UV rays can cause premature aging and increase the risk of skin cancer. Apply sunscreen with at least SPF 30 daily, wear protective clothing, and avoid sun exposure during peak hours. Keep your skin moisturized: Moisturizing your skin is essential for maintaining its health and preventing dryness and irritation. Choose a moisturizer that is suitable for your skin type and apply it twice a day. Stay hydrated: Drinking plenty of water helps to keep your skin hydrated from the inside out. Aim for at least 8-10 glasses of water per day. Avoid smoking and limit alcohol consumption: Smoking and excessive alcohol consumption can damage your skin and cause premature aging. Quitting smoking and limiting alcohol consumption can help to improve your skin’s health. Follow a healthy diet: Eating a healthy diet rich in fruits, vegetables, and lean protein can help to nourish your skin and improve its overall health. Get enough sleep: Getting enough sleep is important for the health of your skin. Aim for at least 7-8 hours of sleep each night. Exercise regularly: Regular exercise can improve circulation, which helps to nourish your skin and keep it healthy. Cleanse your skin regularly: Cleansing your skin helps to remove dirt, oil, and makeup, which can clog your pores and lead to breakouts. Use a gentle cleanser twice a day. Exfoliate your skin: Exfoliating your skin helps to remove dead skin cells and promotes cell turnover, which can improve the appearance of your skin. Use a gentle exfoliator once or twice a week. Manage stress: Stress can take a toll on your skin’s health. Try stress-reducing activities like yoga or meditation to help manage stress and improve your skin’s health. Following these tips can help to improve the health and appearance of your skin. If you have any concerns about your skin’s health, consult a dermatologist for further advice. Here are some simple DIY skincare recipes that can be easily prepared at home using natural ingredients: Mix the honey and oats in a bowl until they form a paste. Apply the mixture to your face and leave it on for 10-15 minutes before rinsing it off with warm water. This mask can help soothe and moisturize dry or sensitive skin. Mash the avocado in a bowl until it is smooth, then add the yogurt and mix well. Apply the mixture to your face and leave it on for 10-15 minutes before rinsing it off with warm water. This mask can help nourish and hydrate dry or dull skin. Mix the brown sugar and coconut oil in a bowl until they form a paste. Gently massage the mixture onto your skin in circular motions for 1-2 minutes, then rinse it off with warm water. This scrub can help exfoliate and moisturize dry or rough skin. Mix the aloe vera gel and…

The Transformative Power Of Epsom Salt Baths A Haven Of Serenity
The Transformative Power of Epsom Salt Baths: A Haven of Serenity

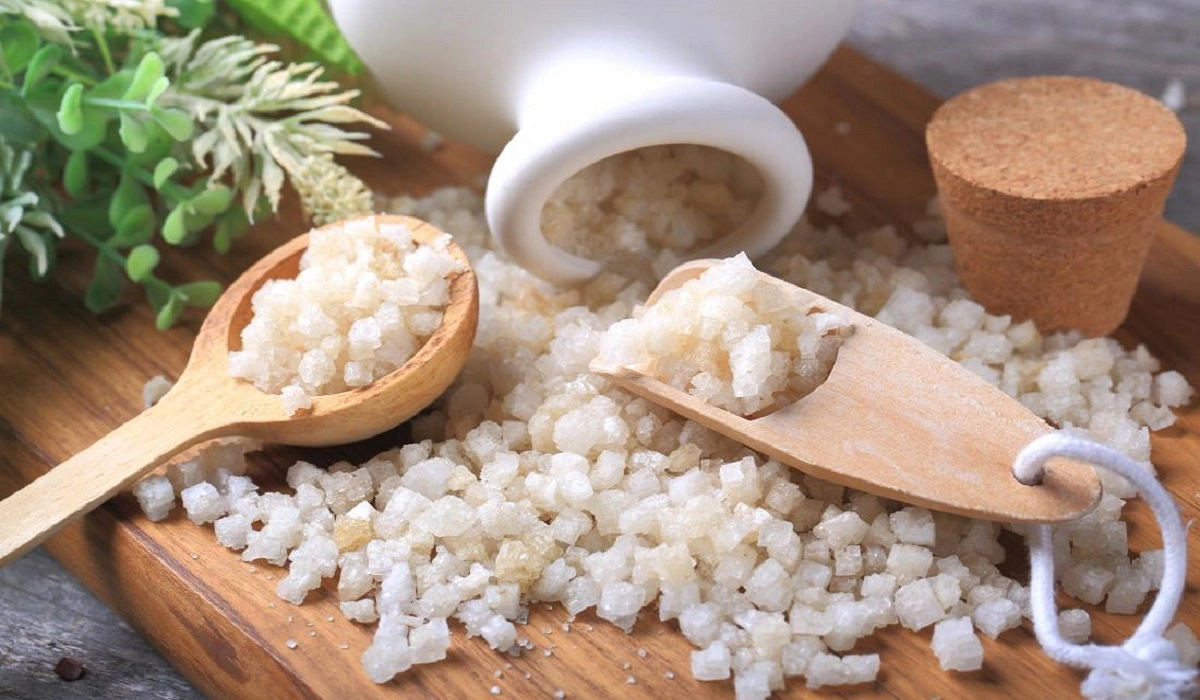
A blend of magnesium, sulfate, and oxygen forms the essence of Epsom salt, a mineral compound revered for its healing attributes since its initial discovery in Epsom, England, during the early 17th century. Distinct from common table salt, Epsom salt’s chemical composition enables swift absorption through the skin, rendering it a perfect element for calming baths. This prelude paves the path for a detailed examination of the myriad advantages Epsom salt baths provide for both psychological and physical wellness. Exploring the Scientific Basis of Epsom Salt Baths The efficaciousness of Epsom salt baths primarily stems from its magnesium and sulfate content. Magnesium is pivotal in facilitating over 300 enzymatic reactions within the body, encompassing those related to muscle and nerve function, whereas sulfate plays a vital role in various biological activities. Immersing in warm water laden with these minerals allows for their skin absorption, thereby replenishing the body’s reserves and fostering health and well-being. The Sanctuary of Relaxation and Stress MitigationEpsom salt baths serve as a refuge for diminishing stress. By modulating nervous system activity, magnesium aids in easing muscle tension and fostering relaxation. This tranquil effect assists in mitigating stress and anxiety, thereby cultivating a sense of peace. Advancements in Skin Health The boon of Epsom salt extends to skin wellness. Its exfoliating nature aids in shedding dead skin cells, while its moisturizing effect revitalizes the skin, leaving it supple and refreshed. Additionally, Epsom salt’s sulfate content supports the body’s detoxification, promoting a clearer, healthier complexion. Natural Pain Alleviation and Muscle RecuperationFor individuals grappling with muscle discomfort, arthritis, or persistent pain, Epsom salt baths offer a natural alleviative solution. Magnesium’s role in relaxing muscle contractions and reducing pain renders it an invaluable recovery tool for athletes and those engaged in physically strenuous activities. Detoxification and Enhanced Mineral UptakeThrough facilitating the expulsion of toxins via the skin, Epsom salt baths aid in the body’s detoxification efforts. Furthermore, the direct uptake of magnesium and sulfate minerals through the skin can address deficiencies and bolster overall health. Augmented Sleep Quality and RelaxationThe influence of magnesium on enhancing sleep quality is well-established. A warm bath with Epsom salt prior to bedtime can relax muscles and soothe the mind, setting the stage for a deep, restorative sleep. Cardiovascular Health and Improved CirculationEngaging in regular Epsom salt baths may positively impact heart health and circulation. Magnesium’s capability to augment blood flow and lower blood pressure plays a crucial role in maintaining a healthy cardiovascular system. Benefits for Foot HealthNot limited to full-body applications, Epsom salt baths also offer significant benefits for foot health, addressing conditions like athlete’s foot, toenail fungus, and relieving foot pain after extensive standing or walking. Epsom Salt Baths: A Boon for GardenersGardeners may find Epsom salt baths particularly beneficial for soothing aching muscles post-gardening. Moreover, Epsom salt can enhance plant growth and nutrient uptake when used in gardening practices. Crafting Your Own Epsom Salt Bath Blends Personalizing your Epsom salt bath is straightforward, allowing for the incorporation of essential oils and herbs for added aromatherapy benefits. Whether seeking a simple soak or a…

12 Clever Makeup Storage Ideas That Will Revolutionize Yourvanity
12 Clever Makeup Storage Ideas That Will Revolutionize Your Vanity

When it comes to organizing our beauty products, finding the right makeup storage solutions can be as personal and creative as the makeup routines themselves. With a variety of products cluttering our vanities, bathrooms, and dressing tables, efficient and clever storage becomes essential. This article explores innovative and practical makeup storage ideas that not only optimize space but also add a touch of personal flair to your daily beauty ritual. Understanding Your Makeup Collection Assessing Your Collection Before diving into storage solutions, it’s crucial to understand the extent and variety of your makeup collection. This involves taking stock of what you own, identifying frequently used items versus occasional ones, and noting the size and shape of your products. Categories of Makeup Organizing your makeup by category is a foundational step toward efficiency. Grouping items into categories such as lip products, eye makeup, and face makeup can simplify the process of finding and storing them. Innovative Makeup Storage Solutions Magnetic Boards A creative and space-saving idea involves using magnetic boards to hang metal makeup items. This approach not only saves drawer space but also turns your makeup collection into a wall art display. Customizable Drawer Dividers Investing in or DIYing customizable drawer dividers can help compartmentalize your makeup according to type, size, or frequency of use, making everything easily accessible. Space-Saving Ideas Vertical Storage Solutions Maximizing vertical space with shelves or hanging organizers can drastically increase your storage capacity without taking up additional floor space. Hidden Storage Tips Explore hidden storage opportunities in your existing furniture or walls. This could include under-the-desk trays or behind-the-mirror cabinets. DIY Makeup Storage Repurposed Items Look around your home for items that can be repurposed into makeup storage. Old jars, candle holders, and even desk organizers can find a new life as holders for brushes or lipsticks. Homemade Vanity Cases With a bit of creativity and some basic crafting supplies, you can create personalized makeup cases that reflect your style and meet your storage needs. Professional Makeup Storage Tips Insights from Makeup Artists Gleaning storage tips from professional makeup artists can provide insights into how to store and organize makeup efficiently, especially for those with extensive collections. Organizing by Makeup Type Lip Products Storing lip products in clear organizers can help you easily find your desired shade, making your morning routine faster and more efficient. Eye Makeup Consider using tiered shelves or drawers for eye makeup to separate palettes, mascaras, and eyeliners, keeping them tidy and accessible. Face Makeup For face makeup like foundations, powders, and blushes, drawer dividers or dedicated containers can help maintain an organized and clean setup. Seasonal Makeup Storage Switching Your Storage with the Seasons Adapting your makeup storage with the changing seasons can keep your vanity relevant and functional, ensuring that seasonal products are always within reach. Maintenance and Cleaning of Makeup Storage Routine Cleaning Tips Regular cleaning and decluttering of your makeup storage can prevent the buildup of dust and ensure that your products remain in good condition. Organizing for Longevity Properly organizing your makeup not only keeps it accessible but…

Nourishing Your Tresses A Comprehensive Guide To Choosing The Right Haircare Oil For Every Hair Type 1
Nourishing Your Tresses: A Comprehensive Guide to Choosing the Right Haircare Oil for Every Hair Type

Gorgeous, healthy hair is a reflection of overall well-being and proper hair care. One of the most effective and time-tested ways to nurture your locks is through the use of haircare oils. These natural elixirs are rich in nutrients, vitamins, and essential fatty acids that can address a range of hair concerns and types. From dry and damaged to curly and oily hair, each hair type requires specific care. In this comprehensive guide, we will explore the world of haircare oils and provide insights on how to choose the right oil for your hair type, ensuring your mane receives the nourishment it deserves. Understanding Haircare Oils Haircare oils are derived from various sources, such as seeds, nuts, fruits, and flowers. They are packed with essential nutrients like vitamins, minerals, antioxidants, and fatty acids that are beneficial for hair health. These oils can be applied directly to the hair and scalp or incorporated into hair care products like shampoos, conditioners, and masks. Choosing the Right Haircare Oil Selecting the appropriate haircare oil depends on your hair type and specific concerns. Let’s explore different hair types and the corresponding oils that work best for each: 1. Dry and Damaged Hair Dry and damaged hair requires intense hydration and nourishment to restore its vitality. Recommended Oils: Argan oil, coconut oil, jojoba oil, almond oil Benefits: These oils are rich in essential fatty acids that moisturize and repair damaged strands. They also provide a protective barrier against environmental stressors. 2. Curly and Textured Hair Curly and textured hair tends to be prone to frizz and requires extra care to maintain its natural pattern. Recommended Oils: Shea butter, castor oil, avocado oil, grapeseed oil Benefits: These oils provide deep moisture, enhance curl definition, and combat frizz. They also promote hair elasticity and minimize breakage. 3. Oily Hair Oily hair needs lightweight oils that won’t weigh it down while still offering benefits. Recommended Oils: Tea tree oil, rosemary oil, grapeseed oil, jojoba oil (in moderation) Benefits: These oils help balance excess oil production, soothe the scalp, and provide a clean, refreshed feeling without making the hair greasy. 4. Fine and Thin Hair Fine and thin hair requires oils that won’t overwhelm or flatten it. Recommended Oils: Grapeseed oil, sunflower oil, apricot kernel oil, flaxseed oil Benefits: These oils are light and won’t weigh down fine hair. They provide moisture without making the hair look limp. 5. Color-Treated Hair Color-treated hair needs oils that protect and enhance the vibrancy of the hair color. Recommended Oils: Sunflower oil, jojoba oil, apricot kernel oil Benefits: These oils help seal in color, prevent fading, and maintain the health of color-treated hair. 6. Normal Hair Normal hair can benefit from oils that provide general nourishment and shine. Recommended Oils: Argan oil, coconut oil, jojoba oil, sweet almond oil Benefits: These oils offer a balance of moisture and shine, keeping normal hair healthy and lustrous. Application Techniques Applying haircare oil correctly is essential to maximize its benefits: Tips for Effective Use Haircare oils are a valuable addition to any hair care routine, offering a…

Why Is It Called Makeup Primer What Are The Reasons To Use It
Why is it called Makeup Primer? What are the Reasons to Use It

In the expansive realm of beauty products, the makeup primer is heralded as a cornerstone item, offering benefits that transcend mere aesthetic enhancement. This exploration seeks to unravel the etymology of “makeup primer” and illuminate its indispensable role in cosmetic routines. Through an examination of its historical roots, functional science, and the myriad advantages it presents, this discourse aims to underscore the primer’s pivotal position in enhancing makeup application and skin quality. Essence and Purpose of Makeup Primer: Fundamentally, a makeup primer serves as an undercoat for foundation or other facial cosmetics, enhancing their application and endurance. It is specially designed to refine the skin’s texture, effectively minimizing pores, smoothing fine lines, and rectifying uneven skin tones. Origins and Etymology of Makeup Primer: Deriving from the Latin “primus,” meaning “first,” the term “primer” is traditionally associated with the initial layer applied in painting or construction to perfect the surface. Analogously, makeup primer readies the skin, establishing a foundational layer that enhances the adherence and finish of subsequent makeup layers. Delving into the Science of Makeup Primer Formulation Varieties and Selection: Available in silicone, water, or oil bases, primers are tailored to suit various skin types and issues. The ingredient composition is crucial, influencing the primer’s interaction with the skin and the longevity of makeup. Operational Mechanics of Makeup Primer: By creating a protective layer over the skin, primers smooth the skin’s surface and amend its texture, fostering a more uniform makeup application and extended wear. Rationale for Incorporating Makeup Primer Categorizing Makeup Primer Tailoring Primer Selection to Skin Type Optimization Tips for Primer Application Makeup Primer’s Significance in Professional Settings Emerging Trends and Innovations in Makeup Primer Makeup primer, akin to a preparatory layer in art, primes the skin’s canvas for a cosmetic masterpiece. By integrating a primer into your beauty regimen, you not only achieve enhanced durability and a seamless finish but also cater to particular skin needs. Grasping the underlying reasons for its usage and selecting the suitable variant for your skin type can revolutionize your approach to makeup, elevating it to an artistry level. What constitutes makeup primer, and its purpose?Primer smooths the skin, prolongs makeup wear, and improves application efficiency, earning its name as the preparatory step in makeup routines. Is it feasible to use makeup primer independently?Indeed, primer can be applied solo to refine the skin’s appearance without additional cosmetics. How does one select the appropriate makeup primer?Choose a primer based on your skin’s nature (oily, dry, combination) and specific concerns (pores, lines, redness).

Face Mits 1
A Comprehensive Guide to Facial Mists

As beauty enthusiasts strive for radiant and rejuvenated skin, beauty enthusiasts continually search out innovative solutions they can incorporate into their skincare regimens. An exciting discovery has been face mists; an ingenious product which has quickly become an indispensable staple. This comprehensive guide explores everything about face mists: their history and key ingredients as well as benefits and applications, giving an insider’s view into this versatile product that holds power within delicate droplets of mist spray. Face Mist Origins:Facial mists have their origins in ancient skincare practices such as those practiced by Egyptians and Romans who valued such rituals by using water infused with botanical extracts for refreshment and hydration of their skin. Over time, however, their creation was refined further to include advanced formulations and delivery systems to become what are known today as face mists. Ingredients of Facial Mists: At the core of facial mists’ magic lies their carefully chosen ingredients – each selected for its specific properties that benefit skin health. Formulations may differ, yet common components found within face mists include: Benefits of Face Mists:Facial mists have become an invaluable addition to skincare regimes for their ability to provide numerous advantages for the skin. Notable advantages are: How to Use Face Mists:Facial mists have numerous applications. Here is our guide on how best to take advantage of them for rejuvenating purposes: Face Mists for Different Skin Types: Facial mists offer effective solutions for various skin concerns and types, with specific formulations tailored specifically for you and your concerns. When selecting one to meet these criteria: DIY Face Mists: For those who enjoy taking control of their skincare, crafting their own face mist is an engaging DIY activity, offering plenty of opportunities for customization and experimentation with various ingredients. A basic recipe might include: Ingredients include purified water, aloe vera gel, rosewater and lavender essential oil. Instructions: Conclusion: Elevating Skincare With Luxury: Facial mists have quickly become an indispensable addition to skincare regimes, embodying hydration, rejuvenation and self-care in one refreshing mist spray. From ancient roots to contemporary formulations, face mists have transformed from an occasional product used just to wake you up during the day to serving various needs and preferences alike – be it as an early wakeup call during your workday; setting spray for makeup application or aromatherapy ritual – their transformative power cannot be denied; so embrace its luxury today and let this luxurious facial spray do just what its name promises – unleash it now and experience its transformative power today! So embrace its elegance today; indulge its transformative power is undeniable! So indulge the elegance of facial spray and experience all its transformative power for yourself today and let go.

How To Make Fake Freckles A Guide To Achieving Sun Kissed Splendor
How to Make Fake Freckles: A Guide to Achieving Sun-Kissed Splendor

Fake freckles have become a coveted beauty trend, adored for their ability to mimic the sun-kissed speckles naturally bestowed by the sun. Unlike natural freckles that are the result of genetics and sun exposure, fake freckles offer a temporary way to sprinkle one’s face with these charming spots. This beauty trend celebrates the uniqueness and appeal of freckles, allowing anyone to adopt this endearing feature regardless of their natural skin type. Tools and Materials Needed Creating fake freckles that look authentic requires more than just a brown eyeliner. The choice of products is crucial; for a believable effect, opt for waterproof, smudge-proof pens or pencils in colors that complement your skin tone. Additionally, fine brushes or sponges can help in blending and achieving the perfect dot size. Step-by-Step Guide to Creating Fake Freckles Preparing Your Skin Begin with a clean, moisturized face. A smooth canvas is key to ensuring your fake freckles adhere well and look part of your skin. Technique for Natural-Looking Freckles Dot the product lightly across the nose and cheekbones, where the sun naturally hits. Vary the size and density of the dots for a more realistic look, and gently tap them with your fingertips or a sponge to blend them into the skin. Setting Your Freckles To ensure longevity, lightly dust a setting powder over your freckles. This step prevents them from smudging and helps integrate them seamlessly with the rest of your makeup. Different Methods for Creating Fake Freckles Using Eyeliner or Brow Pencil A fine-tipped eyeliner or brow pencil can provide the precision needed for creating small, defined dots. Choose a color that mimics natural freckles and lightly apply it to the desired areas. Freckle Stencils and Stamps For those seeking an easier application, freckle stencils and stamps offer a quick way to achieve a freckled look. Simply apply the product to the stencil or stamp and press onto the skin. Using Henna for Semi-Permanent Freckles Henna provides a semi-permanent option for those looking to enjoy their fake freckles for longer. However, practice caution with this method, as it requires a certain skill level and understanding of henna application. Tips for Achieving a Natural Look Color Matching Choosing the right color is essential. Opt for hues that naturally occur in freckles, considering your skin tone for the best match. Placement and Size Variation Randomness is key. Freckles naturally appear in an unpredictable pattern, so avoid creating uniform dots. Mix up the placement and size for authenticity. Maintaining and Removing Fake Freckles How to Make Them Last To extend the wear of your fake freckles, avoid touching your face and apply a setting spray after completing your makeup. Removing Freckles Safely When you’re ready to remove your freckles, gently cleanse your face with a makeup remover. Opt for products that are kind to your skin to avoid irritation. Common Mistakes to Avoid Overapplication Less is often more. Start with a few dots and gradually add more if needed. Overdoing it can quickly take your freckles from natural to noticeable makeup. Wrong Color Selection Using a color that’s…

Unlocking The Benefits: Exploring The Wonders Of Leave In Conditioner
Unlocking the Benefits: Exploring the Wonders of Leave-In Conditioner

In the realm of hair care, leave-in conditioner has become a staple product, beloved by both hairstylists and enthusiasts alike. While traditional rinse-out conditioners offer essential nourishment and hydration, leave-in conditioner takes it a step further, providing additional benefits that contribute to healthier, more manageable hair. In this article, we will delve into the world of leave-in conditioner, understanding what it is, how it works, and the wonders it can do for your hair. Whether you’re seeking to improve moisture retention, detangle stubborn knots, or protect your hair from environmental stressors, join us as we unlock the benefits of leave-in conditioner. What is Leave-In Conditioner?Leave-in conditioner, as the name suggests, is a hair care product that is designed to be left in the hair without rinsing it out. It typically comes in the form of a lightweight cream, spray, or serum and is applied to damp or dry hair after shampooing and conditioning. Leave-in conditioners are formulated with a blend of hydrating ingredients, such as oils, moisturizers, and proteins, to provide ongoing nourishment and protection to the hair throughout the day. Moisture Retention and Hydration:One of the primary benefits of leave-in conditioner is its ability to retain moisture in the hair. Dry, dehydrated hair can lead to frizz, brittleness, and breakage. Leave-in conditioners contain humectants that attract and lock in moisture, helping to keep the hair hydrated and moisturized for extended periods. This is particularly beneficial for individuals with dry, coarse, or chemically treated hair, as leave-in conditioner acts as a shield against moisture loss, leaving the hair soft, smooth, and manageable. Detangling and Improved Manageability:Leave-in conditioners work wonders when it comes to detangling unruly hair. Their conditioning properties help to smooth the hair cuticles, reducing friction and making it easier to comb through knots and tangles. By providing slip and lubrication, leave-in conditioners minimize hair breakage and damage during the detangling process. This is especially beneficial for those with curly, textured, or easily tangled hair, as leave-in conditioner can help to define curls and reduce the formation of knots. Heat Protection:Styling tools like hair dryers, straighteners, and curling irons can subject the hair to high temperatures, leading to heat damage. Leave-in conditioners often contain ingredients that provide a protective barrier for the hair, shielding it from the harmful effects of heat styling. These conditioners coat the hair strands, creating a barrier that helps to reduce moisture loss and minimize damage caused by excessive heat exposure. Incorporating a leave-in conditioner into your hair care routine can help maintain the health and integrity of your hair, even when using heat styling tools. Enhanced Shine and Smoothness:Leave-in conditioners have the ability to enhance the shine and smoothness of the hair. By nourishing and moisturizing the hair strands, they help to improve the overall texture and appearance of the hair. Leave-in conditioners can smooth down the cuticles, minimizing frizz and flyaways, and creating a sleek, polished look. Additionally, they add a healthy sheen to the hair, making it appear lustrous and vibrant. UV Protection:The sun’s harmful UV rays can take a toll on our hair,…