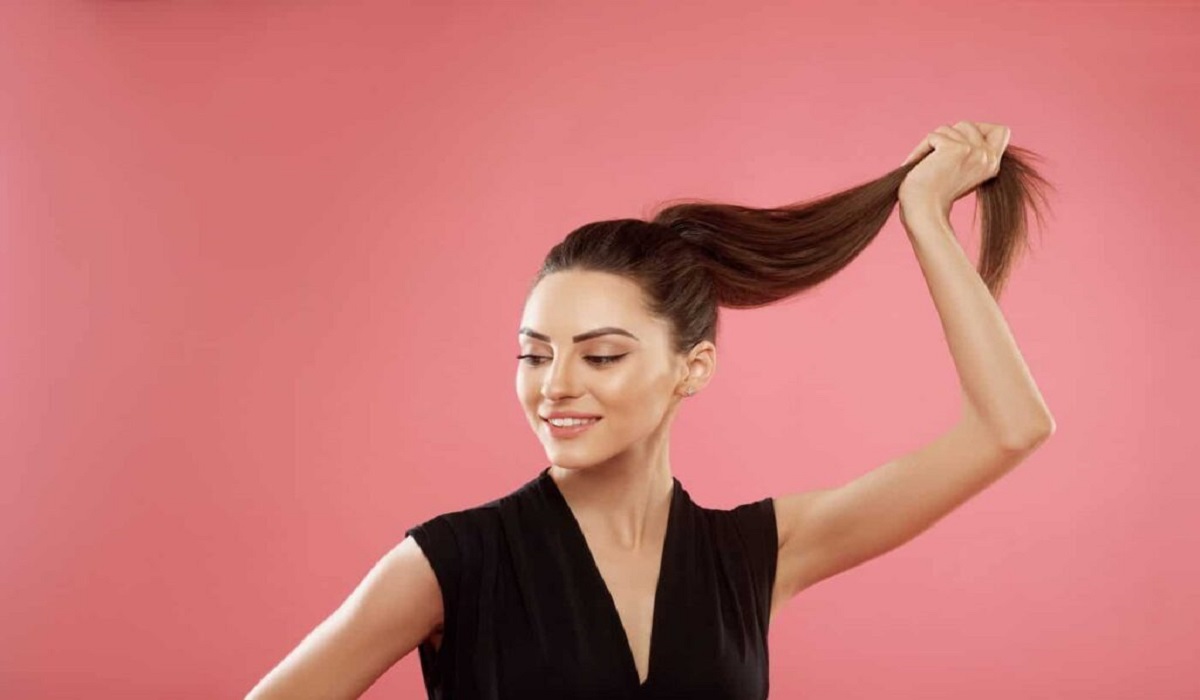
Pump Up the Volume in Your Hair: Here’s How to Achieve Bouncy and Voluminous Locks

Pump Up the Volume in Your Hair: Here's How to Achieve Bouncy and Voluminous Locks

Having luscious, voluminous hair can transform your entire look, boosting your confidence and leaving you feeling fabulous. However, not everyone is naturally blessed with thick, voluminous hair. If you find yourself struggling to achieve the desired volume, don’t worry—there are various techniques and tricks you can employ to pump up the volume in your hair and create stunning, bouncy locks. In this guide, we’ll explore a range of methods, from styling techniques to product recommendations, that can help you achieve the voluminous hair of your dreams.

Section 1: Preparing Your Hair for Volume

Before diving into styling techniques, it’s essential to prepare your hair properly for volume-enhancing methods. Here are a few steps you can take to set the foundation for voluminous hair:

Choosing the Right Haircut: Opt for layered cuts or styles that add texture and movement to your hair. Layers can create the illusion of fuller hair by removing weight and adding dimension.

Proper Shampooing and Conditioning: Use volumizing shampoos and conditioners specifically designed to add fullness to your hair. Avoid heavy, oil-based products that can weigh down your strands.

Blow-Drying Techniques: Blow-drying your hair in an upward motion using a round brush can provide a lift at the roots and create a voluminous base for styling.

Section 2: Styling Techniques for Volume

Now that your hair is prepped, it’s time to explore different styling techniques that can help you achieve volume:

Teasing or Backcombing: Using a fine-toothed comb, gently tease the roots of your hair to create instant lift and volume. Remember to be gentle to avoid damaging your hair.

Velcro Rollers: Before blow-drying, set sections of your hair in velcro rollers. This technique allows your hair to cool and set in a voluminous shape, creating long-lasting volume.

Root-Lifting Products: Applying root-lifting sprays or mousses directly to your roots can add height and volume. Massage the product into your roots for extra lift.

Heat Styling Tools: Curling irons or straighteners can be used strategically to add volume. By curling sections of your hair away from your face or creating loose waves, you can achieve a fuller appearance.

Dry Shampoo: Not only does dry shampoo refresh your hair between washes, but it can also add texture and volume. Spritz dry shampoo onto your roots and massage it in to absorb excess oil and create lift.

Pump Up the Volume in Your Hair: Here's How to Achieve Bouncy and Voluminous Locks

Section 3: Product Recommendations for Volume

In addition to styling techniques, certain hair products can work wonders in creating volume. Here are a few recommendations:

Volumizing Shampoos and Conditioners: Look for products that are specifically formulated to add volume and thickness to your hair. These products usually contain ingredients that plump up the hair shaft and create fullness.


Texturizing Sprays: These sprays are designed to give your hair grip and create a tousled, voluminous look. Spray onto your roots and mid-lengths to add texture and body.

Hairsprays: Opt for lightweight hairsprays that provide a flexible hold. They will help maintain your volume throughout the day without weighing down your hair.

Mousse: Apply a golf ball-sized amount of mousse to your roots before blow-drying. It adds lift and structure to your hair, helping it appear fuller.

Section 4: Maintaining Volume Throughout the Day

Once you’ve achieved the desired volume, you’ll want to make sure it lasts all day. Here are a few tips for maintaining volume:

Hands-Off Approach: Avoid constantly touching or running your fingers through your hair throughout the day. Excessive touching can flatten the volume and make your hair appear greasy.

Avoid Heavy Products: Be cautious with the use of heavy styling products, such as serums or oils, as they can weigh down your hair and reduce volume. If you need to use these products, apply them sparingly and focus on the ends rather than the roots.

Use a Wide-Toothed Comb: Instead of a brush, use a wide-toothed comb to gently detangle your hair. This will help maintain the volume and prevent flattening.

Flip Your Hair Upside Down: Occasionally flipping your hair upside down and tousling it with your fingers can revive the volume and add a bit of lift.

Refresh with Dry Shampoo: If you notice your hair starting to lose its volume throughout the day, spritz some dry shampoo at the roots and massage it in. This will absorb excess oil and give your hair a boost.


Section 5: Lifestyle and Care Tips for Healthy Hair

In addition to styling techniques and products, maintaining healthy hair plays a crucial role in achieving long-lasting volume. Here are some lifestyle and care tips:

Eat a Balanced Diet: Your hair’s health begins from within. Ensure you’re consuming a well-balanced diet rich in vitamins, minerals, and proteins to promote healthy hair growth.

Protect Your Hair from Heat Damage: Excessive heat styling can cause damage and lead to flat, lifeless hair. Use heat protectant sprays or serums before using heat tools and try to limit their use when possible.

Regular Trims: Getting regular trims helps prevent split ends and keeps your hair looking healthy. This allows for better volume distribution throughout your hair.

Avoid Overwashing: Washing your hair too frequently can strip it of its natural oils, leading to dryness and lack of volume. Aim to wash your hair every 2-3 days or as needed to maintain a healthy balance.

Deep Conditioning Treatments: Treat your hair to regular deep conditioning treatments to keep it moisturized and nourished. Healthy, hydrated hair is more likely to have natural volume and bounce.

Achieving voluminous hair is possible with the right techniques, products, and care. By implementing the styling techniques mentioned, using volume-enhancing products, and maintaining a healthy hair care routine, you can pump up the volume in your hair and enjoy bouncy, luscious locks. Experiment with different methods to find what works best for your hair type and desired style. Remember, confidence starts from within, and with a little effort, you can rock that voluminous hairstyle with pride!

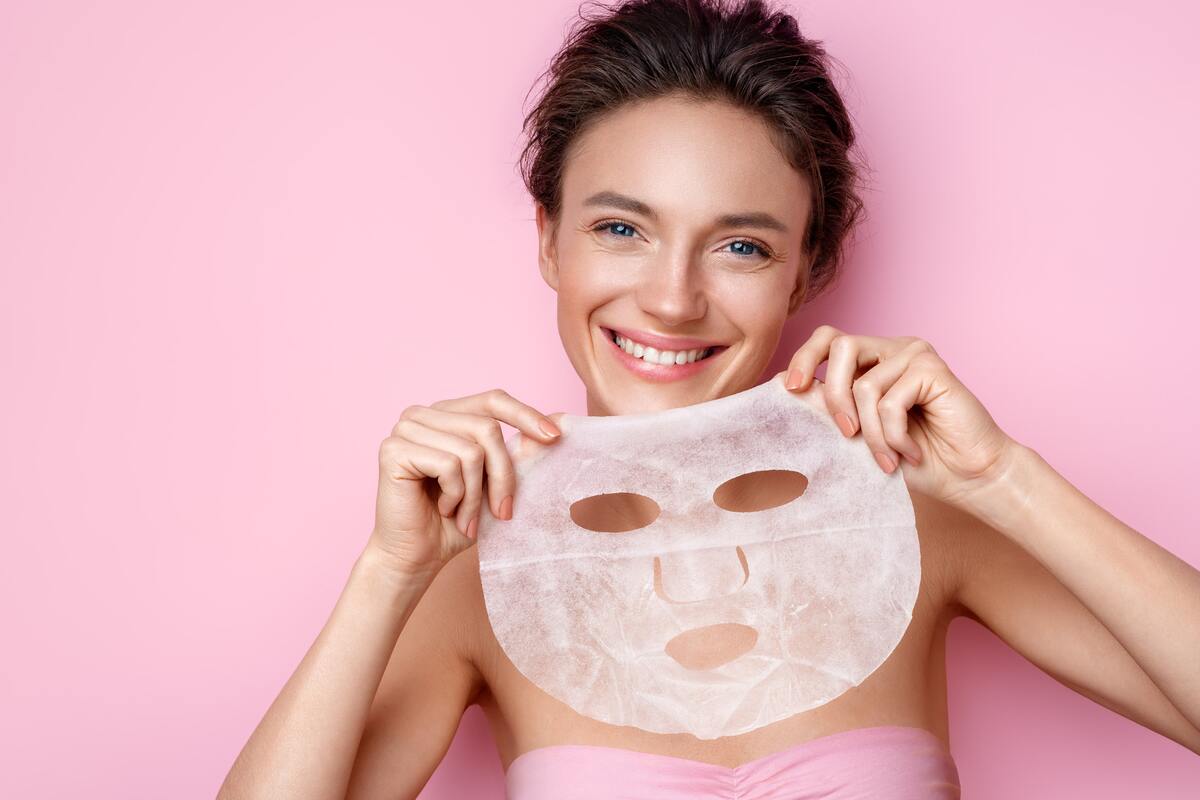
5secrets To Achieving Blackhead Free Skin
5 Secrets to Achieving Blackhead-Free Skin

Blackheads, those frustrating tiny black specks that frequently appear on our most noticeable areas like the nose, chin, and forehead, are a widespread concern for many individuals. Gaining an understanding of blackheads and the reasons behind their occurrence is the initial step towards effectively combating them. This guide is designed to provide you with the essential tools, knowledge, and advice needed to achieve and sustain a complexion free of blackheads, ensuring it remains radiant and healthy. The Underlying Science of Blackheads Known in medical terms as open comedones, blackheads develop when pores are blocked by a mix of sebum (skin oil) and dead skin cells. The exposure of this blockage to air leads to oxidation and turns it black, setting them apart from whiteheads. Grasping the origins of blackheads and the significance of sebum and dead skin cells in their development is key for their prevention and treatment. Fundamental Skincare Practices for Preventing Blackheads Preventing blackheads effectively hinges on a customized skincare routine. Essential steps include daily cleansing, consistent exfoliation, and appropriate moisturization. We will explore how these measures can avert the formation of blackheads and preserve skin vitality. Advanced Treatments for Blackheads For those in search of more profound solutions, advanced treatments like chemical peels, microdermabrasion, and laser therapy present promising outcomes. These procedures are instrumental in deeply purifying pores, eliminating dead skin cells, and diminishing blackheads’ visibility. Over-the-Counter Options A plethora of over-the-counter products are available for tackling blackheads, encompassing products with salicylic acid, retinoids, and masks containing charcoal or clay, each providing distinct advantages in the pursuit of clear skin. Prescription Solutions For cases that are more challenging, dermatologists might suggest prescription medications, including topical retinoids and oral alternatives. Recognizing when to resort to these options can significantly change the game for individuals battling persistent blackheads. Dietary Influence on Skin Health The connection between our diet and the condition and appearance of our skin is undeniable. This segment will delve into how dietary choices influence skin health, spotlighting foods to avoid and nutrients that foster a flawless complexion. Lifestyle Adjustments for Enhanced Skin In addition to skincare products and procedures, lifestyle aspects like hydration, managing stress, and the quality of sleep have substantial impacts on skin condition. Adopting positive lifestyle modifications can lead to remarkable enhancements in skin health. Home-based and Natural Solutions For enthusiasts of natural and home-based methods, alternatives such as tea tree oil and DIY exfoliating scrubs can provide gentle yet effective means to manage blackheads. The Crucial Role of Sun Protection Sun protection is an indispensable aspect of any skincare regime, especially for those prone to blackheads. Selecting the appropriate sunscreen and comprehending its importance in preventing blackheads are crucial measures towards maintaining skin health. Achieving a Complexion Without Blackheads This segment will outline an all-encompassing strategy, detailing the vital products, practices, and tips for securing and keeping a complexion devoid of blackheads, customized to various skin types and issues. Deciphering Your Skin Type Customizing your skincare routine to your specific skin type is essential. This part of the guide will assist in identifying your…

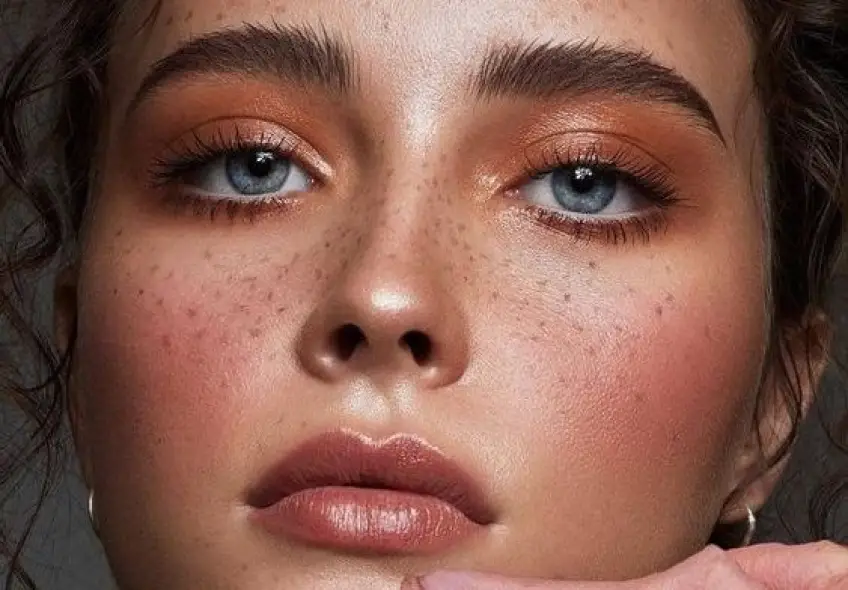
Flawless Fitness: Gym Makeup For A Workout
Flawless Fitness: Gym Makeup for a Workout

Going to the gym may be daunting for some people, particularly for those looking their best during workouts. Although makeup might not immediately spring to mind when considering gym work outs, many women find a bit of makeup can boost confidence and feel ready to tackle any exercise routines they face. In this article we’ll talk about The Stronghold look – ideal makeup style to achieve in this setting – plus tips and tricks that’ll help achieve and maintain it during each gym workout session. The Stronghold LookThis look embodies minimalism and longevity – designed to remain put no matter how much sweating takes place! The goal is for it to look natural yet have just enough glamor. Here are its core components. Begin with an oil-free and matte-finish primer designed specifically to keep makeup in place during physical activity, applying thin layers all over your face in areas where sweat tends to collect most often. Pay particular attention when applying these foundations if sweat becomes an issue for you. Foundation: When selecting foundation or tinted moisturizer that complements the tone of your skin, ensure it is lightweight enough. Any product too thick or cakey could clog pores during exercise and make you uncomfortable during physical activities such as sports. When applying foundation with brush or sponge application, blend well. Concealers: Concealer can help cover up blemishes or dark circles under your eyes; for optimal results use something lightweight and blendable. Furthermore, color correctors may help neutralize any redness or discolorations on your face and neutralize redness or discolorations on its own. Brows: Use either clear gel or tinted tinted gel to shape and add definition to your eyebrows, giving them shape that frames your face for an impeccable appearance. Doing this will add dimension and help give a polished feel. Mascara: When selecting waterproof mascara, choose one or two coats that won’t smudge or flake off during exercise. Concentrate application efforts at outer corners so your eyes appear wider open. Lip Balm or Gloss: For an added splash of color during workout sessions, complete your look by applying tinted lip balm or gloss to add some moisture back into your lips while giving them some needed nourishment. This can keep them hydrated throughout your fitness regime! Now that you understand how to achieve the Stronghold look, here are a few tricks and tips to maintain it throughout your workout: Apply a sweat-proof setting spray: For added peace of mind and to secure the integrity of your makeup application, invest in a spray designed specifically to resist sweat and humidity. Carry oil-blotting sheets: If your workout routine leaves you oily, take oil blotting sheets along. They can help absorb excess oils while simultaneously maintaining fresh-looking makeup. Avoid Touching Your Facial Structure: As much as possible during your workout, avoid touching your facial structure too often as this could cause your makeup to smudge and spread, while potentially spreading bacteria onto the surface of the skin. Bring along a towel: Always have a small towel handy so you can wipe sweat from your…

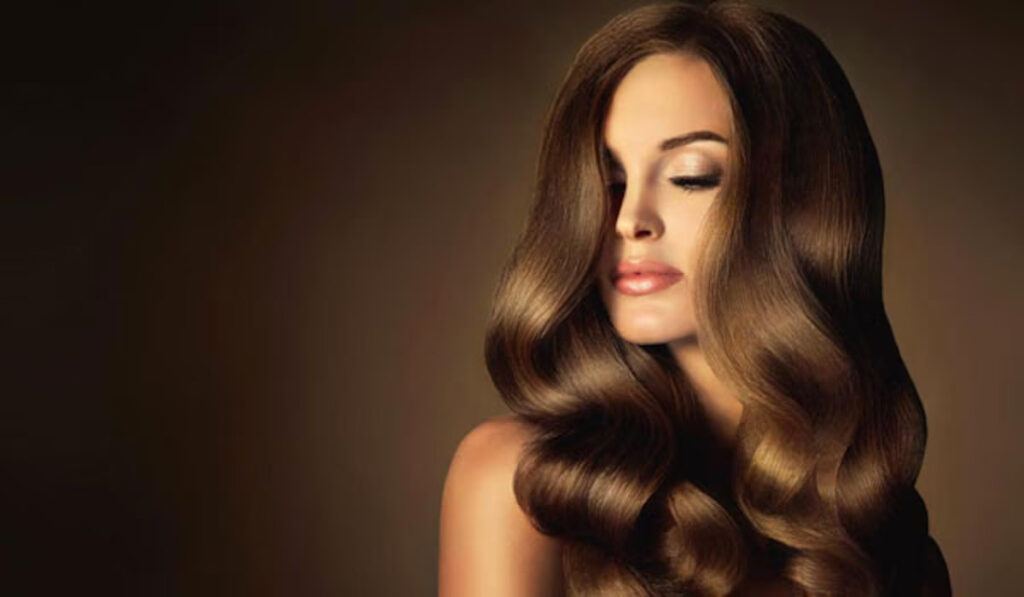
7 Best Tips For Choosing Your Next Hair Color
7 Best Tips for Choosing Your Next Hair Color

Selecting your next hair color transcends mere aesthetic preferences, incorporating an intricate analysis of skin undertones, personal style, and maintenance commitment into the decision-making process. This comprehensive guide is crafted to escort you through the selection journey, ensuring a gratifying outcome. Skin Tone Consideration The foundation of a captivating hair color lies in the harmony between the chosen hue and your skin’s undertones. Distinguishing whether your skin radiates warm, cool, or neutral undertones is pivotal. Harmonizing with Natural Hair Color Embracing your inherent hair color can yield more natural, flattering outcomes. Techniques like balayage or highlights can subtly enhance your original color. For a bolder statement, consider hues at the opposite end of your natural spectrum. Hair Color Trends for 2023/2024 Keep abreast of the latest trends to spark your hair color transformation. This season, we’re witnessing a renaissance of pastel shades, bold colors, and a nod to naturalistic hues. From the ethereal softness of lavender to the deep allure of cobalt blue, there’s a trendsetting shade awaiting your discovery. Maintenance of Color Vibrancy To preserve the luminosity and health of your colored hair, invest in products specifically formulated for color-treated hair and adhere to a schedule for touch-ups. Color Psychology A change in hair color can significantly alter perceptions and affect your mood. Grasping the psychological impact of different shades can assist in selecting a color that not only enhances your appearance but also elevates your confidence. Temporary vs. Permanent Dyes Your commitment level and willingness to experiment play crucial roles in deciding between temporary and permanent coloring options. Temporary dyes provide a risk-free avenue for exploration, whereas permanent dyes cater to those seeking enduring change. DIY vs. Professional Coloring While home dyeing kits offer a cost-effective alternative, professional salon services deliver expertise and consistently superior outcomes, especially for complex colors and techniques. Influence of Hair Texture and Type Your hair’s texture and type can affect color absorption and reflection. Coarser hair may necessitate stronger or more prolonged treatments, while finer hair might quickly become saturated with color. Selecting a Complementary Hair Color To identify a hair color that flatters, factor in your lifestyle, maintenance preferences, and seasonal changes, allowing your hair color to evolve alongside your dynamic lifestyle. Importance of Allergy and Strand Tests Conducting allergy and strand tests before dyeing is essential for ensuring safety and predicting the color outcome, preventing adverse reactions and unforeseen results. Hair Health Post-Coloring Although coloring can impact hair health, implementing deep conditioning treatments and protective styling can help maintain its vitality and vibrance. Enhancement Through Highlights and Lowlights Incorporating highlights or lowlights can introduce depth and movement, offering a spectrum of effects from subtle to dramatic. Correcting Color Mistakes While dye mishaps are rectifiable, a range of solutions from color removers to professional correction services exist to address nearly any issue. Personalizing Your Color Experimenting with shade mixing or avant-garde coloring techniques like ombré or color blocking can customize your look, imbuing it with uniqueness. Demystifying Hair Coloring Myths Addressing common misconceptions about hair coloring is crucial for setting realistic expectations and achieving…

The Transformative Power Of Epsom Salt Baths A Haven Of Serenity
The Transformative Power of Epsom Salt Baths: A Haven of Serenity

A blend of magnesium, sulfate, and oxygen forms the essence of Epsom salt, a mineral compound revered for its healing attributes since its initial discovery in Epsom, England, during the early 17th century. Distinct from common table salt, Epsom salt’s chemical composition enables swift absorption through the skin, rendering it a perfect element for calming baths. This prelude paves the path for a detailed examination of the myriad advantages Epsom salt baths provide for both psychological and physical wellness. Exploring the Scientific Basis of Epsom Salt Baths The efficaciousness of Epsom salt baths primarily stems from its magnesium and sulfate content. Magnesium is pivotal in facilitating over 300 enzymatic reactions within the body, encompassing those related to muscle and nerve function, whereas sulfate plays a vital role in various biological activities. Immersing in warm water laden with these minerals allows for their skin absorption, thereby replenishing the body’s reserves and fostering health and well-being. The Sanctuary of Relaxation and Stress MitigationEpsom salt baths serve as a refuge for diminishing stress. By modulating nervous system activity, magnesium aids in easing muscle tension and fostering relaxation. This tranquil effect assists in mitigating stress and anxiety, thereby cultivating a sense of peace. Advancements in Skin Health The boon of Epsom salt extends to skin wellness. Its exfoliating nature aids in shedding dead skin cells, while its moisturizing effect revitalizes the skin, leaving it supple and refreshed. Additionally, Epsom salt’s sulfate content supports the body’s detoxification, promoting a clearer, healthier complexion. Natural Pain Alleviation and Muscle RecuperationFor individuals grappling with muscle discomfort, arthritis, or persistent pain, Epsom salt baths offer a natural alleviative solution. Magnesium’s role in relaxing muscle contractions and reducing pain renders it an invaluable recovery tool for athletes and those engaged in physically strenuous activities. Detoxification and Enhanced Mineral UptakeThrough facilitating the expulsion of toxins via the skin, Epsom salt baths aid in the body’s detoxification efforts. Furthermore, the direct uptake of magnesium and sulfate minerals through the skin can address deficiencies and bolster overall health. Augmented Sleep Quality and RelaxationThe influence of magnesium on enhancing sleep quality is well-established. A warm bath with Epsom salt prior to bedtime can relax muscles and soothe the mind, setting the stage for a deep, restorative sleep. Cardiovascular Health and Improved CirculationEngaging in regular Epsom salt baths may positively impact heart health and circulation. Magnesium’s capability to augment blood flow and lower blood pressure plays a crucial role in maintaining a healthy cardiovascular system. Benefits for Foot HealthNot limited to full-body applications, Epsom salt baths also offer significant benefits for foot health, addressing conditions like athlete’s foot, toenail fungus, and relieving foot pain after extensive standing or walking. Epsom Salt Baths: A Boon for GardenersGardeners may find Epsom salt baths particularly beneficial for soothing aching muscles post-gardening. Moreover, Epsom salt can enhance plant growth and nutrient uptake when used in gardening practices. Crafting Your Own Epsom Salt Bath Blends Personalizing your Epsom salt bath is straightforward, allowing for the incorporation of essential oils and herbs for added aromatherapy benefits. Whether seeking a simple soak or a…

Effortless Elegance: A Step By Step Guide On How To Remove Gel Nail Polish At Home
Effortless Elegance: A Step-by-Step Guide on How to Remove Gel Nail Polish at Home

Gel nail polish has revolutionized the world of manicures, offering long-lasting color and a glossy finish. However, the time eventually comes when you need to remove your gel nail polish to refresh your nails or switch up your look. While salon visits are a common option, learning how to remove gel nail polish at home can save you time and money. In this comprehensive guide, we will walk you through the step-by-step process of safely and effectively removing gel nail polish at home, ensuring that your nails stay healthy and pristine. Understanding Gel Nail Polish Gel nail polish differs from traditional nail polish due to its unique formula and the curing process involved. Gel polish is applied in layers and cured under a UV or LED lamp, resulting in a durable and chip-resistant finish that can last for several weeks. Tools and Supplies You’ll Need Before you start the gel nail polish removal process, gather the following tools and supplies: Step-by-Step Guide to Removing Gel Nail Polish at Home Step 1: Prep Your Workspace Choose a well-lit and comfortable space to work in. Lay down a towel or a disposable surface to catch any spills or drips. Step 2: Buff the Shine Using a nail buffer or a gentle nail file, lightly buff the surface of your gel nails. This step helps break the seal of the topcoat, allowing the acetone to penetrate and dissolve the gel polish more effectively. Step 3: Soak Cotton Pads Cut your cotton pads or cotton balls into pieces that are large enough to cover your nails. Soak them in acetone until they are fully saturated. Step 4: Apply Cotton and Foil/Clips Place the soaked cotton on your nails, ensuring that the entire nail surface is covered. Then, wrap each fingertip with a small piece of aluminum foil or use nail clips to secure the cotton in place. This creates a sealed environment that helps the acetone work more efficiently. Step 5: Wait and Relax Wait for about 10-15 minutes, allowing the acetone to soften the gel polish. Use this time to relax, catch up on a book, or simply enjoy a quiet moment. Step 6: Gently Remove the Gel Polish After the soaking time, carefully remove the foil or clips and the cotton from your nails. You’ll notice that the gel polish has started to lift and peel. Use a cuticle pusher or an orange stick to gently push away the softened gel from your nails. Be patient and avoid scraping or prying too aggressively, as this could damage your natural nails. Step 7: Hydration and Nourishment After removing the gel polish, wash your hands with soap and water to remove any residue. Apply a nourishing cuticle oil or cream to replenish moisture to your nails and cuticles. This step helps counteract the drying effects of acetone. Step 8: Moisturize Finish the process by applying a rich hand cream or moisturizer to your hands and nails. This helps keep your skin hydrated and supple. Learning how to remove gel nail polish at home can be a…

Almond Oil Beauty Benefits

Nature has gifted us many ingredients regarded as beauty secrets for centuries and generations alike, including almond oil. Recognized for its extraordinary skin and hair benefits, almond oil’s versatility has long been celebrated across centuries and generations alike – its golden oil extracted from sweet almond kernels offers several advantages when applied as skin or haircare regimen. This guide explores these advantages as well as ways you can include this natural elixir into daily beauty regimens. Chapter 1 : Almond Oil’s Rich Composition Almond oil has long been revered as an effective all-purpose beauty elixir due to its extensive nutritional profile and healing effects for hair and skin health. Almond oil contains an extraordinary combination of essential elements needed to support healthy hair and skin wellness, making this golden nectar both affordable and potency. Vitamin E, known for its powerful antioxidant capabilities that combat free radicals and support younger-looking skin, and Vitamin A both play essential roles in skin cell repair and regeneration processes. Almond oil contains essential fatty acids like oleic and linoleic acids that play an integral part in maintaining skin moisture balance and natural barrier function. They help create soft, supple complexions while soothing dry or irritated patches on your complexion – not to mention all of its other nutritional benefits! Furthermore, almond oil boasts essential minerals which promote overall skin health – making this addition to any beauty regime invaluable! Chapter 2 : Almond Oil for Skincare Almond oil is widely recognized for its remarkable skin rejuvenating abilities and exceptional moisturizing benefits; making it especially ideal for dry or sensitive complexions. Almond oil’s moisturizing qualities not only deliver deep hydration, but also lock it into your skin to leave soft, supple and radiant results. In addition, its versatility enables it to address various skin concerns including inflammation, acne and dark circles. lavender essential oil’s anti-inflammatory ingredients provide soothing comfort to irritated skin, helping reduce redness while being an ideal and gentle solution for sensitive skin types. Almond oil’s noncomedogenic nature guarantees it won’t clog your pores while its vitamin A content supports cell regeneration and healing. Almond oil’s natural emollients can also lighten dark circles and reduce puffiness for an overall more rejuvenated and youthful complexion, whether used as a moisturizer, serum, or DIY face mask – making almond oil an invaluable component in your skincare regime. Chapter 3 : Almond Oil for Haircare Almond oil has long been recognized for its many beneficial uses in haircare, particularly its ability to stimulate new cell production for faster recovery times! Almond oil may even play an integral role in stimulating this recovery time! Almond oil contains essential fatty acids which nourish hair follicles, encouraging stronger new strands to emerge as well as helping prevent split ends and breakage, ultimately creating longer and stronger locks! Almond oil provides moisturizing benefits which help prevent split ends for longer and stronger locks overall, and its soothing properties make it particularly effective at fighting dandruff. Regular usage helps soothe itchy scalps back to balance while relieving dry patches as the natural balance returns….

Choosing The Perfect Brush For Bronzer Application: A Comprehensive Guide
Choosing the Perfect Brush for Bronzer Application: A Comprehensive Guide

Bronzer is a versatile and beloved makeup product that adds warmth, dimension, and a healthy sun-kissed glow to your complexion. However, achieving a flawless bronzed look requires more than just the right product; it also depends on the tools you use. When it comes to applying bronzer, selecting the appropriate brush is essential. The brush you choose can influence the application, blending, and overall outcome of your bronzer. In this comprehensive guide, we will explore the different types of brushes available for bronzer application, their unique characteristics, and how to pick the perfect one for your makeup routine. The Importance of the Right Brush Before delving into the various types of brushes, it’s important to understand why choosing the right brush for bronzer application matters: Types of Brushes for Bronzer Application Choosing the Right Brush for Your Bronzer Selecting the right brush for your bronzer is a combination of personal preference and the specific look you want to achieve. Here are some factors to consider when choosing the perfect brush: Using Your Chosen Brush for Bronzer Application Once you’ve selected the perfect brush for your bronzer, follow these steps for effective bronzer application: Choosing the right brush for bronzer application is a vital step in achieving a flawless makeup look. The type of brush you select influences the precision, blending, and overall finish of your bronzer. Whether you’re aiming for a subtle sun-kissed glow or a sculpted, contoured appearance, there’s a perfect brush for every technique and preference. By considering your desired outcome, skin type, and application technique, you can confidently select the ideal brush to enhance your makeup routine and bring out your natural radiance.

Achieving A Flawless At Home Manicure: Tips And Tricks For Beautiful Nails
Achieving a Flawless At-Home Manicure: Tips and Tricks for Beautiful Nails

A well-manicured set of nails can enhance your overall appearance and boost your confidence. While visiting a salon for a professional manicure is a popular option, there are times when an at-home manicure is more convenient and cost-effective. With the right techniques and tools, you can achieve salon-quality results from the comfort of your own home. In this article, we will explore a variety of tips and tricks to help you achieve a flawless at-home manicure, ensuring beautiful and well-groomed nails. Prepping Your Nails:The key to a flawless manicure lies in the preparation of your nails. Start by removing any existing nail polish using an acetone-based remover. Trim your nails to the desired length and file them to shape. Gently push back your cuticles using a cuticle pusher or an orangewood stick, being careful not to damage or cut them. Soaking and Exfoliating:For an added pampering step, soak your nails in warm, soapy water for a few minutes. This softens the cuticles and makes them easier to push back or remove. After soaking, use a gentle exfoliating scrub or a soft toothbrush to gently scrub your hands and nails, removing any dead skin cells and leaving your skin feeling smooth and rejuvenated. Choosing the Right Nail Polish:Selecting the right nail polish is crucial for a flawless manicure. Look for polishes that have a smooth and even consistency, as this will make the application process easier. Opt for high-quality brands that offer a wide range of colors and finishes. If you’re new to doing your own manicures, consider starting with a classic shade that is forgiving and easier to apply evenly. Proper Application Techniques:When applying nail polish, use thin and even coats to achieve a smooth and streak-free finish. Begin with a base coat, which helps protect your nails and prevents staining. Apply two coats of your chosen nail polish color, allowing each coat to dry completely before applying the next. Finish off with a top coat to seal the color and add shine. Ensure that you cover the entire nail surface, including the tips, for maximum longevity and a polished look. Cleaning Up Mistakes:No matter how careful you are, it’s common to make small mistakes during the nail polish application process. To clean up any smudges or excess polish around the edges, dip a small brush or an angled eyeliner brush into nail polish remover and carefully clean up the mistakes. Alternatively, you can use a cotton swab dipped in nail polish remover to remove any stray polish. Drying Time:Patience is key when it comes to allowing your nails to dry. Wait for each coat of polish to dry completely before proceeding with the next layer or any activities that may risk smudging your nails. To speed up the drying process, you can use a quick-dry top coat or apply a nail polish drying spray. Hydrating and Nourishing:After your manicure is complete, it’s important to hydrate and nourish your nails and cuticles. Massage a cuticle oil or a moisturizing hand cream into your nails and cuticles to keep them healthy and prevent…