Understanding Makeup Primer: Functions and Application Techniques

Understanding Makeup Primer: Functions and Application Techniques

Makeup primer is an essential product in the cosmetics industry, designed to create a smooth base for foundation and enhance the longevity and appearance of makeup. In this guide, we will explore the basics of makeup primer, its functions, and provide an overview of how to effectively use it in your beauty routine.

What is Makeup Primer?
Makeup primer is a cosmetic product applied before foundation or other makeup to prep the skin for smoother application and improved longevity. It is typically with ingredients that help fill in fine lines, minimize the appearance of pores, and create a barrier between the skin and makeup, resulting in a flawless finish.

Functions of Makeup Primer

Smoothing Texture: Primers are designed to create a smooth canvas for foundation application by filling in fine lines, wrinkles, and pores, resulting in a more even complexion.
Extending Makeup Wear: A good primer helps makeup adhere to the skin and prevents it from fading, creasing, or melting throughout the day, ensuring a longer-lasting and fresher look.

Oil Control: Some primers are specifically keeping to control excess oil production, the skin matte and reducing shine.
Color Correction: Certain primers are tinted to help correct specific skin concerns, such as redness, dullness, or discoloration, providing a more even and balanced complexion.

Hydration and Nourishment: Some primers contain moisturizing ingredients that hydrate the skin and improve its texture, resulting in a smoother makeup application.
Understanding Makeup Primer: Functions and Application Techniques

How to Use Makeup Primer
Cleanse and Moisturize: Start with clean, moisturized skin. Gently cleanse your face and follow up with your regular moisturizer. Allow the moisturizer to absorb fully before applying the primer.
Choose the Right Primer: Select a primer that suits your specific needs, whether it’s oil control, color correction, or hydration. Consider your skin type and any specific concerns you may have, such as large pores or uneven texture.

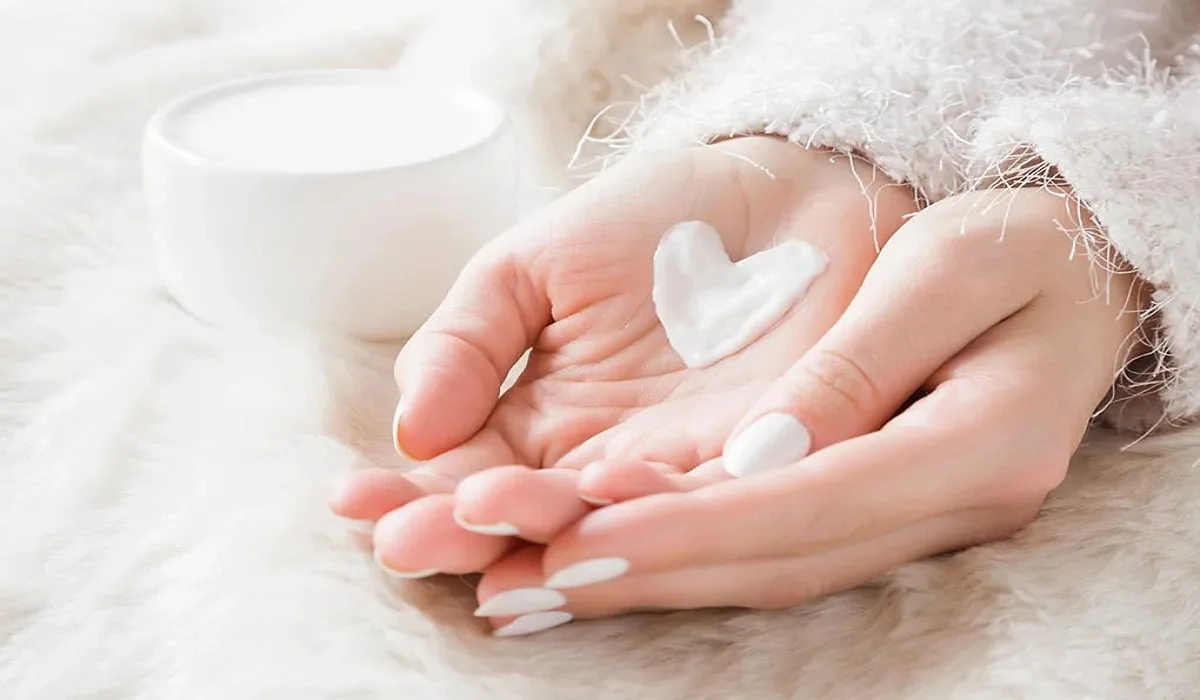
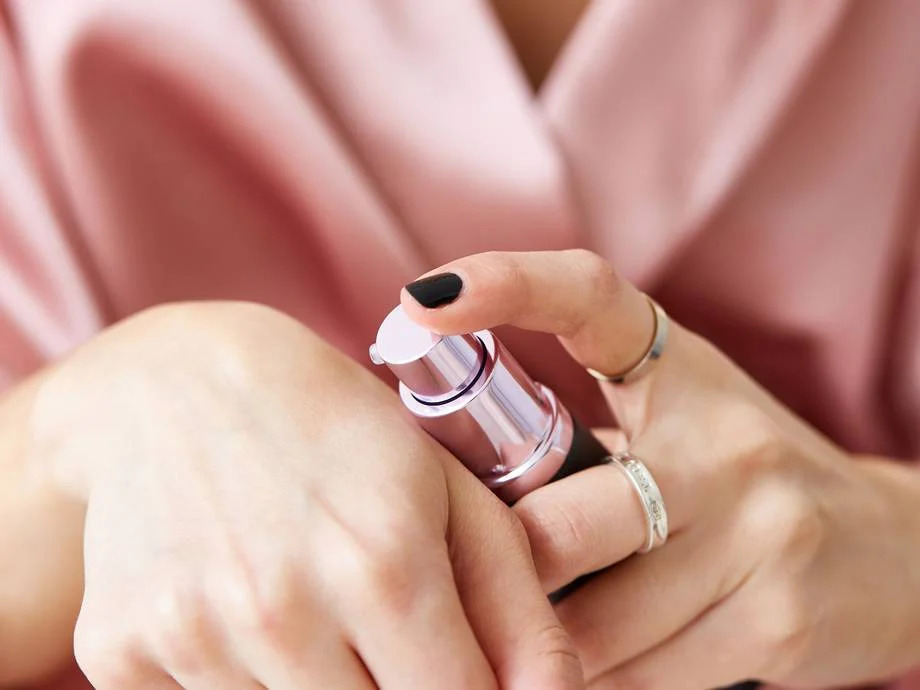
Apply a Small Amount: Dispense a small amount of primer onto your fingertips or the back of your hand. Remember that a little goes a long way, so start with a pea-sized amount and add more if needed.
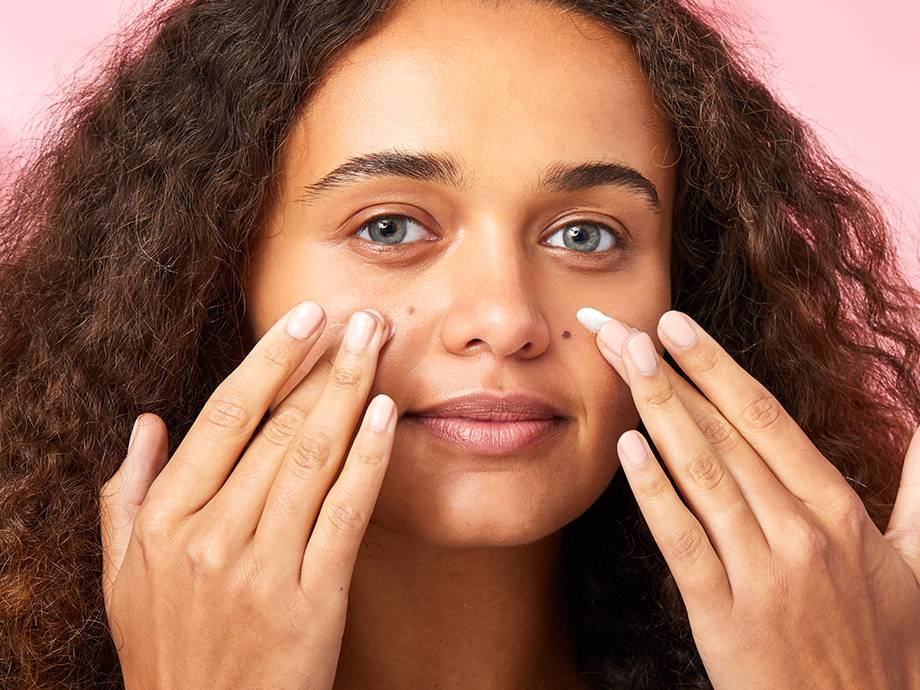
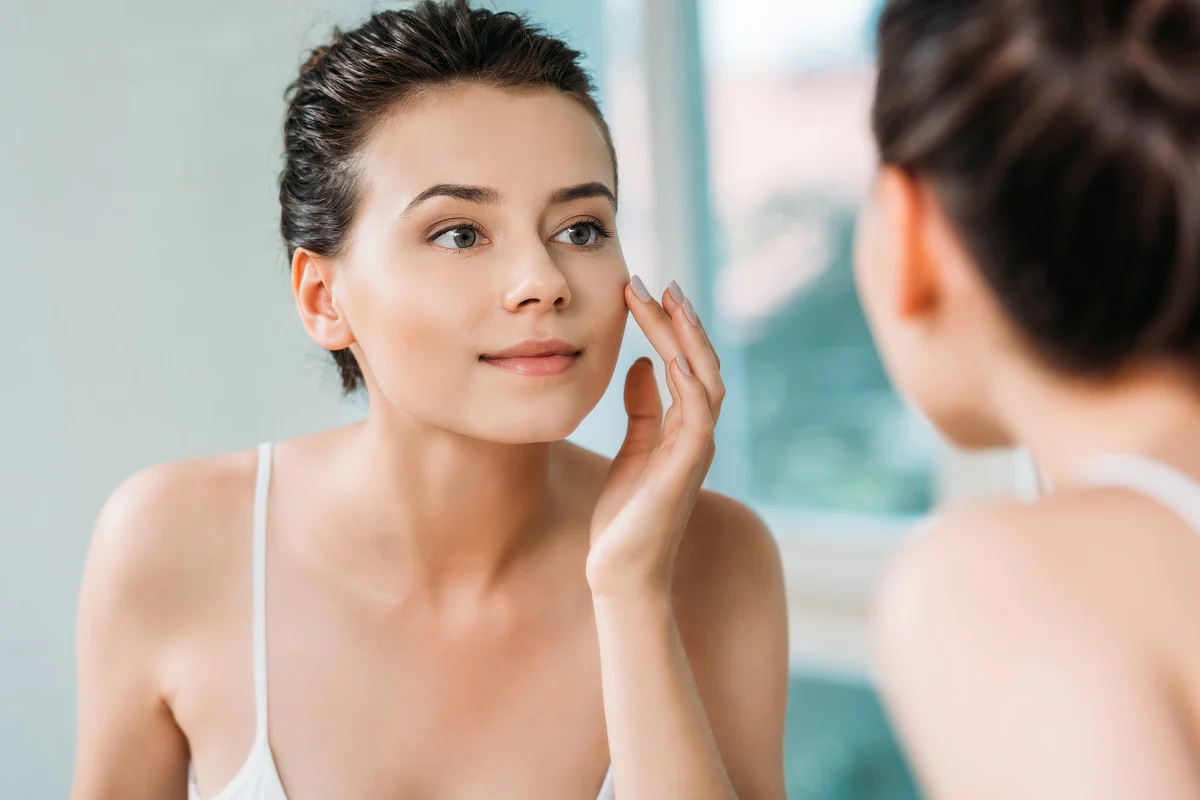
Dot and Blend: Apply the primer onto the center of your face and then dot it on your forehead, cheeks, nose, and chin. Gently blend the primer using your fingertips, a brush, or a makeup sponge, working it into the skin in upward and outward motions.

Focus on Problem Areas: Pay extra attention to areas that require additional smoothing or coverage, such as enlarged pores or fine lines. Pat the primer into these areas for more targeted results.
Allow Absorption: Give the primer a few moments to settle into the skin and fully absorb before applying foundation or other makeup products. This allows the primer to create a smooth base for seamless makeup application.

Proceed with Makeup Application: Once the primer has absorbed, apply your foundation, concealer, and other makeup products as usual. Notice how the primer helps the makeup adhere better and enhances its overall appearance.
Touch-Up Throughout the Day: If necessary, carry a small tube of primer with you for touch-ups during the day. Gently pat a small amount onto areas that may need a freshening up, such as the T-zone or around the nose.

Makeup primer is a versatile product that can significantly improve the appearance and longevity of your makeup. By creating a smooth base and addressing specific skin concerns, it helps achieve a flawless finish. Incorporate primer into your beauty routine to enhance your overall makeup application and results.

7 Essential Steps To Perfectly Filed Nails Elevate Your Manicuregame
7 Essential Steps to Perfectly Filed Nails: Elevate Your Manicure Game

Learn how to hone this skill for beautiful and healthy nails. Introduction Properly maintained nails are more than just a style statement; they’re a condition of one’s personal hygiene and one of the first things people notice about you in social and professional interactions. Whether you have an essential job interview, a critical date, or just want to look and feel your best, the state of your nails is bound to get noticed. This step-by-step guide is intended to help you master all of the aspects of nail filing, to guarantee that not only do they look fantastic but also remain healthy . The Critical Aspect of Nail Maintenance Why You Only Have One Chance to Make a First Impression? You might not be able to conduct business with someone or communicate your love for them immediately. But your nails don’t have that luxury – they touch everything you do: giving and receiving, opening bags of chips, flipping through books, and who knows what else. You may be unable to immediately establish a rapport with others, but you can always rely on your nails – whether they exude warmth and care or suggest “I got this far, what’re you going to do about it?.” However, it is not only a matter of passive stress relief and feeling good “in your skin” – it is a question of survival . The Meeting Point Between Beauty and Health Looking for the Best Fitting Nail Tools How to Figure Out the Grit Code Not all nail files are created equal; they come in different grit sizes and strengths to fit differing nails and filing requirements. While a grit size of around 240 is safe for everyone, as it is smooth enough to protect the nail bed and superior enough to file the nail successfully. Tools to Nail Types Once again, if one has weak or defective nails, a diamond file such as the Diamancel range may make all the difference. Do not be frightened by the phrase “diamond,” as most metal nail files are sharper and harmfully the nail surface more than ever. Glass is another good choice, but it is always more expensive due to its good quality. Glass files can be utilized on any kind of nail because they are not as PMY as other substances, and a gloss finish means that there are less chances that a nail will cut. The Nail Filing Art Although selecting the proper sort of nail file is essential, it is idle without proper filing procedure. People must never “saw” through their nails to remove them, as they will harm the nail edge and make them soft and simple to rip. Put a pointy edge back on the nail since the original is with no edges off to construct upon. Proper File Start by placing your hammer file at an angle on one file side. Pass the device of the file just over the nail. Achieve the desired form, focusing always on the edges in a gentle bevel with small balls beneath the files’ middle. Nail Forms:…

Shielding Your Strands: Exploring The Purpose And Benefits Of Heat Protectant For Your Hair
Shielding Your Strands: Exploring the Purpose and Benefits of Heat Protectant for Your Hair

Heat styling tools like flat irons, curling wands, and blow dryers have become essential tools in our hair care routine. While these tools help us achieve various hairstyles, they can also subject our hair to high temperatures, leading to damage and breakage. This is where heat protectant products come into play. Heat protectants are designed to shield our strands from the harmful effects of heat styling, providing an extra layer of defense. In this article, we will explore the purpose and benefits of heat protectant for your hair, understanding how it works and why it is a crucial addition to your styling routine. Understanding Heat Protectant:Heat protectant is a hair care product formulated to create a barrier between your hair and the heat from styling tools. It typically comes in the form of sprays, serums, or creams and is applied to the hair before using heat styling tools. Heat protectants are usually infused with ingredients that can withstand high temperatures and help prevent damage caused by heat exposure. Protection from Heat Damage:The primary purpose of heat protectant is to safeguard your strands from heat damage. When subjected to high temperatures, the cuticle layer of the hair can become damaged, resulting in dryness, frizz, split ends, and breakage. Heat protectants form a protective coating over the hair, acting as a barrier that minimizes the direct impact of heat on the hair shaft. This helps to maintain the integrity of the hair, preventing damage and preserving its overall health. Reducing Moisture Loss:Heat styling can strip moisture from the hair, leaving it dry, brittle, and prone to breakage. Heat protectants are often formulated with hydrating ingredients that help seal in moisture and prevent water loss from the hair strands. By creating a barrier, heat protectants help to retain the hair’s natural moisture, leaving it hydrated, soft, and more resilient to heat-induced damage. Minimizing Frizz and Flyaways:Excessive heat can cause the cuticles of the hair to lift, resulting in frizz and flyaways. Heat protectants work to smooth down the cuticle layer, minimizing frizz and creating a sleeker, more polished look. They help to keep the hair strands aligned and reduce static, ensuring a smoother, more manageable hairstyle. Enhancing Shine and Smoothness:Heat protectants not only protect the hair but also enhance its appearance. They can add shine and smoothness to the hair, giving it a healthier and more lustrous look. By creating a protective barrier, heat protectants help to seal the hair cuticles, allowing light to reflect off the strands and creating a glossy, radiant finish. Improving Styling Results:Using a heat protectant can improve the overall outcome of your heat-styled hairstyle. By providing a smooth and protected surface, heat protectants make it easier to glide through the hair with styling tools, allowing for more precise and efficient styling. Additionally, the added moisture and protection help the hair hold the style for longer, ensuring your hard work doesn’t go to waste. Suitable for Various Hair Types:Heat protectants are suitable for all hair types, whether you have straight, wavy, curly, or coily hair. They can benefit those with fine…

A Radiant Glow: Mastering Blush Application For Round Face Shapes
A Radiant Glow: Mastering Blush Application for Round Face Shapes

Blush is a makeup essential that can transform your look from dull to radiant, adding a healthy flush to your cheeks and enhancing your facial features. When it comes to applying blush, one size does not fit all, as different face shapes require specific techniques to achieve the most flattering results. If you have a round face shape, this guide is tailored to help you unlock the secrets of applying blush to accentuate your natural beauty. In this comprehensive guide, we’ll explore step-by-step instructions and valuable tips to ensure that your blush application complements your round face shape impeccably. Understanding the Round Face Shape Before delving into the tips for blush application, it’s crucial to understand the characteristics of a round face shape. A round face typically has soft, curved lines with a width and height that are approximately equal. The goal when applying blush to a round face is to create the illusion of more definition and angles, enhancing the natural bone structure. Choosing the Right Blush Shade Selecting the right blush shade is the first step towards achieving a flawless look. For a round face shape, opt for shades that offer a warm, natural glow. Peach, coral, and rosy tones work wonderfully as they provide a subtle radiance while imparting a hint of color. Avoid shades that are too dark or overly intense, as they can make your face appear even rounder. Prep and Prime Before you start applying blush, ensure that your skin is well-prepped and primed. Cleanse your face, apply a moisturizer suitable for your skin type, and follow up with a primer to create a smooth canvas for makeup application. This ensures that your blush adheres evenly and lasts longer throughout the day. Blush Application Steps Choose the Right Brush: Opt for a fluffy, angled blush brush for the best application. The angled shape helps you apply the blush precisely to the apples of your cheeks while blending seamlessly. Smile and Locate the Apples: Smile to identify the apples of your cheeks – the round, slightly raised areas that pop up when you smile. This is where you’ll focus your blush application. Light Hand for Building Color: Start with a small amount of blush on your brush. It’s easier to build up the color gradually rather than trying to tone it down if you apply too much at once. Apply in a Diagonal Line: Begin applying the blush in a diagonal line from the apples of your cheeks towards your temples. This technique adds a gentle lift to your face, creating the illusion of higher cheekbones. Blend, Blend, Blend: Blending is key to achieving a natural, seamless look. Use gentle, upward strokes to blend the blush into your skin. Make sure there are no visible lines, and the color diffuses evenly. Focus on the High Points: Concentrate the majority of the blush color on the apples of your cheeks, and then lightly sweep the remaining product along your cheekbones towards your hairline. Less is More for Round Faces: Remember, less is more when applying blush to a…

Understanding Whitespots On Nails
Understanding White Spots on Nails: Causes, Treatment, and Prevention

White spots on the nails, often noticed as small, painless dots or patches, have intrigued and concerned people for generations. While they’re usually harmless, understanding their underlying causes is key to addressing any potential health issues. This article dives deep into the reasons behind white spots, debunking common myths, exploring diagnosis methods, treatment options, and offering prevention tips to keep your nails looking their best. What Are White Spots on Nails? Defining Leukonychia Leukonychia refers to the white discolorations that can appear on the nails. These spots can vary greatly in appearance, from tiny, pinpoint dots known as punctate leukonychia to larger, more diffuse areas known as partial or total leukonychia, depending on the extent of the white area over the nail. Common Myths and Facts There’s a common misconception that white spots are always a sign of calcium or zinc deficiency. However, they are more frequently attributed to minor nail trauma or could be indicative of a fungal infection, especially when accompanied by other symptoms like thickening or changes in nail shape. The Root Causes Identifying the cause of white spots is crucial for effective treatment and prevention. Nutritional Deficiencies Although not as common as once thought, deficiencies in certain nutrients, such as zinc or calcium, can occasionally manifest as white spots on the nails. Physical Trauma The most frequent cause of white spots is minor trauma to the nail matrix, the part of the nail bed that produces cells that become the nail plate. This trauma can occur from something as simple as aggressive manicure techniques, nail biting, or even typing. Fungal Infections Fungal infections, particularly those caused by dermatophytes, can lead to white spots. These infections may also cause the nail to become thick, brittle, or discolored. Allergic Reactions Allergic reactions to nail polish, hardeners, or nail polish removers containing harsh chemicals can also lead to white spots. Switching to hypoallergenic or less harsh products can help prevent their recurrence. How to Diagnose White Spots on Nails Professional Diagnosis If white spots on your nails are persistent or accompanied by other symptoms, it’s important to seek a professional diagnosis. A dermatologist can provide a thorough examination, possibly including a fungal culture or biopsy, to determine the exact cause. Home Observation Tips For white spots that are clearly linked to a minor injury and are not spreading or changing in appearance, home observation may be sufficient. Monitoring for changes in the nail’s color, texture, or thickness can help decide when professional advice is necessary. Effective Treatments and Remedies Over-the-Counter Solutions For fungal-related white spots, antifungal creams or polishes can be effective. It’s important to apply these treatments as directed and for the full course, even if the spots appear to improve, to ensure the infection is fully eradicated. Prescription Medications In cases of severe fungal infections, prescription oral antifungals may be necessary. These medications can have side effects, so they’re typically used when other treatments haven’t been successful. Natural and Home Remedies Applying tea tree oil, known for its antifungal properties, can be an effective natural treatment for fungal-induced white…

The Magic Of Hair Mascara
The Magic of Hair Mascara

Hair mascaras are temporary hair colors designed to cover gray roots, touch up between coloring sessions, add highlights, or control frizz and flyaways. Available in many shades, these products wash out with each shampooing session. To use hair mascara, separate a section of your hair and streak it with the color you desire. As it dries, the product will blend in seamlessly with your natural hue. Cover Your Gray Brush-In Wand Coverup solution designed specifically to target sideburns and scattered gray hairs throughout your locks, this wand features a mascara-style applicator which makes application simple – no water required; simply open and apply without mattifying or clumping, lasting all day until being washed off easily with shampoo. Available in four shades, this waterproof formula is sweat proof and rain proof and provides three shampoo applications of coverage. Comb hair after application to blend into existing hue. Also works well on eyebrows! Ingredients: Water/Aqua/Eau, Stearic Acid, Cetearyl Alcohol Ceteareth-20 Paraffin Triethanolamine Polyvinyl Alcohol Imidazolidinyl Urea Phenoxyethanol Propylene Glycol Mica Titanium Dioxide CI 77891 Iron Oxides CI 77492/CI 77499. Instructions for short hair include dabbing on short strokes using short strokes while long hair sectioned holds are applied from root to end before combing and brushing off. Permanent hair color! Temporary! Mascara for Hair Flyaways Hair mascara is a temporary (washable) solution to add temporary (and washable) color to the scalp for various uses. Like eyelash mascara, hair mascara comes in a tube with a thin wand for combing through hair to add color and create different styles – from covering gray locks or adding highlights/lowlights, to touching up roots between haircuts or adding an unexpected pop of color for special events! Hair mascara comes in an assortment of vibrant hues that can be streaked for temporary highlights to achieve an eye-catching up-do. Unlike permanent dyeing techniques, however, this form of application washes out easily without leaving behind any color residue behind. If you find yourself struggling to control flyaways, a bit of clear hair mascara may be just the thing! Coat a clean mascara wand with several drops of this product and then use it to smooth through any flyaways before combing through them for maximum control before an important meeting or event. This trick is especially effective at controlling frizz before key events! Another effective solution to flyaways is using heatless products to tame and smooth your locks. A small dab of multipurpose balm like Vaseline, Jurlique Love Balm or Nurse Peppy Healing Balm works wonders when it comes to smoothing flyaways without using hot tools. You could also try running an old toothbrush through your locks to smooth any unruly strands, or applying some clear gloss as an added measure to keep flyaways at bay and stop them sticking together with the rest of your locks. If you are struggling with grey hair or beard hairs, a high quality hair mascara could be just the solution! Brush on within minutes for instantaneous coverage that washes away with shampoo. Also perfect for adding subtle highlight or controlling an entirely grey beard! Mascara…

Unveiling The Luminous Secrets A Guide To Highlighter Mastery
Unveiling the Luminous Secrets: A Guide to Highlighter Mastery

In the cosmetic realm, highlighters stand as pivotal enhancers, casting a luminescent aura that subtly alters one’s appearance through precise application. These indispensable tools not only spotlight your most flattering traits but also simulate a sculpted, vigorous allure. Our discourse delves into the enchanting world of highlighters, offering insights and methodologies to imbue your visage with a glow that is both mesmerizing and inherently natural. Deciphering the Charm of Highlighters At its essence, highlighting is an art form that accentuates facial regions kissed by natural light, fostering an impression of radiance and elevation. The adept selection of a highlighter can bestow upon your complexion a semblance of dewiness and vitality, rendering it a crucial element in your beautification arsenal. Whether your aim is a whisper of shimmer or a bold radiance, grasping the foundational principles of highlighter application can catapult your cosmetic prowess to unprecedented levels. Diverse Highlighter Varieties The spectrum of highlighters is broad, encompassing various textures each suited to specific outcomes and levels of shine. Powder Highlighters: Ideal for those with oily complexions, they afford a subtle glow that can be intensified as desired. Cream Highlighters: Meld with the skin for a dewy, ethereal finish, perfect for dry or aging skin types. Liquid Highlighters: The epitome of versatility, these can be blended with foundation for a comprehensive luminous effect, catering to all skin varieties. Harmonizing Highlighter with Skin Hue The selection of a highlighter that synergizes with your skin tone is paramount for a glow that seems to emanate from within. Pale complexions are complemented by highlighters in pearl or champagne shades. For medium skin tones, peach or gold highlighters impart warmth and vibrance. Deep skin tones are beautifully enhanced with touches of rose gold or bronze. Masterful Application for Radiant Results The secret to an impeccable glow lies in the technique of application. Employ a fan brush to lightly dust powder highlighters, while fingers or a sponge are perfect for the application of cream and liquid forms. Concentrate on the facial high points – the cheekbones, brow arches, nasal bridge, and cupid’s bow. Highlighting Tailored to Facial Geometry Adapting your highlighting strategy to your face shape can significantly amplify your features. Oval Faces: Emphasize the cheek and brow bones to highlight natural contours. Round Faces: Illuminate the top of the cheekbones and temples to impart definition. Square Faces: Soften angularity by highlighting above the cheekbones, drawing attention towards the eyes. Heart-shaped Faces: Draw light to the lower cheekbones and forehead center to harmonize facial proportions. Expanding Highlighting to Embellish Further Highlighters transcend facial boundaries, offering enhancements to the eyes, lips, and body. Eyes: Brighten by applying highlighter to the inner corners and beneath the brow arch. Cheeks: Elevate cheekbones with a strategic shimmer. Lips: A touch on the cupid’s bow creates the illusion of fullness. Adapting Highlighter for Day and Night Tailor your highlighter application to the occasion – a subdued glow for daywear and intensified luminance for evening elegance. Innovative Highlighter Tricks for a Bewitching Aura Incorporate liquid highlighter into your foundation for a radiant complexion, or repurpose…

A Guide To Safely Lightening Your Skin Tone: Methods And Precautions
A Guide to Safely Lightening Your Skin Tone: Methods and Precautions

Skin tone can vary due to various factors, including genetics, sun exposure, and hormonal changes. Some individuals may desire a lighter skin tone for personal or cultural reasons. While there are several methods to achieve a lighter complexion, it is essential to approach skin lightening with caution and prioritize safety. In this comprehensive guide, we will explore various methods to lighten your skin tone, along with essential precautions to maintain skin health and avoid potential risks. Sun Protection:One of the most effective and safest ways to maintain a lighter skin tone is by protecting your skin from the harmful effects of the sun’s ultraviolet (UV) rays. UV radiation stimulates the production of melanin, the pigment responsible for skin color. Consistently using broad-spectrum sunscreen with a high SPF (30 or above) and seeking shade during peak sun hours can prevent excessive melanin production and help maintain a lighter complexion. GO TO THE NEXT PAGE TO CONTINUE… Topical Skin Lightening Products:There are numerous over-the-counter skin lightening products that contain ingredients such as hydroquinone, kojic acid, arbutin, and vitamin C. These ingredients work by inhibiting melanin production, leading to a gradual lightening of the skin. However, it is crucial to use these products with caution and follow the recommended usage instructions to avoid potential side effects such as irritation, redness, or skin sensitivity. Natural Remedies:Some natural ingredients are believed to have skin-lightening properties. For example, lemon juice, a natural source of vitamin C, is thought to have a mild bleaching effect. However, it’s essential to be cautious when using natural remedies, as some can cause skin irritation or even worsen pigmentation in certain individuals. Perform a patch test before applying any natural remedy to a larger area of your skin. Chemical Peels:Chemical peels are cosmetic treatments that involve applying a chemical solution to the skin, causing it to exfoliate and eventually peel off. This process can help improve skin tone and texture, leading to a lighter and more even complexion. However, chemical peels should be performed by a licensed professional, as they can cause skin irritation and are not suitable for all skin types. Laser Treatments:Laser treatments, such as laser resurfacing and intense pulsed light (IPL) therapy, can target melanin and dark spots in the skin, leading to a more even skin tone. These treatments should only be performed by trained dermatologists or cosmetic surgeons to avoid complications and ensure optimal results. Microneedling:Microneedling is a procedure that involves using tiny needles to create controlled micro-injuries in the skin, promoting collagen production and skin rejuvenation. It can improve skin texture and may help fade hyperpigmentation, leading to a more radiant and lighter skin tone. However, microneedling should be performed by a qualified professional to minimize the risk of infection and scarring. Precautions: Consult a Dermatologist:Before embarking on any skin-lightening journey, it is crucial to consult a dermatologist. A qualified dermatologist can assess your skin type, discuss your desired results, and recommend appropriate treatment options based on your skin’s specific needs. This consultation is essential to ensure that you choose safe and effective methods tailored to your…

Creating An Editorial Makeup Look Tips And Tricks For A High Fashion Look
Creating an Editorial Makeup Look: Tips and Tricks for a High-Fashion Look

Editorial makeup transcends the boundaries of everyday beauty, venturing into the realms of art and high fashion. It’s where creativity knows no bounds, and makeup artists unleash their imagination to create looks that are not just beautiful but tell a story. Whether for magazine spreads, fashion shows, or brand campaigns, editorial makeup is about making a statement and leaving a lasting impression. This guide will walk you through the essentials of creating captivating editorial makeup looks, from the tools you need to the techniques that will set your work apart. Understanding Editorial Makeup Editorial makeup is distinguished by its innovation and artistic flair. It’s about pushing boundaries, experimenting with textures, colors, and shapes to create looks that are often bold, sometimes surreal, and always impactful. The evolution of editorial makeup reflects the changing trends in fashion and art, constantly challenging and redefining beauty standards. Essential Tools for Editorial Makeup The right tools are your best allies in crafting editorial looks. High-quality brushes and applicators ensure precision and ease of application, while specialty products like pigmented shadows, vibrant liners, and unique textures allow for endless creativity. Investing in a diverse makeup kit will enable you to bring any vision to life. Mastering the Base A flawless base is the canvas for any makeup look, especially in editorial where perfection is key. Choosing the right foundation formula and applying it with skill can make all the difference. Techniques like layering, blending, and setting are crucial for a base that complements rather than competes with your creative elements. The Art of Eye Makeup Eye makeup in editorial looks can be daring and dramatic. Bold shadows, graphic liners, and false lashes are often used to create eye-catching designs. Mastering innovative techniques, such as cut-creases, bold color blocking, and intricate liner work, can elevate your makeup artistry. Sculpting with Contours and Highlights Contouring and highlighting are powerful techniques to shape and define the face. In editorial makeup, they can be used more artistically to exaggerate or alter facial features, playing with light and shadow to achieve the desired effect. Choosing the right shades and blending meticulously are key to a sculpted, high-fashion look. Lip Makeup for Editorial Looks Lips are a focal point in many editorial looks, whether the goal is a bold statement or a subtle enhancement. Selecting the right color and texture to complement the overall theme is essential. Tips for precise application and ensuring longevity will help your lip makeup stand out and last through long photoshoots. Adding Drama with Textures and Glitters Textures and glitters can add a unique dimension to editorial makeup. From glossy finishes to metallic foils, incorporating different textures can create depth and interest. Safe application techniques are important, especially when working with glitters, to achieve a dramatic effect without compromising safety. The Role of Color Theory in Editorial Makeup A deep understanding of color theory can elevate your editorial makeup by ensuring harmony or deliberate contrast within your look. Using color to evoke emotions or convey a theme is a powerful tool in your artistic arsenal. Blending Techniques for…