Achieving a Flawless At-Home Manicure: Tips and Tricks for Beautiful Nails

Achieving a Flawless At-Home Manicure: Tips and Tricks for Beautiful Nails

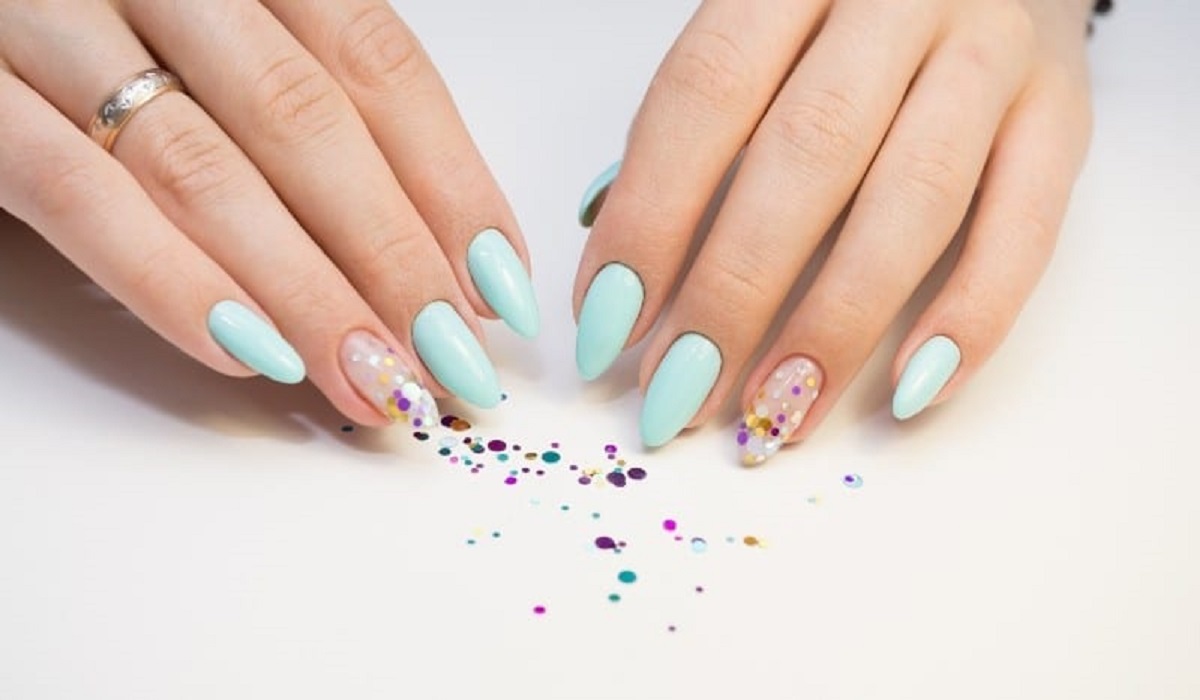
A well-manicured set of nails can enhance your overall appearance and boost your confidence. While visiting a salon for a professional manicure is a popular option, there are times when an at-home manicure is more convenient and cost-effective. With the right techniques and tools, you can achieve salon-quality results from the comfort of your own home. In this article, we will explore a variety of tips and tricks to help you achieve a flawless at-home manicure, ensuring beautiful and well-groomed nails.

Prepping Your Nails:
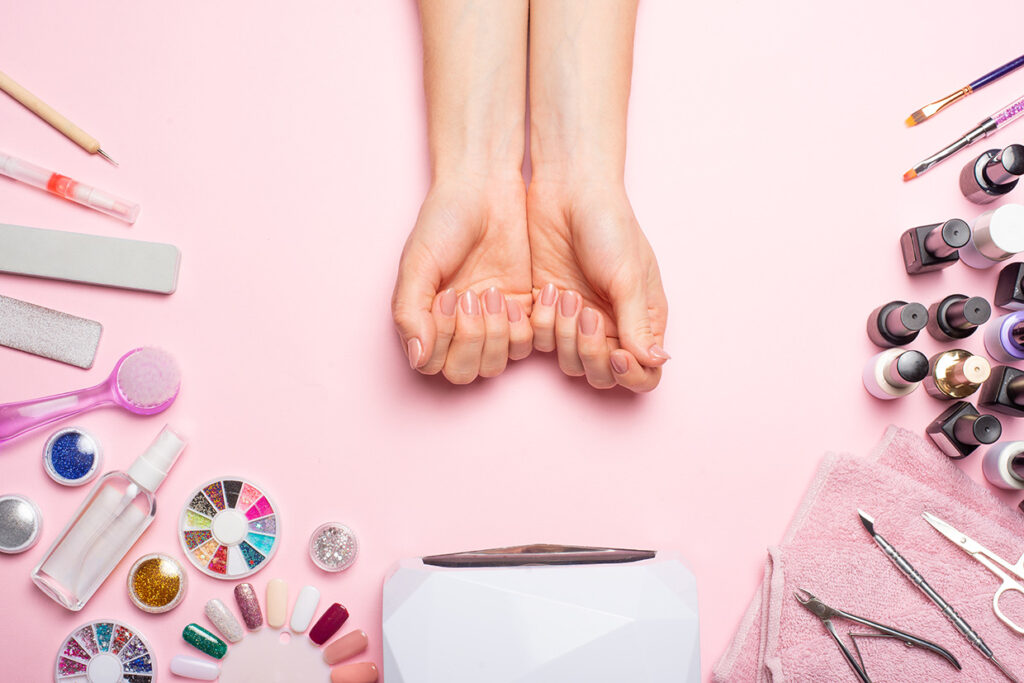
The key to a flawless manicure lies in the preparation of your nails. Start by removing any existing nail polish using an acetone-based remover. Trim your nails to the desired length and file them to shape. Gently push back your cuticles using a cuticle pusher or an orangewood stick, being careful not to damage or cut them.

Soaking and Exfoliating:
For an added pampering step, soak your nails in warm, soapy water for a few minutes. This softens the cuticles and makes them easier to push back or remove. After soaking, use a gentle exfoliating scrub or a soft toothbrush to gently scrub your hands and nails, removing any dead skin cells and leaving your skin feeling smooth and rejuvenated.

Choosing the Right Nail Polish:
Selecting the right nail polish is crucial for a flawless manicure. Look for polishes that have a smooth and even consistency, as this will make the application process easier. Opt for high-quality brands that offer a wide range of colors and finishes. If you’re new to doing your own manicures, consider starting with a classic shade that is forgiving and easier to apply evenly.
Achieving a Flawless At-Home Manicure: Tips and Tricks for Beautiful Nails

Proper Application Techniques:
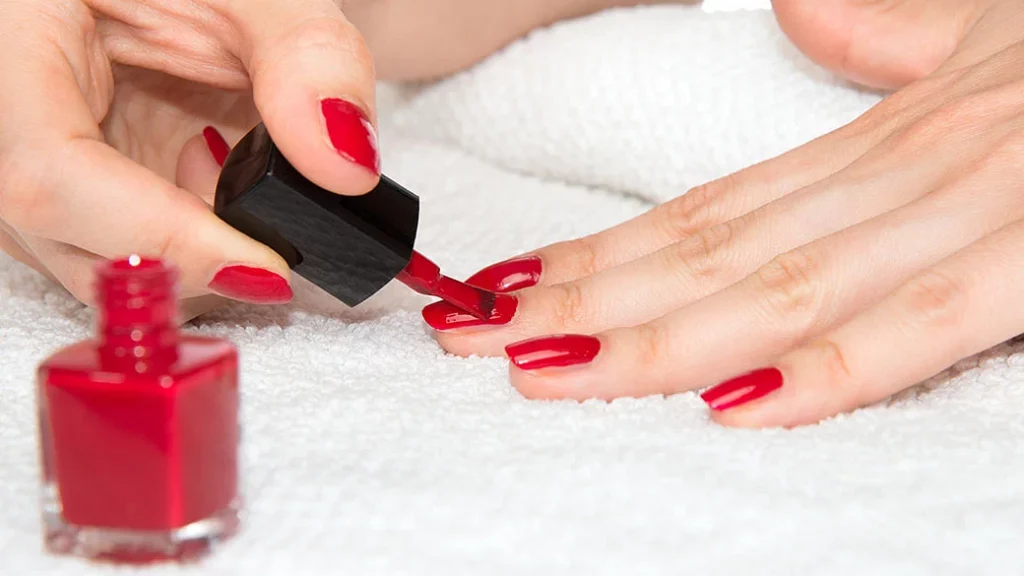
When applying nail polish, use thin and even coats to achieve a smooth and streak-free finish. Begin with a base coat, which helps protect your nails and prevents staining. Apply two coats of your chosen nail polish color, allowing each coat to dry completely before applying the next. Finish off with a top coat to seal the color and add shine. Ensure that you cover the entire nail surface, including the tips, for maximum longevity and a polished look.

Cleaning Up Mistakes:
No matter how careful you are, it’s common to make small mistakes during the nail polish application process. To clean up any smudges or excess polish around the edges, dip a small brush or an angled eyeliner brush into nail polish remover and carefully clean up the mistakes. Alternatively, you can use a cotton swab dipped in nail polish remover to remove any stray polish.

Drying Time:
Patience is key when it comes to allowing your nails to dry. Wait for each coat of polish to dry completely before proceeding with the next layer or any activities that may risk smudging your nails. To speed up the drying process, you can use a quick-dry top coat or apply a nail polish drying spray.

Hydrating and Nourishing:
After your manicure is complete, it’s important to hydrate and nourish your nails and cuticles. Massage a cuticle oil or a moisturizing hand cream into your nails and cuticles to keep them healthy and prevent dryness. Regularly moisturizing your nails will help maintain their strength and flexibility, preventing breakage and promoting overall nail health.

Maintenance and Touch-Ups:
To extend the longevity of your manicure, take proper care of your nails. Wear gloves while doing household chores or tasks that may expose your nails to excessive water or harsh chemicals. Avoid using your nails as tools, as this can cause them to chip or break.

Achieving a flawless at-home manicure is within your reach with the right tools, techniques, and a little patience. By following these tips and tricks, you can create beautiful, salon-quality nails from the comfort of your own home. Remember to properly prep your nails, choose high-quality polishes, and apply thin, even coats for a smooth finish. Take the time to clean up any mistakes and allow each layer to dry fully before proceeding. Hydrating and nourishing your nails and cuticles will help maintain their health and strength. With proper maintenance and care, your at-home manicure can last longer and keep your nails looking fabulous. So, gather your favorite polishes, set aside some dedicated time, and enjoy the rewarding experience of achieving a flawless manicure right at home.

The Essential Benefits Ofeye Care Masks
The Essential Benefits of Eye Care Masks

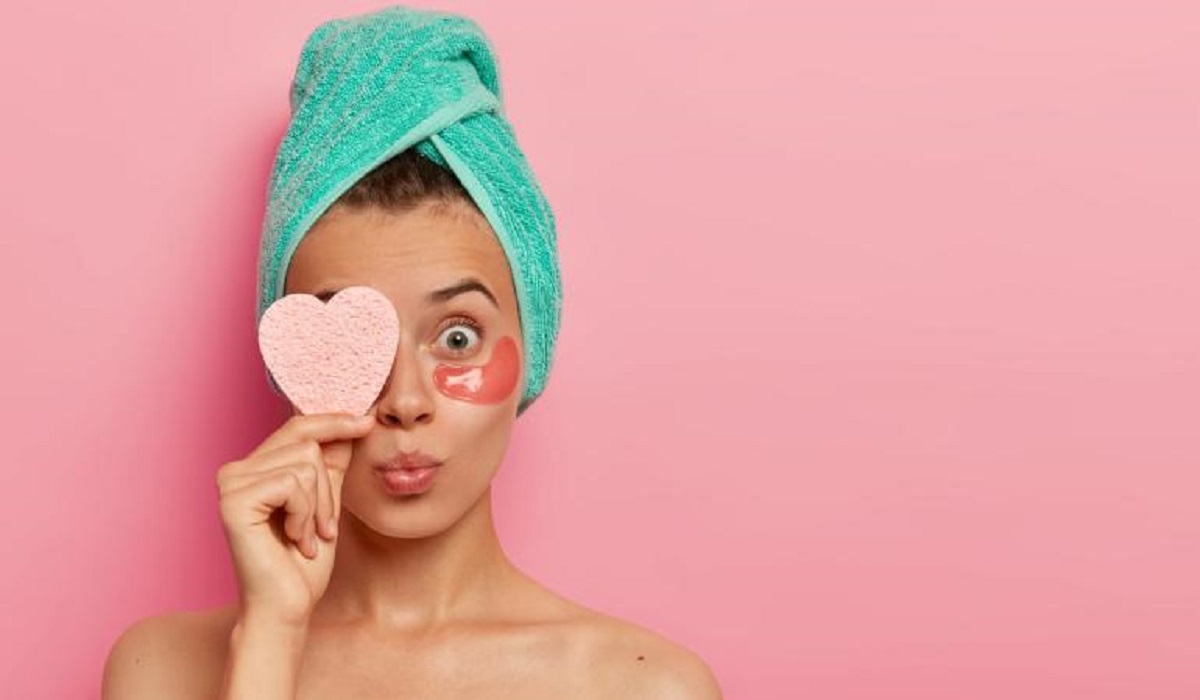
The pursuit of personal wellness and self-care has led to the rediscovery and appreciation of traditional and innovative health aids. Among these, eye care masks stand out as a versatile and effective means to protect, nourish, and rejuvenate the delicate skin around the eyes, as well as addressing various aspects of visual and mental health. This detailed guide delves into the numerous advantages of eye care masks, offering insights on how their regular use can become a cornerstone of your wellness routine. Decoding Eye Care Masks Eye care masks, with their varied designs and functionalities, cater to a broad spectrum of needs, from enhancing sleep to mitigating visual discomfort. They range from gel-filled masks, which can be used hot or cold, to heated masks that soothe dry eyes, and sleep masks that ensure darkness for a restful night. Understanding the specific benefits and uses of each type of mask is the first step in harnessing their full potential. Gel Masks: Cooling Comfort and Warm Relief Gel masks serve a dual purpose. Chilled, they are perfect for reducing inflammation, puffiness, and the discomfort of allergies, acting as a quick refreshment for tired eyes. Warmed, they promote blood circulation, speeding up recovery from eye strain and facilitating relaxation. This versatility makes gel masks an indispensable tool in eye care, blending comfort with therapeutic benefits. Heated Masks: The Soothing Embrace In our digital age, heated eye masks have become invaluable for those battling dry eye syndrome, a direct consequence of prolonged exposure to screens. The gentle, consistent warmth encourages tear production, alleviating the discomfort of dryness. Beyond physical relief, the warmth of these masks relaxes the facial muscles, easing stress, and setting the stage for a peaceful night’s sleep. Sleep Masks: Guardians of Your Sleep Cycle Sleep masks are more than just barriers to light; they are instruments for enhancing sleep quality. By simulating darkness, they signal the brain to produce melatonin, the hormone responsible for sleep cycles, helping you achieve deeper and more restorative sleep. For anyone living in brightly lit environments or struggling with sleep quality, a sleep mask is an essential tool for health and well-being. Visual Health Benefits: Beyond the Surface The regular use of eye care masks addresses the immediate effects of digital eye strain, including dryness, redness, and general discomfort. These symptoms, if left unchecked, can lead to more significant eye health issues over time. Moreover, the preventive care provided by these masks can slow the signs of aging around the eyes, preserving the skin’s youthful appearance and vitality. Mental and Physical Wellness: The Broader Impact The act of applying an eye mask can become a ritual of self-care, signaling the body to transition into a state of relaxation and recovery. Heated and weighted masks, in particular, can mimic the comforting pressure of a gentle hug, reducing anxiety and promoting a sense of well-being. This holistic approach to health recognizes the interconnectedness of physical comfort, mental calm, and emotional stability. Incorporating Eye Care Masks into Your Routine Selecting the right eye care mask is a personal journey, dependent on…

What Is A Charcoalmask
What Is a Charcoal Mask?

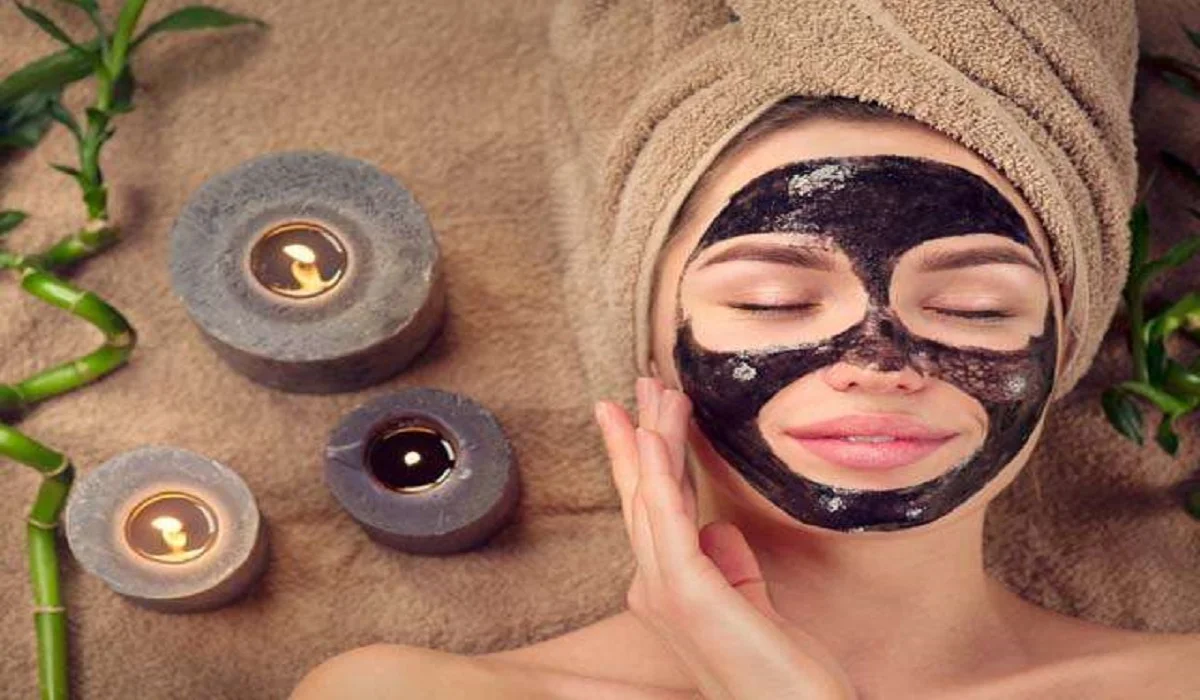
The beauty and skincare realm has witnessed a remarkable surge in the adoption of charcoal masks, celebrated for their profound cleaning and detoxifying capabilities. But the question arises, what are charcoal masks, and how do they perform their skin-transforming feats? In this discussion, we demystify the concept of charcoal masks, delving into their merits, varieties, and the optimal way to integrate them into your skincare regimen. The Scientific Foundation of Charcoal MasksAt the heart of charcoal masks lies activated charcoal, renowned for its ability to function as a magnet, drawing in and ensnaring dirt, oil, and toxins from the epidermis and its underlying pores. The porous characteristic of activated charcoal facilitates the entrapment of these contaminants, which are subsequently eliminated upon the removal of the mask. Key Components in Charcoal MasksIn addition to activated charcoal, these formulations typically incorporate other elements such as clays, tea tree oil, or salicylic acid, each chosen for its capacity to augment the mask’s purifying and calming effects. These ingredients collectively work to diminish oiliness, ward off acne, and pacify the skin. Detoxification Mechanism of Charcoal MasksThe detoxifying procedure employed by charcoal masks is straightforward yet potent. As the mask dries, activated charcoal attracts and captures impurities lodged within the pores, not only cleansing the skin but also minimizing pore visibility and thwarting future acne outbreaks. Varieties of Charcoal MasksCharcoal masks come in various formats, catering to individual preferences and skin needs, each with its distinct application and removal methodology. Peel-off VariantsDesigned to harden upon application, these variants form a peelable layer that, upon removal, strips away dead skin cells and surface debris. Wash-off VariantsThese are rinsed off with water, offering a milder detoxification alternative, ideal for sensitive skin types or those seeking a less intense cleansing experience. Sheet Mask VariantsThese blend the convenience of a no-mess application with the hydrating benefits of a fabric sheet mask, enriched with activated charcoal. Advantages of Charcoal MasksIncorporating charcoal masks into your skincare routine promises a myriad of benefits: Optimal Application of Charcoal MasksFor maximum efficacy, it’s vital to adhere to correct application practices. Preparation and Application:Initiate with a cleansed face, ensuring even application while steering clear of the eyes and lips. Duration and Frequency:Maintain the mask for the suggested duration—typically 10 to 20 minutes—and limit use to once or twice weekly for optimal skin health. Post-Application Care:Conclude with a moisturizer to hydrate and seal in the mask’s benefits. Potential Adverse Effects and SafeguardsGenerally, charcoal masks are safe for most skin types, though some individuals may encounter dryness or irritation. Awareness of Side Effects:Being cognizant of potential adverse effects equips users to manage them effectively. Risk Mitigation:Conduct a patch test prior to using a new charcoal mask, especially for sensitive skin, and meticulously follow usage instructions. DIY Charcoal Mask FormulationsFor enthusiasts of homemade skincare solutions, here are straightforward recipes for crafting your charcoal masks. Simple DIY Charcoal Mask:Combine activated charcoal powder with aloe vera gel for a calming, purifying mask. Charcoal Mask for Acne-Prone Skin:Blend activated charcoal with tea tree oil and water to target acne while soothing the skin….

Eyebrow Powder 1
Eyebrow Powder: Unveiling the Secret to Perfectly Defined Brows

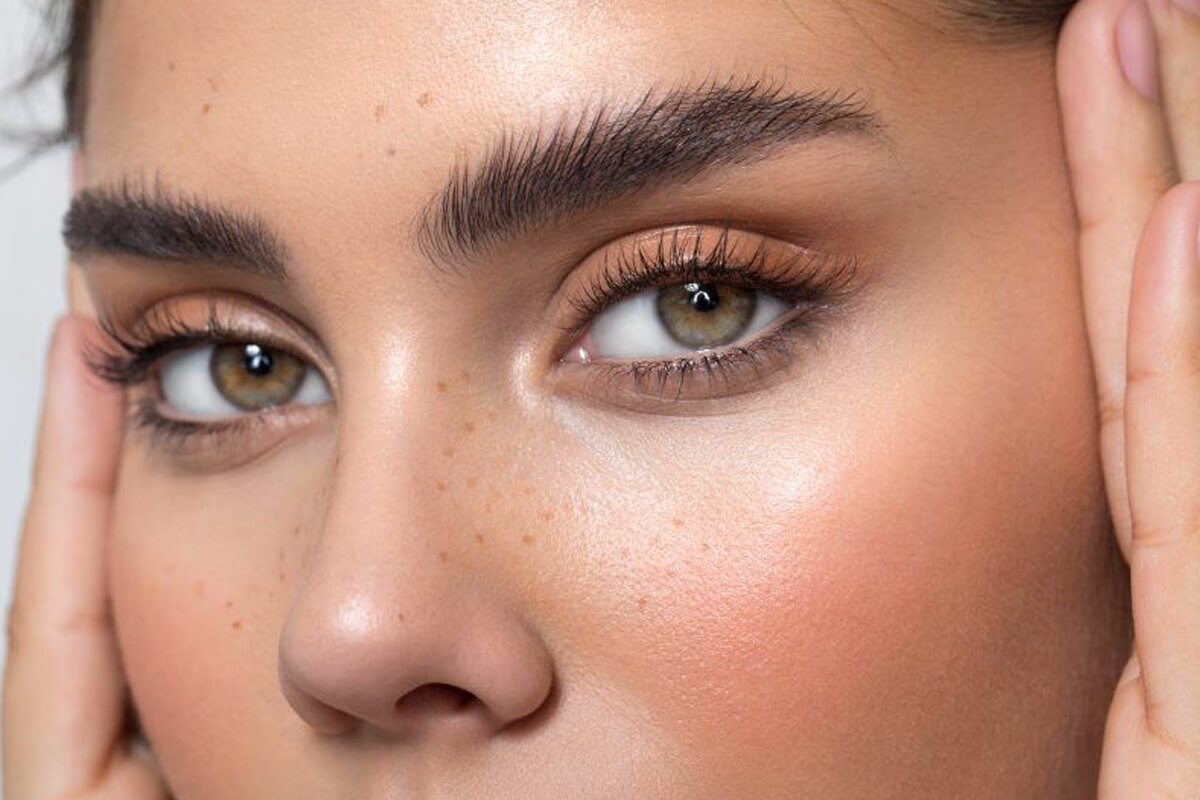
Beauty tools and products aim to enhance our features, but few rival the transformative power of perfectly defined eyebrows. One such cosmetic marvel that has gained widespread acclaim for shaping, filling and defining eyebrows with precision is eyebrow powder – we will dive into its world here by unmasking its mysteries as well as offering advice for how you can use this cosmetic marvel effectively to achieve perfectly arched arches! Whether you’re an experienced user looking for ways to advance their game or an amateur hoping to enhance them further – read further to uncover its art of eyebrow powder use! Chapter 1 : Understanding Eyebrow Powder As part of our exploration of eyebrow powder, we begin with its essence. What sets eyebrow powder apart from other brow products is its distinctive formulation and texture: unlike pencils or gels, eyebrow powder comes in soft powder form for seamless blending. This fine texture is celebrated for its versatility, enabling users to achieve both natural and dramatic eyebrow looks effortlessly. Brow powder stands out for its naturalistic results and delicate application process, making it the ideal option for those seeking subtle enhancement. Eyebrow powder can help create everyday elegance or dramatic transformation; discover all its potential by uncovering its secrets! See how using it will boost your brow game to new levels! Chapter 2: Why Use Eyebrow Powder? Eyebrow powder is an indispensable makeup essential with incredible power to transform the shape and thickness of brows. It serves multiple roles within beauty; one key function being filling sparse areas to give an illusion of fuller and thicker brows. No matter whether your eyebrows have been overplucked, have naturally thin brows, or simply require bolder arches, eyebrow powder is an invaluable way to create the appearance of lush and well-defined arches. Additionally, this soft, finely milled powder excels at shaping brows by offering structure and precision for creating the ideal arch. Furthermore, its blendability enables both natural and bold looks based on individual preferences. Eyebrow powder is known for providing a soft, natural look – ideal for those who favor subtle makeup applications. Furthermore, this versatile yet transformative product empowers users to shape and define brows with grace. Chapter 3: Choosing a Shade Discovering your ideal eyebrow powder shade is key to creating natural-looking and harmonious brows. Finding it requires understanding your hair color, undertone and skin tone as the key indicators. If you have blonde hair, opt for shades that highlight its warmth, such as soft taupe or light brown. Auburn/red haired individuals should select hues with warm undertones like ginger browns. Finally, brunettes should choose deep brown or soft black shades for an expertly polished appearance. Consideration should always be given to your skin’s undertone – warm, cool or neutral – in order to find colors which flatter it smoothly. Warm undertones require hues with golden or reddish undertones; those who fall within its cooling spectrum require shades with ashy or taupe hues as a base tone. Neutral undertones enjoy the freedom to experiment with colors that don’t lean too warm or cool,…

7 Essential Steps To Perfectly Filed Nails Elevate Your Manicuregame
7 Essential Steps to Perfectly Filed Nails: Elevate Your Manicure Game

Learn how to hone this skill for beautiful and healthy nails. Introduction Properly maintained nails are more than just a style statement; they’re a condition of one’s personal hygiene and one of the first things people notice about you in social and professional interactions. Whether you have an essential job interview, a critical date, or just want to look and feel your best, the state of your nails is bound to get noticed. This step-by-step guide is intended to help you master all of the aspects of nail filing, to guarantee that not only do they look fantastic but also remain healthy . The Critical Aspect of Nail Maintenance Why You Only Have One Chance to Make a First Impression? You might not be able to conduct business with someone or communicate your love for them immediately. But your nails don’t have that luxury – they touch everything you do: giving and receiving, opening bags of chips, flipping through books, and who knows what else. You may be unable to immediately establish a rapport with others, but you can always rely on your nails – whether they exude warmth and care or suggest “I got this far, what’re you going to do about it?.” However, it is not only a matter of passive stress relief and feeling good “in your skin” – it is a question of survival . The Meeting Point Between Beauty and Health Looking for the Best Fitting Nail Tools How to Figure Out the Grit Code Not all nail files are created equal; they come in different grit sizes and strengths to fit differing nails and filing requirements. While a grit size of around 240 is safe for everyone, as it is smooth enough to protect the nail bed and superior enough to file the nail successfully. Tools to Nail Types Once again, if one has weak or defective nails, a diamond file such as the Diamancel range may make all the difference. Do not be frightened by the phrase “diamond,” as most metal nail files are sharper and harmfully the nail surface more than ever. Glass is another good choice, but it is always more expensive due to its good quality. Glass files can be utilized on any kind of nail because they are not as PMY as other substances, and a gloss finish means that there are less chances that a nail will cut. The Nail Filing Art Although selecting the proper sort of nail file is essential, it is idle without proper filing procedure. People must never “saw” through their nails to remove them, as they will harm the nail edge and make them soft and simple to rip. Put a pointy edge back on the nail since the original is with no edges off to construct upon. Proper File Start by placing your hammer file at an angle on one file side. Pass the device of the file just over the nail. Achieve the desired form, focusing always on the edges in a gentle bevel with small balls beneath the files’ middle. Nail Forms:…

The Perfect Brush: Choosing The Right Tool For Applying Bronzer
The Perfect Brush: Choosing the Right Tool for Applying Bronzer

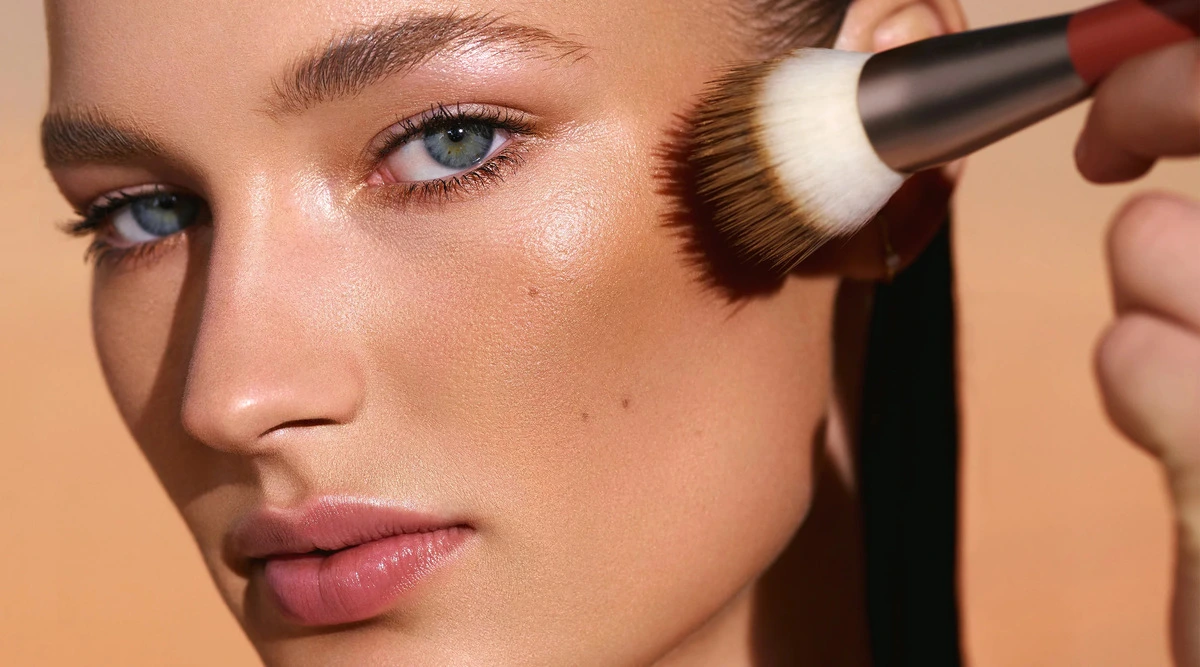
Bronzer is a versatile makeup product that adds warmth, dimension, and a sun-kissed glow to the face. When it comes to applying bronzer, using the appropriate brush is crucial for achieving a seamless and natural-looking result. The right brush will help you blend the product evenly, control the intensity, and ensure a flawless application. In this article, we will explore different types of brushes suitable for applying bronzer, helping you find the perfect tool to enhance your complexion. Fluffy Powder Brush:A fluffy powder brush is a versatile option for applying bronzer. Look for a brush with soft, densely packed bristles that allow for precise and even distribution of the product. The large surface area of the brush helps to blend the bronzer seamlessly, creating a natural and diffused look. Use gentle sweeping motions to apply the bronzer to the desired areas of your face, such as the cheekbones, temples, and jawline. Angled Brush:An angled brush is an excellent choice for contouring with bronzer. This brush has a slanted shape that follows the natural angles of your face, making it easier to sculpt and define the cheekbones and other facial features. The angled bristles provide more control and precision, allowing you to create a more defined and chiseled look. Use the brush to apply the bronzer in the hollows of your cheeks, along the hairline, and under the jawline, blending it out for a seamless finish. Fan Brush:A fan brush is ideal for achieving a subtle and diffused bronzing effect. This brush features soft, thin bristles fanned out in a shape that allows for a light application of product. The fan brush is particularly useful for those who prefer a more natural-looking bronzer or have fair skin. Gently sweep the brush over the areas where the sun naturally hits your face, such as the forehead, bridge of the nose, and tops of the cheekbones, for a soft and radiant glow. Kabuki Brush:A kabuki brush is a dense and compact brush with a rounded top, often used for applying powder products. It works well for bronzer application, especially if you prefer a more intense and concentrated color payoff. The dense bristles pick up and deposit more product, allowing you to build up the bronzer gradually. Use small circular motions to blend the bronzer onto the areas you want to enhance, such as the cheeks and forehead, for a more dramatic effect. Tapered Brush:A tapered brush is a versatile option for bronzer application, especially if you want to add depth and dimension to specific areas of your face. This brush features soft bristles that come to a pointed tip, allowing for precise application and blending. It is especially useful for contouring the nose or creating a defined jawline. Use the tapered brush to apply bronzer to the sides of your nose, under the cheekbones, or along the jawline, blending it out for a seamless finish. Duo-Fiber Brush:A duo-fiber brush, also known as a stippling brush, is a unique tool with a combination of long and short bristles. This brush creates a soft and airbrushed effect,…

The Art Of Blow Drying: History, Science, And Tips For Perfecting Your Technique
The Art of Blow Drying: History, Science, and Tips for Perfecting Your Technique

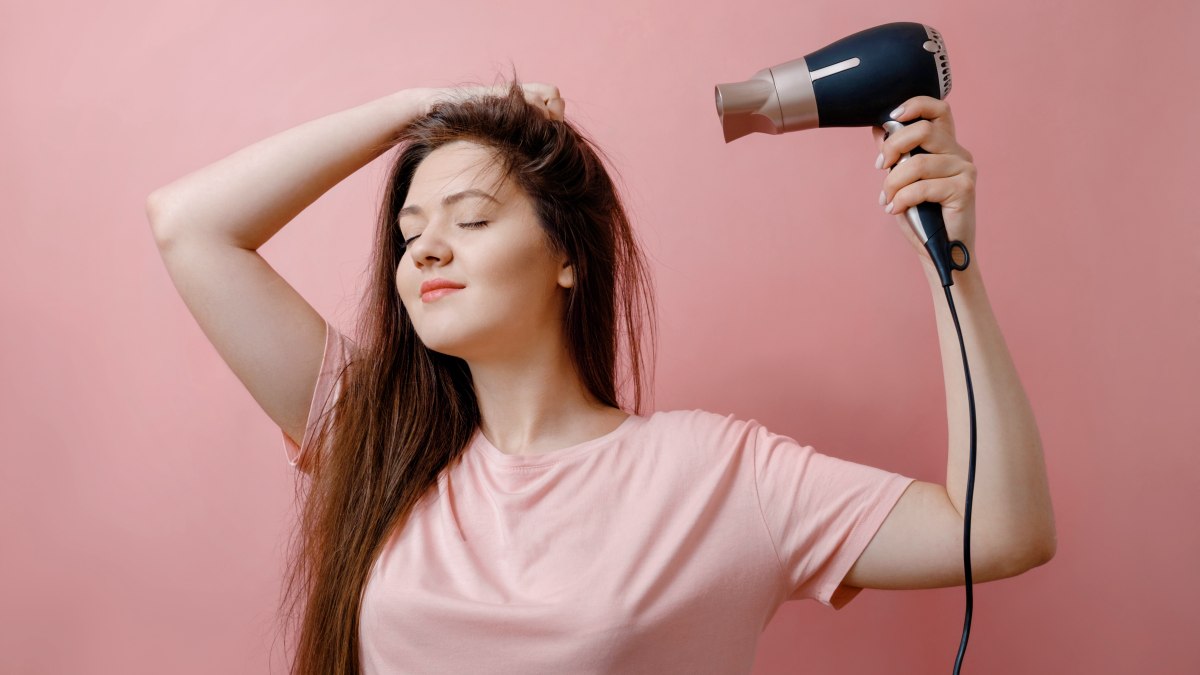
Blow drying is a staple in hair styling, and for good reason. It’s a quick and effective way to dry and style your hair at the same time, giving you the power to create a wide range of looks from sleek and straight to voluminous and curly. But have you ever wondered how blow dryers work or how they’ve evolved over time? In this article, we’ll explore the history and science of blow drying, as well as offer tips for using this versatile tool to achieve your desired style. How Blow Dryers Work At their core, blow dryers use a combination of heat and airflow to dry and style hair. The heating element inside the dryer heats up the air as it passes through, and the resulting hot air blows out of the nozzle and onto the hair. The speed and temperature of the airflow can be adjusted using the settings on the dryer. Most dryers have at least two speed settings (high and low) and two temperature settings (hot and cold). The high speed and hot temperature setting is typically used for drying wet hair quickly, while the low speed and cool temperature setting is used for setting a style or cooling down hair that’s been heated. In addition to the heating element and motor, blow dryers also have a filter to prevent dust and debris from getting sucked into the motor, and a nozzle to direct the airflow. Some dryers also come with attachments like diffusers or concentrators, which can be used to create different styles or enhance the natural texture of your hair. Tips for Using a Blow Dryer Blow drying your hair may seem straightforward, but there are a few tips and tricks that can help you get the best results. Here are some things to keep in mind: Prep Your HairBefore you start blow drying, it’s important to prep your hair properly. Start by washing your hair with a gentle shampoo and conditioner, then towel dry to remove excess water. If you have thick or curly hair, you may want to apply a leave-in conditioner or hair oil to help detangle and protect your strands from heat damage. Use the Right ToolsTo get the most out of your blow dryer, it’s important to use the right tools. This includes a quality dryer with adjustable settings, as well as any attachments (like a diffuser or concentrator) that you may need for your hair type and desired style. You’ll also want to have a round brush or a paddle brush on hand to help smooth and shape your hair as you dry. Divide and ConquerTo make blow drying easier and more effective, divide your hair into sections using clips or hair ties. Start at the back of your head and work your way forward, drying each section one at a time. This will help ensure that each section gets evenly dried and styled, and will also prevent you from getting tangled up in your own hair! Use the Right TechniqueTo get the best results with your blow dryer, it’s…

The One Layer Skincare Technique: Simplifying Your Skincare Routine For Maximum Effectiveness
The One Layer Skincare Technique: Simplifying Your Skincare Routine for Maximum Effectiveness

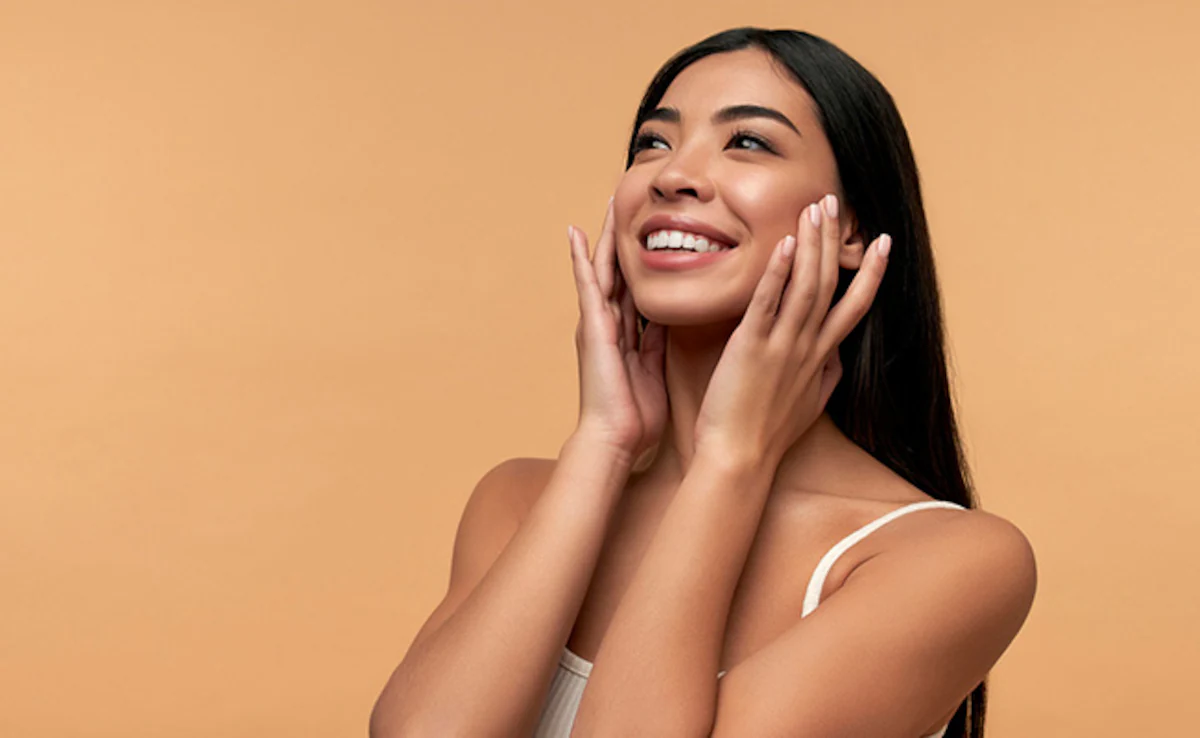
In the realm of skincare, one can easily become overwhelmed by the vast array of products, elaborate routines, and complicated techniques. However, there is a growing trend towards simplification and efficiency, giving rise to the ‘One Layer’ skincare technique. This minimalist approach aims to streamline your skincare routine while still providing maximum effectiveness. In this article, we will delve into the essence of the One Layer technique, discussing its benefits, step-by-step implementation, and the ideal products to use. So, get ready to simplify your skincare routine and achieve radiant, healthy skin! Understanding the One Layer Skincare Technique: The One Layer skincare technique is rooted in the belief that using fewer products, but with a strategic focus on high-quality, multi-functional formulations, can yield excellent results. Instead of piling numerous layers of products onto your skin, this approach emphasizes selecting a select few products that address multiple skincare concerns. By simplifying your routine, you can save time, money, and potentially reduce the risk of overwhelming your skin with an excessive number of ingredients. Step-by-Step Implementation: Identify your skin concerns: Begin by determining the primary skincare concerns you wish to address. Whether it’s dryness, acne, hyperpigmentation, or aging, understanding your skin’s specific needs will guide your product selection. Choose multi-functional products: Look for products that offer multiple benefits in a single application. For example, a moisturizer that also contains SPF can provide hydration, sun protection, and even a touch of coverage. Cleanse thoroughly: Start your routine with a gentle cleanser to remove dirt, oil, and impurities from the skin. Opt for a cleanser that suits your skin type, whether it’s oily, dry, or sensitive. Apply your core treatment: This step involves applying your primary treatment product, such as a serum or treatment essence, that targets your specific skin concerns. Look for ingredients like hyaluronic acid for hydration, vitamin C for brightening, or retinol for anti-aging. Moisturize and protect: Follow up with a moisturizer that provides hydration and locks in the active ingredients from the previous steps. Choose a moisturizer suitable for your skin type, whether it’s lightweight for oily skin or richer for dry skin. If your moisturizer doesn’t contain SPF, apply a broad-spectrum sunscreen as the final step to protect your skin from harmful UV rays. Recommended Products: When practicing the One Layer skincare technique, it’s crucial to choose products that offer a comprehensive range of benefits. Here are some recommendations: Multi-functional serum: Look for a serum that combines various active ingredients, such as antioxidants, peptides, and hyaluronic acid. This will provide hydration, anti-aging benefits, and promote overall skin health. Moisturizer with SPF: Opt for a moisturizer that includes broad-spectrum SPF protection. This will help streamline your routine by combining hydration, sun protection, and potentially even a tint or coverage. Gentle cleanser: Choose a cleanser that effectively removes impurities without stripping the skin of its natural oils. Look for ingredients like ceramides or hyaluronic acid to maintain moisture balance while cleansing. Targeted treatment: If you have specific skincare concerns, such as acne or hyperpigmentation, select a treatment product that addresses those issues directly. Ingredients…

Why Is It Called Makeup Primer What Are The Reasons To Use It
Why is it called Makeup Primer? What are the Reasons to Use It

In the expansive realm of beauty products, the makeup primer is heralded as a cornerstone item, offering benefits that transcend mere aesthetic enhancement. This exploration seeks to unravel the etymology of “makeup primer” and illuminate its indispensable role in cosmetic routines. Through an examination of its historical roots, functional science, and the myriad advantages it presents, this discourse aims to underscore the primer’s pivotal position in enhancing makeup application and skin quality. Essence and Purpose of Makeup Primer: Fundamentally, a makeup primer serves as an undercoat for foundation or other facial cosmetics, enhancing their application and endurance. It is specially designed to refine the skin’s texture, effectively minimizing pores, smoothing fine lines, and rectifying uneven skin tones. Origins and Etymology of Makeup Primer: Deriving from the Latin “primus,” meaning “first,” the term “primer” is traditionally associated with the initial layer applied in painting or construction to perfect the surface. Analogously, makeup primer readies the skin, establishing a foundational layer that enhances the adherence and finish of subsequent makeup layers. Delving into the Science of Makeup Primer Formulation Varieties and Selection: Available in silicone, water, or oil bases, primers are tailored to suit various skin types and issues. The ingredient composition is crucial, influencing the primer’s interaction with the skin and the longevity of makeup. Operational Mechanics of Makeup Primer: By creating a protective layer over the skin, primers smooth the skin’s surface and amend its texture, fostering a more uniform makeup application and extended wear. Rationale for Incorporating Makeup Primer Categorizing Makeup Primer Tailoring Primer Selection to Skin Type Optimization Tips for Primer Application Makeup Primer’s Significance in Professional Settings Emerging Trends and Innovations in Makeup Primer Makeup primer, akin to a preparatory layer in art, primes the skin’s canvas for a cosmetic masterpiece. By integrating a primer into your beauty regimen, you not only achieve enhanced durability and a seamless finish but also cater to particular skin needs. Grasping the underlying reasons for its usage and selecting the suitable variant for your skin type can revolutionize your approach to makeup, elevating it to an artistry level. What constitutes makeup primer, and its purpose?Primer smooths the skin, prolongs makeup wear, and improves application efficiency, earning its name as the preparatory step in makeup routines. Is it feasible to use makeup primer independently?Indeed, primer can be applied solo to refine the skin’s appearance without additional cosmetics. How does one select the appropriate makeup primer?Choose a primer based on your skin’s nature (oily, dry, combination) and specific concerns (pores, lines, redness).