Unveiling the Jelly Skin C-Beauty Technique: Radiant and Hydrated Complexion

Unveiling the Jelly Skin C-Beauty Technique: Radiant and Hydrated Complexion

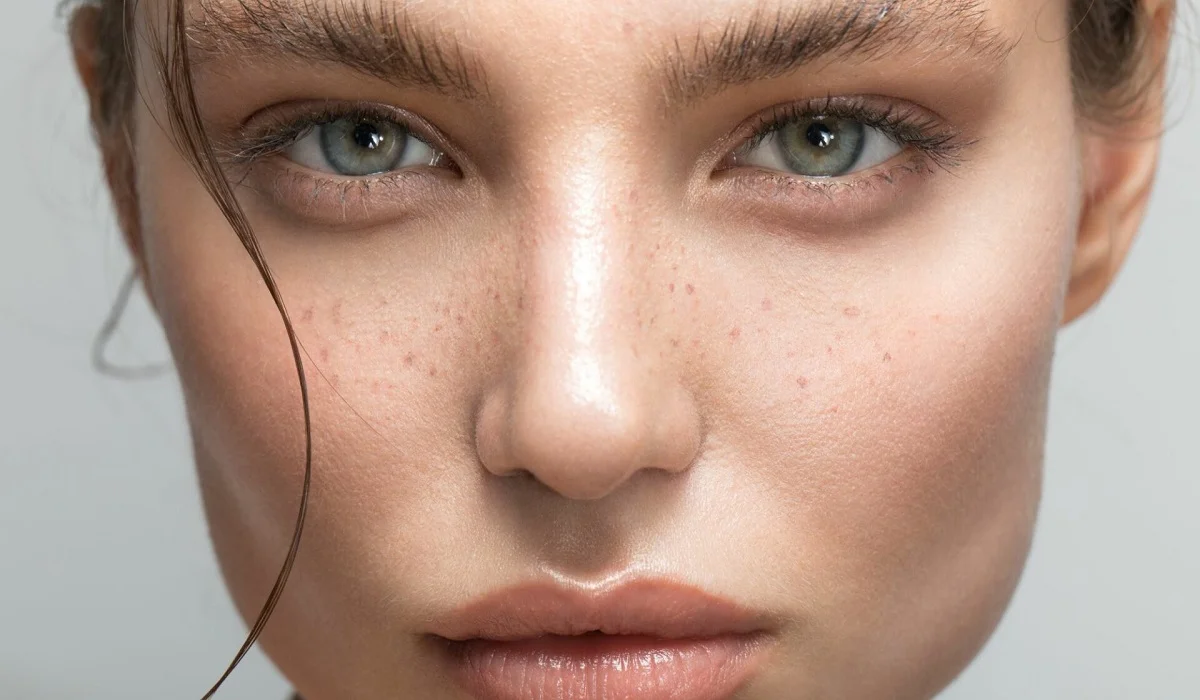
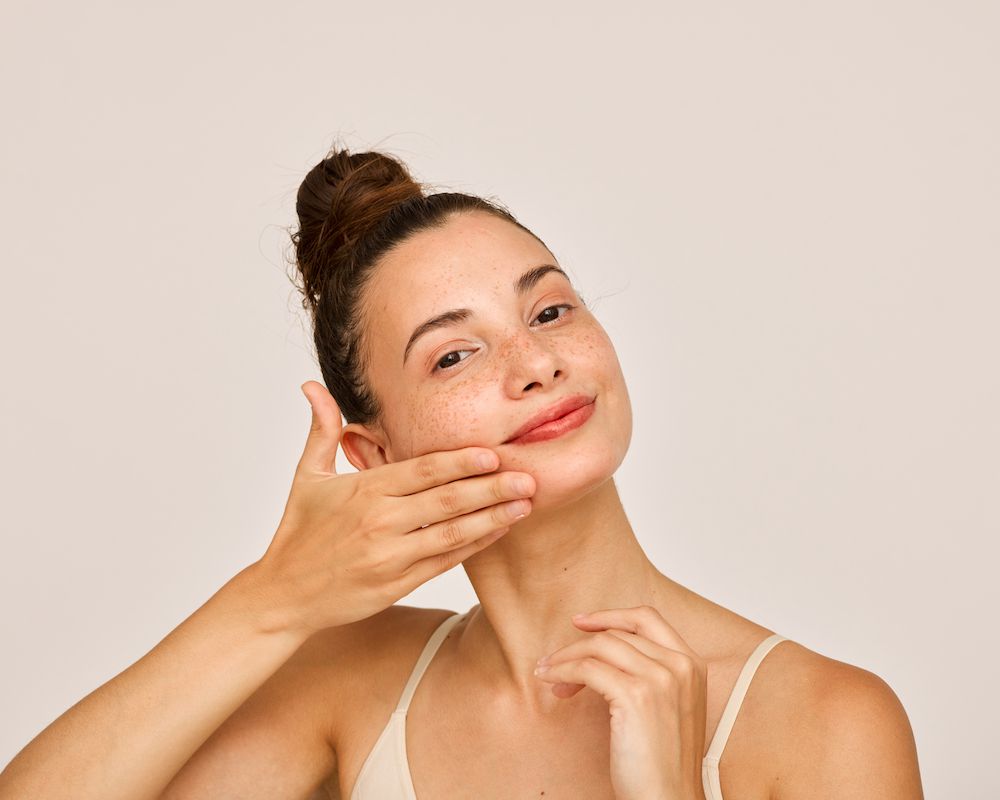
The world of skincare is constantly evolving, introducing innovative techniques and trends from different corners of the globe. One such trend that has gained significant popularity is the Jelly Skin C-Beauty Technique. Originating from China, this skincare approach focuses on achieving a radiant and hydrated complexion reminiscent of the plump and translucent appearance of jelly. In this article, we will delve into the concept of Jelly Skin, explore the steps involved in the C-Beauty Technique, and discuss the key benefits it offers for your skin.

Understanding Jelly Skin:
Jelly Skin refers to a dewy, translucent, and hydrated complexion that appears plump, supple, and radiant. Inspired by the smooth and bouncy texture of jelly, this skincare concept aims to achieve a youthful and healthy-looking appearance. Jelly Skin prioritizes hydration and focuses on enhancing the skin’s natural glow by nourishing it from within.

The C-Beauty Technique:
The C-Beauty Technique encompasses a multi-step skincare routine designed to achieve Jelly Skin. It involves a combination of meticulous cleansing, intensive hydration, and targeted treatments to promote a translucent and luminous complexion. Let’s explore the key steps involved in the C-Beauty Technique:

a. Double Cleansing: The C-Beauty Technique begins with a thorough double cleansing method, using an oil-based cleanser to remove makeup, SPF, and sebum, followed by a water-based cleanser to eliminate any remaining impurities. Double cleansing ensures a clean canvas for subsequent skincare steps.

b. Gentle Exfoliation: Exfoliation is crucial in the Jelly Skin C-Beauty Technique, but it focuses on gentle exfoliation rather than harsh scrubs. Enzyme-based or chemical exfoliators are preferred to remove dead skin cells and promote a smoother texture without causing irritation or stripping the skin.

c. Hydrating Toner: Hydration takes center stage in the C-Beauty Technique. A hydrating toner, often referred to as an essence or a lotion, is applied to infuse the skin with moisture and improve its ability to retain hydration. This step helps to plump the skin, creating a bouncy and resilient appearance.

d. Essence and Serums: Next, lightweight essences and serums are used to address specific skin concerns. These products contain concentrated active ingredients that target issues such as uneven skin tone, dullness, or fine lines. They penetrate deeply into the skin, promoting clarity and enhancing overall radiance.

e. Moisturizing and Sealing: Moisturization is essential in achieving Jelly Skin. A rich moisturizer is applied to replenish and lock in moisture, providing long-lasting hydration and nourishment. Some C-Beauty enthusiasts also incorporate a sealing step by using a facial oil or an occlusive product to create a protective barrier and prevent moisture loss.

f. Sun Protection: The C-Beauty Technique emphasizes the importance of sun protection to maintain skin health and prevent sun damage. A broad-spectrum sunscreen with a high SPF is applied as a final step to shield the skin from harmful UV rays.

Unveiling the Jelly Skin C-Beauty Technique: Radiant and Hydrated Complexion

Key Benefits of the Jelly Skin C-Beauty Technique:
The Jelly Skin C-Beauty Technique offers several key benefits for your skin:

a. Intense Hydration: By prioritizing hydration, the technique helps to restore the skin’s moisture balance, resulting in a plump and supple complexion. Well-hydrated skin appears more youthful and vibrant.

b. Improved Skin Texture: The gentle exfoliation step in the C-Beauty Technique promotes smoother skin by eliminating dead skin cells and encouraging cell turnover. This can lead to a more refined and even texture.

c. Enhanced Radiance: The combination of deep hydration, targeted treatments, and a focus on skin health in the C-Beauty Technique helps to boost the skin’s natural radiance. By nourishing the skin from within and promoting cellular renewal, the technique can result in a more luminous and glowing complexion.

d. Plump and Youthful Appearance: The Jelly Skin C-Beauty Technique aims to recreate the plump and bouncy texture of jelly, which can give the skin a more youthful and revitalized appearance. The emphasis on hydration and moisturization helps to improve skin elasticity and firmness, reducing the appearance of fine lines and wrinkles.

e. Overall Skin Health: The multi-step approach of the C-Beauty Technique not only focuses on immediate results but also emphasizes long-term skin health. By addressing various aspects of skincare, such as cleansing, hydration, and protection, the technique promotes a balanced and healthy complexion.


Additional Tips for Jelly Skin:
To enhance the effectiveness of the Jelly Skin C-Beauty Technique, consider incorporating the following tips:

a. Stay Consistent: Consistency is key when it comes to skincare. Stick to the routine and allow ample time for the products to work their magic. It may take some time for noticeable improvements, so be patient and persistent.

b. Customize to Your Skin Needs: Tailor the routine to suit your specific skin concerns and needs. Experiment with different essences, serums, and moisturizers to find the ones that work best for your skin type and concerns.

c. Practice Facial Massage: Facial massage techniques can complement the Jelly Skin C-Beauty Technique by promoting circulation, lymphatic drainage, and product absorption. Incorporate gentle massage movements into your routine to enhance the overall benefits.

d. Adopt a Healthy Lifestyle: Healthy skin goes beyond skincare products. Remember to maintain a well-balanced diet, stay hydrated, get enough sleep, and protect your skin from environmental stressors. A holistic approach to skincare can further enhance the results of the Jelly Skin C-Beauty Technique.

Conclusion:
The Jelly Skin C-Beauty Technique offers a comprehensive skincare approach focused on achieving a hydrated, radiant, and healthy complexion. By following the multi-step routine, prioritizing hydration, and emphasizing gentle exfoliation and nourishment, you can experience the plump and translucent appearance reminiscent of jelly. The technique not only enhances immediate skin appearance but also promotes long-term skin health. Embrace the Jelly Skin C-Beauty Technique as a luxurious and effective way to pamper your skin, revealing a youthful and glowing complexion.


Which Curling Tool Is Best Forme
Which Curling Tool Is Best for Me?

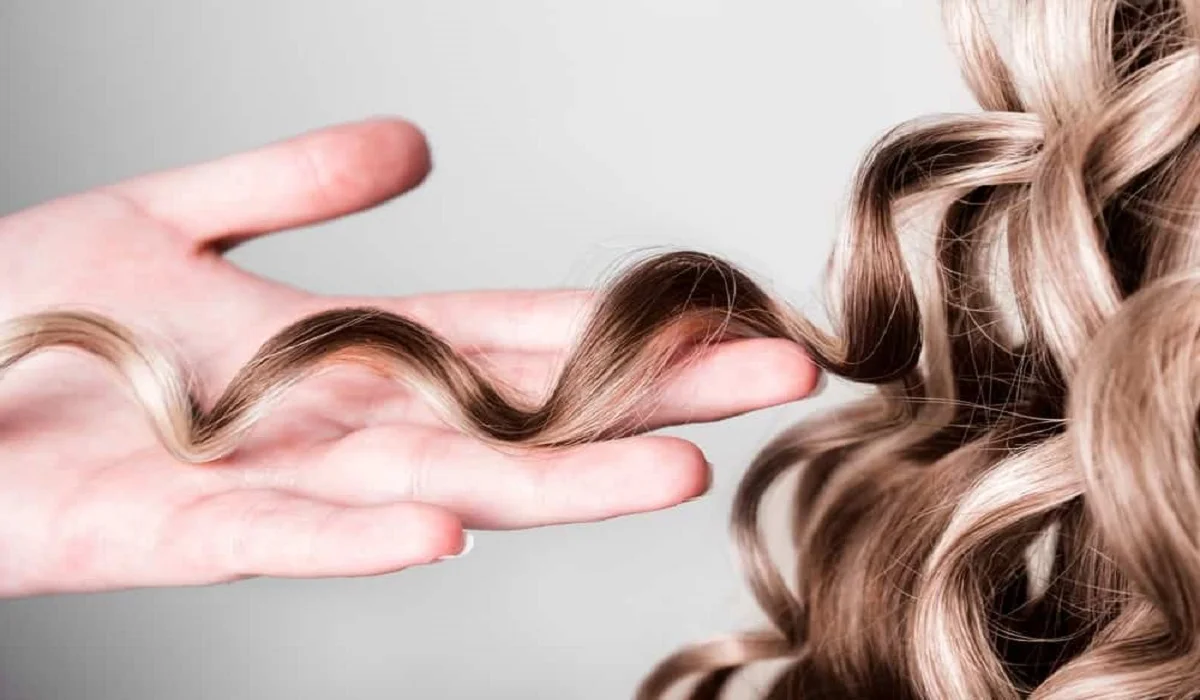
In the intricate world of hair styling tools, the quest to unearth the ideal curling instrument can seem daunting. Aspiring for anything from casual beach waves to tight spirals or full-bodied curls, the key lies in selecting the correct device. This guide serves as a beacon, illuminating the path through the curling tool labyrinth, guaranteeing a match that resonates with your hair’s unique characteristics, aesthetic aspirations, and proficiency level. Deciphering Hair Characteristics Texture and Length of Your Hair The journey to selecting a curling tool begins with an understanding of your hair’s texture and length. Delicate, fine hair demands an adjustable-temperature tool to avert potential harm, while robust, thick locks may necessitate intense heat to ensure curls hold. For shorter hair, a diminutive barrel circumvents ungainly angles, creating perfect curls, whereas a more extensive barrel suits longer hair, crafting flowing waves or grand curls. The Impact of Hair Type on Tool Selection A basic principle emerges: fine, short hair necessitates meticulous heat and barrel size considerations, while thick, long hair affords more flexibility but requires increased heat and a broader curling surface for effective styling. Diverse Curling Instruments The Quintessential Curling Iron Characteristics and Optimal Usage The traditional curling iron, armed with its clamp, is synonymous with precision and ease, ideal for novices or those aiming for meticulously defined curls. Varied barrel dimensions accommodate different hair lengths and curl sizes. The Versatile Curling Wand Benefits and Usage Techniques Clamp-free curling wands champion the creation of natural-looking waves, ranging from loose to tightly coiled, depending on application technique, thereby offering versatile curl solutions. The Revolutionary Automatic Curler Features and Operational Guidance Automatic curlers represent the vanguard of curling technology, simplifying the curling process. They are a boon for individuals challenged by conventional curling techniques yet desiring uniform, exquisite curls. The Convenient Hot Rollers Advantages and Usage Manual Hot rollers, suited for those who value a more passive styling approach or need to multitask, excel in delivering volume and gentle curls, particularly for medium to long hair. Selecting Your Ideal Curling Device Critical Considerations In choosing a curling tool, it’s essential to weigh factors such as hair type, desired curl effect, skill level, and tool specifications. Contemplate the heat settings, barrel size, and construction material (be it ceramic, titanium, or tourmaline) as these elements influence both hair health and styling results. Comparative Analysis: Irons, Wands, and Rollers Each styling tool presents distinct advantages: curling irons offer versatility and precision; wands yield a more natural appearance; rollers are superior for volumizing and convenience. Align your selection with your styling preferences and lifestyle requisites. Safety Precautions Employ a heat protectant spray and abstain from curling damp hair to mitigate damage. Adhere to the manufacturer’s guidelines to guarantee both safety and desired outcomes. Maintenance of Curling Instruments Ensuring your curling tool’s cleanliness and proper storage prolongs its lifespan and sustains performance quality. Insider Strategies for Impeccable Curls Hair Preparation for Curling Commence with clean, dry hair, applying a heat protectant and, if desired, a styling product for enhanced hold. Segment your hair to simplify the styling process….

Benefitsof Fermented Foods And Their Incorporation In Your Diet
Benefits of Fermented Foods and Their Incorporation in Your Diet?

Fermented foods have made headlines since health-conscious influencers, nutritionists, and experts realized their many health benefits and have included them into our daily diets. Kimchi, Kefir, and Kombucha have become staples – previously found only at specialty health food shops or niche health markets but now an integral component of a balanced nutrition plan due to their various advantages. Understanding Fermented Foods – Exploring Microbial Alchemy Ancient civilizations used anaerobic fermentation as a means to maintain flavorful fermented food products while lengthening their shelf lives. By turning glucose into alcohol, organic acids, and gases produced from bacteria and yeast fermentation processes, bacteria were able to extend shelf lives of foods like kefir, sauerkraut and tempeh while simultaneously imparting distinctive tart, tangy, sour flavors such as their unique tart, tangy or sour qualities that we are familiar with today. Fermentation generates lactic acid that breaks down complex carbohydrates and proteins to increase bioavailability while at the same time decreasing antinutrients present in food that could interfere with its absorption. Connection between gut microbiota, digestion and more: Fermented foods have gained momentum due to an increasing focus on gut-health. Balance is integral for overall wellbeing and many include fermented food in their daily diet to try to protect their gut from infection and dysfunction. Discovering Health Benefits Beyond Tangy Taste Fermented foods offer many health advantages that go far beyond shelf life, including reduced inflammation and blood pressure reduction, diabetes prevention and cardiovascular disease prevention, improved digestion and stronger immunity. They may even aid digestion as well. Determining an ideal frequency for eating fermented food may be challenging, but evidence shows that adding it into your regular diet will enable you to take full advantage of their advantages. Excess or insufficient consumption could have negative consequences; moderation should always be observed as either too much or too little could have devastating results on health outcomes. By including fermented food into your eating pattern you’re on your journey toward creating a heart healthy eating pattern with reduced muscle pain, enhanced blood quality, and enhanced nerve function benefits – adding fermented food can become part of that plan! Kimchi, Kombucha and other fermented foods have become increasingly popular for their indisputable logic and health advantages, offering numerous potential health advantages that could improve overall wellbeing. Fermented food could play a pivotal role in aiding overall wellness improvement. Let’s delve further into the world of fermented food products, exploring their different kinds, production processes and specific health benefits. Types of Fermented Foods: Fermentation Process: A common thread to all these dishes is fermentation. Microorganisms such as bacteria, yeasts and molds break down sugars and organic molecules present in food to produce compounds like lactic acid, alcohol or carbon dioxide for natural preservative as well as add unique flavors and textures that give these items their distinct character. Probiotics, the live beneficial bacteria that promote gut health, play an integral part in fermentation. Lactic acid bacteria like Lactobacillus and Bifidobacterium often play an active role in food fermentation processes. Health Benefits of Fermented Foods: Implement Fermented Foods into…

Key Skincare Ingredients To Avoid For Improved Skin Glow
Key Skincare Ingredients to Avoid for Improved Skin Glow

In the pursuit of vibrant, ageless skin, many individuals rely on various skincare formulations, each promising transformative outcomes. Yet, within these assurances lurks a lesser-known reality: not every skincare component is conducive to skin health. Indeed, certain substances can be more detrimental than beneficial. This discussion aims to highlight the skincare elements to steer clear of, providing insights on how to assemble a skincare regimen that is both safe and efficacious. Identifying Your Skin’s Requirements Prior to enumerating the ingredients to avoid, it’s imperative to acknowledge your skin type. Be it dry, oily, combination, or sensitive, each skin type presents distinct necessities and responds uniquely to different components. Recognizing your skin’s characteristics is the foundational step towards nurturing a more effective skincare routine. Ingredients Detrimental to Skin Health A plethora of skincare items incorporate components that may provoke irritation, pore blockage, or inflict long-term harm upon the skin. Highlighted below are some prevalent offenders: Demystifying Skincare Misconceptions Dispelling prevalent skincare myths is crucial for discerning the authentic needs of your skin. For example, not every natural ingredient is benign for all skin types, and higher-priced products do not guarantee superior effectiveness. Lifestyle’s Influence on Skin Wellness Lifestyle choices significantly impact skin health. A nutritious diet, sufficient rest, and safeguarding against environmental toxins are equally vital as the topical products applied to your skin. Alert for Sensitive Skin: Hazardous Ingredients For those with sensitive skin, it is particularly crucial to avoid abrasive chemicals, fragrances, and preservatives that might incite irritation or allergic reactions. Guidance for Acne-Prone Skin: Steering Clear of Irritants Individuals grappling with acne-prone skin should eschew comedogenic substances and harsh exfoliants to avert breakouts and irritation. Caring for Aging Skin: Ingredients to Avoid Aging skin necessitates tender care. Refrain from products that promise instantaneous results, as these may contain components leading to long-term detriment. Evaluating Alcohol’s Role in Skincare Not every alcohol is detrimental to the skin. While it’s crucial to avoid short-chain alcohols like denatured alcohol, fatty alcohols can be beneficial. Potentially Unsafe Natural Ingredients Even natural substances can be adverse to the skin. Essential oils, citrus extracts, and coconut oil may provoke irritation or pore blockage in certain skin types. Deciphering Product Labels Mastering the skill to pinpoint harmful components on product labels is key to selecting safer skincare alternatives. Opt for products with concise ingredient lists and easily recognizable substances. Safe Alternatives to Hazardous Skincare Components A myriad of safe, beneficial ingredients exist that can nurture and safeguard your skin. Seek products containing hyaluronic acid, niacinamide, and ceramides, which foster skin health devoid of adverse effects. The Significance of Patch Testing Conducting a patch test prior to incorporating a new product into your skincare regimen is essential. This precautionary measure aids in identifying potential adverse reactions before widespread application. Formulating a Harm-Free Skincare Routine Establishing a skincare routine devoid of hazardous ingredients need not be intricate. Initiate with a mild cleanser, moisturizer, and sunscreen, subsequently integrating products tailored to your specific skin concerns. Professional Advice for Optimal Skin Health Skincare specialists advocate prioritizing hydration, protecting the skin barrier,…

How To Clean Your Bb Cushion Sponge In Seven Easy Steps
How to clean your BB Cushion Sponge In Seven Easy Steps

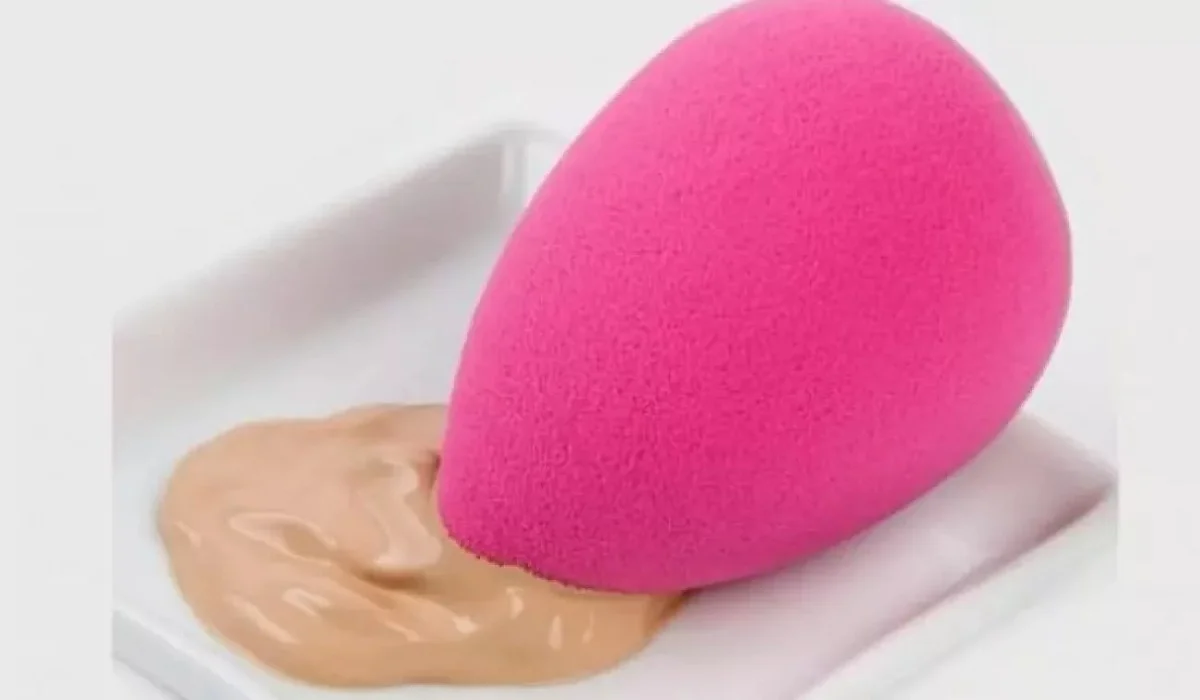
The cornerstone of pristine makeup application and dermatological well-being, regular upkeep of your BB cushion sponge transcends mere cosmetic care—it’s a vital practice for safeguarding your skin against bacterial accumulation and unwanted product build-up. This comprehensive narrative will escort you through a meticulously crafted regimen encompassing seven pivotal steps, ensuring your BB cushion sponge remains immaculate, sterile, and primed for application. Exploring the Essence of BB Cushion Sponges Nestled within the heart of the BB cushion compact—a beauty innovation celebrated across Asia and embraced globally—lies the BB cushion sponge. This essential tool is crafted to facilitate a flawless, uniform distribution of BB cream. Embarking on a routine cleaning journey is imperative for the eradication of cosmetics, oils, and microbes, culminating in a pristine and secure makeup experience. Pre-Cleanse Preparations Assembling Essential Tools Commence by assembling the essentials: a mild cleansing agent, tepid water, and a pristine towel. Sponge Type Identification Discerning whether your sponge is crafted from latex or a latex-free material will guide you toward the most effective cleansing regimen. Step 1: Initiate with a Lukewarm Water Rinse Opting for lukewarm water is strategic, facilitating the dilation of the sponge’s pores for an effortless expulsion of makeup and grime. Step 2: Gentle Cleansing Solution Application Selecting an Appropriate Cleanser A selection of a gentle, unscented soap or a cleanser specifically formulated for sponges ensures the integrity of the sponge while effectively removing impurities. Homebrewed Cleansing Mixtures For enthusiasts of natural remedies, a concoction of olive oil and dishwashing liquid can adeptly dissolve makeup remnants. Step 3: Delicate Lathering Employ a soft squeezing action to integrate the cleanser and generate a froth, mindful to avoid compromising the sponge’s structure. Step 4: Meticulous Rinsing A thorough rinse is paramount to removing all traces of cleanser, preventing stiffness and microbial colonization of the sponge. Step 5: Sponge Sanitization Employing Natural Disinfectants A blend of vinegar and water acts as an efficacious natural sanitizing agent. Utilization of Chemical Disinfectants For an intensified cleanse, a gentle antibacterial formula can be judiciously applied. Step 6: Optimal Drying Techniques Comparing Air and Towel Drying Favoring air drying is advisable to facilitate uniform drying and retain the sponge’s shape. Ideal Drying Environment Position the sponge in an area with ample ventilation, shielded from direct sunlight. Step 7: Enlightened Storage Practices Mitigating Bacterial Proliferation Ensuring the sponge is stored in a dry, uncontaminated environment is crucial for bacterial prevention. Discerning the Right Moment for Replacement While regular cleansing prolongs its lifespan, recognizing when to substitute your sponge is essential for maintaining optimal makeup application and hygienic standards. Troubleshooting Prevalent Concerns Addressing Sponge Hardness Immersing a hardened sponge in warm water for several minutes can rejuvenate its pliability. Combatting Discoloration Although certain stains might persist, thorough cleaning guarantees the sponge’s cleanliness and usability. Sponge Care Continuity Establishing a Cleaning Routine Adopting a consistent cleaning schedule is key to sustaining the sponge’s condition. Preservation Best Practices Steer clear of harsh chemicals and ascertain the sponge’s complete dryness prior to storage for extended durability. Embracing the meticulous care of your BB cushion sponge…

The Astonishing Reality Could Lip Balm Be Deteriorating Your Chapped Lips 2
The Astonishing Reality: Could Lip Balm Be Deteriorating Your Chapped Lips?

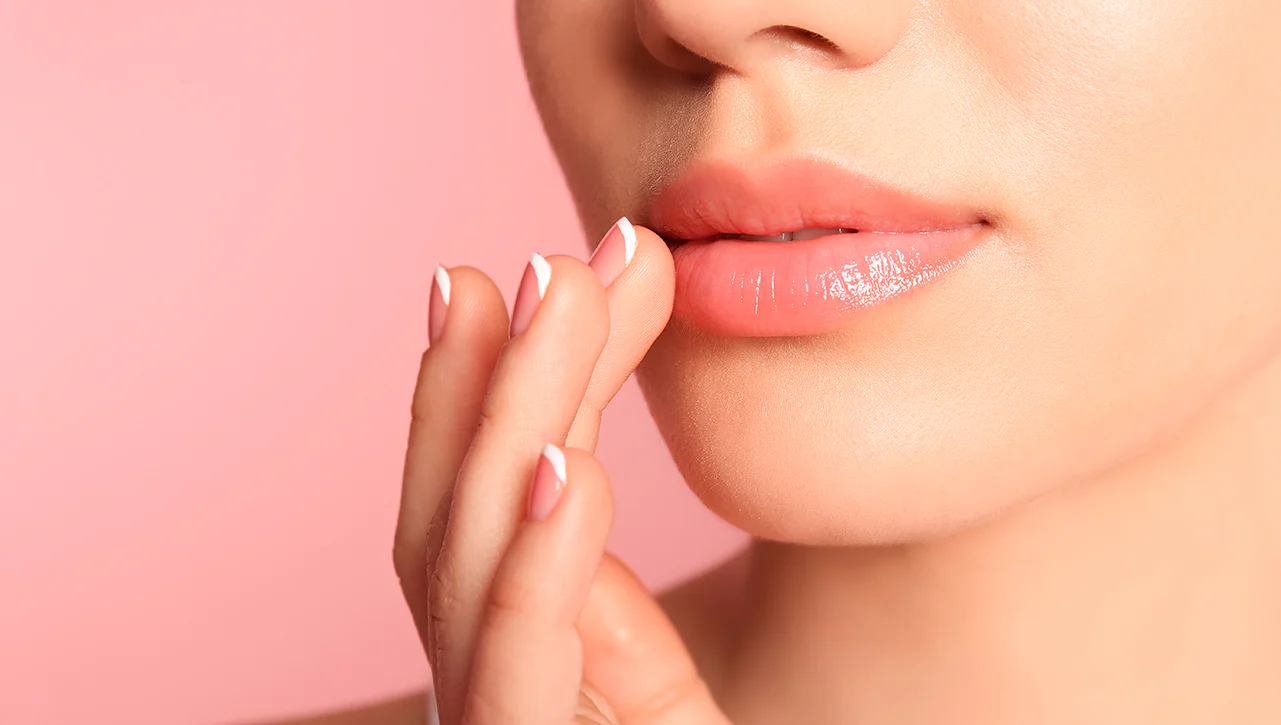
Turning to lip balm for immediate solace from chapped lips is a common practice, yet there’s growing curiosity about whether these comforting tubes may actually be perpetuating a cycle of lip dryness and dependence. This article investigates the composition of lip balms, their influence on lip health, and strategies for judiciously choosing and utilizing lip care products. Deciphering Lip Balm and Its ConstituentsActing as a moisture-locking barrier, lip balm shields lips from harsh external conditions like cold climates and dry environments. Key components typically encompass occlusives such as petroleum jelly, humectants including hyaluronic acid, and emollients like shea butter. Although these constituents are mainly beneficial, some lip balm formulas may incorporate potential irritants, for instance, fragrances or menthol, aggravating sensitivity and intensifying dryness. The Phenomenon of Lip Balm DependenceThe notion of becoming reliant on lip balm is not unfounded. Such dependence arises when lips start relying on artificial moisture, diminishing their innate hydrating capabilities. Indications of excessive use involve constant reapplication needs and experiencing a sense of tightness or aridity sans balm. Evaluating Ingredients’ Effects on Lip WellnessIngredients vary significantly in their impact on lip health. While substances like lanolin and beeswax offer profound moisturization and protection, certain essential oils and synthetic additives might irritate the lips, further exacerbating chapped conditions. Contrasting Balms, Salves, and OintmentsComprehending the distinctions among these products aids in making informed choices. Balms provide a balanced mix of occlusion and hydration, salves focus on healing with their denser consistencies, and ointments are ideal for extreme dryness, offering substantial protective layers. Hydration’s Role in Lip CareBoth internal and external hydration are pivotal for lip health. Adequate water intake fosters natural moisture, whereas applying products enriched with aloe vera and glycerin enhances the lips’ moisture retention. Debunking Lip Balm Myths and TruthsMisconceptions abound, such as the belief in lip balms causing addictive dryness or the superiority of all-natural ingredients. The essence lies in identifying products that are meticulously formulated to meet individual lip requirements. Dermatologists’ Insights on Lip Balm ApplicationExperts advocate for balms devoid of allergenic or irritating substances, recommending those with straightforward, hydrating ingredients. The preference between natural versus synthetic components often comes down to personal sensitivity and skin reactivity. Optimizing Personal Lip Care PracticesAn effective daily lip care regimen should encompass gentle exfoliation, adequate hydration, and protection against environmental elements. Tailoring care according to weather conditions, like applying SPF-infused balms in sunny settings, can mitigate damage. Assessing the Dilemma: Does Lip Balm Aggravate Chapped Lips?The response is nuanced. For the majority, a carefully selected lip balm delivers vital moisture and protection. Yet, for individuals with sensitive skin or allergies to certain substances, some balms might indeed worsen dryness. Tailoring Lip Care to Individual NeedsIdentifying personal lip types and issues is crucial for customized care. Those with a predisposition to dryness might find solace in more occlusive formulas, whereas individuals with sensitive lips might seek hypoallergenic and unscented options. The Mental Aspect of Lip Balm UseBeyond physical dependency, the habitual use of lip balm can encompass an emotional dimension, with some developing a psychological attachment to their lip care…

Airbrush Makeup: Unveiling The Flawless Finish And How To Achieve It
Airbrush Makeup: Unveiling the Flawless Finish and How to Achieve It

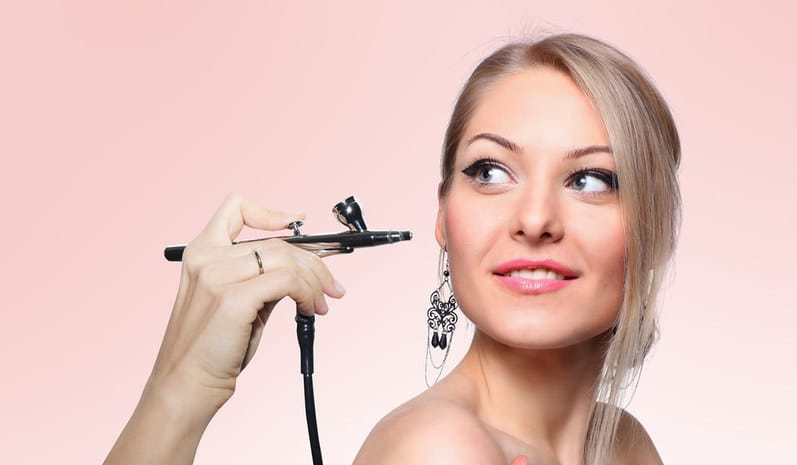
Airbrush makeup has gained popularity in the beauty industry for its ability to create a flawless, long-lasting, and natural-looking complexion. Utilizing an airbrush gun and specialized makeup formulas, this technique offers a seamless application that leaves the skin looking smooth and radiant. In this article, we will explore the world of airbrush makeup, discussing its benefits, application process, and tips for achieving the coveted airbrushed look. Whether you’re a makeup enthusiast or a professional artist, understanding airbrush makeup can elevate your makeup game to new heights. What is Airbrush Makeup?Airbrush makeup is a technique that involves applying makeup through an airbrush gun, which delivers a fine mist of foundation, blush, highlighter, and other makeup products onto the skin. The makeup formula is typically water-based, silicone-based, or a combination of both. This method allows for precise control and even distribution of makeup, resulting in a flawless, lightweight, and natural finish. Benefits of Airbrush Makeup:Airbrush makeup offers several advantages over traditional makeup application techniques: Flawless Finish: The microfine mist of makeup particles creates a seamless, second-skin effect, minimizing the appearance of imperfections and providing a smooth, airbrushed finish. Longevity: Airbrush makeup is known for its exceptional staying power. The formula adheres to the skin, resisting sweat, humidity, and transfer, making it ideal for special occasions, weddings, or events that require long-lasting makeup. Buildable Coverage: The airbrush technique allows for customizable coverage. By layering the makeup in thin, even passes, you can achieve sheer to full coverage, depending on your preferences and the desired look. Lightweight and Natural: Airbrush makeup feels lightweight on the skin, as the ultra-fine particles create a breathable layer. The result is a natural-looking finish that doesn’t look heavy or cakey. The Airbrush Makeup Process:To achieve the airbrushed look, follow these steps:Step 1: Prep the Skin: Start with a clean and moisturized face. Ensure your skin is well-hydrated to create a smooth canvas for makeup application. Step 2: Choose the Right Formula: Select an airbrush makeup formula that suits your skin type and desired finish. Water-based formulas are suitable for most skin types, while silicone-based formulas provide a longer-lasting and more waterproof finish. Step 3: Set Up the Airbrush System: Assemble your airbrush system according to the manufacturer’s instructions. This typically involves connecting the airbrush gun to an air compressor and adjusting the airflow and pressure settings. Step 4: Test the Spray: Before applying the makeup to your face, it’s crucial to test the spray on a tissue or your hand to ensure the desired coverage and adjust the air pressure if necessary. Step 5: Apply Foundation: Begin by applying the foundation. Hold the airbrush gun approximately six to eight inches away from your face and move it in small, circular motions. Start from the center of your face and work outward for an even application. Step 6: Build Coverage: For areas that require more coverage, such as blemishes or redness, apply additional layers of foundation using light, overlapping passes. Gradually build the coverage to achieve your desired look. Step 7: Add Blush, Contour, and Highlight: Once the foundation is applied,…

Dewy Vs. Matte Foundation
Moist Foundation or Matte Foundation? The Ultimate Guide to Choosing the Right Foundation for Your Skin

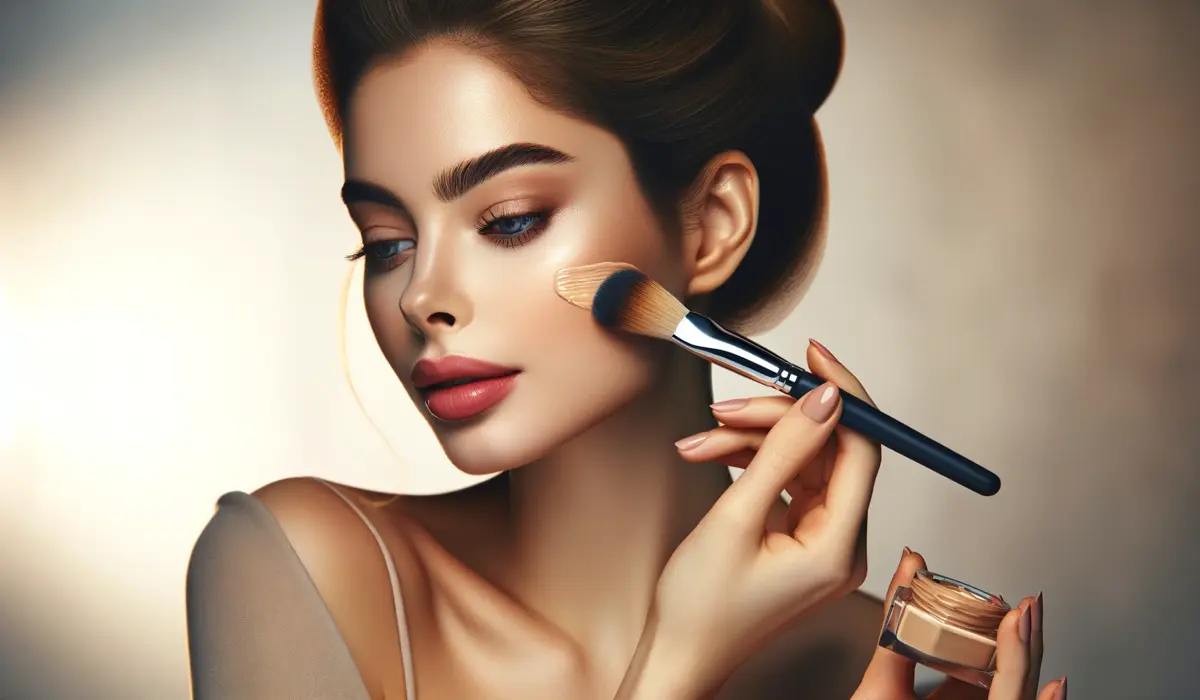
When it comes to makeup, foundation acts as the canvas for your entire look. However, with the myriad options available, selecting the right foundation can be daunting. Among the various choices, moist and matte foundations stand out for their unique benefits and finishes. This comprehensive guide dives deep into the world of foundations, helping you decide whether moist foundation or matte foundation is the ideal choice for your skin type and aesthetic preferences. Understanding Foundation Types What is Moist Foundation?Moist foundation, often referred to as hydrating or dewy foundation, is designed to offer a luminous finish. Infused with hydrating ingredients, it aims to provide a healthy glow, making it an excellent option for those with dry or dull skin. What is Matte Foundation?Matte foundation offers a flat, non-shiny finish that controls oil and minimizes the appearance of pores. It’s favored by individuals with oily skin or those looking for long-lasting coverage without a glossy look. Key Differences Between Moist and Matte Foundations Benefits of Moist Foundation Benefits of Matte Foundation How to Choose the Right Foundation for Your Skin Type Application Tips for Moist Foundation Application Tips for Matte Foundation Combining Moist and Matte Foundations Popular Moist Foundation Brands Discover brands that offer top-rated moist foundations, praised for their hydrating formulas and natural finish. Popular Matte Foundation Brands Explore the favorites among matte foundation brands, known for their oil-control capabilities and flawless coverage. Expert Tips for Foundation Application How to Transition Between Foundation Types The Role of Foundation in Makeup Routine Caring for Your Skin with Foundation Future Trends in Foundation Moist Foundation or Matte Foundation? Deciding between moist and matte foundation ultimately depends on your skin type, desired finish, and personal preference. Understanding the nuances of each can empower you to make the best choice for your makeup routine, ensuring that your foundation enhances rather than detracts from your natural beauty. Whether you opt for a moist foundation to achieve a dewy glow or a matte foundation for a shine-free finish, the key is to choose a product that complements your skin type and meets your beauty goals. By considering the factors outlined in this guide, you can select a foundation that not only looks great but also feels comfortable and enhances your overall makeup look. Remember, the right foundation is the cornerstone of any successful makeup routine, setting the stage for a flawless, confidence-boosting appearance. FAQs What is the best foundation for oily skin?Can you mix moist and matte foundations?How do I know if a foundation is right for my skin type?Is it necessary to use a primer with foundation?How can I make my foundation last longer throughout the day?What should I do if my foundation causes breakouts?

Brow Perfection At Home The Comprehensive Guide To Diy Brow Lamination
Brow Perfection at Home: The Comprehensive Guide to DIY Brow Lamination

In the realm of beauty, eyebrows are a pivotal feature, framing the face and highlighting one’s eyes. Brow lamination, a groundbreaking beauty trend, offers a solution for those seeking fuller, more defined eyebrows without daily makeup. This treatment has traditionally been a salon-exclusive, but with the right guidance, achieving salon-quality results at home is within reach. This expanded guide dives into the nuances of DIY brow lamination, covering everything from the initial prep work to the crucial aftercare, ensuring you can safely achieve and maintain impeccable brows. Deep Dive into Brow Lamination Brow lamination works by restructuring the brow hairs, giving them a uniform, desired direction and appearance. It’s particularly beneficial for those with unruly, sparse, or downward-growing hairs, providing a fuller and more even look. This section explores the technique’s origins, its rise to prominence, and how it has become a beloved alternative to more permanent treatments like microblading, offering insight into why it’s worth considering for your brow grooming routine. Advantages of Going DIY with Brow Lamination Choosing to laminate your brows at home comes with a plethora of benefits, including cost-efficiency, the comfort of your own home, and the ability to tailor the process to your specific brow needs. Here, we’ll outline the key advantages of DIY brow lamination, from the personal satisfaction of self-care to the convenience of touch-ups on your schedule, highlighting why many beauty enthusiasts are opting to take their brow treatments into their own hands. Essential Tools for At-Home Brow Lamination Successful DIY brow lamination hinges on having the right tools and products. This comprehensive checklist ensures you’re well-prepared, listing everything from reputable brow lamination kits to the specific cleansers, brushes, and aftercare serums that will make the process smooth and effective. We also include tips for selecting quality products that are safe and reliable, ensuring your DIY endeavor leads to beautiful, healthy brows. Step-by-Step Guide: Achieving Professional-Quality Lamination With the right preparation, DIY brow lamination can be straightforward and rewarding. This detailed, step-by-step guide walks you through the entire process, from conducting a patch test to applying the lamination solution, shaping, and setting your brows. Each step is broken down with precision, incorporating professional tips and visual aids to ensure clarity and ease, empowering you to achieve professional-quality results at home. Navigating Aftercare for Lasting Results The longevity and quality of your brow lamination significantly depend on proper aftercare. This section delves into the dos and don’ts following your treatment, advising on everything from how to avoid water and makeup in the initial hours to the best practices for nourishing and maintaining your newly laminated brows. Tailored advice on extending the durability of your lamination, including recommended products and routines, ensures your brows remain flawless for as long as possible. Common Pitfalls and How to Avoid Them Even with careful planning, DIY treatments can encounter hiccups. This segment addresses the most common issues encountered during home brow lamination, such as uneven application, overprocessing, or irritation, and provides expert solutions. Learning how to anticipate and remedy these challenges will bolster your confidence, ensuring a smooth…