The Cobra Haircut: Unleashing Your Inner Style with this Edgy Look

The Cobra Haircut: Unleashing Your Inner Style with this Edgy Look

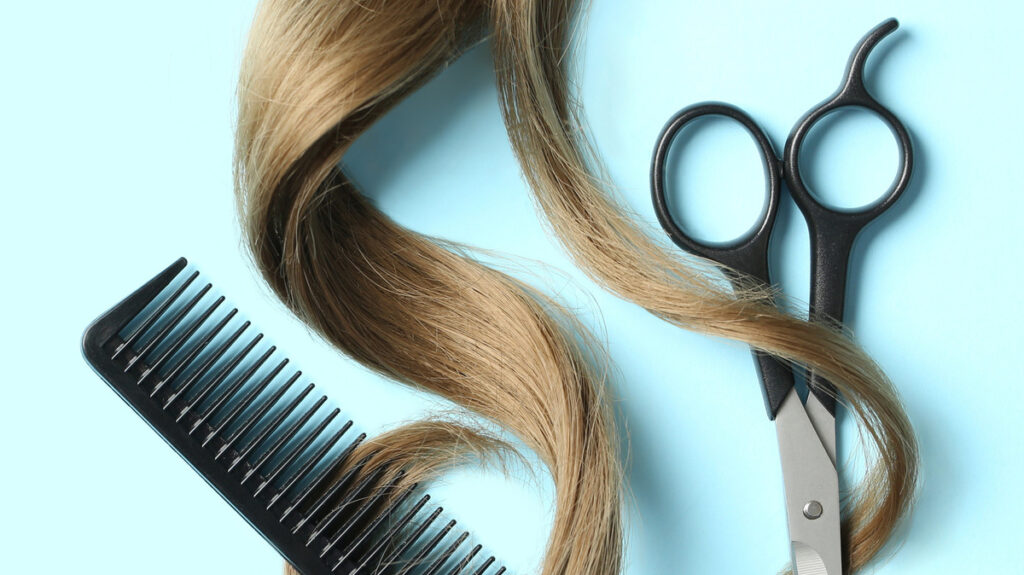
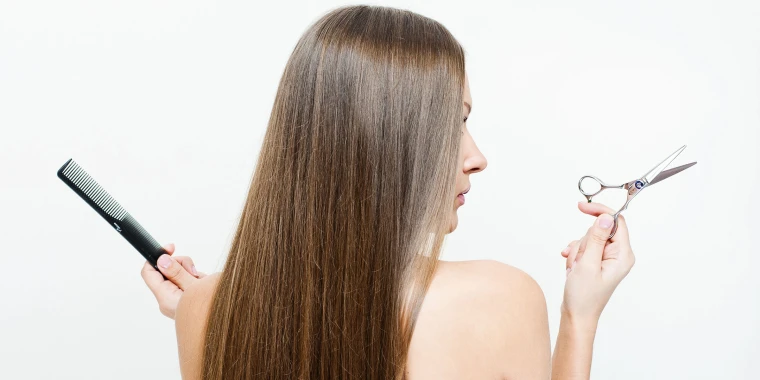
The Cobra Haircut has been making waves in the world of hairstyles with its bold and edgy appeal. Inspired by the sleek and fierce nature of a cobra, this haircut combines sharp angles, textured layers, and a touch of avant-garde flair. In this article, we will explore how to get the coveted Cobra Haircut and unleash your inner style with this daring look. From choosing the right stylist to maintaining the haircut, we will guide you through the process of achieving and rocking this unique hairstyle.

Finding the Right Stylist:
To ensure a successful Cobra Haircut, it is crucial to find a stylist who is experienced in edgy and unconventional hairstyles. Look for stylists who specialize in creative cuts and have a portfolio that showcases their expertise in working with unique hair designs. Consult with your stylist to discuss your vision for the Cobra Haircut and ensure that you are both on the same page before the transformation begins.

Customizing the Cobra Haircut:
The beauty of the Cobra Haircut lies in its versatility and customizability. While the general concept of the haircut involves sharp angles and textured layers, it can be adapted to suit different hair types, lengths, and personal preferences. Work closely with your stylist to determine the specific angles, lengths, and layers that will complement your face shape and enhance your unique features. This customization ensures that the Cobra Haircut is tailored to your individual style and enhances your overall look.

Embracing Sharp Angles:
One of the defining features of the Cobra Haircut is the incorporation of sharp angles. These angles create a bold and dynamic effect, adding an element of drama to the overall look. The angles can be achieved through precise cutting techniques, including asymmetrical lines, undercutting, or razor cutting. Embrace these sharp angles to capture the essence of the Cobra Haircut and make a powerful style statement.

Incorporating Textured Layers:
To add depth and movement to the Cobra Haircut, textured layers are essential. These layers create dimension and enhance the edginess of the hairstyle. Your stylist will strategically add layers throughout the haircut to achieve the desired texture and volume. Whether you prefer subtle texture or more pronounced layering, the incorporation of textured layers will bring life and personality to your Cobra Haircut.

Styling and Maintenance:
Once you’ve achieved the Cobra Haircut, it’s important to learn how to style and maintain it to keep the look fresh and fierce. Experiment with different styling products and techniques to achieve the desired effect. Use a high-quality texturizing spray or wax to enhance the layers and create definition. Embrace the edginess of the haircut by opting for sleek and straight styles, tousled and textured looks, or even experimenting with avant-garde updos. Regular trims and maintenance appointments with your stylist will help to keep the sharp angles and layers in shape, ensuring the longevity of your Cobra Haircut.

Confidence and Attitude:
To truly rock the Cobra Haircut, confidence and attitude are key. This bold and edgy hairstyle demands a certain level of self-assuredness to carry it off with style. Embrace your unique personality and let the Cobra Haircut become a reflection of your individuality. Own your look, and let your confidence shine through, turning heads and making a statement wherever you go.
The Cobra Haircut: Unleashing Your Inner Style with this Edgy Look

Styling Tips for Different Hair Types:
While the Cobra Haircut is adaptable to various hair types, there are specific styling tips to consider:

a. Straight Hair: Emphasize the sharp angles and texture by using a straightening iron and texturizing products for added definition and movement.

b. Wavy Hair: Enhance the natural texture by scrunching in a sea salt spray or mousse to create beachy waves that accentuate the layers and angles of the Cobra Haircut.

c. Curly Hair: Embrace your natural curls by using a curl-enhancing cream or gel to define and shape the curls. Emphasize the layers and angles by allowing the curls to cascade and fall naturally.

d. Thick Hair: Thin out the bulk by incorporating layers throughout the haircut. Use a volumizing mousse or spray to add lift and prevent the hair from appearing heavy or weighed down.

e. Fine Hair: Create the illusion of volume by adding layers and using a texturizing spray to enhance texture and body. Avoid heavy styling products that can weigh down the hair.

The Cobra Haircut is a daring and edgy hairstyle that allows you to unleash your inner style and make a powerful statement. By finding the right stylist, customizing the haircut to suit your individual features, embracing sharp angles and textured layers, and mastering the art of styling and maintenance, you can rock this unique look with confidence. Remember that the key to pulling off the Cobra Haircut lies in your attitude and self-assuredness. So, be bold, embrace your individuality, and let the Cobra Haircut become a true reflection of your fierce and unique personality.




Harms Of Sleeping With Make Up: Why You Should Never Skip The Cleansing Ritual
Harms of Sleeping with Make-up: Why You Should Never Skip the Cleansing Ritual

The allure of a perfectly made-up face is undeniable, and makeup has become a powerful tool for enhancing beauty and boosting confidence. However, as the day turns into night, the temptation to skip the makeup removal process and fall into bed can be strong. It’s a common scenario; you’re tired, and removing makeup feels like an unnecessary chore. But what happens when you choose to sleep with makeup on? In this comprehensive guide, we will explore the perils of sleeping with makeup, the profound effects it can have on your skin, and why you should never neglect the vital nightly ritual of makeup removal. The Consequences of Sleeping with Makeup Before we delve into the specifics, let’s understand the potential consequences of sleeping with makeup: The Role of Makeup in Clogged Pores One of the most significant consequences of sleeping with makeup on is clogged pores. Your skin naturally produces sebum (oil) throughout the day to keep itself moisturized and protected. Makeup can mix with this oil, along with sweat and environmental pollutants, forming a potent cocktail that seeps into your pores. When these pores become clogged, several issues can arise: The Impact on Collagen and Elastin Collagen and elastin are two essential proteins that give your skin its firmness, elasticity, and youthful appearance. They work together to maintain the skin’s structure and prevent sagging. Sleeping with makeup on can have a detrimental impact on these proteins. Makeup residue, along with environmental pollutants, can generate free radicals. These free radicals are unstable molecules that can damage collagen and elastin fibers, causing them to break down more rapidly. As a result, you may notice the development of fine lines, wrinkles, and sagging skin, even at a younger age than expected. Skin Cell Turnover and Dullness Your skin goes through a natural process of shedding dead skin cells and replacing them with new, healthy ones. This process, known as skin cell turnover, contributes to a fresh and radiant complexion. However, sleeping with makeup can disrupt this essential cycle. Makeup residue can form a barrier on your skin’s surface, trapping dead skin cells and preventing them from shedding properly. This leads to a buildup of old, dead cells that contribute to a dull and lackluster complexion. Additionally, when skin cell turnover is compromised, you’re more likely to experience clogged pores and acne breakouts. Eye Irritation and Infections The delicate skin around your eyes is particularly vulnerable to the adverse effects of sleeping with makeup. Leaving mascara, eyeliner, or eyeshadow on overnight can result in various eye-related issues: Preventing the Damage: The Importance of Makeup Removal To protect your skin from the perils of sleeping with makeup, the importance of a thorough makeup removal routine cannot be overstated. Here’s how to do it effectively: Step 1: Begin with the Eyes Start by focusing on the eye makeup, as it’s often the most stubborn to remove: Step 2: Cleanse Your Face Now, it’s time to remove the makeup from the rest of your face: Step 3: Double Cleanse To ensure all makeup, sunscreen, and impurities are thoroughly…

Banishing Shadows A Comprehensive Strategy To Concealingdark Circles
Banishing Shadows: A Comprehensive Strategy to Concealing Dark Circles

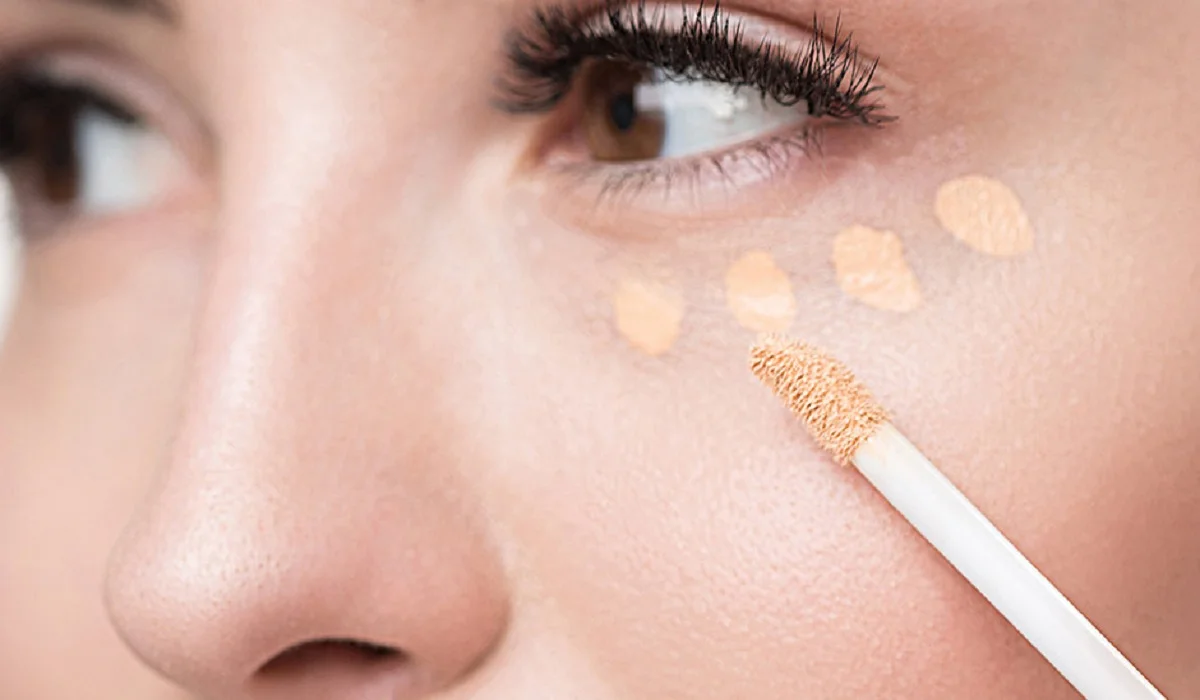
Dark circles under the eyes are more than just a telltale sign of a restless night—they’re a multifaceted beauty challenge that can detract from your skin’s natural glow and affect your overall appearance. This guide expands on the complexities of dark circles, offering not only makeup solutions but also insights into lifestyle and skincare routines that can minimize their appearance. With a focus on holistic beauty and wellness, we aim to empower you with the knowledge and techniques to achieve a bright, vibrant look. Delving Deeper into Dark Circles: Beyond the Basics Understanding the root causes of dark circles is the first step toward effectively concealing them. This section delves deeper into the physiological and environmental factors contributing to dark circles, including detailed explanations of how skin pigmentation, blood circulation, and hydration levels affect the under-eye area. By recognizing these underlying factors, you can tailor your skincare and lifestyle choices to better combat dark circles. The Art of Selecting the Perfect Concealer Choosing the right concealer is an art form that requires consideration of texture, coverage, and color. This expanded section includes expert advice on identifying your skin’s needs and selecting products that not only conceal but also treat the delicate under-eye area. We’ll introduce a wider range of product recommendations, catering to diverse skin types and concerns, ensuring that everyone can find their ideal match. Mastering Concealer Application: A Step-by-Step Guide Achieving flawless coverage without caking or creasing is possible with the right application techniques. This comprehensive guide provides a step-by-step tutorial on applying concealer, including advanced techniques such as baking and layering products for increased longevity and hydration. High-definition photos and diagrams accompany the instructions, making it easier to visualize the process and replicate the techniques at home. Beyond Concealer: A Holistic Approach to Eye Care Covering dark circles is just one aspect of eye care; maintaining the health and vitality of the under-eye area is equally important. This section offers a holistic approach to eye care, detailing preventative measures and treatments that can improve skin texture and tone. From the benefits of regular facial massages to the importance of sunscreen and antioxidants, we cover a range of strategies to enhance the health of your under-eye skin. Lifestyle Adjustments for Brighter Eyes The condition of your skin, especially around the eyes, is a reflection of your overall health and lifestyle. This part of the guide emphasizes the importance of hydration, nutrition, sleep, and stress management in minimizing dark circles. Including expert tips and actionable advice, we explore how small changes in your daily routine can have a significant impact on the appearance of dark circles. When Makeup Meets Technology: Innovative Concealing Solutions In today’s digital age, makeup technology is evolving rapidly, offering new solutions for age-old concerns like dark circles. This section introduces the latest advancements in cosmetic products and tools, from color-changing concealers to light-diffusing powders that reflect technology’s role in modern makeup application. Discover how these innovations can simplify your beauty routine while delivering superior results. Concealing dark circles is more than a quick fix; it’s about embracing…

The baby had been born without ears

Elijah Bell was born without fully formed ears. Elijah Bell often runs up to new people to show off his ears. Elijah, 8, looks like any other kid with two ears and a big smile, except for the two box-like hearing aids placed just above his ears. “He loves them; he’s realty proud of them and shows his ears off to everyone,” Elijah’s mother, Colleen Bell, said. “It’s strange to people that he’s showing off his ears.” She says… GO TO THE NEXT PAGE TO CONTINUE…

Unlock The Shine The Benefits Of Using Natural Oils In Your Hair Care Routine
Unlock the Shine: The Benefits of Using Natural Oils in Your Hair Care Routine

The quest for lustrous, healthy hair is universal, yet the paths to achieve it are diverse. Among the most effective routes is the inclusion of natural oils in your hair care regimen. These oils, extracted from fruits, nuts, and seeds, are packed with nutrients that deeply nourish the scalp and hair, promoting overall health and vitality. Types of Natural Oils and Their Benefits Coconut Oil: A Deep Conditioner Rich in fatty acids, coconut oil penetrates the hair shaft to moisturize and protect against environmental damage, making it ideal for deep conditioning treatments. Argan Oil: For Frizz and Shine Dubbed ‘liquid gold,’ argan oil is renowned for its ability to tame frizz, add shine, and soften hair, thanks to its high content of antioxidants and vitamin E. Jojoba Oil: Mimics Natural Hair Sebum Jojoba oil’s molecular structure closely resembles that of human sebum, making it exceptionally effective in regulating oil production and maintaining scalp health. How to Incorporate Natural Oils into Your Routine Pre-Shampoo Treatments Applying oils before shampooing can prevent the shampoo from stripping hair of its natural oils, resulting in less dryness and breakage. Leave-in Conditioners A few drops of oil can be used as a leave-in conditioner to smooth hair cuticles and add shine without the heaviness of traditional conditioners. Scalp Massages Regular scalp massages with natural oils can stimulate blood circulation, promoting hair growth and scalp health. Natural Oils for Different Hair Types Oils for Curly Hair Curly hair benefits from heavier oils like castor or avocado oil, which provide the moisture and definition curls crave. Oils for Straight Hair Lighter oils such as argan or sweet almond oil are perfect for straight hair, offering shine and frizz control without weighing it down. Oils for Color-Treated Hair Sunflower and grapeseed oils are excellent for color-treated hair, protecting against color fade and adding vibrancy. Combating Common Hair Problems with Natural Oils Dandruff Solutions Tea tree oil, with its antifungal properties, can be mixed with a carrier oil to alleviate dandruff and soothe the scalp. Preventing Split Ends Regular application of oils can seal hair cuticles, preventing split ends and minimizing breakage. Tackling Hair Loss Rosemary and peppermint oils are known to stimulate hair growth when massaged into the scalp, offering a natural remedy for hair thinning. DIY Natural Oil Hair Care Recipes Homemade Deep Conditioning Treatment Mix coconut oil with honey and a few drops of essential oil for a nourishing deep conditioning treatment. Natural Oil Serum for Shine and Frizz Control Combine argan, jojoba, and a few drops of lavender oil for a homemade serum that combats frizz and adds shine. The Science Behind Natural Oils and Hair Health Nutrient Absorption and Hair Follicle Nourishment Natural oils are rich in essential fatty acids and vitamins that are crucial for hair health, penetrating the hair shaft to nourish and strengthen from within. The Role of Fatty Acids and Antioxidants The fatty acids in natural oils help to rebuild the lipid layer of the hair, while antioxidants protect against environmental damage. Pros and Cons of Using Natural Oils Advantages of Natural…

7 Essential Steps To Perfectly Filed Nails Elevate Your Manicuregame
7 Essential Steps to Perfectly Filed Nails: Elevate Your Manicure Game

Learn how to hone this skill for beautiful and healthy nails. Introduction Properly maintained nails are more than just a style statement; they’re a condition of one’s personal hygiene and one of the first things people notice about you in social and professional interactions. Whether you have an essential job interview, a critical date, or just want to look and feel your best, the state of your nails is bound to get noticed. This step-by-step guide is intended to help you master all of the aspects of nail filing, to guarantee that not only do they look fantastic but also remain healthy . The Critical Aspect of Nail Maintenance Why You Only Have One Chance to Make a First Impression? You might not be able to conduct business with someone or communicate your love for them immediately. But your nails don’t have that luxury – they touch everything you do: giving and receiving, opening bags of chips, flipping through books, and who knows what else. You may be unable to immediately establish a rapport with others, but you can always rely on your nails – whether they exude warmth and care or suggest “I got this far, what’re you going to do about it?.” However, it is not only a matter of passive stress relief and feeling good “in your skin” – it is a question of survival . The Meeting Point Between Beauty and Health Looking for the Best Fitting Nail Tools How to Figure Out the Grit Code Not all nail files are created equal; they come in different grit sizes and strengths to fit differing nails and filing requirements. While a grit size of around 240 is safe for everyone, as it is smooth enough to protect the nail bed and superior enough to file the nail successfully. Tools to Nail Types Once again, if one has weak or defective nails, a diamond file such as the Diamancel range may make all the difference. Do not be frightened by the phrase “diamond,” as most metal nail files are sharper and harmfully the nail surface more than ever. Glass is another good choice, but it is always more expensive due to its good quality. Glass files can be utilized on any kind of nail because they are not as PMY as other substances, and a gloss finish means that there are less chances that a nail will cut. The Nail Filing Art Although selecting the proper sort of nail file is essential, it is idle without proper filing procedure. People must never “saw” through their nails to remove them, as they will harm the nail edge and make them soft and simple to rip. Put a pointy edge back on the nail since the original is with no edges off to construct upon. Proper File Start by placing your hammer file at an angle on one file side. Pass the device of the file just over the nail. Achieve the desired form, focusing always on the edges in a gentle bevel with small balls beneath the files’ middle. Nail Forms:…

The Sparkling World Of Diamond Facials: A Comprehensive Guide
The Sparkling World of Diamond Facials: A Comprehensive Guide

In recent years, the beauty industry has witnessed a growing demand for high-end treatments that promise glowing, youthful skin. One such treatment gaining popularity is the diamond facial. A diamond facial is a luxury skin treatment that involves the use of diamond-infused products to exfoliate. Part 1: What is Diamond Facial?Diamond facial is a type of facial in which diamond-infused products are used to rejuvenate and improve the appearance of the skin. Products used in diamond facials contain diamond powder, which is said to help exfoliate and remove dead skin cells, making skin look brighter and younger. Diamond powder is also believed to stimulate collagen production, which can help reduce the appearance of fine lines and wrinkles. Part 2: Benefits of Diamond FacialThere are several benefits of getting a diamond facial. First, the exfoliating properties of diamond powder can help remove dead skin cells that can clog pores and lead to acne breakouts. Secondly, diamond powder can stimulate blood circulation, which can improve skin tone and texture. Third, diamond skin care helps reduce the appearance of fine lines and wrinkles, making the skin look younger. Finally, diamond facials can moisturize the skin, leaving it feeling soft and supple. Part 3: Diamond Facial ProcedureA diamond face typically includes several steps. First, the skin is cleaned so that it is free of any dirt or make-up. Secondly, the diamond peeling cream is applied to the skin and massaged with circular movements. The cream is left on the skin for a few minutes before washing it off. Third, a diamond-infused serum is applied to the skin and left for a few minutes to absorb into the skin. Fourth, a diamond-infused mask is applied to the skin and left for 10-15 minutes before washing off. Finally, a moisturizer and sunscreen are applied to protect the skin from further damage. Chapter 4: Who Can Benefit From The Diamond Facial?Diamond facials are suitable for all skin types, but are especially beneficial for those with dull, dry or mature skin. If you have sensitive skin, it is important to consult a dermatologist before having a diamond facial as the exfoliating properties of diamond powder may be too harsh for some. Part 5: The Cost of a Diamond FacialDiamond skin care is considered a high-end treatment and therefore can be quite expensive. The cost of diamond facial care may vary depending on the area to be treated, the products used and the expertise of the esthetician. On average, a diamond facial can cost anywhere from $150 to $500. Chapter 6: Is Diamond Skin Care Worth It?Whether a diamond facial is worth it is subjective and depends on personal preferences and budget. If you’re looking for a luxurious, high-end treatment that promises to revitalize and hydrate your skin, the diamond facial may be worth the investment. However, if you’re on a tight budget, there are many other facials that can provide similar benefits at a lower cost. Diamond facials are a luxurious and effective way to rejuvenate and improve the appearance of the skin. While they are expensive, they offer a…

Essential Insights For Mastering The Ultimatesmokey Eye Look
Essential Insights for Mastering the Ultimate Smokey Eye Look

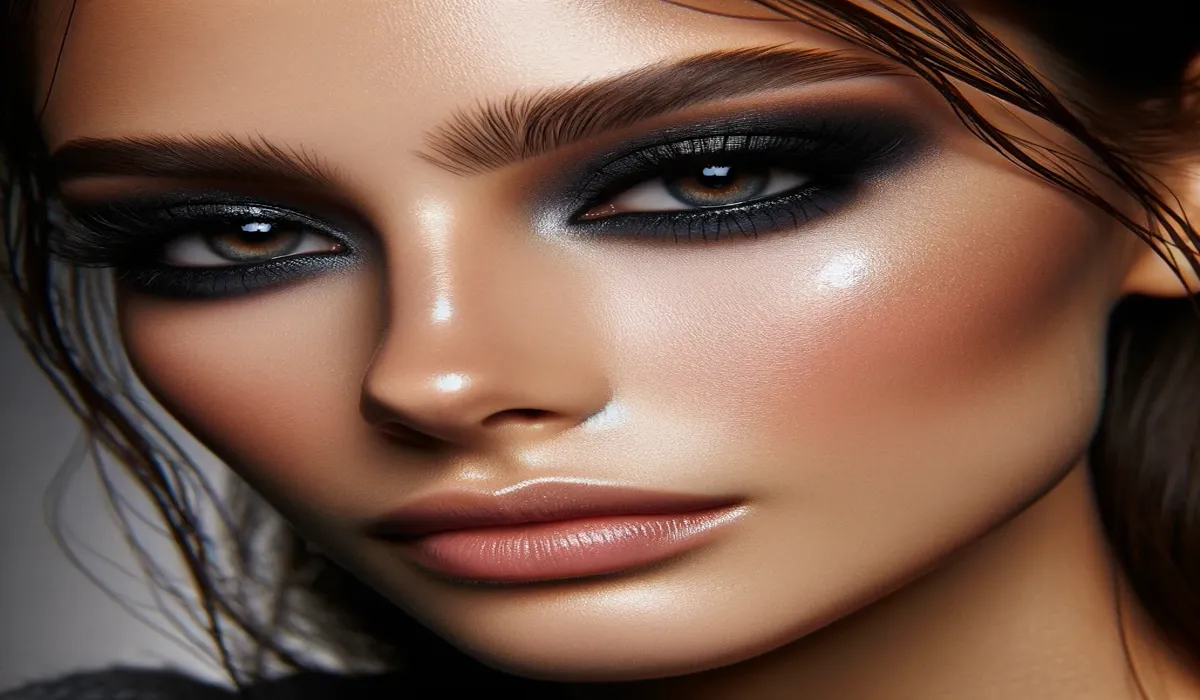
The smokey eye, an enduring symbol of elegance that lends both depth and intensity to the gaze, has maintained its prominence within the realm of beauty for generations. The journey to perfecting the smokey eye may appear challenging, yet with the appropriate instruments, a grasp of the necessary techniques, and dedicated practice, this iconic aesthetic is within anyone’s reach. We aim to escort you through the process, detailing everything from the selection of fitting eyeshadows to their expert application. Grasping the Essentials of Smokey Eye Makeup Defining the Smokey Eye: Embodying a seamless gradation of eyeshadow hues that transition from dark near the lash line to lighter shades approaching the brow bone, the smokey eye technique focuses on crafting contrast and depth, positioning the eyes as the centerpiece of the visage. Essential Tools and Products: Prior to embarking on the application process, assembling the correct tools and products is critical. Essential items include a spectrum of eyeshadows (spanning dark to light hues), an eyeshadow primer, blending and flat eyeshadow brushes, eyeliner, and mascara. Eye Preparation The Significance of a Pristine Base: Commencing with a clean, primed eyelid is foundational to the smokey eye technique. The application of primer not only enhances the eyeshadow’s adherence and longevity but also mitigates creasing and fading. Recommendations for Primer Application: Distribute a slender layer of primer across the entire eyelid, allowing it to settle briefly. This step ensures a smooth foundation for subsequent eyeshadow application. Selecting Appropriate Colors Harmonizing Eyeshadow with Eye Color: Choosing eyeshadow shades that complement your eye color can significantly enhance the impact. For instance, bronze and gold hues accentuate blue eyes, whereas purples and pinks amplify the vibrancy of green eyes. Choosing Eyeshadow Textures: Integrating various textures contributes dimension to the smokey eye. Employ matte shades for blending purposes and incorporate shimmer or metallic textures at the center of the lid to attract light. A Detailed Guide to Smokey Eye Application Advanced Smokey Eye Techniques Creating a Cut Crease: For a strikingly dramatic effect, craft a cut crease by layering a dark eyeshadow within the crease and blending upwards, followed by a contrasting lighter shade on the lid. Customizing for Different Eye Shapes: Adapt the smokey eye method to complement your unique eye shape. Individuals with hooded eyes, for instance, should emphasize the dark shadow on the outer corner and incorporate shimmer on the lid to simulate depth. Avoidable Errors Excessive Blending: While blending is essential, overdoing it can result in a lackluster mix of colors. Aim for just enough blending to soften stark lines without diminishing the colors’ vibrancy. Neglecting the Lower Lash Line: Incorporating a hint of dark eyeshadow along the lower lash line enhances the smokey effect and gives the illusion of larger eyes, contributing to a more balanced appearance. Ensuring the Longevity of Your Smokey Eye Makeup Utilizing Setting Spray: A light misting of setting spray can secure your makeup, preserving its pristine condition for extended periods. Touch-Up Kit: Keep essentials such as pressed powder and a compact eyeshadow brush handy for quick adjustments, ensuring your smokey eye…

How Do I Remove Lipstick
How to Remove Stubborn Lipstick: A Comprehensive Guide

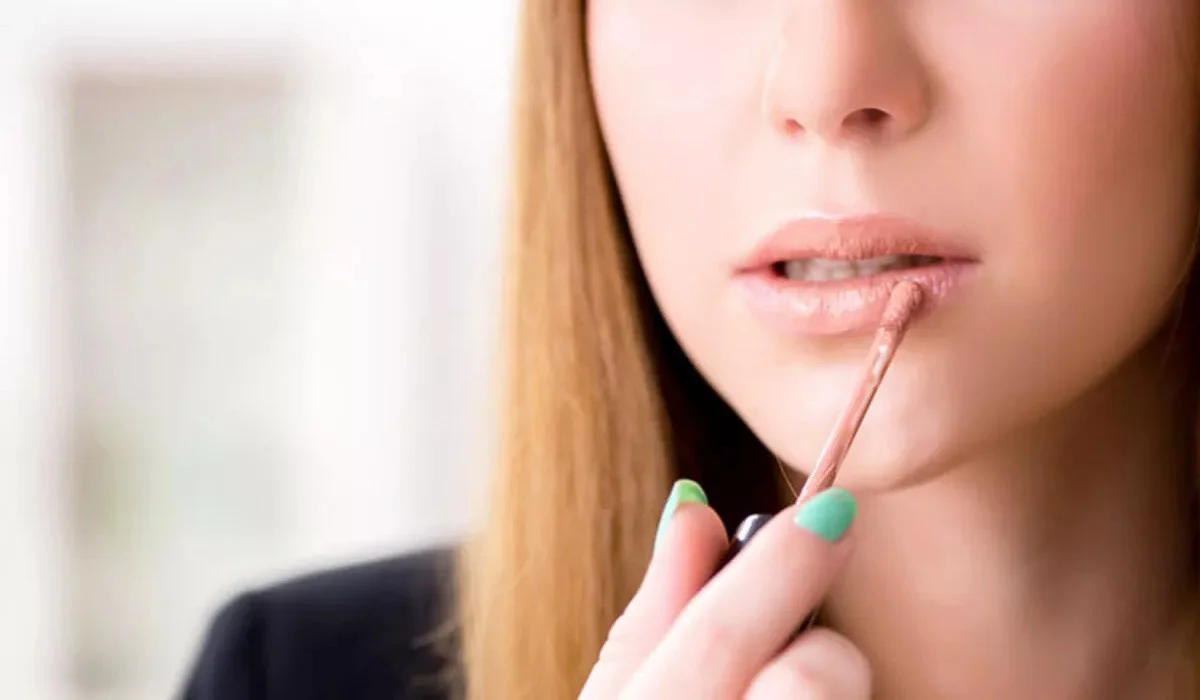
Lipstick, the crowning jewel of many makeup looks, can be both a blessing and a curse. While finding that perfect, long-lasting shade is a victory for beauty enthusiasts, removing it can pose a significant challenge. Stubborn, long-wearing lipsticks designed to last through meals and drinks often leave a lasting stain, necessitating effective removal techniques to protect and care for your lips. This guide offers detailed strategies for removing even the most tenacious lipstick, ensuring your lips remain healthy and stain-free. Before diving into removal methods, it’s essential to understand why some lipsticks are so hard to remove. Long-lasting and smudge-proof formulas contain ingredients designed to adhere firmly to the lips, resisting moisture and friction. While this makes them incredibly durable throughout the day, it also means they can stain the lips and require more than just a simple wipe to remove. Effective Removal Techniques 1. Vaseline Vaseline, a staple in skincare routines for generations, is not only a powerful moisturizer but also an effective lipstick remover. Its thick, emollient nature helps to break down the lipstick’s formula, making it easier to wipe away. 2. Lip Balm Lip balm can act as an on-the-go lipstick remover, offering a convenient solution when you need a quick color change. 3. Organic Oil Natural oils such as coconut and olive oil are not only excellent for skin care but also adept at removing stubborn makeup, including lipstick. 4. Micellar Cleansing Water Micellar water is a gentle yet effective makeup remover that can tackle stubborn lipstick without irritating the skin or lips. 5. Lip Scrub Creating a homemade lip scrub with honey and brown sugar not only removes stubborn lipstick but also exfoliates the lips, leaving them soft and smooth. Step-by-Step Removal Process Removing stubborn lipstick needn’t be a harsh or damaging process to your lips. With the right products and gentle techniques, you can effectively remove any trace of lipstick, leaving your lips clean, soft, and ready for your next color application or simply to rest and rejuvenate overnight. Refined Answers to Common Queries Is It Safe to Eliminate Tenacious Lipstick Without Damaging My Lips?Absolutely, provided that one adheres to gentle, moisture-rich techniques as detailed herein. Utilizing substances such as Vaseline, lip balm, organic oils, micellar water, and crafted lip scrubs can efficaciously dispel persistent lipstick while safeguarding your lips’ well-being. It is imperative to apply a quality lip balm post-removal to maintain optimal hydration. Can Baby Oil Serve as a Substitute for Olive or Coconut Oil in Lipstick Removal?Indeed, baby oil constitutes a viable and gentle alternative for eradicating stubborn lipstick, thanks to its formulation tailored for sensitive skin, thereby deeming it appropriate for the fragile area of the lips. Nonetheless, individuals with oily or acne-prone skin should exercise caution when applying near the lip perimeter to avert potential skin breakouts. Is Micellar Water Compatible with All Skin Varieties?Crafted for mildness, micellar water is generally compatible across all skin types, encompassing those with sensitive skin. Its micelles proficiently attract and encapsulate impurities, oils, and makeup without depriving the skin of its innate moisture, rendering it…