Deflate and Refresh: Simple Ways to Reduce Facial Bloating

Simple Ways To Get Rid Of Facial Bloating

Facial bloating can be a frustrating and uncomfortable experience that affects our appearance and self-confidence. It is often caused by factors such as water retention, poor digestion, inflammation, or certain lifestyle habits. Fortunately, there are simple and effective ways to alleviate facial bloating and restore a more contoured and refreshed appearance. In this article, we will explore various techniques and lifestyle adjustments that can help reduce facial bloating and promote a healthier, more balanced complexion.

Stay Hydrated:
Contrary to popular belief, drinking an adequate amount of water can actually help reduce facial bloating. Proper hydration helps to flush out toxins, maintain optimal fluid balance, and prevent water retention. Aim to drink at least 8 glasses of water per day and include hydrating foods like cucumbers, watermelon, and citrus fruits in your diet.

Limit Sodium Intake:
Excessive sodium consumption can contribute to water retention and facial bloating. Avoid highly processed and salty foods, and opt for fresh, whole foods instead. Cooking at home allows you to control the amount of salt in your meals. Incorporate herbs and spices to enhance flavor without relying on excessive salt.

Follow a Balanced Diet:
A healthy, balanced diet plays a vital role in reducing facial bloating. Incorporate plenty of fresh fruits, vegetables, whole grains, and lean proteins into your meals. These nutrient-dense foods provide essential vitamins and minerals while supporting healthy digestion and reducing inflammation.

Minimize Alcohol and Caffeine:
Alcohol and caffeine can dehydrate the body and lead to facial bloating. Limit your consumption of alcohol and opt for non-alcoholic beverages whenever possible. Reduce your intake of caffeinated drinks like coffee and tea, or consider switching to herbal teas that have anti-inflammatory properties.

Practice Facial Massage:
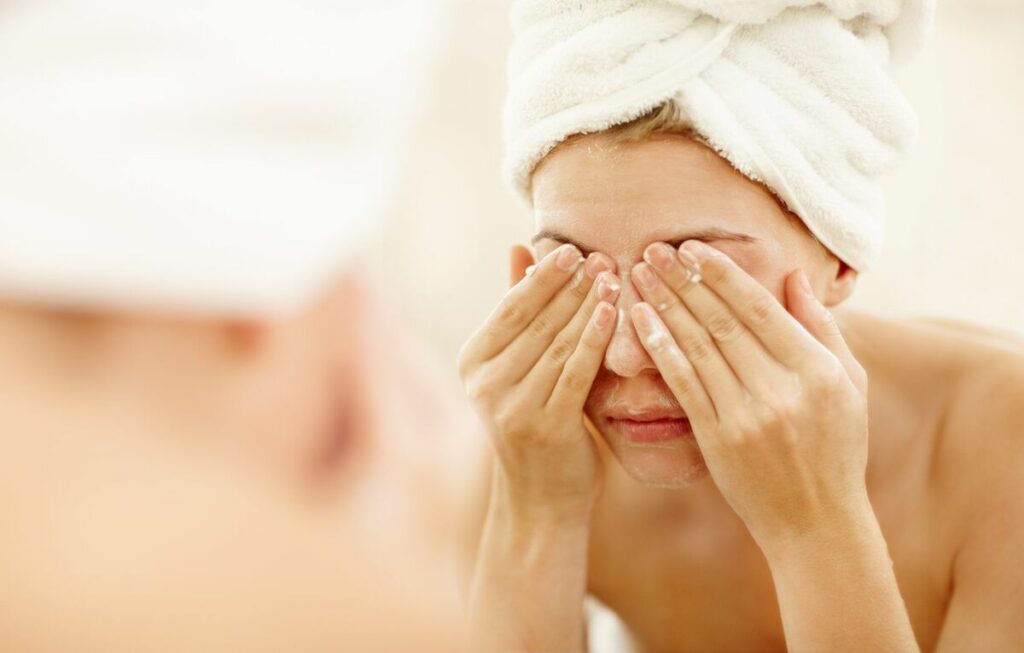
Gentle facial massage can stimulate lymphatic drainage and reduce fluid retention, helping to relieve facial bloating. Use your fingertips to apply light pressure in circular motions, starting from the center of your face and moving outward. Focus on areas prone to bloating, such as the cheeks, jawline, and under-eye area.

Apply a Cool Compress:
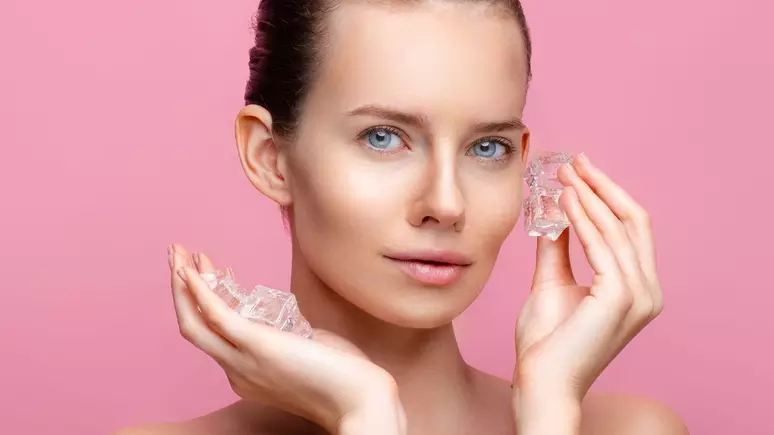
A cool compress can help constrict blood vessels and reduce facial puffiness. Place a clean washcloth soaked in cold water or chilled cucumber slices on your face for a few minutes. The cool temperature will help reduce inflammation and promote a more refreshed appearance.

Reduce Stress:
Stress can contribute to facial bloating by triggering hormonal imbalances and affecting digestion. Practice stress-management techniques like deep breathing exercises, meditation, or engaging in activities that help you relax. Prioritize self-care and get enough sleep to support overall well-being and reduce facial puffiness.
Simple Ways To Get Rid Of Facial Bloating

Avoid Chewing Gum:
Chewing gum can lead to swallowing air, which can contribute to facial bloating. Opt for mints or natural breath fresheners instead. If you need to chew gum, choose sugar-free options and limit your intake.

Improve Digestion:
Promoting healthy digestion is essential for reducing facial bloating. Eat slowly, chew your food thoroughly, and avoid overeating. Consider incorporating probiotic-rich foods like yogurt, kefir, and sauerkraut into your diet to support a healthy gut and improve digestion.

Consider Facial Exercises:
Facial exercises can help strengthen and tone the muscles in your face, reducing the appearance of bloating. Try exercises like puffing out your cheeks, smiling while keeping your lips closed, or gently pressing your palms against your forehead and resisting with your neck muscles. These exercises can help stimulate circulation and promote a more sculpted facial appearance.

Facial bloating can be a temporary and manageable condition with the right lifestyle adjustments and techniques. By staying hydrated, maintaining a balanced diet, practicing facial massage, and reducing stress, you can effectively reduce facial bloating and achieve a more contoured and refreshed look. Remember to listen to your body, experiment with different strategies, and consult a healthcare professional if persistent bloating or discomfort persists. With simple yet consistent efforts, you can regain confidence in your appearance and enjoy a healthier, bloating-free complexion.

Get Regular Exercise:
Engaging in regular physical activity can help improve circulation, reduce water retention, and promote overall well-being, which can indirectly contribute to reducing facial bloating. Incorporate activities such as cardio exercises, yoga, or brisk walking into your routine to boost blood flow and promote lymphatic drainage.

Limit Processed Foods:
Processed foods are often high in sodium, unhealthy fats, and artificial additives, which can contribute to facial bloating. Opt for whole, unprocessed foods whenever possible to reduce your intake of bloating-inducing ingredients. Focus on fresh fruits, vegetables, lean proteins, and whole grains to provide your body with essential nutrients and support a healthier complexion.

Consider Herbal Remedies:
Certain herbal remedies and teas can help reduce facial bloating by promoting digestion and reducing inflammation. For example, peppermint tea and chamomile tea have calming and soothing properties that can aid in digestion and alleviate bloating. Ginger tea is known for its anti-inflammatory benefits and can help soothe an upset stomach.

Maintain a Consistent Sleep Routine:
Getting sufficient quality sleep is vital for overall health and can have a positive impact on reducing facial bloating. Aim for 7-9 hours of uninterrupted sleep each night and establish a regular sleep routine. Creating a conducive sleep environment, such as a cool, dark, and quiet room, can further enhance the quality of your sleep and promote a healthier complexion.


Consult with a Healthcare Professional:
If facial bloating persists or is accompanied by other concerning symptoms, it’s important to consult with a healthcare professional. They can evaluate your individual situation, identify any underlying conditions or allergies, and provide personalized recommendations and treatments to address your specific needs.

Remember, everyone’s body is unique, and the causes of facial bloating can vary. It’s essential to listen to your body, be patient with the process, and find the strategies that work best for you. By incorporating these simple yet effective tips into your lifestyle, you can minimize facial bloating and achieve a more balanced and rejuvenated appearance.

What Is A Fan Brush
What is a Fan Brush?

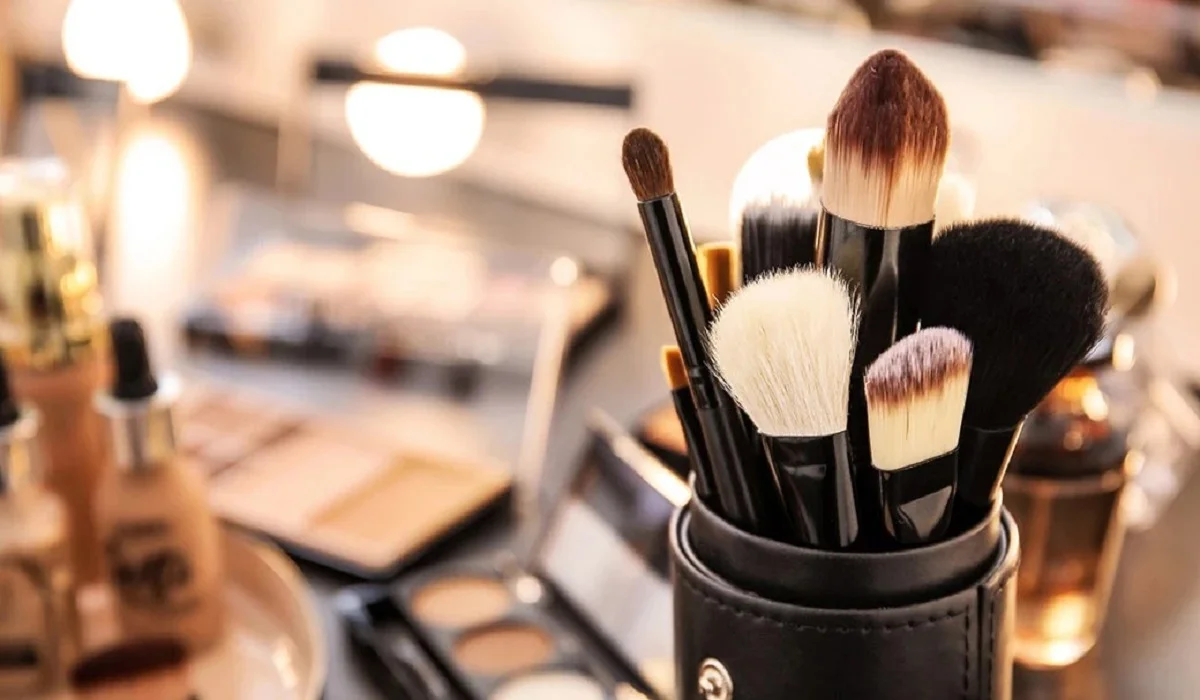
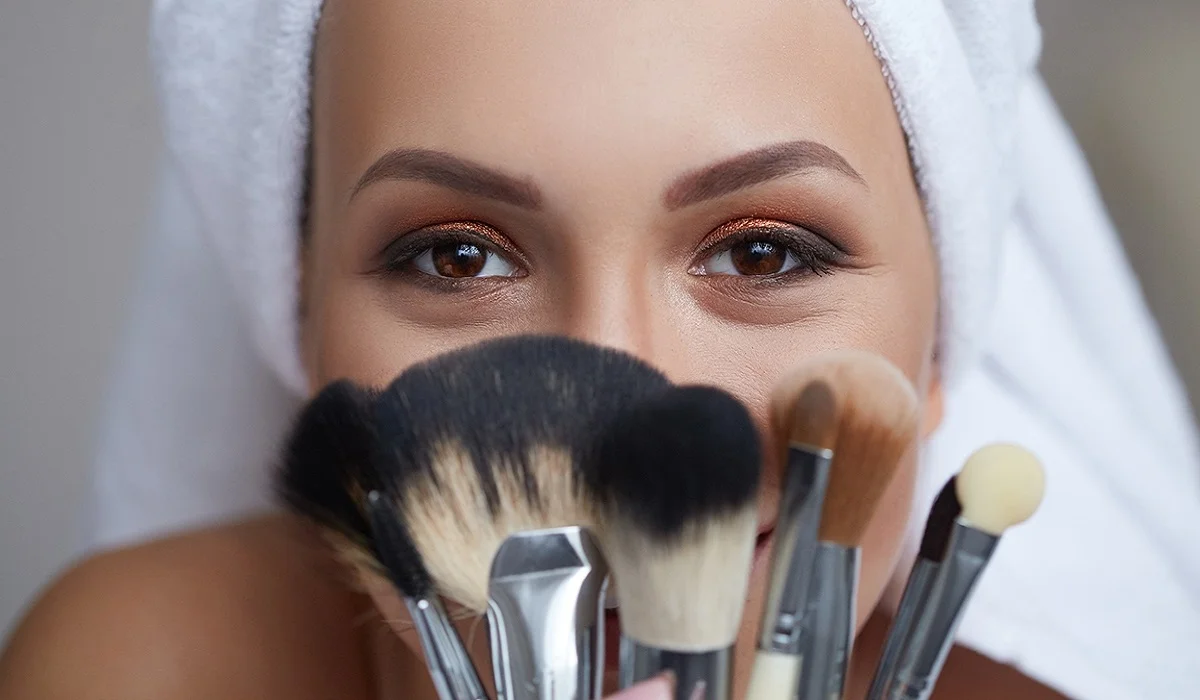
A fan brush, often a staple in both art and beauty kits, is characterized by its unique fan-shaped bristles, designed to spread out wide while still allowing for delicate work. Originating from the need for artists to blend paint and create textures with finesse, the fan brush has a rich history in the arts. It has evolved over time, with variations developed for specific mediums and techniques. Today, it is available in several types, including soft and stiff bristles, each serving a distinct purpose. Uses of Fan Brushes in Art Fan brushes are invaluable for artists looking to achieve a range of effects in their work. They are particularly adept at blending colors on the canvas, creating smooth transitions between hues without harsh lines. This blending capability makes them ideal for skies, water, and other natural elements that require a soft touch. Additionally, fan brushes can be used to create interesting textures and patterns, such as the impression of leaves, grass, or hair, adding a layer of realism and depth to paintings. For techniques like glazing and layering, the fan brush applies thin, even coats of paint, allowing for the gradual build-up of color and luminosity. Uses of Fan Brushes in Makeup In the beauty world, fan brushes have a different set of uses but are equally cherished for their precision and versatility. Their light, feathery bristles are perfect for applying powdered makeup products like highlighters, bronzers, and blushes, offering a soft, natural finish. The unique shape of the fan brush allows for targeted application, enabling makeup artists to accentuate features like cheekbones and the bridge of the nose with ease. Additionally, fan brushes are excellent for gently sweeping away any excess or fallen product, ensuring a clean, flawless makeup application. Choosing the Right Fan Brush The key to harnessing the full potential of a fan brush lies in selecting the right one for your needs. Bristle material plays a significant role, with synthetic fibers offering durability and ease of cleaning, while natural bristles provide a softer touch ideal for sensitive skin and fine art. The size and shape of the brush will dictate its suitability for specific tasks, with larger brushes covering more area and smaller brushes offering precision. Proper care and maintenance, including regular cleaning and storage, will ensure the longevity of your fan brush. Creative Projects with Fan Brushes Beyond their traditional uses, fan brushes can inspire a variety of creative projects. Artists can experiment with different painting techniques, such as stippling and scumbling, to achieve unique effects on the canvas. DIY enthusiasts might find fan brushes handy for home decor projects, like creating textured finishes on walls or furniture. In mixed media art, the fan brush can be used to apply adhesives or create dynamic layers, adding dimension and interest to the artwork. Professional Tips for Using Fan Brushes To get the most out of your fan brush, consider the following tips from professionals: always select the right size and type of brush for your project, use a light touch to avoid overapplication of product, and experiment with…

From Sparse To Spectacular A Journey To Rejuvenating Youreyelashes
From Sparse to Spectacular: A Journey to Rejuvenating Your Eyelashes

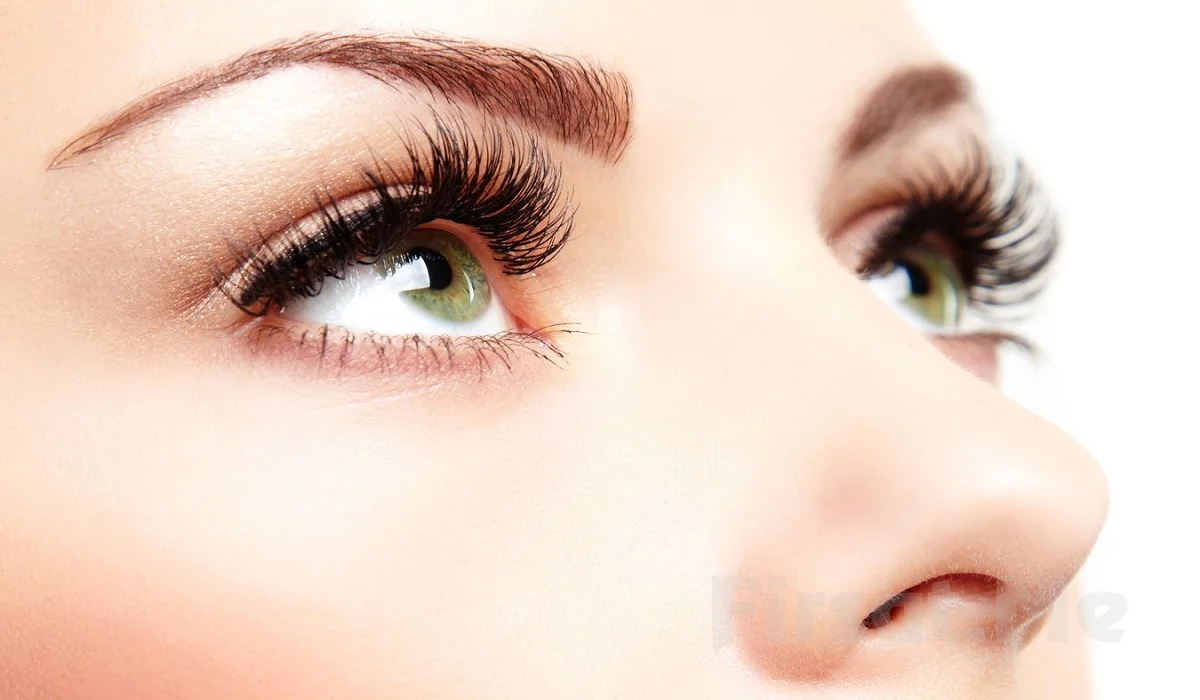
The diminution of eyelashes not only detracts from the visual appeal and the lively expressiveness of the eyes but also causes considerable distress. Eyelashes, serving as both a protective barrier against environmental irritants and a key feature enhancing facial symmetry, necessitate proper attention and care to maintain their health and aesthetics. This detailed guide aims to unveil a holistic approach towards curbing eyelash loss and fostering the regeneration of fuller, more robust eyelashes through a combination of effective care strategies, nutritional insights, and professional advice. Optimal Makeup Conduct and Removal Techniques The manner in which makeup is applied and subsequently removed plays a critical role in preserving eyelash integrity. The application of heavy, waterproof eye cosmetics often leads to undue stress on the lashes, contributing to their fragility and loss during the removal process. Favoring cosmetics formulated to be gentle on the lashes and employing a careful, thorough makeup removal process with appropriate products can significantly mitigate these risks. It’s imperative to abstain from harshly rubbing or tugging at the lashes to avoid exacerbating the loss. Nutritional Foundations for Eyelash Vitality The correlation between diet and hair health extends to eyelashes, with a nutrient-dense diet being foundational to their growth and resilience. A balanced intake of proteins, vitamins (notably B vitamins), minerals (including iron and zinc), and essential fatty acids promotes the vitality of eyelashes. Consuming foods rich in these nutrients, such as fish, eggs, legumes, and nuts, supports not only the health of your eyelashes but also their potential for more rapid growth. Enhancement through Eyelash Growth Serums and Natural Oils The targeted application of growth serums and natural oils can significantly enhance the thickness and length of eyelashes. Ingredients such as peptides, biotin, and botanical extracts in serums are known to aid hair growth, while natural oils like castor oil, coconut oil, and vitamin E oil offer nourishment and strength to the lashes when applied consistently with a clean applicator. Sidestepping Detrimental Habits Many everyday habits unwittingly contribute to the loss of eyelashes, such as vigorous eye rubbing, excessive use of lash curlers, or neglecting to remove makeup before sleep. Adopting a more mindful and gentle approach to eye care can help avert unnecessary damage and loss. Advancements through Professional Eyelash Treatments For individuals desiring more noticeable enhancements, professional options such as advanced growth serums and eyelash extensions present viable alternatives. These treatments, however, warrant careful consideration and should always be undertaken with professional guidance to circumvent adverse effects and ensure the health of your eyelashes. Instituting a Regular Eyelash Maintenance Regimen The establishment of a consistent eyelash care regimen is instrumental in maintaining their health and aesthetic appeal. Routine actions such as gentle cleansing, conditioning, and occasional light brushing can greatly influence the condition of your lashes, promoting their health and natural growth. Stress Reduction for Optimal Eyelash Health The pervasive effects of stress on the body include detrimental impacts on hair and eyelash growth. Engaging in activities that lower stress levels, such as physical exercise, meditation, or pursuing enjoyable hobbies, can help in reducing these adverse effects and…

How To Cover Up Tattoos Withmakeup
How to Cover up Tattoos With Makeup

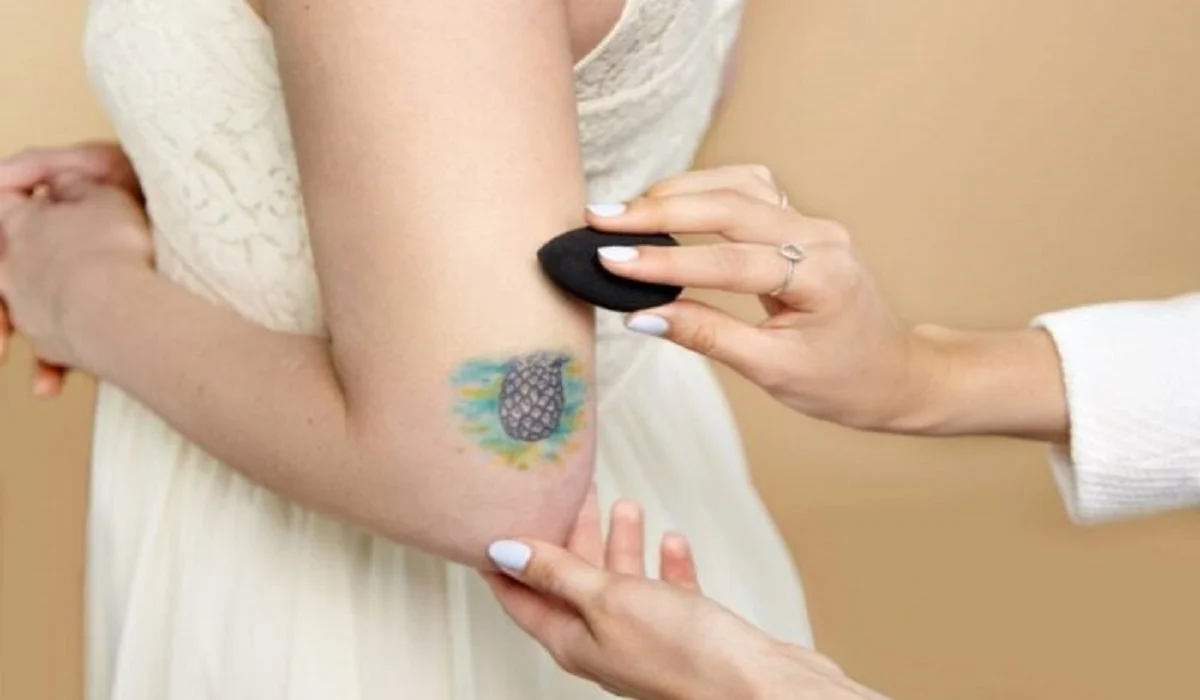
Whether for a job interview, special event, or personal reasons, there are times when you might wish to conceal a tattoo temporarily. With the right makeup and technique, covering up tattoos is entirely possible, allowing for flexibility in how and when your tattoos are visible. This comprehensive guide provides everything you need to know about hiding tattoos with makeup, ensuring a flawless finish. Covering up a tattoo with makeup is a practical solution for temporarily concealing ink without the commitment of permanent removal. The key is understanding which products to use and how to apply them for a cover-up that looks natural and stays put. Understanding Tattoo Coverage Makeup Types of Makeup for Tattoo Coverage Heavy-duty concealers and color correctors are essential for tattoo coverage. Look for products specifically designed for covering tattoos or those used for stage makeup, as they offer the high pigmentation and coverage needed. Selecting the Right Shade and Formula Choose a concealer that matches your skin tone closely. If your tattoo contains vivid colors, you may need a palette of color correctors to neutralize these hues before applying concealer. Preparing Your Skin for Makeup Application Cleansing and Priming Start with clean, dry skin. Use a primer to create a smooth canvas, which helps the makeup adhere better and last longer. Importance of Hydration Moisturize the area around the tattoo, but wait until the moisturizer is fully absorbed before applying makeup. Hydrated skin ensures an even application. Step-by-Step Guide to Covering a Tattoo With Makeup Tips for a Natural and Long-Lasting Finish Removing Makeup and Caring for Your Skin Gentle Removal Techniques Use a gentle makeup remover or micellar water to avoid scrubbing, which can irritate the skin. Post-removal Skin Care After removing the makeup, cleanse the skin thoroughly and apply a nourishing moisturizer to keep the skin healthy. How to Cover up Tattoos With Makeup Recap of Key Points: Concealing tattoos with makeup is a viable option for those seeking temporary coverage. By selecting the right products and following proper application techniques, you can achieve a cover-up that looks natural and withstands the rigors of your day. Covering tattoos with makeup is an art that combines the right products with skillful application to achieve a natural-looking concealment. Whether for a special occasion or everyday need, the ability to temporarily hide your tattoos gives you control over your appearance. With practice and patience, anyone can master this technique, embracing the flexibility and confidence that comes with flawless tattoo coverage.

Stop The Tears: Tips For Preventing Watery Eyes While Applying Makeup
Stop the Tears: Tips for Preventing Watery Eyes While Applying Makeup

Applying makeup can be a fun and creative process, but it can also be frustrating when your eyes start to water and ruin your hard work. Watery eyes can be caused by a variety of factors, including allergies, dryness, and even emotional reactions. Whatever the cause may be, there are several tips and tricks you can use to prevent your eyes from watering while applying makeup. Start with Clean, Moisturized SkinBefore you even begin applying makeup, make sure your skin is clean and moisturized. Dry skin can cause irritation and lead to watery eyes, so it’s important to hydrate your skin with a moisturizer that is suitable for your skin type. Avoid moisturizers that contain fragrances or other irritants that could trigger your eyes to water. Use Allergy-Tested ProductsIf you have sensitive skin or allergies, it’s important to use makeup and skincare products that are labeled as allergy-tested. These products have been formulated to be less irritating and are less likely to cause an allergic reaction. Additionally, avoid using any products that you know you are allergic to or have caused irritation in the past. Avoid Applying Makeup Too Close to Your EyesOne of the main causes of watery eyes while applying makeup is getting product too close to your eyes. Avoid applying eyeliner, mascara, and eyeshadow too close to your lash line or inner corner of your eyes. Instead, keep the products on the outer part of your eyelid and use a smaller brush to apply product closer to your lash line if necessary. Choose Non-Irritating ProductsWhen choosing makeup products, opt for those that are labeled as hypoallergenic or non-irritating. These products are formulated with ingredients that are less likely to cause irritation and are generally safer for sensitive eyes. Look for products that are free of fragrances, sulfates, and parabens. Use Eye DropsIf your eyes tend to get dry or itchy while applying makeup, use eye drops to lubricate and refresh your eyes. Choose drops that are specifically formulated for dry eyes and avoid those that contain redness reducers or other additives that could further irritate your eyes. Avoid Waterproof ProductsWhile waterproof makeup can be great for special occasions or long days, it can also be more difficult to remove and can cause irritation to your eyes. Avoid using waterproof products on a daily basis and opt for regular formulas that are easier to remove and less likely to cause irritation. Take BreaksIf you feel your eyes starting to water while applying makeup, take a break and let your eyes rest for a few minutes. You can close your eyes or look away from the mirror for a bit to give your eyes a break from the products. This can also help to reduce eye strain and prevent further irritation. Use a Light HandWhen applying makeup, use a light hand and avoid pressing or pulling on your eyelids. This can irritate your eyes and cause them to water. Instead, gently apply product and use a soft touch to prevent irritation. Clean Your Brushes and ToolsDirty brushes and tools can harbor…

Metallic Freckles 1
Dazzling Trend: Metallic Freckles

Trends emerge and attract enthusiasts in the beauty and cosmetics world constantly, expanding boundaries and breaking conventional standards. One such enthralling trend that is making waves these days is metallic freckles; unlike natural sun-kissed marks associated with summer, metallic freckles add luminosity and playfulness into makeup application – this article delves deep into their history, application techniques and artistic influence within beauty trends. Metallic Freckles Trend OriginWhile freckles have always been celebrated as distinctive features that add character and depth to an individual’s beauty, the metallic freckles trend takes them even further. Driven by creativity and self-expression, metallic freckles allow makeup enthusiasts to experiment with new looks while adding an air of fantasy into their makeup regimens. Materials and Formulations Metallic freckles can be achieved using products specifically tailored to add shimmering and reflective qualities to the skin, such as freckle pens, metallic liquid eyeliners or specially-formulated metallic pigments. Their lightweight formulation allows for easier application while the metallic finish adds glamour and depth to this aesthetic. Applying Metallic FrecklesAchieving perfect metallic freckles requires delicate hands and artistic vision – here is our step-by-step guide on how to accomplish this captivating look: Prep Your Skin: Begin by starting off with clean, moisturized skin. A primer may help create an ideal surface to adhere metallic freckles on, creating an easy application process and seamless results. Choose Your Products: Select metallic freckle products in shades that enhance or contrast with your skin tone for best results. Gold, rose gold and silver tend to be popular choices among customers but there’s plenty more options out there that suit individual taste! Decide the PlacementDetermine where you would like the freckles to appear – areas such as the bridge of your nose, along with cheeks or even your forehead are popular options – however remember to use creativity when choosing their placement and adapt it according to what works for your desired look. Precision in ApplicationUse either the applicator included with your metallic freckle product, or use a fine-tipped brush, for precision application of metallic freckle products. Gently dot spots of product onto targeted areas by lightly dotting; vary size and spacing to create natural but whimsical effects. Blend for Naturalism: To avoid an artificial look, lightly tap freckles with your clean fingertip or makeup sponge so as to blend them seamlessly with the skin tone and achieve naturalistic aesthetic. This step will ensure seamless integration into your natural complexion. Layer for Intensity:Metallic freckles offer the advantage of being easily buildable; gradually layer product until reaching your desired level of luminosity and shimmer. Make Your Metallic Freckles Stay Put:Finish the look off right by spraying setting spray to secure metallic freckles throughout the day and give a radiant finish. Not only will this step extend their longevity but will add an eye-catching shimmer. Celebrity Influence and Red Carpet Glamour:Metallic freckles’ rise has been greatly amplified due to the increasing influence of celebrities embracing this beauty trend on red carpets and social media platforms like red carpets. Makeup artists working for A-Listers have expertly integrated metallic freckles into…

Effortless Elegance: A Step By Step Guide On How To Remove Gel Nail Polish At Home
Effortless Elegance: A Step-by-Step Guide on How to Remove Gel Nail Polish at Home

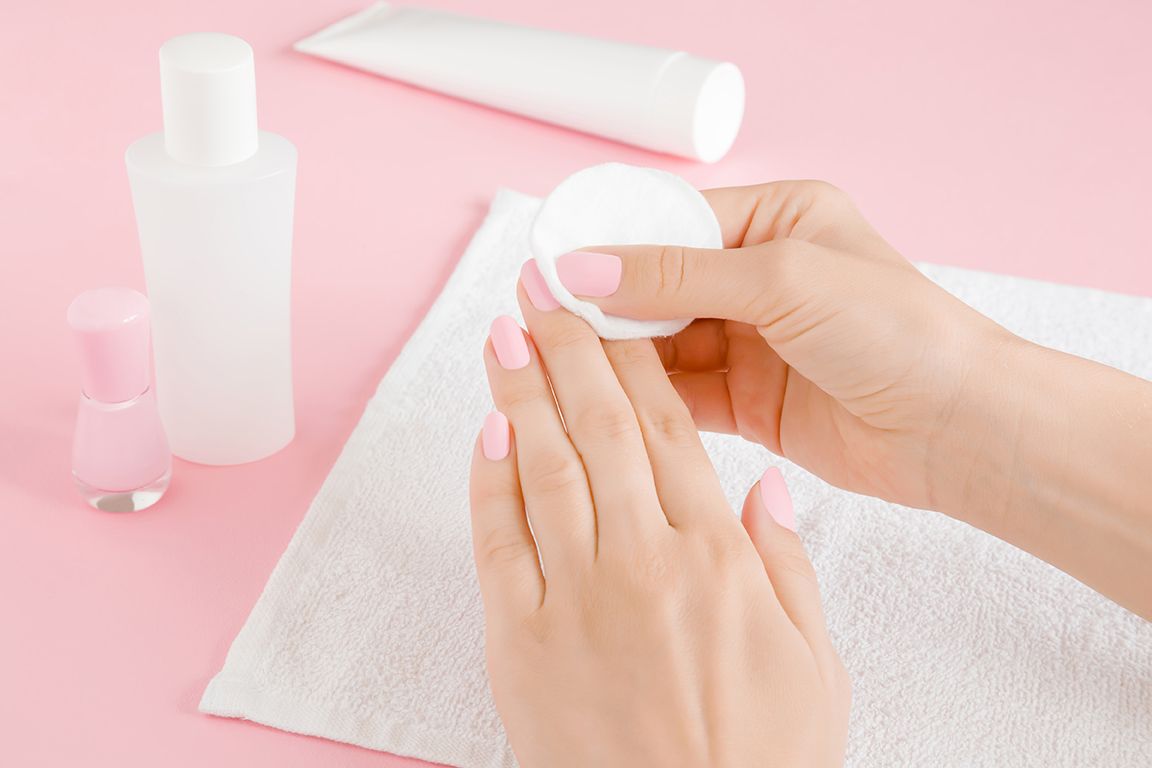
Gel nail polish has revolutionized the world of manicures, offering long-lasting color and a glossy finish. However, the time eventually comes when you need to remove your gel nail polish to refresh your nails or switch up your look. While salon visits are a common option, learning how to remove gel nail polish at home can save you time and money. In this comprehensive guide, we will walk you through the step-by-step process of safely and effectively removing gel nail polish at home, ensuring that your nails stay healthy and pristine. Understanding Gel Nail Polish Gel nail polish differs from traditional nail polish due to its unique formula and the curing process involved. Gel polish is applied in layers and cured under a UV or LED lamp, resulting in a durable and chip-resistant finish that can last for several weeks. Tools and Supplies You’ll Need Before you start the gel nail polish removal process, gather the following tools and supplies: Step-by-Step Guide to Removing Gel Nail Polish at Home Step 1: Prep Your Workspace Choose a well-lit and comfortable space to work in. Lay down a towel or a disposable surface to catch any spills or drips. Step 2: Buff the Shine Using a nail buffer or a gentle nail file, lightly buff the surface of your gel nails. This step helps break the seal of the topcoat, allowing the acetone to penetrate and dissolve the gel polish more effectively. Step 3: Soak Cotton Pads Cut your cotton pads or cotton balls into pieces that are large enough to cover your nails. Soak them in acetone until they are fully saturated. Step 4: Apply Cotton and Foil/Clips Place the soaked cotton on your nails, ensuring that the entire nail surface is covered. Then, wrap each fingertip with a small piece of aluminum foil or use nail clips to secure the cotton in place. This creates a sealed environment that helps the acetone work more efficiently. Step 5: Wait and Relax Wait for about 10-15 minutes, allowing the acetone to soften the gel polish. Use this time to relax, catch up on a book, or simply enjoy a quiet moment. Step 6: Gently Remove the Gel Polish After the soaking time, carefully remove the foil or clips and the cotton from your nails. You’ll notice that the gel polish has started to lift and peel. Use a cuticle pusher or an orange stick to gently push away the softened gel from your nails. Be patient and avoid scraping or prying too aggressively, as this could damage your natural nails. Step 7: Hydration and Nourishment After removing the gel polish, wash your hands with soap and water to remove any residue. Apply a nourishing cuticle oil or cream to replenish moisture to your nails and cuticles. This step helps counteract the drying effects of acetone. Step 8: Moisturize Finish the process by applying a rich hand cream or moisturizer to your hands and nails. This helps keep your skin hydrated and supple. Learning how to remove gel nail polish at home can be a…

Mastering Makeup Application: A Comprehensive Guide To Using Oval Makeup Brushes
Mastering Makeup Application: A Comprehensive Guide to Using Oval Makeup Brushes

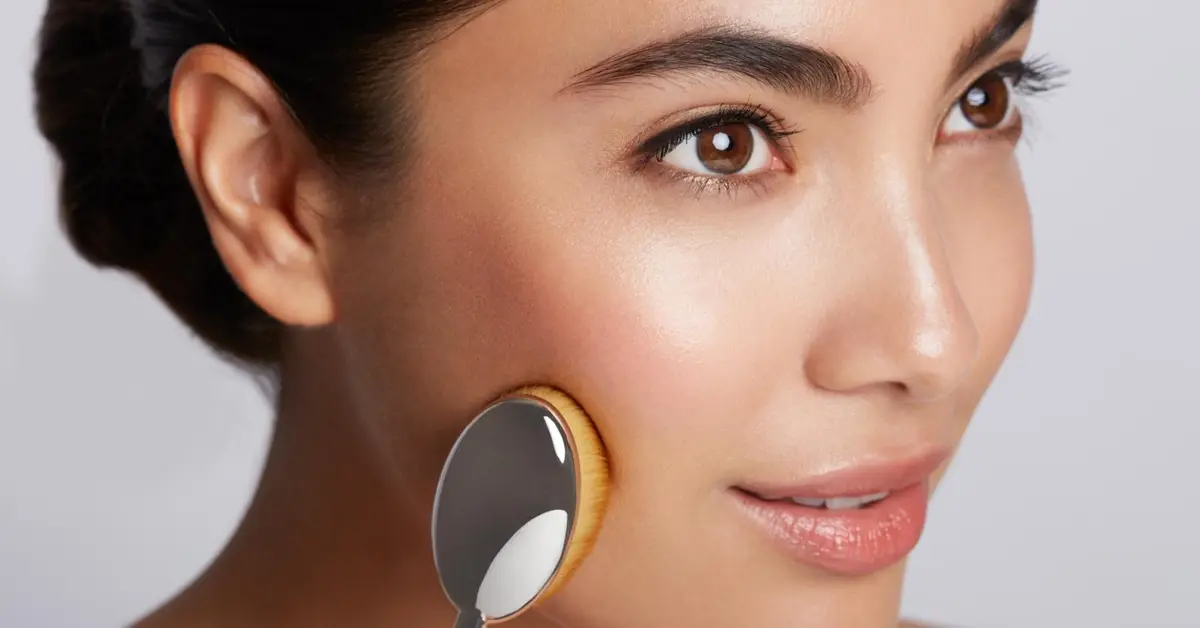
The world of makeup application has evolved over the years, introducing innovative tools to enhance the way we create stunning looks. Oval makeup brushes, also known as toothbrush or paddle brushes, have gained significant popularity due to their unique design and application techniques. These brushes differ from traditional makeup brushes in terms of their shape and functionality, offering a fresh perspective on achieving flawless makeup. In this guide, we will explore how to use oval makeup brushes, highlight their differences from other brushes, and provide expert tips for mastering their application. Understanding Oval Makeup Brushes Oval makeup brushes are characterized by their elongated, flat, and slightly curved shapes that resemble a toothbrush or paddle. They feature densely packed bristles that can be made from synthetic or natural fibers, depending on the brand and model. These brushes come in various sizes, allowing you to choose the one that suits your makeup application needs, from foundation and concealer to contouring and highlighting. Key Differences from Other Brushes Using Oval Makeup Brushes: Step-by-Step Guide Expert Tips for Using Oval Makeup Brushes Oval makeup brushes offer a fresh approach to makeup application, thanks to their unique shape, efficient coverage, and seamless blending capabilities. Their versatile design allows you to achieve a variety of makeup looks with ease. By mastering the stippling and buffing techniques, you can create flawless, airbrushed finishes that enhance your natural beauty. As you incorporate oval brushes into your makeup routine, you’ll discover a new level of creativity and precision that these innovative tools bring to your beauty regimen.

5 Essential Tips To Enhance Your Eye Shadowskills
5 Essential Tips to Enhance Your Eye Shadow Skills

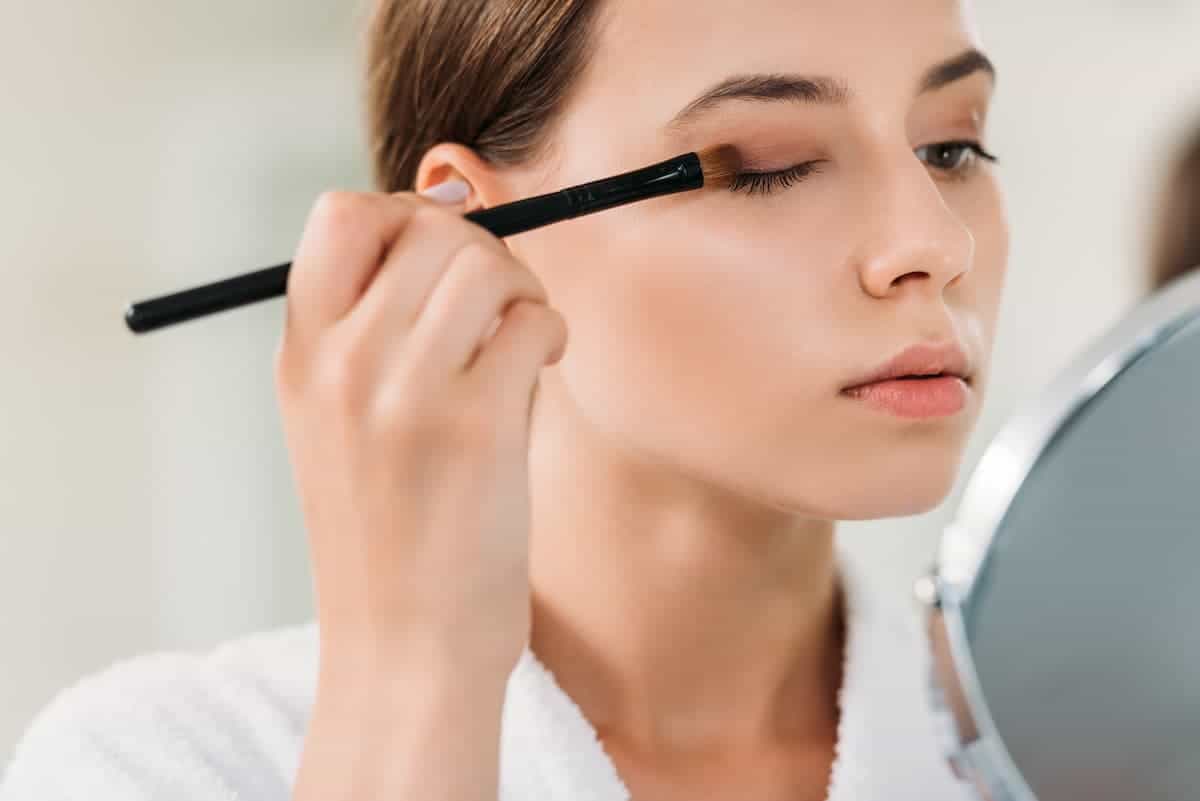
Eye shadow can dramatically transform your look, adding depth, dimension, and a pop of color to your eyes. Whether you’re aiming for a subtle enhancement or a bold statement, mastering the art of eye shadow application is key. In this comprehensive guide, we’ll delve into five pivotal tips that will elevate your eye shadow game, ensuring your makeup not only looks stunning but also lasts longer. Prime Your Eyes Before diving into colors and techniques, it’s crucial to start with a clean canvas. Priming your eyelids is the first step towards ensuring your eye shadow adheres better and stays put for hours. A good eye primer prevents creasing and fading, making it indispensable for both daily wear and special occasions. You can opt for a dedicated eye primer or a versatile option that suits both your face and eyelids. The key is to apply a thin, even layer across your eyelid to create the perfect base for your eye shadow. Understand Your Eye Shape Eye shadow isn’t a one-size-fits-all affair; your application technique should be tailored to your unique eye shape. Whether you have almond, round, hooded, or monolid eyes, each shape has specific strategies to enhance and define its natural beauty. By recognizing your eye shape, you can apply eye shadow in a way that accentuates your best features, from lifting droopy lids to making small eyes appear larger. This personalization ensures your eye makeup complements your overall look. Select the Right Eye Shadow Type The type of eye shadow you choose plays a significant role in the final look. Cream eye shadows work wonders as a base color, offering a smooth application. However, for versatility and ease of blending, pressed powder eye shadows are generally preferred. They come in a wide range of finishes, from matte to shimmer, allowing you to create depth and dimension on your eyelids. When selecting eye shadows, consider the occasion, your skin type, and the look you’re aiming for. Invest in Quality Brushes The right tools can make all the difference in eye shadow application. A comprehensive set of brushes allows for precise application and seamless blending. Essentials include a large, fluffy brush for applying a base color, a smaller, denser brush for adding depth to the crease, and a blending brush to ensure there are no harsh lines. Additionally, a pencil brush is great for detailed work, like defining the lower lash line or inner corners. Quality brushes offer better control and can help you achieve a more professional finish. Choose Eye Shadow Colors That Complement Your Eye Color The colors you choose should enhance your natural eye color, making your eyes the focal point of your face. Here’s a quick guide: By incorporating these tips into your makeup routine, you’ll notice a significant improvement in your eye shadow application. Remember, practice makes perfect, and experimenting with different colors and techniques is part of the fun. Embrace your creativity, and let your eyes shine! Mastering eye shadow application is an art that enhances your natural beauty and allows for creative expression. By following these…