A Shower Dilemma: Can You Use Shampoo as Body Wash? Understanding the Risks and Better Alternatives

A Shower Dilemma: Can You Use Shampoo as Body Wash? Understanding the Risks and Better Alternatives

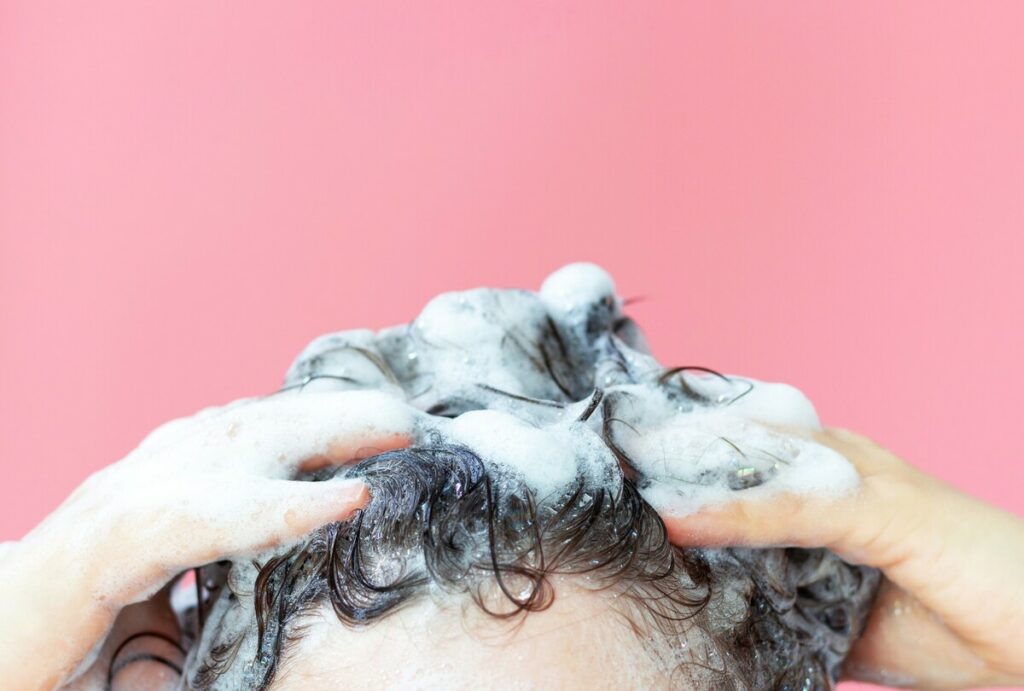
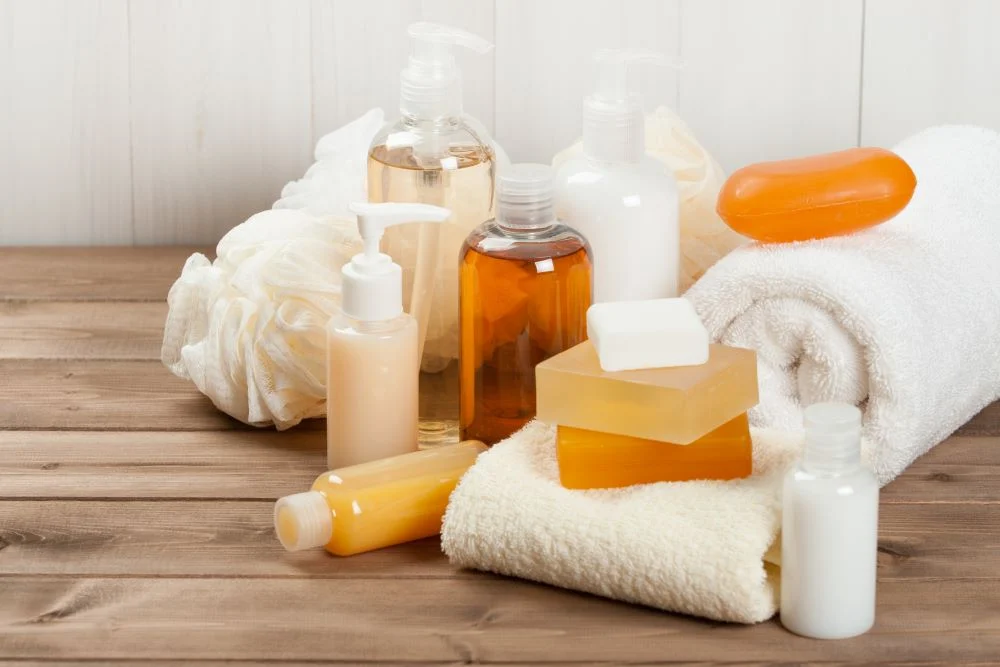
We’ve all been there – running out of body wash just when we need it the most. In moments of desperation, you may have considered using shampoo as a substitute for body wash. While it may seem like a practical solution, the question remains: is it safe to use shampoo on your skin? In this article, we will explore the differences between shampoo and body wash, the potential risks of using shampoo on your skin, and the better alternatives when you find yourself in a showering dilemma.

Understanding the Differences:
Shampoo and body wash are two distinct personal care products designed for specific purposes. Shampoo is formulated to cleanse the scalp and remove dirt, excess oil, and hair products from your hair, while body wash is intended to cleanse and moisturize the skin. The main differences between the two lie in their ingredients and formulations.

Shampoo typically contains ingredients such as surfactants, cleansing agents, and conditioning agents to target scalp and hair concerns. On the other hand, body washes usually contain milder surfactants and moisturizing ingredients that are gentle on the skin. The pH levels of shampoos and body washes also differ, with shampoos being more acidic to maintain the health of the scalp, while body washes tend to have a slightly higher pH to be more compatible with the skin’s natural pH.

Potential Risks of Using Shampoo on Your Skin:
While using shampoo on your skin occasionally may not cause immediate harm, it’s essential to be aware of potential risks and drawbacks.

Skin Irritation: Shampoos may contain stronger cleansing agents and fragrance, which can be harsher on the skin compared to body washes. Using shampoo on your skin regularly may lead to dryness, irritation, and redness.

Stripping Natural Oils: Shampoos are formulated to remove excess oils from the scalp, which means they can also strip your skin of its natural oils. This can leave your skin feeling dry and dehydrated.
A Shower Dilemma: Can You Use Shampoo as Body Wash? Understanding the Risks and Better Alternatives

pH Imbalance: Shampoo and body wash have different pH levels. Using shampoo on your skin may disrupt its natural pH, leading to potential imbalances and skin issues.

Allergic Reactions: Shampoos often contain specific ingredients that are safe for the scalp but may cause allergic reactions when applied to the skin. These reactions can range from mild irritation to more severe allergic responses.

Eye Irritation: Shampoo formulas are not designed to be gentle on the eyes. If you use shampoo as a body wash, be cautious not to get it into your eyes, as it can cause irritation and discomfort.

Fragrance Overload: Some shampoos have stronger fragrances, which can be overwhelming when used on the body. The higher concentration of fragrance may lead to skin sensitivity or allergies.

Better Alternatives When You Run Out of Body Wash:
When you find yourself without body wash, there are safer alternatives to using shampoo on your skin. Consider these options:

Use Soap:
If you have a bar soap available, you can use it as a substitute for body wash. Look for a mild, moisturizing soap that is gentle on the skin.

Coconut Oil:
Coconut oil is a natural and effective option for cleansing and moisturizing the skin. It is gentle and nourishing, leaving your skin soft and hydrated.


Hand Soap:
In a pinch, hand soap can be used as a body wash. However, be mindful of the fragrance and ingredients, as some hand soaps may be too harsh for the skin.

DIY Cleanser:
If you have basic ingredients like olive oil and sugar, you can create a simple DIY cleanser. Mix olive oil and sugar to make a gentle exfoliating scrub that cleanses and moisturizes the skin.

Water Alone:
In cases where you have no suitable alternatives, rinsing your body thoroughly with water alone can remove dirt and sweat temporarily. Be sure to use body wash or soap as soon as possible to maintain proper hygiene.

While using shampoo on your skin in a pinch may not be harmful for occasional use, it is not a recommended long-term solution. Shampoos are formulated with different ingredients and pH levels than body washes, which can lead to skin irritation, dryness, and other potential risks. When you run out of body wash, consider using soap, coconut oil, hand soap, DIY cleansers, or water alone as alternatives. It’s essential to prioritize the health and care of your skin by using products specifically designed for the purpose of cleansing and moisturizing the skin. Always check the ingredients and suitability of any product before using it on your skin to avoid any adverse reactions or discomfort.



Understanding Your Skin Type The Key To Achieving Healthy, Glowing Skin (1)
Understanding Your Skin Type: The Key to Achieving Healthy, Glowing Skin

Achieving radiant, healthy skin is a journey unique to each individual, largely dictated by one’s skin type. Understanding your skin type is not just the first step but the cornerstone of crafting a skincare routine that resonates with your skin’s intrinsic needs. This comprehensive guide delves into the nuances of different skin types and offers tailored advice to nurture your skin towards its healthiest, most glowing state. The Spectrum of Skin Types The skin, our largest organ, comes in a wide spectrum of types, each with its distinct characteristics and requirements. Recognizing your skin type is crucial for selecting the right products and treatments to enhance your skin’s natural balance. 1. Normal Skin: The Equilibrium State Normal skin has a balanced sebum production, presenting neither too dry nor too oily. It’s characterized by: Skincare Strategy: Maintain with gentle hydration and regular exfoliation to preserve its natural balance. 2. Oily Skin: The Shine Factor Oily skin produces excess sebum, leading to: Skincare Strategy: Focus on regulating oil production with lightweight, non-comedogenic moisturizers, and use salicylic acid or benzoyl peroxide treatments for acne. 3. Dry Skin: The Quest for Moisture Dry skin lacks sebum and often feels tight and flaky, showcasing: Skincare Strategy: Intensive moisturizing is key. Look for products with hyaluronic acid, glycerin, and ceramides to lock in moisture. 4. Combination Skin: The Dual Nature Combination skin features both oily and dry zones, typically with: Skincare Strategy: Adopt a flexible approach, using different products to target specific areas’ needs. 5. Sensitive Skin: The Delicate Balance Sensitive skin reacts easily to stimuli, showing: Skincare Strategy: Emphasize gentle care with hypoallergenic, fragrance-free products, and perform patch tests before introducing new products. Determining Your Skin Type Identifying your skin type can be achieved through simple observations and tests: Customizing Your Skincare Routine Once you’ve identified your skin type, tailoring your skincare routine is paramount. Here are some universal steps, adapted for each skin type: Understanding your skin type paves the way to a more effective and personalized skincare routine, allowing you to make informed decisions about the products and practices that will best nurture and protect your skin. Embrace your unique skin type, adjusting your skincare strategy as your skin’s condition evolves with seasons, life stages, and environmental factors. Remember, the goal is healthy, glowing skin, achievable through attentive care and informed choices.

Unlocking The Secrets To Managing Atopic Dermatitis
Unlocking the Secrets to Managing Atopic Dermatitis

Atopic Dermatitis, commonly known as eczema, presents a persistent skin challenge characterized by itchy, inflamed patches. The quest for a universal cure remains elusive, yet the evolution of therapeutic approaches brings hope and alleviation to many sufferers. This article ventures into an array of available treatments, cutting-edge therapeutic developments, and the criticality of personalizing treatment for individual needs… GO TO THE NEXT PAGE TO CONTINUE…

How Weight Loss Medicine May Also Lower Bloodpressure
Unlocking Dual Benefits: How Weight Loss Medicine May Also Lower Blood Pressure

In a groundbreaking study, researchers have unveiled a potentially dual-purpose use for weight loss medications: their capacity to also lower blood pressure in patients. This revelation opens new avenues for treating individuals struggling with both obesity and hypertension, two conditions often found hand-in-hand and contributing to an increased risk of cardiovascular diseases. This article delves into the study’s findings, explores the mechanisms behind weight loss medications, and discusses their implications for health management. Understanding Weight Loss MedicineWeight loss medications are designed to aid individuals in their journey to lose weight when diet and exercise alone have not been sufficient. These drugs work through various mechanisms, such as suppressing appetite, inhibiting fat absorption, or increasing metabolic rate. Brands like Orlistat, Phentermine, and Liraglutide have become household names, offering those with obesity a pharmacological helping hand. The Link Between Weight Loss and Blood PressureLosing weight is often recommended as the first line of defense against high blood pressure. The connection between the two is clear: as weight increases, so does the pressure on artery walls. Weight loss, therefore, can significantly reduce this pressure, improving overall cardiovascular health. Study OverviewThe recent study that has sparked interest within the medical community was comprehensive in its approach, analyzing data from numerous participants over an extended period. It meticulously recorded changes in both weight and blood pressure among individuals prescribed weight loss medication, highlighting a significant trend in blood pressure reduction corresponding with weight loss. How Weight Loss Medicine Reduces Blood PressureThe study suggests that weight loss medications might reduce blood pressure through several mechanisms, including decreasing body weight, improving insulin sensitivity, and altering hormonal balances involved in blood pressure regulation. This multifaceted approach to lowering blood pressure underscores the potential of these medications beyond mere weight management. Comparing Weight Loss MedicationsNot all weight loss medications have the same impact on blood pressure. The article contrasts the effects of various drugs, providing insights into which might offer the most significant benefits for those also looking to reduce their blood pressure. Patient Profiles: Who Benefits the Most?This section identifies the characteristics of individuals who might benefit the most from weight loss medication, considering factors like BMI, existing hypertension, and other risk factors. It offers guidance on who should consider these medications as part of their health management strategy. Side Effects and Safety ConcernsWhile the benefits are promising, weight loss medications are not without their side effects. From minor issues like dry mouth and constipation to more severe concerns like heart palpitations, the article discusses how to manage these risks and when to seek medical advice. Lifestyle Changes vs. MedicationMedication can be a powerful tool, but it’s most effective when combined with lifestyle changes. This section discusses the synergy between drug therapy and modifications in diet and exercise, emphasizing a holistic approach to health improvement. Doctor and Patient PerspectivesFeaturing insights from healthcare professionals and stories from patients who have experienced the dual benefits of weight loss medication, this section adds depth and personal experience to the discussion. Insurance and Cost ConsiderationsThe cost of weight loss medication and its coverage by…

Stop The Tears: Tips For Preventing Watery Eyes While Applying Makeup
Stop the Tears: Tips for Preventing Watery Eyes While Applying Makeup

Applying makeup can be a fun and creative process, but it can also be frustrating when your eyes start to water and ruin your hard work. Watery eyes can be caused by a variety of factors, including allergies, dryness, and even emotional reactions. Whatever the cause may be, there are several tips and tricks you can use to prevent your eyes from watering while applying makeup. Start with Clean, Moisturized SkinBefore you even begin applying makeup, make sure your skin is clean and moisturized. Dry skin can cause irritation and lead to watery eyes, so it’s important to hydrate your skin with a moisturizer that is suitable for your skin type. Avoid moisturizers that contain fragrances or other irritants that could trigger your eyes to water. Use Allergy-Tested ProductsIf you have sensitive skin or allergies, it’s important to use makeup and skincare products that are labeled as allergy-tested. These products have been formulated to be less irritating and are less likely to cause an allergic reaction. Additionally, avoid using any products that you know you are allergic to or have caused irritation in the past. Avoid Applying Makeup Too Close to Your EyesOne of the main causes of watery eyes while applying makeup is getting product too close to your eyes. Avoid applying eyeliner, mascara, and eyeshadow too close to your lash line or inner corner of your eyes. Instead, keep the products on the outer part of your eyelid and use a smaller brush to apply product closer to your lash line if necessary. Choose Non-Irritating ProductsWhen choosing makeup products, opt for those that are labeled as hypoallergenic or non-irritating. These products are formulated with ingredients that are less likely to cause irritation and are generally safer for sensitive eyes. Look for products that are free of fragrances, sulfates, and parabens. Use Eye DropsIf your eyes tend to get dry or itchy while applying makeup, use eye drops to lubricate and refresh your eyes. Choose drops that are specifically formulated for dry eyes and avoid those that contain redness reducers or other additives that could further irritate your eyes. Avoid Waterproof ProductsWhile waterproof makeup can be great for special occasions or long days, it can also be more difficult to remove and can cause irritation to your eyes. Avoid using waterproof products on a daily basis and opt for regular formulas that are easier to remove and less likely to cause irritation. Take BreaksIf you feel your eyes starting to water while applying makeup, take a break and let your eyes rest for a few minutes. You can close your eyes or look away from the mirror for a bit to give your eyes a break from the products. This can also help to reduce eye strain and prevent further irritation. Use a Light HandWhen applying makeup, use a light hand and avoid pressing or pulling on your eyelids. This can irritate your eyes and cause them to water. Instead, gently apply product and use a soft touch to prevent irritation. Clean Your Brushes and ToolsDirty brushes and tools can harbor…

Brow Perfection At Home The Comprehensive Guide To Diy Brow Lamination
Brow Perfection at Home: The Comprehensive Guide to DIY Brow Lamination

In the realm of beauty, eyebrows are a pivotal feature, framing the face and highlighting one’s eyes. Brow lamination, a groundbreaking beauty trend, offers a solution for those seeking fuller, more defined eyebrows without daily makeup. This treatment has traditionally been a salon-exclusive, but with the right guidance, achieving salon-quality results at home is within reach. This expanded guide dives into the nuances of DIY brow lamination, covering everything from the initial prep work to the crucial aftercare, ensuring you can safely achieve and maintain impeccable brows. Deep Dive into Brow Lamination Brow lamination works by restructuring the brow hairs, giving them a uniform, desired direction and appearance. It’s particularly beneficial for those with unruly, sparse, or downward-growing hairs, providing a fuller and more even look. This section explores the technique’s origins, its rise to prominence, and how it has become a beloved alternative to more permanent treatments like microblading, offering insight into why it’s worth considering for your brow grooming routine. Advantages of Going DIY with Brow Lamination Choosing to laminate your brows at home comes with a plethora of benefits, including cost-efficiency, the comfort of your own home, and the ability to tailor the process to your specific brow needs. Here, we’ll outline the key advantages of DIY brow lamination, from the personal satisfaction of self-care to the convenience of touch-ups on your schedule, highlighting why many beauty enthusiasts are opting to take their brow treatments into their own hands. Essential Tools for At-Home Brow Lamination Successful DIY brow lamination hinges on having the right tools and products. This comprehensive checklist ensures you’re well-prepared, listing everything from reputable brow lamination kits to the specific cleansers, brushes, and aftercare serums that will make the process smooth and effective. We also include tips for selecting quality products that are safe and reliable, ensuring your DIY endeavor leads to beautiful, healthy brows. Step-by-Step Guide: Achieving Professional-Quality Lamination With the right preparation, DIY brow lamination can be straightforward and rewarding. This detailed, step-by-step guide walks you through the entire process, from conducting a patch test to applying the lamination solution, shaping, and setting your brows. Each step is broken down with precision, incorporating professional tips and visual aids to ensure clarity and ease, empowering you to achieve professional-quality results at home. Navigating Aftercare for Lasting Results The longevity and quality of your brow lamination significantly depend on proper aftercare. This section delves into the dos and don’ts following your treatment, advising on everything from how to avoid water and makeup in the initial hours to the best practices for nourishing and maintaining your newly laminated brows. Tailored advice on extending the durability of your lamination, including recommended products and routines, ensures your brows remain flawless for as long as possible. Common Pitfalls and How to Avoid Them Even with careful planning, DIY treatments can encounter hiccups. This segment addresses the most common issues encountered during home brow lamination, such as uneven application, overprocessing, or irritation, and provides expert solutions. Learning how to anticipate and remedy these challenges will bolster your confidence, ensuring a smooth…

How To Clean A Beauty Blender
How to Clean a Beauty Blender?

Beauty blenders have revolutionized the way we apply makeup, offering a flawless finish that brushes and fingers simply cannot match. Made from hydrophilic foam, they’re designed to absorb water, allowing makeup to sit on the surface and blend seamlessly into the skin. However, this same feature that makes them so effective also makes them a breeding ground for bacteria if not cleaned properly. Preparation for Cleaning Before diving into the cleaning process, you’ll need a few essentials: mild soap (liquid or bar), warm water, a clean towel, and a drying area. Start by wetting your beauty blender under warm running water, squeezing it several times to ensure it’s fully saturated. Daily Cleaning Techniques For daily cleaning, a quick rinse under warm water with a bit of soap will do. Gently work the soap into the sponge with your fingers, rinse thoroughly until the water runs clear, and then squeeze out any excess water. This daily ritual can significantly extend the life of your beauty blender and prevent the buildup of harmful bacteria. Deep Cleaning Methods Every week, your beauty blender deserves a deep clean. Fill a bowl with warm water and a squirt of gentle soap, submerge your beauty blender, and let it soak for a few hours. After soaking, gently massage the sponge to release trapped makeup and rinse thoroughly. For stubborn stains, olive oil mixed with dish soap can work wonders. Natural and Eco-Friendly Cleaning Options If you prefer a more natural approach, consider using a mixture of baking soda and water to form a paste. This natural abrasive can help remove stubborn stains without damaging the sponge. Rinse thoroughly after application to remove any residue. Drying and Storage Tips After cleaning, it’s crucial to dry your beauty blender properly to prevent mold growth. Squeeze out any excess water with a clean towel and leave it in a well-ventilated area away from direct sunlight. Avoid storing it in airtight containers while it’s still damp. Troubleshooting Common Issues Stains and odors can be persistent problems, but soaking your beauty blender in a vinegar and water solution can help neutralize odors and loosen stains. Regular cleaning and proper storage are key to preventing these issues. How to Clean a Beauty Blender This consolidated guide emphasizes the importance of both daily and deep cleaning routines, utilizing both commercial and natural cleaning agents, and following proper drying and storage protocols to maintain your beauty blender’s effectiveness and longevity. Maintaining a clean beauty blender is crucial for flawless makeup application and skin health. By incorporating these cleaning methods into your beauty routine, you can ensure that your beauty blender remains in top condition, providing the perfect blend every time. How often should I clean my Beauty Blender? To ensure your Beauty Blender remains hygienic and performs at its best, it’s recommended to clean it after every use. Daily cleaning removes makeup residue, oils, and bacteria, preventing skin irritations or breakouts. For a thorough deep clean, aim to do so once a week. This routine helps maintain the sponge’s integrity and extends its usability. Can I…

Unveiling The Jelly Skin C Beauty Technique: Radiant And Hydrated Complexion
Unveiling the Jelly Skin C-Beauty Technique: Radiant and Hydrated Complexion

The world of skincare is constantly evolving, introducing innovative techniques and trends from different corners of the globe. One such trend that has gained significant popularity is the Jelly Skin C-Beauty Technique. Originating from China, this skincare approach focuses on achieving a radiant and hydrated complexion reminiscent of the plump and translucent appearance of jelly. In this article, we will delve into the concept of Jelly Skin, explore the steps involved in the C-Beauty Technique, and discuss the key benefits it offers for your skin. Understanding Jelly Skin:Jelly Skin refers to a dewy, translucent, and hydrated complexion that appears plump, supple, and radiant. Inspired by the smooth and bouncy texture of jelly, this skincare concept aims to achieve a youthful and healthy-looking appearance. Jelly Skin prioritizes hydration and focuses on enhancing the skin’s natural glow by nourishing it from within. The C-Beauty Technique:The C-Beauty Technique encompasses a multi-step skincare routine designed to achieve Jelly Skin. It involves a combination of meticulous cleansing, intensive hydration, and targeted treatments to promote a translucent and luminous complexion. Let’s explore the key steps involved in the C-Beauty Technique: a. Double Cleansing: The C-Beauty Technique begins with a thorough double cleansing method, using an oil-based cleanser to remove makeup, SPF, and sebum, followed by a water-based cleanser to eliminate any remaining impurities. Double cleansing ensures a clean canvas for subsequent skincare steps. b. Gentle Exfoliation: Exfoliation is crucial in the Jelly Skin C-Beauty Technique, but it focuses on gentle exfoliation rather than harsh scrubs. Enzyme-based or chemical exfoliators are preferred to remove dead skin cells and promote a smoother texture without causing irritation or stripping the skin. c. Hydrating Toner: Hydration takes center stage in the C-Beauty Technique. A hydrating toner, often referred to as an essence or a lotion, is applied to infuse the skin with moisture and improve its ability to retain hydration. This step helps to plump the skin, creating a bouncy and resilient appearance. d. Essence and Serums: Next, lightweight essences and serums are used to address specific skin concerns. These products contain concentrated active ingredients that target issues such as uneven skin tone, dullness, or fine lines. They penetrate deeply into the skin, promoting clarity and enhancing overall radiance. e. Moisturizing and Sealing: Moisturization is essential in achieving Jelly Skin. A rich moisturizer is applied to replenish and lock in moisture, providing long-lasting hydration and nourishment. Some C-Beauty enthusiasts also incorporate a sealing step by using a facial oil or an occlusive product to create a protective barrier and prevent moisture loss. f. Sun Protection: The C-Beauty Technique emphasizes the importance of sun protection to maintain skin health and prevent sun damage. A broad-spectrum sunscreen with a high SPF is applied as a final step to shield the skin from harmful UV rays. Key Benefits of the Jelly Skin C-Beauty Technique:The Jelly Skin C-Beauty Technique offers several key benefits for your skin: a. Intense Hydration: By prioritizing hydration, the technique helps to restore the skin’s moisture balance, resulting in a plump and supple complexion. Well-hydrated skin appears more youthful and vibrant. b….

Revolutionize Your Skincare Routine With The Power Of Double Cleansing
Revolutionize Your Skin Care Routine with the Power of Double Cleansing

The cornerstone of any successful skin care strategy is cleansing, particularly in an era besieged by escalating pollution, ubiquitous makeup use, and a plethora of skin care promises. The innovative double cleansing technique emerges as a crucial evolution in facial care, offering a comprehensive cleaning solution that leaves skin luminous and vigorous. The Critical Role of an Effective Cleansing Regimen Beyond mere removal of grime and cosmetics, cleansing prepares the skin to fully embrace the benefits of your skin care arsenal. An optimal cleansing routine eradicates pollutants, excess sebum, and dead cells, averting pore blockages and skin complications. Understanding Double Cleansing This method entails a dual-step process with an oil-based cleanser followed by a water-based one. The former dissolves oil-soluble residues like sunscreen and cosmetics, whereas the latter targets sweat, dust, and other aqueous pollutants. The Origins and Development of Double Cleansing Rooted in Japanese and Korean beauty traditions, double cleansing has ascended to global acclaim for its efficacy. This practice has been refined from age-old rituals to meet contemporary demands, integrating sophisticated product formulations. Skin Benefits from Double Cleansing By achieving a more thorough cleanse, this technique wards off acne, boosts hydration, and enhances the penetration of skin care products, leading to a finer and smoother epidermal texture. Elevating Your Skin Care Regimen Through Double Cleansing Effective removal of impurities via double cleansing augments the performance of subsequent skin care steps, including toning, hydration, and the application of serums or treatments. Selecting the Ideal Cleansers for Double Cleansing The success of this regimen hinges on choosing a suitable oil cleanser for your skin type and a gentle, pH-balanced water cleanser for the final wash. A Detailed Guide to Double Cleansing Dispelling Myths Around Double Cleansing Contrary to some beliefs, double cleansing, when performed with appropriate products, can be gentle and beneficial across various skin types, without stripping natural oils or causing irritation. Tailoring Double Cleansing to Your Skin Type Modify the double cleansing approach by selecting products that cater to specific skin needs, whether it’s managing oiliness, dryness, or sensitivity. Double Cleansing’s Effectiveness Against Makeup and Sunscreen This method is particularly adept at removing stubborn makeup and sunscreen, ensuring a clean slate unlike what single-step cleansing can achieve. Incorporating Double Cleansing into Your Evening Routine Evening is the prime time for double cleansing, allowing for the removal of the day’s accumulation and facilitating overnight skin recovery. Expert Recommendations for Maximizing Double Cleansing Benefits Avoiding Common Double Cleansing Errors Steer clear of overly harsh cleansers and excessive washing to prevent skin dehydration and irritation. The Positive Impact of Double Cleansing on Skin Health Regular adherence to double cleansing can visibly enhance skin health, evidenced by fewer breakouts, a more radiant complexion, and smoother skin texture. Testimonials on the Efficacy of Double Cleansing Numerous users have observed marked improvements in skin clarity and texture after adopting double cleansing, underscoring its effectiveness. Comparative Analysis of Double Cleansing Versus Traditional Methods Though traditional cleansing can be efficient, double cleansing offers a comprehensive solution to removing layered impurities, a feat not as easily achieved with a…