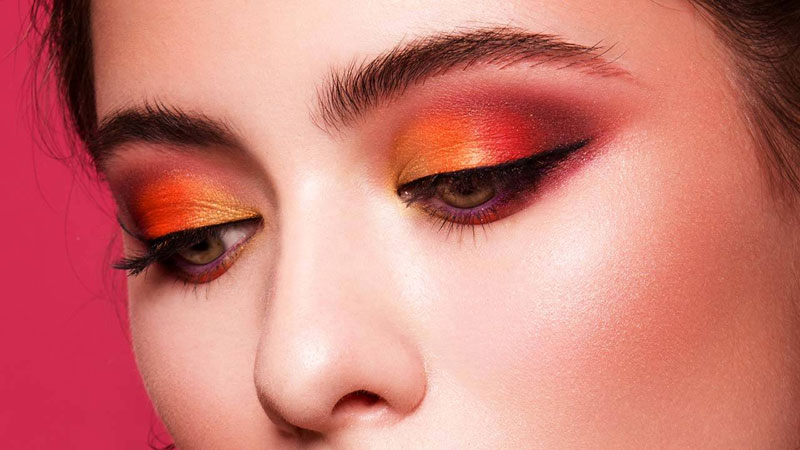
Mastering the Inner Corner Eyeliner Trend: A Step-by-Step Guide

Mastering the Inner Corner Eyeliner Trend: A Step-by-Step Guide

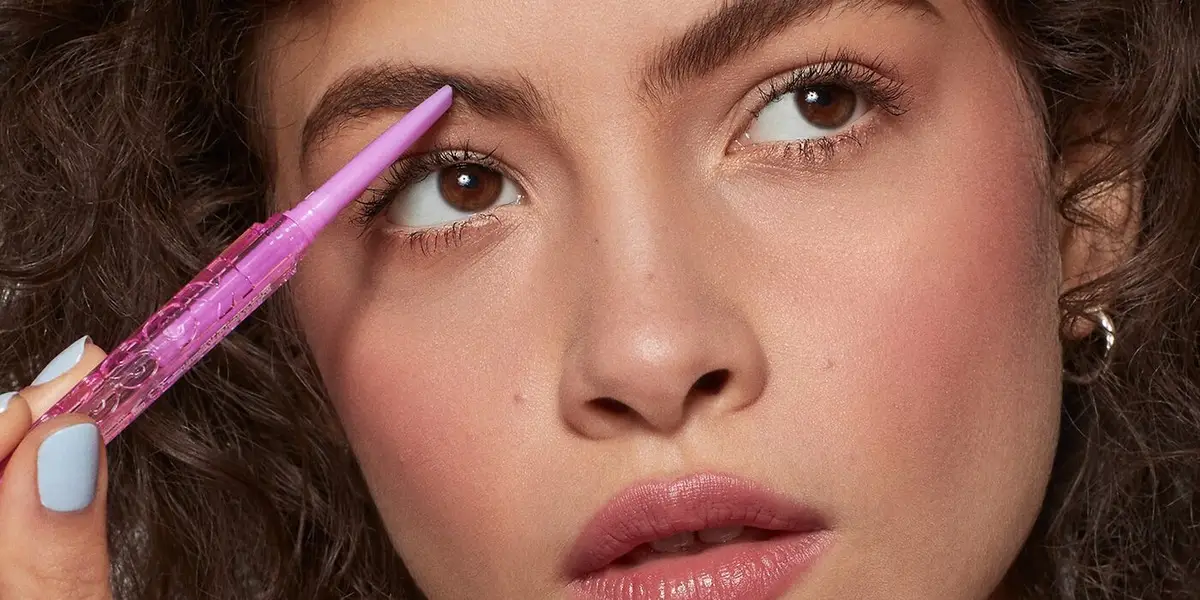
The inner corner eyeliner trend has taken the beauty world by storm, adding a touch of brightness and glamour to any eye look. This trendy technique involves applying eyeliner to the inner corners of the eyes to create a wide-eyed and radiant appearance. Whether you’re a makeup enthusiast or a beginner, mastering the inner corner eyeliner is simple and can elevate your eye makeup game instantly. In this comprehensive guide, we will walk you through the three easy steps to pull off the inner corner eyeliner trend flawlessly.

Step 1: Gather the Right Tools and Products

Before you start applying the inner corner eyeliner, ensure you have the right tools and products on hand:

A fine-tipped eyeliner brush or a precision eyeliner pencil: Choose a brush or pencil with a fine tip to create precise lines in the inner corners of your eyes.

Gel eyeliner or liquid eyeliner: These formulas work best for achieving clean and defined lines in the inner corners.

Eyeshadow primer or concealer: Prepping your eyelids with a primer or concealer will ensure the eyeliner stays in place and enhances its color intensity.

Setting powder or eyeshadow: A setting powder or eyeshadow close to your skin tone will set the primer or concealer and prevent creasing.

Optional: Shimmery or metallic eyeshadow: If you want to add a pop of sparkle to your inner corner, opt for a shimmery or metallic eyeshadow in a complementary shade.

Step 2: Prep and Prime the Inner Corners

Prepping your inner corners is essential to ensure a smooth application and enhance the longevity of the eyeliner.

Cleanse your face and eyes: Start with a clean canvas by thoroughly cleansing your face and removing any makeup residue from your eyes.

Apply eyeshadow primer or concealer: Gently dab a small amount of eyeshadow primer or concealer on the inner corners of your eyes using your fingertips or a small brush. Blend it evenly to create a smooth base for the eyeliner.

Set the primer or concealer: Dust a setting powder or a neutral eyeshadow close to your skin tone over the primed area. This step will set the base and prevent creasing.
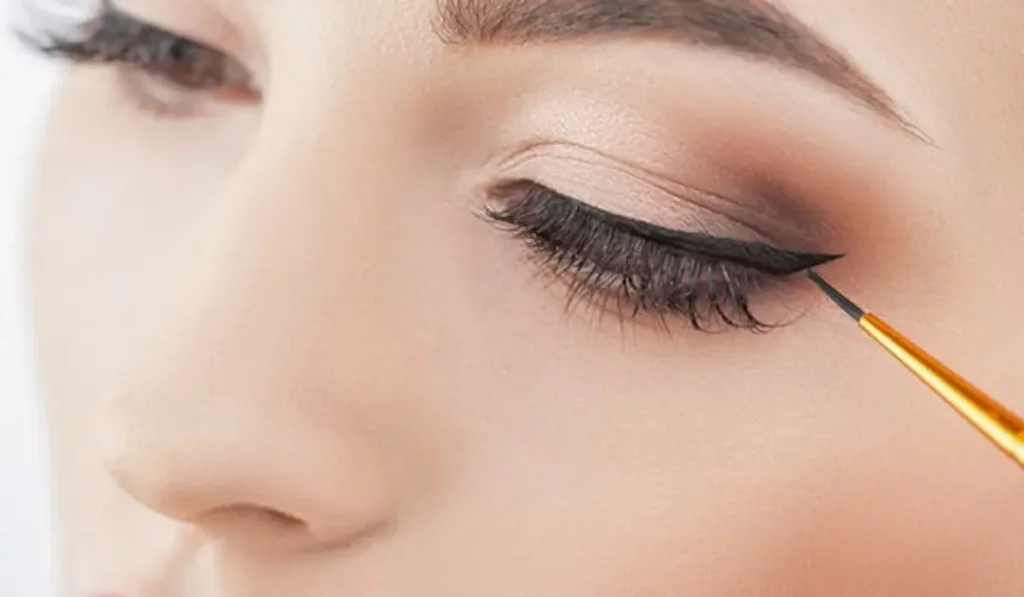
Mastering the Inner Corner Eyeliner Trend: A Step-by-Step Guide

Step 3: Apply the Inner Corner Eyeliner

Now that your inner corners are prepped and ready, follow these steps to achieve the perfect inner corner eyeliner look:

Choose your eyeliner color: You can opt for classic black for a bold and defined look, or you can experiment with colored eyeliners to add a fun and unique twist.


Dip your brush or eyeliner pencil into the gel or liquid eyeliner: Ensure the brush or pencil is coated evenly with the product.

Create the inner corner line: For a subtle and natural look, start by drawing a thin line along the inner corners of your eyes. Begin from the tear ducts and extend the line slightly outwards. For a more dramatic and elongated look, extend the line further towards the middle of your eyelids.

Blend or smudge (optional): If you prefer a softer effect, you can gently blend or smudge the eyeliner with a cotton swab or a smudging brush.

Add shimmer (optional): For a touch of glam, lightly dab a shimmery or metallic eyeshadow on top of the eyeliner in the inner corners.

Complete your eye makeup: Finish your eye makeup with mascara, eyeshadow, and any other eye products you typically use.

Tips for Nailing the Inner Corner Eyeliner Trend:

Less is more: Start with a thin line and gradually build up the thickness if you desire a bolder look. It’s easier to add more eyeliner than to remove excess product.

Match your eye shape: Consider your eye shape when applying the inner corner eyeliner. For close-set eyes, focus on the outer corners; for wide-set eyes, emphasize the inner corners.

Experiment with different colors: Don’t shy away from experimenting with colored eyeliners. Pastels, metallics, or jewel tones can add a playful and trendy touch to your eye makeup.

Balance with the rest of your makeup: Keep the rest of your makeup relatively simple to let the inner corner eyeliner take center stage.


Practice makes perfect: If you’re new to eyeliner application, don’t be discouraged by any initial challenges. Practice regularly to refine your technique.

The inner corner eyeliner trend is a fantastic way to brighten up your eye makeup and enhance your overall look. By following these simple steps and experimenting with different colors and techniques, you can easily pull off this trendy and glamorous eye makeup style. Remember to prep and prime your inner corners, choose the right eyeliner color, and keep a steady hand while applying the eyeliner. Whether you’re going for a subtle glow or a dramatic statement, mastering the inner corner eyeliner trend will undoubtedly add a touch of magic to your eye makeup repertoire.


Understanding The Benefits Of Mascara Primer
Understanding the Benefits of Mascara Primer

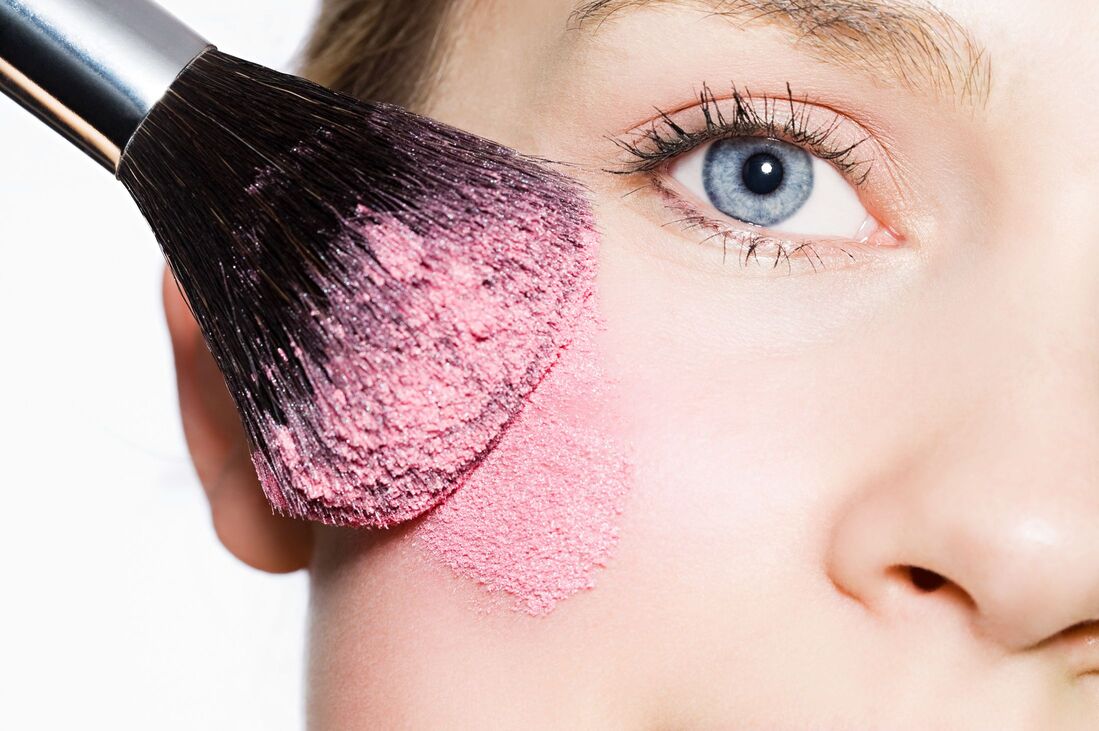
In the realm of makeup, where each product promises to be a game-changer, mascara primer stands out for its subtle yet significant impact on the way mascara adheres to, beautifies, and protects your lashes. Often overlooked in daily makeup routines, this preparatory product is designed to create an ideal canvas for your mascara, offering benefits that extend beyond mere aesthetics. This guide delves into the benefits of mascara primer, shedding light on why it might just be the missing piece in your quest for flawless lashes. Introduction to Mascara Primer Mascara primer, a beauty enhancer nestled between your natural lashes and the final coat of mascara, serves multiple purposes. Its primary role is to prep the lashes, providing a smooth base that amplifies the effects of your mascara, from volumizing to lengthening. But its benefits are not solely confined to aesthetics. The Science Behind Mascara Primers Composition and Function Primers are formulated with polymers, waxes, and oils that coat each lash, offering a scaffold for the mascara to cling to. This not only intensifies the mascara’s effects but also adds a layer of protection to the lashes. How Primers Enhance Mascara Performance By smoothing out the lashes and providing a uniform texture, primers help in the even application of mascara, reducing the likelihood of clumping and flaking. Key Benefits of Using Mascara Primer Lengthening and Volumizing Effects Primers contain thickening agents that coat the lashes, making them appear fuller and longer even before the mascara is applied. Improves Mascara Longevity A primer acts as a bonding agent between the lashes and the mascara, helping your mascara stay put for longer periods without smudging or flaking. Protection and Conditioning for Lashes Many primers are infused with nourishing ingredients like vitamins and oils, which condition the lashes, promoting healthier growth and reducing breakage. Choosing the Right Mascara Primer Ingredients to Look For Opt for primers enriched with vitamins E and C, natural oils, or conditioning agents that offer benefits beyond mere aesthetics. Primer for Different Lash Types Whether you have short, sparse, or brittle lashes, there’s a primer designed to address your specific needs, from hydrating formulas to fiber-filled ones that add extra volume and length. Application Techniques for Mascara Primer Step-by-Step Guide Starting at the base of your lashes, gently wiggle the primer wand as you move upwards to the tips. This ensures an even coat and helps separate the lashes for a clump-free finish. Tips for Maximizing Benefits Wait a few seconds for the primer to slightly dry but not completely set before applying your mascara. This small window allows the mascara to bond effectively with the primer for a seamless finish. Mascara Primer for Special Occasions Amplifying Your Look for Events For events where you want your eyes to truly pop, a mascara primer can add that extra dimension of drama and intensity to your lashes, ensuring they stand out. Waterproof vs. Regular Primers Consider a waterproof primer if you’re attending an event where tears or humidity might be a factor. It ensures your lashes remain impeccable, come what may. Innovations…

Stop The Tears: Tips For Preventing Watery Eyes While Applying Makeup
Stop the Tears: Tips for Preventing Watery Eyes While Applying Makeup

Applying makeup can be a fun and creative process, but it can also be frustrating when your eyes start to water and ruin your hard work. Watery eyes can be caused by a variety of factors, including allergies, dryness, and even emotional reactions. Whatever the cause may be, there are several tips and tricks you can use to prevent your eyes from watering while applying makeup. Start with Clean, Moisturized SkinBefore you even begin applying makeup, make sure your skin is clean and moisturized. Dry skin can cause irritation and lead to watery eyes, so it’s important to hydrate your skin with a moisturizer that is suitable for your skin type. Avoid moisturizers that contain fragrances or other irritants that could trigger your eyes to water. Use Allergy-Tested ProductsIf you have sensitive skin or allergies, it’s important to use makeup and skincare products that are labeled as allergy-tested. These products have been formulated to be less irritating and are less likely to cause an allergic reaction. Additionally, avoid using any products that you know you are allergic to or have caused irritation in the past. Avoid Applying Makeup Too Close to Your EyesOne of the main causes of watery eyes while applying makeup is getting product too close to your eyes. Avoid applying eyeliner, mascara, and eyeshadow too close to your lash line or inner corner of your eyes. Instead, keep the products on the outer part of your eyelid and use a smaller brush to apply product closer to your lash line if necessary. Choose Non-Irritating ProductsWhen choosing makeup products, opt for those that are labeled as hypoallergenic or non-irritating. These products are formulated with ingredients that are less likely to cause irritation and are generally safer for sensitive eyes. Look for products that are free of fragrances, sulfates, and parabens. Use Eye DropsIf your eyes tend to get dry or itchy while applying makeup, use eye drops to lubricate and refresh your eyes. Choose drops that are specifically formulated for dry eyes and avoid those that contain redness reducers or other additives that could further irritate your eyes. Avoid Waterproof ProductsWhile waterproof makeup can be great for special occasions or long days, it can also be more difficult to remove and can cause irritation to your eyes. Avoid using waterproof products on a daily basis and opt for regular formulas that are easier to remove and less likely to cause irritation. Take BreaksIf you feel your eyes starting to water while applying makeup, take a break and let your eyes rest for a few minutes. You can close your eyes or look away from the mirror for a bit to give your eyes a break from the products. This can also help to reduce eye strain and prevent further irritation. Use a Light HandWhen applying makeup, use a light hand and avoid pressing or pulling on your eyelids. This can irritate your eyes and cause them to water. Instead, gently apply product and use a soft touch to prevent irritation. Clean Your Brushes and ToolsDirty brushes and tools can harbor…

The Secret To Detangling Color Treated Hair: Essential Tips And Techniques For Healthy, Tangle Free Tresses
The Secret to Detangling Color-Treated Hair: Essential Tips and Techniques for Healthy, Tangle-Free Tresses

Color-treated hair requires extra care and attention to maintain its vibrancy and overall health. One common challenge faced by individuals with colored hair is dealing with tangles, which can be frustrating and lead to hair breakage. Detangling color-treated hair requires a gentle and targeted approach to minimize damage and preserve the integrity of the hair strands. In this article, we will explore the secret to detangling color-treated hair, providing you with essential tips and techniques to keep your tresses healthy, vibrant, and tangle-free. Choose the Right Tools:Detangling color-treated hair starts with selecting the right tools. Opt for a wide-toothed comb or a brush specifically designed for detangling. These tools have wider spaces between the teeth, which helps to prevent excessive pulling or snagging that could lead to breakage. Avoid using fine-toothed combs or brushes with harsh bristles, as they can cause damage to the hair cuticles and disrupt the color-treated strands. Start with Pre-Treatment:Before detangling your hair, it’s beneficial to give it a pre-treatment to minimize tangles. Apply a small amount of a lightweight, leave-in conditioner or a detangling spray to damp hair. These products work to smoothen the hair cuticles, reducing friction and making it easier to comb through the strands. Gently distribute the product from mid-length to the ends of your hair, focusing on areas prone to tangles. Divide and Conquer:To effectively detangle color-treated hair, it’s essential to divide it into manageable sections. This technique allows you to focus on one section at a time, minimizing the stress and tension on the hair. Start by parting your hair into two sections using a center or side parting. Then, further divide each section into smaller subsections, depending on the thickness of your hair. By detangling smaller sections, you can prevent unnecessary pulling and breakage. Gentle Detangling Technique:When detangling color-treated hair, it’s crucial to adopt a gentle technique to avoid causing damage. Begin by starting at the ends of your hair and gradually work your way up towards the roots. Hold the hair gently with one hand, supporting it near the roots to prevent unnecessary strain on the scalp. Use slow, deliberate strokes with your wide-toothed comb or detangling brush, releasing any tangles as you go. Avoid yanking or forcefully pulling through knots, as this can lead to hair breakage and loss of color intensity. Utilize a Detangling Product:If you encounter stubborn tangles, it can be helpful to incorporate a detangling product into your routine. Look for a detangling spray or leave-in conditioner specifically formulated for color-treated hair. These products contain ingredients that provide slip, making it easier to glide through the hair without causing damage. Apply the detangling product directly to the tangled area and use your fingers or a wide-toothed comb to gently work through the knot, starting from the ends and gradually moving upwards. Protective Hairstyles:Implementing protective hairstyles can significantly reduce the risk of tangles for color-treated hair. Styles such as braids, buns, or twists can keep your hair secure and minimize friction caused by movement and contact with clothing. When opting for a protective style, ensure that it…

Closeup,macro,of,woman,face,with,blue,eyes,make Up.,fashion
Revealing the Beauty of Blue Eyes

Eyes have always held an alluring allure; for those blessed with striking blue eyes, eyeshadow can serve as the canvas to highlight and emphasize them further. From daily looks to bold statements, choosing an appropriate eyeshadow shade can elevate your gaze and take it to new heights – in this exploration we unveil an assortment of captivating looks tailored specifically for blue-eyed individuals. Understanding Complementary Colors: Understanding complementary colors is key when it comes to creating eyeshadow looks designed to emphasize blue eyes. Warm tones such as orange, copper and earthy browns make excellent choices to amplify and bring out their richness – providing the ideal contrast against their cool tone of blue. This timeless eyeshadow look is ideal for everyday wear, offering subtle enhancement that brings out the natural beauty of blue eyes. Warm brown hues add depth without overshadowing; creating an adaptable and timeless appearance suitable for any special occasion or event. Welcome the warmth of a sunset with this eyeshadow look that brings out blue eyes’ captivating glow. A combination of peach hues and burnt orange tones bring life and vibrancy to this look; conjuring vivid imagery associated with dusk. Ideal for evening events and occasions where your eyes need to command attention! Explore purples and lavenders for an air of dreaminess and ethereality, or explore light lavender to deep plum transitioning between them for added dimension and allure, creating a whimsical aesthetic. Blue eyes contrast beautifully against these calming tones for a captivating contrast effect, mesmerizing audiences wherever they may roam. Their soft transition between light lavender to deep plum adds dimension and allure that sets this eyeshadow look apart as an option to those wanting something different from standard everyday eyeshadow looks. Amp up the drama with an eyeshadow look that elevates drama through sophistication: an alluring smoky eye that adds intensity and depth to blue eyes. Cool tones like gray and charcoal create an arresting contrast, drawing the focus towards your blue eye color as the center point. Perfect for evening events or making an impressionful statement, this sophisticated yet alluring eyeshadow look exudes sophistication and allure. Plunge into oceanic hues with an amazing teal eyeshadow look! Teals and aquas work well when combined with blue eyes for an engaging and eye-catching effect – ideal for summer events when adding sea-inspired elegance into your gaze! This eyeshadow look makes an impactful statement! Gold shimmer adds luxuriousness and glamour, exacerbating blue eye’s natural luminosity for an eye-catching effect that exudes luxuriousness. Perfect for special events or simply when exuding sophisticated charm, this eyeshadow look elevates glamor! Use olive tones’ earthy charm for an eyeshadow look that stands out. Green hues – olive and forest green in particular – bring depth and intensity to blue eyes, providing depth without losing elegance or sophistication. This look makes an excellent statement! Expert Tips for Enhancing Blue Eyes Utilize an Eyeshadow Primer To enhance long-term and vibrant wear of eye shadow looks, an eyeshadow primer can ensure their longevity and vibrancy by helping avoid creasing while making colors pop more vividly….

A Guide To Safely Lightening Your Skin Tone: Methods And Precautions
A Guide to Safely Lightening Your Skin Tone: Methods and Precautions

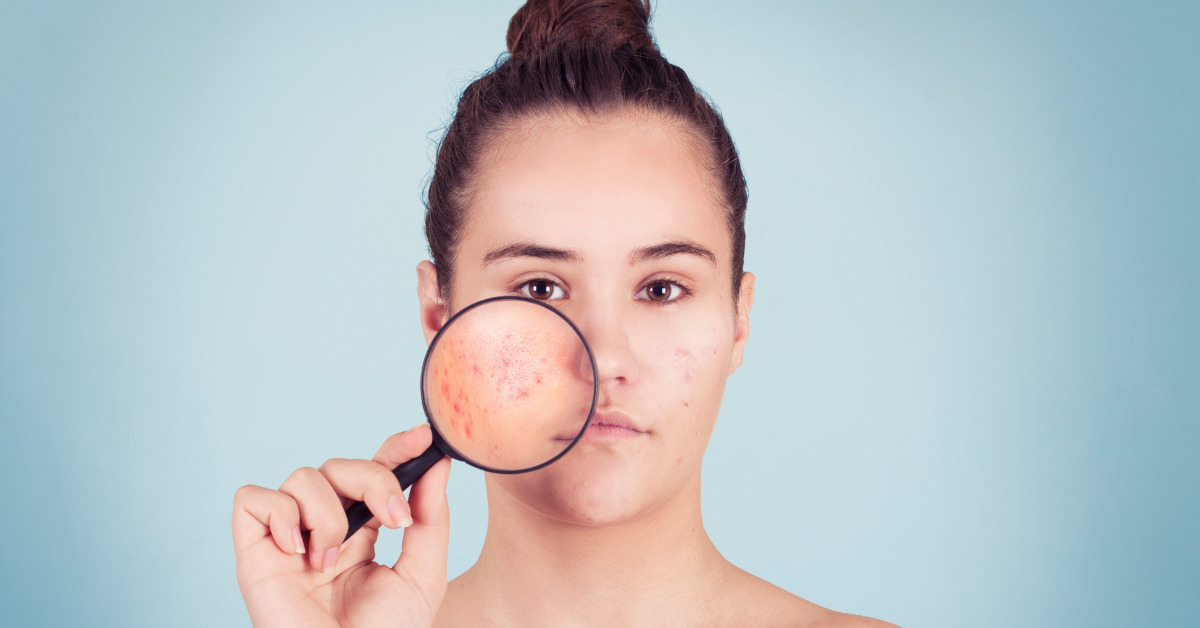
Skin tone can vary due to various factors, including genetics, sun exposure, and hormonal changes. Some individuals may desire a lighter skin tone for personal or cultural reasons. While there are several methods to achieve a lighter complexion, it is essential to approach skin lightening with caution and prioritize safety. In this comprehensive guide, we will explore various methods to lighten your skin tone, along with essential precautions to maintain skin health and avoid potential risks. Sun Protection:One of the most effective and safest ways to maintain a lighter skin tone is by protecting your skin from the harmful effects of the sun’s ultraviolet (UV) rays. UV radiation stimulates the production of melanin, the pigment responsible for skin color. Consistently using broad-spectrum sunscreen with a high SPF (30 or above) and seeking shade during peak sun hours can prevent excessive melanin production and help maintain a lighter complexion. GO TO THE NEXT PAGE TO CONTINUE… Topical Skin Lightening Products:There are numerous over-the-counter skin lightening products that contain ingredients such as hydroquinone, kojic acid, arbutin, and vitamin C. These ingredients work by inhibiting melanin production, leading to a gradual lightening of the skin. However, it is crucial to use these products with caution and follow the recommended usage instructions to avoid potential side effects such as irritation, redness, or skin sensitivity. Natural Remedies:Some natural ingredients are believed to have skin-lightening properties. For example, lemon juice, a natural source of vitamin C, is thought to have a mild bleaching effect. However, it’s essential to be cautious when using natural remedies, as some can cause skin irritation or even worsen pigmentation in certain individuals. Perform a patch test before applying any natural remedy to a larger area of your skin. Chemical Peels:Chemical peels are cosmetic treatments that involve applying a chemical solution to the skin, causing it to exfoliate and eventually peel off. This process can help improve skin tone and texture, leading to a lighter and more even complexion. However, chemical peels should be performed by a licensed professional, as they can cause skin irritation and are not suitable for all skin types. Laser Treatments:Laser treatments, such as laser resurfacing and intense pulsed light (IPL) therapy, can target melanin and dark spots in the skin, leading to a more even skin tone. These treatments should only be performed by trained dermatologists or cosmetic surgeons to avoid complications and ensure optimal results. Microneedling:Microneedling is a procedure that involves using tiny needles to create controlled micro-injuries in the skin, promoting collagen production and skin rejuvenation. It can improve skin texture and may help fade hyperpigmentation, leading to a more radiant and lighter skin tone. However, microneedling should be performed by a qualified professional to minimize the risk of infection and scarring. Precautions: Consult a Dermatologist:Before embarking on any skin-lightening journey, it is crucial to consult a dermatologist. A qualified dermatologist can assess your skin type, discuss your desired results, and recommend appropriate treatment options based on your skin’s specific needs. This consultation is essential to ensure that you choose safe and effective methods tailored to your…

Damaged Hair 4 1
Understanding Damaged Hair: Unraveling the Strands of Hair Health

Damaged hair is a widespread condition among many individuals and it manifests in various forms ranging from split ends and visible dryness/frizz to split ends, dryness/frizz, or split ends themselves. Hair plays an essential part of one’s physical appearance and acts as an instrument of self-expression and confidence; therefore to understand what damaged hair involves it’s essential to explore factors contributing to its formation, as well as any telltale signs which indicate whether your locks need attention or repair. Causes of Hair Damage There can be numerous contributors to hair damage, from environmental influences such as pollution to lifestyle choices that impact hair health. Understanding all these elements is vital in treating and preventing further damages; some common culprits could include: Heat Styling: Overusing heat styling tools such as flat irons, curling wands and blow dryers can strip hair of its moisture content, leading to dryness, breakage, split ends and other forms of damage. Chemical Treatments: Chemical treatments such as coloring, perming and straightening may alter hair’s structure and weaken its integrity over time, potentially leading to significant damage if regularly repeated or overexposed to them. Poor Hair Care Practices: Aggressive brushing, using harsh hair ties and washing hair with hot water or inappropriate products may all contribute to damage in one way or another, including vigorously towel-drying wet locks in order to produce maximum volume for styling purposes. All this may contribute to breakage. Environmental Factors: Exposure to harsh environmental factors like sun, wind and pollution can have detrimental effects on hair health. UV rays in particular have the ability to damage cuticle cells causing discoloration and brittleness resulting in hair cuticle splitting resulting in discoloration or even breakage and eventual breakage of locks. Lack of Moisture: Due to insufficient intake (water intake ) and external (conditioning lack ), inadequate hydration levels may leave hair dry, brittle and more likely to breakage than ever. Nutritional Deficiencies: An inadequate diet lacking in essential vitamins and minerals may negatively affect hair health, including proteins, biotin, omega-3 fatty acids. All three play an integral part in keeping hair strong and vibrant. Signs of Damaged HairRecognizing the symptoms of damaged hair is critical in taking effective steps to restoring and maintain its health. Here are a few indicators that your locks might have become frail: Split Ends: Split ends are one of the more obvious signs, occurring when hair shaft splits into multiple fragments that create frayed and uneven tips on its ends. Dry and Brittle Texture: Damaged hair often feels rough to the touch and lacks the smooth, soft strands associated with healthy locks. Cracked Hair Structure: When hair breakage increases while brushing or styling, this could be a telltale sign that its structure has become compromised. Damaged Hair Has a Dull Appearance: Ideally, healthy locks reflect light to create an alluring luster; damaged locks tend to lose this quality and appear flat and lifeless. Tangled and Unmanageable: Damaged hair often becomes unmanageable when left to its own devices, making combing or brushing impossible without further breakage of its structure. Changes to Elasticity: Healthy…

Unlock The Shine The Benefits Of Using Natural Oils In Your Hair Care Routine
Unlock the Shine: The Benefits of Using Natural Oils in Your Hair Care Routine

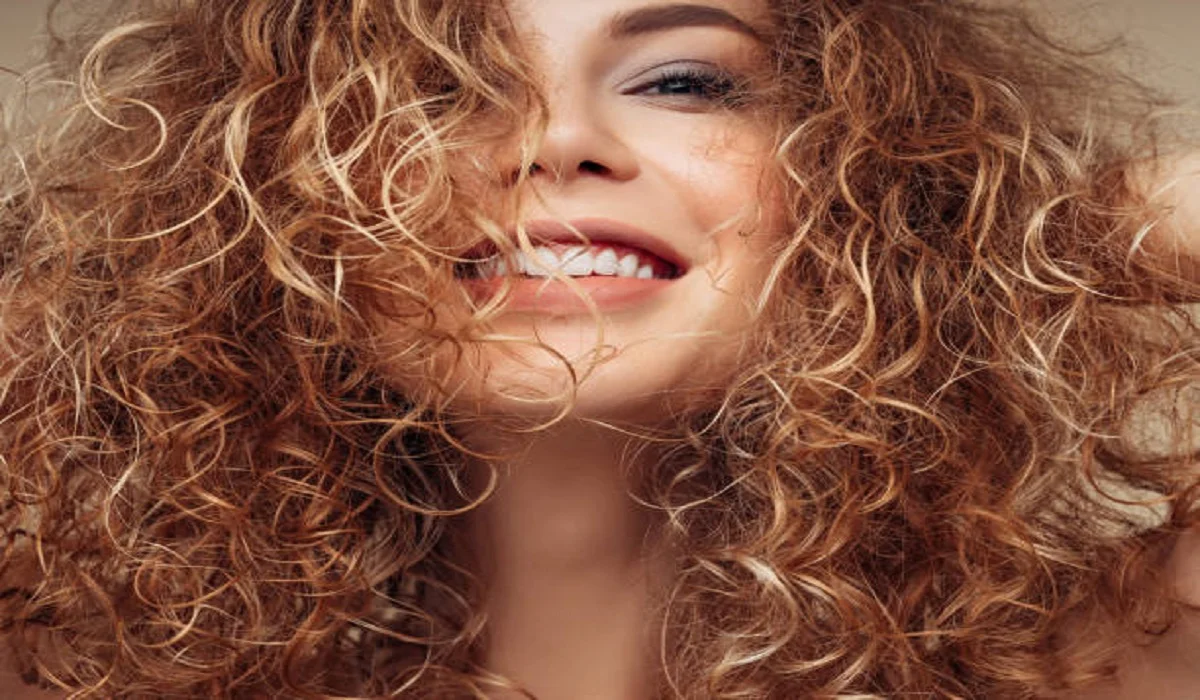
The quest for lustrous, healthy hair is universal, yet the paths to achieve it are diverse. Among the most effective routes is the inclusion of natural oils in your hair care regimen. These oils, extracted from fruits, nuts, and seeds, are packed with nutrients that deeply nourish the scalp and hair, promoting overall health and vitality. Types of Natural Oils and Their Benefits Coconut Oil: A Deep Conditioner Rich in fatty acids, coconut oil penetrates the hair shaft to moisturize and protect against environmental damage, making it ideal for deep conditioning treatments. Argan Oil: For Frizz and Shine Dubbed ‘liquid gold,’ argan oil is renowned for its ability to tame frizz, add shine, and soften hair, thanks to its high content of antioxidants and vitamin E. Jojoba Oil: Mimics Natural Hair Sebum Jojoba oil’s molecular structure closely resembles that of human sebum, making it exceptionally effective in regulating oil production and maintaining scalp health. How to Incorporate Natural Oils into Your Routine Pre-Shampoo Treatments Applying oils before shampooing can prevent the shampoo from stripping hair of its natural oils, resulting in less dryness and breakage. Leave-in Conditioners A few drops of oil can be used as a leave-in conditioner to smooth hair cuticles and add shine without the heaviness of traditional conditioners. Scalp Massages Regular scalp massages with natural oils can stimulate blood circulation, promoting hair growth and scalp health. Natural Oils for Different Hair Types Oils for Curly Hair Curly hair benefits from heavier oils like castor or avocado oil, which provide the moisture and definition curls crave. Oils for Straight Hair Lighter oils such as argan or sweet almond oil are perfect for straight hair, offering shine and frizz control without weighing it down. Oils for Color-Treated Hair Sunflower and grapeseed oils are excellent for color-treated hair, protecting against color fade and adding vibrancy. Combating Common Hair Problems with Natural Oils Dandruff Solutions Tea tree oil, with its antifungal properties, can be mixed with a carrier oil to alleviate dandruff and soothe the scalp. Preventing Split Ends Regular application of oils can seal hair cuticles, preventing split ends and minimizing breakage. Tackling Hair Loss Rosemary and peppermint oils are known to stimulate hair growth when massaged into the scalp, offering a natural remedy for hair thinning. DIY Natural Oil Hair Care Recipes Homemade Deep Conditioning Treatment Mix coconut oil with honey and a few drops of essential oil for a nourishing deep conditioning treatment. Natural Oil Serum for Shine and Frizz Control Combine argan, jojoba, and a few drops of lavender oil for a homemade serum that combats frizz and adds shine. The Science Behind Natural Oils and Hair Health Nutrient Absorption and Hair Follicle Nourishment Natural oils are rich in essential fatty acids and vitamins that are crucial for hair health, penetrating the hair shaft to nourish and strengthen from within. The Role of Fatty Acids and Antioxidants The fatty acids in natural oils help to rebuild the lipid layer of the hair, while antioxidants protect against environmental damage. Pros and Cons of Using Natural Oils Advantages of Natural…

Bakuchiol And Retinol: All About Two Popular Skincare Ingredients
Bakuchiol and Retinol: All About Two Popular Skincare Ingredients

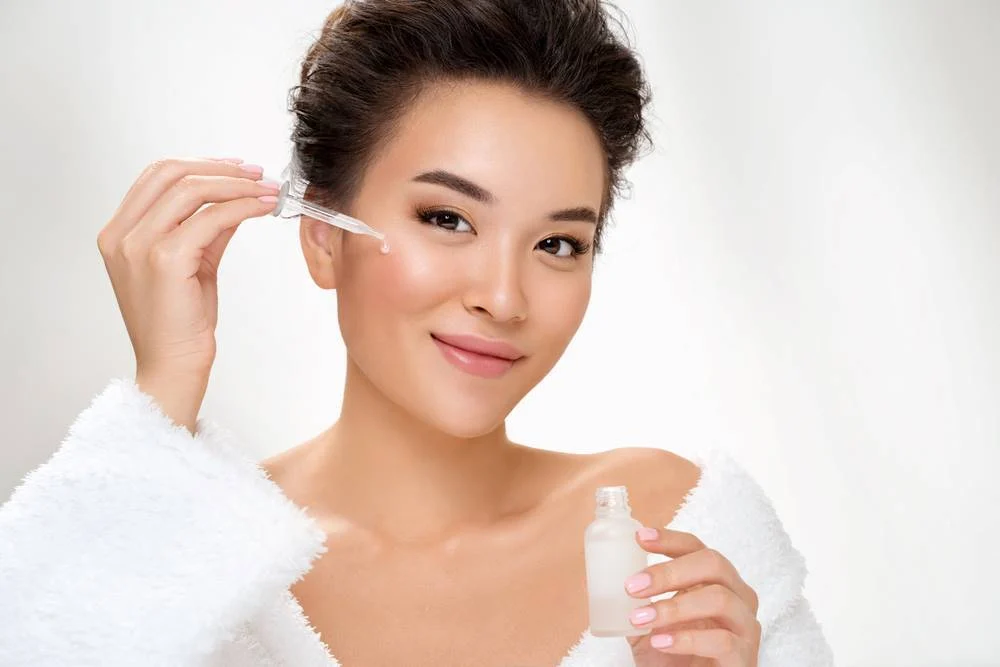
When it comes to skincare ingredients, two of the most talked-about in recent years have been bakuchiol and retinol. Both are marketed as effective anti-aging agents that can improve the appearance of fine lines, wrinkles, and hyperpigmentation. However, there are key differences between these two ingredients that can make one more suitable for your skin than the other. In this article, we’ll explore the benefits and drawbacks of bakuchiol and retinol, so you can make an informed decision about which one to incorporate into your skincare routine. What is Bakuchiol?Bakuchiol is a natural compound derived from the seeds of the Psoralea corylifolia plant. It has been used for centuries in traditional Ayurvedic medicine to treat various skin conditions. Bakuchiol is often touted as a natural alternative to retinol, as it has been shown to have similar anti-aging effects without the harsh side effects associated with retinol. Bakuchiol is a potent antioxidant that helps to protect the skin from damage caused by free radicals. It also has anti-inflammatory properties, which can help to reduce redness and irritation. Benefits of Bakuchiol: Gentle on the skin: Bakuchiol is a gentle alternative to retinol, making it suitable for those with sensitive skin.Anti-aging properties: Bakuchiol has been shown to improve the appearance of fine lines and wrinkles, and can also help to even out skin tone.Antioxidant and anti-inflammatory properties: Bakuchiol helps to protect the skin from damage caused by free radicals, and can also help to reduce inflammation and redness.Drawbacks of Bakuchiol: Limited research: While there have been some studies on the effectiveness of bakuchiol, more research is needed to fully understand its potential benefits and drawbacks.Slow results: Unlike retinol, which can produce noticeable results in as little as a few weeks, bakuchiol may take longer to show visible improvements.What is Retinol?Retinol is a derivative of vitamin A and is a popular skincare ingredient that has been used for decades to treat a variety of skin concerns. Retinol works by increasing cell turnover and collagen production, which helps to reduce the appearance of fine lines and wrinkles, and can also help to improve skin texture and tone. However, retinol can also cause skin irritation and sensitivity, especially in those with sensitive skin. Benefits of Retinol: Anti-aging properties: Retinol is one of the most effective anti-aging ingredients on the market and has been shown to reduce the appearance of fine lines, wrinkles, and hyperpigmentation.Boosts collagen production: Retinol helps to stimulate collagen production, which can help to improve skin texture and tone.Improves skin texture: Retinol can help to improve skin texture by increasing cell turnover.Drawbacks of Retinol: Skin irritation: Retinol can cause skin irritation and sensitivity, especially in those with sensitive skin.Sun sensitivity: Retinol can make the skin more sensitive to the sun, so it’s important to wear sunscreen when using retinol products.Dryness: Retinol can cause dryness and flakiness, especially when first starting to use the ingredient.Which is Better for Your Skin: Bakuchiol or Retinol?The answer to this question depends on your skin type and concerns. If you have sensitive skin or are if you have sensitive skin or…