Illuminating Beauty: An In-Depth Guide to Light Makeup Mirrors

Illuminating Beauty: An In-Depth Guide to Light Makeup Mirrors

In the world of makeup, precision and attention to detail are essential for achieving flawless looks. A well-lit environment is crucial for makeup application, and this is where light makeup mirrors play a pivotal role. These mirrors are specially designed to provide optimal illumination, allowing users to see their features clearly and apply makeup with confidence. In this comprehensive guide, we will delve into everything you need to know about light makeup mirrors, their features, types, benefits, and how to choose the best one for your needs.

The Purpose of Light Makeup Mirrors
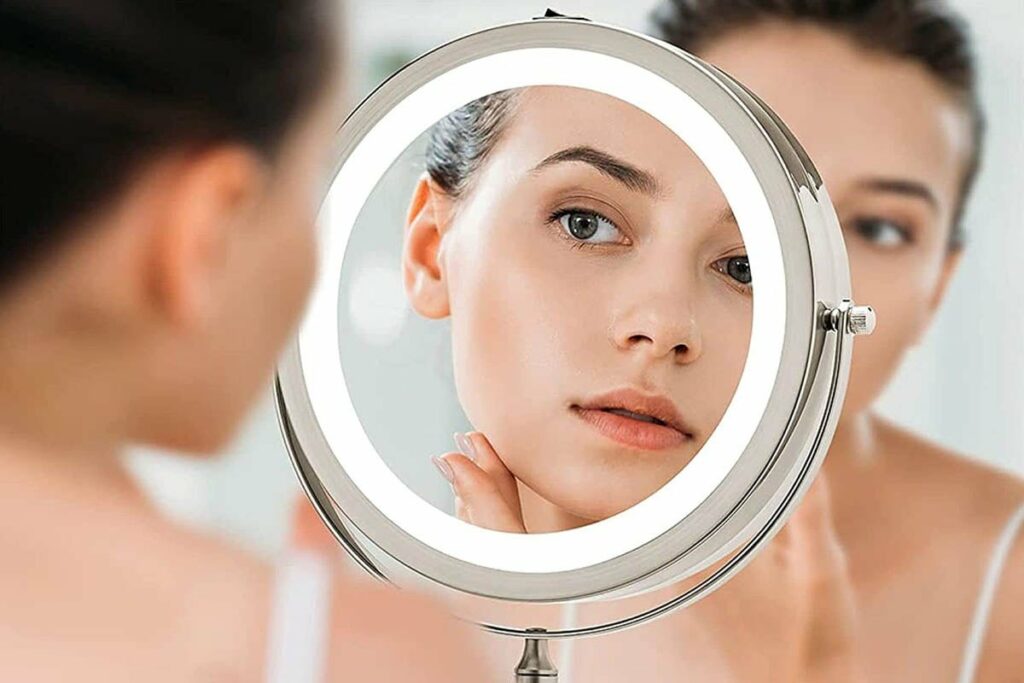
Light makeup mirrors are designed to create an illuminated environment that mimics natural daylight. This enhanced lighting ensures that every detail of your face is clearly visible, making it easier to apply makeup with precision. These mirrors are particularly beneficial for tasks that require precision, such as shaping eyebrows, applying eyeliner, or perfecting your foundation.

Features of Light Makeup Mirrors
a. Adjustable Brightness: Most light makeup mirrors come with adjustable brightness settings. This feature allows users to customize the intensity of the light according to their preferences and the surrounding lighting conditions.

b. Color Temperature Options: Some mirrors also offer color temperature adjustments, ranging from warm to cool lighting. Warm lighting is ideal for a soft and flattering glow, while cool lighting is great for more accurate color representation.

c. Magnification: Light makeup mirrors often come with magnification options, typically ranging from 1x to 10x. Higher magnification is useful for close-up work, such as precise eyeliner application and skincare routines.

d. Rechargeable or Plug-in: Light makeup mirrors can be powered in various ways. Some are rechargeable and cordless, allowing for portability, while others may need to be plugged into an electrical outlet.

e. Built-in Storage and Organization: Certain models may feature storage compartments or trays to keep makeup essentials and tools close at hand.

f. Touch Controls: Many modern light makeup mirrors utilize touch-sensitive controls, making it easy to adjust brightness and other settings with a simple tap.

Types of Light Makeup Mirrors
a. Tabletop Mirrors: These mirrors are designed to sit on a table or vanity. They come in various sizes and shapes, with adjustable stands that allow users to tilt the mirror to their preferred angle.

b. Wall-Mounted Mirrors: As the name suggests, these mirrors are designed to be mounted on the wall. They save space on your vanity and are perfect for those with limited counter space.

c. Compact Mirrors: Compact light makeup mirrors are portable and usually smaller in size. They often feature foldable designs, making them ideal for travel or on-the-go touch-ups.

d. Hollywood-style Mirrors: Inspired by classic Hollywood dressing room mirrors, these larger-than-life mirrors feature multiple bulbs or LED strips around the edges, providing even and glamorous illumination.

e. Smart Mirrors: With advancements in technology, smart mirrors are now available. These mirrors can be connected to smartphones or other devices, offering additional features such as makeup tutorials, virtual try-ons, and voice-activated controls.
Illuminating Beauty: An In-Depth Guide to Light Makeup Mirrors

Benefits of Light Makeup Mirrors
a. Enhanced Visibility: The primary benefit of light makeup mirrors is improved visibility, allowing you to see even the tiniest details of your face.

b. Precise Makeup Application: With better visibility, you can apply makeup with precision, leading to more professional-looking results.

c. Flawless Blending: The even lighting helps you blend makeup seamlessly, preventing any harsh lines or uneven patches.

d. Confidence Boost: Knowing that your makeup looks impeccable boosts your confidence, whether you’re heading to work or a special event.


e. Grooming and Skincare: Light makeup mirrors are not only useful for makeup application but also for grooming tasks like shaving or skincare routines.

Choosing the Right Light Makeup Mirror
a. Size and Magnification: Consider the size and magnification level that best suits your needs. If you require close-up work, a higher magnification mirror may be preferable.

b. Lighting Options: Look for mirrors with adjustable brightness and color temperature settings to customize the lighting according to your preference.

c. Power Source: Decide whether you prefer a rechargeable, cordless mirror or a plug-in model based on your usage and convenience.

d. Portability: If you travel frequently, consider a compact and portable mirror that can easily fit into your bag.

e. Quality and Durability: Invest in a mirror with quality materials and build to ensure its longevity.

f. Reviews and Recommendations: Read user reviews and seek recommendations to gauge the performance and reliability of different mirror brands and models.

Light makeup mirrors are indispensable tools for makeup enthusiasts and professionals alike. With their ability to provide optimal illumination and magnification, they enhance makeup application, grooming, and skincare routines. Whether you choose a tabletop, wall-mounted, or smart mirror, the benefits of having a well-lit environment for your beauty rituals are undeniable. So, illuminate your beauty with a light makeup mirror and experience the transformational difference it can make in your makeup routine.

A Flawless Canvas: How To Find The Best Foundation For Your Skin
A Flawless Canvas: How to Find the Best Foundation for Your Skin

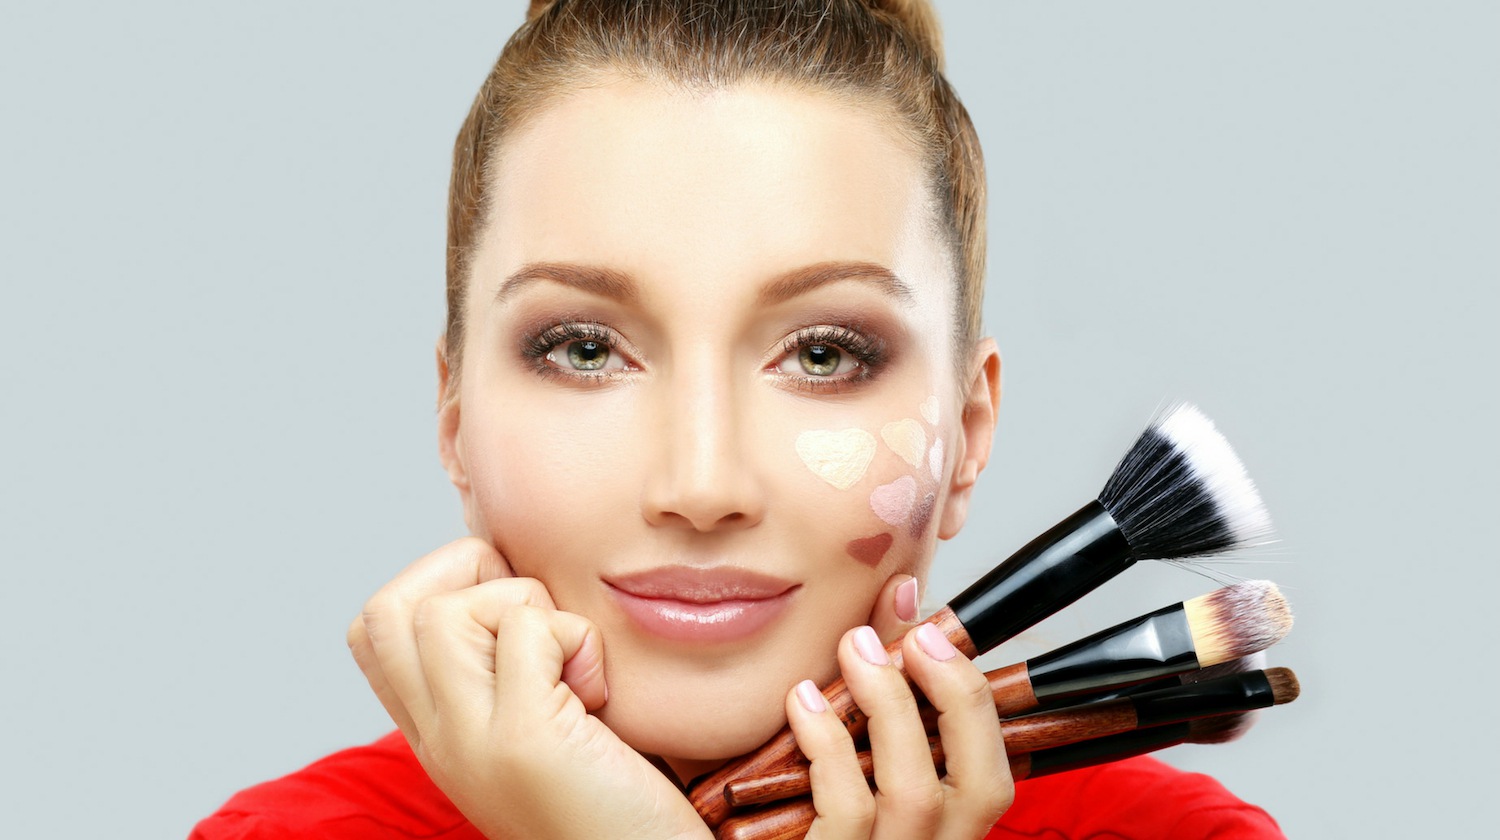
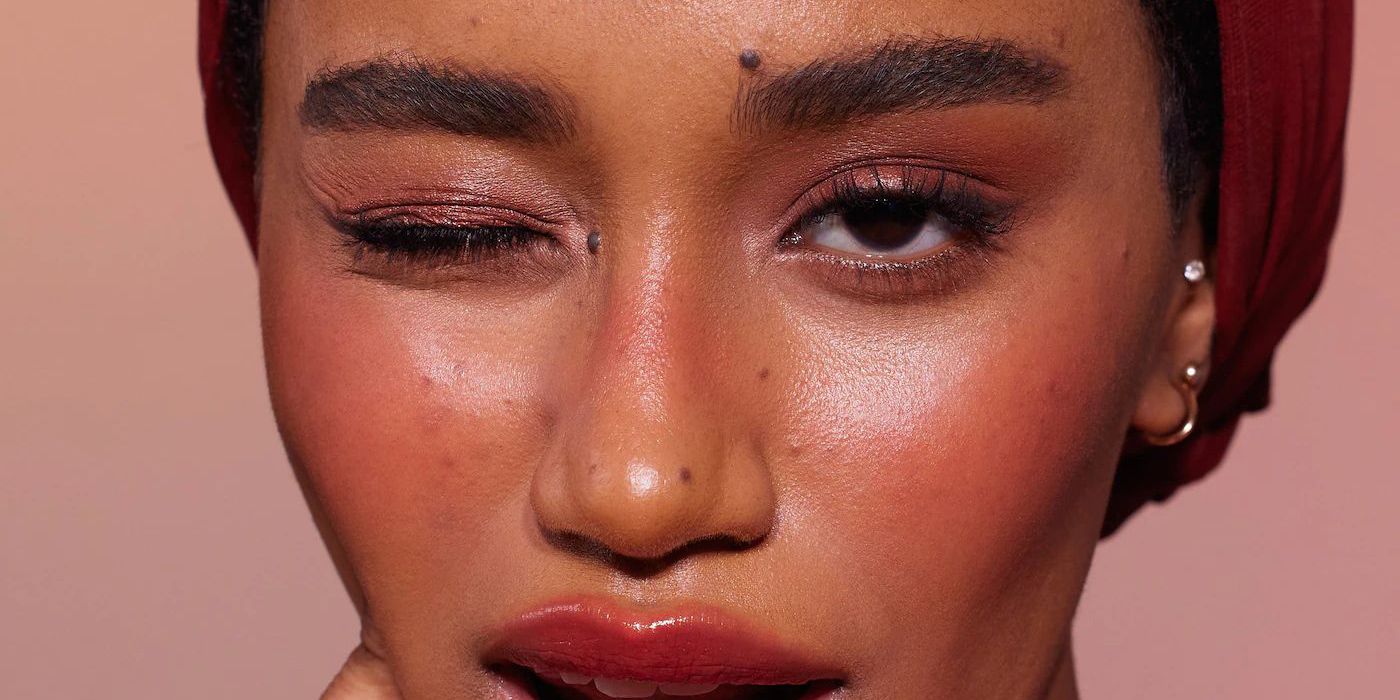
Foundation is a crucial step in achieving a flawless makeup look, as it helps to even out the skin tone, conceal imperfections, and create a smooth canvas for the rest of your makeup. However, finding the best foundation for your skin can be a daunting task, considering the wide range of options available. In this article, we will guide you through the process of finding the perfect foundation for your skin type, tone, and desired coverage. From understanding your skin’s needs to selecting the right shade and finish, we will explore the key factors that contribute to achieving a flawless base. Determine Your Skin Type:Understanding your skin type is the first step in selecting the best foundation. Whether you have oily, dry, combination, or sensitive skin, each skin type has specific needs and concerns that should be addressed. For oily skin, choose a foundation with a matte or oil-free formula to control shine. Dry skin benefits from hydrating or moisturizing foundations that provide a luminous finish. Combination skin requires a foundation that balances both oiliness and dryness. Sensitive skin will benefit from hypoallergenic and fragrance-free foundations that are gentle on the skin. Identify Your Skin Tone:Matching the foundation shade to your skin tone is crucial for achieving a natural and seamless look. Determine whether your skin undertone is warm, cool, or neutral. Warm undertones have a yellow or golden hue, cool undertones have pink or blue undertones, while neutral undertones have a balance of both. Look for foundations that complement your undertone and blend seamlessly with your natural skin color. When in doubt, test the foundation on your jawline or wrist to see if it matches your skin tone. Understand Coverage Options:Foundations come in different coverage options, ranging from sheer to full coverage. Consider the level of coverage you prefer based on your skin concerns and desired finish. Sheer foundations offer a natural, lightweight coverage that evens out the skin tone. Medium coverage foundations provide a balance between a natural look and concealing imperfections. Full coverage foundations offer a higher level of coverage, ideal for hiding blemishes, scars, or discoloration. Choose a coverage option that aligns with your preferences and the occasion for which you’re wearing makeup. Consider the Finish:The finish of a foundation refers to how it appears on the skin’s surface. Common finishes include matte, dewy, satin, and natural. A matte finish is ideal for oily or combination skin, as it helps control shine. Dewy and luminous finishes provide a radiant glow, perfect for those with dry or dull skin. Satin finishes strike a balance between matte and dewy, offering a natural-looking glow. Consider your skin type and desired look when choosing the finish of your foundation. Test and Swatch:Before purchasing a foundation, it’s essential to test and swatch it to ensure the perfect match. Visit a beauty counter or store that offers testers or samples. Apply a small amount of the foundation on your jawline or wrist and blend it out to see if it seamlessly blends with your skin tone and undertone. Check the shade under different lighting…

Enhancing Your Natural Beauty: Choosing The Perfect Blush For Your Skin Tone
Enhancing Your Natural Beauty: Choosing the Perfect Blush for Your Skin Tone

Blush is a fantastic cosmetic tool that can instantly brighten up your complexion and add a healthy, youthful glow to your face. However, selecting the right blush shade for your skin tone is crucial to achieve a harmonious and natural look. With a myriad of options available in the market, it can be overwhelming to find the perfect blush that complements your unique skin tone. In this comprehensive guide, we will explore the various skin tones and provide expert tips and suggestions to help you choose the best blush for your complexion. Understanding Skin UndertonesBefore diving into the specifics of blush selection, it is essential to understand the concept of skin undertones. Skin undertones are the subtle hues beneath the surface of your skin that can range from warm to cool. Warm undertones typically have hints of yellow, peach, or golden tones, while cool undertones lean towards pink, blue, or red. Identifying your undertone is crucial in finding a blush shade that harmonizes with your complexion. Determining Your Skin ToneOnce you’ve established your undertone, it’s time to identify your overall skin tone. Skin tone refers to the surface color of your skin, which can be categorized as fair, light, medium, tan, or deep. Keep in mind that while undertones play a vital role in blush selection, your skin tone also influences the intensity of the blush shade you choose. For instance, fair skin tones generally require lighter blush colors, while deeper skin tones can carry more vibrant shades. Blush for Fair Skin TonesIf you have fair skin, opt for blush shades that add a natural flush without overpowering your complexion. Light, soft pinks, peachy tones, and delicate corals are excellent choices. Avoid extremely vibrant or dark shades, as they can appear too harsh or unnatural. For a subtle and romantic look, consider blushes with a hint of shimmer or a satin finish. These will give your fair skin a luminous and youthful appearance. Blush for Light to Medium Skin TonesLight to medium skin tones can experiment with a broader range of blush shades. Soft roses, apricots, and warm mauves can create a lovely, natural-looking flush. If you have cool undertones, try shades with a hint of cool pink or berry tones. For warm undertones, choose blushes with warm peach or golden undertones. Matte or satin finishes work well for light to medium skin tones, offering a natural radiance. Blush for Tan and Deep Skin TonesWhen it comes to tan and deep skin tones, bolder and more vibrant blush shades can beautifully complement their rich complexions. Deep berries, plums, and brick reds can create stunning looks on deeper skin tones. For warmer undertones, terracotta shades and burnt oranges can add a gorgeous warmth. Satin or matte finishes are generally recommended for a sophisticated and polished appearance. It’s important to remember that blending is key—ensure a seamless application for a natural, healthy glow. Application Tips for All Skin TonesRegardless of your skin tone, there are some universal application tips to keep in mind. First, always start with a light hand and gradually build up…

How To Straighten Your Hair Without Heat: Tips And Techniques
How to Straighten Your Hair Without Heat: Tips and Techniques

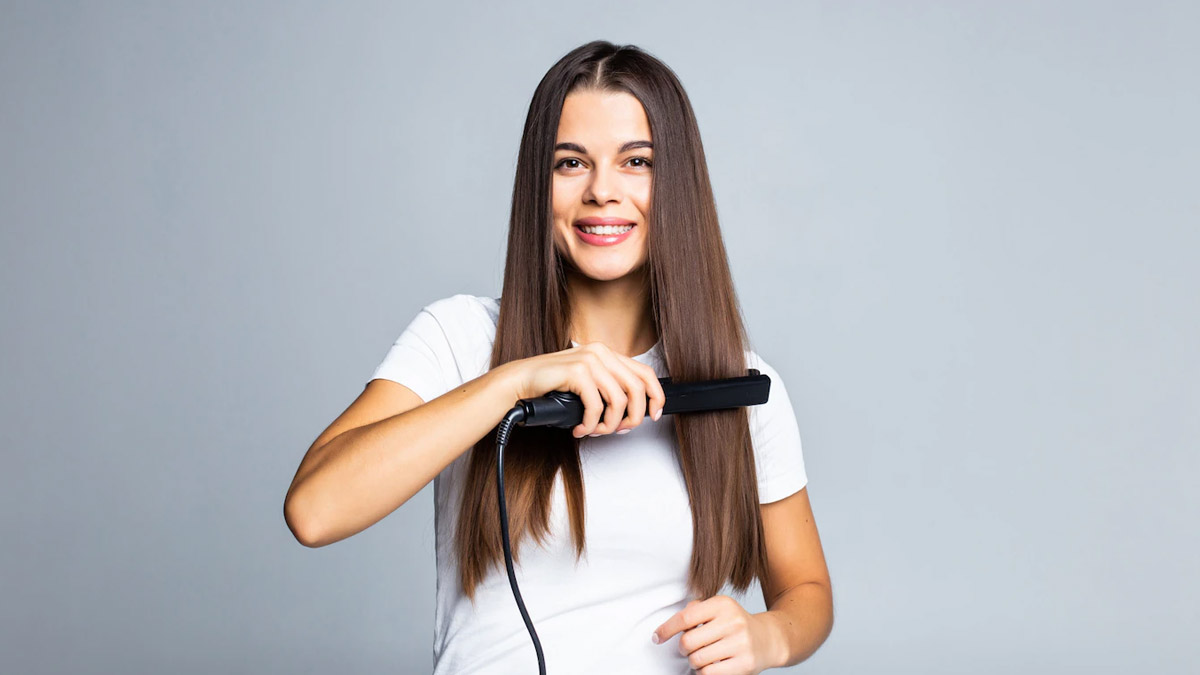
If you have naturally curly or wavy hair, you may find yourself reaching for your flat iron or hair straightener on a daily basis. While these tools can give you straight and smooth hair in no time, frequent use of heat can damage your hair and leave it dry and brittle over time. Luckily, there are several ways to straighten your hair without heat, using natural methods that can keep your hair healthy and beautiful. In this article, we will explore some of the most effective ways to straighten your hair without heat. Blow Dry Your Hair StraightBlow drying your hair straight can be a great way to achieve a sleek and smooth look without using heat. To do this, start by washing your hair and applying a heat protectant spray or serum. Then, using a round brush, blow dry your hair in sections, pulling the brush through your hair as you go. Be sure to keep the nozzle of the blow dryer pointed downward to avoid frizz, and use a cool shot of air at the end to set your style. Use a Hair Straightening BrushA hair straightening brush can be a great alternative to a flat iron, as it uses heatless technology to straighten your hair. To use a hair straightening brush, simply brush your hair in sections, starting at the roots and working your way down to the ends. The bristles of the brush will gently detangle your hair and smooth out any waves or curls, leaving you with straight and shiny hair. Apply a Hair MaskApplying a hair mask can help to straighten your hair naturally by smoothing out the hair cuticle and reducing frizz. To make a DIY hair mask, simply mix together 1/2 cup of coconut oil, 1/4 cup of honey, and 1 tablespoon of apple cider vinegar. Apply the mixture to your hair, starting at the roots and working your way down to the ends. Leave the mask on for 30 minutes, then rinse with warm water and shampoo as usual. Wrap Your HairWrapping your hair can be a great way to straighten your hair overnight, without using heat. To do this, start by washing your hair and applying a leave-in conditioner. Then, comb your hair straight and divide it into sections. Take each section and wrap it tightly around your head, using bobby pins to hold it in place. Cover your hair with a silk scarf or bonnet and sleep with it overnight. In the morning, remove the bobby pins and unwrap your hair to reveal straight and smooth locks. Use a Straightening BalmA straightening balm can be a great way to straighten your hair without heat, as it uses natural ingredients to smooth out your hair and reduce frizz. To use a straightening balm, start by washing your hair and applying a leave-in conditioner. Then, apply a small amount of the balm to your hair, starting at the roots and working your way down to the ends. Comb your hair straight and allow it to air dry. Try a Keratin TreatmentA keratin treatment…

The Ultimate Guide Toeyebrow Shaping
The Ultimate Guide to Eyebrow Shaping

Eyebrows significantly contribute to the symmetry and expressiveness of the face. Crafting the perfect eyebrow shape not only enhances your looks but also emphasizes your eyes and brings harmony to your facial characteristics. This guide aims to equip you with the essential knowledge of eyebrow shaping, offering insights into its significance and guiding you towards achieving your preferred eyebrow style. Deciphering Eyebrow Structure Grasping the natural structure of your eyebrows is the initial step towards effective shaping. This segment will elaborate on the critical components of the eyebrow and how to ascertain your inherent eyebrow shape, laying a solid foundation for a style that flatters your facial anatomy. Selecting Eyebrow Shaping Tools and Products The selection of appropriate tools is pivotal for successful eyebrow shaping. This guide will navigate you through the necessary grooming instruments, including tweezers, scissors, eyebrow pencils, and gels, advising on how to opt for the ones most suited to your needs. Eyebrow Shaping Preparation Adequate preparation enhances the ease and efficacy of the eyebrow shaping endeavor. This entails cleaning and priming your eyebrows as well as outlining the intended shape prior to initiating the shaping procedure. Eyebrow Shaping Methodologies We will delve into diverse eyebrow shaping strategies, such as trimming, tweezing, waxing, and threading, examining the advantages and drawbacks of each to assist you in selecting the method that aligns with your personal preferences and requirements. Step-by-Step Eyebrow Shaping Guide This section offers an exhaustive, stepwise tutorial on eyebrow shaping, from identifying the most flattering shape for your face to the execution of the shaping process, guaranteeing symmetrical and balanced eyebrows. Enhancing and Defining Eyebrows Post-shaping, filling in thin spots and defining your eyebrows can further improve their appearance. We will investigate various eyebrow enhancement products and techniques to achieve a refined and natural look. Customizing Eyebrow Shape Based on Face Type The optimal eyebrow shape may vary according to your face type. This part provides suggestions for customizing your eyebrow shape to complement your distinct facial features, whether your face is round, oval, or square. Eyebrow Shape Maintenance Preserving your eyebrow shape is essential for enduring appeal. This includes regular care, maintenance, and recognizing when professional assistance is necessary for touch-ups. Avoiding Eyebrow Shaping Faux Pas To achieve optimal outcomes, being cognizant of typical eyebrow shaping errors, like excessive plucking, is crucial. This advice aims to help you sidestep these mistakes and maintain healthy, well-defined brows. Eyebrow Shaping Trends and Inspiration Keep abreast of the latest eyebrow shaping trends and gather inspiration from prevalent styles and celebrities. This knowledge will aid you in selecting a style that matches your personal aesthetic while ensuring your eyebrows remain stylish. Elevating Your Eyebrow Aesthetics Mastering eyebrow shaping is a skill that significantly enhances your appearance and facial expressions. Armed with the appropriate tools, techniques, and maintenance practices, you can sculpt the ideal eyebrows to complement your face and accentuate your eyes. Patience and regular practice are essential to perfecting the art of eyebrow shaping. Frequently Asked Questions About Eyebrow Shaping

Brow Perfection At Home The Comprehensive Guide To Diy Brow Lamination
Brow Perfection at Home: The Comprehensive Guide to DIY Brow Lamination

In the realm of beauty, eyebrows are a pivotal feature, framing the face and highlighting one’s eyes. Brow lamination, a groundbreaking beauty trend, offers a solution for those seeking fuller, more defined eyebrows without daily makeup. This treatment has traditionally been a salon-exclusive, but with the right guidance, achieving salon-quality results at home is within reach. This expanded guide dives into the nuances of DIY brow lamination, covering everything from the initial prep work to the crucial aftercare, ensuring you can safely achieve and maintain impeccable brows. Deep Dive into Brow Lamination Brow lamination works by restructuring the brow hairs, giving them a uniform, desired direction and appearance. It’s particularly beneficial for those with unruly, sparse, or downward-growing hairs, providing a fuller and more even look. This section explores the technique’s origins, its rise to prominence, and how it has become a beloved alternative to more permanent treatments like microblading, offering insight into why it’s worth considering for your brow grooming routine. Advantages of Going DIY with Brow Lamination Choosing to laminate your brows at home comes with a plethora of benefits, including cost-efficiency, the comfort of your own home, and the ability to tailor the process to your specific brow needs. Here, we’ll outline the key advantages of DIY brow lamination, from the personal satisfaction of self-care to the convenience of touch-ups on your schedule, highlighting why many beauty enthusiasts are opting to take their brow treatments into their own hands. Essential Tools for At-Home Brow Lamination Successful DIY brow lamination hinges on having the right tools and products. This comprehensive checklist ensures you’re well-prepared, listing everything from reputable brow lamination kits to the specific cleansers, brushes, and aftercare serums that will make the process smooth and effective. We also include tips for selecting quality products that are safe and reliable, ensuring your DIY endeavor leads to beautiful, healthy brows. Step-by-Step Guide: Achieving Professional-Quality Lamination With the right preparation, DIY brow lamination can be straightforward and rewarding. This detailed, step-by-step guide walks you through the entire process, from conducting a patch test to applying the lamination solution, shaping, and setting your brows. Each step is broken down with precision, incorporating professional tips and visual aids to ensure clarity and ease, empowering you to achieve professional-quality results at home. Navigating Aftercare for Lasting Results The longevity and quality of your brow lamination significantly depend on proper aftercare. This section delves into the dos and don’ts following your treatment, advising on everything from how to avoid water and makeup in the initial hours to the best practices for nourishing and maintaining your newly laminated brows. Tailored advice on extending the durability of your lamination, including recommended products and routines, ensures your brows remain flawless for as long as possible. Common Pitfalls and How to Avoid Them Even with careful planning, DIY treatments can encounter hiccups. This segment addresses the most common issues encountered during home brow lamination, such as uneven application, overprocessing, or irritation, and provides expert solutions. Learning how to anticipate and remedy these challenges will bolster your confidence, ensuring a smooth…

Explore Zodiac Sign Inspired Makeupstyles
Explore Zodiac Sign-Inspired Makeup Styles

Discover tips for makeup styles according to zodiac signs, and gain the motivation needed to craft an original style all your own. Each zodiac sign’s unique personality influences their makeup choices and this content explores makeup styles based on zodiac signs as a reflection of each sign’s characteristic styles and personality traits. When combined, zodiacs and makeup create a beautiful combination that expresses themselves uniquely! Aries: Exert Your PresenceAs Aries marks the first sign in the zodiac, they manage to grab attention with their enthusiasm, courage and energetic nature. Aries is well known for acting immediately upon plans they develop – waiting can only delay progress further! For maximum impact in daily life they often opt for bold red lipstick as an accessory essential to everyday success! Taurus: Capturing Timeless Looks For Taurus, who are ruled by Venus, life’s pleasures revolve around beautiful scents, exquisite tastes, quality textures, aesthetic visuals and pleasant sounds. Their comfortable yet harmonious nature make them much sought-after friends as well passionate lovers; beauty plays an integral role in their lives with timeless aesthetic beyond trendiness reflected by makeup choices that feature their features. Gemini: Express Your Colorful Energy Its Geminis, as members of the versatile zodiac, excel at communicating clearly, quickly witted quips, adaptability to change and rapid learning abilities. Their eagerness and curiosity lead them rapidly through makeup trends quickly while reflecting ever-evolving perspectives in their styles – be that temporary or long term! Products which allow Geminis to experiment creatively will often prove popular choices among them. Cancer: Highlight Natural Tones With their strong intuition, loyalty, and homely disposition, Cancerians represent strong emotions represented by the Moon; therefore they excel at creating comfortable spaces for loved ones. Water elementians that represent Cancer prefer soft-toned makeup looks such as feminine blush. Easily adapting nostalgic looks into their style comes naturally due to strong memories connected with past. Leo: Enhance Your RadianceLeos, who are ruled by the Sun at the center of the zodiac, tend to draw the focus in social situations quite naturally due to their leadership, confidence and warm nature – qualities which become apparent as soon as they walk into a room. Leos tend towards strong presences with fashion bases designed to cover flaws while upholding glowing features. Mercury, ruling over Virgos, lends them analytical and detail-oriented abilities that enable them to tackle even complex tasks efficiently and precisely. If you want order in any task at hand, look no further. Their precise minds often quickly find the most logical solutions; and in makeup application their sharp lines create beautiful looks; no other sign can rival Virgo when it comes to drawing identical eyeliner on both eyes! Libra: Reflect Your Elegance Libras ruled by Venus are known for being graceful diplomats of the zodiac circle. Through their pleasant language and delicate demeanor, Libras often win everyone over with their charm and elegant ways. Their appearance matters greatly to them and makeup artists delight them by amplifying natural radiance within. Scorpio: Attract GazesWhen it comes to captivating looks, Scorpios immediately come to mind. Their fiery…

Skincare Tips Tofight Acne Proneskin
Skincare Tips to Fight Acne-Prone Skin

Acne is a skin condition in which pores become blocked with oil and dead cells, creating whiteheads, blackheads (comedones), or inflamed pimples that block out sunlight from penetrating deep enough. Though acne affects people of all ages, teenage teens seem most prone. Acne is caused by hair follicles becoming blocked with debris known as pores, leading to blockages that contribute to its development. There may be several contributing factors: 1.Sebum: an oily substance produced by our bodies as a protective barrier, however excessive production can clog pore openings and lead to acne formation. 2.Bacteria: Our skin naturally harbors some bacteria. C. acnes is known to flourish in oily environments, proliferating rapidly to cause acne breakouts by multiplying in clogged pores. 3.Dead Skin Cells: Our stratum corneum layer sheds to make room for new cell development; dead cells also play an integral part of pore blockage issues. Factors Contributing to AcneTight clothing such as sports helmets, hats and masks can contribute to acne breakouts. Working in environments which expose you frequently to oil – like restaurants using frying oil for instance – or exposure to high humidity with heavy lotions can also increase acne flare-ups. Stress increases cortisol hormone levels, leading to elevated cortisol hormones that in turn aggravate acne. Certain medications may have acne as a side effect. Squeezing or picking at pimples increases inflammation levels further still while cosmetic products might contribute to acne formation as well. New studies indicate high-glycemic index sugary food products could worsen acne problems further still. Adult Acne: What It Is and How it is Treated Adult acne refers to any acne which persists after age 25 (or begins after this age), whether continuing from its original source or new outbreaks starting after this point. Treatment options similar to adolescent acne may include topical products containing retinoids, benzoyl peroxide, salicylic acid or oral antibiotics including isotretinoin; ultimately however the choice of treatments are made after seeing a dermatologist following examination; factors that influence these decisions include severity of disease type left scars due to presence or absence of pitted scars on patient skin type tolerance tolerance tolerance as well as whether patient plans pregnancy. Can Adult Acne Be Prevented? Research suggests that only some adults suffering from adult acne have hormonal imbalances related to polycystic ovary syndrome gynecological issues which, if present, must be addressed immediately in order to be effective treatments of adult acne. Therefore treating any potential underling conditions is key for treating adult acne successfully. Particularly for acne-prone skin, having a meticulous skincare routine is of vital importance. Proper cleansing should always take precedence – sleeping with makeup on or skipping evening routines increases pore blockage risk leading to acne breakouts; excessive washing disrupts skin barriers leading to redness and increased sensitivity. Cleansing should involve using an effective cleansing gel and lathering it onto skin for 20 seconds before rinsing with warm water at least twice daily, including one application before bed. Cleansers containing salicylic acid have proven particularly helpful at clearing away debris such as excess keratin from pores to minimize acne…

Damaged Hair 4 1
Understanding Damaged Hair: Unraveling the Strands of Hair Health

Damaged hair is a widespread condition among many individuals and it manifests in various forms ranging from split ends and visible dryness/frizz to split ends, dryness/frizz, or split ends themselves. Hair plays an essential part of one’s physical appearance and acts as an instrument of self-expression and confidence; therefore to understand what damaged hair involves it’s essential to explore factors contributing to its formation, as well as any telltale signs which indicate whether your locks need attention or repair. Causes of Hair Damage There can be numerous contributors to hair damage, from environmental influences such as pollution to lifestyle choices that impact hair health. Understanding all these elements is vital in treating and preventing further damages; some common culprits could include: Heat Styling: Overusing heat styling tools such as flat irons, curling wands and blow dryers can strip hair of its moisture content, leading to dryness, breakage, split ends and other forms of damage. Chemical Treatments: Chemical treatments such as coloring, perming and straightening may alter hair’s structure and weaken its integrity over time, potentially leading to significant damage if regularly repeated or overexposed to them. Poor Hair Care Practices: Aggressive brushing, using harsh hair ties and washing hair with hot water or inappropriate products may all contribute to damage in one way or another, including vigorously towel-drying wet locks in order to produce maximum volume for styling purposes. All this may contribute to breakage. Environmental Factors: Exposure to harsh environmental factors like sun, wind and pollution can have detrimental effects on hair health. UV rays in particular have the ability to damage cuticle cells causing discoloration and brittleness resulting in hair cuticle splitting resulting in discoloration or even breakage and eventual breakage of locks. Lack of Moisture: Due to insufficient intake (water intake ) and external (conditioning lack ), inadequate hydration levels may leave hair dry, brittle and more likely to breakage than ever. Nutritional Deficiencies: An inadequate diet lacking in essential vitamins and minerals may negatively affect hair health, including proteins, biotin, omega-3 fatty acids. All three play an integral part in keeping hair strong and vibrant. Signs of Damaged HairRecognizing the symptoms of damaged hair is critical in taking effective steps to restoring and maintain its health. Here are a few indicators that your locks might have become frail: Split Ends: Split ends are one of the more obvious signs, occurring when hair shaft splits into multiple fragments that create frayed and uneven tips on its ends. Dry and Brittle Texture: Damaged hair often feels rough to the touch and lacks the smooth, soft strands associated with healthy locks. Cracked Hair Structure: When hair breakage increases while brushing or styling, this could be a telltale sign that its structure has become compromised. Damaged Hair Has a Dull Appearance: Ideally, healthy locks reflect light to create an alluring luster; damaged locks tend to lose this quality and appear flat and lifeless. Tangled and Unmanageable: Damaged hair often becomes unmanageable when left to its own devices, making combing or brushing impossible without further breakage of its structure. Changes to Elasticity: Healthy…