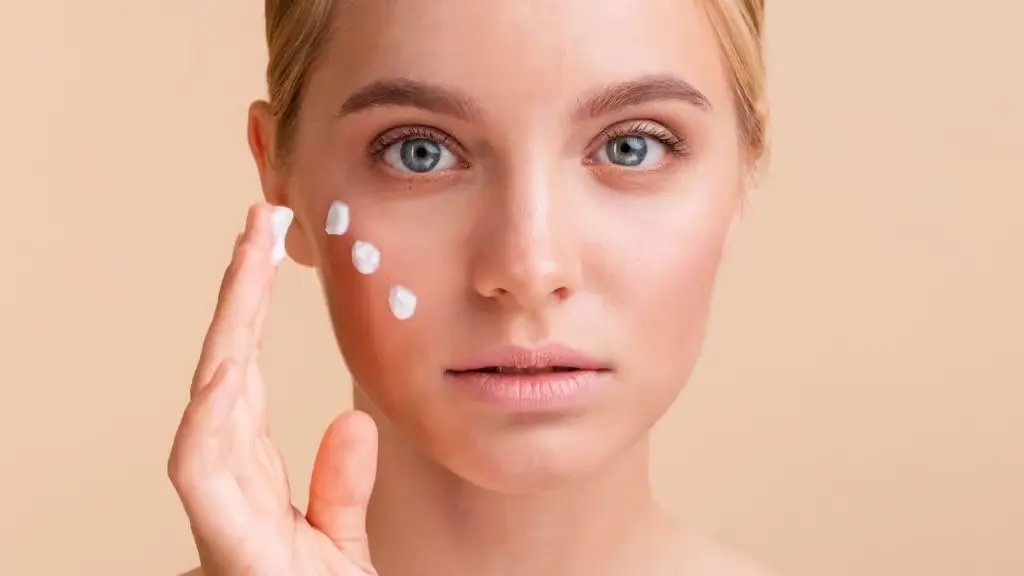
Illuminating Radiance: Top Tips on Choosing the Perfect Primer for Dull Skin

Illuminating Radiance: Top Tips on Choosing the Perfect Primer for Dull Skin

If you have dull skin that lacks radiance and appears lackluster, using a primer specifically designed to address this concern can be a game-changer in your makeup routine. Primers are the secret to achieving a flawless and long-lasting makeup look, and selecting the right one for dull skin can brighten, hydrate, and create a luminous glow. In this comprehensive guide, we will explore the top tips on choosing a primer suited to dull skin, helping you achieve a radiant complexion that lasts all day.

Understanding Dull Skin and its Causes

Dull skin is characterized by a lack of radiance, appearing flat and lifeless. Several factors contribute to dullness, including:

Dead Skin Cells: Accumulation of dead skin cells on the skin’s surface can create a barrier that reflects light poorly, resulting in a dull appearance.

Dehydration: Lack of proper hydration can cause the skin to lose its plumpness and glow, leading to a lackluster complexion.

Uneven Texture: Uneven skin texture can cast shadows and reduce the skin’s ability to reflect light, making the skin look dull.

Environmental Factors: Exposure to pollutants, harsh weather, and UV radiation can damage the skin and contribute to dullness.

Age: As we age, the skin’s natural renewal process slows down, leading to a buildup of dead skin cells and a loss of luminosity.

Top Tips on Choosing a Primer for Dull Skin

When it comes to choosing a primer for dull skin, the key is to opt for products that address the specific concerns associated with dullness. Consider the following tips to find the perfect primer for your needs:

Look for Hydrating Formulas
Hydration is essential for combatting dullness, so opt for a primer that offers intense moisture. Look for ingredients such as hyaluronic acid, glycerin, and aloe vera, which help lock in moisture and keep your skin looking plump and radiant.

Choose Illuminating Primers
Illuminating primers are specifically designed to add a luminous glow to the skin. These primers often contain light-reflecting particles that bounce light off the skin, instantly brightening the complexion and reducing the appearance of dullness.

Consider Color-Correcting Primers
Color-correcting primers are formulated to target specific skin concerns, including dullness. Look for primers with peach, pink, or lavender undertones, which can help counteract sallowness and revive a lackluster complexion.

Check for Antioxidant-Rich Ingredients
Antioxidant-rich primers can help protect the skin from environmental damage, which is a common cause of dullness. Look for ingredients like vitamins C and E, green tea extract, and niacinamide, which have powerful antioxidant properties.

Find Primers with Exfoliating Properties
Exfoliating primers can help remove dead skin cells, promoting a smoother and more radiant complexion. Ingredients like alpha hydroxy acids (AHAs) or beta hydroxy acids (BHAs) in the primer can gently exfoliate the skin, revealing a brighter and fresher appearance.

Avoid Heavy, Matte Formulations
Steer clear of heavy, matte primers, as they can further emphasize dullness and make the skin look flat. Instead, opt for lightweight and dewy formulations that offer a natural and radiant finish.

Consider Your Skin Type
Take your skin type into account when choosing a primer. If you have dry skin, opt for a hydrating primer that provides a luminous finish. For oily skin, choose a primer that controls excess oil while still offering an illuminating effect.


Read Reviews and Seek Recommendations
Reading reviews and seeking recommendations from others with similar skin concerns can be helpful in finding the best primer for dull skin. Look for products that have positive feedback regarding their brightening and illuminating properties.

Illuminating Radiance: Top Tips on Choosing the Perfect Primer for Dull Skin

How to Use Primer for Dull Skin

Once you’ve chosen the perfect primer for your dull skin, follow these steps for optimal results:

Start with Clean, Moisturized Skin
Before applying primer, cleanse your face thoroughly and follow up with a hydrating moisturizer. Properly moisturized skin will allow the primer to adhere better and ensure a smooth application.

Apply a Small Amount
A little goes a long way when it comes to primer. Start with a pea-sized amount and apply it to your entire face using clean fingers or a makeup sponge.

Focus on Dull Areas
Pay special attention to areas where dullness is most apparent, such as the cheeks, forehead, and under-eye area. Gently pat the primer into the skin, ensuring even coverage.

Allow the Primer to Set
Let the primer sit on your skin for a minute or two to allow it to settle and create a smooth base for your makeup application.

Layer with Foundation
Once the primer has set, apply your foundation as usual. You’ll notice that your foundation glides on more smoothly and evenly, creating a radiant and long-lasting finish.

Follow with Highlighter
For an extra boost of radiance, consider using a liquid or powder highlighter on the high points of your face, such as the cheekbones, brow bones, and the bridge of your nose.

Set with a Setting Spray
Lock in your makeup and keep that radiant glow intact throughout the day by finishing with a setting spray. Setting sprays also help the makeup last longer and prevent it from fading.


Choosing the right primer for dull skin is the first step towards achieving a radiant and glowing complexion. Consider factors such as hydration, illuminating properties, and antioxidant-rich formulations when selecting a primer. With the right product and proper application techniques, you can combat dullness and embrace a luminous and radiant appearance. Remember that makeup is an art, and experimenting with different primers and techniques can help you find the perfect combination for your unique skin needs. Enjoy the journey of discovering the transformative power of primers in brightening and revitalizing your dull skin.


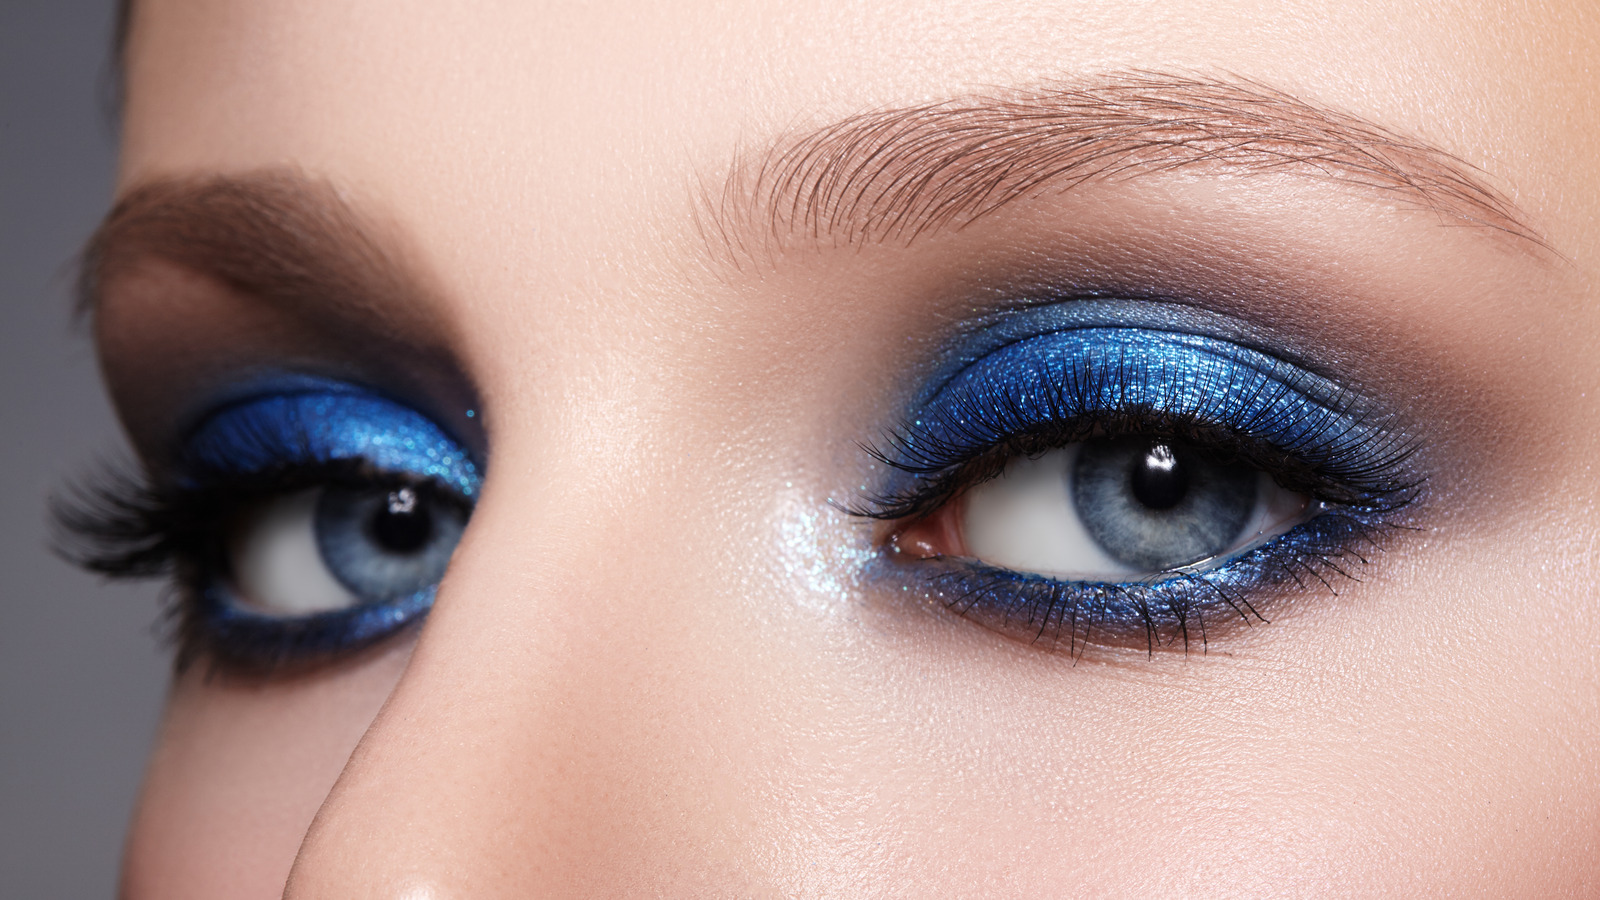
How To Create A Flawless Makeup Look Without Foundation
How to Create a Flawless Makeup Look Without Foundation

Creating a flawless makeup look without relying on foundation is an art that celebrates natural beauty while skillfully concealing imperfections. This approach not only allows your skin to breathe but also highlights your features in the most natural and effortless way. Whether you’re aiming to simplify your makeup routine or seeking a lighter option for daily wear, mastering the art of no-foundation makeup can transform your beauty regimen. The Basics of No-Foundation Makeup The journey to a flawless look without foundation starts with understanding the essentials. Prepping your skin and choosing the right products are foundational steps that determine the success of your makeup application. This section will guide you through essential skin preparation, selecting products that enhance rather than cover, and techniques that offer coverage and radiance without the weight of foundation. Skin Preparation A flawless makeup application begins with well-prepared skin. Cleansing, exfoliating, and hydrating are key steps to create a smooth canvas. Additionally, priming your skin helps to refine pores and ensure a longer-lasting makeup application. This segment will delve into the best practices for skin preparation, focusing on products and methods that boost your skin’s natural glow. Concealing Without Foundation Concealing blemishes and under-eye circles without the blanket coverage of foundation requires targeted techniques and the right concealer. This part will explore how to choose a concealer that matches your skin tone and texture and detailed application methods to cover imperfections effectively. Enhancing the Skin with Tinted Moisturizers Tinted moisturizers offer a light, breathable alternative to foundation, providing hydration and a hint of color. This section will cover how to select the perfect tinted moisturizer for your skin type and the best application tips for a natural, dewy finish. The Role of Powder Setting your makeup and reducing shine without foundation can be achieved with the right powder. We’ll discuss the different types of powders available, from translucent to mineral, and how to apply them for a natural, matte finish. Achieving a Natural Glow with Highlighters Highlighters can bring dimension and a healthy glow to the skin without the need for foundation. This part will guide you through selecting the right highlighter for your skin tone and mastering subtle highlighting techniques. Adding Color Without Heaviness Blush and bronzer can add warmth and color to your face without the heaviness of foundation. Learn about the selection of blush and bronzer that complements your skin tone and how to apply them for a natural-looking flush and contour. Eye Makeup Techniques Eye makeup plays a crucial role in enhancing your no-foundation look. From choosing the right eyeshadow colors to applying mascara and eyeliner for maximum impact, this section provides tips for making your eyes stand out. Defining Brows Well-defined brows frame your face and enhance your features, especially when foregoing foundation. Discover how to find the right shape and color for your brows and techniques for filling and shaping them for a polished look. Lip Makeup Lip color can tie your makeup look together. This part will discuss how to choose lip colors that complement your natural look and application tips…

Cryo Facial: The Cool New Beauty Trend Explained

As beauty enthusiasts continue to explore new and innovative ways to improve their skin health and appearance, Cryo facials have emerged as a popular trend. The beauty industry is constantly changing and evolving, and cryo facials are an example of the latest developments in skin care technology. The treatment involves exposing the skin to extremely cold temperatures to promote skin rejuvenation and improve overall skin health. In this article, we will explore the concept of Cryo facials, including the benefits, risks, and the science behind this innovative treatment. What is a Cryo Facial? A Cryo facial is a non-invasive skin treatment that involves the use of liquid nitrogen or carbon dioxide to rapidly cool the skin. During the treatment, the skin is exposed to temperatures ranging from -100°C to -160°C for several minutes. The procedure begins with a gentle cleanse of the skin, followed by the application of a serum or cream to enhance the benefits of the treatment. The Cryo facial device, which resembles a handheld vacuum, is then used to blast a stream of extremely cold air onto the skin, focusing on specific areas of concern, such as the forehead, cheeks, and under-eye area. The cold temperature triggers a response in the body, causing blood vessels to constrict, which reduces inflammation and helps to tighten and firm the skin. The treatment is also said to boost collagen production, which is essential for maintaining youthful-looking skin. Benefits of a Cryo Facial: Reduces Inflammation: Cryo facials are known to reduce inflammation in the skin, which can help to alleviate redness, puffiness, and irritation. The cold temperature constricts blood vessels, reducing blood flow to the affected area, which can help to reduce swelling and inflammation. Promotes Collagen Production: Collagen is a protein that is essential for maintaining youthful-looking skin. As we age, collagen production decreases, resulting in fine lines, wrinkles, and sagging skin. Cryo facials are said to stimulate collagen production, which can help to improve skin elasticity and reduce the signs of aging. Improves Skin Texture: The cold temperature of the Cryo facial can help to improve skin texture by promoting cell regeneration. As the skin is exposed to the cold air, the body responds by increasing blood flow and oxygen to the affected area, which can help to repair damaged skin cells and improve overall skin health. Boosts Circulation: The cold temperature of the Cryo facial can help to increase blood flow and circulation, which can help to deliver essential nutrients and oxygen to the skin. This increased circulation can also help to remove toxins and impurities from the skin, resulting in a brighter and more radiant complexion. Tightens and Firms the Skin: The cold temperature of the Cryo facial causes the blood vessels to constrict, which can help to tighten and firm the skin. This can help to reduce the appearance of fine lines, wrinkles, and sagging skin, resulting in a more youthful-looking complexion. Risks of a Cryo Facial: While Cryo facials are generally considered safe, there are some risks associated with the treatment. Some of these risks include: Skin…

Mastering The Eyelash Curler
Mastering the Eyelash Curler

Transforming your lashes from straight to stunningly curled can be effortlessly achieved with the proper use of an eyelash curler, turning it into an indispensable tool in your beauty arsenal. However, mishandling it could result in discomfort, lash damage, or uneven curls. This detailed manual will guide you through mastering the eyelash curler, incorporating upkeep advice and solutions to frequent problems, enabling you to safely and effectively obtain those desirable, fluttering lashes. Selecting the Ideal Eyelash Curler Eyelash Curler Varieties The market offers eyelash curlers in metal, plastic, and heated models. Metal curlers stand out for their sturdiness and precision in curling, while plastic variants are perfect for on-the-go use due to their lightness. For those with hard-to-curl lashes, heated eyelash curlers can achieve a more defined and enduring curl. Choosing a Curler for Your Eye Shape Eyelash curlers are not one-size-fits-all; their efficiency varies with different eye shapes. It’s crucial to choose a curler that complements the curvature of your eye to ensure a uniform curl and avoid discomfort. Some manufacturers provide curlers tailored to specific eye shapes such as almond, round, or deep-set. Lash Preparation Ensure Lashes are Clean and Dry Commence with lashes that are devoid of any makeup or residue, as leftover products can lead to lashes sticking to the curler, risking damage. Post face-washing, ensure your lashes are thoroughly dried before proceeding with the curling process. Warming the Curler (Optional) To enhance the curl, consider gently warming your metal eyelash curler with a hairdryer for a brief period. Always test the curler’s temperature on your hand to confirm it’s warm, not hot, preventing any harm to your eye’s delicate surrounding skin or the lashes themselves. Curling Your Lashes Proper Curler Placement With the curler open, position your lashes between the pads, getting as close as possible to the lash base without touching the eyelid. Confirm that all lashes are captured by the curler’s opening. Executing the Curl Press the curler’s handles together gently for approximately 5 to 10 seconds. For a more natural curl, you may lightly pump the curler. Refrain from pulling or yanking the curler to avoid lash damage. Sectional Curling For a more pronounced curl, adopt a sectional approach: begin at the base, then mid-lash, and finally near the tips. This technique fosters a seamless, natural curl rather than an abrupt crimp. Post-Curling Mascara Application Follow up the curling with your preferred mascara to set the curl. Opt for a waterproof or curl-enhancing mascara for optimal results. Applying mascara post-curling prevents the lashes from sticking to the curler and potential damage. Curler Maintenance and Cleanliness Eyelash Curler Cleansing To ensure optimal performance, regularly clean your curler to eliminate any mascara residue or debris. Utilize a gentle makeup remover or isopropyl alcohol for cleaning, allowing the curler to dry thoroughly before its next use. Pad Replacement Change the curler’s rubber pads every few months or at signs of wear to maintain curl efficiency and lash safety. Neglecting to replace worn pads can compromise lash health and curl quality. Addressing Common Concerns Avoiding Eyelid Pinching Pinching…

5 Essential Tips To Enhance Your Eye Shadowskills
5 Essential Tips to Enhance Your Eye Shadow Skills

Eye shadow can dramatically transform your look, adding depth, dimension, and a pop of color to your eyes. Whether you’re aiming for a subtle enhancement or a bold statement, mastering the art of eye shadow application is key. In this comprehensive guide, we’ll delve into five pivotal tips that will elevate your eye shadow game, ensuring your makeup not only looks stunning but also lasts longer. Prime Your Eyes Before diving into colors and techniques, it’s crucial to start with a clean canvas. Priming your eyelids is the first step towards ensuring your eye shadow adheres better and stays put for hours. A good eye primer prevents creasing and fading, making it indispensable for both daily wear and special occasions. You can opt for a dedicated eye primer or a versatile option that suits both your face and eyelids. The key is to apply a thin, even layer across your eyelid to create the perfect base for your eye shadow. Understand Your Eye Shape Eye shadow isn’t a one-size-fits-all affair; your application technique should be tailored to your unique eye shape. Whether you have almond, round, hooded, or monolid eyes, each shape has specific strategies to enhance and define its natural beauty. By recognizing your eye shape, you can apply eye shadow in a way that accentuates your best features, from lifting droopy lids to making small eyes appear larger. This personalization ensures your eye makeup complements your overall look. Select the Right Eye Shadow Type The type of eye shadow you choose plays a significant role in the final look. Cream eye shadows work wonders as a base color, offering a smooth application. However, for versatility and ease of blending, pressed powder eye shadows are generally preferred. They come in a wide range of finishes, from matte to shimmer, allowing you to create depth and dimension on your eyelids. When selecting eye shadows, consider the occasion, your skin type, and the look you’re aiming for. Invest in Quality Brushes The right tools can make all the difference in eye shadow application. A comprehensive set of brushes allows for precise application and seamless blending. Essentials include a large, fluffy brush for applying a base color, a smaller, denser brush for adding depth to the crease, and a blending brush to ensure there are no harsh lines. Additionally, a pencil brush is great for detailed work, like defining the lower lash line or inner corners. Quality brushes offer better control and can help you achieve a more professional finish. Choose Eye Shadow Colors That Complement Your Eye Color The colors you choose should enhance your natural eye color, making your eyes the focal point of your face. Here’s a quick guide: By incorporating these tips into your makeup routine, you’ll notice a significant improvement in your eye shadow application. Remember, practice makes perfect, and experimenting with different colors and techniques is part of the fun. Embrace your creativity, and let your eyes shine! Mastering eye shadow application is an art that enhances your natural beauty and allows for creative expression. By following these…

Mastering The Art Of Henna Hair Dye
Mastering the Art of Contouring: Tips and Tricks

The art of contouring has taken the beauty world by storm, offering a technique to enhance and define facial features like never before. This guide breaks down the steps, tips, and tricks to master contouring, transforming your makeup routine and elevating your look to new heights. The Basics of Contouring What is Contouring? Contouring is a makeup technique used to define, enhance, and sculpt the natural features of the face through strategic application of makeup. Tools You Will Need Discover the essential tools for contouring, including brushes, sponges, and the types of makeup best suited for the task. Understanding Face Shapes Identifying Your Face Shape Learn how to identify your face shape to tailor your contouring technique for the most flattering results. Contouring for Each Face Shape Detailed tips on contouring for round, oval, square, heart, and diamond-shaped faces, ensuring every reader can achieve their best look. Step-by-Step Guide to Contouring Preparing Your Skin The importance of a clean, moisturized base for seamless makeup application. Mapping Your Face Guidance on how to map the areas of your face for contouring, highlighting the regions that will help achieve a balanced and defined look. Blending Techniques Techniques and tips for blending contour makeup flawlessly, avoiding harsh lines for a natural finish. Highlighting: The Perfect Pair to Contouring Areas to Highlight Identify the areas of your face that should be highlighted to complement your contouring, enhancing your facial structure effectively. Choosing Highlighter Advice on selecting the right highlighter shade and formula for your skin tone and type. Contouring with Different Products Cream vs. Powder Contour Pros and cons of cream and powder contour products, helping you decide which is best for your skin type and desired finish. How to Choose Tips on choosing the right shades and formulas for your specific contouring needs. Advanced Contouring Techniques Nose Contouring Step-by-step guide to contouring your nose, making it appear slimmer or more defined. Jawline and Neck Contouring How to contour the jawline and neck for a more sculpted and defined appearance. Common Contouring Mistakes and How to Avoid Them Too Dark or Too Light How to select contour shades that match your skin tone to avoid a muddy or overly dramatic look. Mismatched Undertones Understanding the importance of matching the undertone of your contour product to your skin to ensure a natural look. Tips and Tricks for a Natural Contour Blending is Key Emphasize the importance of blending for a seamless, natural contour that enhances rather than overshadows your natural beauty. Less is More Advice on starting with a light hand and building up product gradually to avoid over-contouring. Maintaining Your Contour Throughout the Day Setting Your Contour Recommendations for setting sprays and powders to keep your contour in place all day. Touch-up Tips Quick fixes and touch-up tips for maintaining your contour, even on the go. Mastering the art of contouring can dramatically enhance your makeup routine, offering a sculpted, polished look that highlights your best features. With practice, the right tools, and a bit of creativity, anyone can become proficient in this transformative makeup technique….

The Benefits And Considerations Of Usingdry Shampoo
The Benefits and Considerations of Using Dry Shampoo

In our quest for impeccable grooming and the perfect hair day, the role of dry shampoo has become increasingly pivotal. This marvel of modern haircare, designed to refresh and revitalize our locks without the use of water, is more than just a quick fix for greasy hair. It’s a testament to the ingenious solutions that have arisen to meet the demands of our bustling lifestyles. This comprehensive guide dives deep into the essence of dry shampoo, unraveling its benefits, and shedding light on considerations to ensure you wield this powerful tool with wisdom. The Essence and Efficacy of Dry Shampoo At its core, dry shampoo is a haircare product that promises to absorb excess sebum and other impurities from your scalp and hair, leaving it looking and feeling clean, without the need for water. Its primary ingredients, often a combination of absorbing agents like starches or alcohols, work by soaking up oil, thereby diminishing the greasy appearance that can plague our hair between washes. The Multifaceted Benefits of Dry Shampoo Convenience at Your Fingertips The foremost advantage of dry shampoo is its unmatched convenience. It’s the perfect ally for those mornings when time is of the essence, allowing you to extend the life of your hairstyle or blowout without the time-consuming process of washing, drying, and styling. A Boost of Volume and Texture Beyond oil absorption, dry shampoo can significantly enhance the volume and texture of your hair. A quick application can transform limp and lifeless strands into a full-bodied mane, offering a texture that can hold styles more effectively. Oil Management and Scalp Health For individuals grappling with oily hair, dry shampoo can be a godsend. It aids in managing sebum production, ensuring that your hair remains fresh and voluminous longer. However, it’s crucial to balance its use with regular hair washing to maintain optimal scalp health. Mastering the Application of Dry Shampoo The magic of dry shampoo lies not only in its formulation but also in its application. To reap its full benefits, a correct approach is essential. Begin by shaking the container to evenly distribute the product. Hold it a few inches away from your head, targeting the roots, and apply it in short bursts. After letting it sit for a few minutes to absorb the oils, massage your scalp with your fingertips or brush your hair to remove any residual powder. This method ensures an even application, preventing the dreaded white residue and maximizing oil absorption. Considerations for the Judicious Use of Dry Shampoo While dry shampoo stands out for its numerous advantages, mindful usage is key to avoiding potential pitfalls. Overreliance on dry shampoo can lead to product buildup, which may clog hair follicles and impede hair health. Moreover, selecting a dry shampoo that aligns with your hair type and color, and contains ingredients that nurture rather than harm your scalp, is paramount. The Environmental Perspective The environmental impact of dry shampoo, particularly aerosol versions, cannot be overlooked. The propellants used in aerosol cans contribute to their carbon footprint. Hence, exploring non-aerosol options, which tend to have…

Quenching Radiance The Profound Benefits Of Water Consumption For Skin Health
Quenching Radiance: The Profound Benefits of Water Consumption for Skin Health

Water, the elixir of life, plays a vital role in our overall well-being. While its importance for bodily functions is well-known, its impact on skin health often takes a backseat. Our skin, the largest organ, requires adequate hydration to function optimally and radiate a healthy glow. In this comprehensive guide, we will dive into the world of water consumption and its profound benefits for skin health. From maintaining hydration to supporting a youthful complexion, the advantages of drinking water extend far beyond quenching our thirst. The Role of Water in Skin Health Water is essential for skin health due to several key functions it performs within the body: Benefits of Water Consumption for Skin How Much Water Should You Drink for Skin Health? While the “8×8” rule (eight 8-ounce glasses of water per day) is a commonly cited guideline, individual water needs can vary based on factors like age, activity level, climate, and overall health. A more personalized approach is to listen to your body’s signals. Thirst is an excellent indicator that your body needs water. Additionally, your urine color can offer insights into your hydration level—a light, pale yellow color indicates proper hydration. Tips for Increasing Water Consumption Expert Insights on Water and Skin Health Considerations and Additional Practices for Skin Health Water consumption isn’t just a mundane necessity; it’s a powerful tool for achieving and maintaining vibrant, healthy skin. The benefits of proper hydration extend beyond quenching your thirst, manifesting in a radiant complexion, youthful appearance, and overall skin health. By making conscious efforts to prioritize hydration through mindful consumption and complementary skincare practices, you’re laying the foundation for skin that not only looks beautiful but also functions optimally. Embrace the gift of water, and let its transformative effects illuminate your natural radiance from the inside out.

Nail Strengtheners The Secret To Healthy And Strong Nails
Nail Strengtheners: The Secret to Healthy and Strong Nails

In the quest for flawless beauty routines, the health and strength of our nails often take a backseat. However, nails are not just a canvas for trendy polish colors; they’re a reflection of our overall health. That’s where nail strengtheners come in – the unsung heroes of nail care. This article delves into the world of nail strengtheners, revealing how they can be the secret to unlocking healthy, resilient nails. Nail health is a mirror to our general well-being, indicating the state of our nutrition and care routines. Strong nails are not only aesthetically pleasing but also essential for performing daily tasks without discomfort. Nail strengtheners, therefore, play a crucial role in maintaining the integrity and beauty of our nails. What Are Nail Strengtheners? Nail strengtheners are specialized treatments designed to improve the health and resilience of nails. They come in two main types: hardeners, which work by reinforcing the nail plate, and hydrators, which moisturize and prevent brittleness. By incorporating essential vitamins, proteins, and other nourishing ingredients, these products aim to fortify nails from within. The Science Behind Nail Strengtheners The effectiveness of nail strengtheners lies in their ability to penetrate the nail plate, delivering nutrients and moisture to the underlying nail bed. Ingredients like keratin, biotin, and collagen are pivotal in reinforcing nail structure, promoting flexibility and preventing breakage. Benefits of Using Nail Strengtheners Regular use of nail strengtheners can transform weak, brittle nails into strong, flexible ones. They help in preventing common issues like splitting and peeling, thereby promoting healthier nail growth. Moreover, well-nourished nails have a natural sheen and improved texture, enhancing their overall appearance. Choosing the Right Nail Strengthener Selecting a nail strengthener should be based on individual nail needs. For dry, brittle nails, hydrators are ideal, whereas hardeners are better suited for soft, weak nails. Ingredients like formaldehyde (in moderation) and calcium provide structural support, while natural oils and plant extracts offer hydration and nourishment. Application Tips for Maximum Benefits For optimal results, nail strengtheners should be applied to clean, dry nails. Following the product’s instructions is key, as overuse can sometimes lead to brittleness. A common recommendation is to apply a thin layer daily for a week, then remove and start the process over. Natural Alternatives to Commercial Nail Strengtheners For those preferring a more natural approach, DIY recipes featuring ingredients like olive oil, lemon juice, and garlic offer a homemade solution to nail strengthening. These natural options can provide similar benefits without the chemicals found in commercial products. Integrating Nail Strengtheners into Your Nail Care Routine Incorporating nail strengtheners into your nail care regimen can enhance the efficacy of your overall routine. They can be used as a base coat under nail polish or alone as a treatment, ideally complemented by regular hydration and protection measures. The Role of Diet in Nail Health A balanced diet rich in vitamins and minerals is foundational to strong nails. Nutrients like biotin, vitamin E, and omega-3 fatty acids are particularly beneficial, supporting nail growth and preventing brittleness. Professional Treatments vs. At-Home Nail Strengtheners While at-home nail strengtheners…