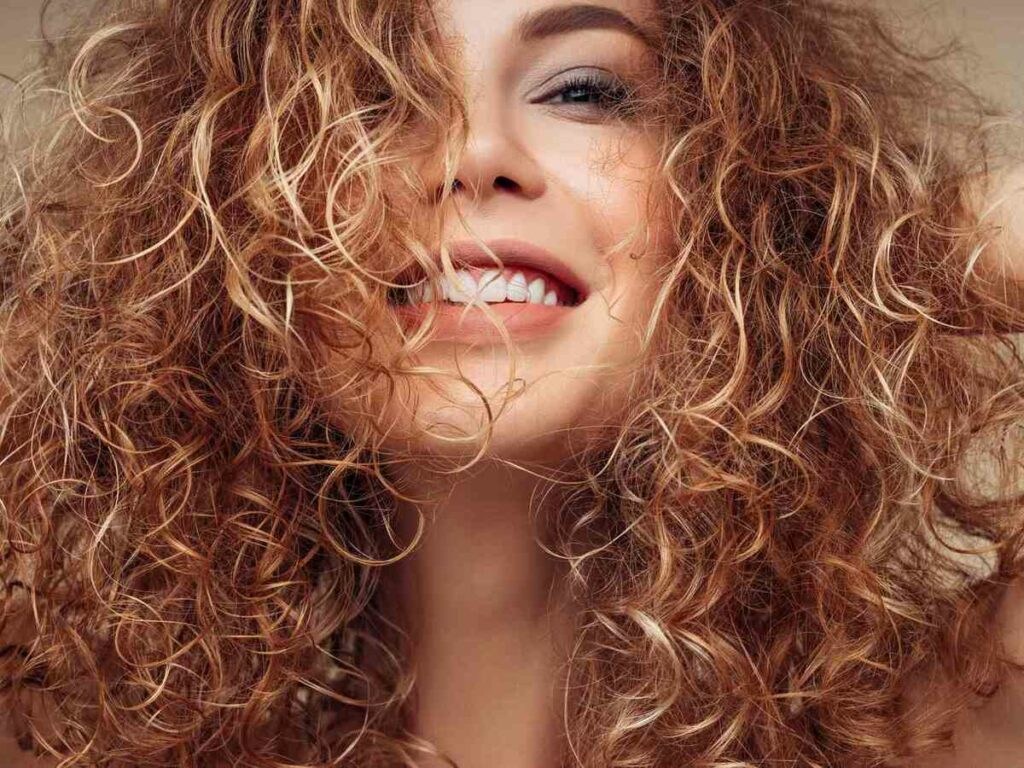
Perms: A Comprehensive Guide to the Timeless Hair Transformation

Perms: A Comprehensive Guide to the Timeless Hair Transformation

Perms, short for “permanent waves,” have been a popular hair transformation technique for decades, offering individuals a way to achieve beautiful, long-lasting curls or waves. This chemical hair treatment involves altering the natural structure of the hair to create texture and curl patterns that can last for several months. Perms have seen various trends and evolutions over the years, making them a timeless choice for those seeking to change their hairstyle. In this comprehensive guide, we will delve into the world of perms, exploring the different types, the process involved, aftercare tips, and the factors to consider before taking the plunge.

What is a Perm?

A perm is a chemical hair treatment that involves altering the hair’s internal structure to create curls or waves. It works by breaking and reshaping the disulfide bonds present in the hair, followed by setting the hair in the desired shape. The result is a semi-permanent transformation, with the curls or waves typically lasting for several months, gradually loosening as the hair grows.

Perms are highly versatile and can be tailored to achieve various curl patterns, from loose beach waves to tight spiral curls. They offer a low-maintenance option for those looking to add volume, texture, and style to their hair without the need for daily heat styling.

The Evolution of Perms

The concept of perming hair has been around for centuries, but it gained significant popularity during the 20th century. The modern perm, as we know it today, was developed in the 1930s by Arnold F. Willatt, a British hairdresser. The process initially involved using harsh chemicals and heat, resulting in damage to the hair and an unnatural appearance.

Over time, advancements in hair technology and the development of more gentle and effective perm formulations led to the evolution of perms. In the 1970s and 1980s, big, voluminous curls became the trend, and perms were a common choice to achieve this look. However, as the concept of “wash-and-go” hairstyles gained popularity, the demand for perms declined.

In recent years, the perm has experienced a resurgence, with a focus on more natural and soft curl patterns. Beachy waves, loose curls, and textured hairstyles have become trendy, and perms have once again become a sought-after hair transformation option.

Types of Perms

  1. Digital Perm

The digital perm is a modern variation of the traditional perm, known for creating soft, natural-looking curls. It involves the use of digitally controlled rods to create consistent and uniform curls. Digital perms are ideal for those seeking a more relaxed, wavy look rather than tight and uniform curls.

  1. Beach Wave Perm

The beach wave perm is designed to create effortless, beachy waves that mimic the look of naturally tousled hair after a day at the beach. It produces loose, relaxed curls with subtle volume, making it a popular choice among those looking for a low-maintenance, carefree hairstyle.

  1. Spiral Perm

The spiral perm is characterized by tight, springy curls that create a dramatic and voluminous effect. It involves wrapping the hair around small rods in a spiral pattern, resulting in long-lasting, defined curls. Spiral perms are suitable for those seeking a bold and statement-making hairstyle.

  1. Body Wave Perm

Vücut dalgası perma, saça hacim ve doku kazandırarak yumuşak, gevşek dalgalar oluşturmayı amaçlar. Farklı bukle yoğunluğu seviyeleri elde etmek için özelleştirilebilen, çeşitli saç uzunlukları ve tipleri için uygun hale getiren çok yönlü bir seçenektir.
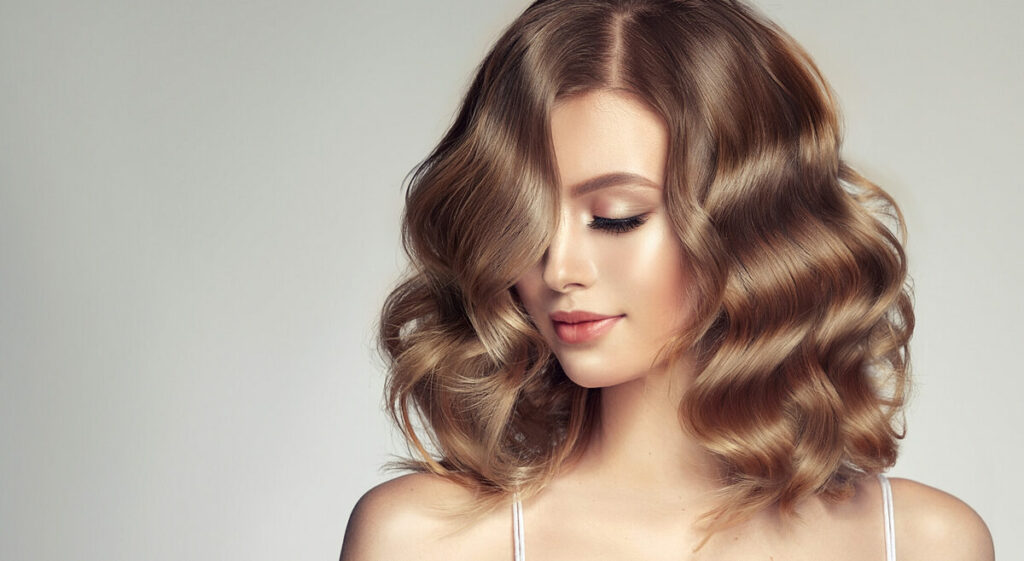
Perms: A Comprehensive Guide to the Timeless Hair Transformation

The Perm Process: How it’s Done

The perm process is typically carried out in a salon by a professional hairstylist. It involves several steps to ensure the desired curl pattern is achieved while minimizing damage to the hair.

  1. Consultation: Before the perm treatment, the stylist will conduct a consultation to assess the client’s hair type, texture, and desired outcome. They will also discuss the various perm options available and recommend the most suitable type of perm for the client’s hair.
  2. Hair Preparation: The hair will be washed with a clarifying shampoo to remove any residue or buildup. This step ensures the perm solution can penetrate the hair effectively.
  3. Rod Selection: The hairstylist will select the appropriate rod size based on the desired curl pattern and the client’s hair length and thickness.
  4. Sectioning: The hair will be sectioned into smaller portions, and the rods will be applied to each section.
  5. Applying the Perm Solution: The perm solution, which typically contains ammonium thioglycolate or a similar chemical, is applied to the hair, breaking down the hair’s disulfide bonds and making it pliable.
  6. Processing Time: The processing time depends on the client’s hair type and the desired level of curl. The hairstylist will monitor the hair during this stage to ensure the desired result is achieved without over-processing.
  7. Neutralizing: After the processing time is complete, the hairstylist will rinse the hair and apply a neutralizing solution. The neutralizer helps to re-form the disulfide bonds, locking the hair into the new curl pattern.
  8. Final Steps: The hair is rinsed thoroughly to remove any remaining chemicals, and a conditioning treatment is often applied to restore moisture and nourishment to the hair.
  9. Styling: Once the hair is neutralized and conditioned, the stylist will style the hair to showcase the newly formed curls. The hair can be blow-dried, air-dried, or diffused, depending on the desired finish.

Aftercare Tips for Maintaining Permed Hair

Proper aftercare is essential to maintain the longevity and health of permed hair. Here are some tips to keep permed hair looking its best:


  1. Wait Before Washing: Avoid washing the hair for at least 48 hours after the perm to allow the curls to set properly.
  2. Use Sulfate-Free Shampoo: Choose a sulfate-free shampoo and conditioner formulated for permed or curly hair to prevent dryness and maintain curl definition.
  3. Apply Leave-In Conditioner: Regularly apply a leave-in conditioner to keep permed hair hydrated and nourished.
  4. Avoid Heat Styling: Minimize the use of heat styling tools, as excessive heat can cause damage to permed hair. Air-drying or using a diffuser is a gentler alternative.
  5. Use a Wide-Tooth Comb: Use a wide-tooth comb or your fingers to detangle permed hair, as brushes can disrupt the curl pattern.
  6. Regular Trims: Schedule regular trims to prevent split ends and maintain the shape of the perm.
  7. Protect Hair from Chlorine and Saltwater: Before swimming, apply a leave-in conditioner or oil to create a barrier that protects the hair from chlorine and saltwater damage.
  8. Avoid Tight Hairstyles: Avoid tight hairstyles that can distort the curl pattern and cause breakage.


Mastering The Art Of Pristine Complexion Your Definitive Guide To Makeup Dissolution
Mastering the Art of Pristine Complexion: Your Definitive Guide to Makeup Dissolution

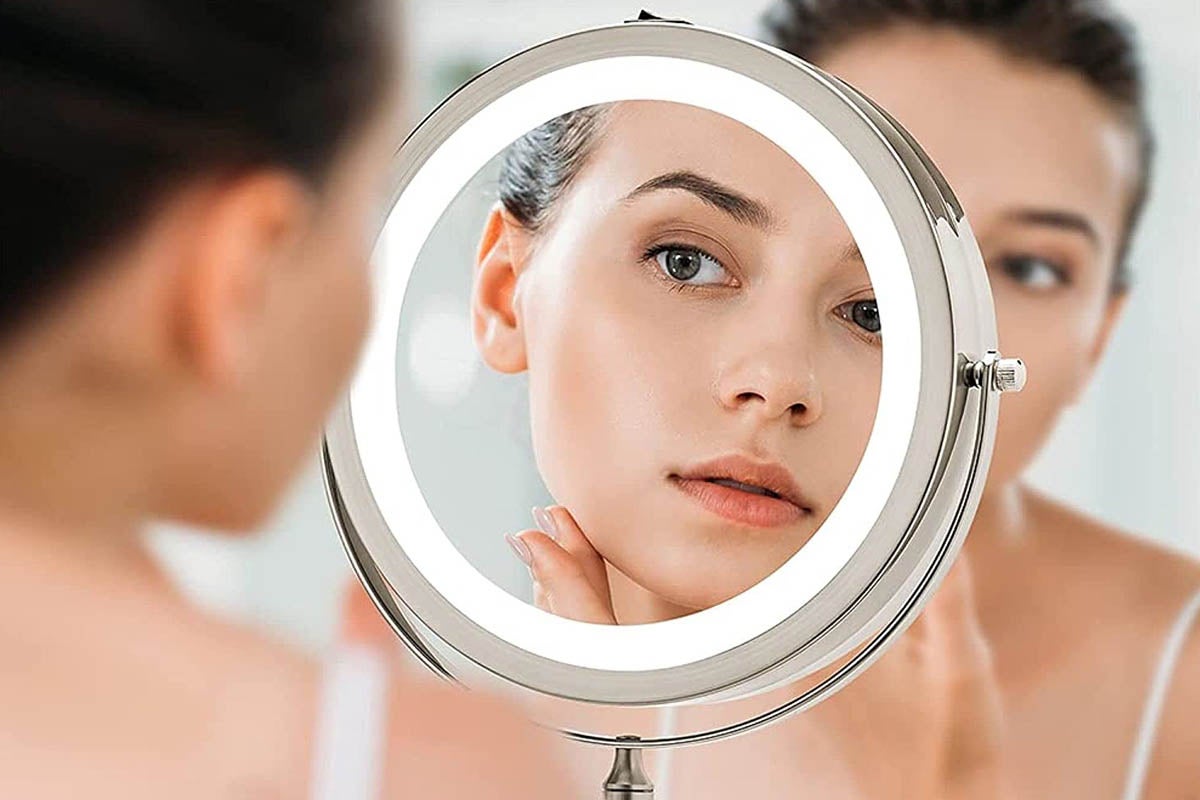
The act of makeup removal transcends mere skin cleansing, positioning itself as a pivotal element in any skincare regimen. Its purpose extends beyond surface cleaning, aiming to safeguard the skin’s health, vitality, and radiance. Advanced makeup dissolution entails more than basic cleaning; it encompasses a suite of techniques and products crafted to fortify and enrich the skin, averting complications such as pore blockages, acne outbreaks, and early signs of aging. This exhaustive tutorial delivers all requisite insights for proficient makeup elimination, guaranteeing the preservation of your skin’s vigor and health. Decoding Makeup Dissolution Viewing makeup removal as a critical art form integral to your daily skincare ritual is essential. This process is not solely about removing the visible makeup layers; it’s fundamentally about enabling the skin to rejuvenate, breathe, and optimally absorb skincare products. It necessitates a comprehension of the makeup varieties applied, the skin’s specific requirements, and identifying the most suitable products and methods for removal. Key Instruments for Efficient Makeup Dissolution The selection of appropriate instruments and concoctions is crucial for effective makeup dissolution. The market is abundant with options catering to diverse skin types and makeup formulations, from mild eye makeup dissolvers to oil-infused solutions aimed at resilient foundation and lipstick forms. Products like micellar water, cleansing oils, balms, and wipes each serve distinct purposes, with the choice depending on individual skin sensitivity, makeup resilience, and personal inclinations. Sequential Guide for Makeup Dissolution Advanced Cleansing and Skincare Post-Makeup Dissolution Post-dissolution, deep cleansing ensures the elimination of all residual makeup, leaving the skin impeccably clean. This can be achieved through exfoliation, recommended 2-3 times weekly, followed by the application of a rich moisturizer to aid skin recovery throughout the night. Components such as hyaluronic acid, ceramides, and niacinamide are invaluable in moisturizers for post-dissolution care. Micellar Water’s Role in Makeup Dissolution Micellar water stands out as a mild yet effective choice, suitable for all skin varieties. Its micelles adeptly attract makeup, oil, and dirt, facilitating their removal without necessitating vigorous scrubbing. It is particularly beneficial for those with sensitive skin or for swift makeup changes. The Oil Cleansing Technique for Resilient Makeup For dissolving stubborn, waterproof makeup and deep skin cleansing, the oil cleansing method proves highly effective. It involves massaging a tailored oil blend into the skin to liquefy makeup, followed by using a warm washcloth to open pores and wipe away the oil, alongside any impurities and makeup. Circumventing Common Skin Irritations To prevent irritation, gentle removal techniques are paramount. This entails opting for hypoallergenic solutions, eschewing abrasive scrubbing, and treating the delicate eye area with care. Always conduct a patch test with new products to ascertain their compatibility with your skin. Natural and Home-Made Makeup Dissolvers For aficionados of natural skincare, ingredients like coconut oil, jojoba oil, and witch hazel present viable makeup removal alternatives. Crafting homemade solutions can be both cost-effective and kind to the skin. Significance of Regular Makeup Brush Cleansing Maintaining clean makeup brushes is essential to prevent skin irritation and acne. Brushes ought to be washed routinely with a gentle cleanser or brush…

Dewy All Day Tips To Keep Your Makeup Fresh And Glowing
Dewy All Day: Tips to Keep Your Makeup Fresh and Glowing

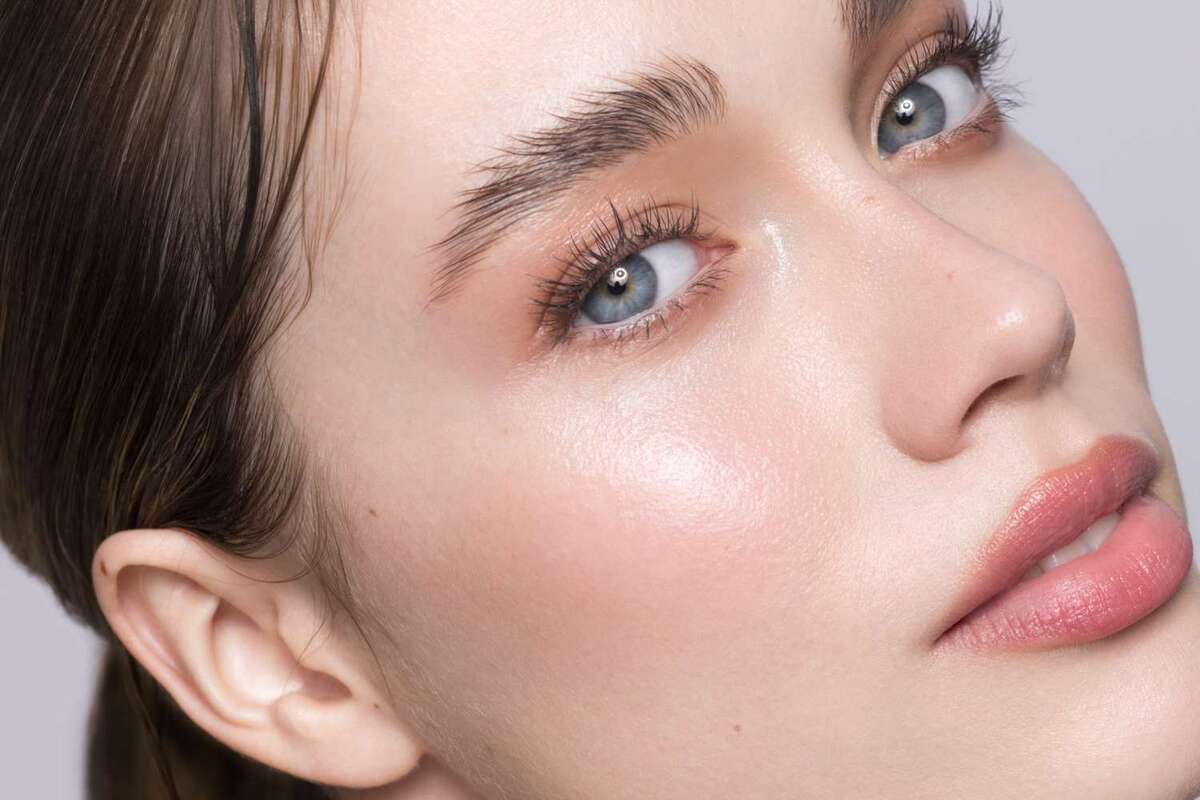
Dewy makeup has become a popular trend, providing a fresh and radiant glow to the skin. However, maintaining that luminous look throughout the day can be a challenge, especially if you have oily skin or live in a humid climate. In this article, we will share effective tips and techniques to help you keep your dewy makeup going strong from morning to night. From prepping your skin to setting your makeup, we will guide you through the steps necessary to achieve long-lasting, flawless dewy makeup. Prep Your Skin:Proper skincare preparation is essential for achieving long-lasting dewy makeup. Start by cleansing your face to remove any dirt, oil, or impurities. Follow up with a lightweight moisturizer that hydrates your skin without making it greasy. Allow the moisturizer to absorb fully before moving on to the next step. Additionally, applying a primer formulated for dewy finishes can create a smooth canvas for your makeup and help it adhere better throughout the day. Choose the Right Foundation:When aiming for a dewy look, selecting the right foundation is crucial. Opt for foundations with a luminous or dewy finish that provide a natural glow to your skin. Avoid matte or oil-control foundations, as they can give a flat appearance. Consider using lightweight formulas that allow your skin to breathe while still providing coverage. Additionally, look for long-wearing foundations that are designed to stay put and maintain a dewy finish for extended periods. Strategic Powder Application:While powder helps control shine, using it sparingly is key to maintaining a dewy look. Focus on applying powder only to areas prone to excessive oiliness, such as the T-zone. Use a finely milled, translucent powder and a fluffy brush to gently dust the powder onto these areas. Avoid applying powder all over the face, as it can mattify the skin and diminish the dewy effect. The strategic application of powder helps set your makeup without compromising its luminosity. Use Cream or Liquid Highlighters:Highlighters are essential for achieving a dewy look. Opt for cream or liquid highlighters instead of powder formulas, as they blend seamlessly into the skin and provide a more natural-looking glow. Apply the highlighter to the high points of your face, such as the cheekbones, bridge of the nose, and cupid’s bow. Gently blend it in with your fingertips or a damp beauty sponge for a radiant and dewy finish. Set Your Makeup:To ensure your dewy makeup lasts all day, setting it with the right products is crucial. Instead of using a traditional setting powder, opt for a setting spray that provides a dewy or hydrating finish. Mist the setting spray over your entire face after completing your makeup application. This will help lock in your makeup, melt all the products together, and give a luminous boost to your skin. Carry a travel-size setting spray in your bag for touch-ups throughout the day to revive the dewy look. Blotting Papers for Oil Control:If you have oily skin, it’s common for excess oil to interfere with your dewy makeup. Keep blotting papers handy to absorb any excess oil without disturbing your…

Mastering The Art Of Diy Haircuts An In Depth Tutoriall
Mastering the Art of DIY Haircuts: An In-Depth Tutorial

Embarking on the journey of self-haircutting can seem challenging, yet with adequate preparation, the right set of tools, and mastering various techniques, it transforms into a deeply satisfying endeavor. This tutorial is designed to guide you through every step of the process, whether you aim to maintain your existing hairstyle, experiment with a new look, or simply snip away those split ends. Haircut Preparation Essentials Choosing the Correct Tools A successful self-haircut begins with selecting the appropriate tools. Essential items include razor-sharp hairdressing shears, a fine-toothed comb, hair clips for sectioning, and a mirror. For those considering clipper cuts, selecting a set with a comprehensive range of guard lengths is crucial. Hair Washing and Conditioning To facilitate a smoother cutting process, start with freshly washed and conditioned hair. After washing, towel-dry your hair to eliminate excess moisture, leaving it more pliable and ready for a precise cut. Fundamental Haircutting Techniques Precision Scissor Work Master the correct grip of the scissors and practice executing fine, accurate snips. The cutting angle is pivotal in determining the final look, hence begin with straightforward cuts before advancing to intricate angles. Clipper Usage for Shorter Styles For those desiring shorter or buzzed styles, clippers become an indispensable tool. Initiate the cut with a higher guard setting to preclude removing too much hair abruptly, progressively adjusting to achieve the desired length. Detailed Haircutting Guide Designing Your Hairstyle Prior to cutting, formulate a clear vision of the desired hairstyle, considering factors such as hair texture, facial structure, and maintenance commitment. Hair Sectioning Segmenting your hair into manageable sections simplifies the cutting process. Utilize clips to divide the hair in alignment with your planned hairstyle. Executing the Cut Start with the lower layers, gradually ascending. Exercise restraint in the initial cuts—it’s preferable to trim further if necessary than to remedy overly short lengths. DIY Haircutting Pro Tips Circumventing Common Errors A prevalent error in self-haircutting is removing too much hair simultaneously. Proceed slowly, bearing in mind that it’s more feasible to cut additional length later than to correct an overly short cut. Layering Techniques Incorporating layers can introduce movement and dimension. Begin with the frontal layers, advancing rearward, using your digits as a guide to ensure uniformity. Men’s Haircutting Tutorial Men’s Cutting Tools and Methods Typically, men’s haircuts involve clippers for the sides and back and shears for the top. Acquiring skills in blending these methods is essential for a polished look. Post-Cut Styling The foundation of a stellar hairstyle is a proficient cut. Select styling products that enhance your hair type and intended style. Women’s Haircutting Guide Women’s haircuts range from straightforward trims to elaborate layered cuts, with texture and volume playing pivotal roles. Crafting Layers and Bangs Layers and bangs can significantly alter your appearance. Tailor each cut to complement your facial shape and hair texture for optimal outcomes. Timing Your Trims To maintain hair health and style, aim for trims every 6-8 weeks, varying with hair growth rates. Promoting Hair Health Maintaining hair health simplifies cutting and styling. Develop a care routine that includes balanced nutrition, regular…

Tubing Mascara: An Innovative Approach To Luscious Lashes And Easy Removal
Tubing Mascara: An Innovative Approach to Luscious Lashes and Easy Removal

Tubing mascara has gained popularity in recent years as an innovative solution for achieving long, voluminous lashes. Unlike traditional mascaras, which rely on pigments to enhance lash appearance, tubing mascara utilizes a unique formulation that creates tiny polymer tubes around each individual lash. Not only does this provide impressive length and volume, but it also offers smudge-proof, flake-resistant, and long-lasting wear. Additionally, the removal process for tubing mascara is straightforward and gentle on the lashes. In this article, we will delve deeper into the world of tubing mascara, exploring its benefits and sharing effective techniques for its removal. Tubing mascara is a revolutionary beauty product that offers several advantages over conventional mascaras. Its formulation contains flexible polymers that wrap around each lash, creating tube-like structures that enhance length and volume. These tubes are durable and remain intact throughout the day, resisting smudging, flaking, and smearing. One of the key benefits of tubing mascara is its ability to provide a clean, clump-free application. The unique tubing formula ensures that each lash is individually coated, preventing clumping or the formation of spidery lashes. This allows for a more natural and defined look. Furthermore, tubing mascara is highly resistant to water, humidity, and oil. It remains intact even in challenging conditions, making it an excellent choice for those with oily eyelids or individuals living in humid climates. Additionally, tubing mascara is a popular choice for individuals with sensitive eyes or contact lens wearers, as it is less likely to cause irritation or discomfort. The Removal ProcessRemoving tubing mascara is a straightforward process that requires warm water and a gentle cleanser. Unlike traditional mascaras that may necessitate harsh rubbing or the use of oil-based removers, tubing mascara can be easily removed without causing damage to the lashes. Here’s a step-by-step guide on how to remove tubing mascara effectively: Begin by wetting your face with warm water. Ensure the water is comfortably warm, but not hot. Gently splash warm water onto your closed eyes, allowing the mascara to become thoroughly soaked. The warmth of the water helps loosen the tubes. Take a small amount of a gentle cleanser, such as a mild face wash or an eye makeup remover, and apply it onto your fingertips or a cotton pad. Close your eyes and use gentle circular motions to massage the cleanser onto your lashes, focusing on the roots and working your way towards the tips. This helps break down the tubes. Continue massaging for approximately 30 seconds to a minute, or until you feel the mascara starting to slide off. Be careful not to tug or pull on your lashes. Once you’re satisfied with the cleansing process, rinse your face with warm water, ensuring that all the mascara has been washed away. Gently pat your face dry with a clean towel, being careful not to rub your eyes vigorously. By following these steps, you can effectively remove tubing mascara without causing any harm or irritation to your lashes or the delicate eye area. Tips and PrecautionsWhile tubing mascara removal is generally gentle, it’s essential to keep a…

Benefitsof Fermented Foods And Their Incorporation In Your Diet
Benefits of Fermented Foods and Their Incorporation in Your Diet?

Fermented foods have made headlines since health-conscious influencers, nutritionists, and experts realized their many health benefits and have included them into our daily diets. Kimchi, Kefir, and Kombucha have become staples – previously found only at specialty health food shops or niche health markets but now an integral component of a balanced nutrition plan due to their various advantages. Understanding Fermented Foods – Exploring Microbial Alchemy Ancient civilizations used anaerobic fermentation as a means to maintain flavorful fermented food products while lengthening their shelf lives. By turning glucose into alcohol, organic acids, and gases produced from bacteria and yeast fermentation processes, bacteria were able to extend shelf lives of foods like kefir, sauerkraut and tempeh while simultaneously imparting distinctive tart, tangy, sour flavors such as their unique tart, tangy or sour qualities that we are familiar with today. Fermentation generates lactic acid that breaks down complex carbohydrates and proteins to increase bioavailability while at the same time decreasing antinutrients present in food that could interfere with its absorption. Connection between gut microbiota, digestion and more: Fermented foods have gained momentum due to an increasing focus on gut-health. Balance is integral for overall wellbeing and many include fermented food in their daily diet to try to protect their gut from infection and dysfunction. Discovering Health Benefits Beyond Tangy Taste Fermented foods offer many health advantages that go far beyond shelf life, including reduced inflammation and blood pressure reduction, diabetes prevention and cardiovascular disease prevention, improved digestion and stronger immunity. They may even aid digestion as well. Determining an ideal frequency for eating fermented food may be challenging, but evidence shows that adding it into your regular diet will enable you to take full advantage of their advantages. Excess or insufficient consumption could have negative consequences; moderation should always be observed as either too much or too little could have devastating results on health outcomes. By including fermented food into your eating pattern you’re on your journey toward creating a heart healthy eating pattern with reduced muscle pain, enhanced blood quality, and enhanced nerve function benefits – adding fermented food can become part of that plan! Kimchi, Kombucha and other fermented foods have become increasingly popular for their indisputable logic and health advantages, offering numerous potential health advantages that could improve overall wellbeing. Fermented food could play a pivotal role in aiding overall wellness improvement. Let’s delve further into the world of fermented food products, exploring their different kinds, production processes and specific health benefits. Types of Fermented Foods: Fermentation Process: A common thread to all these dishes is fermentation. Microorganisms such as bacteria, yeasts and molds break down sugars and organic molecules present in food to produce compounds like lactic acid, alcohol or carbon dioxide for natural preservative as well as add unique flavors and textures that give these items their distinct character. Probiotics, the live beneficial bacteria that promote gut health, play an integral part in fermentation. Lactic acid bacteria like Lactobacillus and Bifidobacterium often play an active role in food fermentation processes. Health Benefits of Fermented Foods: Implement Fermented Foods into…

What Is The Difference Between Compact Powder And Foundation 2
What is the Difference Between Compact Powder and Foundation?

At its heart, makeup is all about creating the ideal complexion. Two key players in this endeavor are compact powder and foundation; both serve as essential base products that contribute to this goal, with different purposes, applications, formulations, formulations, formulations and purposes for makeup applications. We will present this comprehensive guide highlighting these differences so you can make informed choices tailored specifically for you beauty needs. Chapter 1 : Foundation The Role of Foundation Foundation is unquestionably one of the keystones of makeup artistry. It serves as the canvas upon which your beauty masterpiece takes form – think of it as its foundation! Foundation is designed to conceal imperfections, even out your skin tone, and create a uniform surface for other makeup products to adhere to. Available in liquid, cream and powder formulations each offering specific coverage levels and finishes, foundation is an indispensable beauty staple that comes in multiple flavors to meet these goals. Whatever look is your goal – natural and no makeup to full coverage glamour – foundation is essential in reaching it. By selecting an appropriate foundation suited for your skin type and tone, the perfect base can be created for your makeup journey. Chapter 2 : Understanding Compact Powder Compact powder (commonly referred to as setting or pressed powder) is an indispensable product in everyday makeup routines and serves an integral purpose in beauty regimes. Compact powder differs from foundation in that its primary goal is setting your makeup, controlling excessive shine and creating a matte finish. Available both translucent and tinted varieties to provide coverage across a range of skin tones. Compact powder is your go-to product for creating an impeccable and long-term makeup look. It prevents oiliness from migrating onto oilier areas of the face while giving skin a velvety surface texture with smooth results. Compact powder can also provide touch-ups throughout the day to keep your makeup fresh and flawless, helping create an instant matte complexion and maintaining its longevity. A must have item in any makeup bag! Chapter 3: Coverage Levels and Insurability Ratings One of the key differences between compact powder and foundation lies in their coverage levels, so in Chapter 3, we’ll dive deep into that topic. Foundation offers different levels of coverage depending on its formulation and application methods; compact powder offers minimal to light coverage without covering major imperfections – we will assist in selecting an ideal product depending on what level of coverage is desired by you. Chapter 4: Application Techniques Foundation and compact powder require different application techniques in order to achieve their respective purposes. When applying foundation, there are various techniques you can employ such as brushes, makeup sponges or even your fingertips – depending on which is suitable. These tools enable you to evenly apply foundation, reaching the coverage level and finish you want. Brushes provide precise application while sponges create an airbrushed effect for seamless coverage. Compact powder should usually be applied using either a puff or powder brush for easier application. Puffs included with compact powder are great tools for setting your makeup…

Eyelash Lift And Eyelash Extension Procedures

Methods such as eyelash lifts and eyelash extensions have, at last, turned out to be a semi-permanent option for every beauty aficionado who just wants the ease of full and captivating lashes without having to apply falsies every day. These services not only promise to streamline your beauty routine but also awaken your appearance with minimal effort. This guide delves into finer nuances of differences between a lash lift and extensions, so you can finally choose which procedure fits your lifestyle and beauty aspiration. The Essence of Eyelash Lifts Natural and semi-permanent, eyelash lifts are an easy way to enhance the lashes without the application of synthetics. The treatment raises the natural lashes from the base, creating an illusion of length and volume that will put the wow factor into your eyes without the need for extensions. Procedure of a Lash Lift A complete session of lash lift normally takes between 45 minutes to one hour, with clients being required to close their eyes throughout. The process begins with the careful placement of a barrier to protect the eyes and separate each lash. A chemical solution is then applied in order to adjust the natural structure of lashes around a silicone rod to get an L-shaped lift and curl. Many opt to combine this service with a lash tint to give the lashes more definition. Pros and Cons of Lash Lifts Pros: Cons: Exploring Eyelash Extensions Eyelash extensions are for those who want something a bit more dramatic but would still give an individual a way that is completely customizable to their lashes. These extensions are semi-peruquement in nature and consist of attaching synthetic fibers onto an individual’s natural lashes to make them fuller and more dramatic. Eyelash Extension Procedure In fact, the application of a full set really does take hours, because individual false eyelashes are glued one by one to a person’s natural eyelash. Not only does this provide instant volume and length, but it allows full customized shape and volume to your curl, and even color for your lashes. The client should close his eyes during the whole time of application, ensuring that safety and accuracy are protected in this application. Pros and Cons of Eyelash Extensions Pros: Cons: The dedication highly needed is to maintain this level of the eyelash extensions; hence, it requires cleaning every day and be away from any wetness in the first 48 hours. The loss of extensions can lead to an uneven lash line, necessitating regular touch-ups. The cost of upkeep for eyelash extensions can accumulate, making it a more expensive option in the long run. Choosing Between Lash Lifts and Extensions Deciding whether to get a lash lift or extensions depends on a few key things: your lifestyle, the budget you have for them, and how much you want to maintain them. If you want a fast way to look fabulous without any maintenance and hassle, this is the way to go. For far more dramatic change, however, and if you’re willing to pay time and money for maintenance, then eyelash extensions…

From Sparse To Spectacular A Journey To Rejuvenating Youreyelashes
From Sparse to Spectacular: A Journey to Rejuvenating Your Eyelashes

The diminution of eyelashes not only detracts from the visual appeal and the lively expressiveness of the eyes but also causes considerable distress. Eyelashes, serving as both a protective barrier against environmental irritants and a key feature enhancing facial symmetry, necessitate proper attention and care to maintain their health and aesthetics. This detailed guide aims to unveil a holistic approach towards curbing eyelash loss and fostering the regeneration of fuller, more robust eyelashes through a combination of effective care strategies, nutritional insights, and professional advice. Optimal Makeup Conduct and Removal Techniques The manner in which makeup is applied and subsequently removed plays a critical role in preserving eyelash integrity. The application of heavy, waterproof eye cosmetics often leads to undue stress on the lashes, contributing to their fragility and loss during the removal process. Favoring cosmetics formulated to be gentle on the lashes and employing a careful, thorough makeup removal process with appropriate products can significantly mitigate these risks. It’s imperative to abstain from harshly rubbing or tugging at the lashes to avoid exacerbating the loss. Nutritional Foundations for Eyelash Vitality The correlation between diet and hair health extends to eyelashes, with a nutrient-dense diet being foundational to their growth and resilience. A balanced intake of proteins, vitamins (notably B vitamins), minerals (including iron and zinc), and essential fatty acids promotes the vitality of eyelashes. Consuming foods rich in these nutrients, such as fish, eggs, legumes, and nuts, supports not only the health of your eyelashes but also their potential for more rapid growth. Enhancement through Eyelash Growth Serums and Natural Oils The targeted application of growth serums and natural oils can significantly enhance the thickness and length of eyelashes. Ingredients such as peptides, biotin, and botanical extracts in serums are known to aid hair growth, while natural oils like castor oil, coconut oil, and vitamin E oil offer nourishment and strength to the lashes when applied consistently with a clean applicator. Sidestepping Detrimental Habits Many everyday habits unwittingly contribute to the loss of eyelashes, such as vigorous eye rubbing, excessive use of lash curlers, or neglecting to remove makeup before sleep. Adopting a more mindful and gentle approach to eye care can help avert unnecessary damage and loss. Advancements through Professional Eyelash Treatments For individuals desiring more noticeable enhancements, professional options such as advanced growth serums and eyelash extensions present viable alternatives. These treatments, however, warrant careful consideration and should always be undertaken with professional guidance to circumvent adverse effects and ensure the health of your eyelashes. Instituting a Regular Eyelash Maintenance Regimen The establishment of a consistent eyelash care regimen is instrumental in maintaining their health and aesthetic appeal. Routine actions such as gentle cleansing, conditioning, and occasional light brushing can greatly influence the condition of your lashes, promoting their health and natural growth. Stress Reduction for Optimal Eyelash Health The pervasive effects of stress on the body include detrimental impacts on hair and eyelash growth. Engaging in activities that lower stress levels, such as physical exercise, meditation, or pursuing enjoyable hobbies, can help in reducing these adverse effects and…