Unveiling Elegance: Mastering Makeup Techniques for the Heart-Shaped Face

_HEART SHAPED FACE-2

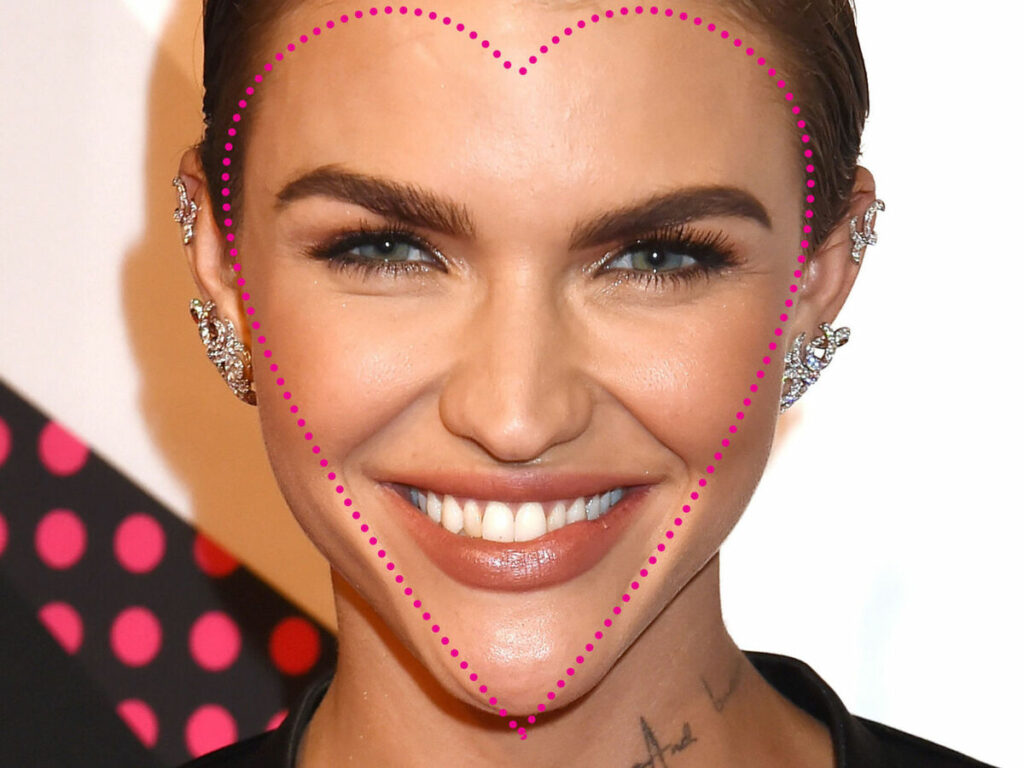
A heart-shaped face is characterized by a broad forehead, high cheekbones, and a delicate pointed chin. This unique facial structure possesses a natural grace that can be accentuated with the right makeup techniques. Whether you’re aiming to soften your angles, highlight your best features, or create a balanced look, understanding the art of makeup application is key. In this comprehensive guide, we’ll delve into tailored makeup tips and techniques that will enhance the beauty of your heart-shaped face, ensuring you radiate confidence and elegance.

Understanding the Heart-Shaped Face

Before embarking on makeup application, it’s essential to understand the nuances of the heart-shaped face. Key features include:

  1. Broad Forehead: The forehead is wider compared to the rest of the face, creating the “heart” shape.
  2. High Cheekbones: Prominent cheekbones contribute to the elegance of the heart-shaped face.
  3. Pointed Chin: The face tapers down to a delicate, pointed chin.

With this understanding, you can strategically use makeup to balance your features and highlight your best attributes.

Creating a Flawless Canvas

A well-prepped canvas is essential for any makeup look. Follow these steps to create the perfect base for your makeup:

  1. Cleansing and Moisturizing: Begin with clean skin. Use a gentle cleanser followed by a lightweight moisturizer suitable for your skin type.
  2. Primer: Apply a primer to smooth the skin’s texture, blur imperfections, and ensure your makeup lasts throughout the day.
  3. Foundation: Choose a foundation that matches your skin tone and apply it evenly. You can opt for a matte or dewy finish, depending on your preference.
  4. Concealer: Use a concealer to cover any blemishes, dark circles, or areas of redness. Apply it sparingly and blend well.

Contouring and Highlighting

Contouring and highlighting help balance the features of a heart-shaped face. Follow these techniques:

  1. Contouring: To soften the width of your forehead, lightly contour the temples and hairline. Apply contour along the sides of your face, starting from the top of your forehead down to your jawline. This creates the illusion of a narrower forehead and more balanced proportions.
  2. Cheekbone Emphasis: Enhance your already prominent cheekbones by applying a subtle contour shade just below the cheekbone. This adds dimension and definition.
  3. Highlighting: Use a highlighter on the high points of your face, including the tops of your cheekbones, the bridge of your nose, and your cupid’s bow. This draws attention to your features and adds a radiant glow.
HEART SHAPED FACE-1 (1)

Eye Makeup Techniques

Eyes are a focal point of any makeup look. Consider these tips to complement your heart-shaped face:

  1. Eyebrows: Ensure your eyebrows are well-groomed and follow their natural shape. A softly arched brow complements the heart-shaped face.
  2. Eye Shadow: Focus on enhancing your eyes while maintaining balance. Apply a neutral shade on the eyelids and blend a slightly darker shade into the crease. Avoid overly dramatic or extended eyeshadow wings, as they can exaggerate the wideness of your forehead.
  3. Eyeliner: Apply eyeliner along your upper lash line to define your eyes. Keep the line thin to maintain a balanced look.
  4. Mascara: Coat your lashes with mascara to open up your eyes and complete your eye makeup.

Lip Makeup Recommendations

Lips are another feature you can play up to create harmony on your heart-shaped face:

  1. Lip Shape: Embrace your natural lip shape, but consider using a lip liner to define your cupid’s bow slightly. This accentuates the heart shape of your face.
  2. Lip Color: Opt for a lip color that suits your mood and occasion. Soft pinks, peaches, and neutral shades are flattering choices. Avoid overly dark or bold colors that may overpower your delicate chin.

Blush Application

Blush can add warmth and dimension to your heart-shaped face:

  1. Placement: Apply blush slightly below your prominent cheekbones and blend it diagonally towards your temples. This softens the angles of your face and enhances your cheekbones.
  2. Less is More: Use a light hand when applying blush. A subtle flush adds a natural and youthful touch.

Final Touches


Complete your makeup look with these final touches:

  1. Setting Spray: Use a setting spray to lock in your makeup and ensure it stays fresh throughout the day.
  2. Finishing Powder: Apply a translucent finishing powder to reduce shine and set your makeup.
  3. Highlighter: Add a touch of highlighter to your cupid’s bow, the inner corners of your eyes, and the high points of your face.

Conclusion

The art of makeup is a wonderful tool to enhance your natural beauty, and understanding the nuances of your heart-shaped face allows you to achieve a harmonious and balanced look. By employing techniques that soften angles, accentuate features, and create an overall sense of elegance, you can confidently embrace your unique facial structure. Remember that makeup is an exploration of creativity, so feel free to experiment and adapt these tips to suit your personal style and preferences. With the right makeup techniques, you can elevate your heart-shaped face’s inherent beauty and showcase your radiant confidence to the world.

Understanding The Different Types Of Mascara Brushes A Comprehensive Guide 222
Understanding the Different Types of Mascara Brushes: A Comprehensive Guide

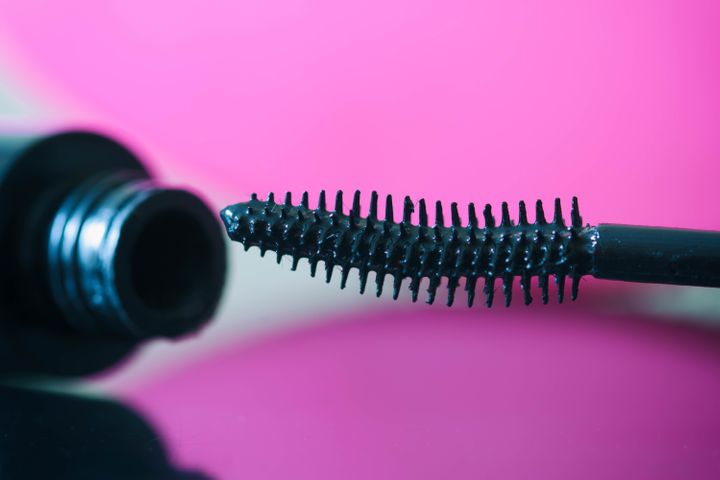
Mascara is an essential makeup item that can enhance the look of your eyelashes by making them appear longer, thicker, and more voluminous. But, have you ever wondered why there are so many types of mascara brushes available in the market? Each brush has its unique shape, size, and bristle type, which can affect the application, formula, and overall results of your mascara. In this comprehensive guide, we’ll dive into the different types of mascara brushes, their features, and how they can impact your lash game. Whether you’re a makeup newbie or a seasoned pro, this article will help you understand the differences between mascara brushes and choose the one that suits your needs. Classic Straight BrushThe classic straight brush is the most common type of mascara brush that you’ll find in almost every mascara tube. It features a cylindrical shape with evenly spaced bristles that are straight and uniform in length. This brush is ideal for separating and defining your lashes, as it can reach even the tiniest hairs in your lash line. However, the classic straight brush may not be the best option if you’re looking for volume or curl. Its shape is relatively basic, and it may not be able to lift your lashes or create a dramatic effect. Also, if you have short lashes, a straight brush may not be the best option as it won’t be able to reach the roots. Curved BrushThe curved brush has a crescent moon shape that follows the natural curve of your eye. It’s designed to lift and curl your lashes from the roots, creating a more dramatic effect. The curved brush is ideal for those with straight or downward-facing lashes, as it can help create an upward lift. The bristles on a curved brush may be slightly longer on the outer edge and shorter on the inner edge. This design allows for better control and precision when applying mascara to the inner and outer lashes. However, a curved brush may not be the best option for those with short lashes, as it may not be able to reach all the hairs. Tapered BrushThe tapered brush has a pointed shape that resembles a cone. It’s wider at the base and tapers to a point at the tip, which allows for better control and precision. A tapered brush is ideal for creating a more natural look, as it can reach the inner and outer corners of your eyes and coat each lash individually. The pointed tip of a tapered brush can also be used to apply mascara to your lower lashes without smudging. This brush is ideal for those with short or sparse lashes, as it can add length and volume without clumping or flaking. Ball Tip BrushThe ball tip brush has a rounded shape at the tip, which resembles a small ball. This brush is ideal for adding volume and curl to your lashes, as it can coat each hair evenly and separate them for a more dramatic effect. The ball tip brush is also perfect for applying mascara to your lower…

What Exactly Is Bb Cream
Delving into the Essence and Innovation of BB Cream

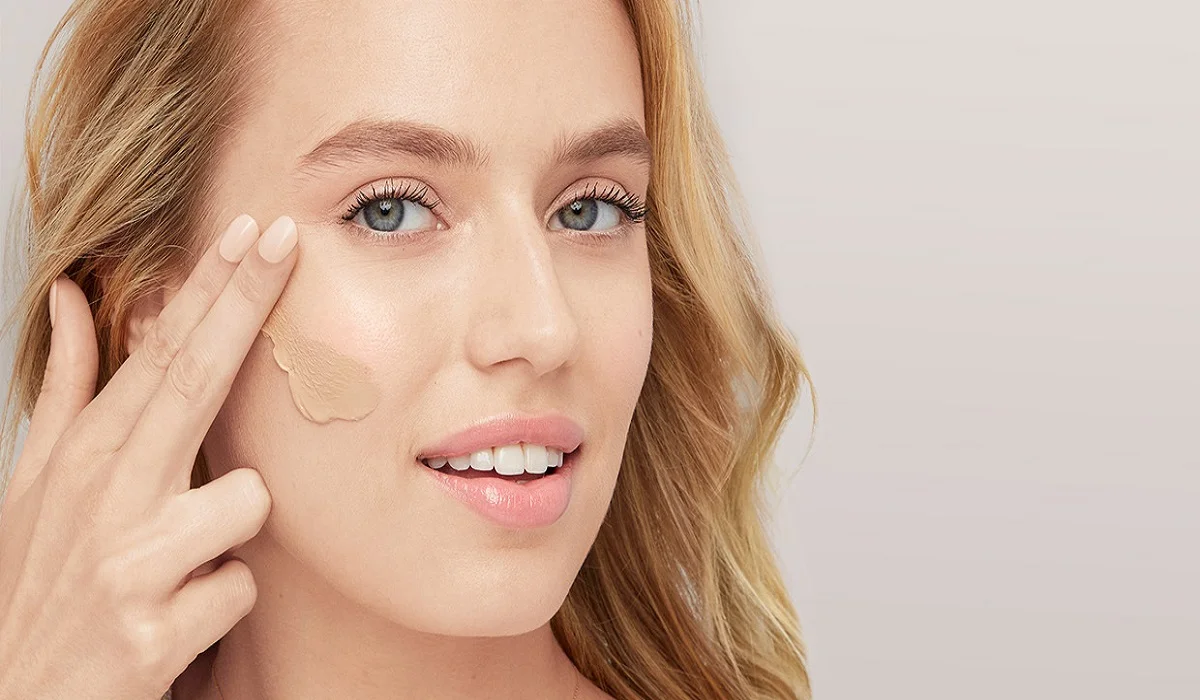
BB Cream, short for Blemish Balm Cream, has revolutionized the realm of beauty, presenting a multifaceted solution to skincare and makeup. This detailed exploration unravels the core of BB Cream, elucidating its benefits, the spectrum of available types, and the methodology for its incorporation into daily beauty routines. Aimed at both novices and aficionados of BB Cream, this exposition provides comprehensive insights into this skincare cum makeup phenomenon. The Multidimensional Charm of BB Cream In the cosmetic domain, BB Creams stand out as the epitome of multipurpose utility, amalgamating several beauty essentials into a single concoction. These creams blur the lines between skincare and makeup, offering hydration, UV protection, and a touch of color to achieve a pristine complexion. Distinct from conventional foundations, BB Creams are imbued with ingredients beneficial for the skin, catering to those in pursuit of a radiant, natural appearance. Varieties of BB Cream The cosmetic market abounds with an array of BB Cream formulations, each tailored to meet specific skin needs and preferences: The Enhancing Effects of BB Cream on Skin BB Creams transcend mere cosmetic cover, imbued with constituents that impart lasting skin advantages, including: Selecting the Ideal BB Cream The quest for the perfect BB Cream necessitates an assessment of skin-specific requirements: Guidelines for BB Cream Application Maximize the benefits of BB Cream with the following application strategies: BB Cream for Varied Skin Issues BB Creams offer solutions for a multitude of skin concerns, enhancing their versatility in skincare routines: Incorporating BB Cream into Skincare Regimens BB Cream can streamline your skincare routine, ensuring your skin is cared for without complexity: Global Perspectives on BB Cream Formulations The formulation of BB Creams varies internationally, reflecting unique beauty philosophies: The Scientific Foundation of BB Cream The efficacy of BB Cream is anchored in its sophisticated blend of active ingredients, such as peptides, antioxidants, and hyaluronic acid, which collectively foster skin health. Scientific evidence corroborates the efficacy of these components in diminishing fine lines, enhancing hydration, and boosting skin elasticity. Personal Accounts of BB Cream Usage User experiences underscore the transformative impact of BB Cream, citing improvements in skin texture, a diminished reliance on heavy makeup, and the attainment of a natural, luminous skin tone. BB Cream in the Realm of Professional Makeup Within professional circles, BB Cream is prized for its adaptability and understated elegance, finding application in diverse contexts, from editorial shoots to bridal beauty, for an effervescent, healthful appearance. Future Directions in BB Cream Innovation The trajectory of BB Cream is marked by continuous innovation, with research aimed at amplifying SPF efficacy, prolonging hydration, and broadening the shade palette to embrace every skin tone. Environmental Considerations of BB Cream The beauty sector is increasingly attentive to sustainability, with brands prioritizing eco-conscious packaging and naturally degradable ingredients to lessen their ecological impact. Navigating BB Cream Brand Offerings The spectrum of BB Cream brands spans luxury to affordable options, enabling consumers to identify products that align with their preferences and financial constraints. It is advisable to conduct thorough research and consult reviews to make an enlightened selection….

How To Cover A Tattoo With Makeup 2
A Comprehensive Guide on How to Cover a Tattoo with Makeup

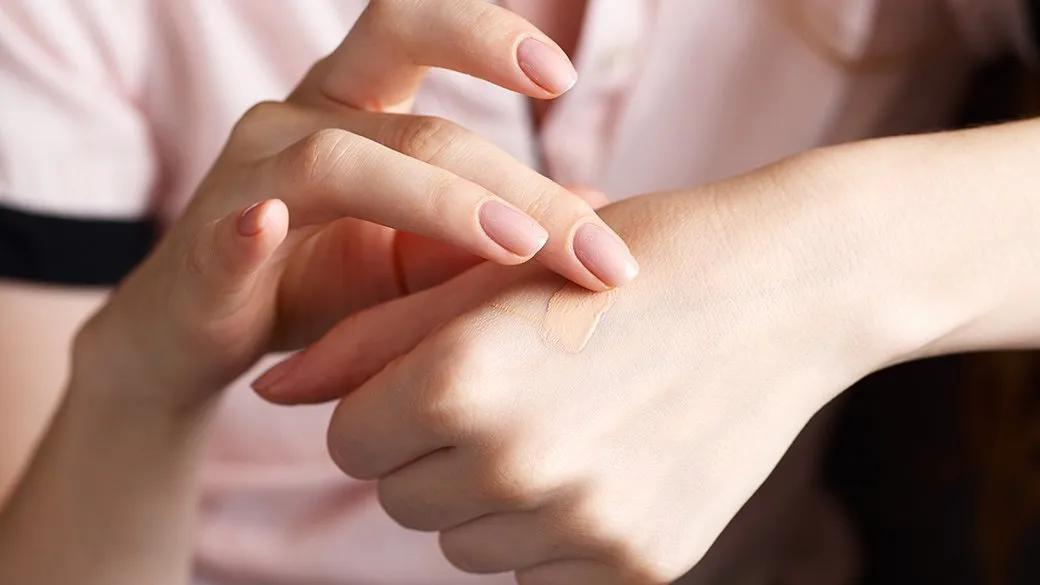
Expressive Expression Canvas Tattoos are powerful signs of art and identity etched onto our skins, yet sometimes we need them covered temporarily for job interviews, special events, or simply trying out something different. Makeup offers the ideal combination of artistry and practicality as a skillful solution that conceals tattoos without altering their essence. Chapter 1: Selecting Appropriate Tools for Any Task Correctors and Concealers Finding an appropriate concealer to cover your tattoo can be the key to its effective concealment. A highly pigmented, long-wearing concealer which complements your skin tone should do. Color correctors may help neutralize any hues present in the tattoo design that have bright hues. Primer for Smooth Canvases (Creating A Smooth Background ) Primer helps create an even surface, helping makeup adhere well and remain in place throughout the day. Choose one suitable for your skin type – perhaps one which hydrates, mattifies or fills pores. Chapter 2 : Mastering Technique Layering: the Key to Seamless Coverage Acchieve flawless coverage requires applying several thin coats of concealer over time – rather than applying all at once, build up gradually for natural-looking coverage that also prevents caking or creasing of makeup. Blending: the Art of Seamless Transitions Blending is key for creating a natural-looking finish, so use makeup sponges, brushes or your fingertips to blend concealer seamlessly into surrounding skin and especially at tattoo edges to ensure a seamless transition. Chapter 3 : Color Matching and Customization Perfecting Your Match Acknowledging the importance of selecting a concealer shade suitable to your skin tone, you may require experimentation in order to find your ideal hue. While some individuals might like their concealer exactly matching their foundation shade, others might choose for something lighter or darker depending on their desired look. Customization with Special Effects Makeup Special effects makeup offers endless creative potential. Experiment with different color palettes, stencils and techniques to craft unique designs that either seamlessly merge into the skin’s surface or transform a tattoo into works of art. Chapter 4 : Establishing Longevity Strategies Setting Powders and Sprays Setting is crucial when creating your masterpiece. Apply translucent setting powder generously across any concealed areas to avoid smudging and create a matte finish, and consider adding an additional protective measure such as setting spray if sweaty conditions or humid climates exist. Enhance Your Longevity Through Touch-Up Tips Maintaining excellent coverage may require touch-ups throughout the day to protect areas vulnerable to friction. Keep a small makeup kit handy to quickly apply touch-ups as necessary and guarantee your hidden tattoo remains looking its best! Chapter 5 : Removing Makeup Canvases Gentle Cleansing to Give you a Fresh Start At the end of every day, it’s essential to remove makeup carefully to maintain healthy skin. A gentle oil-based cleanser will break down makeup without harsh scrubbing while your regular skincare regime should then nourish and soothe it further. Conclusion: Revealing or Concealing Are Your Choices Makeup artistry provides endless possibilities when it comes to covering tattoos – be it forever embracing it proudly, temporarily hiding it for special events or temporarily…

Shielding Your Strands: Exploring The Purpose And Benefits Of Heat Protectant For Your Hair
Shielding Your Strands: Exploring the Purpose and Benefits of Heat Protectant for Your Hair

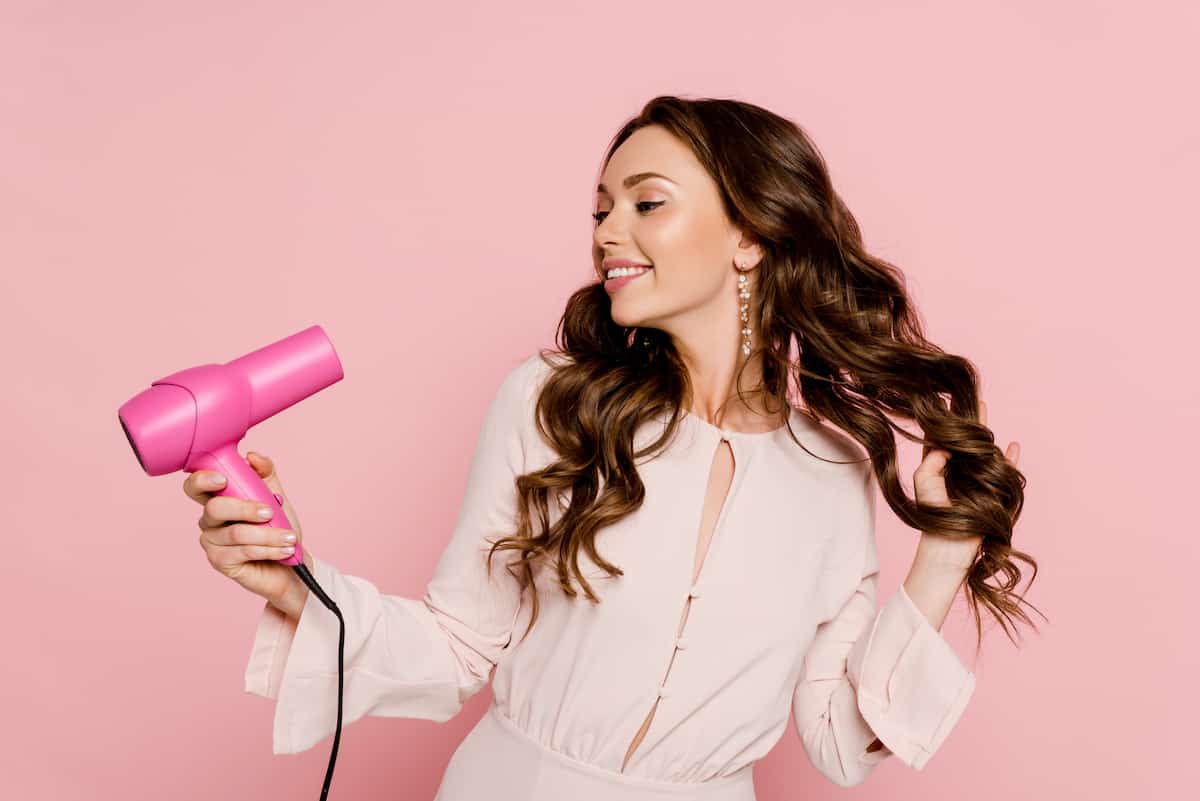
Heat styling tools like flat irons, curling wands, and blow dryers have become essential tools in our hair care routine. While these tools help us achieve various hairstyles, they can also subject our hair to high temperatures, leading to damage and breakage. This is where heat protectant products come into play. Heat protectants are designed to shield our strands from the harmful effects of heat styling, providing an extra layer of defense. In this article, we will explore the purpose and benefits of heat protectant for your hair, understanding how it works and why it is a crucial addition to your styling routine. Understanding Heat Protectant:Heat protectant is a hair care product formulated to create a barrier between your hair and the heat from styling tools. It typically comes in the form of sprays, serums, or creams and is applied to the hair before using heat styling tools. Heat protectants are usually infused with ingredients that can withstand high temperatures and help prevent damage caused by heat exposure. Protection from Heat Damage:The primary purpose of heat protectant is to safeguard your strands from heat damage. When subjected to high temperatures, the cuticle layer of the hair can become damaged, resulting in dryness, frizz, split ends, and breakage. Heat protectants form a protective coating over the hair, acting as a barrier that minimizes the direct impact of heat on the hair shaft. This helps to maintain the integrity of the hair, preventing damage and preserving its overall health. Reducing Moisture Loss:Heat styling can strip moisture from the hair, leaving it dry, brittle, and prone to breakage. Heat protectants are often formulated with hydrating ingredients that help seal in moisture and prevent water loss from the hair strands. By creating a barrier, heat protectants help to retain the hair’s natural moisture, leaving it hydrated, soft, and more resilient to heat-induced damage. Minimizing Frizz and Flyaways:Excessive heat can cause the cuticles of the hair to lift, resulting in frizz and flyaways. Heat protectants work to smooth down the cuticle layer, minimizing frizz and creating a sleeker, more polished look. They help to keep the hair strands aligned and reduce static, ensuring a smoother, more manageable hairstyle. Enhancing Shine and Smoothness:Heat protectants not only protect the hair but also enhance its appearance. They can add shine and smoothness to the hair, giving it a healthier and more lustrous look. By creating a protective barrier, heat protectants help to seal the hair cuticles, allowing light to reflect off the strands and creating a glossy, radiant finish. Improving Styling Results:Using a heat protectant can improve the overall outcome of your heat-styled hairstyle. By providing a smooth and protected surface, heat protectants make it easier to glide through the hair with styling tools, allowing for more precise and efficient styling. Additionally, the added moisture and protection help the hair hold the style for longer, ensuring your hard work doesn’t go to waste. Suitable for Various Hair Types:Heat protectants are suitable for all hair types, whether you have straight, wavy, curly, or coily hair. They can benefit those with fine…

Exploring The American Manicure: What It Is And How To Get It
Exploring the American Manicure: What It Is and How to Get It

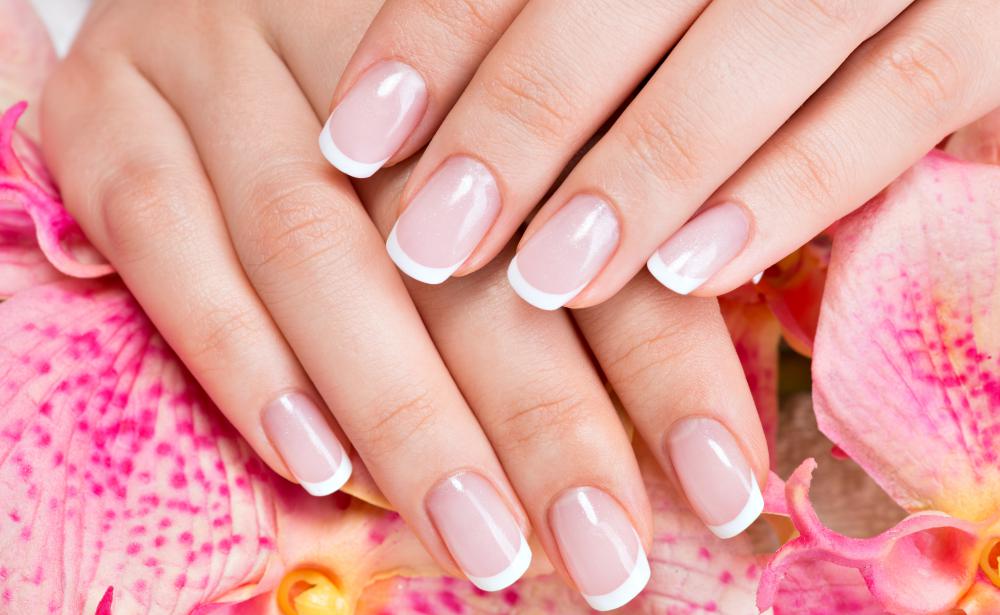
The beauty industry is constantly evolving, and new trends are emerging every day. One of the latest trends to take the world of nails by storm is the American Manicure. While it may sound similar to the French Manicure, there are some key differences that set the two apart. In this article, we will delve into what an American Manicure is, the key differences between it and a French Manicure, and how you can achieve the perfect American Manicure look. What is an American Manicure? An American Manicure is a type of nail treatment that involves shaping and polishing the nails in a way that appears natural and understated. The aim of this type of manicure is to create a clean, well-groomed appearance that looks polished and professional. American Manicures have become increasingly popular in recent years, thanks to their simplicity and versatility. The Key Differences Between American and French Manicures: While the two styles may sound similar, there are some key differences between American and French Manicures that set them apart. One of the main differences is the shape of the nail tip. French Manicures typically have a more pronounced tip that is squared off, while American Manicures have a slightly rounded tip that is more natural-looking. Another difference is the color of the polish used for the tip of the nail. In a French Manicure, the tip is usually painted with a stark white polish, while an American Manicure uses a more subtle shade that closely matches the color of the nail bed. Finally, the thickness of the line used to separate the tip of the nail from the rest of the nail bed is typically thinner in an American Manicure than in a French Manicure. This gives the American Manicure a more natural, blended look. How to Achieve the Perfect American Manicure: If you’re interested in achieving the perfect American Manicure, the good news is that it’s relatively easy to do at home. Here are the steps you’ll need to follow: Step 1: Start by cleaning and shaping your nails. Use a nail file to shape them into a slightly rounded tip and gently buff them to create a smooth surface. Step 2: Apply a base coat to your nails to protect them and ensure the polish goes on smoothly. Step 3: Choose a polish color that closely matches the color of your nail bed. Apply two coats of polish, allowing each coat to dry fully before applying the next. Step 4: Once the polish is dry, use a slightly lighter shade of polish to paint the tips of your nails. You can use a special nail stencil or a steady hand to create a rounded tip. Step 5: Finally, apply a top coat to protect the polish and give your nails a glossy finish. The American Manicure is a popular nail trend that is perfect for those who want a natural and understated look. While it may share some similarities with the French Manicure, there are some key differences that set the two apart. With a little bit…

The Ultimate Guide To Cream Blush: How To Use, Choose And Apply
The Ultimate Guide to Cream Blush: How to Use, Choose and Apply

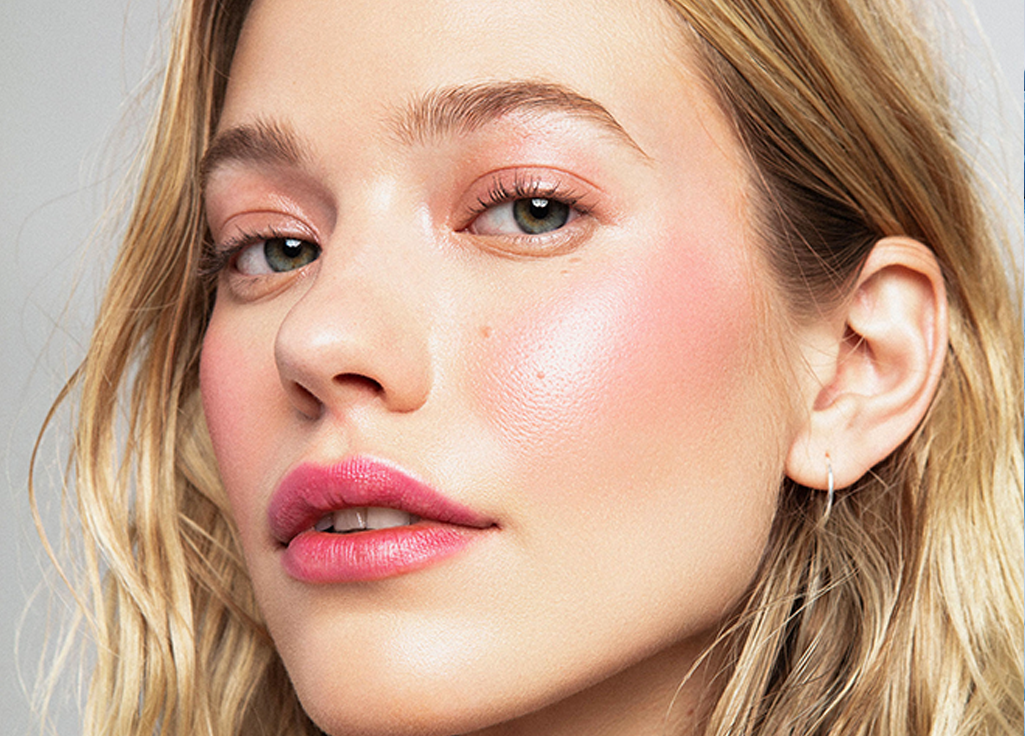
Cream blush has been gaining popularity in recent years, thanks to its ability to provide a natural, dewy glow to the cheeks. Unlike powder blushes, cream blushes have a creamy, emollient texture that blends effortlessly into the skin, giving a soft and seamless finish. In this guide, we’ll explore everything you need to know about cream blush, including how to choose the right shade for your skin tone, how to apply it, and some of the best cream blushes on the market. Why Choose Cream Blush? Cream blushes have many benefits over their powder counterparts. Here are just a few: Natural Finish: Cream blush gives a natural-looking flush to the cheeks, as it blends seamlessly into the skin. It’s perfect for those who want a subtle, understated look. Hydrating: Cream blushes contain moisturizing ingredients that keep the skin hydrated and glowing. This is especially beneficial for those with dry skin, as it can help to prevent flakiness and enhance the overall appearance of the skin. Versatile: Cream blush can be used not just on the cheeks, but also on the lips and eyes. This makes it a versatile product that can be used for a range of looks. How to Choose the Right Shade of Cream Blush? Choosing the right shade of cream blush is important to ensure that it looks natural and complements your skin tone. Here are some tips to help you choose the right shade: Skin Undertones: Determine your skin’s undertones, whether it’s warm, cool or neutral. Warm skin tones look best with peachy or golden shades, while cool tones look great with pink or berry shades. Neutral skin tones can pull off a wider range of shades. Depth of Shade: Consider the depth of the shade you’re choosing. If you have fair skin, lighter shades like baby pink or peach will look best. If you have medium skin, opt for shades that are more saturated and pigmented. For deeper skin tones, rich shades like brick or berry will look best. Consider Your Makeup Look: Think about the overall makeup look you’re going for. If you’re going for a natural, no-makeup look, a subtle pink or peachy shade would be perfect. If you’re going for a more dramatic look, a brighter or deeper shade would be more suitable. How to Apply Cream Blush? Applying cream blush is simple and easy. Here’s how to do it: Preparation: Start by prepping your skin with moisturizer and primer to create a smooth, even base. Application: Using your fingertips or a makeup sponge, apply a small amount of cream blush to the apples of your cheeks. Start with a small amount, and build up as needed. Blend: Use your fingers or a sponge to blend the blush into your skin, ensuring that there are no harsh lines or streaks. Set: Once you’re happy with the application, set the blush with a light dusting of powder to ensure it lasts all day. Final Thoughts Cream blush is a versatile and easy-to-use product that can give a natural, radiant glow to the cheeks. When choosing…

Defying Odds A Tale Of Resilience And Inspiration
Defying Odds: A Tale of Resilience and Inspiration

Mackenzie, Macey and Madeline are teenage triplets who live relatively normal lives today; yet when their conception occurred it was much different; Mackenzie Macey used to be joined at their pelvises; they now each use crutches but manage life quite well thanks to crutch use and crutch surgery performed by Dr. James Stein of Children’s Hospital Los Angeles several months post birth in 2003 – they were 10 months old at this point – to separate them. Now the girls look… GO TO THE NEXT PAGE TO CONTINUE…

Master The Art Of Bronzing Pro Tips For A Flawless Glow
Master the Art of Bronzing: Pro Tips for a Flawless Glow

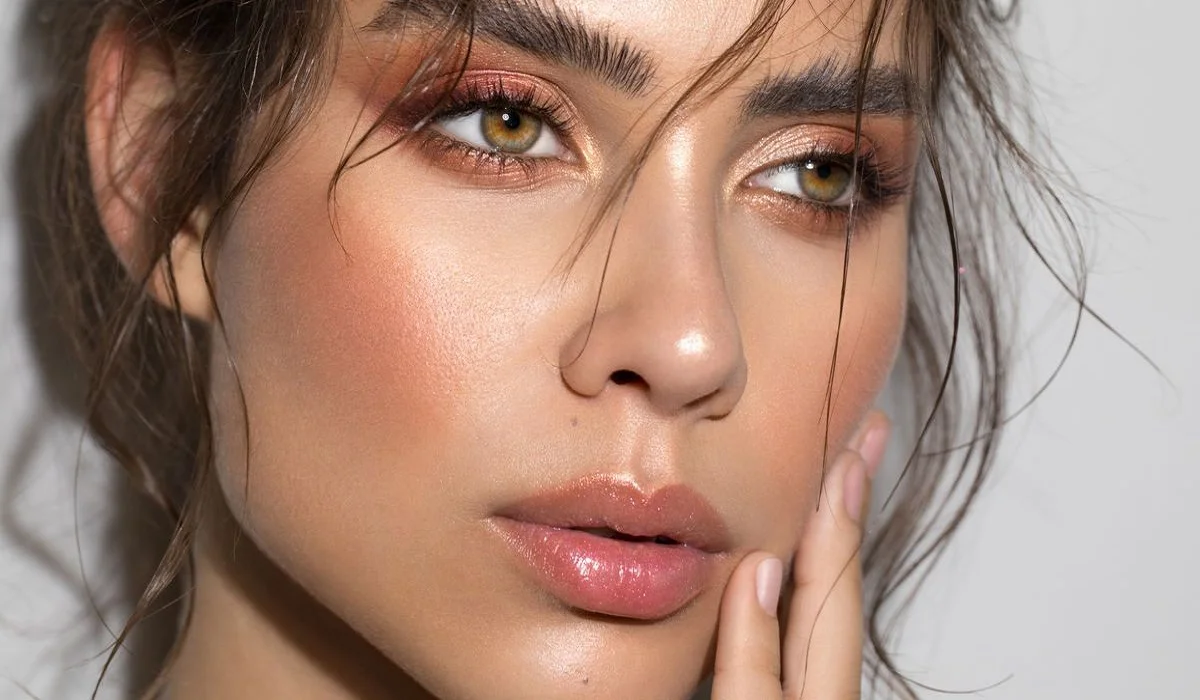
Mastering the art of bronzing can elevate your beauty regimen by infusing your complexion with warmth, depth, and a vibrant, healthy radiance. Unlike the sculpting effects of contouring or the luminosity added by highlighting, bronzing recreates the natural warmth of sunlight on the skin, ensuring a look that’s both natural and glowing. This comprehensive guide will equip you with the knowledge to use your bronzer brush with the finesse of an expert artist. Choosing Your Ideal Bronzer Embarking on the journey to find the quintessential bronzer involves navigating through the varieties of powder, cream, and liquid forms. Each type offers distinct advantages, suited to different skin types and personal preferences. Powder bronzers excel for those with oily skin and facilitate straightforward application, cream bronzers provide a moist finish ideal for dry skin, and liquid bronzers deliver an unparalleled natural effect suitable for every skin type. The cornerstone of a flawless selection is picking a hue one or two shades deeper than your skin, ensuring a blend that’s both seamless and devoid of an unnatural, muddy, or orange cast. Essential Application Tools The transformative power of bronzer is not solely in the product but also in the technique of application. Essential for achieving a perfect finish, the right tools are indispensable. A plush, angled brush is the best match for powder bronzers, offering a soft, widespread application, while a stippling brush is most effective for creams and liquids, providing the blendability and precision needed. Maintaining these tools through regular cleansing is vital to prevent buildup and guarantee a smooth application every time. Skin Preparation for Bronzer The foundation of a stellar bronzer application lies in the initial skin preparation. A regimen that includes a hydrating moisturizer and a smoothing primer sets up the perfect canvas, enhancing both the bronzer’s appearance and its durability. A foundation that mirrors your skin tone acts as a seamless base, facilitating the bronzer’s blendability and ensuring an absence of streaks or uneven areas. Fundamental Application Methods The essence of bronzing is to mimic a genuine sun-kissed effect, as though returning from a seaside getaway. To achieve this, apply the bronzer to areas typically kissed by the sun: your forehead, cheekbones, and jawline, employing a light touch and building intensity gradually to avoid stark lines or patchiness. The mantra “less is more” holds true in the realm of bronzing. Elevated Bronzing Strategies For those aspiring to refine their bronzing skills, utilizing bronzer for subtle contouring and enhancing the natural radiance is a strategy worth exploring. Applying the bronzer in a “3” shape on your face’s sides, blending from the forehead down under the cheekbones and across the jawline, not only adds warmth but also softly contours, imparting definition in a manner far more subdued than traditional contour products. Avoidable Bronzing Faux Pas Over-application ranks high among common bronzing errors, leading to an unnatural appearance. It’s crucial to shake off excess product before application and use a restrained hand. Equally, choosing an incorrect shade can create an undesired orange or muddy look. Opting for a bronzer with a neutral undertone…