The world of makeup application has evolved over the years, introducing innovative tools to enhance the way we create stunning looks. Oval makeup brushes, also known as toothbrush or paddle brushes, have gained significant popularity due to their unique design and application techniques. These brushes differ from traditional makeup brushes in terms of their shape and functionality, offering a fresh perspective on achieving flawless makeup. In this guide, we will explore how to use oval makeup brushes, highlight their differences from other brushes, and provide expert tips for mastering their application.
Understanding Oval Makeup Brushes
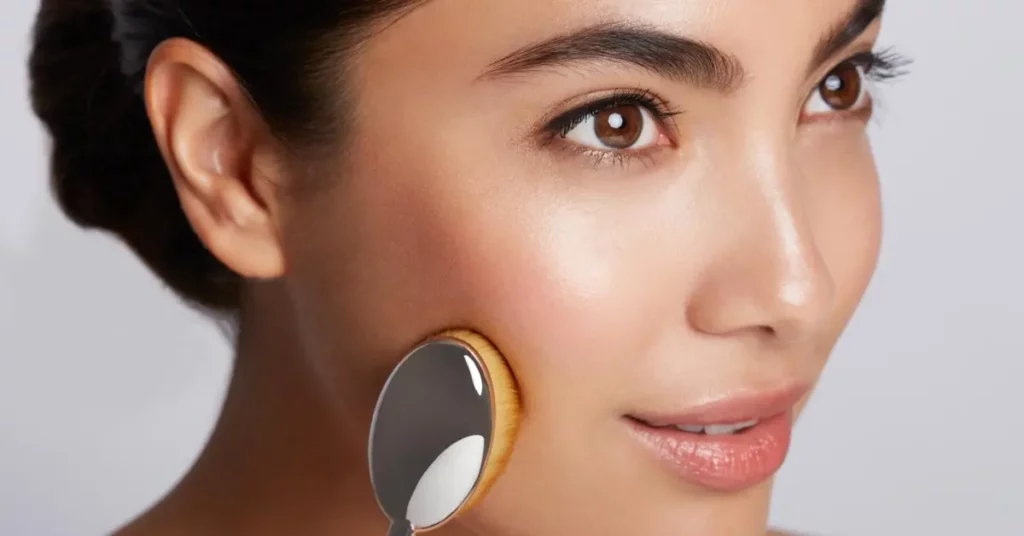
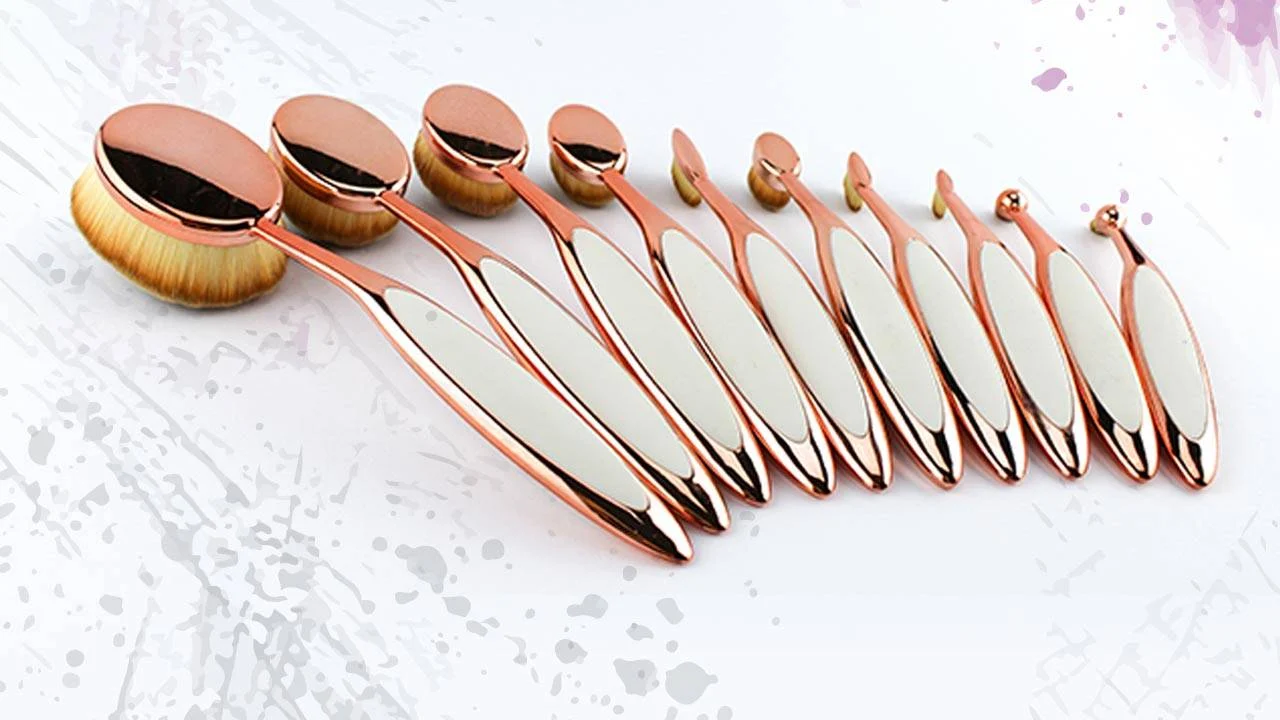
Oval makeup brushes are characterized by their elongated, flat, and slightly curved shapes that resemble a toothbrush or paddle. They feature densely packed bristles that can be made from synthetic or natural fibers, depending on the brand and model. These brushes come in various sizes, allowing you to choose the one that suits your makeup application needs, from foundation and concealer to contouring and highlighting.
Key Differences from Other Brushes
- Shape and Design: The most noticeable difference between oval makeup brushes and traditional brushes is their shape. Oval brushes have a broader surface area with a curved profile, allowing for efficient coverage and blending. This unique shape allows you to apply makeup in a sweeping motion, minimizing the need for multiple strokes.
- Application Technique: Oval brushes are designed for a “stippling” or “buffing” motion. This technique involves gently pressing the brush onto the skin and then buffing in circular motions to blend the product seamlessly. Traditional brushes often involve more sweeping or tapping motions, depending on their purpose.
- Coverage and Blending: Oval brushes are known for providing medium to full coverage. Their dense bristle arrangement ensures even distribution of product, resulting in a flawless finish. Traditional brushes can vary in terms of coverage and blending abilities depending on their design and bristle type.
- Versatility: While traditional brushes are often specialized for specific makeup products (e.g., eyeshadow brushes, blush brushes), oval brushes are more versatile. They can be used for a variety of products, from foundation and powder to contouring and highlighting, making them a convenient option for an all-in-one application.
- Ergonomics: Oval brushes are designed with ergonomics in mind. They typically have a sturdy handle that provides a comfortable grip, making it easier to maneuver the brush across the face. Traditional brushes come in various handle styles, but oval brushes are specifically crafted for a comfortable application experience.
Using Oval Makeup Brushes: Step-by-Step Guide
- Preparation: Start with a clean and moisturized face. Apply a primer if desired to create a smooth canvas for makeup application.
- Product Application: Dispense a small amount of the desired makeup product (foundation, concealer, etc.) onto the back of your hand or a palette.
- Brush Loading: Gently dip the bristles of the oval brush into the product, ensuring that only the tips of the bristles pick up the product. Oval brushes require less product than traditional brushes due to their efficient application.
- Stippling Motion: Begin by pressing the brush onto the skin, starting from the center of the face and working outward. Use a stippling motion, lightly pressing the bristles onto the skin to deposit and distribute the product.
- Buffing Technique: Once the product is applied, use circular buffing motions to blend and diffuse the makeup. This motion helps achieve an airbrushed and seamless finish. The dense bristles of the oval brush aid in achieving even coverage and a natural look.
- Build Coverage: If needed, you can repeat steps 3 to 5 to build up the coverage gradually. The stippling and buffing technique can be used to layer product without creating a cakey appearance.
- Contouring and Highlighting: For contouring, use a slightly smaller oval brush to apply contour product along the hollows of the cheeks, jawline, and sides of the nose. For highlighting, use a smaller brush to apply highlighter on the high points of the face.
- Cleaning and Maintenance: After each use, clean the brush thoroughly using a gentle brush cleanser or mild soap. Gently reshape the bristles and allow the brush to air dry.
Expert Tips for Using Oval Makeup Brushes
- Less is More: Oval brushes are incredibly efficient in product application. Start with a small amount of product and build up gradually to avoid using too much product at once.
- Blend with Care: The buffing motion of oval brushes helps in blending, but be gentle to avoid any irritation to the skin. The dense bristles can achieve a seamless blend without excessive pressure.
- Practice Makes Perfect: Using oval brushes might feel different initially, especially if you’re accustomed to traditional brushes. Practice the stippling and buffing techniques to master the art of using these brushes.
- Size Matters: Choose the size of the oval brush based on the area you’re applying makeup to. Larger brushes work well for foundation and powder, while smaller brushes are ideal for detailed application.
- Experiment with Angles: Oval brushes can be used at different angles to achieve varying levels of coverage and blending. Play around with the angle that works best for your desired makeup look.
Oval makeup brushes offer a fresh approach to makeup application, thanks to their unique shape, efficient coverage, and seamless blending capabilities. Their versatile design allows you to achieve a variety of makeup looks with ease. By mastering the stippling and buffing techniques, you can create flawless, airbrushed finishes that enhance your natural beauty. As you incorporate oval brushes into your makeup routine, you’ll discover a new level of creativity and precision that these innovative tools bring to your beauty regimen.

