Illuminating Beauty: A Comprehensive Guide to Safely Lightening Your Skin Tone

Illuminating Beauty- A Comprehensive Guide to Safely Lightening Your Skin Tone-2

The pursuit of radiant and even-toned skin has been a beauty ideal across cultures and time. Whether for personal preferences, aesthetic reasons, or addressing skin concerns, individuals often explore methods to lighten their skin tone. It’s important to approach this process with mindfulness, understanding, and safety. In this comprehensive guide, we will delve into the world of skin tone lightening, exploring various techniques, products, and considerations to help you achieve your desired results while maintaining the health and integrity of your skin.

Understanding Skin Tone and Pigmentation

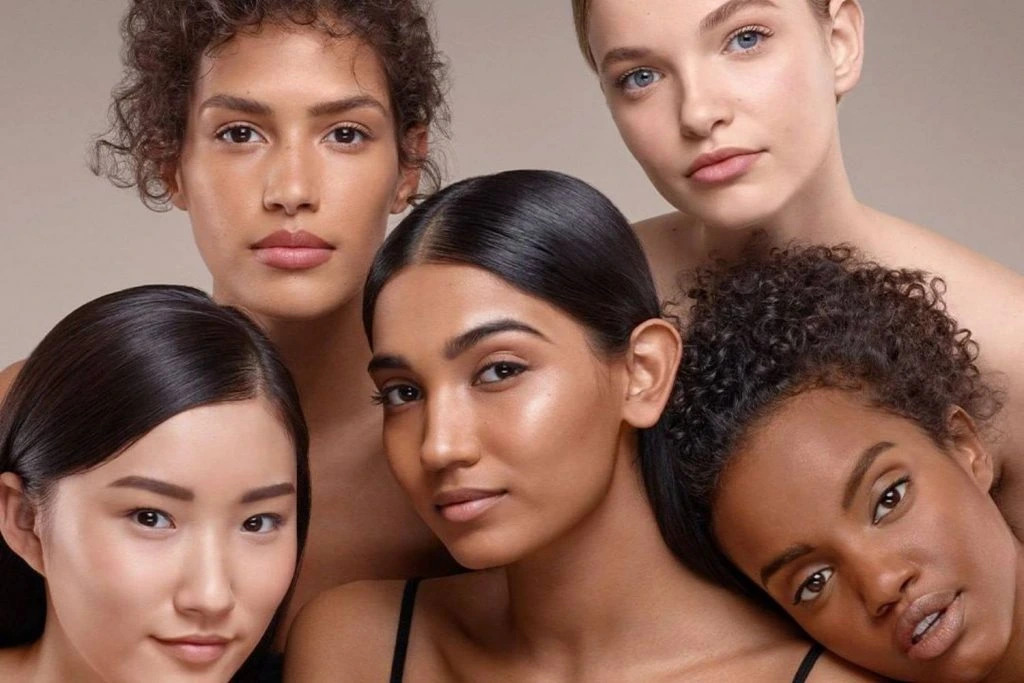
Skin tone is determined by the amount of melanin in the skin. Melanin, a natural pigment, provides protection against harmful UV rays and gives color to the skin, hair, and eyes. Skin tones range from very fair to deep brown, with variations influenced by genetics, environmental factors, and sun exposure.

Why Lighten Your Skin Tone?

People consider skin tone lightening for various reasons:

  1. Hyperpigmentation: Dark spots, melasma, and post-inflammatory hyperpigmentation (PIH) are common concerns that can lead to uneven skin tone.
  2. Aesthetic Preferences: Some individuals prefer a lighter skin tone for personal aesthetic reasons, influenced by cultural norms or individual preferences.
  3. Boosting Confidence: Achieving an even complexion can boost self-esteem and confidence, allowing individuals to feel more comfortable in their skin.

Safe Approaches to Skin Tone Lightening

It’s crucial to prioritize safety and choose methods that align with your skin’s health. Here are safe approaches to consider:

  1. Topical Treatments: Over-the-counter and prescription creams containing ingredients like alpha hydroxy acids (AHAs), retinoids, and niacinamide can help lighten dark spots and promote overall skin renewal.
  2. Sun Protection: Sunscreen is essential. Protecting your skin from UV radiation prevents further pigmentation and maintains the effectiveness of lightening treatments.
  3. Professional Treatments: Consult a dermatologist for professional treatments like chemical peels, microdermabrasion, or laser therapy. These treatments should be performed by trained professionals.
  4. Natural Ingredients: Some natural ingredients, such as vitamin C, licorice extract, and kojic acid, have been shown to have skin-lightening properties. Consult a professional before using them.
  5. Consultation: Prioritize a consultation with a dermatologist before embarking on any skin lightening regimen. They can assess your skin, provide tailored recommendations, and monitor your progress.
Illuminating Beauty- A Comprehensive Guide to Safely Lightening Your Skin Tone

Home Remedies for Skin Tone Lightening

  1. Lemon Juice: Lemon juice contains natural citric acid, which may help lighten dark spots over time. However, it can be irritating, so use with caution and always dilute it with water.
  2. Turmeric: Turmeric contains curcumin, which has anti-inflammatory and skin-brightening properties. Create a paste with turmeric and other ingredients for a gentle mask.
  3. Yogurt: Yogurt contains lactic acid, an AHA that may help exfoliate and lighten the skin. It also has a soothing effect.
  4. Aloe Vera: Aloe vera gel may help reduce inflammation and promote healing, potentially benefiting skin tone and texture.
  5. Honey: Honey is a natural humectant that can help moisturize the skin. It also has mild exfoliating properties.

Tips for Achieving Safe and Effective Results

  1. Patience is Key: Skin tone lightening takes time. Results may not be immediate, so be patient and consistent in your approach.
  2. Stay Hydrated: Proper hydration supports healthy skin. Drink plenty of water to maintain skin’s natural glow.
  3. Gentle Exfoliation: Regular exfoliation can help remove dead skin cells and enhance the effects of lightening treatments. However, avoid excessive exfoliation, which can irritate the skin.
  4. Balanced Diet: A diet rich in antioxidants, vitamins, and minerals supports overall skin health.
  5. Mindful Product Choice: When using products, select those that are formulated for your skin type and concerns. Avoid harsh ingredients that can damage the skin’s barrier.

Expert Insights and Considerations

  1. Dr. Ava Shamban, Dermatologist: “When considering skin lightening, consult a dermatologist to ensure you’re using safe and effective methods that address your specific concerns.”
  2. Dr. Susan Taylor, Dermatologist: “Hydroquinone is a common ingredient used for skin lightening, but it should be used under the guidance of a dermatologist to avoid potential risks.”
  3. Dr. Michelle Henry, Dermatologist: “It’s important to focus on the overall health of the skin. Achieving a radiant complexion involves a combination of lifestyle factors, skincare, and professional treatments.”

The journey toward achieving your desired skin tone involves thoughtful consideration, research, and a commitment to safe practices. Lightening your skin tone should prioritize your skin’s health, and the approaches you choose should align with your goals and preferences. Whether addressing hyperpigmentation, enhancing your confidence, or simply striving for an even complexion, maintaining a mindful and informed approach will contribute to the long-term health and radiance of your skin. Consultation with a dermatologist, practicing proper skincare, and embracing safe methods will guide you toward a successful and satisfying journey toward skin tone lightening.

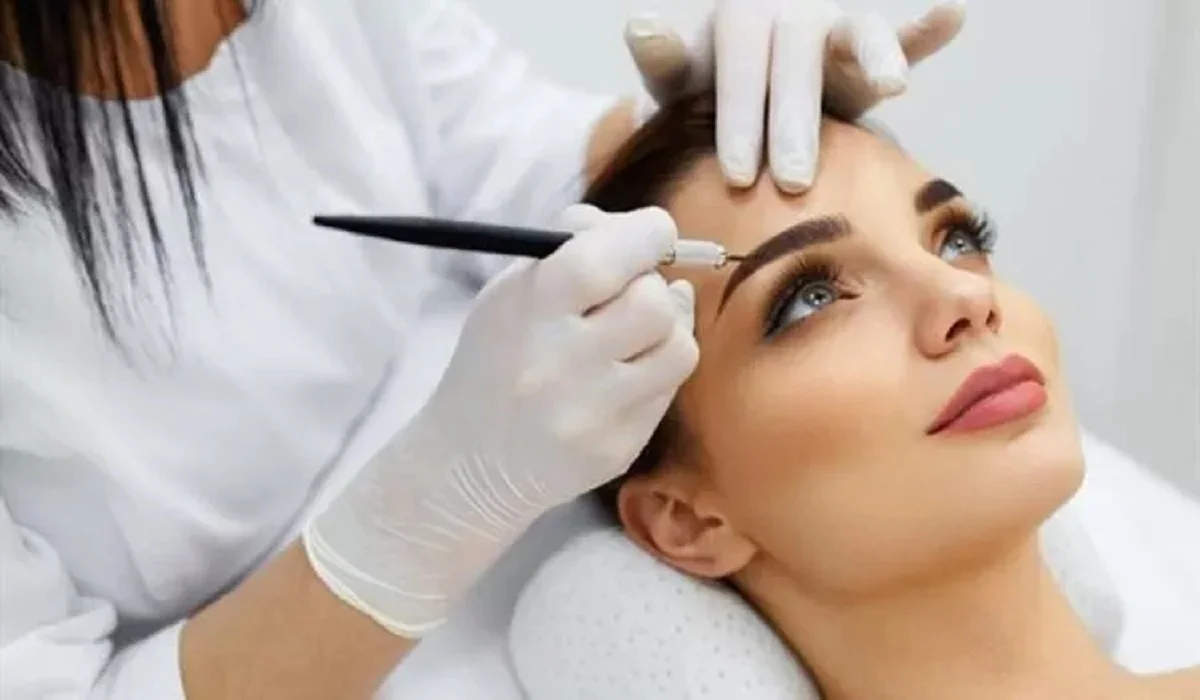
What Is Microblading Transform Your Eyebrows From Sparse To Gorgeous (1)
What is microblading? Transform Your Eyebrows from Sparse to Gorgeous

Microblading is a transformative beauty procedure that meticulously enhances the appearance of your eyebrows, offering a semi-permanent solution for those seeking fuller, more defined brows. This technique involves the manual insertion of pigment into the upper layers of skin to create the appearance of natural eyebrow hairs. However, achieving the best possible results requires more than just booking an appointment; it involves thorough preparation, understanding the process, and proper aftercare. Choosing the Right Microblading Technician The first step in your Microblading journey is to choose a skilled and certified aesthetician. Researching your options is crucial. Look for a salon that showcases an extensive portfolio of before and after photos, demonstrating their ability to produce the kind of results that captivate you. It’s essential that your chosen technician not only possesses the necessary certification but also has a wealth of experience, reflected in their hours of education and practical application. Remember, the quality of your results depends heavily on the skill and precision of the technician. State Regulations and Technician Licensing Be aware that each state has its own set of rules and regulations governing microblading. Before proceeding, verify the licensing requirements in your area and ensure your technician meets these standards. This step is crucial for both your safety and the legality of the procedure. Preparing for Your Microblading Session Proper preparation can significantly enhance the outcome of your Microblading procedure. Here are some essential tips to ensure you’re fully prepared: Understanding the Microblading Procedure Microblading is typically completed in three key steps: Preparation Initially, your aesthetician will apply a topical numbing cream to your eyebrow area to minimize discomfort. This preparation is vital for both your comfort and the steadiness of the microblading process. The Procedure Experience Pain tolerance varies from person to person. Some may only feel a slight scratching sensation, while others might experience a bit more discomfort. However, most find the procedure to be bearable, with the numbing cream significantly reducing any pain. Post-Procedure Care Immediately after your session, it’s normal for your eyebrows to appear darker and more pronounced than expected. This intensity will fade as they heal, usually within a week, resulting in a more natural look. It’s advised to avoid water exposure, including long showers and baths, during the initial healing phase to prevent the pigment from washing out prematurely. Post-Microblading Care To ensure the best healing and color retention, follow these aftercare tips: Potential Risks and How to Mitigate Them While microblading is generally safe, being informed about potential risks is crucial: Allergic Reactions Though rare, it’s possible to have an allergic reaction to the pigment used. Discuss any known allergies with your technician beforehand. Infection Infections can occur if the procedure is done with non-sterile equipment. Ensure your salon follows strict hygiene practices. Semi-Permanence Microblading results are semi-permanent. If you’re unhappy with the results, corrections or removal can be more challenging. Give yourself time to consider if microblading is right for you and choose a technician who can offer a result you’re confident you’ll be happy with. Microblading can significantly enhance your facial…

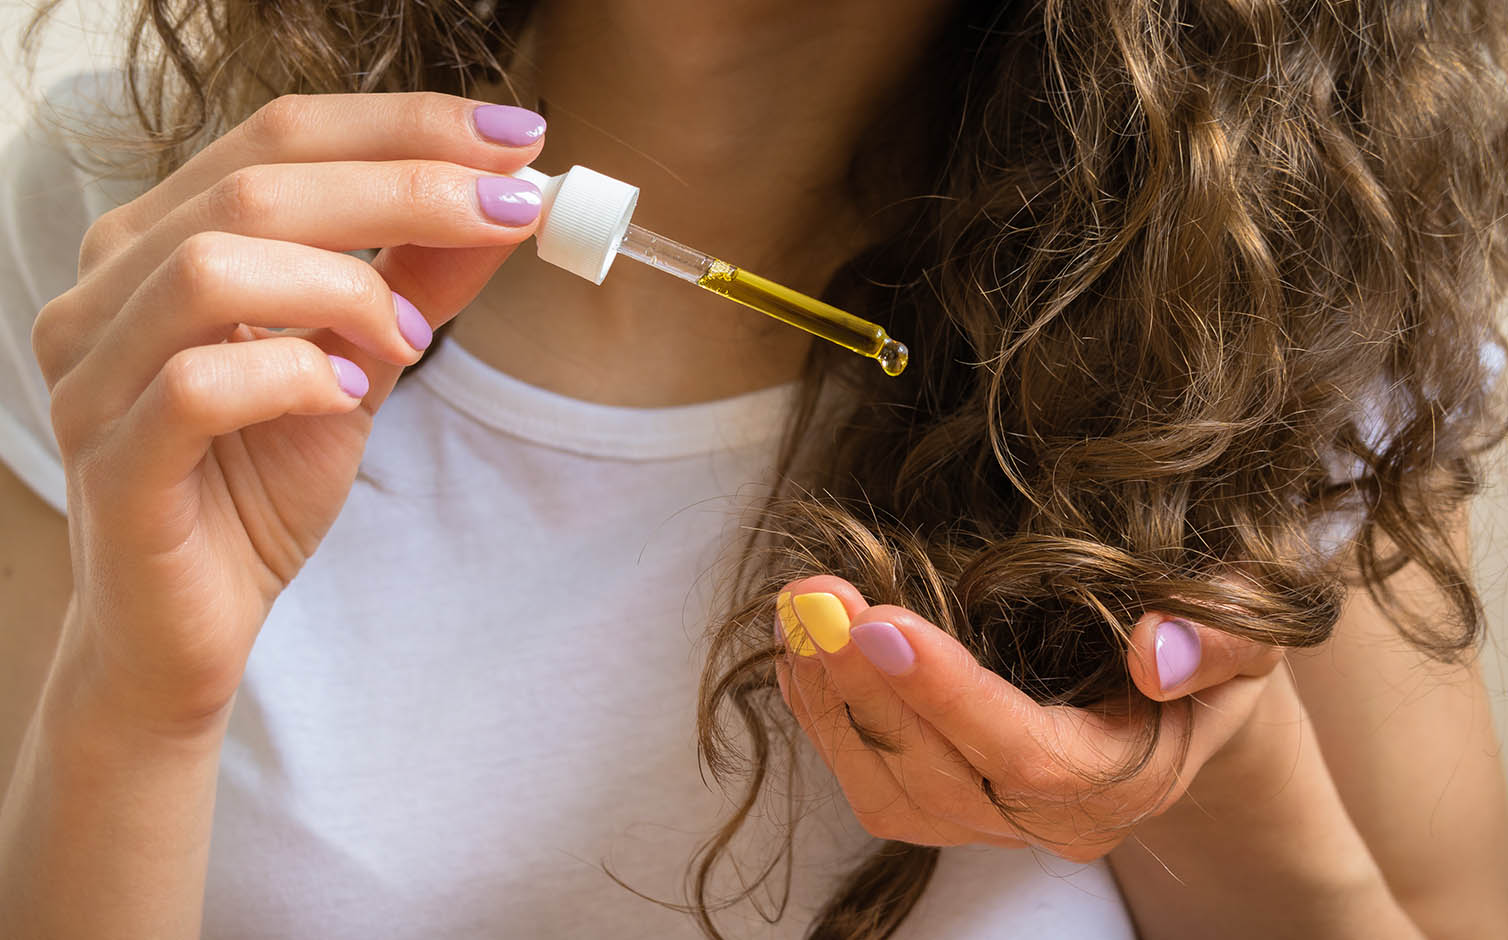
Unlocking The Benefits: Exploring The Wonders Of Leave In Conditioner
Unlocking the Benefits: Exploring the Wonders of Leave-In Conditioner

In the realm of hair care, leave-in conditioner has become a staple product, beloved by both hairstylists and enthusiasts alike. While traditional rinse-out conditioners offer essential nourishment and hydration, leave-in conditioner takes it a step further, providing additional benefits that contribute to healthier, more manageable hair. In this article, we will delve into the world of leave-in conditioner, understanding what it is, how it works, and the wonders it can do for your hair. Whether you’re seeking to improve moisture retention, detangle stubborn knots, or protect your hair from environmental stressors, join us as we unlock the benefits of leave-in conditioner. What is Leave-In Conditioner?Leave-in conditioner, as the name suggests, is a hair care product that is designed to be left in the hair without rinsing it out. It typically comes in the form of a lightweight cream, spray, or serum and is applied to damp or dry hair after shampooing and conditioning. Leave-in conditioners are formulated with a blend of hydrating ingredients, such as oils, moisturizers, and proteins, to provide ongoing nourishment and protection to the hair throughout the day. Moisture Retention and Hydration:One of the primary benefits of leave-in conditioner is its ability to retain moisture in the hair. Dry, dehydrated hair can lead to frizz, brittleness, and breakage. Leave-in conditioners contain humectants that attract and lock in moisture, helping to keep the hair hydrated and moisturized for extended periods. This is particularly beneficial for individuals with dry, coarse, or chemically treated hair, as leave-in conditioner acts as a shield against moisture loss, leaving the hair soft, smooth, and manageable. Detangling and Improved Manageability:Leave-in conditioners work wonders when it comes to detangling unruly hair. Their conditioning properties help to smooth the hair cuticles, reducing friction and making it easier to comb through knots and tangles. By providing slip and lubrication, leave-in conditioners minimize hair breakage and damage during the detangling process. This is especially beneficial for those with curly, textured, or easily tangled hair, as leave-in conditioner can help to define curls and reduce the formation of knots. Heat Protection:Styling tools like hair dryers, straighteners, and curling irons can subject the hair to high temperatures, leading to heat damage. Leave-in conditioners often contain ingredients that provide a protective barrier for the hair, shielding it from the harmful effects of heat styling. These conditioners coat the hair strands, creating a barrier that helps to reduce moisture loss and minimize damage caused by excessive heat exposure. Incorporating a leave-in conditioner into your hair care routine can help maintain the health and integrity of your hair, even when using heat styling tools. Enhanced Shine and Smoothness:Leave-in conditioners have the ability to enhance the shine and smoothness of the hair. By nourishing and moisturizing the hair strands, they help to improve the overall texture and appearance of the hair. Leave-in conditioners can smooth down the cuticles, minimizing frizz and flyaways, and creating a sleek, polished look. Additionally, they add a healthy sheen to the hair, making it appear lustrous and vibrant. UV Protection:The sun’s harmful UV rays can take a toll on our hair,…

The Ultimate Guide To Choosing The Right Hair Comb
The Ultimate Guide to Choosing the Right Hair Comb

Choosing the right hair comb is more significant than most people realize. The correct comb can prevent hair breakage, detangle without pain, and help style your hair precisely the way you desire. This guide delves into the intricacies of hair combs, offering insights to help you select the ideal comb for your hair’s unique needs. The History of Hair Combs Hair combs have been a part of human grooming rituals for thousands of years, evolving from simple tools to modern beauty essentials. Their history reflects changes in materials, styles, and grooming practices, highlighting the comb’s role in both utility and fashion. Types of Hair Combs Material Matters The material of a hair comb affects its performance and suitability for different hair types. Choosing a Comb for Your Hair Type Selecting a comb based on your hair type ensures effective detangling and styling without damage. Combs for Different Purposes Understanding the purpose behind different comb designs can help you achieve your desired hair look. How to Care for Your Hair Comb Proper maintenance extends the life of your hair comb and protects your hair health. The Environmental Impact of Hair Combs Choosing sustainable comb options and properly recycling can mitigate environmental impact. The Ultimate Guide to Choosing the Right Hair Comb A step-by-step guide to evaluating your hair type, styling needs, and comb options to make an informed decision that enhances your hair’s health and beauty. Specialty Combs and Their Uses Exploring niche combs can enhance specific grooming routines. Comb Innovations The latest advancements in comb technology offer new features for convenience and hair health. Selecting the right hair comb is crucial for maintaining healthy hair and achieving your desired styles. By considering your hair type, styling needs, and the material and type of comb, you can make a choice that benefits your hair in the long term. Remember, a good comb is an investment in your hair’s health and appearance.

The Secret To Detangling Color Treated Hair: Essential Tips And Techniques For Healthy, Tangle Free Tresses
The Secret to Detangling Color-Treated Hair: Essential Tips and Techniques for Healthy, Tangle-Free Tresses

Color-treated hair requires extra care and attention to maintain its vibrancy and overall health. One common challenge faced by individuals with colored hair is dealing with tangles, which can be frustrating and lead to hair breakage. Detangling color-treated hair requires a gentle and targeted approach to minimize damage and preserve the integrity of the hair strands. In this article, we will explore the secret to detangling color-treated hair, providing you with essential tips and techniques to keep your tresses healthy, vibrant, and tangle-free. Choose the Right Tools:Detangling color-treated hair starts with selecting the right tools. Opt for a wide-toothed comb or a brush specifically designed for detangling. These tools have wider spaces between the teeth, which helps to prevent excessive pulling or snagging that could lead to breakage. Avoid using fine-toothed combs or brushes with harsh bristles, as they can cause damage to the hair cuticles and disrupt the color-treated strands. Start with Pre-Treatment:Before detangling your hair, it’s beneficial to give it a pre-treatment to minimize tangles. Apply a small amount of a lightweight, leave-in conditioner or a detangling spray to damp hair. These products work to smoothen the hair cuticles, reducing friction and making it easier to comb through the strands. Gently distribute the product from mid-length to the ends of your hair, focusing on areas prone to tangles. Divide and Conquer:To effectively detangle color-treated hair, it’s essential to divide it into manageable sections. This technique allows you to focus on one section at a time, minimizing the stress and tension on the hair. Start by parting your hair into two sections using a center or side parting. Then, further divide each section into smaller subsections, depending on the thickness of your hair. By detangling smaller sections, you can prevent unnecessary pulling and breakage. Gentle Detangling Technique:When detangling color-treated hair, it’s crucial to adopt a gentle technique to avoid causing damage. Begin by starting at the ends of your hair and gradually work your way up towards the roots. Hold the hair gently with one hand, supporting it near the roots to prevent unnecessary strain on the scalp. Use slow, deliberate strokes with your wide-toothed comb or detangling brush, releasing any tangles as you go. Avoid yanking or forcefully pulling through knots, as this can lead to hair breakage and loss of color intensity. Utilize a Detangling Product:If you encounter stubborn tangles, it can be helpful to incorporate a detangling product into your routine. Look for a detangling spray or leave-in conditioner specifically formulated for color-treated hair. These products contain ingredients that provide slip, making it easier to glide through the hair without causing damage. Apply the detangling product directly to the tangled area and use your fingers or a wide-toothed comb to gently work through the knot, starting from the ends and gradually moving upwards. Protective Hairstyles:Implementing protective hairstyles can significantly reduce the risk of tangles for color-treated hair. Styles such as braids, buns, or twists can keep your hair secure and minimize friction caused by movement and contact with clothing. When opting for a protective style, ensure that it…

A Shower Dilemma: Can You Use Shampoo As Body Wash? Understanding The Risks And Better Alternatives
A Shower Dilemma: Can You Use Shampoo as Body Wash? Understanding the Risks and Better Alternatives

We’ve all been there – running out of body wash just when we need it the most. In moments of desperation, you may have considered using shampoo as a substitute for body wash. While it may seem like a practical solution, the question remains: is it safe to use shampoo on your skin? In this article, we will explore the differences between shampoo and body wash, the potential risks of using shampoo on your skin, and the better alternatives when you find yourself in a showering dilemma. Understanding the Differences:Shampoo and body wash are two distinct personal care products designed for specific purposes. Shampoo is formulated to cleanse the scalp and remove dirt, excess oil, and hair products from your hair, while body wash is intended to cleanse and moisturize the skin. The main differences between the two lie in their ingredients and formulations. We’ve all been there – running out of body wash just when we need it the most. In moments of desperation, you may have considered using shampoo as a substitute for body wash. While it may seem like a practical solution, the question remains: is it safe to use shampoo on your skin? In this article, we will explore the differences between shampoo and body wash, the potential risks of using shampoo on your skin, and the better alternatives when you find yourself in a showering dilemma. Understanding the Differences:Shampoo and body wash are two distinct personal care products designed for specific purposes. Shampoo is formulated to cleanse the scalp and remove dirt, excess oil, and hair products from your hair, while body wash is intended to cleanse and moisturize the skin. The main differences between the two lie in their ingredients and formulations. Shampoo typically contains ingredients such as surfactants, cleansing agents, and conditioning agents to target scalp and hair concerns. On the other hand, body washes usually contain milder surfactants and moisturizing ingredients that are gentle on the skin. The pH levels of shampoos and body washes also differ, with shampoos being more acidic to maintain the health of the scalp, while body washes tend to have a slightly higher pH to be more compatible with the skin’s natural pH. Potential Risks of Using Shampoo on Your Skin:While using shampoo on your skin occasionally may not cause immediate harm, it’s essential to be aware of potential risks and drawbacks. Skin Irritation: Shampoos may contain stronger cleansing agents and fragrance, which can be harsher on the skin compared to body washes. Using shampoo on your skin regularly may lead to dryness, irritation, and redness. Stripping Natural Oils: Shampoos are formulated to remove excess oils from the scalp, which means they can also strip your skin of its natural oils. This can leave your skin feeling dry and dehydrated. pH Imbalance: Shampoo and body wash have different pH levels. Using shampoo on your skin may disrupt its natural pH, leading to potential imbalances and skin issues. Allergic Reactions: Shampoos often contain specific ingredients that are safe for the scalp but may cause allergic reactions when applied to the…

How To Dye Your Hair Usinghenna
How To Dye Your Hair Using Henna

Henna has been used for centuries to dye hair, skin, and even fabrics, offering a natural alternative to chemical hair dyes. Rich in color and conditioning properties, henna not only dyes your hair but also improves hair health. This guide provides a comprehensive overview of how to dye your hair using henna, ensuring a successful transition to vibrant, naturally colored hair. The choice of henna as a hair dye is rooted in its natural composition, which ensures a chemical-free process. Unlike synthetic dyes, henna coats the hair shaft, enhancing its strength and shine without altering its structure. Understanding Henna Origins and Benefits Derived from the Lawsonia inermis plant, henna has been celebrated for its dyeing and conditioning properties. It not only imparts a rich color but also reduces dandruff and conditions the scalp. Types of Henna Pure henna results in red-orange tones, but variations mixed with other natural dyes can achieve a range of colors from red to deep brown. Preparing for the Henna Dyeing Process Selecting Your Henna Opt for body art quality henna for the purest form, ensuring no additives compromise your hair’s health or color. Required Materials Gather gloves, plastic wrap, a mixing bowl, and an applicator brush to start your henna dyeing journey. The Mixing Phase How to Mix Henna for Hair Dye Combine henna powder with an acidic liquid like lemon juice to release the dye, adjusting the consistency to a yoghurt-like texture. Tips for Achieving the Perfect Consistency Adding oils or sugars can enhance the mixture’s texture, making it easier to apply and stick to your hair. Application Techniques Step-by-Step Guide to Applying Henna Starting from the roots, apply the henna evenly to sections of your hair, working your way down to the tips. Ensure every strand is covered for an even color. Ensuring Even Coverage Divide your hair into sections and apply the mixture thoroughly, using your hands for better maneuverability and coverage. Aftercare and Maintenance Post-Dye Care Tips Rinse your hair with water and a sulfate-free conditioner, avoiding shampoo for 48 hours to allow the color to set. Maintaining Your Color Regular touch-ups every 4 to 6 weeks will keep your color vibrant. Using henna-infused oil treatments can also prolong the dye’s life. Troubleshooting Common Henna Dye Issues Dealing with Dryness or Uneven Tones Hydrating hair masks and proper sectioning during application can mitigate dryness and ensure consistent color. Adjusting the Color Post-Application For darker or lighter shades, adjust the henna mixture with indigo or more water, respectively, for your next application. How To Dye Your Hair Using Henna Recap of Key Points: Dyeing your hair with henna is a rewarding process that not only offers a vibrant, natural color but also benefits hair health. Embracing Natural Beauty with Confidence: Henna allows you to embrace your natural beauty confidently, knowing you’re using a safe, sustainable product. Dyeing your hair with henna offers a sustainable and health-conscious alternative to chemical dyes. By following the steps outlined in this guide, you can achieve a beautiful, natural color that enhances your hair’s overall health and appearance. Embrace…

How To Determine Your Skin Tone: A Comprehensive Guide
How to Determine Your Skin Tone: A Comprehensive Guide

When it comes to finding the perfect foundation or choosing the right clothing colors, determining your skin tone is crucial. Your skin tone is the underlying color of your skin, and it can range from fair to deep. However, figuring out your skin tone isn’t always easy, and it can be confusing to determine what undertones your skin has. In this guide, we’ll break down the different skin tones and undertones, as well as provide you with some tips for finding your own skin tone. Fair Skin Tone Fair skin tones are generally described as having a pale or porcelain complexion. People with fair skin usually burn easily and have difficulty tanning. If you have fair skin, you may have pink or blue undertones in your skin. One way to check your skin tone is to look at the veins on the inside of your wrist. If your veins appear blue or purple, you likely have cool undertones, which means you have pink or blue undertones in your skin. If your veins appear green or yellow, you likely have warm undertones, which means you have yellow or golden undertones in your skin. Another way to check your skin tone is to hold up a white piece of paper to your face in natural light. If your skin looks pink or rosy against the paper, you have cool undertones. If your skin looks yellow or golden against the paper, you have warm undertones. Neutral Skin Tone If you have a neutral skin tone, your skin has a balance of warm and cool undertones. This means you can wear both warm and cool shades, and you may not need to worry as much about matching your undertones. To check your skin tone, you can use the same methods as for fair skin, looking at your veins and holding up a white piece of paper to your face. If you’re unsure, you may want to consult a makeup artist or beauty professional for their opinion. Medium Skin Tone People with medium skin tones usually have more golden or olive undertones in their skin. This means they may tan easily and have less trouble finding a foundation that matches their skin tone. To determine your skin tone, you can use the same methods as for fair skin. If you have a medium skin tone, your veins may appear green, and your skin may look more beige or golden against a white piece of paper. Deep Skin Tone Deep skin tones are described as having rich, dark complexions. People with deep skin tones may have cool or warm undertones, but they are usually more muted than in other skin tones. To check your skin tone, you can use the same methods as for fair skin. However, people with deep skin tones may have difficulty determining their skin tone because their skin can appear to be one shade in certain lighting conditions. Undertones In addition to skin tones, it’s also important to consider your undertones. Undertones are the colors that lie beneath the surface of your skin and…

Unlocking The Secrets Of Luxurious Locks: A Comprehensive Guide To Using Hair Masks
Unlocking the Secrets of Luxurious Locks: A Comprehensive Guide to Using Hair Masks

Beautiful, healthy hair is a reflection of your overall well-being and self-care routine. Hair masks are a potent tool in your hair care arsenal, designed to rejuvenate, nourish, and enhance the vitality of your tresses. Whether your hair is prone to dryness, damage, frizz, or you simply want to elevate its natural shine, incorporating hair masks into your routine can make a noticeable difference. This guide will take you through the ins and outs of using hair masks effectively to achieve luscious locks that turn heads. Understanding Hair Masks Hair masks are intensive treatments formulated to address specific hair concerns. They typically contain a higher concentration of nourishing ingredients compared to regular conditioners, penetrating deeply into the hair shaft to provide lasting benefits. Depending on your hair type and needs, you can find a variety of hair masks, such as hydrating masks, repair masks, volumizing masks, and color-enhancing masks. Choosing the Right Hair Mask Before delving into the usage techniques, it’s crucial to select a hair mask that caters to your hair’s unique needs. Consider the following factors: Hair Type: Determine whether your hair is oily, dry, normal, curly, straight, or wavy. This will help you choose a mask tailored to your specific hair type. Hair Concerns: Identify your hair concerns, such as frizz, damage, lack of shine, or color fading. Look for masks that address these concerns with the appropriate ingredients. Ingredients: Check the ingredient list for nourishing elements like natural oils (coconut, argan, jojoba), proteins (keratin, collagen), vitamins (vitamin E, B vitamins), and botanical extracts. Scent and Texture: Opt for a mask with a scent and texture that appeals to you, as this can enhance your overall experience. Prepping Your Hair for the Mask Properly prepping your hair sets the stage for an effective mask application. Follow these steps before applying the mask: Cleanse Your Hair: Wash your hair with a gentle shampoo to remove any dirt, product buildup, or excess oils. This ensures that the mask can penetrate deeply into the hair shaft. Towel Dry: Gently towel dry your hair to remove excess water. Your hair should be damp, not dripping wet. Detangle: Use a wide-tooth comb to detangle your hair, starting from the ends and working your way up. This prevents unnecessary hair breakage during the mask application. Applying the Hair Mask Now that your hair is prepped, it’s time to apply the mask. Follow these steps for a thorough and effective application: Section Your Hair: Divide your hair into sections. This ensures that you distribute the mask evenly and reach all parts of your hair. Scoop the Mask: Depending on your hair length and thickness, scoop an appropriate amount of the mask into your palm. Start with a small amount and add more if needed. Even Distribution: Rub the mask between your palms to evenly distribute it. Then, starting from the mid-lengths of your hair, work the mask downwards towards the ends. Avoid applying the mask directly to your scalp, as this can lead to greasiness. Massage Gently: Massage the mask into your hair using gentle, circular…