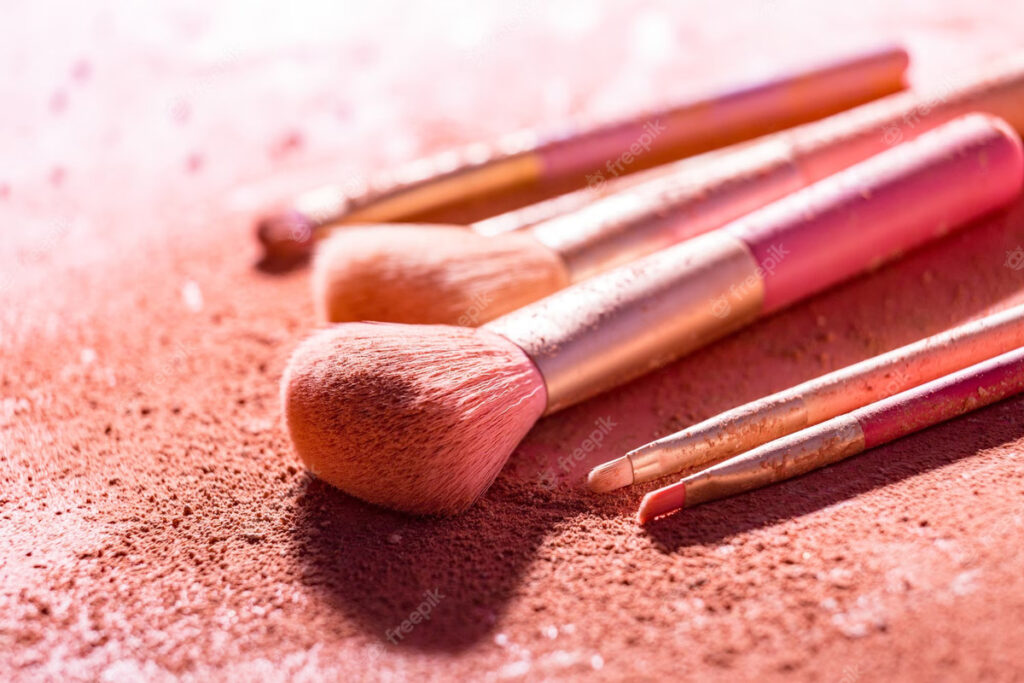
Choosing the Perfect Brush for Bronzer Application: A Comprehensive Guide

What Type of Brush Should You Use When Applying Bronzer-22

Bronzer is a versatile and beloved makeup product that adds warmth, dimension, and a healthy sun-kissed glow to your complexion. However, achieving a flawless bronzed look requires more than just the right product; it also depends on the tools you use. When it comes to applying bronzer, selecting the appropriate brush is essential. The brush you choose can influence the application, blending, and overall outcome of your bronzer. In this comprehensive guide, we will explore the different types of brushes available for bronzer application, their unique characteristics, and how to pick the perfect one for your makeup routine.

The Importance of the Right Brush

Before delving into the various types of brushes, it’s important to understand why choosing the right brush for bronzer application matters:

  1. Precision: Different brushes offer varying levels of precision. The right brush allows you to control the placement of bronzer, ensuring that it goes exactly where you want it.
  2. Blending: The correct brush can blend bronzer seamlessly into your skin, preventing harsh lines or uneven application. Effective blending is crucial for a natural-looking finish.
  3. Texture: Brushes come in a range of textures, from densely packed to fluffy. The texture of the brush affects how bronzer adheres to your skin and how easily it can be diffused.
  4. Product Pickup: Some brushes pick up more product than others. Using a brush that’s too dense can result in excessive bronzer application, while a lighter brush may not pick up enough product.
  5. Finish: Depending on the brush you choose, you can achieve different bronzer finishes. Whether you want a subtle, sun-kissed glow or a more sculpted, contoured look, the brush plays a crucial role.

Types of Brushes for Bronzer Application

  1. Powder Brush:
    • Characteristics: Powder brushes are typically large, fluffy brushes with soft, long bristles. They come in various shapes, such as round, flat, or angled.
    • Best for: Powder brushes are versatile and work well for applying bronzer in a diffuse, all-over manner. They’re great for achieving a natural, sun-kissed look.
    • How to Use: Swirl the brush in your bronzer, tap off the excess, and then apply it to the areas where the sun naturally hits your face: the tops of your cheekbones, the bridge of your nose, your forehead, and your chin. Use a light hand to build up the color gradually.
  2. Kabuki Brush:
    • Characteristics: Kabuki brushes are dense and have short, tightly packed bristles. They often have a flat or rounded top.
    • Best for: Kabuki brushes are excellent for applying bronzer with precision and intensity. They work well for contouring and creating defined cheekbones.
    • How to Use: Dip the brush lightly into your bronzer and tap off excess. Apply the bronzer in controlled areas, such as beneath your cheekbones, along your jawline, and on the sides of your nose. The dense bristles make blending easier.
  3. Angled Brush:
    • Characteristics: Angled brushes have bristles that are cut at an angle, forming a slanted shape. They can be dense or fluffy, depending on the brand and intended use.
    • Best for: Angled brushes are ideal for precise bronzer application, particularly for contouring and creating sharp cheekbone definition.
    • How to Use: Dip the angled brush into your bronzer, tap off excess, and apply it to the hollows of your cheeks, along your jawline, and on the sides of your nose. The angled shape allows for precise placement.
  4. Fan Brush:
    • Characteristics: Fan brushes have long, thin bristles that are spread out in a fan-like shape.
    • Best for: Fan brushes are excellent for achieving a subtle, sheer application of bronzer. They work well for those who prefer a light, natural look.
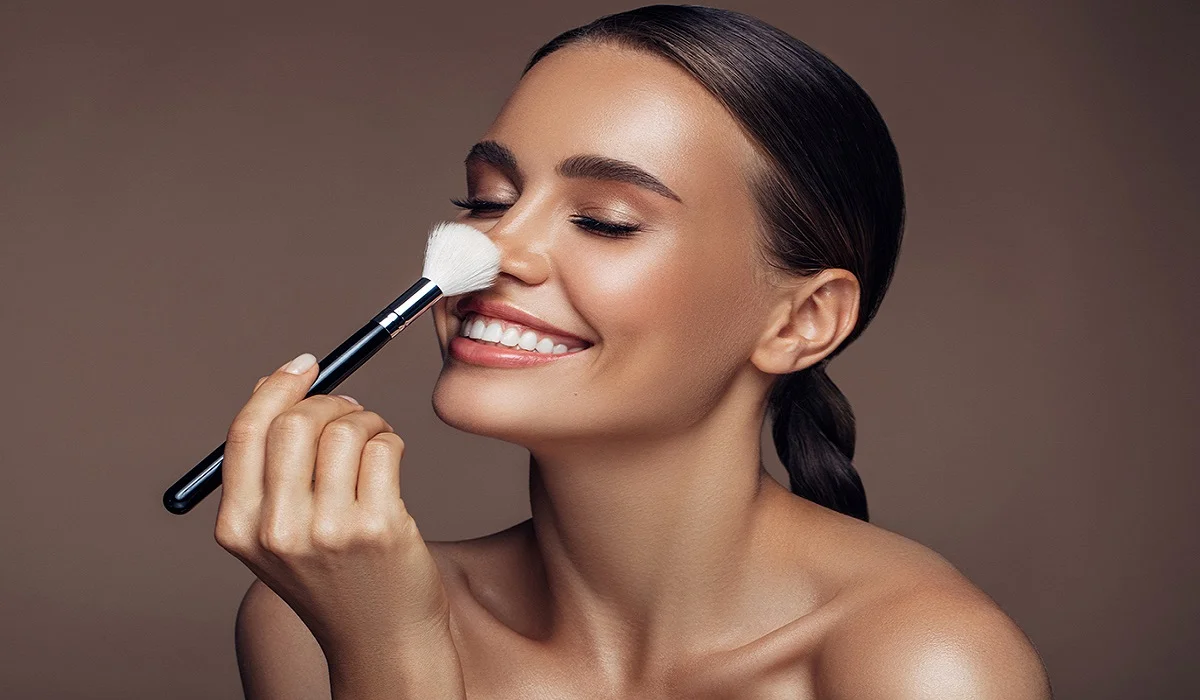
    • How to Use: Swipe the fan brush lightly over your bronzer and gently apply it to the high points of your face, such as your cheekbones, brow bone, and down the center of your nose. The sheer bristles prevent heavy application.
  5. Duo-Fiber Brush:
    • Characteristics: Duo-fiber brushes feature two types of bristles: long, feathery bristles on top and shorter, denser bristles at the base.
    • Best for: Duo-fiber brushes offer a blend of precision and diffusion. They are suitable for those who want a balanced, buildable bronzer application.
    • How to Use: Swirl the brush in your bronzer, tap off excess, and apply it to the desired areas. The longer bristles provide a light touch, while the shorter bristles help with blending.
  6. Contour Brush:
    • Characteristics: Contour brushes are typically small, densely packed brushes with a narrow, angled shape.
    • Best for: As the name suggests, contour brushes are designed for precise contouring with bronzer. They are ideal for creating well-defined cheekbones and facial structure.
    • How to Use: Dip the contour brush into your bronzer, tap off excess, and apply it to the areas you want to contour, such as beneath your cheekbones, along your jawline, and on your temples. The narrow shape allows for precise placement.
  7. Flat-Top Brush:
    • Characteristics: Flat-top brushes have a flat, dense top surface with tightly packed bristles.
    • Best for: These brushes are versatile and can be used for both bronzer application and blending. They work well for achieving a sculpted look with blended edges.
    • How to Use: Dip the flat-top brush into your bronzer, tap off excess, and apply it to the desired areas. The flat surface allows for controlled application, while the density aids in blending.
  8. Tapered Brush:
    • Characteristics: Tapered brushes have bristles that come to a point at the tip, resembling a teardrop shape.
    • Best for: Tapered brushes are excellent for precise bronzer application, particularly for highlighting and contouring the nose and cheekbones.
    • How to Use: Dip the tapered brush into your bronzer, tap off excess, and apply it to the areas you want to highlight or contour. The pointed tip allows for precise placement and blending.
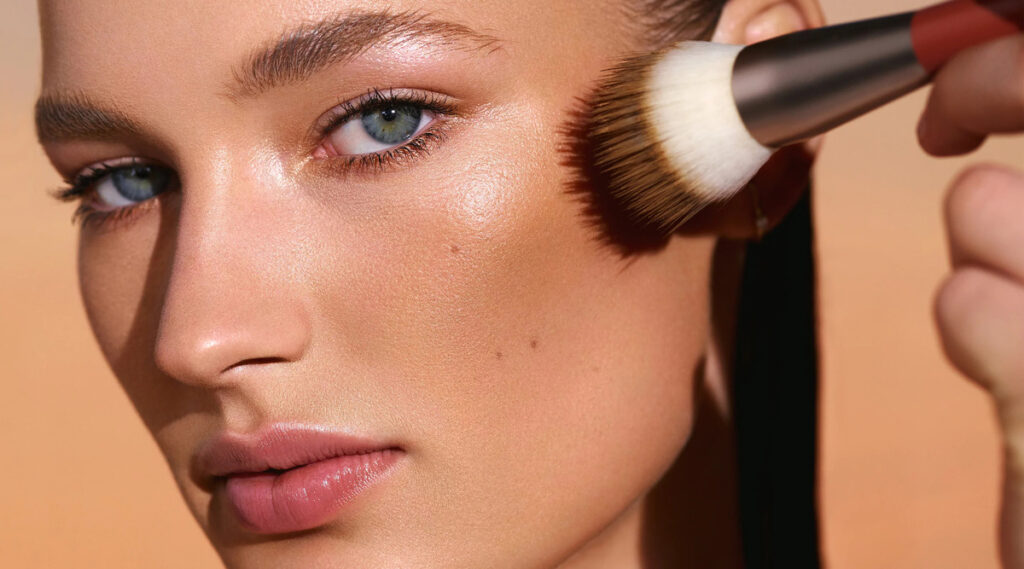
Choosing the Perfect Brush for Bronzer Application: A Comprehensive Guide

Choosing the Right Brush for Your Bronzer

Selecting the right brush for your bronzer is a combination of personal preference and the specific look you want to achieve. Here are some factors to consider when choosing the perfect brush:

  1. Bronzer Type: Consider the texture of your bronzer. Powder bronzers work well with a variety of brushes, while cream or liquid bronzers may require brushes with denser bristles for better blending.
  2. Desired Finish: Determine whether you want a sheer, natural finish or a more intense, sculpted look. Fluffy brushes like powder or fan brushes are great for a natural finish, while dense brushes like kabuki or angled brushes are better for intensity.
  3. Application Technique: Think about how you plan to apply your bronzer.
  • All-Over Bronzing: If your goal is to achieve an all-over bronzed look, a large and fluffy brush like a powder brush or a duo-fiber brush is suitable. These brushes disperse bronzer evenly, creating a seamless and radiant finish.
  • Contouring: For precise contouring, where you want to create shadows and definition, an angled brush or contour brush is the way to go. Their dense bristles allow for precise placement and blending, giving you the sculpted effect you desire.
  • Highlighting: If you want to use bronzer as a highlighter to accentuate certain areas, a tapered brush is ideal. Its pointed tip allows for precise application, and you can easily build up the intensity for a radiant glow.

Using Your Chosen Brush for Bronzer Application

Once you’ve selected the perfect brush for your bronzer, follow these steps for effective bronzer application:

  1. Prep Your Skin: Start with a clean, moisturized face. Applying bronzer on well-hydrated skin ensures a smoother and more even application.
  2. Choose the Right Bronzer Shade: Select a bronzer shade that complements your skin tone. For fair skin, opt for a lighter bronzer, and for deeper skin tones, choose a bronzer that is richer in pigment.
  3. Dip and Tap: Gently dip your chosen brush into the bronzer, ensuring you pick up just enough product. Tap off any excess bronzer by lightly tapping the brush against your hand or a tissue.
  4. Application Technique: Apply bronzer according to your desired technique – all-over bronzing, contouring, or highlighting – depending on the brush you’ve selected.
    • For all-over bronzing, use a large, fluffy brush and sweep bronzer across the high points of your face where the sun naturally hits.
    • For contouring, use a dense, angled brush to apply bronzer in the hollows of your cheeks, along your jawline, and on the sides of your nose.
    • For highlighting, use a tapered brush to apply bronzer to the areas you want to emphasize, such as the tops of your cheekbones, brow bone, and down the center of your nose.
  5. Blend and Build: Blend the bronzer into your skin using light, circular motions. Blending is key to achieving a natural look. If you want more intensity, you can gradually build up the bronzer by repeating the application and blending process.
  6. Check in Natural Light: After applying bronzer, always check your makeup in natural light to ensure it looks balanced and seamless.
  7. Clean Your Brush: Regularly clean your bronzer brush to prevent product buildup and ensure a smooth application. Use a brush cleaner or mild soap and water, and allow the brush to dry thoroughly.

Choosing the right brush for bronzer application is a vital step in achieving a flawless makeup look. The type of brush you select influences the precision, blending, and overall finish of your bronzer. Whether you’re aiming for a subtle sun-kissed glow or a sculpted, contoured appearance, there’s a perfect brush for every technique and preference. By considering your desired outcome, skin type, and application technique, you can confidently select the ideal brush to enhance your makeup routine and bring out your natural radiance.

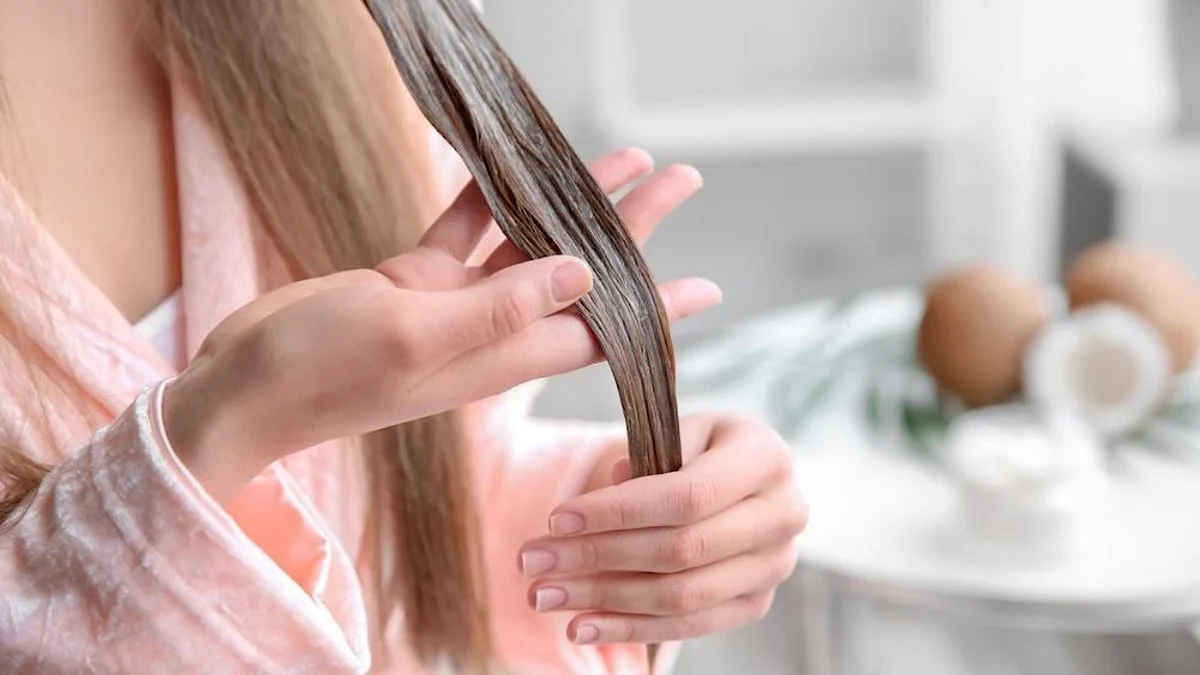
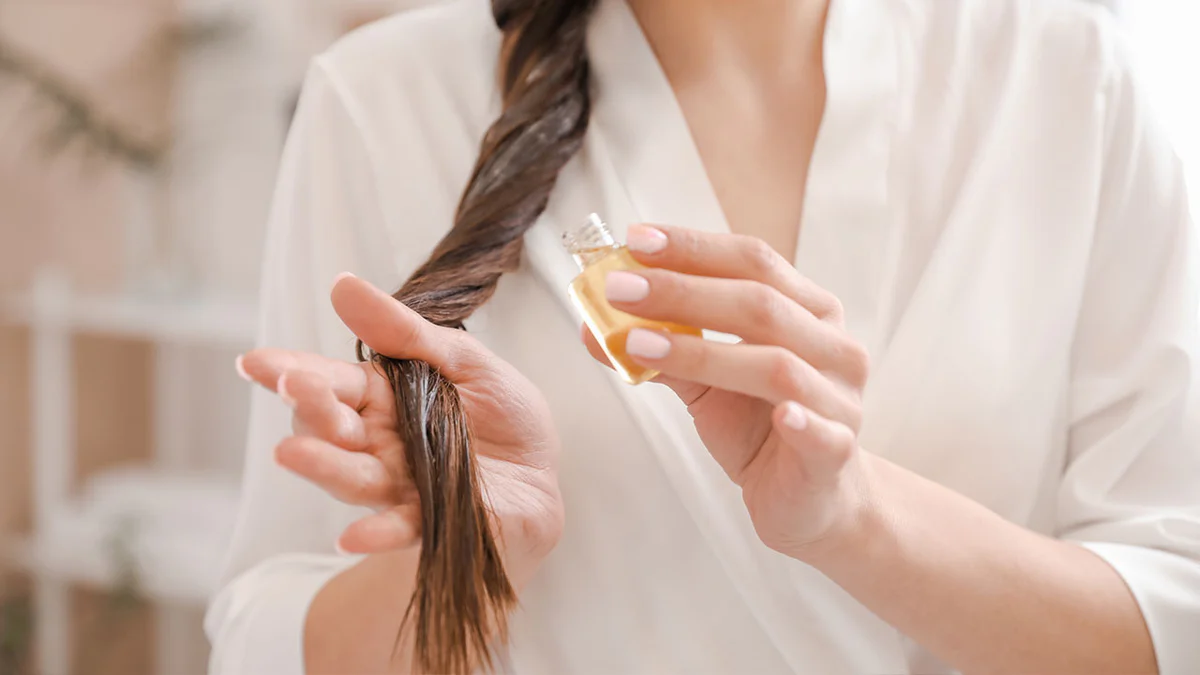
Exploring Microcurrent Facial: Benefits, Process, And Risks
Exploring Microcurrent Facial: Benefits, Process, and Risks

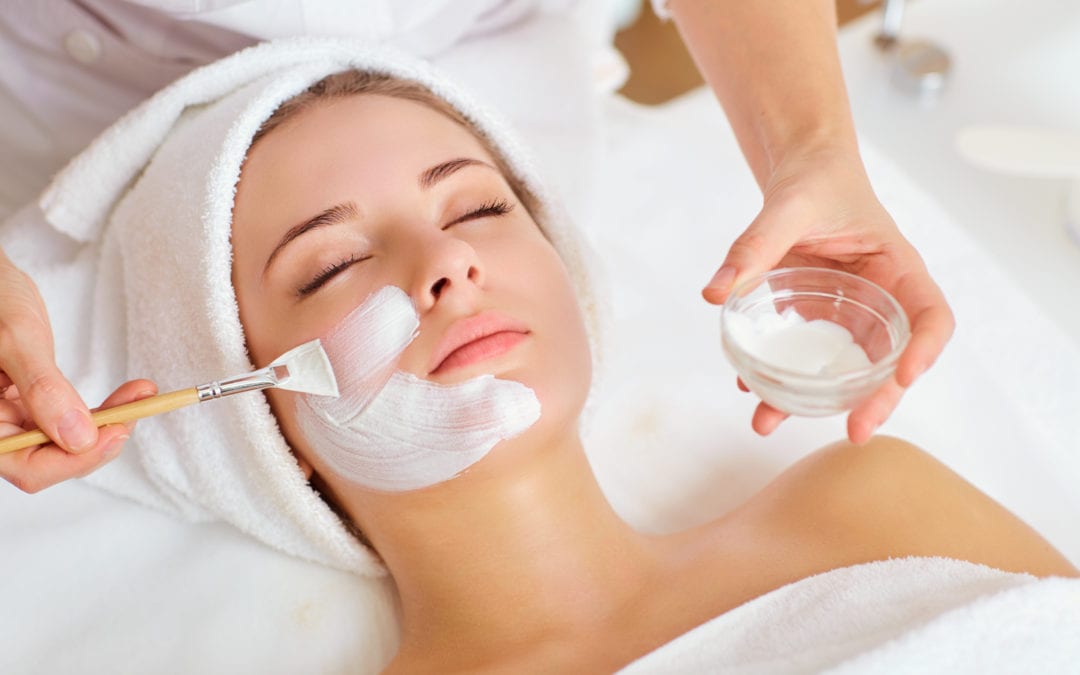
Microcurrent facial is a non-invasive cosmetic treatment that uses low-level electrical currents to stimulate the facial muscles, tighten the skin, and improve overall skin appearance. This procedure is gaining popularity among people who want to look younger without undergoing surgical procedures like facelifts or Botox injections. In this article, we will delve into the microcurrent facial treatment, its benefits, process, and risks. What is Microcurrent Facial?Microcurrent facial is a non-surgical cosmetic treatment that uses low-level electrical currents to stimulate facial muscles and improve overall skin appearance. The procedure involves the use of a microcurrent device that emits low-frequency electrical currents that mimic the body’s natural electrical currents. These currents stimulate the facial muscles, improve circulation, and promote collagen production. GO TO THE NEXT PAGE TO CONTINUE… Benefits of Microcurrent Facial: Stimulates Collagen Production: Microcurrent facial stimulates collagen production, which is essential for maintaining skin elasticity, reducing wrinkles, and fine lines. Reduces Wrinkles and Fine Lines: Microcurrent facial tightens the skin, reduces wrinkles, and fine lines by stimulating facial muscles. Improves Skin Texture: Microcurrent facial helps to improve skin texture, making it smoother and more even. Increases Blood Circulation: Microcurrent facial improves blood circulation, bringing more nutrients and oxygen to the skin cells, resulting in healthier, glowing skin. Lifts and Tones the Face: Microcurrent facial tones facial muscles, resulting in a lifted and more youthful appearance. Process of Microcurrent Facial:The microcurrent facial process involves the following steps: Cleansing: The first step is to cleanse the face thoroughly to remove any dirt, oil, or makeup. Toning: The next step is to apply a toner to the face to restore its natural pH balance. Application of Conductive Gel: A conductive gel is applied to the face to help the microcurrent device glide smoothly over the skin. Microcurrent Treatment: The microcurrent device is then applied to the face, and low-level electrical currents are delivered to stimulate facial muscles. Mask Application: A mask is applied to the face to hydrate and soothe the skin. Moisturizing: The final step is to apply a moisturizer to lock in the moisture and provide additional hydration to the skin. Risks of Microcurrent Facial:Although microcurrent facial is generally safe, it may cause some risks, including: Skin Sensitivity: Microcurrent facial may cause skin sensitivity, redness, or irritation. Muscle Fatigue: Overstimulation of facial muscles may cause muscle fatigue or soreness. Nerve Damage: If the microcurrent device is not used correctly, it may cause nerve damage. Not Suitable for Everyone: Microcurrent facial is not suitable for everyone, including people with pacemakers or other electronic medical devices. Microcurrent facial is a non-surgical cosmetic treatment that uses low-level electrical currents to stimulate facial muscles, tighten the skin, and improve overall skin appearance. The benefits of microcurrent facial include stimulating collagen production, reducing wrinkles and fine lines, improving skin texture, increasing blood circulation, and lifting and toning the face. However, microcurrent facial may cause some risks, including skin sensitivity, muscle fatigue, nerve damage, and not suitable for everyone. Before undergoing microcurrent facial treatment, consult a qualified aesthetician or dermatologist to discuss if it is suitable for your skin…

The Intersection Of Women's Health And Beauty 1
The Intersection of Women’s Health and Beauty

Despite widespread misconceptions, the fusion of women’s health and beauty is neither shallow nor peripheral. Instead, the entwined concepts reveal a powerful truth about women: they deserve a wellness approach that addresses both the internal and the external. In many ways, these two components are inextricable. Mental health conditions such as depression, for example, can worsen or trigger physical conditions. And the physiological effects of chronic stress can manifest externally through the skin, hair, and nails. Given the compelling evidence, the notion of elevated beauty as superficial is clearly outdated. A Holistic and Empowerment-Centered Approach to Women’s Health and Beauty If you’re a woman navigating this transformative intersection of health and beauty, what can you do to empower yourself? First and foremost, consider an approach that is as holistic as your overall well-being. This demands looking beyond the external and embracing a complete perspective of health that considers the mind, body, and soul. What does this look like on a practical level? You might exercise in a way that makes you feel strong and rejuvenated, rather than pursuing an aesthetic ideal. Or you could focus on a hair care routine of nourishment and repair tailored to your unique hair type, rather than striving to achieve photo-shoot-worthy tresses. Similarly, you might nourish your skin for overall health and glow, rather than attempting to mimic a brief fad in Korean skincare. In each example, the woman’s wellness is the central goal, demonstrating her commitment to honoring herself while embracing and celebrating her unique beauty. As our world works to redefine the concepts of health and beauty for women, the rapid transformation of this linguistic landscape has been unmistakable. These outdated narratives don’t serve modern understandings of health and beauty, which are undeniably fluid and deeply individualized. In this empowering new conversation, women can free themselves from the pressure to meet a flawless standard of beauty, rejecting the notion that a woman can’t be beautiful unless she’s healthy. Looking to the future, we are forging a bright, inclusive path that encourages all women to celebrate their exceptional beauty on their own, wholly unique terms. The Beauty Paradigm Women have struggled with the societal standards of beauty and “ideal” representations of the female form for ages. Though articles like “The Beauty Paradigm” argue that a change is in the air and we’re on the cusp of embracing an inclusive vision of beauty that encompasses individuality and self-expression. Nutrition and Women’s Health Touted as the cornerstone of health and beauty, “Nutrition and Women’s Health” dials in on the vitamins and nutrients that are most beneficial to women, and offers tips on how to tailor your diet to fit the needs of your age and life stage so you can optimize your natural beauty. Physical Activity and Well-being Most women today are well aware that the benefits of regular physical activity extend well beyond stellar health and a toned beach bod. This “Physical Activity and Well-being” piece does a great job of breaking down exactly what sorts of physical activity are absolutely critical for women to incorporate into…

Damaged Hair 4 1
Understanding Damaged Hair: Unraveling the Strands of Hair Health

Damaged hair is a widespread condition among many individuals and it manifests in various forms ranging from split ends and visible dryness/frizz to split ends, dryness/frizz, or split ends themselves. Hair plays an essential part of one’s physical appearance and acts as an instrument of self-expression and confidence; therefore to understand what damaged hair involves it’s essential to explore factors contributing to its formation, as well as any telltale signs which indicate whether your locks need attention or repair. Causes of Hair Damage There can be numerous contributors to hair damage, from environmental influences such as pollution to lifestyle choices that impact hair health. Understanding all these elements is vital in treating and preventing further damages; some common culprits could include: Heat Styling: Overusing heat styling tools such as flat irons, curling wands and blow dryers can strip hair of its moisture content, leading to dryness, breakage, split ends and other forms of damage. Chemical Treatments: Chemical treatments such as coloring, perming and straightening may alter hair’s structure and weaken its integrity over time, potentially leading to significant damage if regularly repeated or overexposed to them. Poor Hair Care Practices: Aggressive brushing, using harsh hair ties and washing hair with hot water or inappropriate products may all contribute to damage in one way or another, including vigorously towel-drying wet locks in order to produce maximum volume for styling purposes. All this may contribute to breakage. Environmental Factors: Exposure to harsh environmental factors like sun, wind and pollution can have detrimental effects on hair health. UV rays in particular have the ability to damage cuticle cells causing discoloration and brittleness resulting in hair cuticle splitting resulting in discoloration or even breakage and eventual breakage of locks. Lack of Moisture: Due to insufficient intake (water intake ) and external (conditioning lack ), inadequate hydration levels may leave hair dry, brittle and more likely to breakage than ever. Nutritional Deficiencies: An inadequate diet lacking in essential vitamins and minerals may negatively affect hair health, including proteins, biotin, omega-3 fatty acids. All three play an integral part in keeping hair strong and vibrant. Signs of Damaged HairRecognizing the symptoms of damaged hair is critical in taking effective steps to restoring and maintain its health. Here are a few indicators that your locks might have become frail: Split Ends: Split ends are one of the more obvious signs, occurring when hair shaft splits into multiple fragments that create frayed and uneven tips on its ends. Dry and Brittle Texture: Damaged hair often feels rough to the touch and lacks the smooth, soft strands associated with healthy locks. Cracked Hair Structure: When hair breakage increases while brushing or styling, this could be a telltale sign that its structure has become compromised. Damaged Hair Has a Dull Appearance: Ideally, healthy locks reflect light to create an alluring luster; damaged locks tend to lose this quality and appear flat and lifeless. Tangled and Unmanageable: Damaged hair often becomes unmanageable when left to its own devices, making combing or brushing impossible without further breakage of its structure. Changes to Elasticity: Healthy…

Bakuchiol And Retinol: All About Two Popular Skincare Ingredients
Bakuchiol and Retinol: All About Two Popular Skincare Ingredients

When it comes to skincare ingredients, two of the most talked-about in recent years have been bakuchiol and retinol. Both are marketed as effective anti-aging agents that can improve the appearance of fine lines, wrinkles, and hyperpigmentation. However, there are key differences between these two ingredients that can make one more suitable for your skin than the other. In this article, we’ll explore the benefits and drawbacks of bakuchiol and retinol, so you can make an informed decision about which one to incorporate into your skincare routine. What is Bakuchiol?Bakuchiol is a natural compound derived from the seeds of the Psoralea corylifolia plant. It has been used for centuries in traditional Ayurvedic medicine to treat various skin conditions. Bakuchiol is often touted as a natural alternative to retinol, as it has been shown to have similar anti-aging effects without the harsh side effects associated with retinol. Bakuchiol is a potent antioxidant that helps to protect the skin from damage caused by free radicals. It also has anti-inflammatory properties, which can help to reduce redness and irritation. Benefits of Bakuchiol: Gentle on the skin: Bakuchiol is a gentle alternative to retinol, making it suitable for those with sensitive skin.Anti-aging properties: Bakuchiol has been shown to improve the appearance of fine lines and wrinkles, and can also help to even out skin tone.Antioxidant and anti-inflammatory properties: Bakuchiol helps to protect the skin from damage caused by free radicals, and can also help to reduce inflammation and redness.Drawbacks of Bakuchiol: Limited research: While there have been some studies on the effectiveness of bakuchiol, more research is needed to fully understand its potential benefits and drawbacks.Slow results: Unlike retinol, which can produce noticeable results in as little as a few weeks, bakuchiol may take longer to show visible improvements.What is Retinol?Retinol is a derivative of vitamin A and is a popular skincare ingredient that has been used for decades to treat a variety of skin concerns. Retinol works by increasing cell turnover and collagen production, which helps to reduce the appearance of fine lines and wrinkles, and can also help to improve skin texture and tone. However, retinol can also cause skin irritation and sensitivity, especially in those with sensitive skin. Benefits of Retinol: Anti-aging properties: Retinol is one of the most effective anti-aging ingredients on the market and has been shown to reduce the appearance of fine lines, wrinkles, and hyperpigmentation.Boosts collagen production: Retinol helps to stimulate collagen production, which can help to improve skin texture and tone.Improves skin texture: Retinol can help to improve skin texture by increasing cell turnover.Drawbacks of Retinol: Skin irritation: Retinol can cause skin irritation and sensitivity, especially in those with sensitive skin.Sun sensitivity: Retinol can make the skin more sensitive to the sun, so it’s important to wear sunscreen when using retinol products.Dryness: Retinol can cause dryness and flakiness, especially when first starting to use the ingredient.Which is Better for Your Skin: Bakuchiol or Retinol?The answer to this question depends on your skin type and concerns. If you have sensitive skin or are if you have sensitive skin or…

7 Essential Tips For Mastering Setting Powder A Guide To Flawlessmakeup
7 Essential Tips for Mastering Setting Powder: A Guide to Flawless Makeup

Setting powder is the unsung hero of a flawless makeup look, acting as the final touch that locks your foundation and concealer in place, providing a smooth, long-lasting finish. But despite its importance, many find the process of applying setting powder correctly a bit of a mystery. This guide demystifies the art of setting powder application, ensuring your makeup stays put from morning until night, without the dreaded cakey appearance. The Purpose of Setting Powder Setting powder plays a pivotal role in your makeup regimen. It’s not just about mattifying; it’s about creating a seamless canvas that enhances the longevity of your makeup. Whether you’re battling oiliness or looking for that perfect photo finish, setting powder can transform your look. Different skin types will benefit from setting powder in unique ways, from locking in moisture for dry skin to controlling shine for oily complexions. Types of Setting Powder Choosing the right setting powder can be as crucial as the application itself. Loose powders offer a lightweight, buildable coverage ideal for a natural look, while pressed powders provide convenience and precision for touch-ups on the go. The debate between translucent and colored setting powders boils down to your desired finish and skin tone match. Preparing Your Skin for Setting Powder A flawless finish starts with well-prepared skin. Hydrating your skin is essential to prevent the powder from clinging to dry patches, while a good primer sets the stage for smooth application. Understanding how to create the perfect base is the first step toward mastering setting powder. The Right Tools for Application The tools you choose for applying setting powder can make a significant difference. Brushes offer a light, airy finish, ideal for a natural look, whereas sponges provide precision and denser coverage. Selecting the right tool depends on your personal preference and the specific needs of your skin. Step-by-Step Guide to Applying Setting Powder Achieving a seamless finish with setting powder is all about technique. From ensuring even distribution to mastering the art of layering, this section will guide you through each step, offering tips to avoid common application mistakes. How to Apply Setting Powder the Right Way Tailoring your setting powder application to your skin’s needs is crucial for a flawless finish. Whether you’re aiming for full coverage or a light dusting, understanding how to adjust your technique is key. Setting Your Under-Eye Area The under-eye area requires special attention due to its delicate nature. This section will explore techniques to prevent creasing and ensure your concealer stays put without settling into fine lines. Long-Lasting Makeup: Setting Powder’s Role Discover how setting powder can extend the wear of your makeup, keeping it looking fresh and perfect throughout the day. From combating oiliness to ensuring your foundation doesn’t budge, setting powder is your ally in achieving enduring beauty. The Dos and Don’ts of Setting Powder Navigating the dos and don’ts of setting powder can help you avoid common pitfalls and achieve a more natural, radiant look. This section will arm you with best practices and what to avoid for optimal results. Troubleshooting Common…

From Sparse To Spectacular A Journey To Rejuvenating Youreyelashes
From Sparse to Spectacular: A Journey to Rejuvenating Your Eyelashes

The diminution of eyelashes not only detracts from the visual appeal and the lively expressiveness of the eyes but also causes considerable distress. Eyelashes, serving as both a protective barrier against environmental irritants and a key feature enhancing facial symmetry, necessitate proper attention and care to maintain their health and aesthetics. This detailed guide aims to unveil a holistic approach towards curbing eyelash loss and fostering the regeneration of fuller, more robust eyelashes through a combination of effective care strategies, nutritional insights, and professional advice. Optimal Makeup Conduct and Removal Techniques The manner in which makeup is applied and subsequently removed plays a critical role in preserving eyelash integrity. The application of heavy, waterproof eye cosmetics often leads to undue stress on the lashes, contributing to their fragility and loss during the removal process. Favoring cosmetics formulated to be gentle on the lashes and employing a careful, thorough makeup removal process with appropriate products can significantly mitigate these risks. It’s imperative to abstain from harshly rubbing or tugging at the lashes to avoid exacerbating the loss. Nutritional Foundations for Eyelash Vitality The correlation between diet and hair health extends to eyelashes, with a nutrient-dense diet being foundational to their growth and resilience. A balanced intake of proteins, vitamins (notably B vitamins), minerals (including iron and zinc), and essential fatty acids promotes the vitality of eyelashes. Consuming foods rich in these nutrients, such as fish, eggs, legumes, and nuts, supports not only the health of your eyelashes but also their potential for more rapid growth. Enhancement through Eyelash Growth Serums and Natural Oils The targeted application of growth serums and natural oils can significantly enhance the thickness and length of eyelashes. Ingredients such as peptides, biotin, and botanical extracts in serums are known to aid hair growth, while natural oils like castor oil, coconut oil, and vitamin E oil offer nourishment and strength to the lashes when applied consistently with a clean applicator. Sidestepping Detrimental Habits Many everyday habits unwittingly contribute to the loss of eyelashes, such as vigorous eye rubbing, excessive use of lash curlers, or neglecting to remove makeup before sleep. Adopting a more mindful and gentle approach to eye care can help avert unnecessary damage and loss. Advancements through Professional Eyelash Treatments For individuals desiring more noticeable enhancements, professional options such as advanced growth serums and eyelash extensions present viable alternatives. These treatments, however, warrant careful consideration and should always be undertaken with professional guidance to circumvent adverse effects and ensure the health of your eyelashes. Instituting a Regular Eyelash Maintenance Regimen The establishment of a consistent eyelash care regimen is instrumental in maintaining their health and aesthetic appeal. Routine actions such as gentle cleansing, conditioning, and occasional light brushing can greatly influence the condition of your lashes, promoting their health and natural growth. Stress Reduction for Optimal Eyelash Health The pervasive effects of stress on the body include detrimental impacts on hair and eyelash growth. Engaging in activities that lower stress levels, such as physical exercise, meditation, or pursuing enjoyable hobbies, can help in reducing these adverse effects and…

7 Essential Steps To Perfectly Filed Nails Elevate Your Manicuregame
7 Essential Steps to Perfectly Filed Nails: Elevate Your Manicure Game

Learn how to hone this skill for beautiful and healthy nails. Introduction Properly maintained nails are more than just a style statement; they’re a condition of one’s personal hygiene and one of the first things people notice about you in social and professional interactions. Whether you have an essential job interview, a critical date, or just want to look and feel your best, the state of your nails is bound to get noticed. This step-by-step guide is intended to help you master all of the aspects of nail filing, to guarantee that not only do they look fantastic but also remain healthy . The Critical Aspect of Nail Maintenance Why You Only Have One Chance to Make a First Impression? You might not be able to conduct business with someone or communicate your love for them immediately. But your nails don’t have that luxury – they touch everything you do: giving and receiving, opening bags of chips, flipping through books, and who knows what else. You may be unable to immediately establish a rapport with others, but you can always rely on your nails – whether they exude warmth and care or suggest “I got this far, what’re you going to do about it?.” However, it is not only a matter of passive stress relief and feeling good “in your skin” – it is a question of survival . The Meeting Point Between Beauty and Health Looking for the Best Fitting Nail Tools How to Figure Out the Grit Code Not all nail files are created equal; they come in different grit sizes and strengths to fit differing nails and filing requirements. While a grit size of around 240 is safe for everyone, as it is smooth enough to protect the nail bed and superior enough to file the nail successfully. Tools to Nail Types Once again, if one has weak or defective nails, a diamond file such as the Diamancel range may make all the difference. Do not be frightened by the phrase “diamond,” as most metal nail files are sharper and harmfully the nail surface more than ever. Glass is another good choice, but it is always more expensive due to its good quality. Glass files can be utilized on any kind of nail because they are not as PMY as other substances, and a gloss finish means that there are less chances that a nail will cut. The Nail Filing Art Although selecting the proper sort of nail file is essential, it is idle without proper filing procedure. People must never “saw” through their nails to remove them, as they will harm the nail edge and make them soft and simple to rip. Put a pointy edge back on the nail since the original is with no edges off to construct upon. Proper File Start by placing your hammer file at an angle on one file side. Pass the device of the file just over the nail. Achieve the desired form, focusing always on the edges in a gentle bevel with small balls beneath the files’ middle. Nail Forms:…

The Ultimate Guide: How To Properly Apply Sunscreen Under Foundation
The Ultimate Guide: How to Properly Apply Sunscreen Under Foundation

Wearing sunscreen is crucial for maintaining healthy and youthful skin, protecting it from the harmful effects of the sun’s ultraviolet (UV) rays. However, many people struggle with incorporating sunscreen into their makeup routine, particularly when it comes to applying it under foundation. In this comprehensive guide, we will walk you through the steps to ensure that you can effectively wear sunscreen under foundation, allowing you to enjoy the benefits of both sun protection and flawless makeup. Step 1: Choose the Right Sunscreen:Before applying sunscreen, it is essential to select a product that suits your skin type and provides broad-spectrum protection against both UVA and UVB rays. Look for a lightweight formula that is specifically designed for the face and has a minimum SPF (Sun Protection Factor) of 30. Opt for non-comedogenic and oil-free options to prevent clogged pores and excessive shine. Step 2: Cleanse and Moisturize:Start with a clean canvas by washing your face with a gentle cleanser. Follow up with a lightweight moisturizer suitable for your skin type. Allow the moisturizer to absorb completely before proceeding to the next step. Hydrated skin ensures a smooth application of sunscreen and foundation. Step 3: Apply Sunscreen:Take a dime-sized amount of sunscreen and dot it onto your forehead, cheeks, chin, and nose. Gently spread the sunscreen across your face, ensuring even coverage. Pay extra attention to areas prone to sun exposure, such as the bridge of the nose, cheekbones, and temples. Avoid rubbing vigorously, as it may cause the sunscreen to pill or ball up. Step 4: Wait for Sunscreen to Set:Allow the sunscreen to absorb into your skin for at least 10 to 15 minutes before applying foundation. This waiting period allows the sunscreen to form a protective barrier on your skin and ensures better adherence of the foundation. Step 5: Choose a Foundation Formula:To ensure compatibility between sunscreen and foundation, opt for a foundation with a lightweight and liquid consistency. Oil-free and water-based formulas tend to work best with sunscreen, as they minimize the risk of clogged pores and allow for smoother application. Step 6: Mix Sunscreen with Foundation (Optional):If you prefer a more streamlined application process, you can mix a small amount of sunscreen with your foundation. This method helps to ensure even distribution of sun protection and foundation, providing a combined layer of coverage. However, it is important to maintain the recommended amount of sunscreen for adequate sun protection. Step 7: Apply Foundation:Using a clean makeup brush, sponge, or your fingertips, apply the foundation onto your face in gentle, downward strokes. Start from the center of your face and blend outward for a seamless finish. Avoid using excessive pressure, as it may disrupt the sunscreen layer beneath. Step 8: Set with Powder (Optional):If you prefer to set your foundation with powder, choose a translucent or mineral-based powder with sun-protective properties. Apply a light dusting to ensure your makeup stays in place while adding an extra layer of sun protection. Step 9: Reapply Sunscreen Throughout the Day:Remember that sunscreen needs to be reapplied every two hours, especially if you are exposed…