Nourishing Your Skin: How to Choose the Right Face Moisturizer for Your Skin Type

Nourishing Your Skin- How to Choose the Right Face Moisturizer for Your Skin Type-1

Moisturizing is a fundamental step in any skincare routine. Whether you have dry, oily, combination, or sensitive skin, finding the right face moisturizer tailored to your skin type is crucial. A well-chosen moisturizer not only keeps your skin hydrated but also addresses specific concerns, such as oiliness, dryness, or sensitivity. In this comprehensive guide, we will explore the importance of moisturizing, how to identify your skin type, and the key factors to consider when choosing the perfect face moisturizer to keep your skin healthy, radiant, and balanced.

The Importance of Moisturizing

Before delving into the specifics of selecting a face moisturizer, it’s essential to understand why moisturizing is a vital part of skincare:

  1. Hydration: Moisturizers provide your skin with essential hydration, helping to maintain its moisture balance. This prevents dryness, flakiness, and discomfort.
  2. Barrier Function: A well-hydrated skin barrier is better equipped to protect itself from external aggressors like pollution, UV rays, and bacteria. This can help prevent premature aging and skin damage.
  3. Soothing and Calming: Moisturizers often contain ingredients that soothe and calm the skin, reducing redness and irritation. This is particularly beneficial for sensitive or irritated skin.
  4. Improved Texture: Regular use of moisturizers can improve the texture and suppleness of your skin, leaving it soft and smooth.
  5. Makeup Application: Properly hydrated skin provides an ideal canvas for makeup application. It helps makeup products go on more smoothly and last longer.

Identifying Your Skin Type

Before you can choose the right face moisturizer, you need to determine your skin type. Your skin type dictates the specific needs and concerns your moisturizer should address. Here are the most common skin types:

  1. Dry Skin:
    • Characteristics: Dry skin often feels tight, rough, and flaky. It may be prone to redness and sensitivity.
    • Common Concerns: Dehydration, fine lines, and a dull complexion.
    • Key Ingredient: Look for moisturizers with rich, hydrating ingredients like hyaluronic acid, shea butter, or glycerin.
  2. Oily Skin:
    • Characteristics: Oily skin appears shiny, particularly in the T-zone (forehead, nose, and chin). It is prone to enlarged pores and acne.
    • Common Concerns: Excess oil production, clogged pores, and acne breakouts.
    • Key Ingredient: Seek oil-free or non-comedogenic (won’t clog pores) moisturizers with ingredients like niacinamide or salicylic acid.
  3. Combination Skin:
    • Characteristics: Combination skin exhibits a mix of dry and oily areas. Typically, the T-zone is oily, while the cheeks may be dry or normal.
    • Common Concerns: Balancing oiliness in the T-zone while providing hydration to dry areas.
    • Key Ingredient: Opt for lightweight, hydrating moisturizers that won’t exacerbate oiliness in the T-zone.
  4. Sensitive Skin:
    • Characteristics: Sensitive skin is prone to redness, irritation, and burning or stinging sensations. It can be dry or oily.
    • Common Concerns: Soothing and calming the skin, reducing redness and irritation.
    • Key Ingredient: Look for hypoallergenic and fragrance-free moisturizers with soothing ingredients like aloe vera or chamomile.
  5. Normal/Healthy Skin:
    • Characteristics: Normal or healthy skin is well-balanced, not too dry or oily. It typically has a smooth texture and a clear complexion.
    • Common Concerns: Maintaining the skin’s natural balance and preventing future issues.
    • Key Ingredient: Choose a moisturizer that helps maintain the skin’s current state and provides hydration.

Now that you’ve identified your skin type, let’s explore how to choose the right face moisturizer accordingly.
Nourishing Your Skin: How to Choose the Right Face Moisturizer for Your Skin Type

Choosing the Right Face Moisturizer for Your Skin Type

Selecting the perfect face moisturizer involves considering your skin type and specific concerns. Here are the key factors to keep in mind:

1. Ingredients Matter:

  • Read the ingredient list carefully. Look for ingredients tailored to your skin type. For example:
    • Dry Skin: Seek ingredients like hyaluronic acid, ceramides, and natural oils (e.g., jojoba or almond oil).
    • Oily Skin: Opt for oil-free, non-comedogenic formulas with ingredients like niacinamide, salicylic acid, or tea tree oil.
    • Combination Skin: Choose a lightweight, hydrating moisturizer with a balanced ingredient profile.
    • Sensitive Skin: Prioritize hypoallergenic, fragrance-free moisturizers with soothing ingredients like chamomile or aloe vera.

2. Texture and Consistency:

  • Consider the texture and consistency of the moisturizer:
    • Gel or Serum: Lightweight and water-based, suitable for oily or combination skin.
    • Lotion: A bit thicker than gels, suitable for normal or combination skin.
    • Cream: Thicker and more hydrating, ideal for dry skin.
    • Oil-Free: Suitable for oily skin types to prevent excessive shine.

3. SPF Protection:

  • For daytime use, especially if you spend time outdoors, consider a moisturizer with built-in SPF protection. This provides an extra layer of defense against UV radiation, preventing premature aging and skin damage.

4. Specific Concerns:

  • Tailor your choice to address specific skin concerns. For instance, if you have acne-prone skin, look for a moisturizer with acne-fighting ingredients. If you’re concerned about aging, opt for an anti-aging moisturizer with ingredients like retinol or peptides.

5. Allergies and Sensitivities:

  • Be mindful of any allergies or sensitivities you may have. Avoid products that contain ingredients known to trigger allergic reactions or irritation.

6. Test Before Committing:

  • If possible, obtain samples or trial sizes of moisturizers to test how your skin responds before committing to a full-sized product. This helps you avoid potential disappointments or adverse reactions.

7. Consistency is Key:

  • Stick to a consistent skincare routine. Use your chosen moisturizer morning and night to maintain healthy, well-hydrated skin.

8. Adjust with the Seasons:


  • Recognize that your skin’s needs may change with the seasons. You might require a lighter moisturizer in the summer and a richer one in the winter to combat dryness.

9. Professional Guidance:

  • If you’re unsure about your skin type or have specific skin concerns, consider consulting a dermatologist or skincare professional. They can provide personalized recommendations and help you navigate the vast array of skincare products available.

In conclusion, finding the right face moisturizer is a journey that involves understanding your skin type, recognizing its unique needs, and selecting a product tailored to those needs. The world of skincare offers a wide range of moisturizers designed to address various concerns, so take the time to explore and experiment. By following these key factors and guidelines, you can embark on a skincare routine that not only keeps your skin well-hydrated but also addresses specific issues, leaving you with a healthy and radiant complexion. Remember that skincare is a highly personalized experience, and what works best for you is the moisturizer that makes your skin look and feel its best.


How Tocreate A Simple Makeup Look
How to Create a Simple Makeup Look

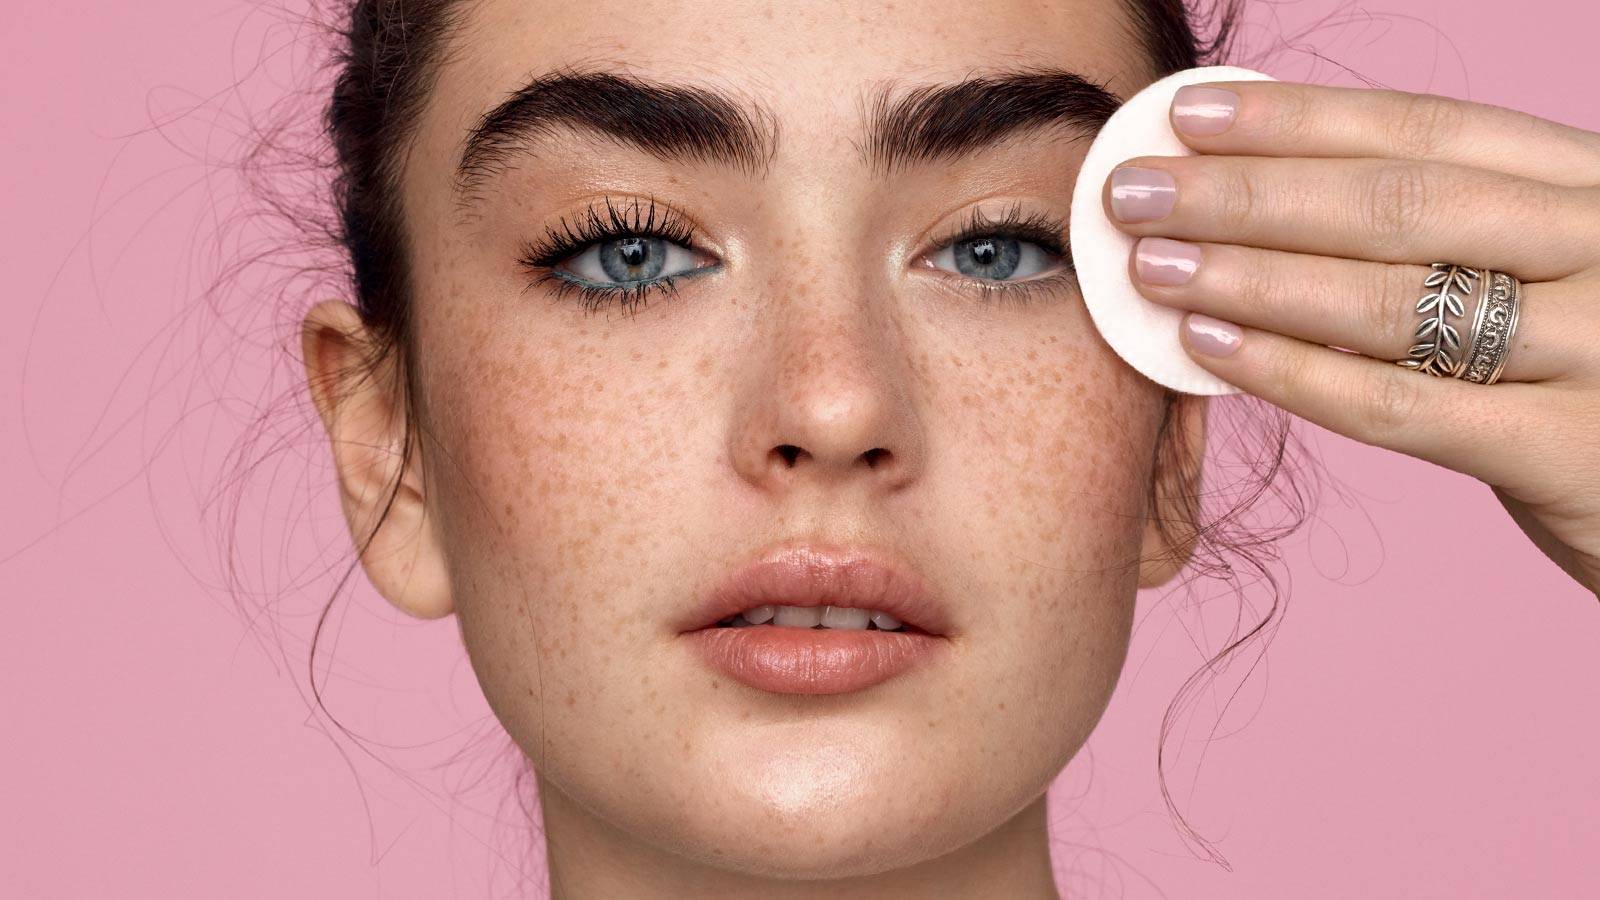
Embarking upon the path to perfecting an effortless makeup look necessitates a profound comprehension of your skin’s unique characteristics and a dedication to the minimalist ethos in beauty. This methodology transcends the mere reduction of cosmetic items; it’s centered on optimizing the impact of each selected product. Identifying whether your skin is oily, dry, or a combination thereof is fundamental. This knowledge shapes the selection of cosmetics that will most effectively highlight your features, maintaining a delicate balance without overburdening your skin. Rooted in the principle that “less is indeed more,” this approach seeks to amplify your innate allure rather than conceal it, aiming for an appearance that exudes an easy elegance, underscored by the use of premium products that provide a subtle enhancement and durability. Priming Your Canvas The preliminary step, devoid of any color application, is essential: skin preparation. A smooth and hydrated base not only elevates the appearance of your makeup but also extends its longevity. Begin with a mild cleanser to eliminate impurities, followed by a moisturizer tailored to your skin type to ensure hydration. Should your plans involve outdoor activities, applying sunscreen is imperative for shielding your skin from the detrimental effects of UV exposure. This regimen not only prepares your skin for cosmetic application but also promotes its long-term health. Curating a Fundamental Makeup Collection Assembling a foundational makeup kit need not be daunting or costly. Concentrate on securing versatile, high-quality staples that fulfill multiple roles. A BB cream or tinted moisturizer, offering light coverage while nurturing your skin, acts as both a foundation and a skincare solution. Essentials for daily use include a neutral eyeshadow palette, a mascara that both lengthens and volumizes, a blush in natural tones, and a lip color that flatters your skin tone. The significance of quality tools—a set of precise application brushes and a blending sponge—cannot be overstated, as they significantly enhance the makeup application experience. A Stepwise Tutorial for a Minimalist Makeup Look Commence with a Pristine Foundation: Post-skincare, a light primer application will smooth any imperfections, setting the stage for even coverage. Opt for a BB cream or tinted moisturizer for sheer, breathable coverage, complemented by a concealer for discreet blemish and under-eye circle camouflage, seamlessly blended with a moist beauty sponge. Subtly Defined Eyes: Choose neutral or nude shadows for a gentle color sweep across the lids. A slender eyeliner application on the upper lash line, paired with a single mascara coat, can brighten and enlarge the eyes, enhancing their sparkle. Cheek Color Enhancement: Apply a blush, cream or powder, to the cheeks’ apples, blending upwards toward the temples for a radiant, lifted look. Lip Color Refinement: Select a lip shade marginally deeper than your natural lip color for subtle emphasis. A tinted lip balm or gloss can impart a splash of color while maintaining lip hydration. Longevity Tips for a Minimalist Look For enduring makeup, a setting spray application post-makeup is advisable. For those with oily skin, a translucent powder’s light application in the T-zone can mitigate shine without heaviness. Compact powder or blotting paper touch-ups…

Eyebrow Tinting Essential Guidelines Forimpeccable Brows
Eyebrow Tinting: Essential Guidelines for Impeccable Brows

The art of eyebrow tinting has become a sought-after trend in the realm of beauty, offering an alternative to the daily application of makeup by enhancing the facial aesthetics semi-permanently. This technique, aimed at defining, shaping, and enriching the brow color, presents a fuller and more defined appearance, accentuating the facial structure exquisitely. Nevertheless, adhering to specific guidelines is paramount to achieve optimal results. Our detailed manual will navigate you through the nuances of perfecting your eyebrow tinting, covering preparatory steps, maintenance advice, and solutions for typical challenges encountered. Understanding Eyebrow Tinting Understanding Eyebrow Tinting At its core, eyebrow tinting entails the use of semi-permanent dye to fortify, sculpt, and intensify your eyebrows’ appearance. It stands as an excellent choice for individuals desiring to darken lighter brows, infuse life into fading or sparse brows, or simplify their daily eyebrow grooming routine. Eyebrow Tinting Advantages Eyebrow tinting brings numerous benefits, from yielding a more natural brow enhancement to cutting down on makeup time. It’s resistant to water and smudging, with the potential to remain vibrant for weeks, offering a practical, maintenance-free beauty solution. Preparing for Eyebrow Tinting Selecting an Appropriate Color The success of eyebrow tinting significantly depends on choosing a tint that harmonizes with your hair color and skin tone, aiming to amplify your natural beauty without overwhelming it. Allergy Tests A Precautionary Step A patch test prior to the tinting process is critical to rule out allergic reactions to the dye, safeguarding against adverse effects and ensuring a safe tinting experience. Professional Service vs. DIY Approach The decision between professional tinting services and DIY kits hinges on balancing expertise and personalized care against the convenience and cost-effectiveness of at-home options. We delve into the merits and drawbacks of both to assist in making a well-informed choice. The Do’s of Eyebrow Tinting Choosing the Suitable Tint Formula Identifying the optimal tint formula is essential for attaining the desired effect. This segment will explore the variety of eyebrow tints available and guide you in selecting the most fitting option. Adherence to Instructions Precise compliance with the provided instructions or professional guidance is fundamental, whether tinting at home or opting for a salon service, to avert errors and secure the best possible results. Aftercare Recommendations Maintaining the longevity of your tinted brows involves specific aftercare practices. We will unveil strategies to prolong your tint’s durability, advising on products and activities to avoid. The Don’ts of Eyebrow Tinting Evading Common Pitfalls This part addresses typical errors to steer clear of, such as incorrect color selection or overlooking patch tests, to smooth your eyebrow tinting journey. The Drawbacks of Excessive Tinting Over-tinting can result in overly dark, stark brows. We advocate for moderation to maintain a balanced, authentic appearance. The Dangers of Unauthorized Dyes Employing dyes not sanctioned for eyebrow tinting poses significant health risks. Highlighting the criticality of using only eyebrow-specific tinting products. Eyebrow Tinting: A Step-by-Step Tutorial Preparation: Cleansing and Mapping From cleansing and shaping your brows for tint application to ensuring even coverage and effective aftercare, we furnish a comprehensive guide to executing…

Navigating The Challenge Of Preventingteeth Discoloration
Navigating the Challenge of Preventing Teeth Discoloration: A Guide to Protecting Your Sparkling Smile

A dazzling smile is widely regarded as a hallmark of wellness, attractiveness, and self-assurance. Yet, keeping that sparkle isn’t straightforward, given the daily habits that may cause our teeth to lose their brilliance. By identifying and avoiding the main culprits of discoloration, you can take significant steps toward preserving the sparkle of your smile. This guide explores the top five factors leading to teeth discoloration, offering advice and techniques to evade these common pitfalls and maintain a gleaming, healthy smile. Decoding Teeth Discoloration The reasons behind teeth discoloration are varied, encompassing diet, oral hygiene, and more. It is crucial to distinguish between extrinsic stains, which mar the tooth’s surface, and intrinsic stains, which lie deeper and pose a greater challenge to remove. Recognizing these causes enables individuals to actively prevent teeth discoloration. Diet’s Influence on Teeth Shade The impact of our diet on teeth color is substantial. Some foods and drinks are infamous for causing stains. Being aware of which ones to limit or avoid can have a notable effect on the luminosity of your smile. 1. Coffee and Tea: The Harsh Reality Despite their popularity for their invigorating properties, coffee and tea are prominent offenders in teeth staining. Their intense pigments cling to the enamel, gradually dimming your smile. Adopting routines such as drinking water post-consumption can help lessen their staining impact. 2. Tobacco: A Hazard to Your Smile The use of tobacco, through smoking or chewing, introduces noxious chemicals that lead to severe teeth discoloration. Abstaining from tobacco not only boosts your overall health but is also essential for keeping your smile white. 3. Red Wine: Benefits with a Catch Although red wine is celebrated for its health advantages, it is equally known for causing teeth stains. Its acidity and rich pigments can compromise the enamel, though moderation and diligent oral care can mitigate these effects. 4. Sodas and Acidic Drinks: Dual Threats Acidic drinks, like sodas, wear down the enamel, rendering the teeth more prone to stains. Choosing healthier alternatives and curbing consumption can safeguard your smile. 5. Berries and Vibrantly Colored Foods: Innocent Offenders Berries, despite their antioxidant benefits, can leave stains on teeth due to their deep hues. Conscious consumption and thorough oral hygiene can lessen their staining potential. Preventing and Maintaining a White Smile Adhering to daily oral hygiene practices, including brushing, flossing, and rinsing with mouthwash, is vital in averting discoloration. Regular visits for dental checkups and cleanings further contribute to a luminous smile. Opting for Professional Teeth Whitening For immediate enhancements, professional teeth whitening provides a reliable and efficient method. Understanding the various treatments available assists in selecting the most suitable option. Natural Teeth Whitening Solutions While certain home remedies may offer benefits, it’s crucial to approach teeth whitening cautiously. Knowledge of safe practices ensures the preservation of your smile’s health. The Foundation of a Bright Smile: Oral Hygiene Excellent oral hygiene is essential for maintaining a gleaming smile. Choosing appropriate dental care products plays a significant role in preventing discoloration. Lifestyle Changes for Enhancing Your Smile Embracing healthy habits and avoiding those that…

The Ultimate Guide: How To Properly Apply Sunscreen Under Foundation
The Ultimate Guide: How to Properly Apply Sunscreen Under Foundation

Wearing sunscreen is crucial for maintaining healthy and youthful skin, protecting it from the harmful effects of the sun’s ultraviolet (UV) rays. However, many people struggle with incorporating sunscreen into their makeup routine, particularly when it comes to applying it under foundation. In this comprehensive guide, we will walk you through the steps to ensure that you can effectively wear sunscreen under foundation, allowing you to enjoy the benefits of both sun protection and flawless makeup. Step 1: Choose the Right Sunscreen:Before applying sunscreen, it is essential to select a product that suits your skin type and provides broad-spectrum protection against both UVA and UVB rays. Look for a lightweight formula that is specifically designed for the face and has a minimum SPF (Sun Protection Factor) of 30. Opt for non-comedogenic and oil-free options to prevent clogged pores and excessive shine. Step 2: Cleanse and Moisturize:Start with a clean canvas by washing your face with a gentle cleanser. Follow up with a lightweight moisturizer suitable for your skin type. Allow the moisturizer to absorb completely before proceeding to the next step. Hydrated skin ensures a smooth application of sunscreen and foundation. Step 3: Apply Sunscreen:Take a dime-sized amount of sunscreen and dot it onto your forehead, cheeks, chin, and nose. Gently spread the sunscreen across your face, ensuring even coverage. Pay extra attention to areas prone to sun exposure, such as the bridge of the nose, cheekbones, and temples. Avoid rubbing vigorously, as it may cause the sunscreen to pill or ball up. Step 4: Wait for Sunscreen to Set:Allow the sunscreen to absorb into your skin for at least 10 to 15 minutes before applying foundation. This waiting period allows the sunscreen to form a protective barrier on your skin and ensures better adherence of the foundation. Step 5: Choose a Foundation Formula:To ensure compatibility between sunscreen and foundation, opt for a foundation with a lightweight and liquid consistency. Oil-free and water-based formulas tend to work best with sunscreen, as they minimize the risk of clogged pores and allow for smoother application. Step 6: Mix Sunscreen with Foundation (Optional):If you prefer a more streamlined application process, you can mix a small amount of sunscreen with your foundation. This method helps to ensure even distribution of sun protection and foundation, providing a combined layer of coverage. However, it is important to maintain the recommended amount of sunscreen for adequate sun protection. Step 7: Apply Foundation:Using a clean makeup brush, sponge, or your fingertips, apply the foundation onto your face in gentle, downward strokes. Start from the center of your face and blend outward for a seamless finish. Avoid using excessive pressure, as it may disrupt the sunscreen layer beneath. Step 8: Set with Powder (Optional):If you prefer to set your foundation with powder, choose a translucent or mineral-based powder with sun-protective properties. Apply a light dusting to ensure your makeup stays in place while adding an extra layer of sun protection. Step 9: Reapply Sunscreen Throughout the Day:Remember that sunscreen needs to be reapplied every two hours, especially if you are exposed…

Why Beauty 5
Why is beauty so important to women?

Why is it, in part, an unrequited concern? Where, in fact, is the beauty in the beauty of a woman? What is beauty in itself, besides being a consequence of what a woman chooses to show to the rest of the world? What is beauty worth when there are women who are drawn to others of a darker color of skin, a narrower waistline, fewer muscles, a smaller frame, a smaller leg, fewer fingers? What is beauty worth when women who are attractive to a man’s eyes are stigmatized for engaging in a sexual act? To answer these questions, I went out and I chose a woman who was charming, smart, confident, and attractive. And I asked her a question: “Do you think there is beauty in all people?” And she said, “I believe there is.” Every woman has her beauty, whether it is a small nose and a bigger mouth, or a big nose and a smaller mouth. Or it’s a tall and thin. Everyone has a beauty, and beauty is about health. This beauty that many beautiful women around me share is something that every woman wants for herself. It is healthy. It is beyond physical beauty. It is something that is desirable to the minds and hearts of many men, and even to the minds and hearts of most women. In modern society, women are judged by beauty. And it has, in a way, usurped beauty, so that people judge women for how they look rather than how they feel, and men are more concerned about what women look like than what they say or do. Beauty has been overridden by beauty, in a way, because there is beauty in health. There is beauty in beauty. In ancient Greece and Rome, beauty was not about outward appearance. Beauty was about expression. Beauty was about what you spoke of, and there was beauty in a woman’s face as well as in her legs and her arms and her fingers. Beauty was about confidence. One of the greatest gifts you can give your life is that of a beautiful soul. A beautiful soul is worth more than beauty. It is something that will not be seen by the eyes of men, but by the eyes of your family. It is something that will give you health, and a beauty that will never go out of style. A beautiful soul will tell others who you are and how you feel, and it will answer the questions that will never be asked, by your family. That is the beauty in a woman, beauty that can never go out of style. It is something that will not be judged by men. And it is a beauty that will only be a beauty to the people who you give it to. It is a beauty that is free of shame and pain. Beauty is an unrequited desire, an unrequited fear. But beauty has its beauty, and beauty does have its beauty. This beauty is neither beautiful nor ugly, just as beauty is never ugly and…

Exploring The American Manicure: What It Is And How To Get It
Exploring the American Manicure: What It Is and How to Get It

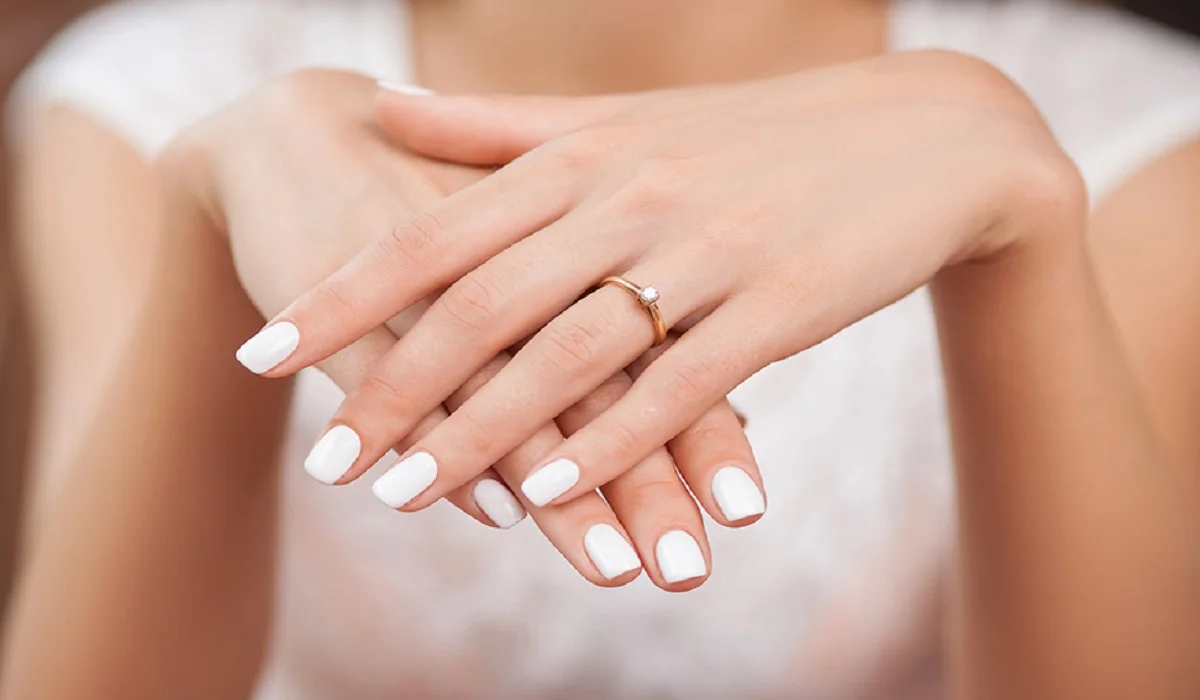
The beauty industry is constantly evolving, and new trends are emerging every day. One of the latest trends to take the world of nails by storm is the American Manicure. While it may sound similar to the French Manicure, there are some key differences that set the two apart. In this article, we will delve into what an American Manicure is, the key differences between it and a French Manicure, and how you can achieve the perfect American Manicure look. What is an American Manicure? An American Manicure is a type of nail treatment that involves shaping and polishing the nails in a way that appears natural and understated. The aim of this type of manicure is to create a clean, well-groomed appearance that looks polished and professional. American Manicures have become increasingly popular in recent years, thanks to their simplicity and versatility. The Key Differences Between American and French Manicures: While the two styles may sound similar, there are some key differences between American and French Manicures that set them apart. One of the main differences is the shape of the nail tip. French Manicures typically have a more pronounced tip that is squared off, while American Manicures have a slightly rounded tip that is more natural-looking. Another difference is the color of the polish used for the tip of the nail. In a French Manicure, the tip is usually painted with a stark white polish, while an American Manicure uses a more subtle shade that closely matches the color of the nail bed. Finally, the thickness of the line used to separate the tip of the nail from the rest of the nail bed is typically thinner in an American Manicure than in a French Manicure. This gives the American Manicure a more natural, blended look. How to Achieve the Perfect American Manicure: If you’re interested in achieving the perfect American Manicure, the good news is that it’s relatively easy to do at home. Here are the steps you’ll need to follow: Step 1: Start by cleaning and shaping your nails. Use a nail file to shape them into a slightly rounded tip and gently buff them to create a smooth surface. Step 2: Apply a base coat to your nails to protect them and ensure the polish goes on smoothly. Step 3: Choose a polish color that closely matches the color of your nail bed. Apply two coats of polish, allowing each coat to dry fully before applying the next. Step 4: Once the polish is dry, use a slightly lighter shade of polish to paint the tips of your nails. You can use a special nail stencil or a steady hand to create a rounded tip. Step 5: Finally, apply a top coat to protect the polish and give your nails a glossy finish. The American Manicure is a popular nail trend that is perfect for those who want a natural and understated look. While it may share some similarities with the French Manicure, there are some key differences that set the two apart. With a little bit…

How To Get Rid Of A Double Chin Causes Treatments, And Prevention
How to Get Rid of a Double Chin Causes, Treatments, and Prevention

A double chin, medically known as submental fat, is a common concern for many individuals. It can affect anyone, regardless of age or body type, leading to self-consciousness and a desire for corrective measures. This article delves into the root causes of double chin formation, explores a range of treatments from professional to DIY methods, and offers preventative advice to maintain a defined jawline.Double chins appear when a layer of fat forms below the chin, often associated with weight gain, though not exclusively. Genetics also play a crucial role, meaning if your family has a history of double chins, you might be more prone to developing one. Causes of Double Chins Factors Contributing to Double Chin Formation Understanding the multifaceted causes helps in targeting the condition more effectively. Weight Gain and Obesity Excess weight can significantly impact facial structure and appearance, leading to the development of a double chin. Aging and Skin Elasticity As we age, our skin loses elasticity, contributing to the sagging appearance that can accentuate or lead to a double chin. Poor Posture and Its Impact Chronic poor posture, especially in the digital age, can weaken neck and chin muscles, exacerbating the appearance of a double chin. Professional Treatments for Double Chin Reduction For those seeking immediate or significant results, professional treatments offer several options. Lipolysis (Laser Treatment) A minimally invasive procedure that uses laser energy to break down fat cells under the chin. Mesotherapy (Kybella) An FDA-approved injection treatment designed to dissolve fat beneath the chin, reducing its appearance. CoolSculpting for Double Chin A non-invasive cooling technology that freezes and eliminates fat cells, tailored for the under-chin area. Radiofrequency Treatments These treatments target fat deposits and tighten the skin, offering a non-surgical solution to double chin reduction. Non-Surgical Methods to Reduce Double Chin Not everyone is ready or willing to undergo professional treatments; fortunately, there are effective home remedies and exercises. Exercises Targeting the Neck and Jawline Simple, daily exercises can strengthen the area, potentially reducing the appearance of a double chin. Diet and Weight Management Maintaining a healthy diet and weight can prevent and reduce the formation of a double chin. Skincare Routines for Improved Elasticity Regular skincare can improve skin elasticity, potentially minimizing the sagging that contributes to a double chin. The Role of Diet and Nutrition Understanding how your diet affects your skin and fat accumulation is crucial in combating a double chin. Foods to Avoid Certain foods contribute to weight gain and poor skin health, exacerbating double chin development. Foods to Include for Skin Health Incorporating foods rich in vitamins and minerals can improve skin elasticity and overall health. Preventative Measures Against Double Chin Development Prevention is often easier than correction. Adopting healthy lifestyle habits can significantly reduce the risk of developing a double chin. Importance of Posture Maintaining good posture not only improves your appearance but can also prevent the weakening of neck and chin muscles. Regular Exercise A regular exercise regimen can help maintain a healthy weight and improve overall body composition. Hydration and Its Effects on Skin Adequate hydration is essential…

Decoding Undertones: Understanding How Vein Color Can Indicate Your Skin Undertone

When it comes to finding the perfect makeup shades, hair colors, or clothing that flatter your complexion, understanding your skin’s undertone is key. While determining your undertone may seem like a daunting task, there is a simple method that can offer valuable insights: examining the color of your veins. The veins on your wrist can provide clues about your skin undertone, helping you make informed choices when it comes to beauty and fashion. In this article, we will delve into the correlation between vein color and undertone, explore the different undertone categories, and provide practical tips on how to determine and embrace your undertone to enhance your overall appearance. Understanding Undertones: Undertone refers to the underlying color that shines through your skin, regardless of its surface tone (fair, medium, or deep). It is categorized into three main types: cool, warm, and neutral. Cool Undertone:If you have a cool undertone, your skin may have hints of pink, red, or blue. People with cool undertones often have veins that appear bluish or purple on their wrists. Cool undertones are commonly associated with fair or light skin, but they can also be present in medium and deep skin tones. Warm Undertone:A warm undertone typically has undertones of yellow, peach, or golden hues. Veins on individuals with warm undertones may appear greenish or olive. Warm undertones are commonly found in people with golden or olive skin tones, but they can also be present in fair or deep skin tones. Neutral Undertone:A neutral undertone indicates a balance between cool and warm tones. Veins of individuals with neutral undertones may appear blue-green or a mix of blue and green. Neutral undertones are versatile and can suit a range of skin tones, from fair to deep. Determining Your Undertone Using Vein Color: To determine your undertone based on the color of your veins, follow these steps: Find natural light: Look for natural lighting or step outside to ensure accurate color perception. Examine your wrist: Observe the veins on the inside of your wrist or the underside of your forearm. Pay attention to their color and appearance. Cool Undertone: If your veins appear bluish or purple, you likely have a cool undertone. Warm Undertone: If your veins appear greenish or olive, you likely have a warm undertone. Neutral Undertone: If your veins appear blue-green or a mix of blue and green, you likely have a neutral undertone. Applying Your Undertone Knowledge: Understanding your undertone can guide your choices in various aspects of beauty and fashion: Foundation and Concealer:Knowing your undertone is crucial for selecting the right foundation and concealer shades that will blend seamlessly with your skin. Cool undertones are complemented by foundations with pink or neutral undertones, while warm undertones benefit from foundations with yellow or golden undertones. Neutral undertones can typically wear a range of shades from different undertone families. Lipstick and Blush:When choosing lipsticks and blushes, consider your undertone to find shades that enhance your natural beauty. Cool undertones tend to suit berry, pink, and blue-based red shades, while warm undertones can opt for coral, peach, and…