What Is Niacinamide And How To Use It?

What Is Niacinamide And How To Use It 1

Niacinamide (Vitamin B3) stands out in skincare as one of its standout performers; this comprehensive guide seeks to decode its many mysteries while exploring its origins, scientific basis and practical tips for using it effectively in skincare regimens to unlock all its full potential.

Chapter 1 : Understanding Niacinamide

Niacinamide Defined
Niacinamide, the water-soluble form of Vitamin B3, is an amazing ingredient with numerous advantages for skin health and appearance. Unlike its predecessor niacin, which could irritate sensitive skin types, niacinamide offers many non-irritant benefits that could make this powerhouse ingredient ideal for all kinds of complexions.

Sources of Niacinamide
Niacinamide can be obtained in numerous natural and synthetic sources, from meat, fish, nuts and green vegetables to skincare formulations. Natural sources typically consist of meat and fish while its synthetic form can often be seen used for skincare formulations.

Chapter 2 : Science Behind Niacinamide

Niacinamide’s Mode of Action

Understanding how niacinamide functions at its molecular core is crucial to comprehend its impact on skin. Niacinamide acts as an intermediary in activating essential coenzymes such as NAD and NADP which play an integral role in energy production and repair mechanisms in cells.

Benefits to Skin Barrier

Niacinamide has earned widespread renown for its ability to strengthen skin’s natural barrier function by stimulating ceramide production and supporting an adequate lipid profile, effectively helping prevent moisture loss while keeping its integrity.

Chapter 3: Niacinamide Offers Multiple Advantages

Niacinamide’s brightening effects cannot be overstated: from hyperpigmentation and uneven skin tone issues to melanin production suppression resulting in brighter complexions.

Niacinamide’s Anti-Aging Properties Niacinamide acts as an antioxidant to fight off free radical damage to skin from environmental elements and help smoother, younger-looking skin by combatting oxidative stress. Furthermore, it assists in the reduction of fine lines and wrinkles to promote smoother and younger-looking complexion.

Niacinamide Can Help Manage Acne Niacinamide’s anti-inflammatory properties make niacinamide an invaluable weapon when dealing with acne concerns, helping regulate sebum production while decreasing excess oiliness and avoiding pore blockages – contributing greatly towards its use for acne management.
What Is Niacinamide And How To Use It 2

Chapter 4: Selecting an Appropriate Niacinamide Product

Niacinamide comes in different concentrations to meet specific skin care needs; selecting one depends on individual preferences. Lower concentrations (around 2-5%) may be suitable for newcomers while higher doses (10% or greater) could address more targeted concerns.

Niacinamide comes in various formulations from serums to creams; lightweight serums work great for layering while rich creams offer nourishment for those with dry skin.

Chapter 5: Integrating Niacinamide Into Your Skincare Routine


Understanding Layering Techniques Niacinamide should play an integral part of your skincare regime, typically after cleansing and before heavier creams or sunscreens are applied. Pairing it with complementary ingredients enhances its effectiveness further.

Niacinamide can easily fit into daily skin care regimes. Integrating it both morning and evening routines ensures consistent benefits, whether your goal is brighter skin or treating specific concerns.

Chapter 6: Addressing Concerns and Misconceptions

Niacinamide is generally well tolerated; however, some individuals may experience mild irritation. Patch testing a new product and gradually adding it into your routine is one effective strategy for mitigating potential side effects of taking Niacinamide.
Niacinamide (vitamin B3) stands out among skincare ingredients with transformative powers; therefore it deserves its place among our arsenal as one of the mainstays for healthier and radiant skin. When it comes to research-backed solutions that promise long-term benefits such as Niacinamide’s spectrum of advantages.

Niacinamide’s versatility as an acne treatment lies in its versatility; from fortifying skin barrier integrity and hyperpigmentation relief, to managing acne issues. When we explore its details further it becomes evident that its success stems not solely from anecdotal praise but is rather grounded scientific mechanisms.

Niacinamide offers many diverse advantages for skin health; understanding its sources, mechanisms of action and benefits will enable you to best leverage them for yourself. Niacinamide provides brightening effects while fighting signs of aging or managing other concerns with it being an invaluable ally.

Selecting an effective Niacinamide product and understanding its optimal concentration are critical steps towards realizing its full potential. Exploring its compatibility with other ingredients enriches the skincare experience further.

Niacinamide no longer simply plays the role of skincare ingredient but can serve as part of our journey toward skin wellness. From day to night and season to season as our needs for skincare change over time niacinamide will remain with us, providing your skin with all of its needs being fulfilled.

As it should be clear by now, harnessing the transformative powers of niacinamide requires much more than simply adopting another skincare trend; rather, its acceptance involves adopting an ingredient with scientific backing which works harmoniously with our bodies’ natural processes to bring forth positive change to skin care regimens. As part of your skincare journey, make niacinamide an indispensable part of your regimen; your skin will thank you!


How To Wear Crystal Makeup: Tips And Tricks For A Glamorous Look
How to Wear Crystal Makeup: Tips and Tricks for a Glamorous Look

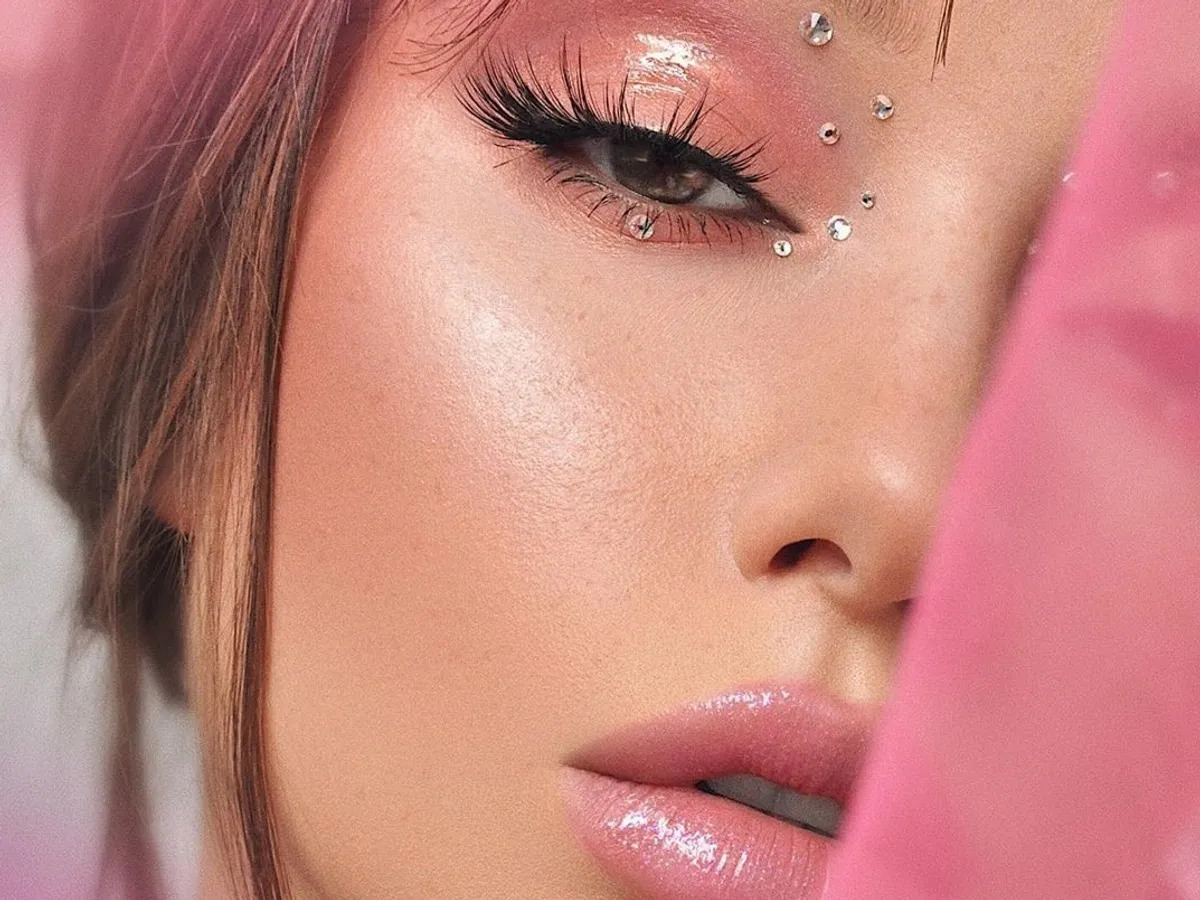
Crystal makeup has become a popular trend in recent years, and it’s not hard to see why. The shimmering, sparkling effect of crystals on the face can add a touch of glamour and elegance to any makeup look. If you’re interested in trying out this trend, there are a few things you need to know. In this article, we’ll go over some tips and tricks for how to wear crystal makeup like a pro. What is Crystal Makeup? First, let’s define what we mean by crystal makeup. This refers to any makeup look that incorporates crystals or other glittery, sparkly materials onto the face. This can range from subtle touches of shimmer to full-on, glittery glam. Some common types of crystal makeup include: Crystal eyeliner: This involves using a liquid liner with tiny crystals embedded in it to create a sparkling line along the eyelid.Crystal highlighter: This involves using a powder or cream highlighter with glittery particles to add a shimmering effect to the high points of the face, such as the cheekbones, brow bone, and cupid’s bow.Crystal lips: This involves using a glittery lip gloss or lipstick with tiny crystals or glitter particles to add a shimmering effect to the lips.Crystal face jewels: This involves using adhesive jewels or rhinestones on the face to create a glamorous, sparkling effect.Now that you know what we mean by crystal makeup, let’s get into some tips and tricks for how to wear it. Choose the Right ProductsThe key to a successful crystal makeup look is choosing the right products. You’ll want to look for makeup products that have glitter or crystals already built in, such as crystal eyeliner or glittery lip gloss. You can also create your own crystal makeup by using loose glitter or crystals and mixing them with a clear adhesive, such as eyelash glue. Prep Your SkinBefore applying any makeup, it’s important to prep your skin properly. This means cleansing your face thoroughly and applying a moisturizer to ensure your skin is hydrated and smooth. You may also want to use a primer to help your makeup stay in place and prevent it from creasing or smudging. Start SmallIf you’re new to crystal makeup, it’s best to start small and work your way up. Begin by adding a subtle touch of shimmer to your makeup, such as a crystal eyeliner or a glittery lip gloss. As you become more comfortable with the look, you can experiment with more elaborate crystal makeup looks. Use AdhesiveWhen applying crystals or glitter to your face, it’s important to use a strong adhesive that will hold them in place. You can use a clear adhesive, such as eyelash glue, or a specialized adhesive designed for use on the face. Be sure to apply the adhesive sparingly and allow it to dry fully before applying the crystals or glitter. Apply in LayersTo create a more dramatic effect, you can apply crystals or glitter in layers. Begin with a thin layer of adhesive and a small amount of crystals or glitter, and then gradually build up the layers…

Eyelash Lift And Eyelash Extension Procedures

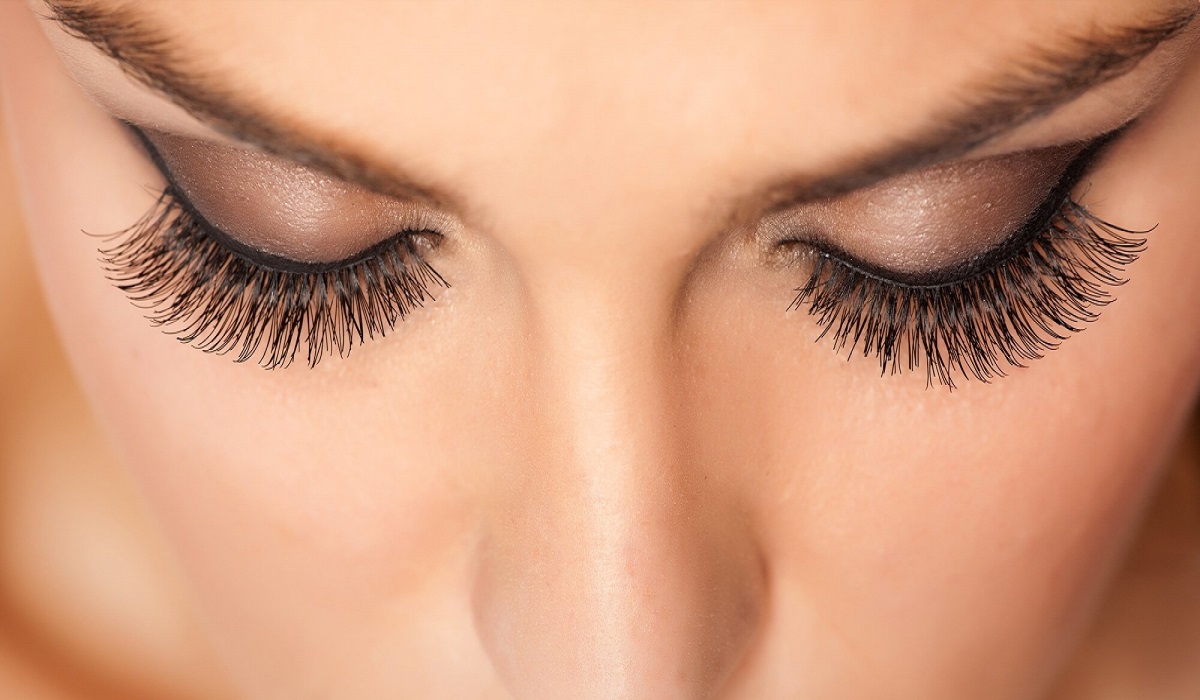
Methods such as eyelash lifts and eyelash extensions have, at last, turned out to be a semi-permanent option for every beauty aficionado who just wants the ease of full and captivating lashes without having to apply falsies every day. These services not only promise to streamline your beauty routine but also awaken your appearance with minimal effort. This guide delves into finer nuances of differences between a lash lift and extensions, so you can finally choose which procedure fits your lifestyle and beauty aspiration. The Essence of Eyelash Lifts Natural and semi-permanent, eyelash lifts are an easy way to enhance the lashes without the application of synthetics. The treatment raises the natural lashes from the base, creating an illusion of length and volume that will put the wow factor into your eyes without the need for extensions. Procedure of a Lash Lift A complete session of lash lift normally takes between 45 minutes to one hour, with clients being required to close their eyes throughout. The process begins with the careful placement of a barrier to protect the eyes and separate each lash. A chemical solution is then applied in order to adjust the natural structure of lashes around a silicone rod to get an L-shaped lift and curl. Many opt to combine this service with a lash tint to give the lashes more definition. Pros and Cons of Lash Lifts Pros: Cons: Exploring Eyelash Extensions Eyelash extensions are for those who want something a bit more dramatic but would still give an individual a way that is completely customizable to their lashes. These extensions are semi-peruquement in nature and consist of attaching synthetic fibers onto an individual’s natural lashes to make them fuller and more dramatic. Eyelash Extension Procedure In fact, the application of a full set really does take hours, because individual false eyelashes are glued one by one to a person’s natural eyelash. Not only does this provide instant volume and length, but it allows full customized shape and volume to your curl, and even color for your lashes. The client should close his eyes during the whole time of application, ensuring that safety and accuracy are protected in this application. Pros and Cons of Eyelash Extensions Pros: Cons: The dedication highly needed is to maintain this level of the eyelash extensions; hence, it requires cleaning every day and be away from any wetness in the first 48 hours. The loss of extensions can lead to an uneven lash line, necessitating regular touch-ups. The cost of upkeep for eyelash extensions can accumulate, making it a more expensive option in the long run. Choosing Between Lash Lifts and Extensions Deciding whether to get a lash lift or extensions depends on a few key things: your lifestyle, the budget you have for them, and how much you want to maintain them. If you want a fast way to look fabulous without any maintenance and hassle, this is the way to go. For far more dramatic change, however, and if you’re willing to pay time and money for maintenance, then eyelash extensions…

Foot Care Guide Tips For Pampering Your Feet Andnails
Foot Care Guide: Tips for Pampering Your Feet and Nails

Foot care, a crucial element of personal hygiene and overall health, is often undervalued despite the significant role our feet play in our daily lives. Bearing the brunt of daily wear and tear, our feet deserve diligent care to remain in prime condition. This comprehensive guide combines expert advice and practical tips to help you take care of your feet, from maintaining shapely heels to ensuring your nails are both beautiful and expressive. The Basics of Foot Care Daily Foot Hygiene The foundation of foot health begins with routine hygiene practices. Daily washing with soap and water, thorough drying, especially between the toes, and moisturizing to prevent dryness are essential steps to keep your feet healthy. Choosing the Right Footwear Wearing shoes that fit well and provide adequate support is vital. Opt for footwear with cushioned soles and avoid high heels or shoes with pointed toes that can exacerbate foot problems. The Role of Moisturizing in Foot Health Hydration is key to preventing cracks and calluses, especially on the heels. Products containing natural ingredients like shea butter or coconut oil offer gentle yet effective moisturization. Common Foot Problems and Solutions Athlete’s Foot: Prevention and Treatment This section addresses preventive measures and remedies for athlete’s foot, highlighting the importance of keeping your feet dry to avoid fungal infections. Nail Fungus: Causes and Cures Understanding the causes of nail fungus is the first step toward effective treatment. Regular cleaning and careful inspection of the nails can prevent fungal infections. Heel Pain: Remedies Tips for alleviating heel pain include proper footwear, regular stretching, and avoiding excessive pressure on the heels. Professional Foot Care Services Podiatry Services Exploring when to seek help from a podiatrist for foot issues and the benefits of professional care in maintaining foot health. Benefits of Regular Pedicures Pedicures go beyond aesthetics; they are essential for detecting and preventing nail problems, such as ingrown toenails and fungal infections. DIY Foot Care at Home Simple Soaking Solutions A warm soak with essential oils can relax and soften the feet, making it easier to remove calluses and dead skin. Homemade Foot Scrubs Learn to create effective foot scrubs at home to exfoliate the skin gently, keeping your feet smooth and free of dry, dead layers. Natural Moisturizers After exfoliating, applying a natural moisturizer can keep your feet soft and prevent dryness and cracking. Foot Care for Diabetics Special Considerations Diabetics require specialized foot care to prevent serious complications. Daily checks and proper hygiene are crucial. Tips for Daily Foot Check-ups Routine inspections for cuts, blisters, or any abnormalities are essential for early detection and treatment of potential issues. Footwear and Foot Health How to Choose the Right Shoes Selecting the right shoes can prevent many foot problems. Shoes with adequate support and a comfortable fit are essential for foot health. Impact of High Heels on Feet Discussing the adverse effects of high heels on foot health and offering tips for minimizing damage. Importance of Proper Fit Ensuring shoes fit correctly is critical to avoiding foot issues such as blisters, calluses, and corns. Exercise and…

Toners Vs. Astringents: Understanding The Key Differences
Toners vs. Astringents: Understanding the Key Differences

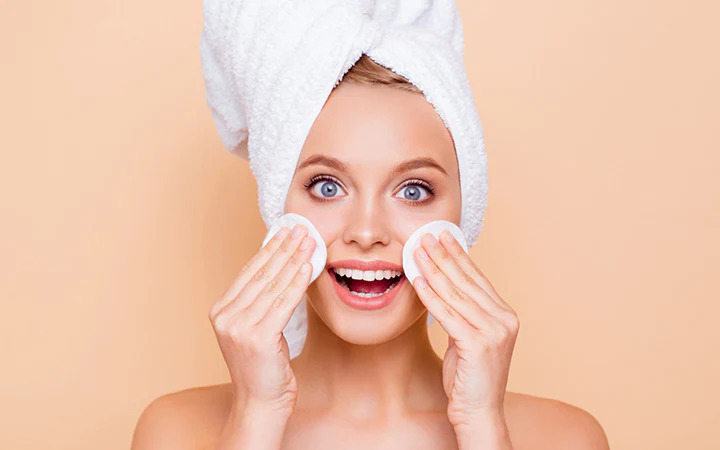
Toners and astringents are two skincare products that are often used interchangeably, but they are not the same thing. While both are used to improve skin tone and texture, they work differently and are designed for different skin types. Understanding the differences between toners and astringents can help you choose the right product for your skin and get the best results. What is a Toner? A toner is a liquid skincare product that is used after cleansing the face to remove any remaining dirt, oil, and impurities. Toners are designed to balance the skin’s pH levels, which can be disrupted by harsh cleansers or tap water. Most toners are alcohol-free and contain ingredients like glycerin, hyaluronic acid, and aloe vera, which help to hydrate and soothe the skin. Toners come in different forms, including sprays, mists, and lotions. They can be applied with a cotton pad or sprayed directly onto the face. Toners are suitable for all skin types, but they are particularly beneficial for people with oily or acne-prone skin. Toners help to remove excess oil and prevent breakouts by tightening the pores and reducing inflammation. What is an Astringent? An astringent is a liquid skincare product that is designed to remove excess oil from the skin and tighten the pores. Astringents contain alcohol, witch hazel, or other ingredients that have a drying effect on the skin. Astringents are particularly useful for people with oily skin or those who are prone to acne. Astringents work by removing the top layer of dead skin cells, which can clog pores and lead to breakouts. They also help to control oil production by reducing sebum secretion. Astringents are generally more potent than toners and are not suitable for all skin types. People with dry or sensitive skin should avoid using astringents as they can cause irritation and dryness. The Key Differences Between Toners and Astringents While toners and astringents are both liquid skincare products that are used to improve skin tone and texture, there are some key differences between them: IngredientsThe main difference between toners and astringents is their ingredients. Toners are generally alcohol-free and contain ingredients like glycerin, hyaluronic acid, and aloe vera, which help to hydrate and soothe the skin. Astringents, on the other hand, contain alcohol, witch hazel, or other ingredients that have a drying effect on the skin. Skin TypeToners are suitable for all skin types, but they are particularly beneficial for people with oily or acne-prone skin. Toners help to remove excess oil and prevent breakouts by tightening the pores and reducing inflammation. Astringents are generally more potent than toners and are not suitable for all skin types. People with dry or sensitive skin should avoid using astringents as they can cause irritation and dryness. PurposeThe purpose of toners and astringents is slightly different. Toners are designed to balance the skin’s pH levels and remove any remaining dirt, oil, and impurities after cleansing. Astringents, on the other hand, are designed to remove excess oil from the skin, tighten the pores, and control oil production. StrengthAstringents are generally more potent…

Understanding The Benefits Of Mascara Primer
Understanding the Benefits of Mascara Primer

In the realm of makeup, where each product promises to be a game-changer, mascara primer stands out for its subtle yet significant impact on the way mascara adheres to, beautifies, and protects your lashes. Often overlooked in daily makeup routines, this preparatory product is designed to create an ideal canvas for your mascara, offering benefits that extend beyond mere aesthetics. This guide delves into the benefits of mascara primer, shedding light on why it might just be the missing piece in your quest for flawless lashes. Introduction to Mascara Primer Mascara primer, a beauty enhancer nestled between your natural lashes and the final coat of mascara, serves multiple purposes. Its primary role is to prep the lashes, providing a smooth base that amplifies the effects of your mascara, from volumizing to lengthening. But its benefits are not solely confined to aesthetics. The Science Behind Mascara Primers Composition and Function Primers are formulated with polymers, waxes, and oils that coat each lash, offering a scaffold for the mascara to cling to. This not only intensifies the mascara’s effects but also adds a layer of protection to the lashes. How Primers Enhance Mascara Performance By smoothing out the lashes and providing a uniform texture, primers help in the even application of mascara, reducing the likelihood of clumping and flaking. Key Benefits of Using Mascara Primer Lengthening and Volumizing Effects Primers contain thickening agents that coat the lashes, making them appear fuller and longer even before the mascara is applied. Improves Mascara Longevity A primer acts as a bonding agent between the lashes and the mascara, helping your mascara stay put for longer periods without smudging or flaking. Protection and Conditioning for Lashes Many primers are infused with nourishing ingredients like vitamins and oils, which condition the lashes, promoting healthier growth and reducing breakage. Choosing the Right Mascara Primer Ingredients to Look For Opt for primers enriched with vitamins E and C, natural oils, or conditioning agents that offer benefits beyond mere aesthetics. Primer for Different Lash Types Whether you have short, sparse, or brittle lashes, there’s a primer designed to address your specific needs, from hydrating formulas to fiber-filled ones that add extra volume and length. Application Techniques for Mascara Primer Step-by-Step Guide Starting at the base of your lashes, gently wiggle the primer wand as you move upwards to the tips. This ensures an even coat and helps separate the lashes for a clump-free finish. Tips for Maximizing Benefits Wait a few seconds for the primer to slightly dry but not completely set before applying your mascara. This small window allows the mascara to bond effectively with the primer for a seamless finish. Mascara Primer for Special Occasions Amplifying Your Look for Events For events where you want your eyes to truly pop, a mascara primer can add that extra dimension of drama and intensity to your lashes, ensuring they stand out. Waterproof vs. Regular Primers Consider a waterproof primer if you’re attending an event where tears or humidity might be a factor. It ensures your lashes remain impeccable, come what may. Innovations…

How To Achieve The Tiktok Vanilla Girl Makeupaesthetic
How to Achieve the TikTok Vanilla Girl Makeup Aesthetic

In an era where TikTok dictates the pulse of beauty and fashion trends, the Vanilla Girl makeup aesthetic has emerged as a coveted look. It’s a celebration of simplicity and natural beauty, steering away from the bold and dramatic to embrace the understated elegance of minimal makeup. This aesthetic is all about enhancing your natural features in the most subtle way. Whether you’re a seasoned makeup enthusiast or new to the beauty scene, achieving the Vanilla Girl look can be simple with the right approach. This comprehensive guide will walk you through the essential steps to mastering this effortlessly chic look, turning you into a TikTok sensation in no time. Start with a Flawless Base Achieving the Vanilla Girl makeup look begins with perfecting your canvas. Cleanse and moisturize your face to ensure a smooth and hydrated base. Opt for a tinted moisturizer or a lightweight foundation that seamlessly matches your skin tone for that barely-there effect. Application is key; use a damp beauty sponge or a foundation brush for an even and natural finish. A good base not only enhances the makeup but also cares for your skin underneath. Embrace Neutral Shades The essence of the Vanilla Girl aesthetic lies in the palette of neutral tones that complement your natural skin tone. Earthy hues of brown, beige, and nude in matte finishes are your best friends for eyeshadows and blushes. For the lips, a hint of gloss over a nude lipstick or a swipe of tinted lip balm adds the perfect touch of understated glamour. Selecting the right shades is crucial for maintaining the authenticity of the aesthetic while playing up your best features. Illuminate Your Natural Features Highlighting is a game-changer in the Vanilla Girl makeup routine. Use a highlighter that’s just a shade lighter than your skin tone and possesses a subtle shimmer, not glitter. The key areas to focus on are the tops of your cheekbones, the bridge of the nose, and the cupid’s bow. A gentle application will lend you a soft, ethereal glow that defines the Vanilla Girl look. Subtly Defined Eyes For eyes that speak volumes without saying a word, stick to neutral eyeshadows to define the crease and the outer corners. A swipe of brown or black mascara adds definition to your lashes, making your eyes appear wider and more awake. Those seeking a bit more depth can lightly line the waterline with a brown or black pencil. Remember, the goal is to enhance, not overshadow, your natural beauty. Natural Brows Are Key Brows frame the face and play a pivotal role in the Vanilla Girl aesthetic. The focus here is on full, well-groomed brows that look as natural as possible. Fill in sparse areas with a brow pencil or gel, mimicking the natural hair direction. The shade chosen should closely match your hair color to avoid a harsh contrast, keeping the overall look soft and coherent. Seal with a Dewy Finish Lock in your makeup while adding a burst of hydration with a dewy setting spray. A fine mist enriched with glycerin or…

The Ultimate Guide: How To Properly Apply Sunscreen Under Foundation
The Ultimate Guide: How to Properly Apply Sunscreen Under Foundation

Wearing sunscreen is crucial for maintaining healthy and youthful skin, protecting it from the harmful effects of the sun’s ultraviolet (UV) rays. However, many people struggle with incorporating sunscreen into their makeup routine, particularly when it comes to applying it under foundation. In this comprehensive guide, we will walk you through the steps to ensure that you can effectively wear sunscreen under foundation, allowing you to enjoy the benefits of both sun protection and flawless makeup. Step 1: Choose the Right Sunscreen:Before applying sunscreen, it is essential to select a product that suits your skin type and provides broad-spectrum protection against both UVA and UVB rays. Look for a lightweight formula that is specifically designed for the face and has a minimum SPF (Sun Protection Factor) of 30. Opt for non-comedogenic and oil-free options to prevent clogged pores and excessive shine. Step 2: Cleanse and Moisturize:Start with a clean canvas by washing your face with a gentle cleanser. Follow up with a lightweight moisturizer suitable for your skin type. Allow the moisturizer to absorb completely before proceeding to the next step. Hydrated skin ensures a smooth application of sunscreen and foundation. Step 3: Apply Sunscreen:Take a dime-sized amount of sunscreen and dot it onto your forehead, cheeks, chin, and nose. Gently spread the sunscreen across your face, ensuring even coverage. Pay extra attention to areas prone to sun exposure, such as the bridge of the nose, cheekbones, and temples. Avoid rubbing vigorously, as it may cause the sunscreen to pill or ball up. Step 4: Wait for Sunscreen to Set:Allow the sunscreen to absorb into your skin for at least 10 to 15 minutes before applying foundation. This waiting period allows the sunscreen to form a protective barrier on your skin and ensures better adherence of the foundation. Step 5: Choose a Foundation Formula:To ensure compatibility between sunscreen and foundation, opt for a foundation with a lightweight and liquid consistency. Oil-free and water-based formulas tend to work best with sunscreen, as they minimize the risk of clogged pores and allow for smoother application. Step 6: Mix Sunscreen with Foundation (Optional):If you prefer a more streamlined application process, you can mix a small amount of sunscreen with your foundation. This method helps to ensure even distribution of sun protection and foundation, providing a combined layer of coverage. However, it is important to maintain the recommended amount of sunscreen for adequate sun protection. Step 7: Apply Foundation:Using a clean makeup brush, sponge, or your fingertips, apply the foundation onto your face in gentle, downward strokes. Start from the center of your face and blend outward for a seamless finish. Avoid using excessive pressure, as it may disrupt the sunscreen layer beneath. Step 8: Set with Powder (Optional):If you prefer to set your foundation with powder, choose a translucent or mineral-based powder with sun-protective properties. Apply a light dusting to ensure your makeup stays in place while adding an extra layer of sun protection. Step 9: Reapply Sunscreen Throughout the Day:Remember that sunscreen needs to be reapplied every two hours, especially if you are exposed…

Embrace Your Natural Curls: Why Curly Girls Should Ditch Heat Styling Tools In Warmer Weather
Embrace Your Natural Curls: Why Curly Girls Should Ditch Heat Styling Tools in Warmer Weather

Warmer weather brings with it a desire for carefree hairstyles that embrace the natural beauty of our hair. For curly girls, this means letting those gorgeous curls shine without the need for excessive heat styling. Heat styling tools like flat irons and curling wands can cause damage to curly hair, especially during the hotter months when the hair is already more prone to dryness and frizz. Embracing your natural curls in warmer weather not only helps protect your hair from damage but also allows you to rock effortlessly beautiful and unique hairstyles. In this comprehensive guide, we will explore the reasons why curly girls should ditch the heat styling tools during warmer weather and offer practical tips to help you rock your natural curls with confidence. Preserve Hair Health:Heat styling tools can cause significant damage to curly hair, as the high temperatures strip the hair of its natural moisture. When the weather is already warm and potentially more drying, it’s essential to preserve your hair’s health and hydration. By avoiding heat styling, you allow your curls to retain their natural moisture and elasticity, resulting in softer, more manageable hair. Prevent Heat Damage:Curly hair is already prone to dryness and frizz due to its unique structure, which makes it more susceptible to damage from heat styling. When the weather is hot and humid, the risk of heat damage increases, leading to split ends, breakage, and a loss of curl pattern. Embracing your natural curls during warmer weather helps prevent heat damage and keeps your locks looking healthy and vibrant. Embrace Natural Volume:Warm weather can often mean more humidity, which can work in your favor as a curly girl. Embracing your natural curls allows you to take advantage of the increased humidity, which can enhance your hair’s natural volume and bounce. Instead of fighting against the elements, work with them to create stunning and voluminous hairstyles. Low-Maintenance Styling:One of the greatest benefits of ditching heat styling tools is the ease and simplicity it brings to your hair care routine. Embracing your natural curls in warmer weather means less time spent in front of the mirror with heat tools and more time enjoying the outdoors. Low-maintenance styling not only saves time but also reduces the risk of heat-related damage to your hair. Rock Effortless Beach Waves:Warm weather often calls for beachy and carefree hairstyles, and curly hair is perfect for achieving those coveted beach waves. Letting your natural curls shine allows you to effortlessly rock beachy waves without the need for heat styling. Simply scrunch your damp hair with a curl-enhancing product and let it air dry for a laid-back and sun-kissed look. Experiment with Protective Styles:Ditching heat styling tools gives you the opportunity to experiment with various protective styles that not only shield your hair from the sun’s rays but also allow your curls to flourish. Protective styles like braids, twists, and buns can be fashionable and practical during warmer weather, helping to keep your hair off your neck and reducing exposure to damaging UV rays. Reduce Styling Stress:Curly hair can have a mind…