How to make the TikTok Vanilla Girl Makeup Aesthetic?

How To Achieve The Tiktok Vanilla Girl Makeup Aesthetic

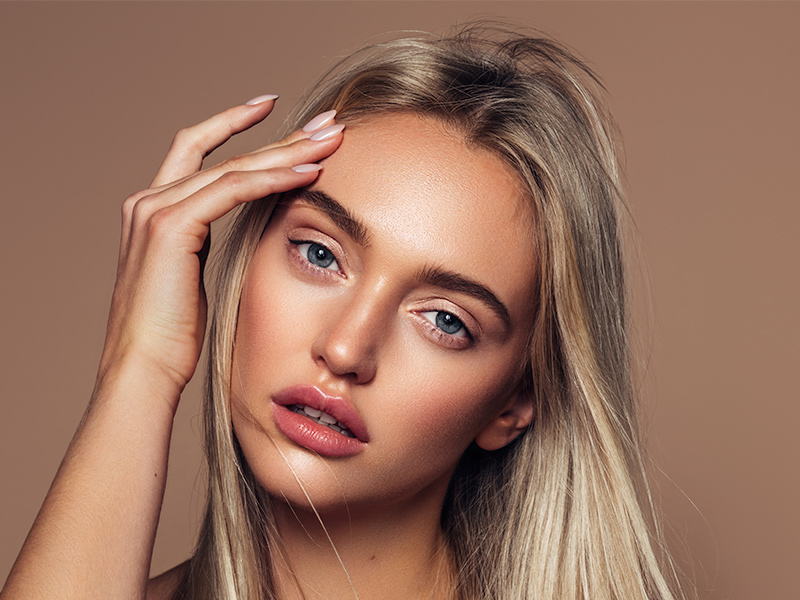
TikTok has become increasingly popular since its introduction, leading to an entirely new makeup aesthetic: Vanilla Girl makeup looks. These makeup looks focus on natural features while accentuating them subtly; many beauty experts and enthusiasts are striving to replicate them; this article offers tips and tricks on how anyone can recreate TikTok’s Vanilla Girl aesthetic for themselves.

Start With a Good Base
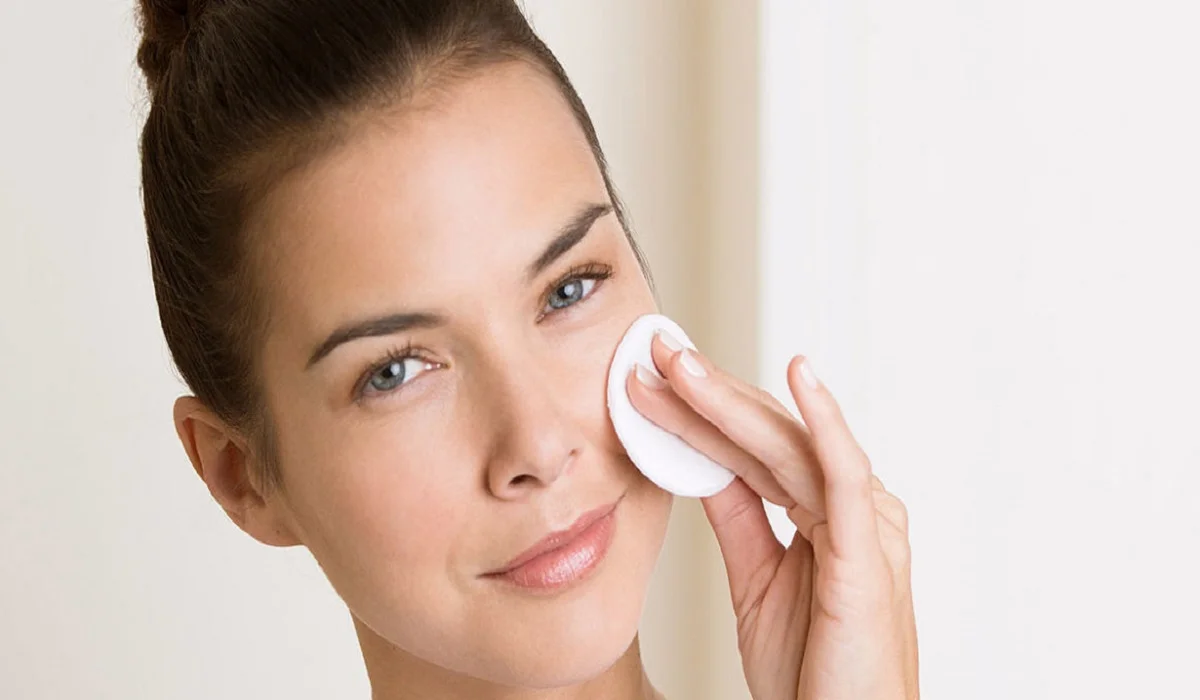
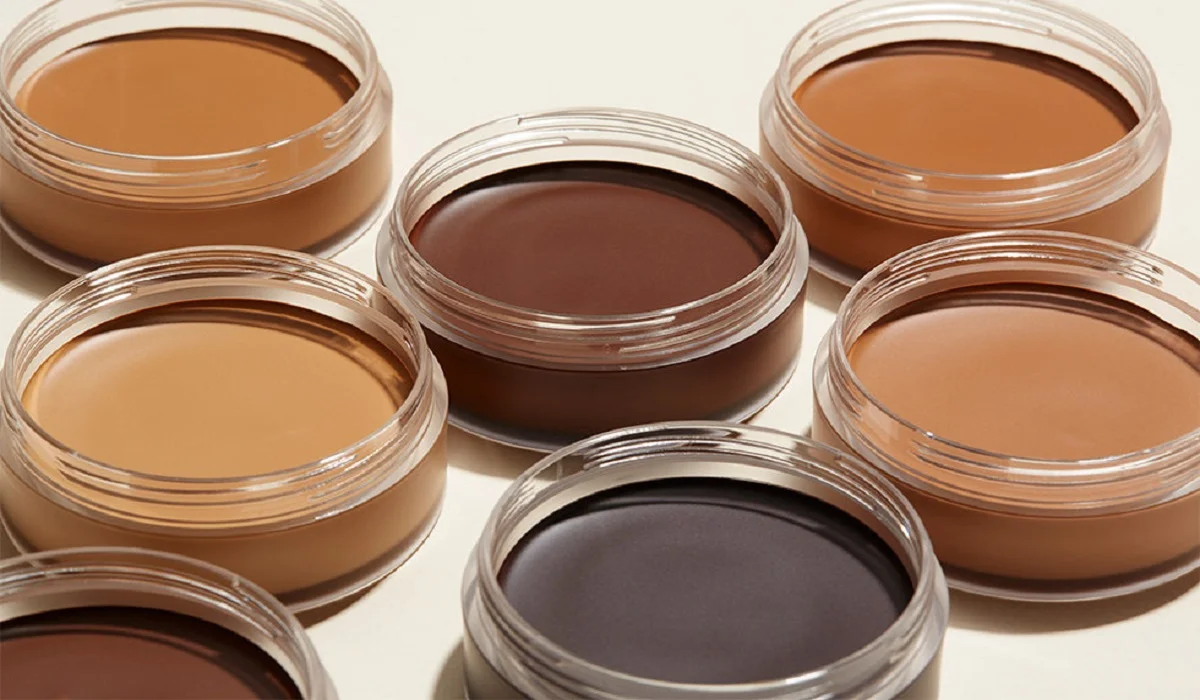
Vanilla Girl makeup is all about emphasizing natural features, so starting off right is of vital importance for this look. Before applying makeup of any sort, ensure your face has been cleansed thoroughly and moisturized to provide adequate hydration – this will allow the makeup application to go more smoothly and last longer! To create this natural effect use lightweight foundation or tinted moisturizer in matching hue. When applying these items use either damp beauty sponge or brush for even coverage.

Play With Neutral Tones
The Vanilla Girl makeup aesthetic involves playing with neutral tones that flatter one’s natural skin tone, including earthy tones like brown, beige, taupe and nude in eyeshadow, blush and lipstick products. Opting for matte finishes for eyeshadow and blush while choosing glossy lips such as nude lipstick or tinted lip balm works wonderfully to complete this look.

Highlight Your Natural Features
Vanilla Girl makeup aesthetic focuses heavily on emphasizing one’s natural features, so don’t shy away from using highlighters to enhance cheekbones, nose, cupid’s bow or cupid’s bow with natural-looking glow. Try selecting one that complements your skin tone but contains subtle shimmer for best results when applying highlighter over high points of face like cheekbones, bridge of nose or center forehead to achieve natural-looking glow.

Enhance Your Eyes
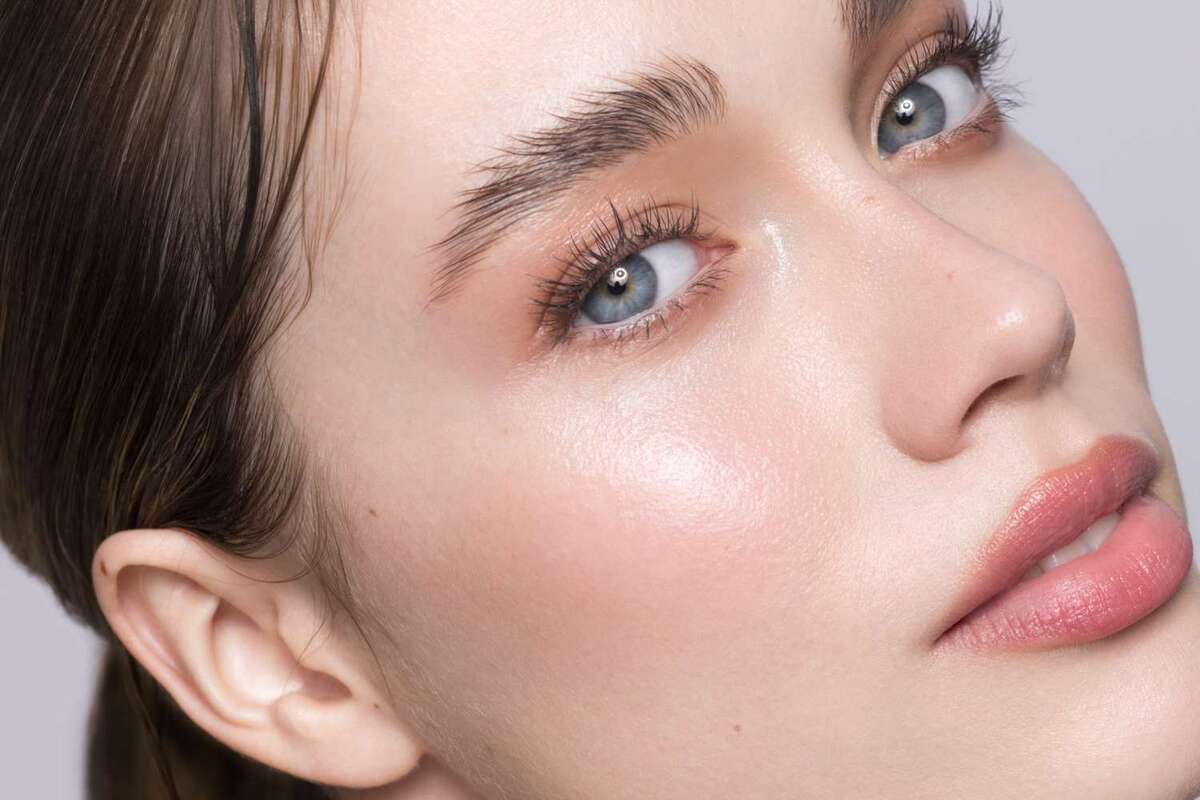
In order to achieve the Vanilla Girl makeup aesthetic, subtly enhance your eyes. Start with neutral eyeshadow shades in order to define the crease and outer corner of the eyes; opt for brown or black mascara in order to define lashes; curled them before application of mascara can open up eyes more dramatically; for further definition you could add brown or black eyeliner pencil lining your waterline; this will make eyes seem brighter and more awake!

Vanilla Girl makeup aesthetic emphasizes natural-looking brows. When filling any sparse spots in your brows with either brow gel or pencil, use small strokes that mimic natural brow hairs; don’t overdo it or use shades too dark for your skin tone, instead create groomed yet natural looking brows!
How To Achieve The Tiktok Vanilla Girl Makeup Aesthetic

Finish with Dewy Spray
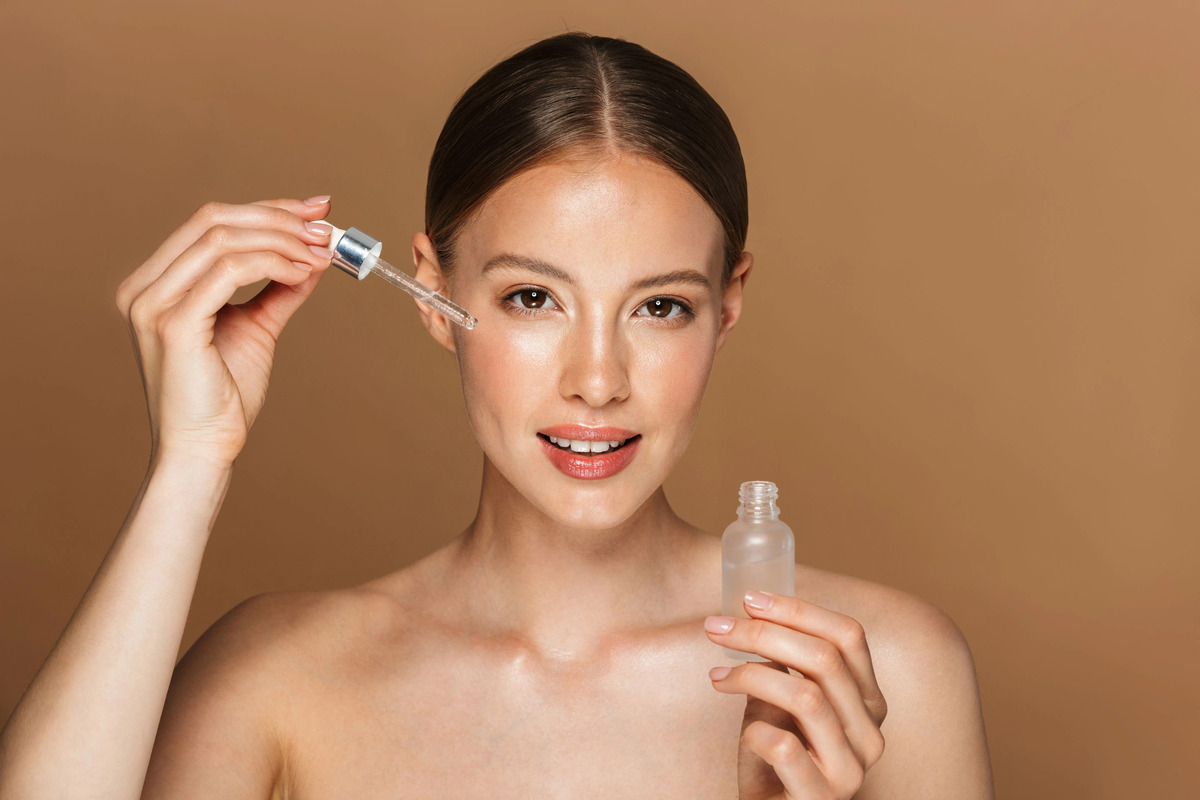
To complete your Vanilla Girl makeup look, finish it off with a dewy spray that has fine mist particles to impart an authentically dewy glow and set your makeup without looking caked up or cakey. Hydration products with Glycerin as its primary component are ideal to ensure skin remains looking hydrated throughout the day.

Attaining the TikTok Vanilla Girl makeup aesthetic requires using neutral tones to accentuate natural features. Start with a good base, use neutral eyeshadow shades, and highlight key areas with subtle shimmer highlights for maximum impact. Keep brows natural before setting everything with dewy spray for natural-looking glow – any beauty lover can quickly achieve the Vanilla Girl aesthetic and become a TikTok star within no time by following these tips and tricks!

The Vanilla Girl makeup look focuses on emphasizing natural beauty, from lips to eyes. Choose a nude or natural lip color that compliments your skin tone; lip glosses or tinted balm in shades similar to your natural lip color are an excellent way of accomplishing this look, or choose matte or satin finishes in shades close to what they would appear naturally on you if preferred as lipstick options.

Apply Natural-Looking False Lashes (Optional)
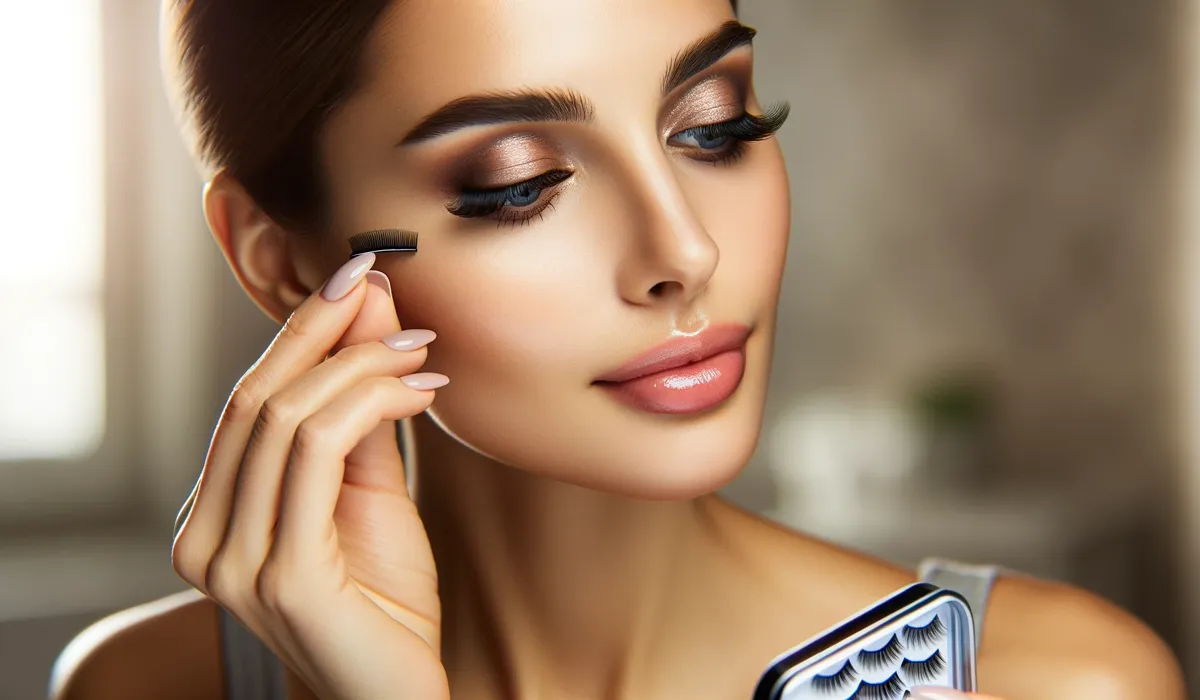
Wanting to give your eyelashes some extra volume and length? Natural looking false lashes could help. Make sure they look non-dramatical against your real lashes by carefully applying these false ones near the base of the eyelash line so they blend naturally with them.

Set Your Makeup
For long-wearing makeup, set it with translucent powder using a brush or beauty sponge and lightly apply in areas prone to oiliness. A little goes a long way so be wary not to overdo it with too much powder!

Use a Face Mist for a Dewy Finish
Give your skin an extra dose of moisture with the use of a facial mist, giving it that dewy finish you desire. Choose one designed specifically to hydrate and refresh skin; hold the bottle approximately 10 inches from your face when spraying a few times; allow time for it to dry naturally afterwards, then you are finished!

Practice Makes Perfect
Achieving the TikTok Vanilla Girl makeup aesthetic takes practice; don’t give up if your first attempt doesn’t turn out just right; experiment with different shades, techniques and products until you find what works for you – eventually this trendy yet effortless makeup look will become second nature to you!


How To Cover A Tattoo With Makeup 2
A Comprehensive Guide on How to Cover a Tattoo with Makeup

Expressive Expression Canvas Tattoos are powerful signs of art and identity etched onto our skins, yet sometimes we need them covered temporarily for job interviews, special events, or simply trying out something different. Makeup offers the ideal combination of artistry and practicality as a skillful solution that conceals tattoos without altering their essence. Chapter 1: Selecting Appropriate Tools for Any Task Correctors and Concealers Finding an appropriate concealer to cover your tattoo can be the key to its effective concealment. A highly pigmented, long-wearing concealer which complements your skin tone should do. Color correctors may help neutralize any hues present in the tattoo design that have bright hues. Primer for Smooth Canvases (Creating A Smooth Background ) Primer helps create an even surface, helping makeup adhere well and remain in place throughout the day. Choose one suitable for your skin type – perhaps one which hydrates, mattifies or fills pores. Chapter 2 : Mastering Technique Layering: the Key to Seamless Coverage Acchieve flawless coverage requires applying several thin coats of concealer over time – rather than applying all at once, build up gradually for natural-looking coverage that also prevents caking or creasing of makeup. Blending: the Art of Seamless Transitions Blending is key for creating a natural-looking finish, so use makeup sponges, brushes or your fingertips to blend concealer seamlessly into surrounding skin and especially at tattoo edges to ensure a seamless transition. Chapter 3 : Color Matching and Customization Perfecting Your Match Acknowledging the importance of selecting a concealer shade suitable to your skin tone, you may require experimentation in order to find your ideal hue. While some individuals might like their concealer exactly matching their foundation shade, others might choose for something lighter or darker depending on their desired look. Customization with Special Effects Makeup Special effects makeup offers endless creative potential. Experiment with different color palettes, stencils and techniques to craft unique designs that either seamlessly merge into the skin’s surface or transform a tattoo into works of art. Chapter 4 : Establishing Longevity Strategies Setting Powders and Sprays Setting is crucial when creating your masterpiece. Apply translucent setting powder generously across any concealed areas to avoid smudging and create a matte finish, and consider adding an additional protective measure such as setting spray if sweaty conditions or humid climates exist. Enhance Your Longevity Through Touch-Up Tips Maintaining excellent coverage may require touch-ups throughout the day to protect areas vulnerable to friction. Keep a small makeup kit handy to quickly apply touch-ups as necessary and guarantee your hidden tattoo remains looking its best! Chapter 5 : Removing Makeup Canvases Gentle Cleansing to Give you a Fresh Start At the end of every day, it’s essential to remove makeup carefully to maintain healthy skin. A gentle oil-based cleanser will break down makeup without harsh scrubbing while your regular skincare regime should then nourish and soothe it further. Conclusion: Revealing or Concealing Are Your Choices Makeup artistry provides endless possibilities when it comes to covering tattoos – be it forever embracing it proudly, temporarily hiding it for special events or temporarily…

Banishing The Flakes: Effective Ways To Get Rid Of Dandruff
Banishing the Flakes: Effective Ways to Get Rid of Dandruff

Dandruff, those pesky white or yellow flakes that often appear on the scalp and can make their way onto your clothing, is a common condition that affects people of all ages. While it’s generally harmless, dandruff can be embarrassing and annoying. The good news is that there are numerous effective ways to combat dandruff, from simple home remedies to specialized dandruff shampoos and lifestyle adjustments. In this comprehensive guide, we will explore the causes of dandruff, the different treatment options available, and practical tips to keep your scalp flake-free. Understanding Dandruff: Causes and Contributing Factors Before diving into the remedies, it’s essential to understand what causes dandruff. Dandruff, scientifically known as “pityriasis simplex capillitii,” results from several factors, including: Now that we have a grasp of what causes dandruff let’s explore some effective ways to get rid of it. Home Remedies for Dandruff Over-the-Counter Dandruff Shampoos If home remedies aren’t providing relief, you can turn to over-the-counter (OTC) dandruff shampoos. These shampoos contain active ingredients that target dandruff and its underlying causes. There are three main types of OTC dandruff shampoos:

Mastering The Art Of Henna Hairdye
Mastering the Art of Henna Hair Dye

Embarking on the journey of dyeing your hair with henna can be both exciting and daunting. Henna, a natural dye made from the leaves of the Lawsonia inermis plant, offers a chemical-free option for coloring your hair, providing rich, long-lasting hues and a host of hair health benefits. This guide will walk you through each step of the process, ensuring that you achieve beautiful results with henna. Understanding Henna What is Henna? Henna is not just a hair dye; it’s a centuries-old plant-based pigment that has been used for body art and hair coloring across various cultures. It’s celebrated for its natural coloring properties and conditioning benefits. Benefits for Hair Beyond imparting vibrant color, henna strengthens, conditions, and nourishes the hair, reducing dandruff and promoting hair growth. Types of Henna Pure Henna Pure henna yields a red-orange color and is free from any additives, making it the best choice for those looking for a natural option. Henna Mixes For a wider range of colors, henna is often mixed with other natural dyes. It’s important to choose mixes free from chemicals to maintain the natural benefits of henna. Preparing Your Hair for Henna Assessing Hair Type and Condition Your hair’s starting color, type, and condition will affect how henna appears and should guide your preparation process. Pre-Dye Preparations Preparing your hair involves clarifying to remove buildup and testing the henna on a small hair section to predict the outcome. Mixing Henna for Hair Dye Ingredients Needed You’ll need high-quality henna powder, acidic liquid (like lemon juice), and optional natural additives for enhanced effects. Step-by-Step Mixing Guide Mixing henna is an art; achieving the right consistency is crucial for easy application and optimal dye release. Application Process Sectioning Hair Dividing your hair into sections ensures thorough application and even color. Applying Henna Apply the paste from roots to tips, using gloves to protect your hands from staining. Tips for Even Coverage Ensuring even coverage is key to achieving uniform color and avoiding patches. How to Dye Hair with Henna? This comprehensive guide demystifies the process, making it accessible for first-timers and those looking to perfect their technique. Post-Application Care Washing Out Henna Washing out henna requires patience and gentle care to preserve the color and avoid stripping the hair’s natural oils. Hair Care After Dyeing Post-henna care involves hydrating treatments and avoiding harsh chemicals to maintain the color and health of your hair. Troubleshooting Common Henna Hair Dye Issues Uneven Color Adjusting your application technique or mix can help achieve more uniform results in future applications. Dryness after Dyeing Incorporating natural oils and deep conditioning treatments can combat dryness associated with henna. Environmental and Health Considerations Natural and Safe Dyeing Options Choosing henna for hair coloring supports environmentally friendly and health-conscious beauty practices. Dyeing your hair with henna is a rewarding process that not only beautifies but also benefits your hair health. By following these detailed steps, you can achieve stunning, natural-looking color and embrace a more sustainable approach to hair care. Can henna cover gray hair? Yes, henna can effectively cover grays, offering…

What Exactly Is Sugar Wax?
What exactly is Sugar Wax?

A DIY Sugar Wax Recipe Have you ever worked with sugar-based wax? Do you like this method? Many people are using it and prefer it over traditional waxing because it’s an organic method. It’s also a secure option for all skin types. This hair removal method is also inexpensive and simple to make by yourself. Continue reading to discover how you can create your own sugar wax. What exactly is Sugar Wax? Sugar is an safe solution you can apply to nourish your skin and eliminate any ingrown, stubborn hairs that are rooted, fast and painless! It’s an easy and simple option for those who would like permanent hair removal or reduction. Who should use it? This procedure is ideal for those who are suffering from unwanted hairs and is trying to take them off the ground. But, ensure that you know the following information: It is beneficial for those with sensitive skin.It can be performed by people with allergies as it is completely safe and natural. It’s not a problem.You can apply it to any body part.It could take several times to master the technique particularly if you’ve not waxed before.Once you have started using it, you’ll never want to leave it. What are the Perks? Lower Cost The process of waxing at a salon of any kind can be expensive and that will be contingent on your appearance and image. The cost can range from $5-$100! If you’re planning to do this from at the convenience of your own home, be aware that the most basic ingredients will cost lower than 10 dollars! You’re aware of the ingredients You are aware of the products and ingredients that you put on your skin. There are many people who use natural and high-quality ingredients in their products However, you’ll be using only what you require and is safe for your skin. It’s private and practical If you are shy and you do not want to get waxed by a stranger, you will prefer this process. You will not have to worry about awkward encounters. you are able to handle the process however you want. Sugar Wax: The Evolution of Sugar Wax This method of removing hair was popular with younger people, and those who spend much of online. Are you a big fan or TikTok and Instagram? You’ve probably come across numerous natural cures and techniques related to removing hair and this DIY sugar-based recipe is among the most well-known. It became a fashion around two or three years ago and is not likely to disappear anytime very soon. How to Make Your Own DIY Sugar Wax Before you start the process, be sure you have all the necessary items and the ingredients you require, for example: 1 cup white sugar1/8 of a cup juice from lemon1/8 cup of hot water Step-by-Step Process Step 1: Set the pot in a medium size on your stove , and then switch the heat on. Include all the ingredients one at a time as soon as you can. Step 2: Bring to a boil over…

Discover The Three Crucial Elements That Harmyour Hair
Discover the Three Crucial Elements That Harm Your Hair

Hair serves as a mirror to our identity and well-being. Yet, many of us inadvertently partake in activities that compromise its health. In this exploration, we address the “Three Crucial Elements That Harm Your Hair,” identifying the key offenders of hair damage and providing practical advice to protect and enhance the condition of your hair. The Consequences of Heat StylingFrequently resorting to heat styling tools such as straighteners, curling irons, and blow dryers for hair styling can inflict considerable harm. These devices deprive hair of its essential oils, resulting in dryness, breakage, and split ends. It is imperative to master proper techniques and adopt protective strategies to mitigate such damage. The Detrimental Effects of Chemical TreatmentsChemical treatments, including dyeing, straightening, and perming, offer a transformation of the hair’s natural appearance but at a cost to its integrity, causing dryness, fragility, and hair loss. This section will guide you through safely engaging with chemical hair treatments. Physical Harm from Styling MethodsTight hairdos and incorrect brushing or combing methods can physically damage your hair. We will explore the dangers of such practices and provide guidance on styling your hair while preserving its health. The Influence of Environmental StressorsExposure to the sun and pollution subjects our hair to environmental stressors, leading to color fade, dryness, and weakening. Shielding your hair from these factors is crucial for its health and longevity. The Significance of Nutrition for Hair HealthNutrition plays a crucial role in maintaining hair health. Deficiencies in essential nutrients can cause hair loss and a dull appearance. Essential nutrients for hair health will be highlighted, along with advice on their dietary inclusion. Genetic Factors in Hair HealthGenetics play a key role in determining hair texture, density, and growth, affecting hair health. We will examine the impact of genetics and strategies to counteract genetic predispositions to hair damage. Effective Hair Care Practices to Prevent Damage Adopting a sound hair care routine is vital to prevent damage. This segment will offer tips on gentle cleansing, conditioning, and the advantages of protective hairstyles to maintain optimal hair condition. The Necessity of Regular Hair TrimsTo prevent split ends and encourage healthy growth, regular trims are indispensable. The benefits of periodic trims for maintaining hair health and appearance will be discussed. Natural Solutions for Hair RestorationEmploying natural oils, masks, and herbal treatments can deeply nourish and restore damaged hair. We will investigate potent natural remedies for hair rejuvenation. Understanding Hair Care ProductsSelecting appropriate hair care products is essential. An insight into the science of hair products will be provided to help you choose wisely based on your hair’s unique requirements. Salon Interventions for Hair RecoveryFor severely damaged hair, professional salon treatments can offer intensive conditioning and restoration. The advantages of professional consultation and treatments for hair recovery will be outlined. Do-It-Yourself Hair Care AdviceFor DIY enthusiasts, this section will share tips for creating homemade hair masks and gentle styling techniques. The Psychological Impact of Hair DamageThe state of our emotional health can significantly affect hair health. The psychological dimensions of hair damage and strategies for managing them will be discussed….

Mastering The Art Of Crimping: A Comprehensive Guide To Correct Usage
Mastering the Art of Crimping: A Comprehensive Guide to Correct Usage

Crimping is a fundamental technique used across various industries and DIY projects to create secure and reliable connections between wires, cables, or components. Whether you’re working with electronics, automotive repairs, or crafting jewelry, understanding how to use a crimper correctly is essential to ensure the integrity and longevity of your connections. This comprehensive guide will walk you through the step-by-step process of using a crimper effectively, along with essential tips and best practices. Understanding Crimping Crimping is the process of mechanically compressing a connector or terminal onto a wire to establish a secure electrical connection or physical attachment. This technique ensures a strong bond that resists vibrations, corrosion, and other environmental factors. Crimping is commonly used in applications such as electrical wiring, network cables, automotive wiring harnesses, and more. Using the right tools and techniques is crucial to achieving consistent and reliable results. Selecting the Right Crimper Before you begin, it’s vital to choose the right crimper for your specific application. There are various types of crimpers available, each designed for different connectors and wire sizes. Common types of crimpers include: Wire Crimpers: Used for electrical connections and available in various sizes to accommodate different wire gauges. Coaxial Cable Crimpers: Designed for attaching connectors to coaxial cables, commonly used in telecommunications and audio/video installations. Terminal Crimpers: Used to secure terminals onto wires, often found in automotive and industrial applications. Modular Crimpers: Specifically designed for Ethernet cables and connectors, ensuring accurate terminations in networking projects. Step-by-Step Guide to Proper Crimping Follow these steps to ensure you’re using a crimper correctly: Prepare the Wire: Strip the insulation off the wire end to expose the bare conductor. The length of exposed wire should match the length of the connector’s barrel or terminal. Prepare the Connector: Insert the stripped wire end into the appropriate terminal or connector. Make sure the wire fits snugly, without any excess sticking out. Position the Crimper: Place the connector and wire into the appropriate slot or cavity of the crimper. Ensure that the connector is properly aligned with the crimping jaws. Apply Pressure: Squeeze the crimper’s handles firmly and evenly. The tool’s jaws will compress the connector, creating a strong and secure connection. Avoid using excessive force, as it could deform or damage the connector. Inspect the Crimp: After crimping, inspect the connection visually. The crimped terminal should tightly grip the wire without any gaps. Ensure that the wire is properly crimped and that the insulation is not damaged. Tips for Successful Crimping Use High-Quality Connectors: Invest in reliable connectors and terminals from reputable manufacturers. Quality components are essential for achieving long-lasting and reliable connections. Choose the Right Wire Size: Match the wire gauge with the appropriate terminal size. Using undersized or oversized connectors can result in poor connections and potential safety hazards. Practice Proper Technique: Maintain steady pressure while crimping, and avoid jerky or uneven movements. Consistent pressure ensures a uniform and secure connection. Perform a Pull Test: After crimping, perform a gentle tug on the wire to ensure it’s securely attached to the connector. If the wire easily detaches,…

What Is Bronzer
What is Bronzer? Reveal the Secrets of Bronzer

Embarking on a journey through the world of makeup, bronzer emerges as a pivotal element, revered for its ability to bestow a radiant, sun-kissed allure upon one’s complexion. What is this enigmatic product known as bronzer, and how might one wield it to ascend to new heights in makeup artistry? This detailed exploration will illuminate the essence of bronzer, from its foundational principles to sophisticated techniques for cultivating the quintessential bronzed visage. Demystifying Bronzer At its core, bronzer is a cosmetic marvel crafted to imbue the skin with a warm, tan semblance, an homage to the natural luminescence bestowed by the sun. Its lineage can be traced to the annals of antiquity, where diverse materials were harnessed to emulate the vibrant tone of sun-kissed skin, a symbol of vigor and vitality. Exploring Bronzer Varieties The realm of bronzer is rich with diversity, offering a spectrum of formulations to cater to every inclination and skin type: Mastering the Art of Bronzer Selection The pursuit of the impeccable bronzer shade is paramount for a genuine appearance: The Craft of Bronzer Application The key to a flawless, authentic glow lies in the precision of bronzer application. Arm yourself with the appropriate instruments, such as a voluminous, fluffy brush for powders or a stippling brush for creams and liquids. Adhere to a meticulous guide to guarantee uniform distribution, accentuating areas kissed by the sun, including the forehead, cheeks, and jawline. Distinguishing Bronzer from Contour Though bronzer and contour both sculpt the visage, their missions diverge. Bronzer is the harbinger of warmth and a radiant finish, whereas contour sculpts shadows to define features. Mastery of each’s application significantly elevates one’s makeup repertoire. Bronzer: A Versatile Enhancer Bronzer transcends mere cosmetic utility, enriching both diurnal and nocturnal aesthetics with dimension and warmth. Its versatility allows for solitary use, yielding a natural, glowing finish, or as a component of an elaborate makeup strategy for enhanced depth and delineation. Refining Bronzer Techniques The artistry of bronzer application lies in honing blending skills and understanding strategic highlighting. Aim for upward blending to create a lifting illusion and apply bronzer incrementally to cultivate color depth progressively. Insider Strategies for Bronzer Excellence Selecting an apt brush and formulation tailored to your skin’s needs and the desired outcome is transformative. Moreover, adapting your bronzer technique to accommodate various lighting conditions ensures your makeup’s optimal appearance universally. Tailoring Bronzer to Skin Types Bronzer’s efficacy is not universal; it demands consideration of one’s skin type. Powder bronzers mitigate shine for oily complexions, whereas cream bronzers imbue dry skin with moisture. For combination skin, a hybrid approach, alternating formulas as necessary, is advantageous. Celebrated Bronzer Selections The market offers bronzers for every budget and preference, from luxurious high-end brands to accessible drugstore options, including sustainable alternatives for the eco-conscious. Navigating Common Bronzer Pitfalls To avert frequent errors such as excessive glitter, inappropriate shade selection, or over-application, it is crucial to select and apply bronzer judiciously. Bronzer’s Role in Professional Makeup Artistry In professional realms, bronzer plays a strategic role in crafting specific looks for photographic or stage…

Diy Lip Balm Simple Ingredientsfor Beautiful Lips
DIY Lip Balm: Simple Ingredients for Beautiful Lips

The allure of lips transcends mere aesthetics, playing a pivotal role in our expressions and the vibrancy of our smiles, thereby influencing our self-esteem and how we are perceived. Our lips, devoid of oil-producing glands, are exposed to the merciless whims of the environment, be it the biting chill, arid conditions, or the relentless sun. This exposure necessitates a dedicated regimen for lip care, elevating it from a mere aspect of our beauty routines to a critical necessity. Advantages of Crafting Your Own Lip Balm Efficiency and Uncomplicated Nature: The allure of concocting your own lip balm lies in its straightforwardness and cost-effectiveness. A modest investment in simple ingredients yields a bountiful supply, sufficient for months. This approach is not only economical but also opens a playground for experimentation with flavors and ingredients, all without denting your wallet. Mastery Over Composition: The commercial lip balm aisle is a maze of complex formulations, some containing elements that might not sit well with everyone. Venturing into homemade lip balm creation bestows upon you the power to curate your ingredients, ensuring a concoction that is as natural as it is benign, especially for those with a penchant for sensitivities. Tailoring to Taste: The realm of DIY lip balm is rife with customization opportunities. From the fragrance and taste to the hue, you can tweak your creation to reflect your personal style and preferences. This bespoke approach not only personalizes your lip care but also transforms homemade lip balms into intimate, thoughtful presents for loved ones. Sustainability: Opting to craft your own lip balm is a nod to environmental consciousness. By favoring natural constituents and repurposable packaging, you contribute to the reduction of plastic waste and the dissemination of harmful chemicals into our planet. Curating Natural Components for Your Lip Balm Foundation Elements for Consistency and Hydration: The cornerstone of any exemplary lip balm lies in its base components – beeswax, shea butter, cocoa butter, and coconut oil. These ingredients are pivotal for achieving the desired consistency that solidifies at room temperature yet melts upon contact with the lips, providing moisture and shielding them from the elements. Oils for Enrichment and Moisturization: Incorporating oils like argan, jojoba, and sweet almond enriches the lip balm with moisturizing virtues. These oils, brimming with vitamins and fatty acids, are instrumental in the rejuvenation and healing of the lips’ delicate dermis. Essential Oils for Fragrance and Added Benefits: Essential oils infuse the lip balm with enticing aromas while endowing it with additional benefits. For instance, peppermint oil imparts a refreshing coolness, whereas lavender oil is celebrated for its soothing properties. It’s crucial to employ these potent oils judiciously to prevent irritation. Additional Components for Restoration and Defense: Ingredients such as honey, vitamin E oil, and aloe vera gel introduce extra layers of healing and protection. Honey acts as a natural humectant, attracting moisture to the skin. Vitamin E oil is a powerhouse of antioxidants that aid in cellular restoration, and aloe vera gel offers solace to irritated lips, alongside a cooling sensation. Recipes for Crafting Custom Lip Balm Concocting Your…