How to Make Fake Freckles: A Guide to Achieving Sun-Kissed Splendor

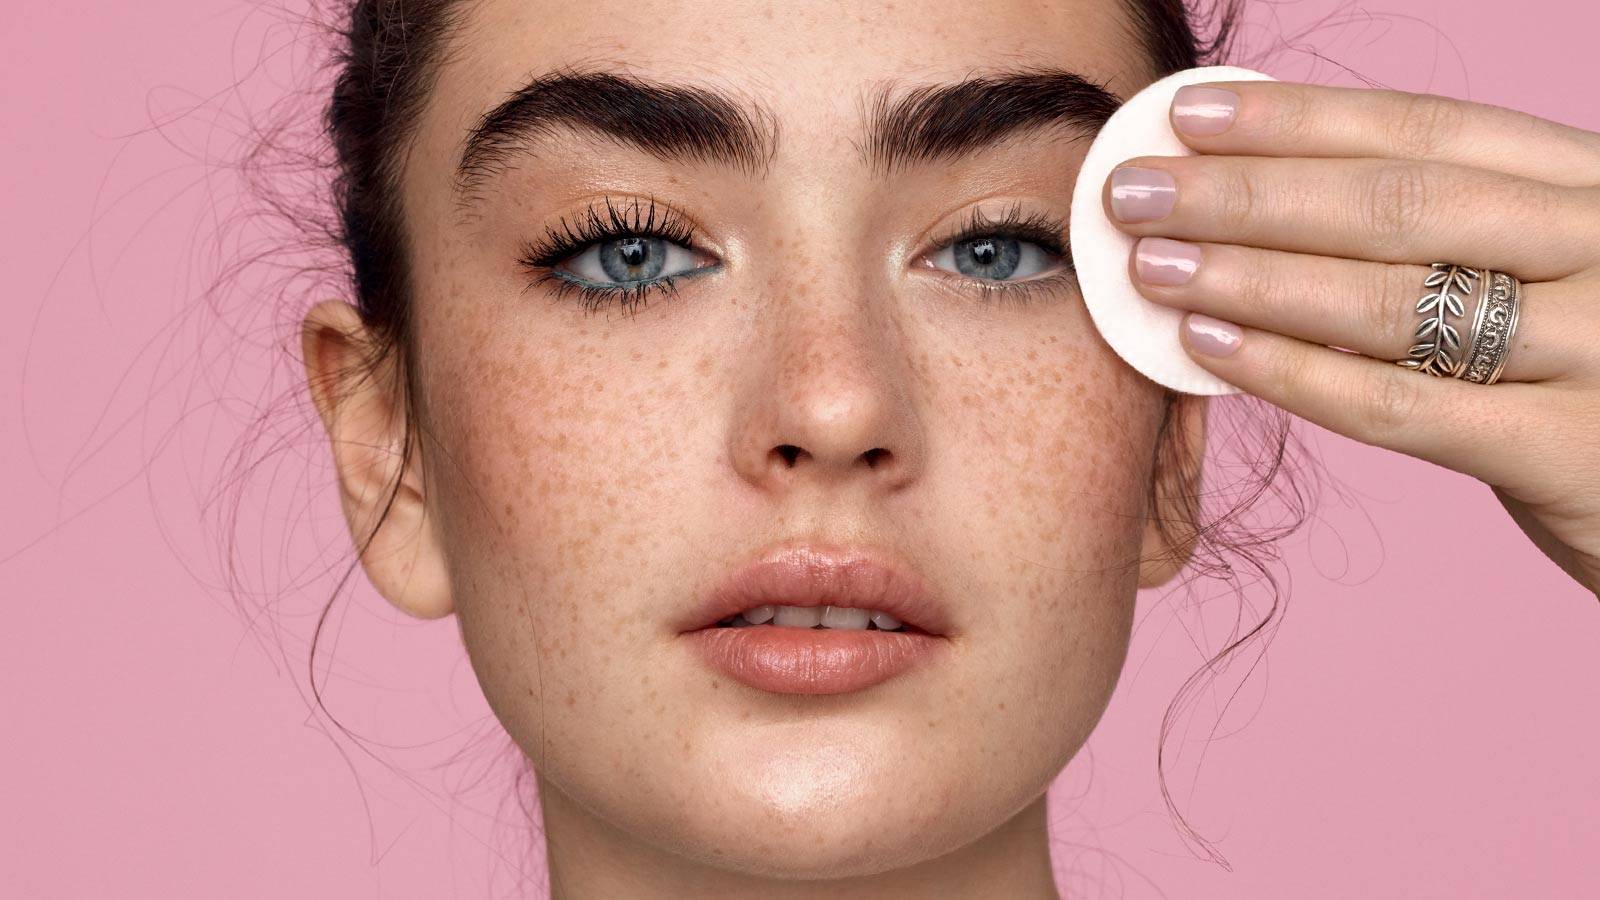
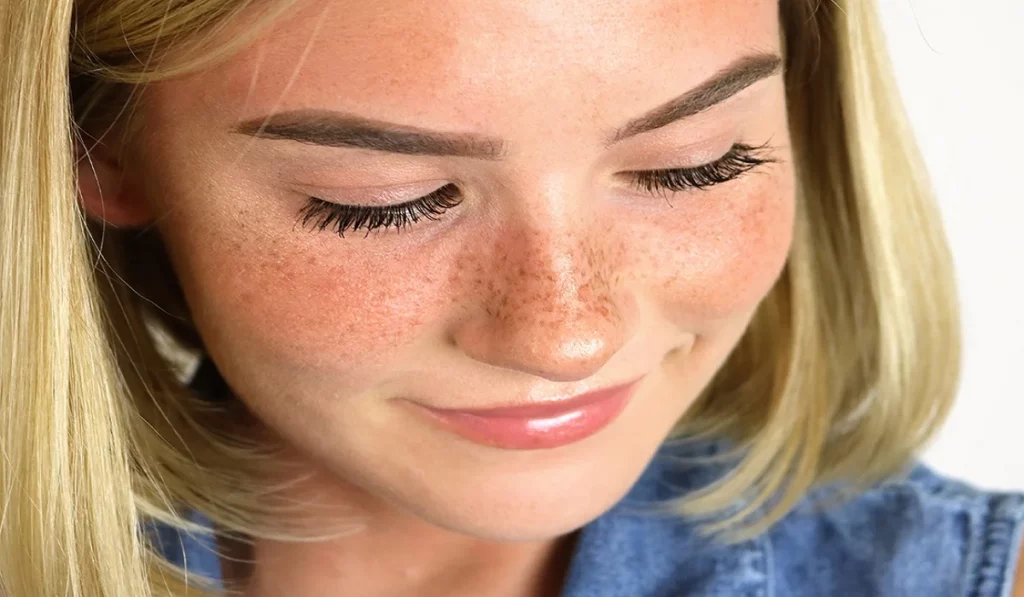
Fake freckles have become a coveted beauty trend, adored for their ability to mimic the sun-kissed speckles naturally bestowed by the sun. Unlike natural freckles that are the result of genetics and sun exposure, fake freckles offer a temporary way to sprinkle one’s face with these charming spots. This beauty trend celebrates the uniqueness and appeal of freckles, allowing anyone to adopt this endearing feature regardless of their natural skin type.

How To Make Fake Freckles A Guide To Achieving Sun Kissedsplendor


Tools and Materials Needed

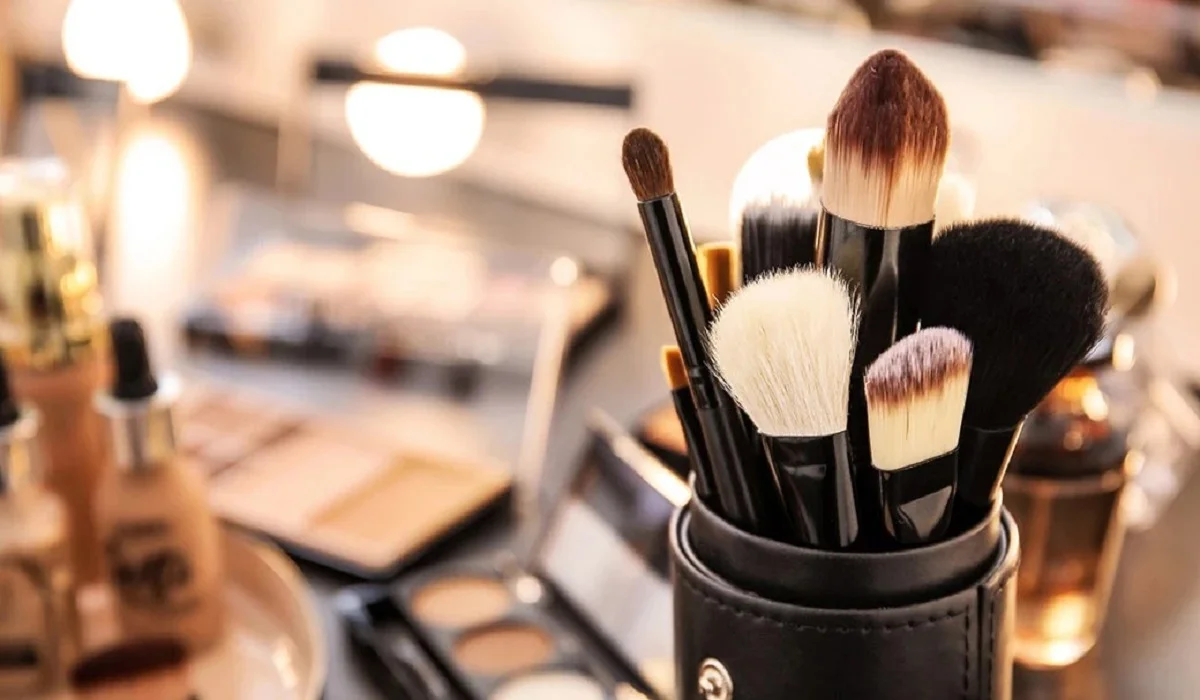
Creating fake freckles that look authentic requires more than just a brown eyeliner. The choice of products is crucial; for a believable effect, opt for waterproof, smudge-proof pens or pencils in colors that complement your skin tone. Additionally, fine brushes or sponges can help in blending and achieving the perfect dot size.

Step-by-Step Guide to Creating Fake Freckles

Preparing Your Skin

Begin with a clean, moisturized face. A smooth canvas is key to ensuring your fake freckles adhere well and look part of your skin.

Technique for Natural-Looking Freckles

Dot the product lightly across the nose and cheekbones, where the sun naturally hits. Vary the size and density of the dots for a more realistic look, and gently tap them with your fingertips or a sponge to blend them into the skin.

Setting Your Freckles

To ensure longevity, lightly dust a setting powder over your freckles. This step prevents them from smudging and helps integrate them seamlessly with the rest of your makeup.

Different Methods for Creating Fake Freckles

Using Eyeliner or Brow Pencil

A fine-tipped eyeliner or brow pencil can provide the precision needed for creating small, defined dots. Choose a color that mimics natural freckles and lightly apply it to the desired areas.

Freckle Stencils and Stamps

For those seeking an easier application, freckle stencils and stamps offer a quick way to achieve a freckled look. Simply apply the product to the stencil or stamp and press onto the skin.

Using Henna for Semi-Permanent Freckles

Henna provides a semi-permanent option for those looking to enjoy their fake freckles for longer. However, practice caution with this method, as it requires a certain skill level and understanding of henna application.

Tips for Achieving a Natural Look

Color Matching

Choosing the right color is essential. Opt for hues that naturally occur in freckles, considering your skin tone for the best match.

Placement and Size Variation


Randomness is key. Freckles naturally appear in an unpredictable pattern, so avoid creating uniform dots. Mix up the placement and size for authenticity.

Maintaining and Removing Fake Freckles

How to Make Them Last

To extend the wear of your fake freckles, avoid touching your face and apply a setting spray after completing your makeup.

Removing Freckles Safely

When you’re ready to remove your freckles, gently cleanse your face with a makeup remover. Opt for products that are kind to your skin to avoid irritation.
How To Make Fake Freckles A Guide To Achieving Sun Kissed Splendor


Common Mistakes to Avoid

Overapplication

Less is often more. Start with a few dots and gradually add more if needed. Overdoing it can quickly take your freckles from natural to noticeable makeup.

Wrong Color Selection

Using a color that’s too dark or too light can make your freckles look unnatural. Test different shades to find the perfect match for your skin tone.

How to Make Fake Freckles for Different Skin Tones

Creating fake freckles that look natural on any skin tone involves selecting the right color and adjusting the application technique accordingly. For lighter skin, softer browns or taupes work well, whereas richer, deeper browns suit darker skin tones.


Incorporating Fake Freckles into Your Makeup Routine

Fake freckles can enhance your natural beauty and add a playful element to your makeup. Pair them with a light foundation or BB cream to keep the focus on your freckles, and choose complementary eye and lip colors to complete the look.

Advantages of Fake Freckles

Adding fake freckles can instantly refresh your appearance, giving you a youthful, radiant look. They also offer the flexibility to change your look without permanent alterations.

Case Studies: Celebrities with Iconic Freckles

Celebrities like Meghan Markle and Emma Watson have embraced their natural freckles, inspiring others to do the same or recreate the look with makeup.

Creating fake freckles is an art that requires the right tools, techniques, and a bit of practice. Whether you’re aiming for a subtle, sun-kissed effect or a bold, statement look, the key is to strive for naturalness and harmony with your overall makeup. Embrace the process and don’t be afraid to experiment with different methods and products until you find what works best for you. After all, beauty is about expressing your unique self, and fake freckles are just another fun way to do so.

FAQs on Fake Freckles

  • How long do fake freckles last?
  • Can fake freckles look natural?
  • Are there any risks associated with creating fake freckles?
  • How can I remove fake freckles without harming my skin?
  • Can I create fake freckles if I have acne-prone skin?
  • What’s the best product for creating fake freckles?


5 Essential Tips To Enhance Your Eye Shadowskills
5 Essential Tips to Enhance Your Eye Shadow Skills

Eye shadow can dramatically transform your look, adding depth, dimension, and a pop of color to your eyes. Whether you’re aiming for a subtle enhancement or a bold statement, mastering the art of eye shadow application is key. In this comprehensive guide, we’ll delve into five pivotal tips that will elevate your eye shadow game, ensuring your makeup not only looks stunning but also lasts longer. Prime Your Eyes Before diving into colors and techniques, it’s crucial to start with a clean canvas. Priming your eyelids is the first step towards ensuring your eye shadow adheres better and stays put for hours. A good eye primer prevents creasing and fading, making it indispensable for both daily wear and special occasions. You can opt for a dedicated eye primer or a versatile option that suits both your face and eyelids. The key is to apply a thin, even layer across your eyelid to create the perfect base for your eye shadow. Understand Your Eye Shape Eye shadow isn’t a one-size-fits-all affair; your application technique should be tailored to your unique eye shape. Whether you have almond, round, hooded, or monolid eyes, each shape has specific strategies to enhance and define its natural beauty. By recognizing your eye shape, you can apply eye shadow in a way that accentuates your best features, from lifting droopy lids to making small eyes appear larger. This personalization ensures your eye makeup complements your overall look. Select the Right Eye Shadow Type The type of eye shadow you choose plays a significant role in the final look. Cream eye shadows work wonders as a base color, offering a smooth application. However, for versatility and ease of blending, pressed powder eye shadows are generally preferred. They come in a wide range of finishes, from matte to shimmer, allowing you to create depth and dimension on your eyelids. When selecting eye shadows, consider the occasion, your skin type, and the look you’re aiming for. Invest in Quality Brushes The right tools can make all the difference in eye shadow application. A comprehensive set of brushes allows for precise application and seamless blending. Essentials include a large, fluffy brush for applying a base color, a smaller, denser brush for adding depth to the crease, and a blending brush to ensure there are no harsh lines. Additionally, a pencil brush is great for detailed work, like defining the lower lash line or inner corners. Quality brushes offer better control and can help you achieve a more professional finish. Choose Eye Shadow Colors That Complement Your Eye Color The colors you choose should enhance your natural eye color, making your eyes the focal point of your face. Here’s a quick guide: By incorporating these tips into your makeup routine, you’ll notice a significant improvement in your eye shadow application. Remember, practice makes perfect, and experimenting with different colors and techniques is part of the fun. Embrace your creativity, and let your eyes shine! Mastering eye shadow application is an art that enhances your natural beauty and allows for creative expression. By following these…

What Is A Charcoalmask
What Is a Charcoal Mask?

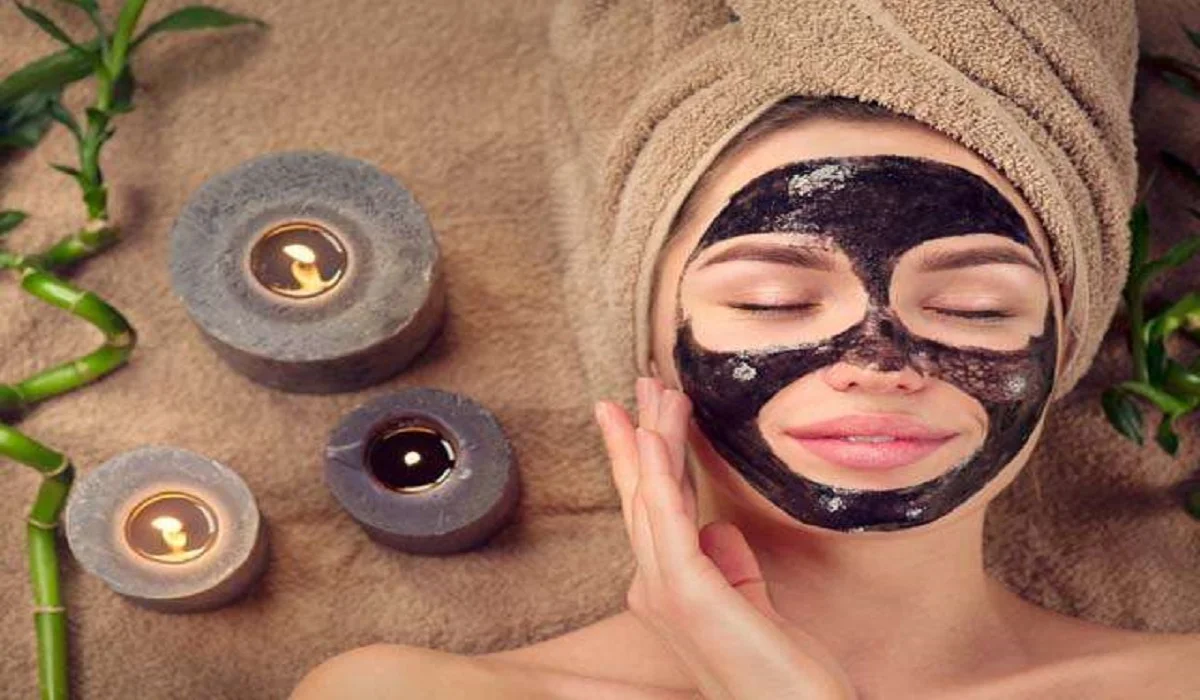
The beauty and skincare realm has witnessed a remarkable surge in the adoption of charcoal masks, celebrated for their profound cleaning and detoxifying capabilities. But the question arises, what are charcoal masks, and how do they perform their skin-transforming feats? In this discussion, we demystify the concept of charcoal masks, delving into their merits, varieties, and the optimal way to integrate them into your skincare regimen. The Scientific Foundation of Charcoal MasksAt the heart of charcoal masks lies activated charcoal, renowned for its ability to function as a magnet, drawing in and ensnaring dirt, oil, and toxins from the epidermis and its underlying pores. The porous characteristic of activated charcoal facilitates the entrapment of these contaminants, which are subsequently eliminated upon the removal of the mask. Key Components in Charcoal MasksIn addition to activated charcoal, these formulations typically incorporate other elements such as clays, tea tree oil, or salicylic acid, each chosen for its capacity to augment the mask’s purifying and calming effects. These ingredients collectively work to diminish oiliness, ward off acne, and pacify the skin. Detoxification Mechanism of Charcoal MasksThe detoxifying procedure employed by charcoal masks is straightforward yet potent. As the mask dries, activated charcoal attracts and captures impurities lodged within the pores, not only cleansing the skin but also minimizing pore visibility and thwarting future acne outbreaks. Varieties of Charcoal MasksCharcoal masks come in various formats, catering to individual preferences and skin needs, each with its distinct application and removal methodology. Peel-off VariantsDesigned to harden upon application, these variants form a peelable layer that, upon removal, strips away dead skin cells and surface debris. Wash-off VariantsThese are rinsed off with water, offering a milder detoxification alternative, ideal for sensitive skin types or those seeking a less intense cleansing experience. Sheet Mask VariantsThese blend the convenience of a no-mess application with the hydrating benefits of a fabric sheet mask, enriched with activated charcoal. Advantages of Charcoal MasksIncorporating charcoal masks into your skincare routine promises a myriad of benefits: Optimal Application of Charcoal MasksFor maximum efficacy, it’s vital to adhere to correct application practices. Preparation and Application:Initiate with a cleansed face, ensuring even application while steering clear of the eyes and lips. Duration and Frequency:Maintain the mask for the suggested duration—typically 10 to 20 minutes—and limit use to once or twice weekly for optimal skin health. Post-Application Care:Conclude with a moisturizer to hydrate and seal in the mask’s benefits. Potential Adverse Effects and SafeguardsGenerally, charcoal masks are safe for most skin types, though some individuals may encounter dryness or irritation. Awareness of Side Effects:Being cognizant of potential adverse effects equips users to manage them effectively. Risk Mitigation:Conduct a patch test prior to using a new charcoal mask, especially for sensitive skin, and meticulously follow usage instructions. DIY Charcoal Mask FormulationsFor enthusiasts of homemade skincare solutions, here are straightforward recipes for crafting your charcoal masks. Simple DIY Charcoal Mask:Combine activated charcoal powder with aloe vera gel for a calming, purifying mask. Charcoal Mask for Acne-Prone Skin:Blend activated charcoal with tea tree oil and water to target acne while soothing the skin….

Enhance Your Natural Beauty The Best New Eye Makeup For Your Eye Color
Enhance Your Natural Beauty: The Best New Eye Makeup for Your Eye Color

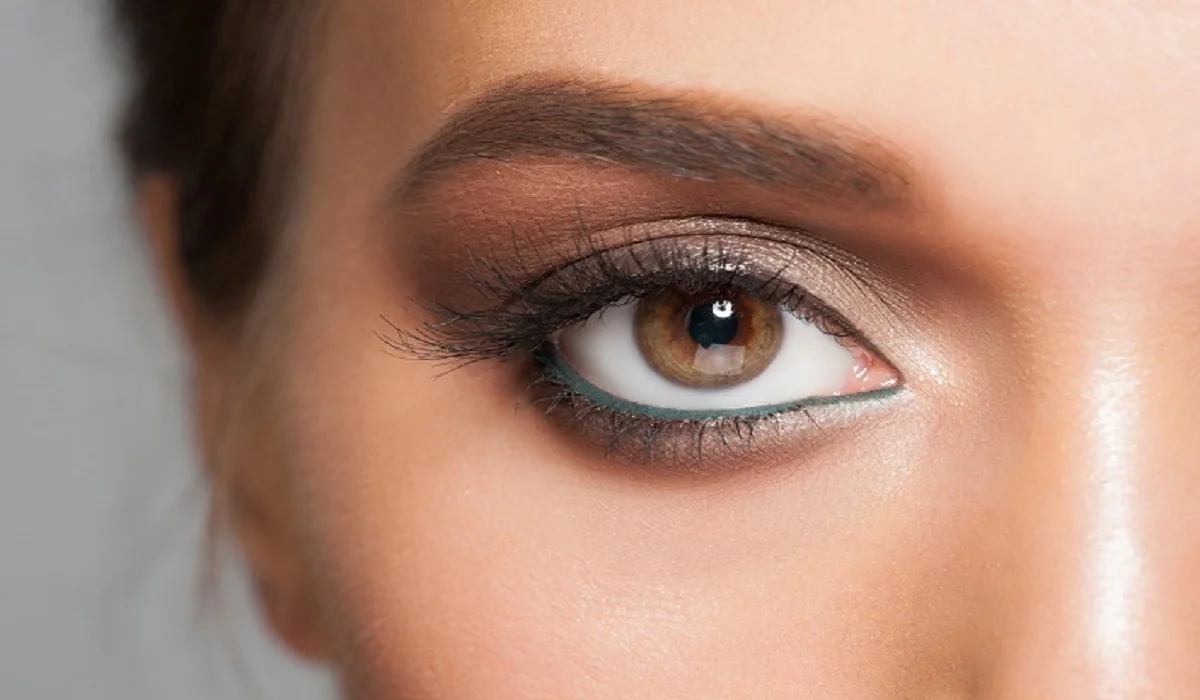
The allure of eye makeup extends far beyond mere cosmetic appeal; it’s an art form that accentuates the inherent beauty of the eyes. With the right palette, liner, or mascara, your eye color can be vividly highlighted, enhancing your overall appearance with simple yet effective touches. This comprehensive guide delves into the 2024 eye makeup trends and innovations specifically tailored to enhance the natural charm of various eye colors. Understanding Eye Color Eye color is a manifestation of genetics, shaped by melanin levels within the iris. Grasping the science behind the spectrum of eye colors—from the palest blues to the deepest browns—enables a more informed makeup choice, ensuring your selections not only complement but also magnify your natural eye color. Makeup for Blue Eyes For individuals graced with blue eyes, selecting shades that form a contrast, such as rich browns, copper, and golden hues, can significantly intensify the eye color. The 2024 lineup introduces luxurious pigments and shimmering metallic liners crafted to highlight blue eyes’ intrinsic depth and sparkle. Enhancing Brown Eyes The inherent depth of brown eyes is their superpower, capable of being accentuated with a broad color palette. Eyeshadows and liners in vibrant jewel tones, including emerald and purple, emerge as the go-to choices in 2024, designed to bring out brown eyes’ complex beauty. Green Eyes Makeup Guide The rarity and allure of green eyes can be amplified with makeup that features red undertones, such as deep mahogany and rich plum. The 2024 must-haves encompass high-pigment shadows and liners that underscore the natural vibrancy of green eyes. Hazel Eyes: How to Highlight Hazel eyes, with their mesmerizing mix of green, gold, and brown, present a unique opportunity for experimentation. Earthy tones emphasize the green, while hints of lavender and mocha bring out the golden and brown flecks. The year’s essentials include versatile palettes that embrace the mutable nature of hazel eyes. Eye Makeup Techniques Mastering fundamental eye makeup techniques can profoundly enhance your eye color. Essential skills such as blending for a seamless finish, brightening the inner corners for a wide-awake look, and crease contouring for added depth are pivotal in making your eye color the focal point. 2024 Eye Makeup Trends This year champions bold, expressive eye makeup. From graphic liners to vivid shadow hues and multi-dimensional mascaras, the latest trends offer fresh avenues for showcasing your eye color, whether you’re aiming for subtlety or dramatic flair. Choosing the Right Makeup for Your Eye Color Crafting a look that elevates your natural eye color involves selecting appropriate products and mastering their application. Starting with a primer for durability, picking complementary colors, and using precise, blendable tools, you can achieve a gaze that’s not only captivating but also uniquely yours. The Best Eye Makeup Products of 2024 The year’s top eye makeup selections span across eyeshadows, eyeliners, and mascaras, each offering novel formulations and hues designed to complement and enhance every eye color. From velvety textures to lustrous finishes, these products promise to transform your makeup routine. Application Tips for Stunning Eyes Application techniques play a critical role in eye…

Sulfate Shampoo Vs. Sulfate Free Shampoo: Debunking The Myths And Choosing What's Best For Your Hair
Sulfate Shampoo vs. Sulfate-Free Shampoo: Debunking the Myths and Choosing What’s Best for Your Hair

When it comes to choosing the right shampoo for your hair, one of the main considerations is whether to opt for a sulfate shampoo or a sulfate-free shampoo. Sulfates are surfactants commonly found in many shampoos, known for their ability to create a rich lather and remove dirt and oil from the hair. However, there has been a growing trend towards sulfate-free shampoos, claiming that they are gentler and more beneficial for hair health. In this article, we will delve into the differences between sulfate and sulfate-free shampoos, explore their pros and cons, and help you make an informed decision about which option is better for your hair. Understanding Sulfates:Sulfates, such as sodium lauryl sulfate (SLS) and sodium laureth sulfate (SLES), are surfactants commonly used in shampoos due to their strong cleansing properties. They are effective at removing dirt, oil, and product buildup from the hair and scalp. However, sulfates can also strip away natural oils, which can lead to dryness, frizz, and color fading, especially for those with dry or chemically treated hair. The Benefits of Sulfate Shampoos:Sulfate shampoos have been the go-to choice for many people due to their ability to create a rich lather and provide a thorough cleansing experience. They can effectively remove excess oil and buildup, leaving the hair feeling clean and refreshed. Additionally, sulfate shampoos are often more affordable and readily available compared to sulfate-free alternatives. The Drawbacks of Sulfate Shampoos:While sulfate shampoos can effectively cleanse the hair, they are not without drawbacks. The stripping nature of sulfates can lead to dryness, irritation, and scalp sensitivity, particularly for individuals with dry or sensitive skin. Sulfates can also strip away the natural oils that help keep the hair moisturized and protected. Additionally, for those with color-treated hair, sulfates can cause premature fading, leading to dull and lackluster color. The Rise of Sulfate-Free Shampoos:Sulfate-free shampoos have gained popularity in recent years, largely due to claims of being gentler and more beneficial for hair health. These shampoos are formulated without sulfates, relying on alternative surfactants or cleansing agents to provide a milder cleansing experience. Many sulfate-free shampoos utilize natural ingredients and botanical extracts to cleanse the hair while maintaining its moisture balance. The Benefits of Sulfate-Free Shampoos:Sulfate-free shampoos offer several potential benefits for hair health. Firstly, they are considered gentler on the scalp and hair, making them suitable for individuals with sensitive or dry skin. By avoiding sulfates, these shampoos help retain the natural oils that keep the hair moisturized, resulting in softer, smoother, and more manageable hair. Sulfate-free shampoos are also often recommended for those with color-treated or chemically processed hair, as they help preserve the vibrancy and longevity of the color. The Misconceptions about Sulfate-Free Shampoos:There are a few misconceptions surrounding sulfate-free shampoos that need to be addressed. Some believe that sulfate-free shampoos do not lather as well as sulfate shampoos. While it is true that sulfate-free shampoos may not produce as much foam, it does not necessarily mean they are less effective at cleansing the hair. The absence of sulfates does not compromise the shampoo’s ability…

How To Spot And Treat Damage In Dry Hair: A Comprehensive Guide
How to Spot and Treat Damage in Dry Hair: A Comprehensive Guide

Dry hair is a common hair concern that can be caused by various factors, including environmental conditions, heat styling, chemical treatments, and inadequate hair care practices. When hair lacks moisture and essential nutrients, it becomes prone to damage, leading to frizz, split ends, and overall dullness. Spotting and treating damage in dry hair is essential to restore its health, shine, and manageability. In this comprehensive guide, we will explore the signs of damage in dry hair and provide effective treatment methods to revive and nourish your locks. Signs of Damage in Dry Hair: Split Ends: Split ends are one of the first signs of hair damage. When the protective outer layer of the hair cuticle is damaged, the inner cortex becomes exposed, causing the hair to split into two or more ends. Split ends give the hair a frayed appearance and can travel up the hair shaft if left untreated. Brittle Texture: Dry hair lacks elasticity and flexibility, making it brittle and prone to breakage. When hair is damaged, it loses its ability to withstand stress and can snap easily when combed or styled. Lack of Shine: Healthy hair reflects light, creating a natural shine. However, damaged dry hair appears dull and lacks luster due to the rough and damaged cuticle. Tangles and Knots: Damaged hair has a rough surface, leading to tangles and knots that are challenging to detangle without causing further damage. Frizz and Flyaways: The cuticle damage in dry hair allows moisture to escape, causing frizz and flyaways, especially in humid conditions. Overly Porous Hair: Damage in dry hair can lead to excessive porosity, where the hair absorbs and loses moisture rapidly. Overly porous hair struggles to hold onto moisture, making it prone to dryness and further damage. Treatment Methods for Damaged Dry Hair: Trim Regularly:To combat split ends and prevent further damage, regular trims are essential. Trimming the hair every 6-8 weeks removes split ends and promotes healthy hair growth. Deep Conditioning:Deep conditioning treatments nourish and hydrate the hair, restoring moisture and improving its texture. Look for deep conditioning masks or treatments with ingredients like shea butter, argan oil, or keratin to repair and strengthen the hair. Avoid Heat Styling:Reduce the use of heat styling tools such as flat irons and curling wands, as they can cause further damage to dry hair. If you must use heat, apply a heat protectant spray and use the lowest heat setting possible. Use Sulfate-Free Shampoos:Sulfates in shampoos can strip the hair of its natural oils, making dry hair even drier. Switch to sulfate-free shampoos that are gentle on the hair and scalp. Limit Chemical Treatments:Excessive chemical treatments, such as bleaching and coloring, can worsen dry hair. Limit the use of harsh chemicals and opt for nourishing hair treatments instead. Incorporate Oils into Your Routine:Natural oils like coconut oil, jojoba oil, and argan oil can provide deep hydration and repair damaged hair. Apply a small amount of oil to damp hair or use it as an overnight treatment for intense nourishment. Hydrate from Within:Proper hydration is essential for healthy hair. Drink plenty…

Shielding Your Strands: Exploring The Purpose And Benefits Of Heat Protectant For Your Hair
Shielding Your Strands: Exploring the Purpose and Benefits of Heat Protectant for Your Hair

Heat styling tools like flat irons, curling wands, and blow dryers have become essential tools in our hair care routine. While these tools help us achieve various hairstyles, they can also subject our hair to high temperatures, leading to damage and breakage. This is where heat protectant products come into play. Heat protectants are designed to shield our strands from the harmful effects of heat styling, providing an extra layer of defense. In this article, we will explore the purpose and benefits of heat protectant for your hair, understanding how it works and why it is a crucial addition to your styling routine. Understanding Heat Protectant:Heat protectant is a hair care product formulated to create a barrier between your hair and the heat from styling tools. It typically comes in the form of sprays, serums, or creams and is applied to the hair before using heat styling tools. Heat protectants are usually infused with ingredients that can withstand high temperatures and help prevent damage caused by heat exposure. Protection from Heat Damage:The primary purpose of heat protectant is to safeguard your strands from heat damage. When subjected to high temperatures, the cuticle layer of the hair can become damaged, resulting in dryness, frizz, split ends, and breakage. Heat protectants form a protective coating over the hair, acting as a barrier that minimizes the direct impact of heat on the hair shaft. This helps to maintain the integrity of the hair, preventing damage and preserving its overall health. Reducing Moisture Loss:Heat styling can strip moisture from the hair, leaving it dry, brittle, and prone to breakage. Heat protectants are often formulated with hydrating ingredients that help seal in moisture and prevent water loss from the hair strands. By creating a barrier, heat protectants help to retain the hair’s natural moisture, leaving it hydrated, soft, and more resilient to heat-induced damage. Minimizing Frizz and Flyaways:Excessive heat can cause the cuticles of the hair to lift, resulting in frizz and flyaways. Heat protectants work to smooth down the cuticle layer, minimizing frizz and creating a sleeker, more polished look. They help to keep the hair strands aligned and reduce static, ensuring a smoother, more manageable hairstyle. Enhancing Shine and Smoothness:Heat protectants not only protect the hair but also enhance its appearance. They can add shine and smoothness to the hair, giving it a healthier and more lustrous look. By creating a protective barrier, heat protectants help to seal the hair cuticles, allowing light to reflect off the strands and creating a glossy, radiant finish. Improving Styling Results:Using a heat protectant can improve the overall outcome of your heat-styled hairstyle. By providing a smooth and protected surface, heat protectants make it easier to glide through the hair with styling tools, allowing for more precise and efficient styling. Additionally, the added moisture and protection help the hair hold the style for longer, ensuring your hard work doesn’t go to waste. Suitable for Various Hair Types:Heat protectants are suitable for all hair types, whether you have straight, wavy, curly, or coily hair. They can benefit those with fine…

Tubing Mascara: An Innovative Approach To Luscious Lashes And Easy Removal
Tubing Mascara: An Innovative Approach to Luscious Lashes and Easy Removal

Tubing mascara has gained popularity in recent years as an innovative solution for achieving long, voluminous lashes. Unlike traditional mascaras, which rely on pigments to enhance lash appearance, tubing mascara utilizes a unique formulation that creates tiny polymer tubes around each individual lash. Not only does this provide impressive length and volume, but it also offers smudge-proof, flake-resistant, and long-lasting wear. Additionally, the removal process for tubing mascara is straightforward and gentle on the lashes. In this article, we will delve deeper into the world of tubing mascara, exploring its benefits and sharing effective techniques for its removal. Tubing mascara is a revolutionary beauty product that offers several advantages over conventional mascaras. Its formulation contains flexible polymers that wrap around each lash, creating tube-like structures that enhance length and volume. These tubes are durable and remain intact throughout the day, resisting smudging, flaking, and smearing. One of the key benefits of tubing mascara is its ability to provide a clean, clump-free application. The unique tubing formula ensures that each lash is individually coated, preventing clumping or the formation of spidery lashes. This allows for a more natural and defined look. Furthermore, tubing mascara is highly resistant to water, humidity, and oil. It remains intact even in challenging conditions, making it an excellent choice for those with oily eyelids or individuals living in humid climates. Additionally, tubing mascara is a popular choice for individuals with sensitive eyes or contact lens wearers, as it is less likely to cause irritation or discomfort. The Removal ProcessRemoving tubing mascara is a straightforward process that requires warm water and a gentle cleanser. Unlike traditional mascaras that may necessitate harsh rubbing or the use of oil-based removers, tubing mascara can be easily removed without causing damage to the lashes. Here’s a step-by-step guide on how to remove tubing mascara effectively: Begin by wetting your face with warm water. Ensure the water is comfortably warm, but not hot. Gently splash warm water onto your closed eyes, allowing the mascara to become thoroughly soaked. The warmth of the water helps loosen the tubes. Take a small amount of a gentle cleanser, such as a mild face wash or an eye makeup remover, and apply it onto your fingertips or a cotton pad. Close your eyes and use gentle circular motions to massage the cleanser onto your lashes, focusing on the roots and working your way towards the tips. This helps break down the tubes. Continue massaging for approximately 30 seconds to a minute, or until you feel the mascara starting to slide off. Be careful not to tug or pull on your lashes. Once you’re satisfied with the cleansing process, rinse your face with warm water, ensuring that all the mascara has been washed away. Gently pat your face dry with a clean towel, being careful not to rub your eyes vigorously. By following these steps, you can effectively remove tubing mascara without causing any harm or irritation to your lashes or the delicate eye area. Tips and PrecautionsWhile tubing mascara removal is generally gentle, it’s essential to keep a…

How To Make The Tiktok Vanilla Girl Makeup Aesthetic?
How to make the TikTok Vanilla Girl Makeup Aesthetic?

TikTok has become increasingly popular since its introduction, leading to an entirely new makeup aesthetic: Vanilla Girl makeup looks. These makeup looks focus on natural features while accentuating them subtly; many beauty experts and enthusiasts are striving to replicate them; this article offers tips and tricks on how anyone can recreate TikTok’s Vanilla Girl aesthetic for themselves. Start With a Good BaseVanilla Girl makeup is all about emphasizing natural features, so starting off right is of vital importance for this look. Before applying makeup of any sort, ensure your face has been cleansed thoroughly and moisturized to provide adequate hydration – this will allow the makeup application to go more smoothly and last longer! To create this natural effect use lightweight foundation or tinted moisturizer in matching hue. When applying these items use either damp beauty sponge or brush for even coverage. Play With Neutral TonesThe Vanilla Girl makeup aesthetic involves playing with neutral tones that flatter one’s natural skin tone, including earthy tones like brown, beige, taupe and nude in eyeshadow, blush and lipstick products. Opting for matte finishes for eyeshadow and blush while choosing glossy lips such as nude lipstick or tinted lip balm works wonderfully to complete this look. Highlight Your Natural FeaturesVanilla Girl makeup aesthetic focuses heavily on emphasizing one’s natural features, so don’t shy away from using highlighters to enhance cheekbones, nose, cupid’s bow or cupid’s bow with natural-looking glow. Try selecting one that complements your skin tone but contains subtle shimmer for best results when applying highlighter over high points of face like cheekbones, bridge of nose or center forehead to achieve natural-looking glow. Enhance Your EyesIn order to achieve the Vanilla Girl makeup aesthetic, subtly enhance your eyes. Start with neutral eyeshadow shades in order to define the crease and outer corner of the eyes; opt for brown or black mascara in order to define lashes; curled them before application of mascara can open up eyes more dramatically; for further definition you could add brown or black eyeliner pencil lining your waterline; this will make eyes seem brighter and more awake! Vanilla Girl makeup aesthetic emphasizes natural-looking brows. When filling any sparse spots in your brows with either brow gel or pencil, use small strokes that mimic natural brow hairs; don’t overdo it or use shades too dark for your skin tone, instead create groomed yet natural looking brows! Finish with Dewy SprayTo complete your Vanilla Girl makeup look, finish it off with a dewy spray that has fine mist particles to impart an authentically dewy glow and set your makeup without looking caked up or cakey. Hydration products with Glycerin as its primary component are ideal to ensure skin remains looking hydrated throughout the day. Attaining the TikTok Vanilla Girl makeup aesthetic requires using neutral tones to accentuate natural features. Start with a good base, use neutral eyeshadow shades, and highlight key areas with subtle shimmer highlights for maximum impact. Keep brows natural before setting everything with dewy spray for natural-looking glow – any beauty lover can quickly achieve the Vanilla Girl aesthetic and…