Ultimate Guide to a Dazzling Bright White Smile

A radiant smile can dramatically transform your appearance and boost your self-confidence. It’s not merely about looking good; it reflects good oral health and contributes positively to your social interactions. This guide will navigate you through various methods to achieve that coveted bright white smile, balancing effectiveness with safety.
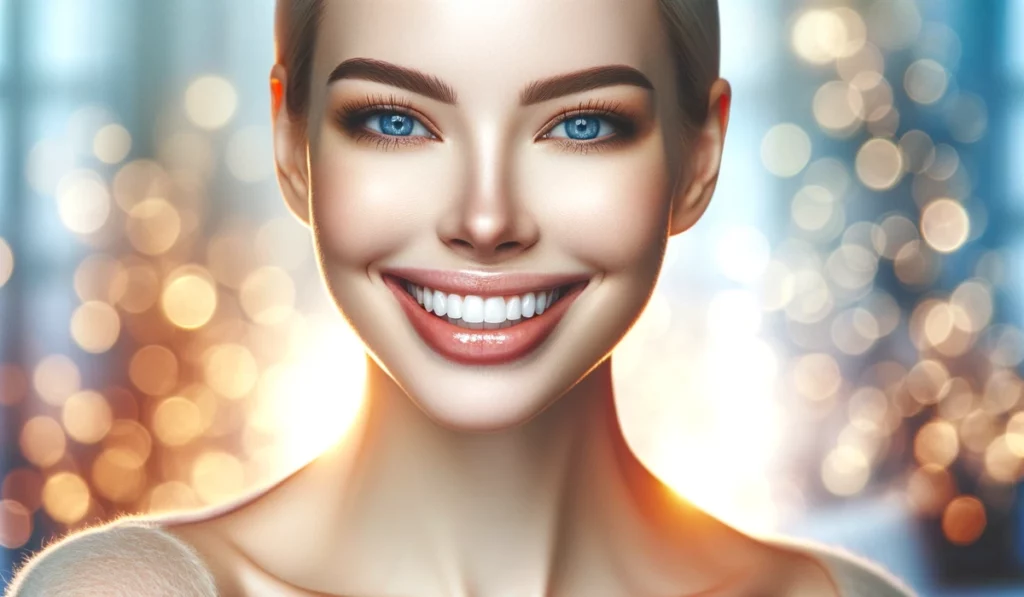
Ultimate Guide To A Dazzlingbright White Smile

Understanding Tooth Discoloration

Causes of Tooth Discoloration: Tooth discoloration can result from numerous factors, including dietary habits, smoking, and the natural aging process. Certain medications, trauma to the teeth, and genetics also play a significant role.

Types of Tooth Stains: Stains on teeth can be categorized as extrinsic, occurring on the surface, or intrinsic, which are deeper and may require professional intervention to remove. Identifying the type of discoloration you’re dealing with is crucial for selecting the most effective treatment.

Professional Teeth Whitening Options

In-Office Whitening Treatments: Dental professionals offer in-office whitening treatments that provide dramatic results in a short period. These treatments use high concentrations of bleaching agents under controlled conditions, ensuring safety and minimizing tooth sensitivity.

Custom Take-Home Whitening Kits: For those who prefer the convenience of home treatments with professional results, dentists provide custom-fitted trays and whitening gels. These kits are designed for use over a period of days or weeks, offering a more gradual whitening effect.

Over-the-Counter Whitening Solutions

Whitening Toothpastes and Rinses: These products contain mild abrasives and chemicals that can help remove surface stains. While convenient and affordable, their effectiveness is limited compared to professional treatments.

Whitening Strips and Gels: Over-the-counter strips and gels are more potent than toothpastes and can provide noticeable results. However, they must be used according to the instructions to prevent gum irritation and sensitivity.

Natural Teeth Whitening Methods

DIY Whitening Remedies: Natural remedies, such as baking soda and hydrogen peroxide mixtures, can offer mild whitening effects. However, they should be used with caution to avoid damaging tooth enamel.

Foods That Naturally Whiten Teeth: Incorporating crunchy fruits and vegetables into your diet can help clean your teeth naturally, while foods high in calcium, like dairy products, can strengthen your teeth and contribute to a whiter smile.
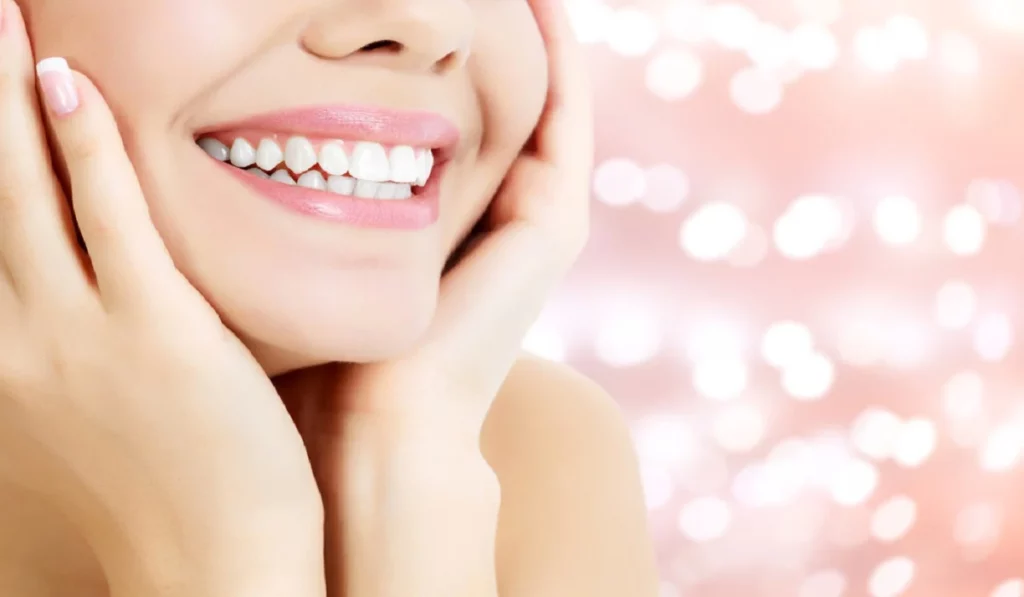
Ultimate Guide To A Dazzling Bright White Smile

Maintaining Your White Smile

Daily Oral Hygiene Practices: Consistent oral hygiene, including brushing twice a day, flossing daily, and using an antibacterial mouthwash, is fundamental in maintaining a white smile.

Foods and Drinks to Avoid: Coffee, tea, red wine, and dark-colored berries are known to stain teeth. Limiting your intake of these substances can help prevent new stains from forming.

The Role of Dental Hygiene in Teeth Whitening

Regular Dental Checkups: Regular visits to the dentist for checkups and cleanings play a critical role in maintaining oral health and keeping your teeth white. Professional cleanings can remove plaque and tartar that contribute to discoloration.

Risks and Considerations for Teeth Whitening

Sensitivity and Gum Irritation: Some whitening treatments can cause temporary sensitivity or gum irritation. Using products designed for sensitive teeth and following the recommended guidelines can minimize these effects.

Understanding the Limits of Whitening: It’s important to have realistic expectations regarding teeth whitening. Not all types of discoloration can be completely removed, and the degree of whitening varies from person to person.

How to Get A Bright White Smile

Achieving a bright white smile typically involves a combination of professional treatments, over-the-counter products, and natural methods, tailored to your specific needs and type of discoloration. Consulting with a dental professional can help you create a personalized whitening plan that is safe and effective.

Achieving and Maintaining Your Dream Smile

A bright white smile is attainable with the right approach and care. By understanding the causes of discoloration, choosing the appropriate whitening method, and committing to ongoing oral hygiene, you can enjoy lasting results. Remember, the key to a radiant smile is not just the whiteness of your teeth but the overall health of your mouth.

  • How often should I whiten my teeth? Frequency depends on the method used and your individual sensitivity. It’s best to consult with a dentist to determine a safe whitening schedule.
  • Can whitening damage my teeth? When used appropriately, whitening products are safe. However, overuse can damage tooth enamel.
  • Is whitening permanent? No, whitening results are not permanent. Regular maintenance and avoiding stain-causing foods and beverages can prolong the effects.

What Are The Benefits Of Using Leave In Conditioner
The Transformative Benefits of Using Leave-In Conditioner

Leave-in conditioner isn’t just another step in your hair care routine; it’s a game-changer for anyone looking to elevate their hair health, appearance, and manageability. Unlike traditional conditioners that you rinse out after a few minutes, leave-in conditioners stay in your hair until the next wash, providing extended benefits and continuous care. Moisture Retention Hydration is crucial for maintaining healthy hair, and leave-in conditioners are formulated to lock in moisture, combating dryness and breakage. They’re especially beneficial for curly, coarse, or textured hair types that naturally tend to be drier. Enhanced Manageability Tangles and knots can lead to breakage and hair loss. Leave-in conditioners smooth the hair cuticle, making detangling a breeze and improving overall hair texture, making it softer and easier to style. Protection from Environmental Damage Exposure to pollutants and the sun’s UV rays can wreak havoc on your hair. Leave-in conditioners can form a protective shield around your hair, minimizing damage and keeping your locks healthy and vibrant. Prevention of Heat Damage For those who regularly use heat styling tools, leave-in conditioners are essential. They create a barrier on the hair, reducing the risk of heat damage and helping to maintain hair integrity over time. Promotes Hair Growth Healthy hair starts at the scalp. Leave-in conditioners with nourishing ingredients can help to soothe and moisturize the scalp, creating an optimal environment for hair growth while strengthening hair follicles. Adds Shine and Softness Dull, lifeless hair can be transformed into luscious, shiny locks with the right leave-in conditioner. It helps to smooth the hair’s surface, reflecting light better and enhancing your hair’s natural luster. Reduces Frizz and Flyaways Humidity can make hair unmanageable and frizzy. Leave-in conditioners help to seal the hair cuticle, preventing moisture from swelling the strands and keeping your hair smooth and sleek. Versatility and Convenience Whether you have straight, wavy, curly, or kinky hair, there’s a leave-in conditioner that’s perfect for your hair type and concerns. Its ease of use and the immediate impact it makes on hair health and styling make it a staple in many routines. Customizable Formulations With a wide range of formulations available, you can find leave-in conditioners that target specific issues like scalp health, color protection, or volume boosting. This customization ensures that you’re not just caring for your hair but optimizing its health and style. Understanding the Distinct Roles of Traditional and Leave-In Conditioners in Hair Care Traditional conditioners and leave-in conditioners serve unique purposes in the realm of hair care. The primary function of a traditional conditioner is to mitigate the effects of shampooing. Shampoo, while essential for cleansing the hair of impurities and excess oils, can strip the hair of its natural moisture. To counteract this, a traditional conditioner is applied to damp hair immediately following the use of shampoo. Its role is to replenish moisture, enhance strength, and offer protection to the hair strands. This process is an integral component of hair restoration, vital for maintaining the hair’s health. After the conditioner is evenly distributed through the hair, often with the aid of a comb or brush…

Foilyage: The Perfect Fusion Of Foil Highlights And Balayage
Foilyage: The Perfect Fusion of Foil Highlights and Balayage

When it comes to hair color trends, there’s always something new and exciting on the horizon. One such trend that has taken the hair industry by storm is “foilyage.” Foilyage is a hair coloring technique that combines the best of both worlds: the precise placement of foil highlights and the seamless, natural look of balayage. This technique has gained immense popularity among hairstylists and clients alike, offering a stunning and low-maintenance hair color option. In this article, we will delve into the details of foilyage, exploring what it is, how it differs from other coloring techniques, its benefits, and why it has become a go-to choice for many individuals seeking a sun-kissed, dimensional look. What is Foilyage? Foilyage is a term coined by hairstylists to describe a hair coloring technique that combines the foil highlighting method with balayage. Foil highlights involve separating sections of hair and applying color or lightener to the selected strands, which are then covered with foil to process the color more efficiently. On the other hand, balayage is a freehand technique where the colorist paints the color or lightener directly onto the hair, creating a soft, graduated effect. Foilyage bridges the gap between these two techniques by incorporating the precise placement of foil highlights with the natural blending and softness of balayage. How is Foilyage Different from Traditional Highlights and Balayage? Traditional highlights involve placing foils throughout the hair to create contrast and dimension. While this technique can produce beautiful results, the final look can sometimes appear too structured and uniform. Balayage, on the other hand, offers a more natural and effortless look by painting color directly onto the hair. However, without the aid of foils, it can be challenging to achieve maximum lift and create a more dramatic contrast. Foilyage strikes the perfect balance between these two techniques. By using foils strategically, colorists can achieve more lift and control while still maintaining a soft and blended appearance. The foils help to incubate the color, resulting in a more vibrant and dimensional effect compared to traditional balayage. Additionally, foilyage allows for precise placement of color, making it an excellent choice for those looking for specific highlights or lightening in certain areas of the hair. Benefits of Foilyage: Natural and Gradual: Foilyage creates a seamless, sun-kissed effect that mimics the natural way hair lightens under the sun. The color transition is soft and gradual, giving the hair a dimensional and lived-in appearance. Low Maintenance: One of the key advantages of foilyage is its low maintenance nature. Since the color is applied in a way that blends seamlessly with the hair, regrowth is less noticeable, reducing the frequency of touch-up appointments. This makes foilyage an ideal choice for those who prefer a more effortless hair color that grows out gracefully. Customizable: Foilyage offers endless possibilities for customization. Colorists can tailor the placement and intensity of the highlights to complement a client’s skin tone, hair type, and personal style. Whether you desire a subtle change or a bold transformation, foilyage can be adapted to suit your preferences. Versatile for All Hair…

Eyebrow Powder 1
Eyebrow Powder: Unveiling the Secret to Perfectly Defined Brows

Beauty tools and products aim to enhance our features, but few rival the transformative power of perfectly defined eyebrows. One such cosmetic marvel that has gained widespread acclaim for shaping, filling and defining eyebrows with precision is eyebrow powder – we will dive into its world here by unmasking its mysteries as well as offering advice for how you can use this cosmetic marvel effectively to achieve perfectly arched arches! Whether you’re an experienced user looking for ways to advance their game or an amateur hoping to enhance them further – read further to uncover its art of eyebrow powder use! Chapter 1 : Understanding Eyebrow Powder As part of our exploration of eyebrow powder, we begin with its essence. What sets eyebrow powder apart from other brow products is its distinctive formulation and texture: unlike pencils or gels, eyebrow powder comes in soft powder form for seamless blending. This fine texture is celebrated for its versatility, enabling users to achieve both natural and dramatic eyebrow looks effortlessly. Brow powder stands out for its naturalistic results and delicate application process, making it the ideal option for those seeking subtle enhancement. Eyebrow powder can help create everyday elegance or dramatic transformation; discover all its potential by uncovering its secrets! See how using it will boost your brow game to new levels! Chapter 2: Why Use Eyebrow Powder? Eyebrow powder is an indispensable makeup essential with incredible power to transform the shape and thickness of brows. It serves multiple roles within beauty; one key function being filling sparse areas to give an illusion of fuller and thicker brows. No matter whether your eyebrows have been overplucked, have naturally thin brows, or simply require bolder arches, eyebrow powder is an invaluable way to create the appearance of lush and well-defined arches. Additionally, this soft, finely milled powder excels at shaping brows by offering structure and precision for creating the ideal arch. Furthermore, its blendability enables both natural and bold looks based on individual preferences. Eyebrow powder is known for providing a soft, natural look – ideal for those who favor subtle makeup applications. Furthermore, this versatile yet transformative product empowers users to shape and define brows with grace. Chapter 3: Choosing a Shade Discovering your ideal eyebrow powder shade is key to creating natural-looking and harmonious brows. Finding it requires understanding your hair color, undertone and skin tone as the key indicators. If you have blonde hair, opt for shades that highlight its warmth, such as soft taupe or light brown. Auburn/red haired individuals should select hues with warm undertones like ginger browns. Finally, brunettes should choose deep brown or soft black shades for an expertly polished appearance. Consideration should always be given to your skin’s undertone – warm, cool or neutral – in order to find colors which flatter it smoothly. Warm undertones require hues with golden or reddish undertones; those who fall within its cooling spectrum require shades with ashy or taupe hues as a base tone. Neutral undertones enjoy the freedom to experiment with colors that don’t lean too warm or cool,…

Find The Perfect Blush To Match Your Skintone
Find the Perfect Blush to Match Your Skin Tone

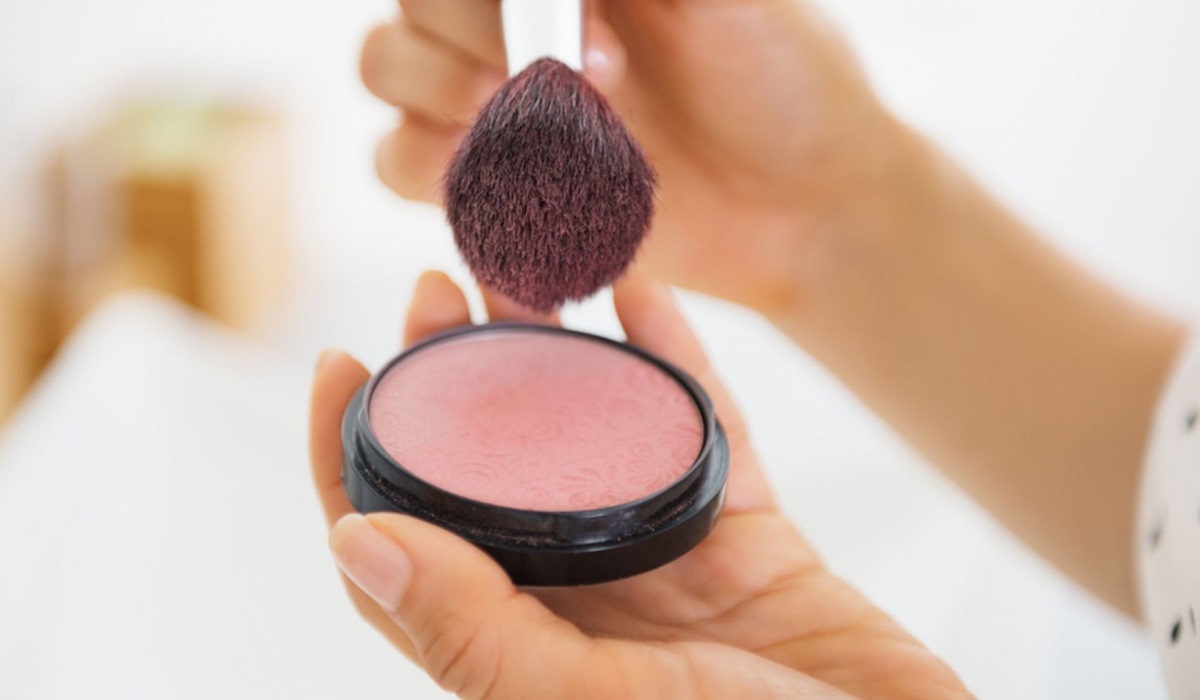
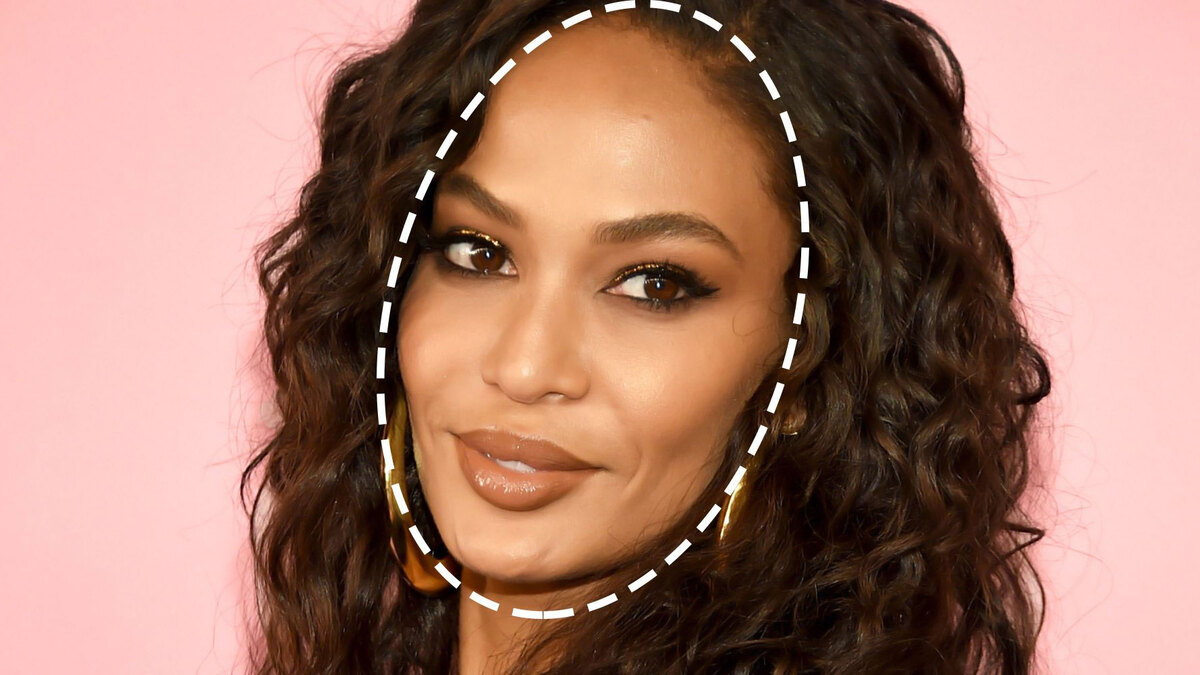
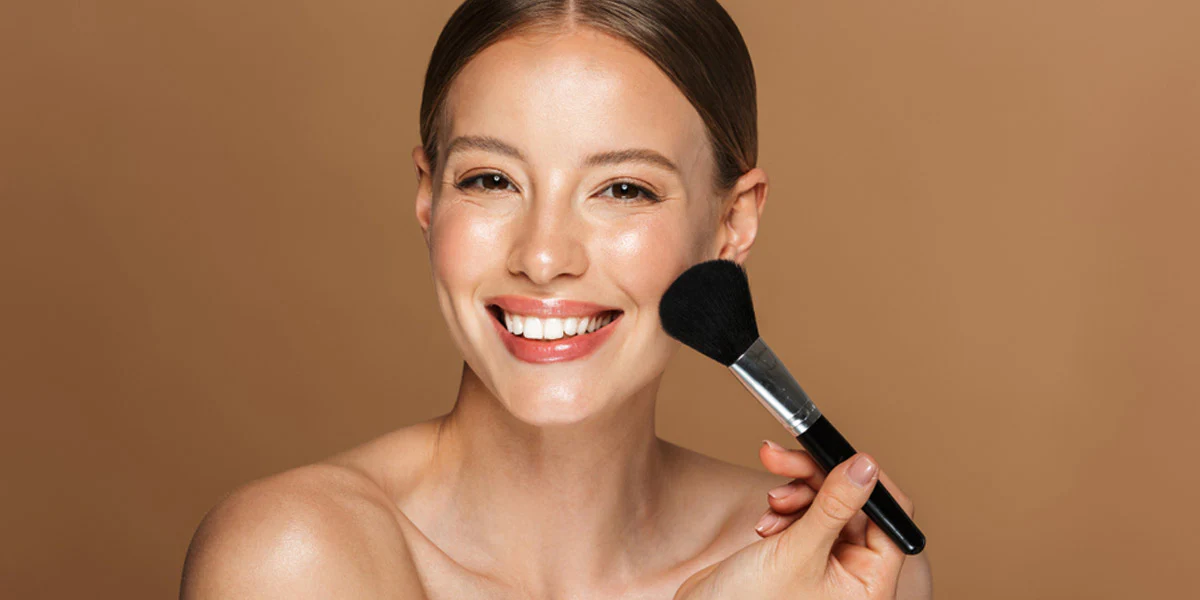
Discovering the ideal blush that harmonizes with your skin tone can revolutionize your makeup routine, bestowing upon you a coveted, naturally blushed appearance that exudes vibrancy and health. Amid an array of beauty enhancements from primers to foundations aimed at perfecting our skin’s appearance, the remarkable transformation a well-chosen blush can achieve often goes unnoticed. A mere touch of color can infuse life into your complexion. The essence, however, lies in pinpointing the exact shade tailored for you. Embark on this detailed journey to uncover the secrets to selecting the ideal blush for your skin tone, coupled with expert tips on mastering its application to attain that irresistible, glowing allure. Embark on the Quest for Your Skin-Matched Blush Delving into Blush Formulas Blushes transcend a universal formula; they are presented in a myriad of textures, each providing a distinct finish and application ease, catering to varied preferences and skin necessities. Selecting Your Ideal Shade Unlocking the perfect blush starts with an analysis of your skin’s undertones, aiming for shades that enhance rather than clash with your innate color. Mastering the Blush Application Art Beyond formula or shade, application dictates the success of your blush endeavor. Adhere to these insights for flawless integration: By embracing your skin tone and refining blush application skills, you unlock the doorway to a radiant, glowing complexion. Whether seeking a subtle color whisper or a bold cheek statement, the right blush emerges as your complexion’s ally, introducing dimension and warmth to any ensemble. These insights are crafted to elevate your makeup artistry, ensuring your blush not only impeccably matches your skin tone but also sustains its allure and vibrancy throughout the day. 1. How do I determine the most flattering blush shade for my fair skin?For those with fair skin, the aim is to mimic the natural, subtle flush that occurs. Shades like soft baby pink, delicate light coral, or peach are ideal, as they complement the skin without overpowering it. It’s advisable to avoid intensely bright or dark shades, as they can create a harsh contrast, disrupting the natural harmony of your complexion. 2. Can individuals with medium to light skin tones experiment with bold blush colors?Absolutely! If you have a medium to light skin complexion, you have the liberty to explore a spectrum of blush shades. Rich mauves and deep peaches are particularly flattering, enhancing the skin’s natural warmth. The key to mastering bold colors is to start with a minimal application, gradually building up to the desired intensity, thus ensuring a sophisticated, vibrant look without overwhelming the skin. 3. What blush shades are best suited for individuals with dark skin tones?Dark skin tones offer a fantastic canvas for a range of blush colors, from the strikingly bold deep fuchsia, creating a vibrant pink flush, to the more understated warm browns for a natural look, and even vivid tangerine for a standout pop of color. These rich hues complement dark skin beautifully, adding a luminous, healthy glow. 4. How can I apply cream blush to achieve a natural-looking finish?For a natural, dewy effect with cream blush,…

Stop The Tears: Tips For Preventing Watery Eyes While Applying Makeup
Stop the Tears: Tips for Preventing Watery Eyes While Applying Makeup

Applying makeup can be a fun and creative process, but it can also be frustrating when your eyes start to water and ruin your hard work. Watery eyes can be caused by a variety of factors, including allergies, dryness, and even emotional reactions. Whatever the cause may be, there are several tips and tricks you can use to prevent your eyes from watering while applying makeup. Start with Clean, Moisturized SkinBefore you even begin applying makeup, make sure your skin is clean and moisturized. Dry skin can cause irritation and lead to watery eyes, so it’s important to hydrate your skin with a moisturizer that is suitable for your skin type. Avoid moisturizers that contain fragrances or other irritants that could trigger your eyes to water. Use Allergy-Tested ProductsIf you have sensitive skin or allergies, it’s important to use makeup and skincare products that are labeled as allergy-tested. These products have been formulated to be less irritating and are less likely to cause an allergic reaction. Additionally, avoid using any products that you know you are allergic to or have caused irritation in the past. Avoid Applying Makeup Too Close to Your EyesOne of the main causes of watery eyes while applying makeup is getting product too close to your eyes. Avoid applying eyeliner, mascara, and eyeshadow too close to your lash line or inner corner of your eyes. Instead, keep the products on the outer part of your eyelid and use a smaller brush to apply product closer to your lash line if necessary. Choose Non-Irritating ProductsWhen choosing makeup products, opt for those that are labeled as hypoallergenic or non-irritating. These products are formulated with ingredients that are less likely to cause irritation and are generally safer for sensitive eyes. Look for products that are free of fragrances, sulfates, and parabens. Use Eye DropsIf your eyes tend to get dry or itchy while applying makeup, use eye drops to lubricate and refresh your eyes. Choose drops that are specifically formulated for dry eyes and avoid those that contain redness reducers or other additives that could further irritate your eyes. Avoid Waterproof ProductsWhile waterproof makeup can be great for special occasions or long days, it can also be more difficult to remove and can cause irritation to your eyes. Avoid using waterproof products on a daily basis and opt for regular formulas that are easier to remove and less likely to cause irritation. Take BreaksIf you feel your eyes starting to water while applying makeup, take a break and let your eyes rest for a few minutes. You can close your eyes or look away from the mirror for a bit to give your eyes a break from the products. This can also help to reduce eye strain and prevent further irritation. Use a Light HandWhen applying makeup, use a light hand and avoid pressing or pulling on your eyelids. This can irritate your eyes and cause them to water. Instead, gently apply product and use a soft touch to prevent irritation. Clean Your Brushes and ToolsDirty brushes and tools can harbor…

Latte Makeup Warm And Inviting Earthy Tones For A Naturally Radiant Look
Latte Makeup: Warm and Inviting Earthy Tones for a Naturally Radiant Look

In the world of makeup, trends come and go, and one that has been gaining popularity is the latte makeup trend. Inspired by the warm and inviting colors of a freshly brewed latte, this makeup style embraces earthy and neutral tones, creating a cozy and effortlessly chic look. From soft browns and warm caramels to creamy beiges and rich mochas, the latte makeup trend offers endless possibilities for creating natural yet stunning looks. In this comprehensive guide, we will delve into the essence of latte makeup, explore its key features, and provide tips on how to achieve this versatile and flattering style. At the heart of the latte makeup trend is a focus on earthy and neutral shades that mimic the colors found in a delicious cup of latte. These hues are warm, inviting, and universally flattering, making them suitable for various skin tones and occasions. a. Soft Browns: Emphasizing soft brown eyeshadows on the lids and along the lower lash line creates a warm and approachable look. The versatility of brown shades allows you to create subtle day looks or build up for more dramatic effects. b. Warm Caramels: Caramel tones on the eyes and lips add depth and dimension to the overall look. These shades offer a touch of sweetness and sophistication. c. Creamy Beiges: Creamy beige shades on the lids and as a base color create a bright and fresh canvas. Beige is an ideal shade for highlighting and creating a soft, seamless transition between colors. d. Rich Mochas: Deep mocha shades add intensity and sultriness to the eyes, making them ideal for a smoky eye or a more alluring evening look. Achieving a Natural Glow:The latte makeup trend is all about enhancing your natural beauty while exuding warmth and radiance. Achieving a natural glow is key to this look, and it can be accomplished through various makeup techniques: a. Dewy Foundation: Opt for a dewy or luminous foundation to achieve a radiant and hydrated complexion. Dewy foundations add a healthy sheen to the skin, giving it a natural and fresh appearance. b. Soft Highlighting: Highlight the high points of your face, such as the cheekbones, brow bone, and inner corners of the eyes, with a soft, champagne-toned highlighter. This enhances your features and imparts a subtle glow. c. Cream Blush: Use cream blush in soft peach or rosy shades for a natural flush of color on the cheeks. Cream blush blends seamlessly into the skin, creating a soft and effortless finish. d. Glossy Lips: Opt for glossy lip products in warm nude or soft brown shades to add dimension and plumpness to your lips. Glossy lips reflect light, giving the illusion of fuller and more luscious lips. Soft and Smudged Eyeliner:The latte makeup trend veers away from sharp and defined eyeliner, favoring a softer and smudged approach. This creates a more lived-in and effortless look that complements the earthy and natural vibe of the trend. a. Smudged Pencil Liner: Use a soft brown or chocolate-colored pencil eyeliner to line your upper and lower lash lines. Then, gently smudge…

7best Nail Shapes For Unique Finger Shapes
7 Best Nail Shapes for Unique Finger Shapes

Nail art has transcended beyond mere fashion; it’s a form of self-expression. The right nail shape can complement your finger type, elevating your overall look and boosting your confidence. This guide explores the top 7 nail shapes suited for various finger shapes, offering insights into choosing and maintaining the ideal shape for your nails. Understanding Finger Shapes Before diving into nail shapes, it’s crucial to understand your finger type. Finger shapes vary from short and wide to long and slender. The right nail shape can accentuate the beauty of your hands by making your fingers appear more elongated or your hand more balanced. The Classic Round Nail Shape Best for Short and Wide Fingers: The round nail shape is timeless and versatile, perfect for those with short and wide fingers. It elongates the fingers, giving them a more graceful appearance. Elegant Almond Nail Shape Ideal for Long and Slim Fingers: The almond shape is characterized by slender sides and a tapered tip, resembling an actual almond. This shape is best for those with long, slim fingers, as it adds a touch of elegance. Chic Oval Nail Shape Suited for Most Finger Types: The oval shape is similar to the almond but with a softer, more rounded tip. It’s incredibly versatile, suiting most finger shapes and sizes. Bold Square Nail Shape Recommended for Long Fingers with Wide Nail Beds: The square nail shape features straight edges and a squared-off tip, ideal for those with long fingers and wide nail beds. It offers a modern, edgy look. Trendy Coffin/Ballerina Nail Shape Works Well with Long and Slender Fingers: The coffin or ballerina shape is dramatic and stylish, narrowing down to a flat tip. It’s best for those with long and slender fingers, adding an element of sophistication. Edgy Stiletto Nail Shape For the daring and adventurous, the stiletto shape, with its pointed tip, makes a bold statement. It’s not for the faint-hearted but can be a fun way to express your style. Mix and Match: Combining Shapes for Unique Styles Exploring hybrid shapes can result in a unique nail style that’s entirely your own. From squoval (a mix of square and oval) to almondette (a shorter almond), the possibilities are endless. Maintenance Tips for Different Nail Shapes Maintaining your chosen nail shape requires regular care, including filing and conditioning. Use quality nail care products to keep your nails strong and healthy. The Impact of Nail Length on Shape The length of your nails can significantly impact the final look. Whether you prefer short and chic or long and dramatic, choosing the right length is key to complementing your chosen nail shape. Color and Design Tips for Each Nail Shape Selecting the right color and design can further enhance your nail shape. Bright, bold colors can make short nails stand out, while nude or pastel shades can elongate the appearance of your fingers. Professional Advice on Nail Shaping When visiting a salon, it’s essential to communicate your desired nail shape clearly. A professional nail technician can offer advice tailored to your finger shape and lifestyle….

What Is Eyelashserum
What is Eyelash Serum?

Eyelash serum has emerged as a cornerstone in the beauty routines of those aiming to achieve fuller, healthier, and more vibrant lashes. This detailed guide explores eyelash serums, their composition, how they work, and their benefits, providing you with essential knowledge to transform your lashes and enhance your natural beauty. The allure of luscious, thick eyelashes has long been a symbol of beauty and femininity. Eyelash serums are specifically formulated products designed to promote the health, length, and thickness of the lashes, offering a non-invasive solution to the common desire for more pronounced eyelashes. Defining Eyelash Serum Eyelash serums are potent formulations that contain active ingredients aimed at stimulating the growth and improving the overall condition of eyelashes. These serums are applied directly to the lash line and work over time to enhance lash appearance. Composition and Types Eyelash serums vary widely in their composition, with key ingredients often including peptides, vitamins, and natural extracts designed to nourish and strengthen lashes. There are both over-the-counter options and prescription-strength formulations available, each catering to different needs and sensitivities. How Does Eyelash Serum Work? Eyelash serums penetrate the hair follicles to stimulate growth from within. By nourishing and supporting the lash follicles, these serums can extend the growth phase of the lash cycle, leading to longer, fuller lashes. The Science Behind the Serum Active ingredients like biotin, peptides, and hyaluronic acid support keratin production, enhance follicle health, and provide moisture to the lashes, respectively. Expected Results and Timeline Results vary, but many users report noticeable improvement in lash length and density after 4 to 6 weeks of consistent use. Maximum effects are often observed after 3 to 4 months. Benefits of Using Eyelash Serum The regular application of eyelash serum can lead to enhanced growth, increased thickness, strength, and improved health and hydration of the eyelashes. This can reduce lash loss and breakage, contributing to a fuller lash line. How to Choose the Right Eyelash Serum Key Ingredients to Look For Look for serums containing peptides for growth, biotin for strengthening, and hyaluronic acid for hydration. These ingredients are crucial for promoting healthy, robust lashes. Understanding Different Formulas Choose a serum based on your specific needs—whether it’s for growth, strengthening, or moisture. Always perform a patch test to ensure you don’t have an allergic reaction to the product. Application Tips for Maximum Effectiveness Best Practices Apply the serum to clean, dry lashes once a day, ideally at night, to allow the serum to work overnight. Use a single stroke at the base of the upper eyelashes. Common Mistakes to Avoid Avoid applying too much product, which can lead to irritation. Ensure the serum doesn’t get into your eyes, and refrain from using multiple lash products simultaneously to avoid adverse reactions. Safety and Side Effects While eyelash serums are generally safe, potential risks include eye irritation, darkening of the eyelid skin, and, in rare cases, changes in iris color, particularly with prescription-strength formulas. Minimize complications by following the product’s instructions carefully and consulting with a healthcare provider if you have sensitive eyes or skin. What…