Understanding White Spots on Nails: Causes, Treatment, and Prevention

White spots on the nails, often noticed as small, painless dots or patches, have intrigued and concerned people for generations. While they’re usually harmless, understanding their underlying causes is key to addressing any potential health issues. This article dives deep into the reasons behind white spots, debunking common myths, exploring diagnosis methods, treatment options, and offering prevention tips to keep your nails looking their best.
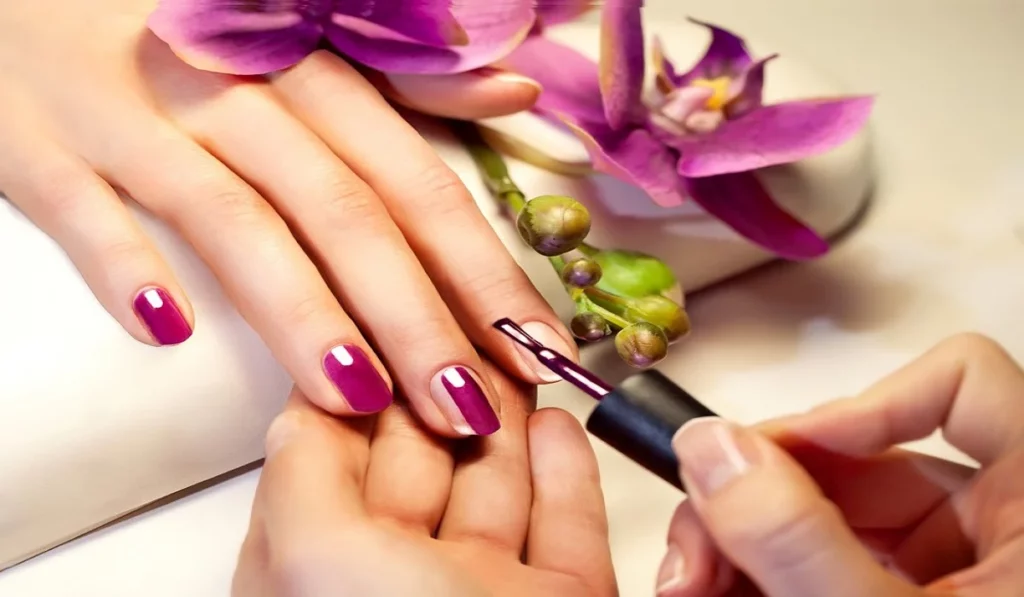
Understanding White Spots On Nails


What Are White Spots on Nails?

Defining Leukonychia

Leukonychia refers to the white discolorations that can appear on the nails. These spots can vary greatly in appearance, from tiny, pinpoint dots known as punctate leukonychia to larger, more diffuse areas known as partial or total leukonychia, depending on the extent of the white area over the nail.

Common Myths and Facts

There’s a common misconception that white spots are always a sign of calcium or zinc deficiency. However, they are more frequently attributed to minor nail trauma or could be indicative of a fungal infection, especially when accompanied by other symptoms like thickening or changes in nail shape.

The Root Causes

Identifying the cause of white spots is crucial for effective treatment and prevention.

Nutritional Deficiencies

Although not as common as once thought, deficiencies in certain nutrients, such as zinc or calcium, can occasionally manifest as white spots on the nails.

Physical Trauma

The most frequent cause of white spots is minor trauma to the nail matrix, the part of the nail bed that produces cells that become the nail plate. This trauma can occur from something as simple as aggressive manicure techniques, nail biting, or even typing.

Fungal Infections

Fungal infections, particularly those caused by dermatophytes, can lead to white spots. These infections may also cause the nail to become thick, brittle, or discolored.

Allergic Reactions

Allergic reactions to nail polish, hardeners, or nail polish removers containing harsh chemicals can also lead to white spots. Switching to hypoallergenic or less harsh products can help prevent their recurrence.

How to Diagnose White Spots on Nails

Professional Diagnosis

If white spots on your nails are persistent or accompanied by other symptoms, it’s important to seek a professional diagnosis. A dermatologist can provide a thorough examination, possibly including a fungal culture or biopsy, to determine the exact cause.

Home Observation Tips

For white spots that are clearly linked to a minor injury and are not spreading or changing in appearance, home observation may be sufficient. Monitoring for changes in the nail’s color, texture, or thickness can help decide when professional advice is necessary.

Effective Treatments and Remedies

Over-the-Counter Solutions

For fungal-related white spots, antifungal creams or polishes can be effective. It’s important to apply these treatments as directed and for the full course, even if the spots appear to improve, to ensure the infection is fully eradicated.
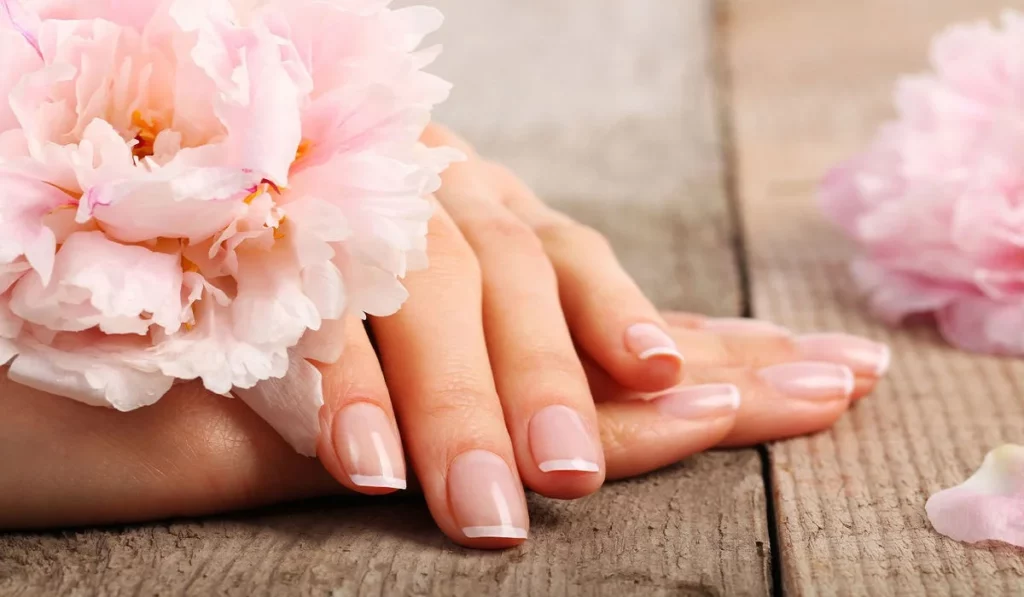
Understanding Whitespots On Nails


Prescription Medications

In cases of severe fungal infections, prescription oral antifungals may be necessary. These medications can have side effects, so they’re typically used when other treatments haven’t been successful.

Natural and Home Remedies

Applying tea tree oil, known for its antifungal properties, can be an effective natural treatment for fungal-induced white spots. Vitamin E oil is another remedy that can help improve nail health and appearance by moisturizing the nail and cuticle.

Prevention Strategies

Dietary Adjustments

Maintaining a balanced diet rich in vitamins and minerals is essential for nail health. Foods high in zinc, calcium, and vitamin E can support nail strength and reduce the risk of white spots.

Nail Care Techniques

Practicing good nail hygiene and avoiding trauma to the nails are key preventive measures. This includes using gentle manicure techniques, avoiding nail biting, and wearing gloves during activities that could damage the nails.

The Psychological Aspect of Nail Appearance

Coping with Social Anxiety

For some, the appearance of white spots can lead to social anxiety or self-consciousness. It’s important to remember that these spots are common and usually temporary. Focusing on overall nail health rather than imperfections can help mitigate these feelings.

Improving Self-Esteem

Adopting a positive view of one’s body, including accepting minor imperfections like white spots on nails, can significantly boost self-esteem. Engaging in self-care practices that make you feel good about yourself, such as a relaxing manicure or using nail care products that promote nail health, can be beneficial.


White spots on nails are a common occurrence with a variety of causes, most of which are benign and easily treatable. Understanding the underlying reasons, practicing preventive care, and seeking professional advice when necessary are key to maintaining healthy, spot-free nails. Remember, while these spots can be a source of curiosity, they’re usually just a minor blip on the radar of overall health and well-being.

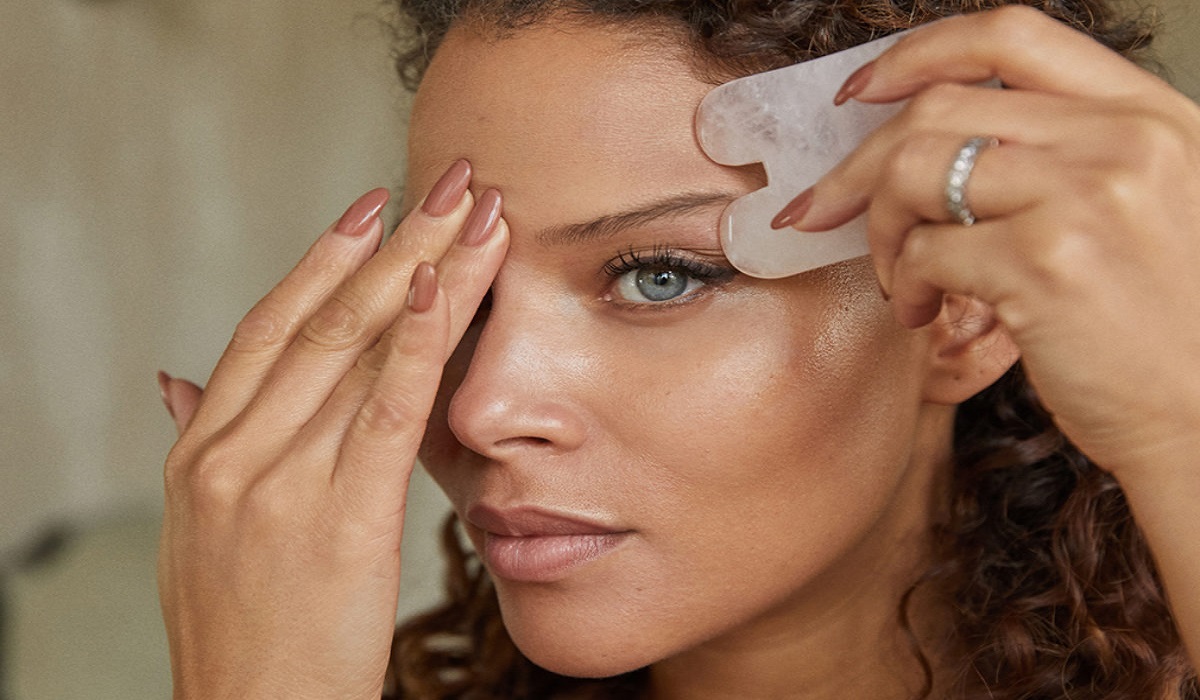
Gua Sha The Traditional Chinese Technique Revolutionizing Skincare
Gua Sha: The Traditional Chinese Technique Revolutionizing Skincare

Gua Sha has recently become a buzzword in the world of social media and the beauty industry, boasting compatibility with all skin types and the potential to achieve flawless skin contouring. If you’re looking to indulge in a skin treatment and update your skincare arsenal, continue reading to learn how to utilize Gua Sha. What Is Gua Sha? Gua Sha is a flat, uniquely shaped tool reminiscent of a heart or cloud, crafted from semi-precious stones for use on the face and neck. Though its popularity online is a recent phenomenon, its roots stretch back to ancient China. The term Gua Sha combines “Gua” (scraping) and “Sha” (redness), referring to the technique’s ability to promote the skin’s self-healing by encouraging blood circulation through scraping. How Did It Become Popular in the Beauty Industry? In the past two to three years, Gua Sha has exploded on social media. Beauty experts and estheticians alike have praised tools such as jade rollers, skin rollers, and Gua Sha, creating a significant buzz, particularly among fans of K-beauty (Korean beauty). The Skin Benefits of Gua Sha Gua Sha offers numerous benefits, including lymphatic drainage for reducing swelling and puffiness, improving blood circulation to fade acne scars, rejuvenating dull and dark skin tones, diminishing fine lines and wrinkles, and sculpting the jawline for more defined facial features. Step-by-Step Gua Sha Application Guide Before starting your Gua Sha session, ensure both your skincare tool and your skin are clean. For an added cooling effect, place your Gua Sha in the refrigerator for two hours before use. A Detailed Guide to Applying Gua Sha: Frequency of Use: Skincare experts recommend using the Gua Sha technique at least three times a week for optimal results. Most find performing this ritual at night before sleep to be the ideal timing. Always clean your tool after each use to avoid skin issues like pimples or acne. Wash it with hot soapy water and dry with a towel. Gua Sha promises clear cheekbones, a defined face, and an attractive jawline. This traditional Chinese technique has rightfully earned its place in modern beauty routines. Here’s an expanded FAQ section on Gua Sha, providing a deeper dive into the most common questions surrounding this popular skincare technique. What is Gua Sha?Gua Sha is a traditional Chinese healing technique that involves scraping your skin with a massage tool to improve circulation. This ancient practice is known for its unique approach to enhancing skin health and is believed to have healing properties. The tools are typically made from semi-precious stones like jade or quartz and are designed to be used on the face and neck to promote lymphatic drainage, reduce puffiness, and improve skin tone and texture. How does Gua Sha benefit the skin?Gua Sha offers multiple benefits for the skin, including promoting lymphatic drainage to reduce swelling and puffiness, improving blood circulation to enhance skin vitality, reducing the appearance of fine lines and wrinkles, aiding in the healing of acne and acne scars by encouraging the movement of new blood to the surface of the skin, and…

The Sparkling World Of Diamond Facials: A Comprehensive Guide
The Sparkling World of Diamond Facials: A Comprehensive Guide

In recent years, the beauty industry has witnessed a growing demand for high-end treatments that promise glowing, youthful skin. One such treatment gaining popularity is the diamond facial. A diamond facial is a luxury skin treatment that involves the use of diamond-infused products to exfoliate. Part 1: What is Diamond Facial?Diamond facial is a type of facial in which diamond-infused products are used to rejuvenate and improve the appearance of the skin. Products used in diamond facials contain diamond powder, which is said to help exfoliate and remove dead skin cells, making skin look brighter and younger. Diamond powder is also believed to stimulate collagen production, which can help reduce the appearance of fine lines and wrinkles. Part 2: Benefits of Diamond FacialThere are several benefits of getting a diamond facial. First, the exfoliating properties of diamond powder can help remove dead skin cells that can clog pores and lead to acne breakouts. Secondly, diamond powder can stimulate blood circulation, which can improve skin tone and texture. Third, diamond skin care helps reduce the appearance of fine lines and wrinkles, making the skin look younger. Finally, diamond facials can moisturize the skin, leaving it feeling soft and supple. Part 3: Diamond Facial ProcedureA diamond face typically includes several steps. First, the skin is cleaned so that it is free of any dirt or make-up. Secondly, the diamond peeling cream is applied to the skin and massaged with circular movements. The cream is left on the skin for a few minutes before washing it off. Third, a diamond-infused serum is applied to the skin and left for a few minutes to absorb into the skin. Fourth, a diamond-infused mask is applied to the skin and left for 10-15 minutes before washing off. Finally, a moisturizer and sunscreen are applied to protect the skin from further damage. Chapter 4: Who Can Benefit From The Diamond Facial?Diamond facials are suitable for all skin types, but are especially beneficial for those with dull, dry or mature skin. If you have sensitive skin, it is important to consult a dermatologist before having a diamond facial as the exfoliating properties of diamond powder may be too harsh for some. Part 5: The Cost of a Diamond FacialDiamond skin care is considered a high-end treatment and therefore can be quite expensive. The cost of diamond facial care may vary depending on the area to be treated, the products used and the expertise of the esthetician. On average, a diamond facial can cost anywhere from $150 to $500. Chapter 6: Is Diamond Skin Care Worth It?Whether a diamond facial is worth it is subjective and depends on personal preferences and budget. If you’re looking for a luxurious, high-end treatment that promises to revitalize and hydrate your skin, the diamond facial may be worth the investment. However, if you’re on a tight budget, there are many other facials that can provide similar benefits at a lower cost. Diamond facials are a luxurious and effective way to rejuvenate and improve the appearance of the skin. While they are expensive, they offer a…

Microshading: The Art Of Effortlessly Defined Brows
Microshading: The Art of Effortlessly Defined Brows

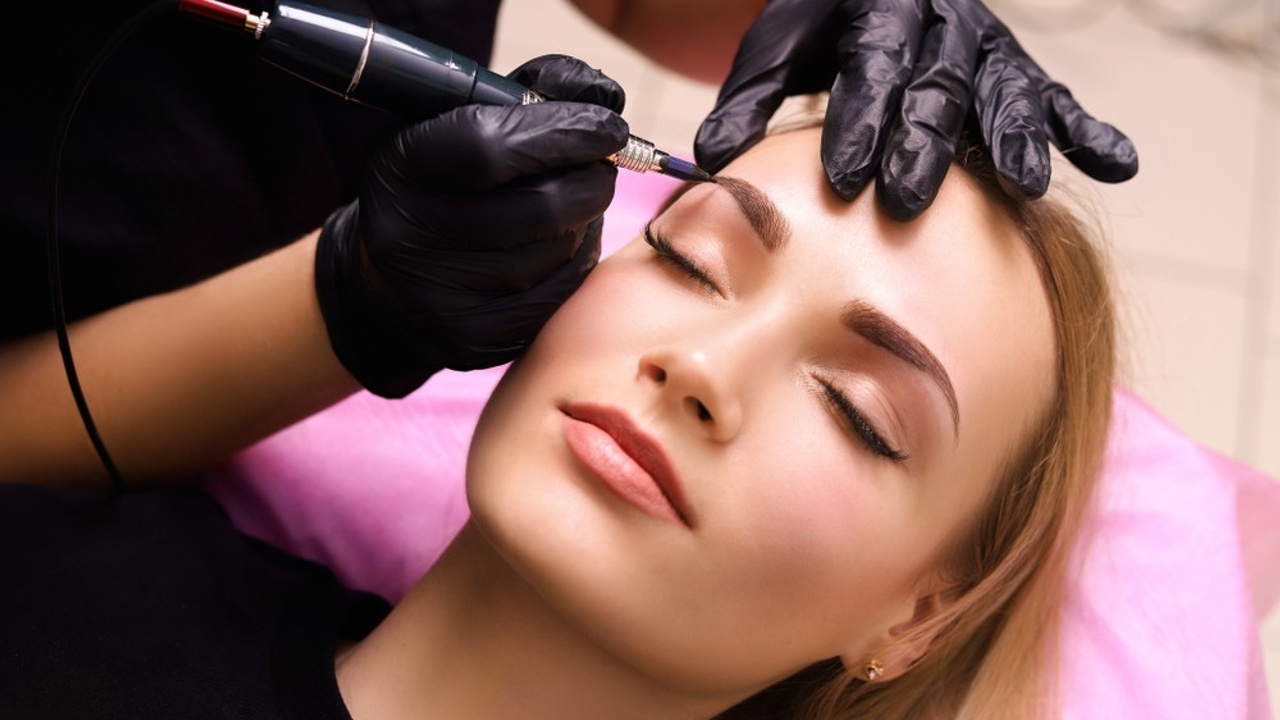
Eyebrows play a crucial role in framing the face and enhancing our overall appearance. Over the years, various techniques have emerged to help individuals achieve their desired brow look, including microshading. Microshading is a semi-permanent cosmetic procedure that aims to create natural-looking, defined eyebrows. In this article, we will explore the art of microshading, understanding what it is, how it works, and the benefits it offers for those seeking flawlessly shaped and filled brows. Understanding Microshading:Microshading, also known as powder brows or ombre brows, is a cosmetic tattooing technique that involves depositing pigment into the superficial layers of the skin to create a soft, powdered effect on the eyebrows. Unlike microblading, which uses fine incisions to mimic individual eyebrow hairs, microshading utilizes a stippling technique to achieve a more filled-in appearance. This technique is particularly beneficial for individuals with sparse or thin eyebrows, as it creates a denser and more defined brow look. The Process of Microshading:Microshading typically begins with a consultation to discuss the desired eyebrow shape, color, and overall outcome. Before the procedure, a numbing cream is applied to the brow area to minimize any discomfort. The technician then uses a handheld device or a manual tool with a cluster of small needles to gently tap and deposit pigment into the skin. The technician carefully layers the pigment, creating a gradient effect that mimics the natural growth and shading of eyebrow hair. The procedure may take around 1-2 hours, depending on the individual’s desired result. Achieving Natural-Looking Results:One of the significant advantages of microshading is its ability to create natural-looking results. By utilizing a stippling technique, the technician can mimic the appearance of soft, powdered eyebrows, closely resembling the natural texture and shading of brow hair. This technique allows for more flexibility in creating varying levels of density and achieving a result that complements the client’s facial features and desired aesthetic. Customization for Every Client:Microshading offers a high level of customization to meet each client’s unique preferences. The technician takes into account factors such as the client’s face shape, existing brow shape, and color to create a personalized treatment plan. The color of the pigment can be tailored to match the client’s natural hair color or desired shade, ensuring that the brows look natural and well-blended with the client’s overall appearance. The shape and density of the brows can also be adjusted to enhance the client’s facial features and achieve their desired brow style. Long-Lasting Results:Microshading is a semi-permanent procedure, meaning that the results can last for an extended period before requiring touch-ups. On average, microshaded eyebrows can retain their color and shape for 1-3 years, depending on factors such as individual skin type, lifestyle, and aftercare. Touch-up sessions can be scheduled as needed to maintain the desired brow appearance and ensure longevity. Minimally Invasive and Safe:Microshading is a minimally invasive procedure that carries a relatively low risk when performed by a skilled and experienced technician in a sterile environment. Proper sanitation practices and the use of high-quality pigments minimize the risk of complications. However, as with any cosmetic procedure,…

Optimizing Skincare For Winter's Challenges
Optimizing Skincare for Winter’s Challenges

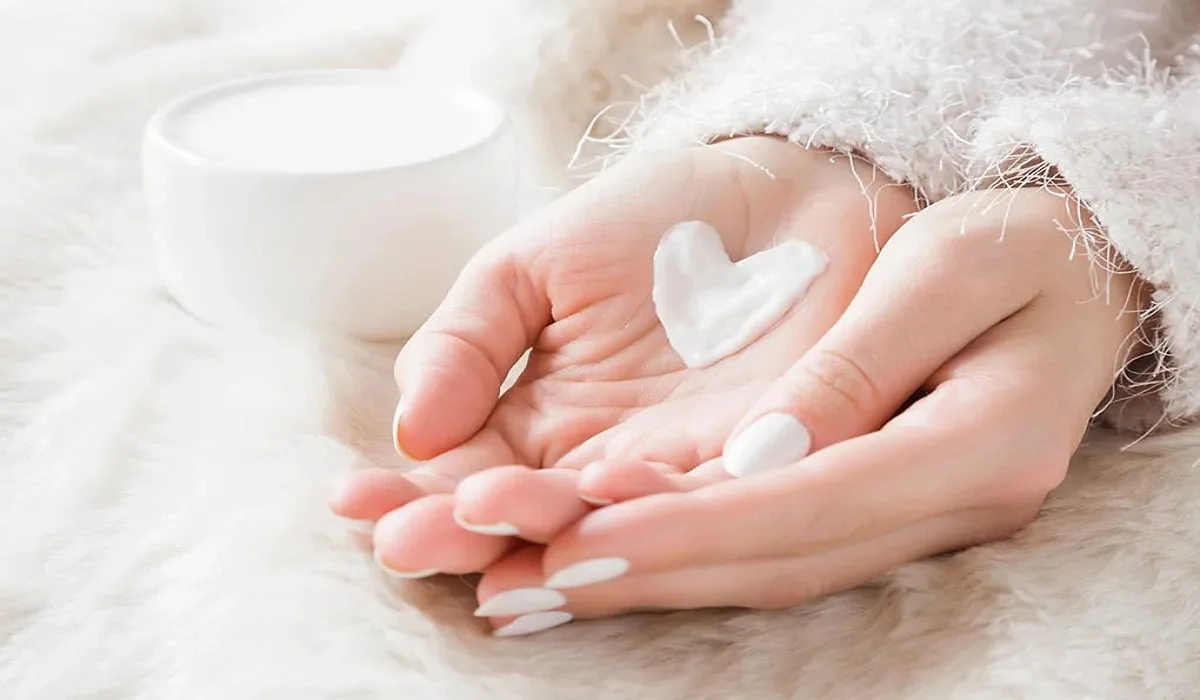
The arrival of winter brings a significant decrease in humidity and exposes our skin to the biting cold, often resulting in dryness, irritation, and a lackluster appearance. It’s imperative to recognize and cater to the distinct demands of your skin in this frigid climate to preserve its health and radiance. Our detailed guide delves into specialized winter skincare routines for diverse skin types, aiming to keep your skin moisturized, safeguarded, and luminous amid the winter’s chill. Navigating Winter’s Impact on Skin Winter’s frigid conditions pose a formidable threat to your skin’s protective barrier, enhancing sensitivity, promoting dryness, and potentially triggering eczema or psoriasis outbreaks. A meticulous regimen focusing on moisturization, defense, and mild treatment is essential to counter these effects. Vital Tips for Winter Skincare Hydration takes precedence in the colder months. Embracing products laden with hyaluronic acid and glycerin is key to locking in moisture. Repairing the skin barrier is equally vital, with ceramides and essential fatty acids being indispensable ingredients for reinforcing the skin’s defenses. Moreover, adopting gentle cleansing routines is crucial to preserving natural oils that are vital for skin health during winter. Moisturizers: Winter Skincare Essentials The selection of an appropriate moisturizer is crucial, with cream-based options outperforming lotions by creating a more substantial protective layer against the cold. Seek out ingredients such as shea butter, squalane, and hyaluronic acid for their profound moisturizing effects. Moisturizer application on slightly damp skin can further boost moisture absorption. Serums and Special Treatments for the Cold Season Utilizing serums rich in hyaluronic acid or vitamin E provides an extra moisture barrier, pivotal for winter skincare. Antioxidant-laden treatments are beneficial for guarding against environmental damage, and gentle exfoliation processes are recommended to eliminate dead cells without irritating the skin. Cold Weather Skin Protection The significance of sunscreen remains high in winter, as UV rays continue to pose a threat. Ensuring daily application of sunscreen, along with special care for lips and extremities, is essential to prevent drying and chapping. Lifestyle Choices Affecting Winter Skin Health Skincare transcends product application, deeply influenced by lifestyle choices. Adequate hydration and a diet rich in omega fatty acids are fundamental for internal skin moisturization. Employing humidifiers can mitigate the drying influence of indoor heaters, and managing stress is crucial for overall skin wellness. Enhancing Skin Repair During Nighttime in Winter The skin’s nighttime repair and regeneration processes present an ideal opportunity to apply richer creams or masks that aid in skin recovery. Ingredients like peptides and retinol are especially useful for nighttime application, encouraging cell renewal and addressing signs of aging. Addressing Sensitive Skin in Winter For those with sensitive skin, winter can intensify skin reactivity. It’s important to identify and steer clear of irritants, while selecting fragrance-free, hypoallergenic products that minimize irritation and soothe sensitive skin. Customized Skincare Strategies for Winter Adapting your skincare regimen to fit your specific skin type is crucial for effectively managing its needs during winter. Whether dealing with dry, oily, or combination skin, incorporating specific products and practices can help achieve a balanced, healthy state. Latest Skincare Innovations for Winter…

The Trending Hair Colors 2
The Trending Hair Colors You’re About to See Everywhere

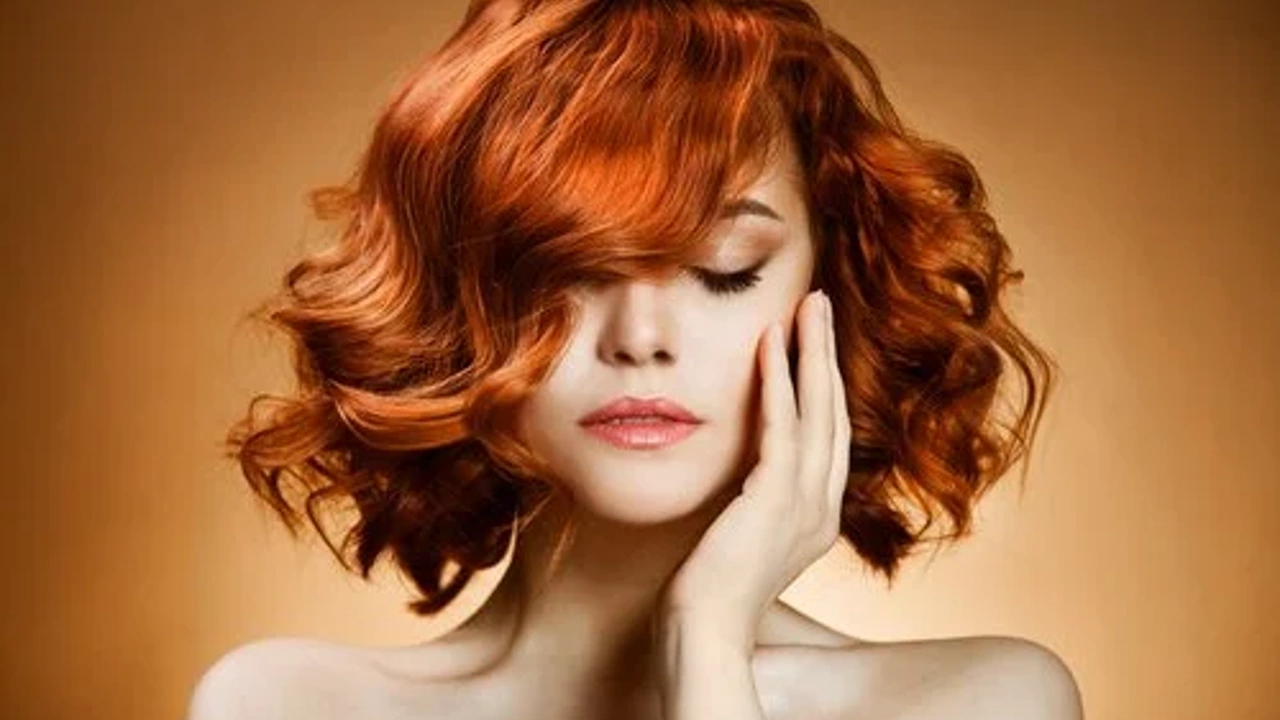
In the ever-evolving world of beauty, hair color trends serve as a dynamic reflection of creativity, individuality, and cultural shifts. This year, we’re seeing an exciting mix of bold, bright colors alongside natural, reimagined tones. Whether you’re contemplating a drastic change or a subtle update, understanding these trends can guide you to your next hair transformation. The Rise of Bold and Bright Neon hues: A splash of vibrancy Gone are the days of playing it safe with hair color. Neon greens, electric blues, and vibrant pinks are taking center stage, offering a bold statement for those looking to stand out. This trend isn’t just about shock value; it’s a celebration of individuality and self-expression. Pastel perfection: Soft and subtle shades On the other end of the spectrum, pastel colors continue to enchant with their fairy-tale vibes. Lavender, mint green, and baby pink offer a softer approach to color experimentation, proving that boldness can also be found in subtlety. Natural Tones Reimagined Ashy blondes and brunettes: A cooler palette Ashy tones are redefining traditional blondes and brunettes, bringing a modern twist to natural colors. These cooler shades add depth and sophistication, making them perfect for those seeking a change without venturing into the realm of fantasy colors. Rich auburns and chestnuts: Warmth and depth Warm auburns and deep chestnuts are emerging as favorites for adding richness to hair. These colors are flattering for a wide range of skin tones and offer a timeless elegance that transcends seasonal trends. High-Tech Hair Colors Holographic hair: Futuristic shimmer The future is here with holographic hair colors that shift and sparkle under different lights. This trend uses a blend of metallic shades to create a multidimensional effect reminiscent of a hologram. Color-changing dyes: Mood-ring for your hair Imagine a hair color that changes with your environment or temperature. Color-changing dyes make this a reality, offering a playful and ever-evolving hair color experience. Sustainable and Healthy Hair Color Options Organic and vegan dyes: Eco-friendly choices As awareness of environmental and health impacts grows, so does the demand for organic and vegan hair dyes. These options promise less harm to your hair and the planet, without compromising on vivid colors. Ammonia-free colors: Gentle on your locks Ammonia-free dyes are gaining popularity for their gentler approach to hair coloring. They provide an alternative for those concerned about damage, offering vibrant colors with less risk. Global Inspirations Taking Center Stage K-pop influence: Bright and bold from Korea The global influence of K-pop cannot be overstated, with its stars often sporting daring hair colors that quickly become worldwide trends. This has introduced a boldness and playfulness into hair color choices. Scandinavian minimalism: Natural and understated In contrast, the Scandinavian preference for natural, understated hair colors offers a serene and sophisticated aesthetic. This trend emphasizes the beauty of simplicity and natural hues. Celebrity Influences on Hair Color Trends Red carpet trends: What the stars are wearing Celebrity hair colors on the red carpet often predict the next big trends. From daring transformations to subtle shifts, stars play a significant role in shaping popular…

Expert Tips For Hassle Free Makeup Removal And Skin Brightening
Expert Tips for Hassle-Free Makeup Removal and Skin Brightening

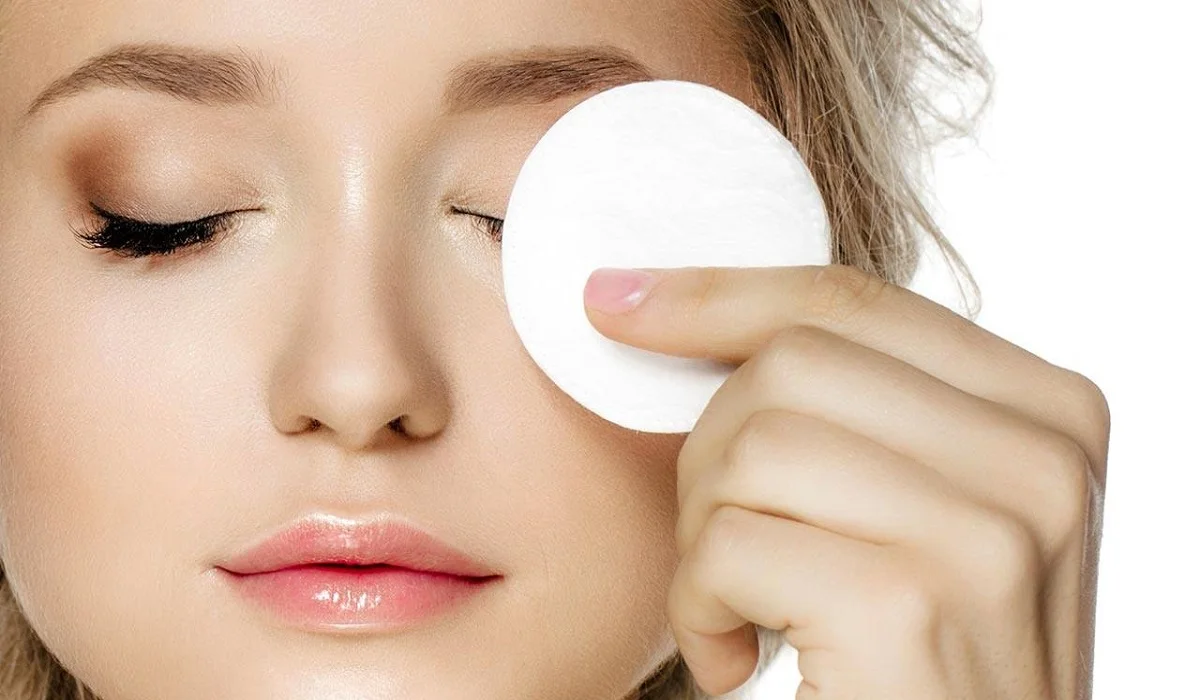
Removing makeup is an essential step in any skincare routine, crucial for maintaining healthy, clear skin. Proper makeup removal prevents clogged pores, breakouts, and skin irritation, ensuring your skin can breathe and rejuvenate overnight. This guide provides a detailed, step-by-step approach to effectively remove makeup, highlighting best practices, recommended products, and aftercare tips for optimal skin health. Understanding the Importance of Makeup Removal The journey to flawless skin begins with understanding why thorough makeup removal is non-negotiable. This section delves into the adverse effects of sleeping with makeup on, including accelerated aging and increased susceptibility to environmental damage. Learn about the significance of removing makeup to maintain the integrity of your skin barrier and prevent common skin concerns. Step 1: Choosing the Right Makeup Remover The first step in your makeup removal routine is selecting a product that suits your skin type and the kind of makeup you use. From micellar water and cleansing oils to makeup removal wipes and balms, this part explores the various options available, offering guidance on choosing the most effective and gentle formula for your needs. Step 2: Removing Eye Makeup Gently Eye makeup, especially waterproof products, requires special attention due to the delicate nature of the skin around the eyes. This section provides tips for safely and gently removing mascara, eyeliner, and eyeshadow, reducing the risk of irritation and ensuring no residue is left behind. Step 3: Cleansing Your Face Thoroughly After addressing the eye area, the next step focuses on removing foundation, concealer, and other face makeup. Discover techniques for using your chosen cleanser to dissolve and lift away makeup, dirt, and oil, ensuring a deep clean that leaves your skin fresh and clear. Tips for double cleansing are also included for those wearing heavy or long-wear makeup. Step 4: Toning and Moisturizing Post-cleansing care is crucial for restoring your skin’s natural balance. This section emphasizes the importance of using a gentle toner to remove any lingering traces of makeup and balance the skin’s pH, followed by a hydrating moisturizer to nourish and protect the skin barrier. Special Considerations for Sensitive Skin Individuals with sensitive skin may require special considerations during the makeup removal process. This part provides recommendations for hypoallergenic, fragrance-free products and techniques that minimize irritation, ensuring a soothing and effective makeup removal experience for all skin types. The Role of Exfoliation Incorporating exfoliation into your skincare routine can enhance the effectiveness of makeup removal and improve overall skin health. Learn about the benefits of exfoliation for removing dead skin cells and promoting cell renewal, along with advice on how to exfoliate safely without over-stripping the skin. Aftercare: Nurturing Your Skin Post-Makeup After makeup removal, taking additional steps to care for your skin can make a significant difference in its appearance and health. This section covers aftercare practices such as applying targeted treatments, serums, and overnight masks to address specific skin concerns and support skin recovery and rejuvenation. Common Mistakes to Avoid Even with the best intentions, common mistakes during the makeup removal process can compromise skin health. This segment highlights pitfalls to…

Unveiling Confidence Tailoring Makeup Techniques For The Square Face Shape 1
Unveiling Confidence: Tailoring Makeup Techniques for the Square Face Shape

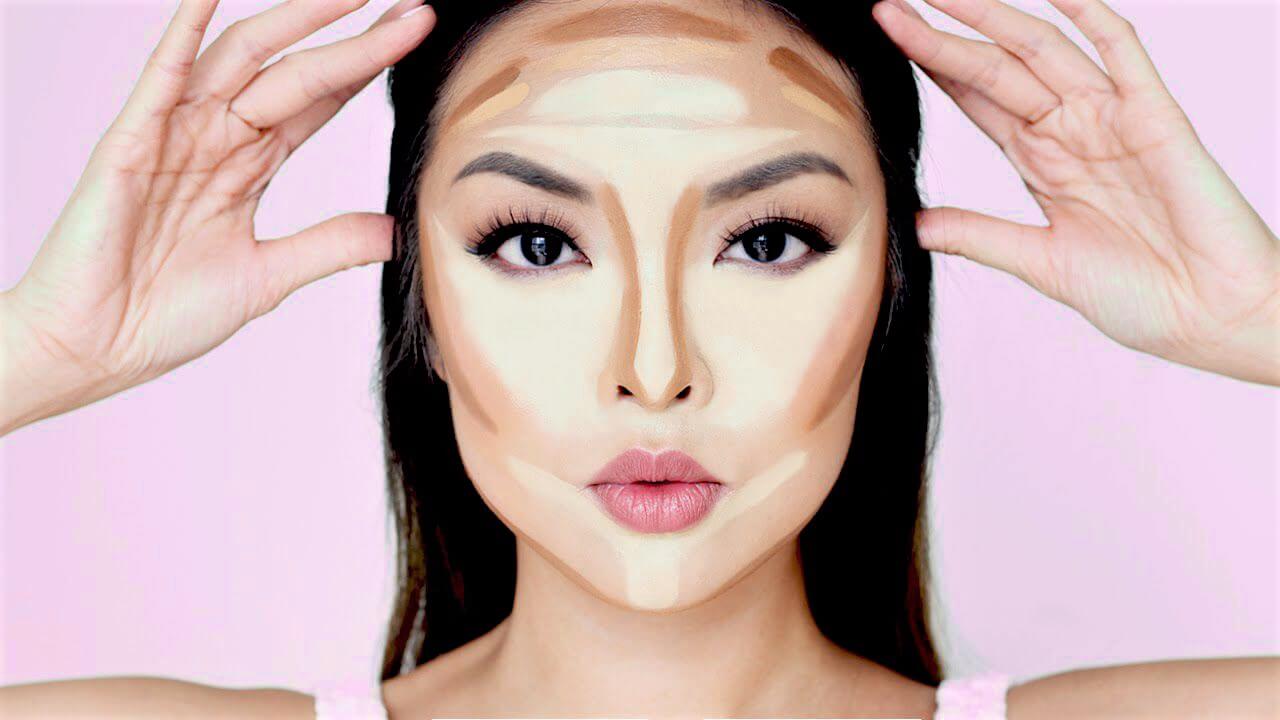
Makeup is a powerful tool that allows us to enhance our features and express our individuality. When it comes to a square face shape, characterized by a strong jawline, straight sides, and a broad forehead, the right makeup techniques can soften angles and highlight your unique beauty. Whether you’re aiming to create balance, play up your favorite features, or achieve a more contoured look, understanding how to tailor your makeup to your square face shape is essential. In this comprehensive guide, we’ll explore customized makeup tips and techniques that will empower you to embrace your square face shape and radiate confidence. Understanding the Square Face Shape Before diving into makeup application, it’s crucial to grasp the distinctive characteristics of the square face shape: With this understanding, you can strategically use makeup to create harmony and enhance your facial features. Creating a Smooth Canvas Prepping your skin is the foundation of any makeup look. Follow these steps to ensure your skin is ready for makeup application: Contouring and Highlighting Contouring and highlighting techniques can create balance and soften the angles of a square face shape. Here’s how: Eye Makeup Techniques Eyes are a focal point of any makeup look. Consider these tips to complement your square face shape: Lip Makeup Recommendations Lips are another feature you can play up to create balance on your square face: Blush Application Blush can add warmth and softness to your square face shape: Final Touches Complete your makeup look with these final touches: Mastering makeup techniques that complement your square face shape empowers you to highlight your unique beauty while creating harmony and balance. By employing methods that soften angles, enhance your features, and add dimension, you can confidently embrace your facial structure. Remember that makeup is an art form, and experimenting with different styles and techniques allows you to discover what makes you feel most empowered and beautiful. With the right makeup techniques, you can celebrate your square face shape and showcase your confidence to the world.

How To Wear Crystal Makeup: Tips And Tricks For A Glamorous Look
How to Wear Crystal Makeup: Tips and Tricks for a Glamorous Look

Crystal makeup has become a popular trend in recent years, and it’s not hard to see why. The shimmering, sparkling effect of crystals on the face can add a touch of glamour and elegance to any makeup look. If you’re interested in trying out this trend, there are a few things you need to know. In this article, we’ll go over some tips and tricks for how to wear crystal makeup like a pro. What is Crystal Makeup? First, let’s define what we mean by crystal makeup. This refers to any makeup look that incorporates crystals or other glittery, sparkly materials onto the face. This can range from subtle touches of shimmer to full-on, glittery glam. Some common types of crystal makeup include: Crystal eyeliner: This involves using a liquid liner with tiny crystals embedded in it to create a sparkling line along the eyelid.Crystal highlighter: This involves using a powder or cream highlighter with glittery particles to add a shimmering effect to the high points of the face, such as the cheekbones, brow bone, and cupid’s bow.Crystal lips: This involves using a glittery lip gloss or lipstick with tiny crystals or glitter particles to add a shimmering effect to the lips.Crystal face jewels: This involves using adhesive jewels or rhinestones on the face to create a glamorous, sparkling effect.Now that you know what we mean by crystal makeup, let’s get into some tips and tricks for how to wear it. Choose the Right ProductsThe key to a successful crystal makeup look is choosing the right products. You’ll want to look for makeup products that have glitter or crystals already built in, such as crystal eyeliner or glittery lip gloss. You can also create your own crystal makeup by using loose glitter or crystals and mixing them with a clear adhesive, such as eyelash glue. Prep Your SkinBefore applying any makeup, it’s important to prep your skin properly. This means cleansing your face thoroughly and applying a moisturizer to ensure your skin is hydrated and smooth. You may also want to use a primer to help your makeup stay in place and prevent it from creasing or smudging. Start SmallIf you’re new to crystal makeup, it’s best to start small and work your way up. Begin by adding a subtle touch of shimmer to your makeup, such as a crystal eyeliner or a glittery lip gloss. As you become more comfortable with the look, you can experiment with more elaborate crystal makeup looks. Use AdhesiveWhen applying crystals or glitter to your face, it’s important to use a strong adhesive that will hold them in place. You can use a clear adhesive, such as eyelash glue, or a specialized adhesive designed for use on the face. Be sure to apply the adhesive sparingly and allow it to dry fully before applying the crystals or glitter. Apply in LayersTo create a more dramatic effect, you can apply crystals or glitter in layers. Begin with a thin layer of adhesive and a small amount of crystals or glitter, and then gradually build up the layers…