7 Best Tips for Choosing Your Next Hair Color

Selecting your next hair color transcends mere aesthetic preferences, incorporating an intricate analysis of skin undertones, personal style, and maintenance commitment into the decision-making process. This comprehensive guide is crafted to escort you through the selection journey, ensuring a gratifying outcome.

7 Best Tips For Choosing Your Nexthair Color


Skin Tone Consideration

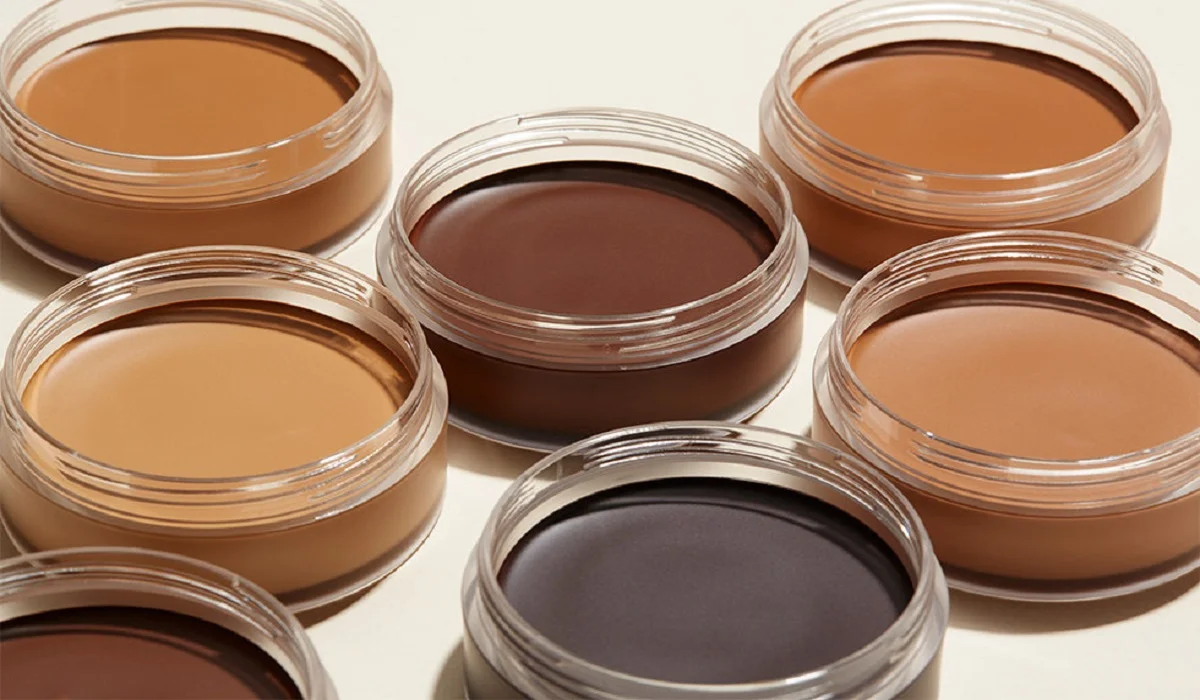
The foundation of a captivating hair color lies in the harmony between the chosen hue and your skin’s undertones. Distinguishing whether your skin radiates warm, cool, or neutral undertones is pivotal.

  • For Warm Undertones: Opt for shades enriched with yellow, orange, or red bases, such as golden blondes, rich honey browns, or vibrant reds, to amplify your innate warmth.
  • For Cool Undertones: Seek out hues embedded with blue, purple, or green undertones, including ash blondes, cool browns, or jewel-toned reds, to complement your skin’s cooler shades.

Harmonizing with Natural Hair Color

Embracing your inherent hair color can yield more natural, flattering outcomes. Techniques like balayage or highlights can subtly enhance your original color. For a bolder statement, consider hues at the opposite end of your natural spectrum.

Hair Color Trends for 2023/2024

Keep abreast of the latest trends to spark your hair color transformation. This season, we’re witnessing a renaissance of pastel shades, bold colors, and a nod to naturalistic hues. From the ethereal softness of lavender to the deep allure of cobalt blue, there’s a trendsetting shade awaiting your discovery.

Maintenance of Color Vibrancy

To preserve the luminosity and health of your colored hair, invest in products specifically formulated for color-treated hair and adhere to a schedule for touch-ups.

7 Best Tips For Choosing Your Next Hair Color


Color Psychology

A change in hair color can significantly alter perceptions and affect your mood. Grasping the psychological impact of different shades can assist in selecting a color that not only enhances your appearance but also elevates your confidence.

Temporary vs. Permanent Dyes

Your commitment level and willingness to experiment play crucial roles in deciding between temporary and permanent coloring options. Temporary dyes provide a risk-free avenue for exploration, whereas permanent dyes cater to those seeking enduring change.

DIY vs. Professional Coloring

While home dyeing kits offer a cost-effective alternative, professional salon services deliver expertise and consistently superior outcomes, especially for complex colors and techniques.

Influence of Hair Texture and Type

Your hair’s texture and type can affect color absorption and reflection. Coarser hair may necessitate stronger or more prolonged treatments, while finer hair might quickly become saturated with color.


Selecting a Complementary Hair Color

To identify a hair color that flatters, factor in your lifestyle, maintenance preferences, and seasonal changes, allowing your hair color to evolve alongside your dynamic lifestyle.

Importance of Allergy and Strand Tests

Conducting allergy and strand tests before dyeing is essential for ensuring safety and predicting the color outcome, preventing adverse reactions and unforeseen results.

Hair Health Post-Coloring

Although coloring can impact hair health, implementing deep conditioning treatments and protective styling can help maintain its vitality and vibrance.

Enhancement Through Highlights and Lowlights

Incorporating highlights or lowlights can introduce depth and movement, offering a spectrum of effects from subtle to dramatic.

Correcting Color Mistakes

While dye mishaps are rectifiable, a range of solutions from color removers to professional correction services exist to address nearly any issue.


Personalizing Your Color

Experimenting with shade mixing or avant-garde coloring techniques like ombré or color blocking can customize your look, imbuing it with uniqueness.

Demystifying Hair Coloring Myths

Addressing common misconceptions about hair coloring is crucial for setting realistic expectations and achieving desired results.

Preparation for Hair Color Change

Thorough preparation, from shade selection to maintenance understanding, is key to a fulfilling hair color transformation.

In conclusion, your choice in hair color should reflect not just a style preference but a carefully considered decision that aligns with your skin tone, lifestyle, and personal identity. Consulting with a professional stylist can ensure your chosen hue not only complements but also confidently expresses your individuality.

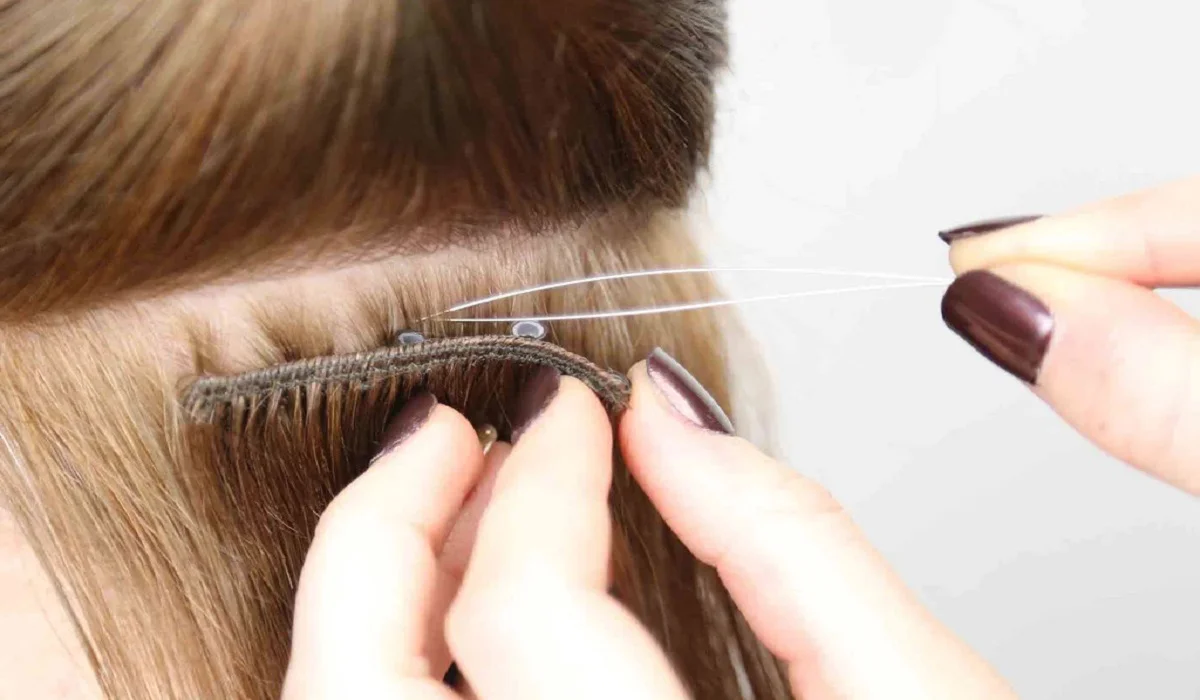
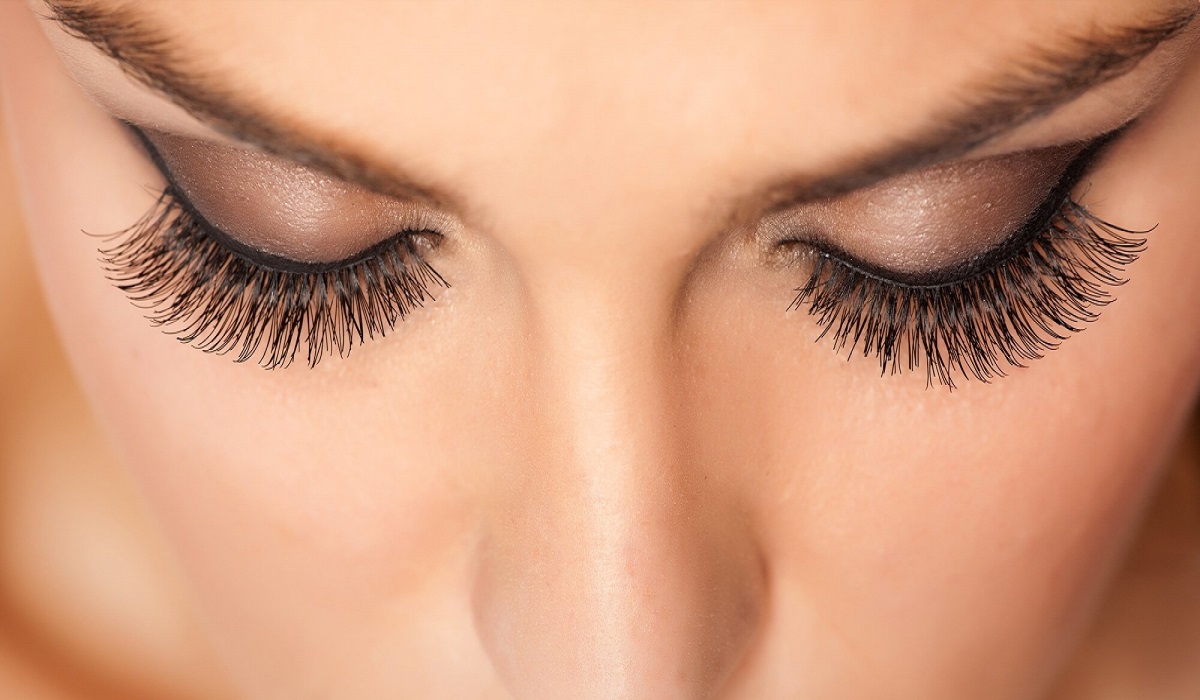
Tips For Growing Long, Healthy And Beautiful Hair
Tips for Growing Long, Healthy and Beautiful Hair

Across cultures and ages, long, lush locks symbolize beauty and vitality. While genetics play a crucial role in determining the texture and length of your hair, adopting specific strategies and practices can significantly influence its health and growth. This guide unveils the secrets to nurturing long, beautiful hair, offering insights applicable to every hair type, from straight to curly. Embark on a transformative journey towards achieving the hair of your dreams. Understanding the Science of Hair Growth Hair growth unfolds in three distinct phases, each critical to the cycle of shedding and regeneration: Recognizing that factors like genetics, nutrition, lifestyle, and environment influence hair growth is pivotal. While some elements remain beyond your control, others can be optimized to foster healthier, more vibrant hair. Strategies for Promoting Luxuriant Hair Growth Weaving the Dream of Radiant Hair into Reality Achieving long, healthy, and beautiful hair is a holistic journey that intertwines nutrition, dedicated care, and consistent maintenance. By integrating these strategies into your routine, you not only enhance your hair’s health and appearance but also contribute to your overall well-being. Let your hair reflect your inner health and beauty—start your journey towards luxurious locks today and embrace the transformation that follows. Remember, the path to beautiful hair is not just about external treatments; it’s a reflection of your lifestyle, diet, and the care you invest in yourself. Prioritize your hair health as an integral part of your self-care regimen and watch as your hair flourishes, becoming a testament to your dedication and love.

Brow Perfection At Home The Comprehensive Guide To Diy Brow Lamination
Brow Perfection at Home: The Comprehensive Guide to DIY Brow Lamination

In the realm of beauty, eyebrows are a pivotal feature, framing the face and highlighting one’s eyes. Brow lamination, a groundbreaking beauty trend, offers a solution for those seeking fuller, more defined eyebrows without daily makeup. This treatment has traditionally been a salon-exclusive, but with the right guidance, achieving salon-quality results at home is within reach. This expanded guide dives into the nuances of DIY brow lamination, covering everything from the initial prep work to the crucial aftercare, ensuring you can safely achieve and maintain impeccable brows. Deep Dive into Brow Lamination Brow lamination works by restructuring the brow hairs, giving them a uniform, desired direction and appearance. It’s particularly beneficial for those with unruly, sparse, or downward-growing hairs, providing a fuller and more even look. This section explores the technique’s origins, its rise to prominence, and how it has become a beloved alternative to more permanent treatments like microblading, offering insight into why it’s worth considering for your brow grooming routine. Advantages of Going DIY with Brow Lamination Choosing to laminate your brows at home comes with a plethora of benefits, including cost-efficiency, the comfort of your own home, and the ability to tailor the process to your specific brow needs. Here, we’ll outline the key advantages of DIY brow lamination, from the personal satisfaction of self-care to the convenience of touch-ups on your schedule, highlighting why many beauty enthusiasts are opting to take their brow treatments into their own hands. Essential Tools for At-Home Brow Lamination Successful DIY brow lamination hinges on having the right tools and products. This comprehensive checklist ensures you’re well-prepared, listing everything from reputable brow lamination kits to the specific cleansers, brushes, and aftercare serums that will make the process smooth and effective. We also include tips for selecting quality products that are safe and reliable, ensuring your DIY endeavor leads to beautiful, healthy brows. Step-by-Step Guide: Achieving Professional-Quality Lamination With the right preparation, DIY brow lamination can be straightforward and rewarding. This detailed, step-by-step guide walks you through the entire process, from conducting a patch test to applying the lamination solution, shaping, and setting your brows. Each step is broken down with precision, incorporating professional tips and visual aids to ensure clarity and ease, empowering you to achieve professional-quality results at home. Navigating Aftercare for Lasting Results The longevity and quality of your brow lamination significantly depend on proper aftercare. This section delves into the dos and don’ts following your treatment, advising on everything from how to avoid water and makeup in the initial hours to the best practices for nourishing and maintaining your newly laminated brows. Tailored advice on extending the durability of your lamination, including recommended products and routines, ensures your brows remain flawless for as long as possible. Common Pitfalls and How to Avoid Them Even with careful planning, DIY treatments can encounter hiccups. This segment addresses the most common issues encountered during home brow lamination, such as uneven application, overprocessing, or irritation, and provides expert solutions. Learning how to anticipate and remedy these challenges will bolster your confidence, ensuring a smooth…

Illuminating Beauty: A Comprehensive Guide To Safely Lightening Your Skin Tone
Illuminating Beauty: A Comprehensive Guide to Safely Lightening Your Skin Tone

The pursuit of radiant and even-toned skin has been a beauty ideal across cultures and time. Whether for personal preferences, aesthetic reasons, or addressing skin concerns, individuals often explore methods to lighten their skin tone. It’s important to approach this process with mindfulness, understanding, and safety. In this comprehensive guide, we will delve into the world of skin tone lightening, exploring various techniques, products, and considerations to help you achieve your desired results while maintaining the health and integrity of your skin. Understanding Skin Tone and Pigmentation Skin tone is determined by the amount of melanin in the skin. Melanin, a natural pigment, provides protection against harmful UV rays and gives color to the skin, hair, and eyes. Skin tones range from very fair to deep brown, with variations influenced by genetics, environmental factors, and sun exposure. Why Lighten Your Skin Tone? People consider skin tone lightening for various reasons: Safe Approaches to Skin Tone Lightening It’s crucial to prioritize safety and choose methods that align with your skin’s health. Here are safe approaches to consider: Home Remedies for Skin Tone Lightening Tips for Achieving Safe and Effective Results Expert Insights and Considerations The journey toward achieving your desired skin tone involves thoughtful consideration, research, and a commitment to safe practices. Lightening your skin tone should prioritize your skin’s health, and the approaches you choose should align with your goals and preferences. Whether addressing hyperpigmentation, enhancing your confidence, or simply striving for an even complexion, maintaining a mindful and informed approach will contribute to the long-term health and radiance of your skin. Consultation with a dermatologist, practicing proper skincare, and embracing safe methods will guide you toward a successful and satisfying journey toward skin tone lightening.

Effortless Elegance: A Step By Step Guide On How To Remove Gel Nail Polish At Home
Effortless Elegance: A Step-by-Step Guide on How to Remove Gel Nail Polish at Home

Gel nail polish has revolutionized the world of manicures, offering long-lasting color and a glossy finish. However, the time eventually comes when you need to remove your gel nail polish to refresh your nails or switch up your look. While salon visits are a common option, learning how to remove gel nail polish at home can save you time and money. In this comprehensive guide, we will walk you through the step-by-step process of safely and effectively removing gel nail polish at home, ensuring that your nails stay healthy and pristine. Understanding Gel Nail Polish Gel nail polish differs from traditional nail polish due to its unique formula and the curing process involved. Gel polish is applied in layers and cured under a UV or LED lamp, resulting in a durable and chip-resistant finish that can last for several weeks. Tools and Supplies You’ll Need Before you start the gel nail polish removal process, gather the following tools and supplies: Step-by-Step Guide to Removing Gel Nail Polish at Home Step 1: Prep Your Workspace Choose a well-lit and comfortable space to work in. Lay down a towel or a disposable surface to catch any spills or drips. Step 2: Buff the Shine Using a nail buffer or a gentle nail file, lightly buff the surface of your gel nails. This step helps break the seal of the topcoat, allowing the acetone to penetrate and dissolve the gel polish more effectively. Step 3: Soak Cotton Pads Cut your cotton pads or cotton balls into pieces that are large enough to cover your nails. Soak them in acetone until they are fully saturated. Step 4: Apply Cotton and Foil/Clips Place the soaked cotton on your nails, ensuring that the entire nail surface is covered. Then, wrap each fingertip with a small piece of aluminum foil or use nail clips to secure the cotton in place. This creates a sealed environment that helps the acetone work more efficiently. Step 5: Wait and Relax Wait for about 10-15 minutes, allowing the acetone to soften the gel polish. Use this time to relax, catch up on a book, or simply enjoy a quiet moment. Step 6: Gently Remove the Gel Polish After the soaking time, carefully remove the foil or clips and the cotton from your nails. You’ll notice that the gel polish has started to lift and peel. Use a cuticle pusher or an orange stick to gently push away the softened gel from your nails. Be patient and avoid scraping or prying too aggressively, as this could damage your natural nails. Step 7: Hydration and Nourishment After removing the gel polish, wash your hands with soap and water to remove any residue. Apply a nourishing cuticle oil or cream to replenish moisture to your nails and cuticles. This step helps counteract the drying effects of acetone. Step 8: Moisturize Finish the process by applying a rich hand cream or moisturizer to your hands and nails. This helps keep your skin hydrated and supple. Learning how to remove gel nail polish at home can be a…

Eye Makeup Tips For People Who Wearglasses
10 Expert Eye Makeup Tips for Glasses Wearers: Enhance Your Vision and Style

Transforming your eyewear into a stylish accessory doesn’t mean you have to compromise on your eye makeup. Glasses, with the appropriate makeup strategy, can accentuate your eyes, framing them in a way that not only complements your vision correction needs but also your personal aesthetic. This comprehensive guide is designed to empower those adorned with spectacles with the knowledge to amplify their eye makeup, ensuring it remains impeccable from the application of primer to the finishing touch of mascara, all without the worry of smudging. Strategic Eye Makeup Enhancements for Spectacle Wearers Primer: Your Makeup Anchorage An essential ally for spectacle wearers, eye primer acts as a steadfast foundation, securing your eyeshadow, eyeliner, and any adjunctive cosmetics applied to your eyelids. Its significance cannot be overstated, particularly in warding off the undesirable transfer of makeup onto your lenses and maintaining a crease-free appearance throughout the day. Eyeshadow: The Art of Accentuation The strategic application of eyeshadow can significantly magnify the beauty of your eyes behind the lenses, with color choice and application technique being paramount. Eyeliner: Defining Boundaries Eyeliner has the prowess to delineate and shape your eyes, ensuring they captivate. Mascara: The Final Flourish Mascara enhances lash visibility, making your eyes pop behind the glass barrier, yet meticulous application is key to avoiding smudges. Eyebrow Sculpting and Eye Highlighting Eyebrows and strategic highlighting serve as the crowning touches, framing both your glasses and visage. Lens Magnification Adjustments and Beyond Adjusting makeup intensity for magnifying lenses, ensuring precision to avoid magnified errors, and harmonizing makeup with your glasses’ aesthetic are nuanced aspects that, when mastered, guarantee your eye makeup not only survives but thrives behind lenses. From daily wearers to those alternating with contacts, this guide serves as a testament to the fact that glasses offer a unique canvas for personal expression through makeup. By embracing these expert insights, your journey towards mastering eyewear-compatible makeup is not only achievable but guaranteed to enrich your daily beauty ritual, ensuring you radiate confidence and style.

A Mother And Her 600 Grams Baby
A Mother and Her 600 grams Baby

Can somebody tell me what’s going on? I shouted. It was unimaginable for me that a routine check up during my pregnancy could send me to emergency and a couple of hours later I was being wheeled towards the Operation Theatre. What was wrong with everybody! I felt absolutely normal. “Mam, calm down. Doctor is on the way to speak with you”, said the nurse. I was anything but calm. Just then my doctor comes. “Shweta, I am sorry to say but your blood pressure has shot up and not come down despite the medicines we gave you. This is a very risky situation and we need to operate and remove the foetus immediately.” My world crashed the moment I heard those words. After struggling to get pregnant for five years I was finally pregnant. Why… GO TO THE NEXT PAGE TO CONTINUE… Why was God doing this to me! My mind was numb and I didn’t know how to react. Just then I felt something in my womb. Something moving. Something kicking. It was the first time I felt those tiny kicks. Forgetting the conversation I was having with my doctor I squealed with delight. “Doctor I just felt my baby moving. See. Touch here. Do you feel it?” I asked excitedly. But the moment I looked at her the gravity of the situation dawned upon me. No way. Absolutely no way could I let anybody do anything to my baby. I was the one to create my little bundle of joy and I couldn’t let anybody take away that life from me. Not now. Not when my baby felt safe & secure tucked within me. I got up and told the doctor that there was not a percentage of chance that I would get operated and after a lot of convincing I was referred to a bigger hospital and was admitted in the I.C.U. I was four and a half months pregnant then. But as fate would have it I could only continue the pregnancy for one and a half months more and had to give in when the doctor said that the chances of my baby surviving outside my womb was better than in the womb. And then came the most beautiful day of my life. I gave birth to my angel, my Navya. But a big shock came to us when we heard that the baby weighed only 600 grams. All sorts of reaction came from our friends & family. Nobody could imagine a baby weighing a mere 600 grams. But I ignored them all and was desperate to see my baby. And the moment I laid my eyes on her I was in love with her. All I saw was a perfect baby with tiny hands and legs, a beautiful face with pink lips. But my angel was suffering. She just looked like a little fairy who had come from heaven and lost her wings. I know she wanted me to hold her. I know she wanted me to cuddle her. But I wasn’t allowed to. And…

Eat Your Mane, Love Your Tresses Healthyhair Habits Nourishing Your Locks
Eat Your Mane, Love Your Tresses: Healthy Hair Habits: Nourishing Your Locks

Welcome to the definitive guide to obtaining healthy and gorgeous hair which stands out with strength and vitality. This particular article discusses essential nutrients, strategies for enhancing hair health, natural cures, and styling tricks to boost your mane. Understanding Hair Structure and Growth CycleThe structure of hair and how hair grows are crucial before beginning hair care habits. Hair Anatomy: Investigate the follicle, shaft, and cuticle to learn just how the various areas of hair wellness function.Phases of Hair Growth: Find out about the 3 phases of the hair regrowth cycle – telogen, catagen, and anagen – and how each stage affects hair length, thickness, and shedding.Things That Influence Hair Growth: Find out what factors effect growth of hair, from hormones and genes to nutrition, environment and stress.Common Hair Issues: Determine common hair problems such as thinningness, brittleness, split ends & hair loss and discover the main cause & treatment. Nutrients Your Hair NeedsFood is crucial for good hair. Let us explore the key nutrients required for promoting hair health from inside. Protein: Understand the significance of protein for hair growth & growth and the foods you consume which have it – lean meats, dairy, eggs, fish, poultry, nuts and legumes.Vitamins: Go over the role of vitamins A, C, E and also the B complex vitamins (Biotin, B5, B6, B12) on growth of hair, follicle power and protection against harm.Minerals: Minerals like iron, magnesium, selenium, and zinc are crucial for the scalp, growth of hair and baldness. Omega 3 Fatty Acids: Get the facts on omega 3 essential fatty acids from fatty fish, walnuts and flaxseeds for healthy scalp, decreased inflammation, along with glossy hair.Water: Hydrate your hair for all around hair wellness; drying away makes for dry, brittle hair and thinning scalps. Drink a minimum of eight glasses of water daily for optimum drinking water. Healthy Hair Care PracticesGood hair demands gentle, gentle hair treatment regimes which promote scalp wellness, hydration & resiliency. Gentle Cleansing: Make use of a gentle, sulfate-free shampoo to wash your scalp and hair; rub the scalp to eliminate product buildup, oil, and dirt while staying away from overwashing (which may strip skin oils and cause dryness). Moisturizing & Conditioning: Observe with a moisturizing conditioner to rehydrate, clean out tangles and also give your hair back its silky shine & manageability – apply straight to your lengths and ends while staying away from the scalp for greasiness.Scalp Care: Observe scalp wellness: exfoliate regularly to eliminate dead skin cells and product buildup, stimulate blood circulation with scalp massages, and also add scalp therapies with ingredients including tea tree oil or salicylic acid to treat dandruff, inflammation or itching.Protection for Heat Styling: Cut back on heat damage with heat protectant aerosols or serums prior to applying heat styling tools like hair dryers, flat irons or even curling wands and always use lower heat settings for split ends and breakage.Staying away from Overprocessing: Reduce chemical treatments which bleach, color, perm or even straighten the hair to prevent cuticle irritation and also to avoid breakage, brittleness and loss of hair.Trimming: Regular:…

Skincare Tips Tofight Acne Proneskin
Skincare Tips to Fight Acne-Prone Skin

Acne is a skin condition in which pores become blocked with oil and dead cells, creating whiteheads, blackheads (comedones), or inflamed pimples that block out sunlight from penetrating deep enough. Though acne affects people of all ages, teenage teens seem most prone. Acne is caused by hair follicles becoming blocked with debris known as pores, leading to blockages that contribute to its development. There may be several contributing factors: 1.Sebum: an oily substance produced by our bodies as a protective barrier, however excessive production can clog pore openings and lead to acne formation. 2.Bacteria: Our skin naturally harbors some bacteria. C. acnes is known to flourish in oily environments, proliferating rapidly to cause acne breakouts by multiplying in clogged pores. 3.Dead Skin Cells: Our stratum corneum layer sheds to make room for new cell development; dead cells also play an integral part of pore blockage issues. Factors Contributing to AcneTight clothing such as sports helmets, hats and masks can contribute to acne breakouts. Working in environments which expose you frequently to oil – like restaurants using frying oil for instance – or exposure to high humidity with heavy lotions can also increase acne flare-ups. Stress increases cortisol hormone levels, leading to elevated cortisol hormones that in turn aggravate acne. Certain medications may have acne as a side effect. Squeezing or picking at pimples increases inflammation levels further still while cosmetic products might contribute to acne formation as well. New studies indicate high-glycemic index sugary food products could worsen acne problems further still. Adult Acne: What It Is and How it is Treated Adult acne refers to any acne which persists after age 25 (or begins after this age), whether continuing from its original source or new outbreaks starting after this point. Treatment options similar to adolescent acne may include topical products containing retinoids, benzoyl peroxide, salicylic acid or oral antibiotics including isotretinoin; ultimately however the choice of treatments are made after seeing a dermatologist following examination; factors that influence these decisions include severity of disease type left scars due to presence or absence of pitted scars on patient skin type tolerance tolerance tolerance as well as whether patient plans pregnancy. Can Adult Acne Be Prevented? Research suggests that only some adults suffering from adult acne have hormonal imbalances related to polycystic ovary syndrome gynecological issues which, if present, must be addressed immediately in order to be effective treatments of adult acne. Therefore treating any potential underling conditions is key for treating adult acne successfully. Particularly for acne-prone skin, having a meticulous skincare routine is of vital importance. Proper cleansing should always take precedence – sleeping with makeup on or skipping evening routines increases pore blockage risk leading to acne breakouts; excessive washing disrupts skin barriers leading to redness and increased sensitivity. Cleansing should involve using an effective cleansing gel and lathering it onto skin for 20 seconds before rinsing with warm water at least twice daily, including one application before bed. Cleansers containing salicylic acid have proven particularly helpful at clearing away debris such as excess keratin from pores to minimize acne…