Delving into the Essence and Innovation of BB Cream

BB Cream, short for Blemish Balm Cream, has revolutionized the realm of beauty, presenting a multifaceted solution to skincare and makeup. This detailed exploration unravels the core of BB Cream, elucidating its benefits, the spectrum of available types, and the methodology for its incorporation into daily beauty routines. Aimed at both novices and aficionados of BB Cream, this exposition provides comprehensive insights into this skincare cum makeup phenomenon.
What Exactly Is Bbcream


The Multidimensional Charm of BB Cream

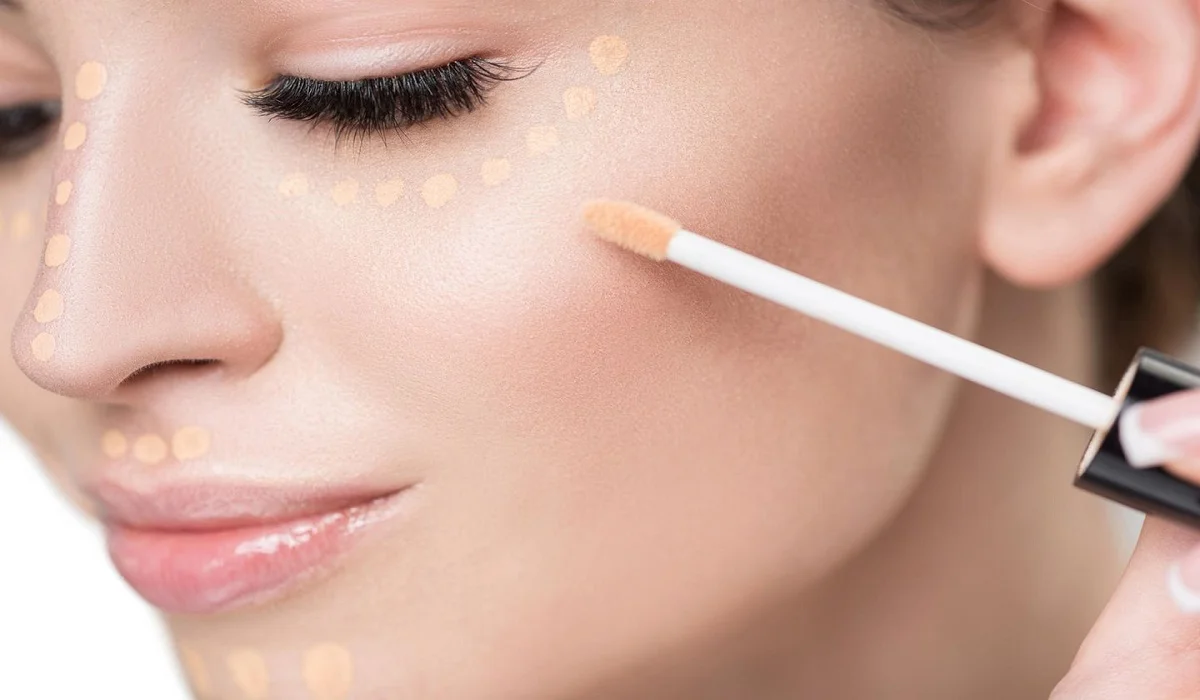
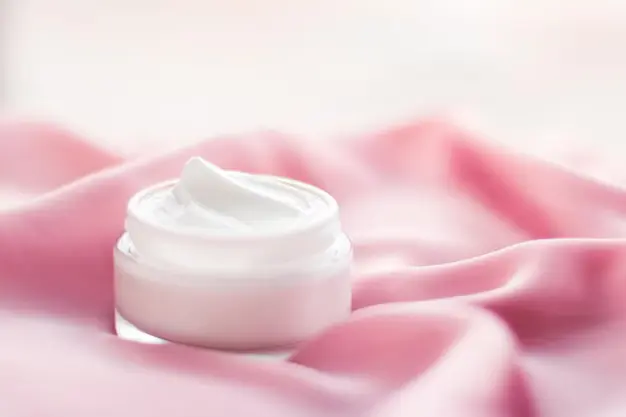
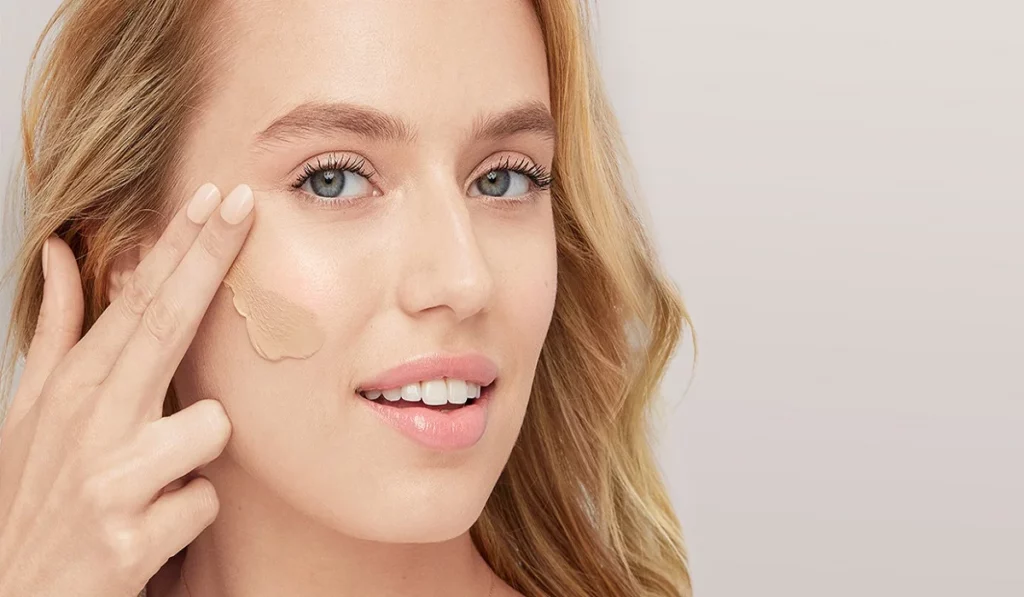
In the cosmetic domain, BB Creams stand out as the epitome of multipurpose utility, amalgamating several beauty essentials into a single concoction. These creams blur the lines between skincare and makeup, offering hydration, UV protection, and a touch of color to achieve a pristine complexion. Distinct from conventional foundations, BB Creams are imbued with ingredients beneficial for the skin, catering to those in pursuit of a radiant, natural appearance.

Varieties of BB Cream

The cosmetic market abounds with an array of BB Cream formulations, each tailored to meet specific skin needs and preferences:

  • For Oily Skin: Seek non-oily, mattifying options that mitigate shine and diminish pore visibility.
  • For Dry Skin: Moisture-rich BB Creams, featuring ingredients such as hyaluronic acid, offer a luminous finish and enhance skin texture.
  • For Sensitive Skin: Formulations devoid of fragrances and parabens, particularly mineral-based ones, are advisable to avoid irritation.
  • SPF Enriched Variants: Numerous BB Creams incorporate SPF, providing a dual benefit of skin tone evening and UV protection.

The Enhancing Effects of BB Cream on Skin

BB Creams transcend mere cosmetic cover, imbued with constituents that impart lasting skin advantages, including:

  • Moisture Retention: Compounds like glycerin and hyaluronic acid ensure sustained skin hydration.
  • UV Defense: SPF elements in BB Creams shield the skin from detrimental UV rays.
  • Antioxidant Richness: The inclusion of antioxidants such as vitamins A, C, and E fortifies the skin against oxidative stress and aging signs.

Selecting the Ideal BB Cream

The quest for the perfect BB Cream necessitates an assessment of skin-specific requirements:

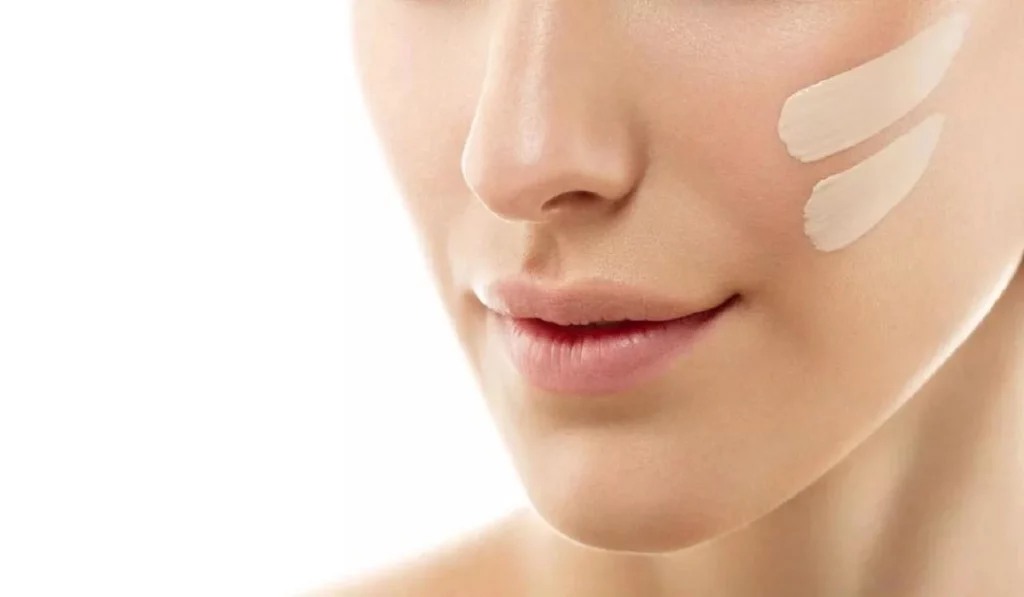
  • Harmony with Skin Tone: Achieving a natural effect requires matching the BB Cream closely with your skin tone.
  • Compatibility with Skin Type: Opt for a formula that addresses your skin’s particular condition—be it oily, dry, or combination.
  • Desired Coverage: Determine the coverage level you prefer, from sheer to full, to attain the look you desire.

Guidelines for BB Cream Application

Maximize the benefits of BB Cream with the following application strategies:

  • Skin Preparation: Begin with a clean, moisturized base to facilitate even application.
  • Hands-on Approach: Warm the product between your hands and apply in a circular motion for a seamless blend.
  • Incremental Coverage: Layer the product thinly until you achieve the coverage intensity you desire.

BB Cream for Varied Skin Issues

BB Creams offer solutions for a multitude of skin concerns, enhancing their versatility in skincare routines:

  • Acne-Prone Skin: Options containing salicylic acid can aid in managing breakouts.
  • For Dryness: Formulas with emollient properties leave the skin nourished and vibrant.
  • For Sensitivity: Hypoallergenic and fragrance-free choices are preferable.
What Exactly Is Bb Cream


Incorporating BB Cream into Skincare Regimens

BB Cream can streamline your skincare routine, ensuring your skin is cared for without complexity:

  • As a Primer: Employ BB Cream to refine skin texture before makeup application.
  • Day vs. Night Use: Select a BB Cream with SPF for day and a hydrating variant for nighttime care.

Global Perspectives on BB Cream Formulations

The formulation of BB Creams varies internationally, reflecting unique beauty philosophies:

  • Korean BB Creams: Celebrated for their substantial SPF and skincare benefits.
  • Western BB Creams: Tend to emphasize coverage and cater to a broader spectrum of skin tones.

The Scientific Foundation of BB Cream

The efficacy of BB Cream is anchored in its sophisticated blend of active ingredients, such as peptides, antioxidants, and hyaluronic acid, which collectively foster skin health. Scientific evidence corroborates the efficacy of these components in diminishing fine lines, enhancing hydration, and boosting skin elasticity.

Personal Accounts of BB Cream Usage

User experiences underscore the transformative impact of BB Cream, citing improvements in skin texture, a diminished reliance on heavy makeup, and the attainment of a natural, luminous skin tone.

BB Cream in the Realm of Professional Makeup

Within professional circles, BB Cream is prized for its adaptability and understated elegance, finding application in diverse contexts, from editorial shoots to bridal beauty, for an effervescent, healthful appearance.

Future Directions in BB Cream Innovation

The trajectory of BB Cream is marked by continuous innovation, with research aimed at amplifying SPF efficacy, prolonging hydration, and broadening the shade palette to embrace every skin tone.

Environmental Considerations of BB Cream

The beauty sector is increasingly attentive to sustainability, with brands prioritizing eco-conscious packaging and naturally degradable ingredients to lessen their ecological impact.

Navigating BB Cream Brand Offerings

The spectrum of BB Cream brands spans luxury to affordable options, enabling consumers to identify products that align with their preferences and financial constraints. It is advisable to conduct thorough research and consult reviews to make an enlightened selection.

  • Integrating BB Cream into Daily Skincare: BB Cream can simplify your regimen, serving as a moisturizer, sunscreen, and foundation.
  • BB Cream as Sunscreen: Although BB Creams with SPF offer protection, dedicated sunscreen is recommended for extended exposure.
  • Selecting a BB Cream Shade: Testing the product on your jawline will help in identifying the most suitable shade for your skin tone.
  • BB Cream for Acne-Prone Skin: Opt for non-comedogenic formulas that are designed to avert breakouts.
  • Reapplying BB Cream: For ongoing sun protection, reapplication every two hours during sun exposure is suggested.
  • BB Cream as a Foundation Alternative: BB Cream can substitute foundation for those seeking lighter coverage coupled with skincare benefits.

BB Cream epitomizes the synergy between skincare and makeup, serving as an indispensable, multi-functional product that accommodates a vast array of skin types and conditions. Its capacity to streamline beauty routines while not compromising skin health or aesthetic allure solidifies its status as an essential in contemporary cosmetic and skincare regimens. As the cosmetic landscape evolves, BB Cream remains at the forefront of innovation, heralding a promising future for individuals who value both skincare efficacy and makeup artistry.



Mastering The Art Of Crimping: A Comprehensive Guide To Correct Usage
Mastering the Art of Crimping: A Comprehensive Guide to Correct Usage

Crimping is a fundamental technique used across various industries and DIY projects to create secure and reliable connections between wires, cables, or components. Whether you’re working with electronics, automotive repairs, or crafting jewelry, understanding how to use a crimper correctly is essential to ensure the integrity and longevity of your connections. This comprehensive guide will walk you through the step-by-step process of using a crimper effectively, along with essential tips and best practices. Understanding Crimping Crimping is the process of mechanically compressing a connector or terminal onto a wire to establish a secure electrical connection or physical attachment. This technique ensures a strong bond that resists vibrations, corrosion, and other environmental factors. Crimping is commonly used in applications such as electrical wiring, network cables, automotive wiring harnesses, and more. Using the right tools and techniques is crucial to achieving consistent and reliable results. Selecting the Right Crimper Before you begin, it’s vital to choose the right crimper for your specific application. There are various types of crimpers available, each designed for different connectors and wire sizes. Common types of crimpers include: Wire Crimpers: Used for electrical connections and available in various sizes to accommodate different wire gauges. Coaxial Cable Crimpers: Designed for attaching connectors to coaxial cables, commonly used in telecommunications and audio/video installations. Terminal Crimpers: Used to secure terminals onto wires, often found in automotive and industrial applications. Modular Crimpers: Specifically designed for Ethernet cables and connectors, ensuring accurate terminations in networking projects. Step-by-Step Guide to Proper Crimping Follow these steps to ensure you’re using a crimper correctly: Prepare the Wire: Strip the insulation off the wire end to expose the bare conductor. The length of exposed wire should match the length of the connector’s barrel or terminal. Prepare the Connector: Insert the stripped wire end into the appropriate terminal or connector. Make sure the wire fits snugly, without any excess sticking out. Position the Crimper: Place the connector and wire into the appropriate slot or cavity of the crimper. Ensure that the connector is properly aligned with the crimping jaws. Apply Pressure: Squeeze the crimper’s handles firmly and evenly. The tool’s jaws will compress the connector, creating a strong and secure connection. Avoid using excessive force, as it could deform or damage the connector. Inspect the Crimp: After crimping, inspect the connection visually. The crimped terminal should tightly grip the wire without any gaps. Ensure that the wire is properly crimped and that the insulation is not damaged. Tips for Successful Crimping Use High-Quality Connectors: Invest in reliable connectors and terminals from reputable manufacturers. Quality components are essential for achieving long-lasting and reliable connections. Choose the Right Wire Size: Match the wire gauge with the appropriate terminal size. Using undersized or oversized connectors can result in poor connections and potential safety hazards. Practice Proper Technique: Maintain steady pressure while crimping, and avoid jerky or uneven movements. Consistent pressure ensures a uniform and secure connection. Perform a Pull Test: After crimping, perform a gentle tug on the wire to ensure it’s securely attached to the connector. If the wire easily detaches,…

Essential Hair Care Tips For Every Budget
Essential Hair Care Tips for Every Budget

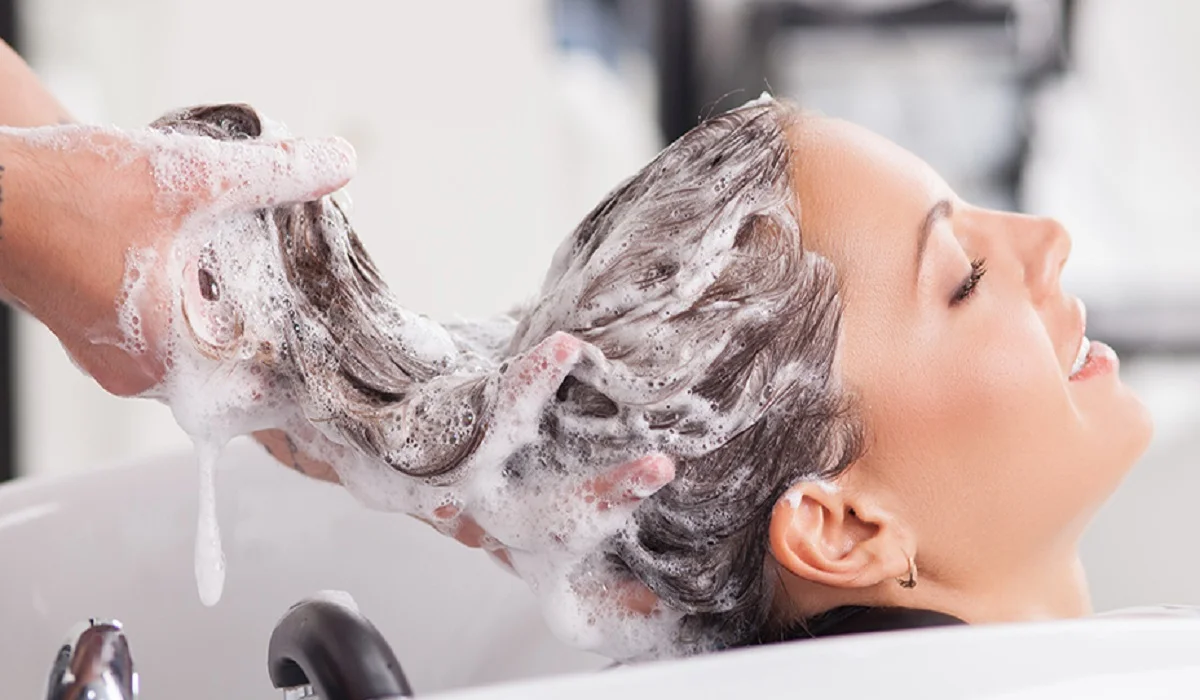
The foundation of hair care lies in understanding your unique hair type and its specific needs. Recognizing whether your hair is oily, dry, normal, or combination can guide you in selecting products that enhance its natural beauty without causing damage. Tailoring your hair care routine to your hair’s characteristics ensures it receives the nourishment it needs to thrive. Shampooing Wisely Frequency Matters Over-washing can strip your hair of its natural oils, leading to dryness and brittleness. Aim to shampoo your hair every 2 to 3 days, adjusting based on your hair’s oil production. Those with particularly oily hair may need more frequent washing, while those with dry or textured hair might benefit from less. Choosing the Right Shampoo Select a shampoo that aligns with your hair type. For instance, volumizing shampoos are great for fine hair, while hydrating formulas are ideal for dry locks. Remember, a little goes a long way; a quarter-sized dollop is generally enough for medium-length hair. Concentrate the product on your scalp where oil and dirt accumulate, avoiding the ends to prevent drying them out. Conditioning Correctly Pre-Wash Treatments For an extra hydration boost, applying a small amount of oil to your hair before washing can work wonders. Oils like coconut or argan oil can be massaged into the ends and lengths of your hair before shampooing, providing a protective barrier that helps retain moisture during the washing process. Application Techniques Conditioner should be applied to the ends of your hair, where natural oils from the scalp seldom reach. This area is more prone to dryness and damage, so focusing your conditioning efforts here can help maintain hair health and prevent split ends. Strengthening Your Strands Natural Remedies Home remedies can be remarkably effective for strengthening hair. Ingredients like honey, eggs, and olive oil offer a bounty of nutrients and proteins that can help repair and fortify hair fibers. Apply these treatments directly to your scalp and hair, leave for about 15 minutes, then rinse with warm water before proceeding with your regular hair care routine. Look for Keratin Incorporating products that contain keratin into your hair care regimen can significantly enhance hair strength and elasticity. Keratin treatments help to rebuild the hair’s natural protective layer, improving its resilience against damage and environmental stressors. Protecting Your Hair Lifestyle Choices Simple lifestyle changes can have a profound impact on your hair’s health. Drinking plenty of water, eating a balanced diet, and minimizing heat styling can all contribute to stronger, healthier hair. When using heat tools, always apply a heat protectant to shield your hair from damage. Sun and Chemical Protection Just as your skin needs protection from the sun, so does your hair. Look for hair products that offer UVA/UVB protection to guard against color fading and dryness. If you color your hair, spacing out treatments allows your hair to recover, reducing the risk of damage. Moisturizing Regularly Moisture is key to preventing breakage and promoting shine. Regularly applying lightweight oils like argan or coconut oil can help maintain your hair’s moisture balance, leaving it soft, shiny, and less…

Mastering The Eyelash Curler
Mastering the Eyelash Curler

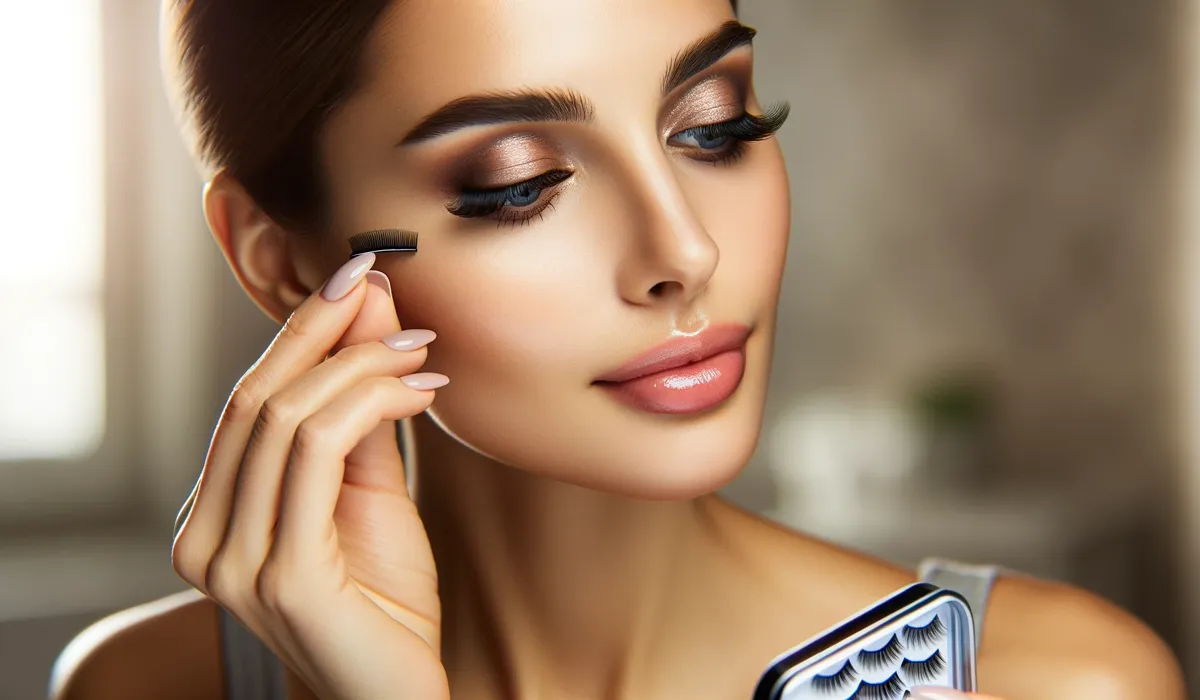
Transforming your lashes from straight to stunningly curled can be effortlessly achieved with the proper use of an eyelash curler, turning it into an indispensable tool in your beauty arsenal. However, mishandling it could result in discomfort, lash damage, or uneven curls. This detailed manual will guide you through mastering the eyelash curler, incorporating upkeep advice and solutions to frequent problems, enabling you to safely and effectively obtain those desirable, fluttering lashes. Selecting the Ideal Eyelash Curler Eyelash Curler Varieties The market offers eyelash curlers in metal, plastic, and heated models. Metal curlers stand out for their sturdiness and precision in curling, while plastic variants are perfect for on-the-go use due to their lightness. For those with hard-to-curl lashes, heated eyelash curlers can achieve a more defined and enduring curl. Choosing a Curler for Your Eye Shape Eyelash curlers are not one-size-fits-all; their efficiency varies with different eye shapes. It’s crucial to choose a curler that complements the curvature of your eye to ensure a uniform curl and avoid discomfort. Some manufacturers provide curlers tailored to specific eye shapes such as almond, round, or deep-set. Lash Preparation Ensure Lashes are Clean and Dry Commence with lashes that are devoid of any makeup or residue, as leftover products can lead to lashes sticking to the curler, risking damage. Post face-washing, ensure your lashes are thoroughly dried before proceeding with the curling process. Warming the Curler (Optional) To enhance the curl, consider gently warming your metal eyelash curler with a hairdryer for a brief period. Always test the curler’s temperature on your hand to confirm it’s warm, not hot, preventing any harm to your eye’s delicate surrounding skin or the lashes themselves. Curling Your Lashes Proper Curler Placement With the curler open, position your lashes between the pads, getting as close as possible to the lash base without touching the eyelid. Confirm that all lashes are captured by the curler’s opening. Executing the Curl Press the curler’s handles together gently for approximately 5 to 10 seconds. For a more natural curl, you may lightly pump the curler. Refrain from pulling or yanking the curler to avoid lash damage. Sectional Curling For a more pronounced curl, adopt a sectional approach: begin at the base, then mid-lash, and finally near the tips. This technique fosters a seamless, natural curl rather than an abrupt crimp. Post-Curling Mascara Application Follow up the curling with your preferred mascara to set the curl. Opt for a waterproof or curl-enhancing mascara for optimal results. Applying mascara post-curling prevents the lashes from sticking to the curler and potential damage. Curler Maintenance and Cleanliness Eyelash Curler Cleansing To ensure optimal performance, regularly clean your curler to eliminate any mascara residue or debris. Utilize a gentle makeup remover or isopropyl alcohol for cleaning, allowing the curler to dry thoroughly before its next use. Pad Replacement Change the curler’s rubber pads every few months or at signs of wear to maintain curl efficiency and lash safety. Neglecting to replace worn pads can compromise lash health and curl quality. Addressing Common Concerns Avoiding Eyelid Pinching Pinching…

Illuminating Beauty: An In Depth Guide To Light Makeup Mirrors
Illuminating Beauty: An In-Depth Guide to Light Makeup Mirrors

In the world of makeup, precision and attention to detail are essential for achieving flawless looks. A well-lit environment is crucial for makeup application, and this is where light makeup mirrors play a pivotal role. These mirrors are specially designed to provide optimal illumination, allowing users to see their features clearly and apply makeup with confidence. In this comprehensive guide, we will delve into everything you need to know about light makeup mirrors, their features, types, benefits, and how to choose the best one for your needs. The Purpose of Light Makeup MirrorsLight makeup mirrors are designed to create an illuminated environment that mimics natural daylight. This enhanced lighting ensures that every detail of your face is clearly visible, making it easier to apply makeup with precision. These mirrors are particularly beneficial for tasks that require precision, such as shaping eyebrows, applying eyeliner, or perfecting your foundation. Features of Light Makeup Mirrorsa. Adjustable Brightness: Most light makeup mirrors come with adjustable brightness settings. This feature allows users to customize the intensity of the light according to their preferences and the surrounding lighting conditions. b. Color Temperature Options: Some mirrors also offer color temperature adjustments, ranging from warm to cool lighting. Warm lighting is ideal for a soft and flattering glow, while cool lighting is great for more accurate color representation. c. Magnification: Light makeup mirrors often come with magnification options, typically ranging from 1x to 10x. Higher magnification is useful for close-up work, such as precise eyeliner application and skincare routines. d. Rechargeable or Plug-in: Light makeup mirrors can be powered in various ways. Some are rechargeable and cordless, allowing for portability, while others may need to be plugged into an electrical outlet. e. Built-in Storage and Organization: Certain models may feature storage compartments or trays to keep makeup essentials and tools close at hand. f. Touch Controls: Many modern light makeup mirrors utilize touch-sensitive controls, making it easy to adjust brightness and other settings with a simple tap. Types of Light Makeup Mirrorsa. Tabletop Mirrors: These mirrors are designed to sit on a table or vanity. They come in various sizes and shapes, with adjustable stands that allow users to tilt the mirror to their preferred angle. b. Wall-Mounted Mirrors: As the name suggests, these mirrors are designed to be mounted on the wall. They save space on your vanity and are perfect for those with limited counter space. c. Compact Mirrors: Compact light makeup mirrors are portable and usually smaller in size. They often feature foldable designs, making them ideal for travel or on-the-go touch-ups. d. Hollywood-style Mirrors: Inspired by classic Hollywood dressing room mirrors, these larger-than-life mirrors feature multiple bulbs or LED strips around the edges, providing even and glamorous illumination. e. Smart Mirrors: With advancements in technology, smart mirrors are now available. These mirrors can be connected to smartphones or other devices, offering additional features such as makeup tutorials, virtual try-ons, and voice-activated controls. Benefits of Light Makeup Mirrorsa. Enhanced Visibility: The primary benefit of light makeup mirrors is improved visibility, allowing you to see even the tiniest…

Brow Perfection At Home The Comprehensive Guide To Diy Brow Lamination
Brow Perfection at Home: The Comprehensive Guide to DIY Brow Lamination

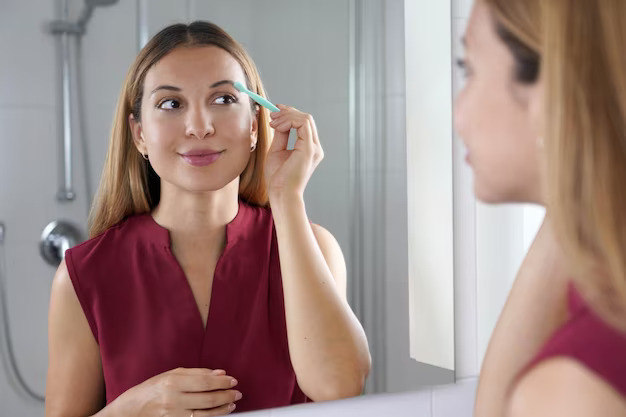
In the realm of beauty, eyebrows are a pivotal feature, framing the face and highlighting one’s eyes. Brow lamination, a groundbreaking beauty trend, offers a solution for those seeking fuller, more defined eyebrows without daily makeup. This treatment has traditionally been a salon-exclusive, but with the right guidance, achieving salon-quality results at home is within reach. This expanded guide dives into the nuances of DIY brow lamination, covering everything from the initial prep work to the crucial aftercare, ensuring you can safely achieve and maintain impeccable brows. Deep Dive into Brow Lamination Brow lamination works by restructuring the brow hairs, giving them a uniform, desired direction and appearance. It’s particularly beneficial for those with unruly, sparse, or downward-growing hairs, providing a fuller and more even look. This section explores the technique’s origins, its rise to prominence, and how it has become a beloved alternative to more permanent treatments like microblading, offering insight into why it’s worth considering for your brow grooming routine. Advantages of Going DIY with Brow Lamination Choosing to laminate your brows at home comes with a plethora of benefits, including cost-efficiency, the comfort of your own home, and the ability to tailor the process to your specific brow needs. Here, we’ll outline the key advantages of DIY brow lamination, from the personal satisfaction of self-care to the convenience of touch-ups on your schedule, highlighting why many beauty enthusiasts are opting to take their brow treatments into their own hands. Essential Tools for At-Home Brow Lamination Successful DIY brow lamination hinges on having the right tools and products. This comprehensive checklist ensures you’re well-prepared, listing everything from reputable brow lamination kits to the specific cleansers, brushes, and aftercare serums that will make the process smooth and effective. We also include tips for selecting quality products that are safe and reliable, ensuring your DIY endeavor leads to beautiful, healthy brows. Step-by-Step Guide: Achieving Professional-Quality Lamination With the right preparation, DIY brow lamination can be straightforward and rewarding. This detailed, step-by-step guide walks you through the entire process, from conducting a patch test to applying the lamination solution, shaping, and setting your brows. Each step is broken down with precision, incorporating professional tips and visual aids to ensure clarity and ease, empowering you to achieve professional-quality results at home. Navigating Aftercare for Lasting Results The longevity and quality of your brow lamination significantly depend on proper aftercare. This section delves into the dos and don’ts following your treatment, advising on everything from how to avoid water and makeup in the initial hours to the best practices for nourishing and maintaining your newly laminated brows. Tailored advice on extending the durability of your lamination, including recommended products and routines, ensures your brows remain flawless for as long as possible. Common Pitfalls and How to Avoid Them Even with careful planning, DIY treatments can encounter hiccups. This segment addresses the most common issues encountered during home brow lamination, such as uneven application, overprocessing, or irritation, and provides expert solutions. Learning how to anticipate and remedy these challenges will bolster your confidence, ensuring a smooth…

Diy Lip Balm Simple Ingredientsfor Beautiful Lips
DIY Lip Balm: Simple Ingredients for Beautiful Lips

The allure of lips transcends mere aesthetics, playing a pivotal role in our expressions and the vibrancy of our smiles, thereby influencing our self-esteem and how we are perceived. Our lips, devoid of oil-producing glands, are exposed to the merciless whims of the environment, be it the biting chill, arid conditions, or the relentless sun. This exposure necessitates a dedicated regimen for lip care, elevating it from a mere aspect of our beauty routines to a critical necessity. Advantages of Crafting Your Own Lip Balm Efficiency and Uncomplicated Nature: The allure of concocting your own lip balm lies in its straightforwardness and cost-effectiveness. A modest investment in simple ingredients yields a bountiful supply, sufficient for months. This approach is not only economical but also opens a playground for experimentation with flavors and ingredients, all without denting your wallet. Mastery Over Composition: The commercial lip balm aisle is a maze of complex formulations, some containing elements that might not sit well with everyone. Venturing into homemade lip balm creation bestows upon you the power to curate your ingredients, ensuring a concoction that is as natural as it is benign, especially for those with a penchant for sensitivities. Tailoring to Taste: The realm of DIY lip balm is rife with customization opportunities. From the fragrance and taste to the hue, you can tweak your creation to reflect your personal style and preferences. This bespoke approach not only personalizes your lip care but also transforms homemade lip balms into intimate, thoughtful presents for loved ones. Sustainability: Opting to craft your own lip balm is a nod to environmental consciousness. By favoring natural constituents and repurposable packaging, you contribute to the reduction of plastic waste and the dissemination of harmful chemicals into our planet. Curating Natural Components for Your Lip Balm Foundation Elements for Consistency and Hydration: The cornerstone of any exemplary lip balm lies in its base components – beeswax, shea butter, cocoa butter, and coconut oil. These ingredients are pivotal for achieving the desired consistency that solidifies at room temperature yet melts upon contact with the lips, providing moisture and shielding them from the elements. Oils for Enrichment and Moisturization: Incorporating oils like argan, jojoba, and sweet almond enriches the lip balm with moisturizing virtues. These oils, brimming with vitamins and fatty acids, are instrumental in the rejuvenation and healing of the lips’ delicate dermis. Essential Oils for Fragrance and Added Benefits: Essential oils infuse the lip balm with enticing aromas while endowing it with additional benefits. For instance, peppermint oil imparts a refreshing coolness, whereas lavender oil is celebrated for its soothing properties. It’s crucial to employ these potent oils judiciously to prevent irritation. Additional Components for Restoration and Defense: Ingredients such as honey, vitamin E oil, and aloe vera gel introduce extra layers of healing and protection. Honey acts as a natural humectant, attracting moisture to the skin. Vitamin E oil is a powerhouse of antioxidants that aid in cellular restoration, and aloe vera gel offers solace to irritated lips, alongside a cooling sensation. Recipes for Crafting Custom Lip Balm Concocting Your…

How To Achieve The Dewy Makeup Look?
How to Achieve the Dewy Makeup Look?

Dewy makeup looks, popularly dubbed “glass skin,” have taken over beauty circles by storm for good reason. This natural and glowing style mimics healthy, well-hydrated skin for an ethereal and youthful appearance, creating an air of luminosity while emphasizing natural beauty – in this comprehensive guide we offer step-by-step instructions, product recommendations and expert tips to help you attain that coveted lit-from-within glow! Chapter 1: Prepping Canvases for Paintings Chapter 1 emphasizes the significance of proper skin preparation before delving into makeup application. You’ll gain knowledge on cleansing, exfoliating and moisturizing to provide a hydrated canvas on which to build makeup application skills. We will also cover how adding facial mist or primer may boost luminosity of the complexion. Chapter Two Choosing Appropriate Products Chapter 2 explores key product categories – foundation, concealer and highlighters – which provide tips for choosing dewy finish formulas such as lightweight foundations that hydrate well as well as luminious concealers to achieve radiant bases and bases with radiant bases. You will gain insights into selecting these formulas that help create that dewy look! Chapter 3 : Attaining Natural Coverage Chapter 3 explores the art of natural-looking coverage. Here you’ll learn to apply foundation and concealer sparingly to maintain skin’s natural texture while hiding imperfections, color matching techniques to achieve seamless coverage, color blending techniques for an ideally seamless result, as well as color blending blending to achieve seamless finishes. Chapter 4: Highlighters Provide Illuminating Solutions in Chapter 4 Highlighter is your go-to solution for creating dewy complexion, and Chapter 4 examines its application thoroughly. Here, you will learn to strategically apply highlighter to highlight high points on the face such as cheekbones, brow bone, and Cupid’s bow. Additionally, we introduce various types of highlighters including liquid powder cream types; providing advice for selecting one suitable to your skin tone and offering tips to find suitable shades to use with each. Chapter 5: Brighten Your Skin Tone Through Blush Blush plays an integral part in creating the dewy look, so Chapter 5 offers insights on selecting blush shades that work for your complexion and how best to apply it for an effortless flush of color. We will also cover how best to place blush to give an appearance of youth and vitality. Chapter 6: Establish the Look Setting your makeup correctly is vital to its longevity without jeopardizing its dewy finish. In Chapter 6, we’ll cover setting sprays and powders designed to maintain dewy effects without altering its dewiness, as well as techniques for powder application that avoid matte or cakey finishes. Chapter 7 : Dewy Eye Makeup Chapter 7 will help complete your dewy makeup look by exploring eye makeup techniques to achieve shimmering eyeshadow looks that enhance overall radiance, as well as using dewy-finish eyeliners and mascaras that complement this style. Chapter 8: Discover The Perfect Dewy Lips Now Chapter 8 examines lip makeup to create an integrated look. You’ll gain knowledge on selecting products with both hydration and subtle shine for best results, plus we will introduce tinted balms and glosses that enhance natural…

Boost Your Smile Top 7 Strategies For Smooth, Hydrated Lips In 2024
Boost Your Smile: Top 7 Strategies for Smooth, Hydrated Lips in 2024

Achieving a soft, plump, and healthy look for your lips is paramount, necessitating the removal of dead skin cells to unveil the underlying smooth texture. This practice not only refines the feel and look of your lips but also maximizes the absorption and effectiveness of lip care products. Our discussion will cover the essentials for attaining perfectly exfoliated lips, including its significance, correct methods, and the finest products and techniques for superior outcomes. The Essence of Lip Exfoliation Far from being merely cosmetic, lip exfoliation is a critical health regimen. Given their constant exposure to environmental factors like the sun, wind, and cold, lips are susceptible to dryness and peeling. The absence of oil glands in the lips means they lack natural moisturization, a gap filled by the benefits of exfoliation, which facilitates dead skin removal and encourages cellular renewal. The Underlying Science of Lip Exfoliation The principle of lip exfoliation lies in the gentle removal of dead surface cells, averting dryness and promoting a richer blood supply for a fuller and more radiant appearance. Consistent exfoliation also wards off early signs of aging around the lips. Selecting an Appropriate Lip Exfoliator The choice of lip exfoliator should be informed by your skin type and sensitivities, ranging from homemade concoctions to commercial exfoliating balms. Ingredients such as sugar, honey, and coconut oil are mild yet effective, matching the performance of many off-the-shelf products. Homemade Lip Exfoliation Solutions Crafting your lip scrub is straightforward, allowing for personalization. A basic mix of sugar, coconut oil, and honey offers a hydrating and exfoliating solution, nourishing the lips alongside the removal of dead cells. A Comprehensive Guide to Lip Exfoliation The exfoliation process is quick and efficient. Apply a chosen exfoliant to the lips, massage gently in circles, then rinse off with warm water. Seal in moisture immediately afterward with a hydrating balm. Moisture Retention Post-Exfoliation Post-exfoliation hydration is vital. Opt for lip balms enriched with shea butter, vitamin E, and hyaluronic acid to maintain moisture and elasticity. Seasonal Lip Care Adjustments Adapt your lip care to seasonal changes, increasing exfoliation and hydration during winter and ensuring UV protection during summer. Mitigating Common Lip Issues Through Exfoliation Regular exfoliation addresses various lip concerns like discoloration, uneven texture, and aging signs, enhancing both the look and health of your lips through dead skin removal and improved circulation. Evaluating Lip Exfoliation Merchandise The vast market selection makes choosing the right product daunting. Base your decision on specific needs and preferences, evaluating ingredients, textures, and consumer reviews. Achieving Luscious, Healthy Lips Incorporating lip exfoliation into your skincare routine is crucial for soft, well-maintained lips. By selecting appropriate exfoliators, maintaining hydration, and adjusting care with the seasons, you pave the way for a radiant, healthy smile, transcending mere aesthetics to embody genuine lip care.