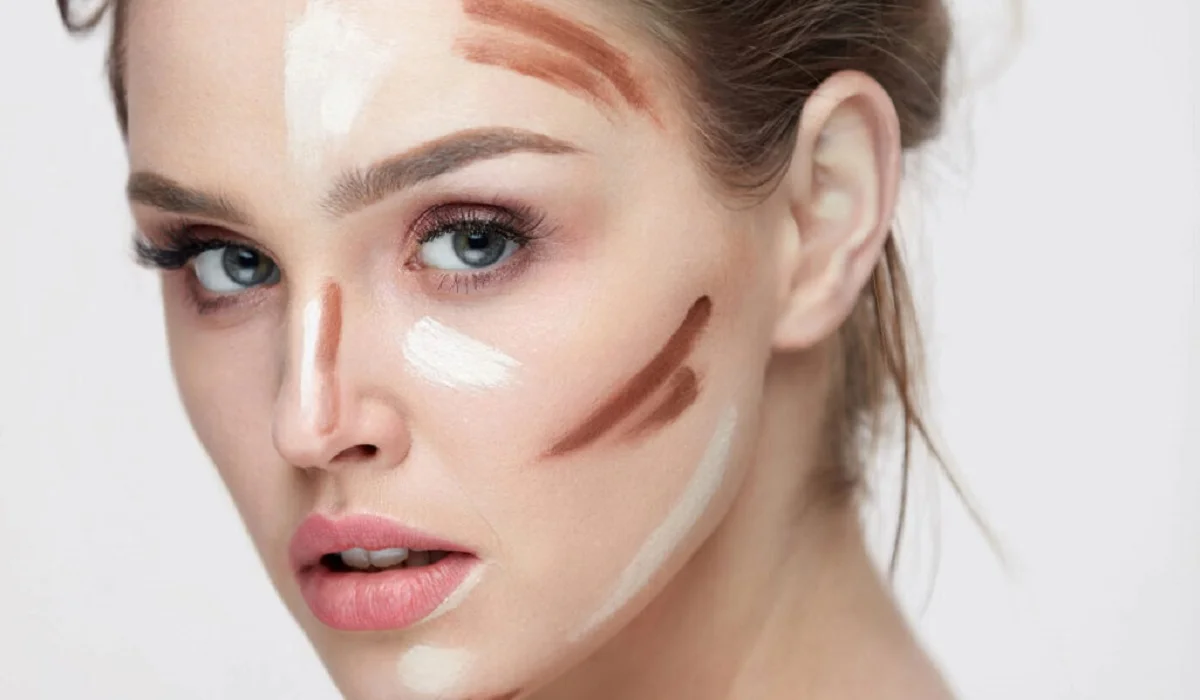
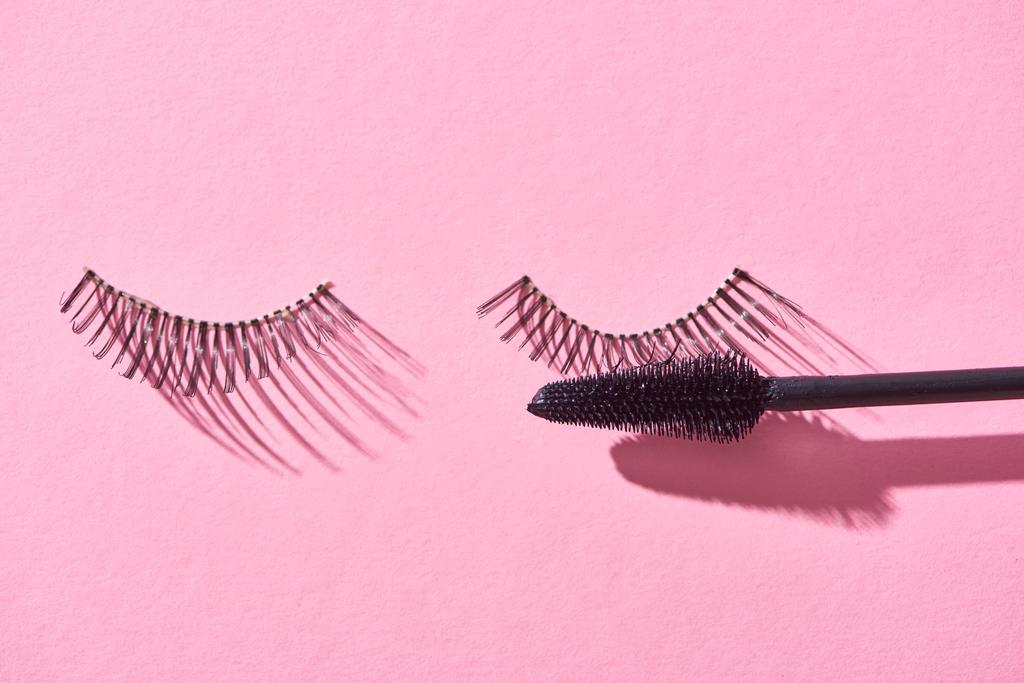
Enhance Your Natural Beauty: The Best New Eye Makeup for Your Eye Color

The allure of eye makeup extends far beyond mere cosmetic appeal; it’s an art form that accentuates the inherent beauty of the eyes. With the right palette, liner, or mascara, your eye color can be vividly highlighted, enhancing your overall appearance with simple yet effective touches. This comprehensive guide delves into the 2024 eye makeup trends and innovations specifically tailored to enhance the natural charm of various eye colors.
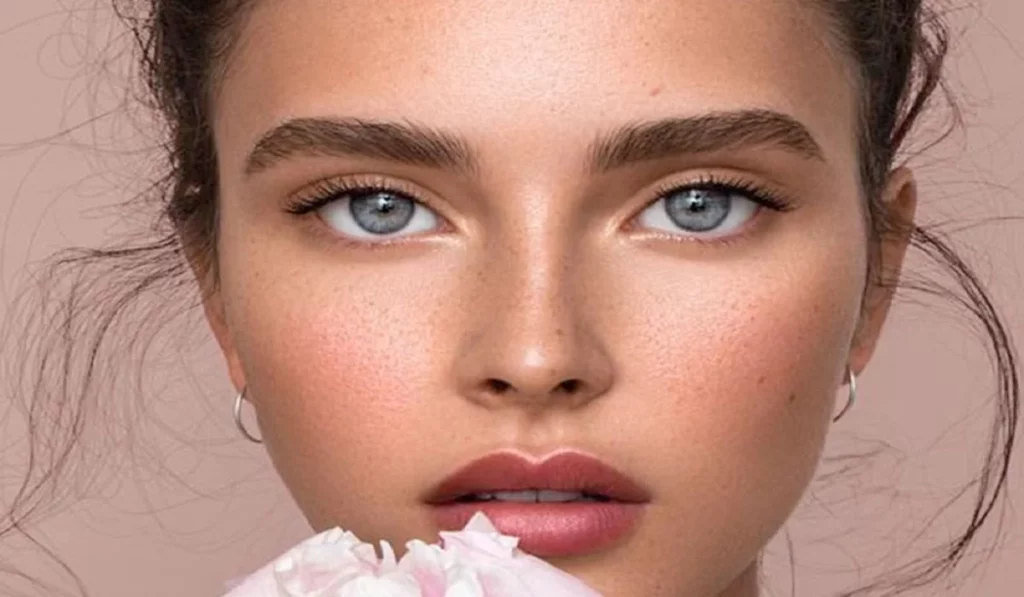
Enhance Your Natural Beautythe Best New Eye Makeup For Your Eye Color


Understanding Eye Color

Eye color is a manifestation of genetics, shaped by melanin levels within the iris. Grasping the science behind the spectrum of eye colors—from the palest blues to the deepest browns—enables a more informed makeup choice, ensuring your selections not only complement but also magnify your natural eye color.

Makeup for Blue Eyes

For individuals graced with blue eyes, selecting shades that form a contrast, such as rich browns, copper, and golden hues, can significantly intensify the eye color. The 2024 lineup introduces luxurious pigments and shimmering metallic liners crafted to highlight blue eyes’ intrinsic depth and sparkle.

Enhancing Brown Eyes

The inherent depth of brown eyes is their superpower, capable of being accentuated with a broad color palette. Eyeshadows and liners in vibrant jewel tones, including emerald and purple, emerge as the go-to choices in 2024, designed to bring out brown eyes’ complex beauty.

Green Eyes Makeup Guide

The rarity and allure of green eyes can be amplified with makeup that features red undertones, such as deep mahogany and rich plum. The 2024 must-haves encompass high-pigment shadows and liners that underscore the natural vibrancy of green eyes.

Hazel Eyes: How to Highlight

Hazel eyes, with their mesmerizing mix of green, gold, and brown, present a unique opportunity for experimentation. Earthy tones emphasize the green, while hints of lavender and mocha bring out the golden and brown flecks. The year’s essentials include versatile palettes that embrace the mutable nature of hazel eyes.

Eye Makeup Techniques

Mastering fundamental eye makeup techniques can profoundly enhance your eye color. Essential skills such as blending for a seamless finish, brightening the inner corners for a wide-awake look, and crease contouring for added depth are pivotal in making your eye color the focal point.

2024 Eye Makeup Trends

This year champions bold, expressive eye makeup. From graphic liners to vivid shadow hues and multi-dimensional mascaras, the latest trends offer fresh avenues for showcasing your eye color, whether you’re aiming for subtlety or dramatic flair.
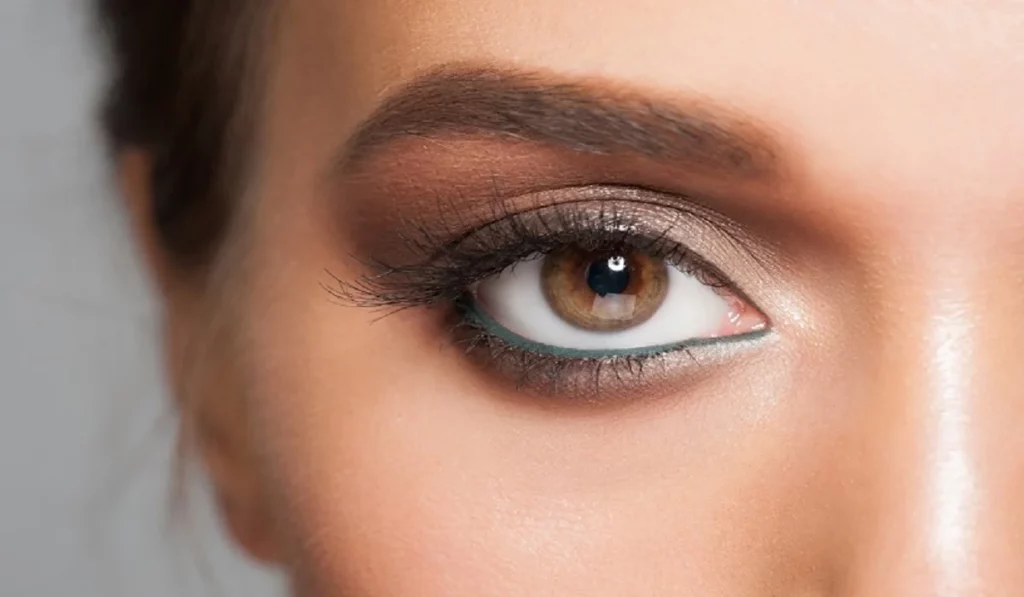
Enhance Your Natural Beauty The Best New Eye Makeup For Your Eye Color


Choosing the Right Makeup for Your Eye Color

Crafting a look that elevates your natural eye color involves selecting appropriate products and mastering their application. Starting with a primer for durability, picking complementary colors, and using precise, blendable tools, you can achieve a gaze that’s not only captivating but also uniquely yours.

The Best Eye Makeup Products of 2024

The year’s top eye makeup selections span across eyeshadows, eyeliners, and mascaras, each offering novel formulations and hues designed to complement and enhance every eye color. From velvety textures to lustrous finishes, these products promise to transform your makeup routine.

Application Tips for Stunning Eyes

Application techniques play a critical role in eye makeup. Using a primer as a base, applying colors that enhance your eye hue, and mastering blending methods can significantly impact the final look, ensuring a stunning and enduring eye makeup.

Eye Makeup Tools and Accessories

The pursuit of the perfect eye look necessitates not only high-quality makeup but also the right application tools. Investing in precision brushes and exploring innovative tools like heated lash curlers and silicone shadow applicators can change how we think about eye makeup in 2024.

Maintaining Eye Makeup and Tools

Maintaining the longevity of your eye makeup and the health of your eyes involves proper care of your products and tools. Regular cleaning, appropriate storage, and adherence to product expiration dates are crucial to avoiding eye irritation and infection.

Natural Beauty Enhancement Techniques

Embracing techniques that cater to both day and night looks, as well as adapting to seasonal changes, can significantly enhance your natural beauty. This section offers insights into making the most of your eye makeup, regardless of the occasion or time of year.

Troubleshooting Common Eye Makeup Issues

Addressing common challenges like smudging, fading, and allergic reactions is essential for any makeup enthusiast. This part provides solutions and preventative measures to ensure your eye makeup remains flawless and comfortable throughout the day.

Sustainable and Ethical Makeup Choices

As awareness grows, choosing sustainable and ethical makeup products becomes increasingly important. This section highlights eco-friendly and cruelty-free options, allowing you to make beauty choices that align with your values.

Expert Interviews and Insights

Gain exclusive insights from makeup artists and beauty influencers,


revealing industry secrets and top recommendations for enhancing your eye color with makeup. Their expertise offers valuable perspectives on achieving the best results with the latest products and techniques.

Eye makeup is a powerful tool for accentuating the natural beauty of your eyes. With the advent of new trends and products in 2024, you have a wealth of options to explore, allowing you to highlight your eye color in the most stunning ways. Embrace these innovations and tips to let your natural eye color shine brightly.

How do I choose eye makeup for sensitive eyes?
Opt for hypoallergenic and ophthalmologist-tested products to minimize irritation.

Can eye makeup enhance natural eye color?
Yes. Choosing shades that contrast or complement your eye color can significantly enhance your eyes’ vibrancy and expression.

5. Tips To Achieve Flawless Foundation On Oily Skin
Tips to Achieve Flawless Foundation on Oily Skin

Oily skin can make finding foundation difficult, particularly when trying to find one suitable to your complexion. Oily skin makes makeup appear uneven and cakey and causes it to wear off within hours; with the proper techniques and products though, flawless long-wearing foundation looks are possible for oily skin – this article provides tips and tricks for writing foundation for oily skin! Understanding Your Skin TypeBefore selecting the appropriate foundation, it is crucial that you are familiar with your skin type. Oily skin produces more sebum than normal skin and this excess production of sebum may result in breakouts, enlarged pores and overall shiny appearances. When looking for foundation formulas to purchase for oily skin conditions such as breakouts and shiny appearance, look for ones which are oil-free, non-comedogenic and lightweight which will help regulate sebum production while simultaneously unclog pores for an even appearance resulting in smoother complexions overall. Prepping Your SkinProper preparation of oily skin before foundation application is of utmost importance, particularly for those who prefer foundation with full coverage. Start by cleansing with a gentle cleanser designed for oily skin to gently dissolve extra dirt and oil from pores before toning to balance pH levels while tightening pores with toner and apply lightweight, oil-free moisturizer to hydrate without adding further oil production. When your skin has been properly prepped and primed for foundation, then start the application process! Selecting an Oil-Free Foundation FormulaWhen it comes to selecting an appropriate foundation formula for oily skin, several things need to be kept in mind. First and foremost is choosing one which is oil-free as this will help regulate excess production of sebum; furthermore a matte finish foundation is ideal as this absorbs oils while leaving skin looking non-greasy; powder foundations also work very well while powder foundations offer long lasting matte coverage while liquid formulas with water bases tend not clog pores as easily and cause breakouts; alternatively powder foundations could also work just fine but powder foundations could give your complexion long lasting matte coverage while powder based foundations provide long lasting matte coverage; powder based foundations work great too if preferred but liquid foundation is your preference; powder based options could offer long lasting matte coverage while powder foundations provide long lasting matte coverage; powder based formulations could even offer long lasting matte coverage while liquid formulas would likely cause less likely breakouts than their liquid counterparts can. Application Techniques for Oily SkinTo achieve an outstanding foundation application on oily skin, proper techniques must be utilized. Apply a thin coat of primer first in order to create an even surface; use either a makeup brush or sponge to evenly apply foundation over this thin base layer using thin strokes until coverage becomes noticeable in problem areas like T-zone where oil production levels tend to peak. Setting Your Foundation Applying foundation is critical when dealing with oily skin as it will control oil production and keep makeup in place all day long. Once foundation has been applied, use translucent powder to set it into place using thin, even layers…

Essential Hair Care Tips For Every Budget
Essential Hair Care Tips for Every Budget

The foundation of hair care lies in understanding your unique hair type and its specific needs. Recognizing whether your hair is oily, dry, normal, or combination can guide you in selecting products that enhance its natural beauty without causing damage. Tailoring your hair care routine to your hair’s characteristics ensures it receives the nourishment it needs to thrive. Shampooing Wisely Frequency Matters Over-washing can strip your hair of its natural oils, leading to dryness and brittleness. Aim to shampoo your hair every 2 to 3 days, adjusting based on your hair’s oil production. Those with particularly oily hair may need more frequent washing, while those with dry or textured hair might benefit from less. Choosing the Right Shampoo Select a shampoo that aligns with your hair type. For instance, volumizing shampoos are great for fine hair, while hydrating formulas are ideal for dry locks. Remember, a little goes a long way; a quarter-sized dollop is generally enough for medium-length hair. Concentrate the product on your scalp where oil and dirt accumulate, avoiding the ends to prevent drying them out. Conditioning Correctly Pre-Wash Treatments For an extra hydration boost, applying a small amount of oil to your hair before washing can work wonders. Oils like coconut or argan oil can be massaged into the ends and lengths of your hair before shampooing, providing a protective barrier that helps retain moisture during the washing process. Application Techniques Conditioner should be applied to the ends of your hair, where natural oils from the scalp seldom reach. This area is more prone to dryness and damage, so focusing your conditioning efforts here can help maintain hair health and prevent split ends. Strengthening Your Strands Natural Remedies Home remedies can be remarkably effective for strengthening hair. Ingredients like honey, eggs, and olive oil offer a bounty of nutrients and proteins that can help repair and fortify hair fibers. Apply these treatments directly to your scalp and hair, leave for about 15 minutes, then rinse with warm water before proceeding with your regular hair care routine. Look for Keratin Incorporating products that contain keratin into your hair care regimen can significantly enhance hair strength and elasticity. Keratin treatments help to rebuild the hair’s natural protective layer, improving its resilience against damage and environmental stressors. Protecting Your Hair Lifestyle Choices Simple lifestyle changes can have a profound impact on your hair’s health. Drinking plenty of water, eating a balanced diet, and minimizing heat styling can all contribute to stronger, healthier hair. When using heat tools, always apply a heat protectant to shield your hair from damage. Sun and Chemical Protection Just as your skin needs protection from the sun, so does your hair. Look for hair products that offer UVA/UVB protection to guard against color fading and dryness. If you color your hair, spacing out treatments allows your hair to recover, reducing the risk of damage. Moisturizing Regularly Moisture is key to preventing breakage and promoting shine. Regularly applying lightweight oils like argan or coconut oil can help maintain your hair’s moisture balance, leaving it soft, shiny, and less…

Factors That Can Make Or Break Your Mascara's Quality: Understanding Key Influences
Factors That Can Make or Break Your Mascara’s Quality: Understanding Key Influences

Mascara is a staple in many makeup routines, providing length, volume, and definition to lashes. However, not all mascaras are created equal, and several factors can significantly impact their quality and performance. In this article, we will explore the key factors that can make or break your mascara’s quality. By understanding these influences, you can make informed choices when selecting and using mascara to achieve the desired lash effect. Formula Composition:The quality of a mascara largely depends on its formula composition. Factors such as the type of waxes, pigments, and additives used can greatly affect the mascara’s performance. Look for mascaras that contain high-quality ingredients, as they tend to provide better coverage, enhance lash volume, and minimize clumping or flaking. Mascara is a staple in many makeup routines, providing length, volume, and definition to lashes. However, not all mascaras are created equal, and several factors can significantly impact their quality and performance. In this article, we will explore the key factors that can make or break your mascara’s quality. By understanding these influences, you can make informed choices when selecting and using mascara to achieve the desired lash effect. Formula Composition:The quality of a mascara largely depends on its formula composition. Factors such as the type of waxes, pigments, and additives used can greatly affect the mascara’s performance. Look for mascaras that contain high-quality ingredients, as they tend to provide better coverage, enhance lash volume, and minimize clumping or flaking. Brush Design:The design and quality of the mascara wand or brush play a crucial role in the application and overall outcome. Different brush shapes and bristle configurations can achieve varying effects, from lengthening to volumizing. Look for brushes that are well-designed, with bristles that are evenly spaced and of appropriate length. This ensures that the mascara coats each lash evenly and separates them for a natural and defined look. Lash Type:The natural characteristics of your lashes can significantly impact how a mascara performs on them. Factors such as length, thickness, and curl pattern vary from person to person. Consider your lash type when selecting a mascara. For example, if you have naturally long lashes, a lengthening mascara may be more suitable. If your lashes are sparse, a volumizing formula can help create the illusion of fuller lashes. Desired Effect:The desired effect you want to achieve with your mascara will determine the type of formula and brush you should choose. Different mascaras cater to specific needs, such as lengthening, volumizing, curling, or waterproof properties. Define your desired lash look and select a mascara that aligns with those goals to ensure optimal results. Application Technique:How you apply mascara can greatly impact its quality and performance. Applying too many coats or layering mascara on dry lashes can lead to clumping, flaking, and an unnatural appearance. It’s important to apply mascara in thin, even coats, starting from the base of the lashes and wiggling the wand upward. Use a lash comb or a clean spoolie brush to separate any clumps and achieve a more polished look. Product Freshness:Mascara has a limited shelf life, and using expired…

Understanding Facial Warts: Causes, Symptoms, Treatment, And Prevention
Understanding Facial Warts: Causes, Symptoms, Treatment, and Prevention

Facial warts are a common skin condition that affects many people around the world. They are small, raised, rough, and often flesh-colored or brownish growths that appear on the face, neck, or other areas of the body. While they are usually harmless, they can be unsightly and can cause embarrassment, especially if they appear on prominent areas of the face. In this article, we will discuss everything you need to know about facial warts, including their causes, symptoms, treatment, and prevention. Causes of Facial Warts: Facial warts are caused by a type of virus called human papillomavirus (HPV). There are more than 100 different strains of HPV, and some of them can cause warts to develop on the skin. HPV is highly contagious and can be spread through direct skin-to-skin contact or by touching surfaces that have come into contact with the virus. People with weakened immune systems are more susceptible to developing warts, including facial warts. Symptoms of Facial Warts: Facial warts are usually small, raised, and rough to the touch. They may appear as a single wart or in clusters, and can range in size from a pinhead to a pea. Facial warts can appear on any part of the face, including the forehead, cheeks, nose, chin, and around the eyes. They may be flesh-colored or brownish in color, and can have a rough or smooth surface. Facial warts may also cause other symptoms, such as itching, bleeding, or pain. If a facial wart becomes irritated, it may bleed or become infected, which can lead to further complications. Treatment of Facial Warts: Facial warts can be treated using a variety of methods, depending on their size, location, and severity. Some of the most common treatments for facial warts include: Topical medications: Over-the-counter creams and ointments containing salicylic acid or other chemicals can be applied directly to the wart to help dissolve it. These medications may take several weeks or months to work, and may cause mild irritation or redness. Cryotherapy: This involves freezing the wart with liquid nitrogen. This causes the wart to blister and eventually fall off. Cryotherapy is usually performed by a dermatologist and may require several treatments. Laser treatment: This involves using a laser to destroy the wart tissue. Laser treatment is usually reserved for larger or more stubborn warts, and may require local anesthesia. Surgery: In rare cases, surgery may be necessary to remove a facial wart. This is usually only recommended for large or painful warts that do not respond to other treatments. Prevention of Facial Warts: Preventing facial warts involves taking steps to reduce your risk of being exposed to the HPV virus. Some of the most effective ways to prevent facial warts include: Practice good hygiene: Wash your hands regularly, especially after touching surfaces that may be contaminated with the virus. Avoid touching your face: This can help reduce your risk of spreading the virus to your face. Avoid sharing personal items: Do not share towels, razors, or other personal items that may be contaminated with the virus. Wear shoes in public places:…

Concealer Or Foundation Understanding
Concealer or Foundation: Understanding the Difference and Choosing the Right Product for Your Skin

Navigating the vast world of makeup can be overwhelming, especially when it comes to foundational products like concealer and foundation. These essentials lay the groundwork for a flawless makeup look, but their distinct purposes and application techniques can cause confusion. This guide demystifies concealer and foundation, highlighting their differences, benefits, and how to choose the right products for your skin type and concerns. Understanding Foundation The Purpose of Foundation Foundation serves as a base for your makeup, designed to even out skin tone and provide a smooth canvas. It can range from sheer to full coverage, depending on the desired finish and the product’s formulation. Types of Foundation: Liquid, Powder, Cream Foundations come in various forms, including liquid, powder, and cream. Liquid foundations are versatile and suitable for most skin types, powder foundations work best for oily skin, and cream foundations offer dense coverage for dry or mature skin. Matching Foundation to Your Skin Tone Selecting the right foundation shade is crucial for a natural look. Test shades along your jawline in natural light and consider your skin’s undertone to find the perfect match. Decoding Concealer The Role of Concealer in Makeup Concealer is used to cover imperfections such as blemishes, dark circles, and redness. It’s usually thicker than foundation and provides targeted coverage. Different Types of Concealers and Their Uses Concealers vary in consistency and coverage. Liquid concealers are great for under-eye areas, while stick or cream concealers are better for covering blemishes or scars. Choosing the Right Shade and Formula For under-eye concealer, choose a shade slightly lighter than your skin tone to brighten the area. For blemishes, match the concealer to your foundation shade. Consider your skin type when selecting a formula to ensure compatibility. Foundation vs. Concealer: Key Differences Coverage Level Foundation provides a uniform base, while concealer offers high coverage for specific areas. Texture and Finish Foundations can have various finishes, from matte to dewy. Concealers typically have a thicker texture to provide concentrated coverage. Application Techniques for Flawless Skin Applying Foundation for Even Coverage Start with a small amount and blend outward from the center of your face using a brush, sponge, or fingers. Build coverage as needed. Concealer Application Tips for a Seamless Look Apply concealer after foundation to avoid using more product than necessary. Dab gently over imperfections and blend edges for a smooth transition. Combining Foundation and Concealer Step-by-Step Guide for Layering Apply foundation first to create an even base. Then, use concealer on targeted areas for additional coverage. Set with powder if desired. Tips for a Natural-Looking Finish Blend well and choose formulas and shades that complement your skin type and color. Avoid over-application to maintain a natural appearance. Choosing Products for Specific Skin Concerns Best Foundations and Concealers for Dry Skin Opt for hydrating formulas that contain moisturizing ingredients to prevent flakiness and cakey appearance. Recommendations for Oily and Acne-Prone Skin Look for non-comedogenic and oil-free products that provide a matte finish and control shine throughout the day. Sensitive Skin Solutions Choose hypoallergenic and fragrance-free products to minimize the risk of…

Flawless Fitness: Gym Makeup For A Workout
Flawless Fitness: Gym Makeup for a Workout

Going to the gym may be daunting for some people, particularly for those looking their best during workouts. Although makeup might not immediately spring to mind when considering gym work outs, many women find a bit of makeup can boost confidence and feel ready to tackle any exercise routines they face. In this article we’ll talk about The Stronghold look – ideal makeup style to achieve in this setting – plus tips and tricks that’ll help achieve and maintain it during each gym workout session. The Stronghold LookThis look embodies minimalism and longevity – designed to remain put no matter how much sweating takes place! The goal is for it to look natural yet have just enough glamor. Here are its core components. Begin with an oil-free and matte-finish primer designed specifically to keep makeup in place during physical activity, applying thin layers all over your face in areas where sweat tends to collect most often. Pay particular attention when applying these foundations if sweat becomes an issue for you. Foundation: When selecting foundation or tinted moisturizer that complements the tone of your skin, ensure it is lightweight enough. Any product too thick or cakey could clog pores during exercise and make you uncomfortable during physical activities such as sports. When applying foundation with brush or sponge application, blend well. Concealers: Concealer can help cover up blemishes or dark circles under your eyes; for optimal results use something lightweight and blendable. Furthermore, color correctors may help neutralize any redness or discolorations on your face and neutralize redness or discolorations on its own. Brows: Use either clear gel or tinted tinted gel to shape and add definition to your eyebrows, giving them shape that frames your face for an impeccable appearance. Doing this will add dimension and help give a polished feel. Mascara: When selecting waterproof mascara, choose one or two coats that won’t smudge or flake off during exercise. Concentrate application efforts at outer corners so your eyes appear wider open. Lip Balm or Gloss: For an added splash of color during workout sessions, complete your look by applying tinted lip balm or gloss to add some moisture back into your lips while giving them some needed nourishment. This can keep them hydrated throughout your fitness regime! Now that you understand how to achieve the Stronghold look, here are a few tricks and tips to maintain it throughout your workout: Apply a sweat-proof setting spray: For added peace of mind and to secure the integrity of your makeup application, invest in a spray designed specifically to resist sweat and humidity. Carry oil-blotting sheets: If your workout routine leaves you oily, take oil blotting sheets along. They can help absorb excess oils while simultaneously maintaining fresh-looking makeup. Avoid Touching Your Facial Structure: As much as possible during your workout, avoid touching your facial structure too often as this could cause your makeup to smudge and spread, while potentially spreading bacteria onto the surface of the skin. Bring along a towel: Always have a small towel handy so you can wipe sweat from your…

4 Ways To Tell If Someone Has Blocked You On Instagram 1
4 ways to tell if someone has blocked you on Instagram

If you recently noticed that you can no longer see a certain person’s posts in your Instagram feed, it’s possible they simply haven’t posted anything in a while — or they may have blocked you. Instagram doesn’t notify you when you have been blocked, nor is there any comprehensive list of people that have blocked you that you can look at. Even so, if you suspect you have been blocked on Instagram, there are some steps you can take to find out if you’ve been blocked… GO TO THE NEXT PAGE TO CONTINUE…

Mastering The Art Of Crimping: A Comprehensive Guide To Correct Usage
Mastering the Art of Crimping: A Comprehensive Guide to Correct Usage

Crimping is a fundamental technique used across various industries and DIY projects to create secure and reliable connections between wires, cables, or components. Whether you’re working with electronics, automotive repairs, or crafting jewelry, understanding how to use a crimper correctly is essential to ensure the integrity and longevity of your connections. This comprehensive guide will walk you through the step-by-step process of using a crimper effectively, along with essential tips and best practices. Understanding Crimping Crimping is the process of mechanically compressing a connector or terminal onto a wire to establish a secure electrical connection or physical attachment. This technique ensures a strong bond that resists vibrations, corrosion, and other environmental factors. Crimping is commonly used in applications such as electrical wiring, network cables, automotive wiring harnesses, and more. Using the right tools and techniques is crucial to achieving consistent and reliable results. Selecting the Right Crimper Before you begin, it’s vital to choose the right crimper for your specific application. There are various types of crimpers available, each designed for different connectors and wire sizes. Common types of crimpers include: Wire Crimpers: Used for electrical connections and available in various sizes to accommodate different wire gauges. Coaxial Cable Crimpers: Designed for attaching connectors to coaxial cables, commonly used in telecommunications and audio/video installations. Terminal Crimpers: Used to secure terminals onto wires, often found in automotive and industrial applications. Modular Crimpers: Specifically designed for Ethernet cables and connectors, ensuring accurate terminations in networking projects. Step-by-Step Guide to Proper Crimping Follow these steps to ensure you’re using a crimper correctly: Prepare the Wire: Strip the insulation off the wire end to expose the bare conductor. The length of exposed wire should match the length of the connector’s barrel or terminal. Prepare the Connector: Insert the stripped wire end into the appropriate terminal or connector. Make sure the wire fits snugly, without any excess sticking out. Position the Crimper: Place the connector and wire into the appropriate slot or cavity of the crimper. Ensure that the connector is properly aligned with the crimping jaws. Apply Pressure: Squeeze the crimper’s handles firmly and evenly. The tool’s jaws will compress the connector, creating a strong and secure connection. Avoid using excessive force, as it could deform or damage the connector. Inspect the Crimp: After crimping, inspect the connection visually. The crimped terminal should tightly grip the wire without any gaps. Ensure that the wire is properly crimped and that the insulation is not damaged. Tips for Successful Crimping Use High-Quality Connectors: Invest in reliable connectors and terminals from reputable manufacturers. Quality components are essential for achieving long-lasting and reliable connections. Choose the Right Wire Size: Match the wire gauge with the appropriate terminal size. Using undersized or oversized connectors can result in poor connections and potential safety hazards. Practice Proper Technique: Maintain steady pressure while crimping, and avoid jerky or uneven movements. Consistent pressure ensures a uniform and secure connection. Perform a Pull Test: After crimping, perform a gentle tug on the wire to ensure it’s securely attached to the connector. If the wire easily detaches,…