12 More Makeup Mistakes That Might Be Making You Look Older

Makeup is a powerful tool that, when used correctly, can enhance natural beauty, conceal imperfections, and even take years off your appearance. However, certain makeup practices can have the opposite effect, adding years to your face instead of subtracting them. This article dives deep into 12 more makeup mistakes that might be making you look older and provides expert advice on how to avoid them for a fresher, more youthful look.
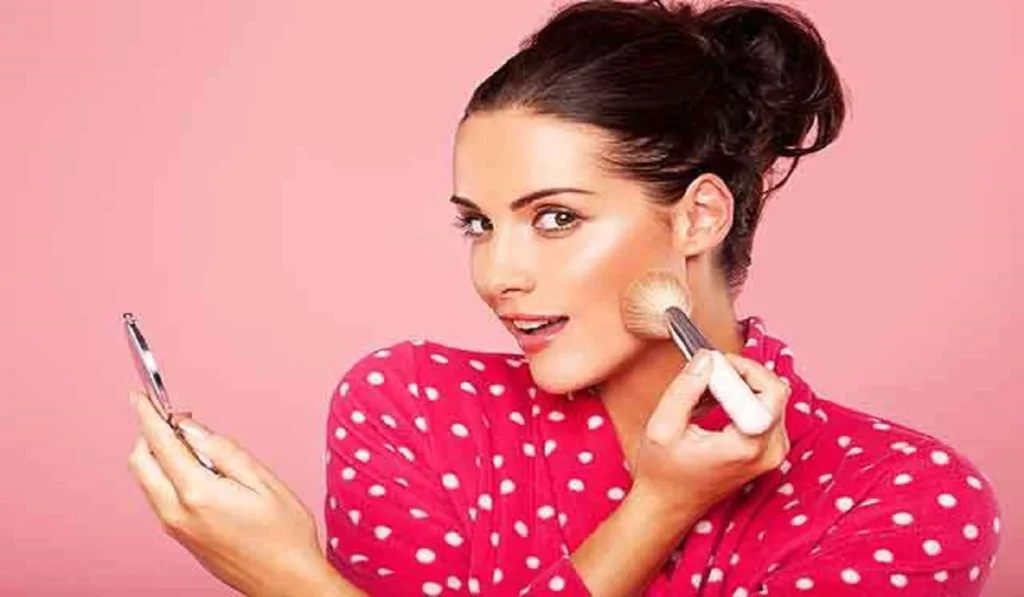
12 More Makeup Mistakes That Might Be Makingyou Look Older


Understanding Makeup and Aging

The relationship between makeup and perceived age is intricate. While makeup has the potential to highlight our best features, certain application techniques and product choices can inadvertently age us. Factors such as texture, color, and formula play significant roles in how makeup interacts with mature skin. It’s crucial to adapt our makeup strategies as we age to complement our changing skin, rather than emphasize the signs of aging.

Mistake #1: Skipping Primer

The Role of Primer in Makeup Longevity

Primer is essential for creating a smooth base, filling in fine lines and enlarged pores, which become more prominent as skin ages. A silicone-based primer, for example, can blur imperfections and provide a seamless surface for the rest of your makeup, ensuring it lasts longer without settling into wrinkles.

Recommendations for Mature Skin

Look for hydrating primers that contain ingredients like hyaluronic acid to add moisture to the skin, which helps in achieving a plump, youthful appearance. Avoid mattifying primers, as they can dry out the skin and make fine lines more visible.

Mistake #2: Overusing Powder

Powder’s Aging Effect

Excessive use of powder, especially heavy or mattifying formulas, can settle into fine lines and emphasize wrinkles, making the skin look older. Powder absorbs moisture, and on mature skin, it can lead to a cakey appearance.

Alternative Setting Options

Opt for translucent setting powders applied sparingly with a fluffy brush to areas that tend to get oily, like the T-zone. Consider switching to liquid or cream-based products that provide a dewy finish, as they help maintain skin’s natural glow.

Mistake #3: Neglecting Eyebrow Care

Importance of Full Eyebrows

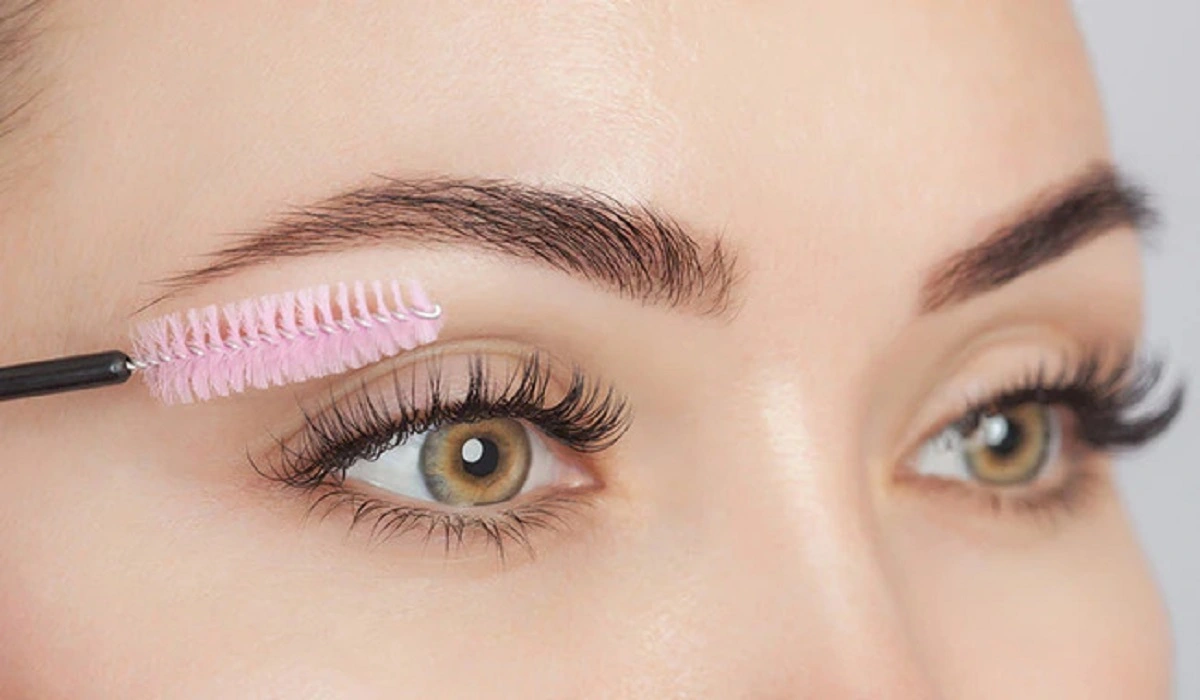
Eyebrows frame the face, and fuller brows are associated with youth. With age, brows can become sparse. Filling in your eyebrows subtly can lift the face and make you look younger.

Eyebrow Filling Techniques

Use a brow pencil or powder that matches your eyebrow color to fill in sparse areas with light, feathery strokes. Avoid harsh lines or overfilling, as this can look unnatural. Consider a tinted brow gel for a more natural look that also sets hairs in place.

Mistake #4: Heavy Foundation Use

Choosing the Right Foundation

A heavy, matte foundation can settle into fine lines and wrinkles, highlighting them. Instead, opt for lightweight, hydrating formulas that provide coverage without the weight. Tinted moisturizers or BB creams are excellent alternatives for mature skin.

Application Tips for a Natural Look

Apply foundation with a damp beauty sponge to sheer out the coverage and create a more natural, skin-like finish. Focus on areas that need coverage rather than applying a thick layer over the entire face.

Mistake #5: Incorrect Concealer Application

Selecting the Right Concealer

For mature skin, it’s crucial to select a concealer that is hydrating and has a luminous finish to avoid highlighting under-eye wrinkles. The concealer should be one shade lighter than your skin tone to brighten the under-eye area without drawing attention to fine lines.

Techniques to Avoid Creasing

Apply concealer in thin layers and use a damp sponge to blend gently. Set the concealer with a light dusting of translucent powder to prevent it from settling into lines throughout the day.

Mistake #6: Ignoring Blush

Blush for a Youthful Glow

Blush can add a healthy, youthful flush to the cheeks, making you look more vibrant and awake. Skipping blush can make your complexion look flat and dull.

Best Blush Practices

Choose cream blushes for a natural, dewy finish that blends seamlessly into the skin. Apply blush to the apples of the cheeks and blend upwards towards the temples for a lifting effect.

Mistake #7: Avoiding Bronzer

The Role of Bronzer in Contouring

Bronzer can add warmth and dimension to the face, preventing a washed-out look. However, too much bronzer or applying it in the wrong places can age you.

How to Apply Bronzer Correctly

Use a light hand and a fluffy brush to apply bronzer where the sun naturally hits your face: the forehead, cheeks, and the bridge of your nose. Choose a bronzer only one or two shades darker than your skin tone for the most natural look.
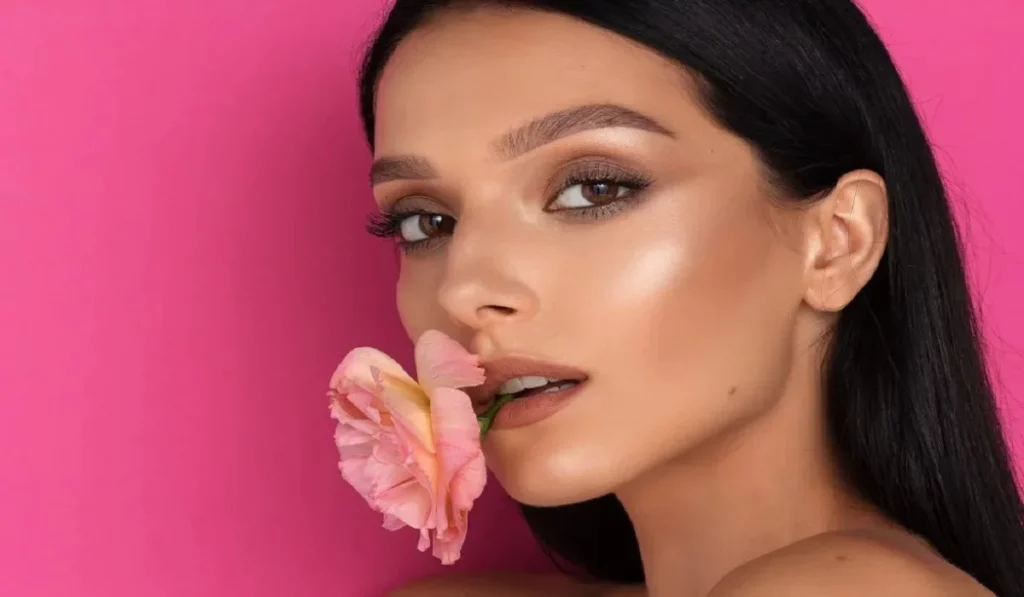
12 More Makeup Mistakes That Might Be Making You Look Older


Mistake #8: Overdoing Eye Makeup

Enhancing Eyes Without Aging

Heavy eye makeup can make the eyes appear smaller and emphasize fine lines. Instead, focus on enhancing your eyes with lighter, neutral shades and use mascara to open up the eyes.


Eye Makeup for Mature Skin

Avoid using shimmer on the eyelid’s crease, as it can highlight wrinkles. Matte or satin finishes work best for mature skin. Use a light hand with eyeliner, opting for softer shades like brown or gray instead of harsh black.

Mistake #9: Neglecting Lip Care

Preventing Lipstick Feathering

Lipstick feathering can draw attention to fine lines around the mouth. To prevent this, use a lip liner to define the lips and prevent color from bleeding. Choose hydrating lipstick formulas to keep lips looking plump and minimize the appearance of lines.

Choosing Lip Colors Wisely

Dark and matte lipsticks can make lips appear thinner and older. Opt for brighter or more neutral shades with a satin or glossy finish to enhance fullness and youthfulness.

Mistake #10: Sticking to Matte Lipsticks

The Aging Effect of Matte Lipsticks

Matte lipsticks, while long-lasting, can dry out the lips and accentuate fine lines. Their flat finish can also make the lips look thinner and older.

Alternatives for Hydration

Look for lipsticks with hydrating ingredients or consider layering a gloss over your lipstick for added moisture and a fuller appearance.

Mistake #11: Using the Wrong Eyeliner

Softening the Look with Eyeliner

A harsh, solid line of eyeliner, especially on the lower lash line, can make the eyes look smaller and more tired. Soft, smudged eyeliner creates a more flattering, youthful effect.

Eyeliner Techniques for Older Women

Use a pencil or gel liner for easier blending, and consider using colors like dark brown or navy for a softer look. Apply eyeliner more thinly and only

on the upper lash line to lift the eyes.

Mistake #12: Not Updating Your Makeup Routine

The Importance of Evolving Your Makeup Style

Makeup trends and techniques evolve, and so does our skin as we age. Clinging to the same makeup routine from decades ago can make you look dated.

Tips for Keeping Up with Trends

Stay informed about current makeup trends and techniques that suit mature skin. Don’t be afraid to experiment and update your products and application methods to find what works best for you now.


Embrace Your Beauty at Every Age
Remember, makeup is a tool to enhance your natural beauty, not mask it. Embrace your age, experiment with new techniques, and see how a few small changes can make a big difference in how you look and feel.

Adapting your makeup routine as you age is key to enhancing your natural beauty and ensuring you look as young as you feel. By avoiding these 12 makeup mistakes and following our expert tips, you can achieve a flawless, age-defying makeup look that celebrates your unique beauty at every stage of life.

Updating your makeup routine to avoid these common mistakes can dramatically change how your skin looks and feels, helping you achieve a more youthful appearance. Remember, makeup should enhance your natural beauty, not detract from it. By following these tips, you can ensure your makeup works in your favor, highlighting your best features and concealing signs of aging gracefully.

  1. Can primer really make a difference in how my makeup looks on mature skin?
    Yes, primer can significantly improve the appearance of makeup on mature skin by creating a smoother base, reducing the look of pores and fine lines, and helping makeup last longer.
  2. What are some alternative setting products to powder for a more youthful appearance?
    Setting sprays or mists can provide longevity to your makeup without the drying effect of powder. Look for products that offer a dewy finish to enhance your skin’s natural glow.
  3. How can I fill in my eyebrows without making them look too harsh?
    Opt for a brow product that matches your hair color and use light, feathery strokes to mimic natural hairs. Consider using a tinted brow gel for a softer, more natural look.
  4. What foundation formula is best for aging skin?
    Liquid foundations with a luminous or satin finish are ideal for aging skin as they provide hydration and a natural glow, avoiding the cakey look that powders or matte foundations can create.
  5. How do I choose the right blush color for a natural-looking youthful glow?
    Select a blush color that mimics your natural flush, typically shades of pink or peach. Cream blushes blend seamlessly into the skin for a more natural, youthful appearance.

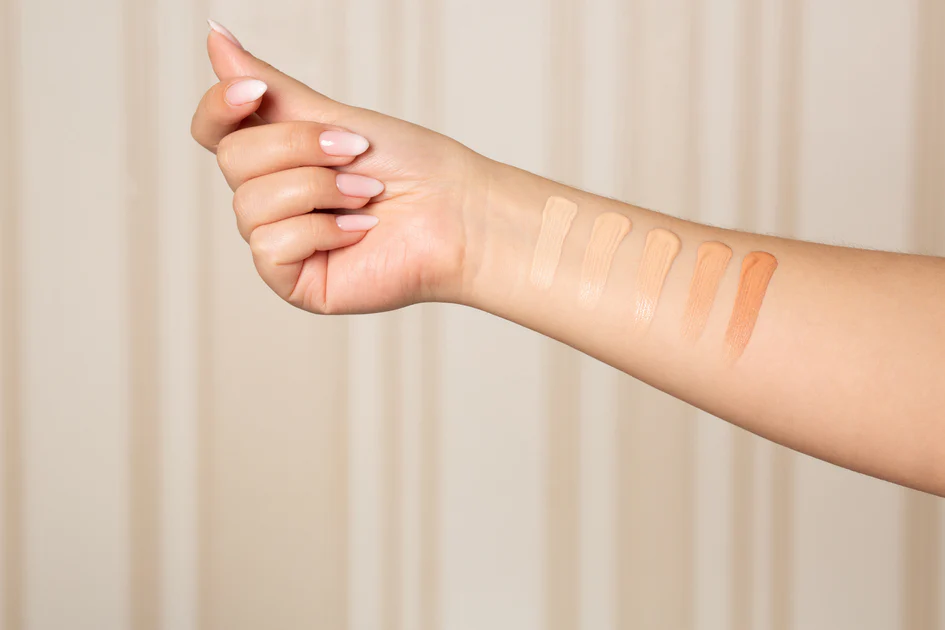
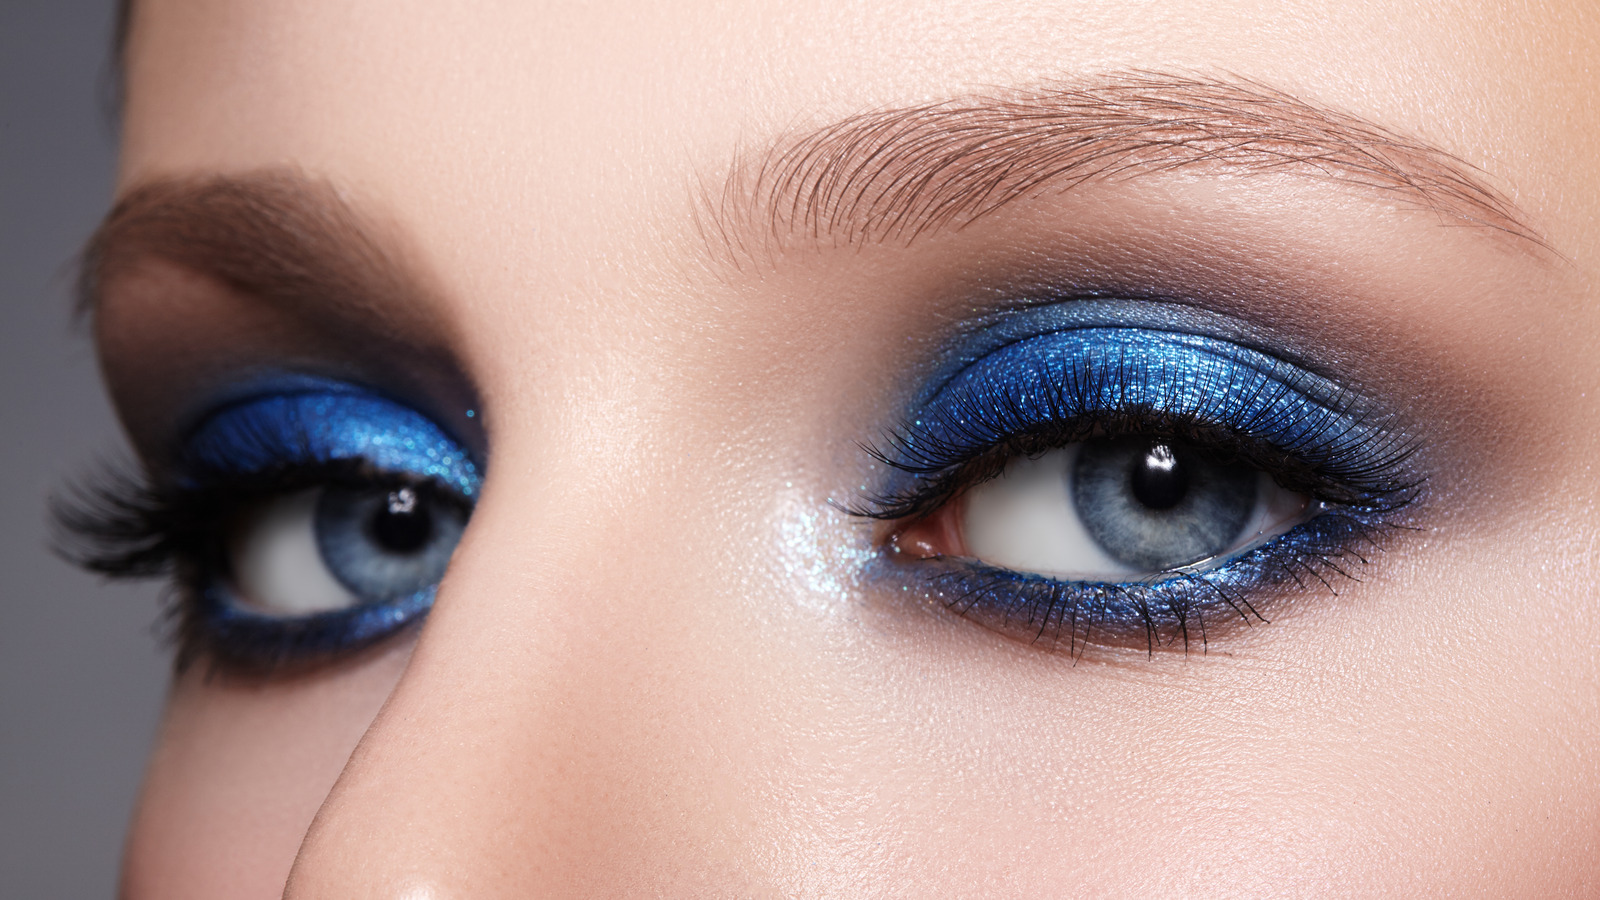
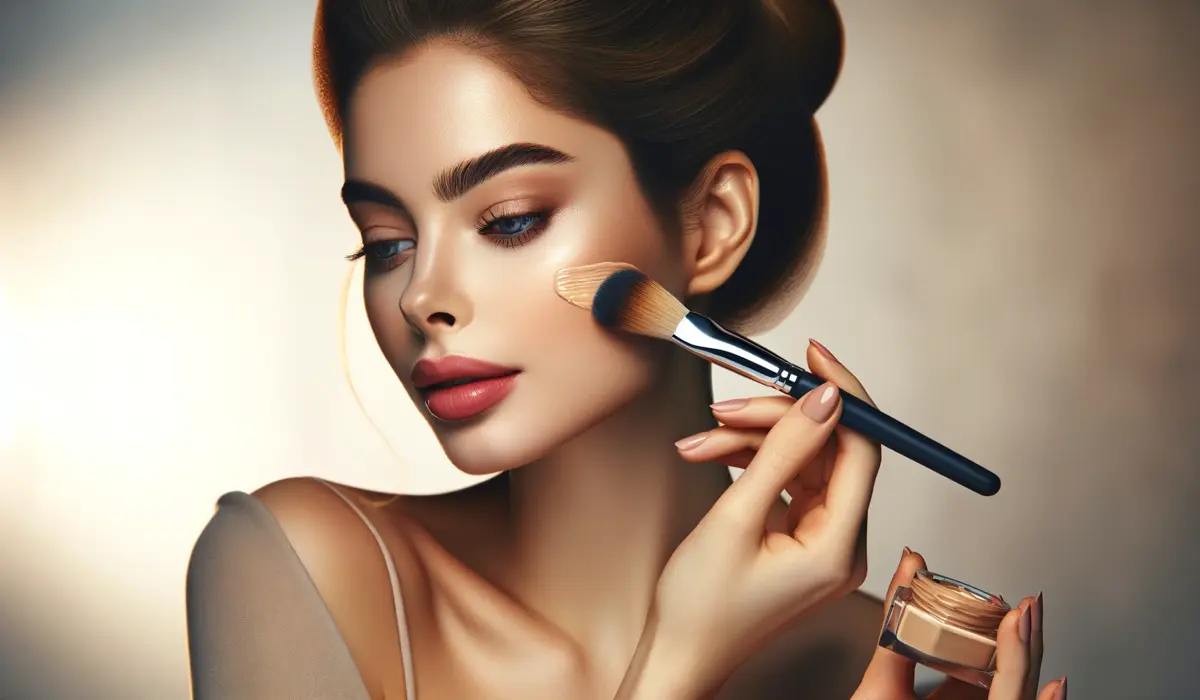
Find The Perfect Blush To Match Your Skintone
Find the Perfect Blush to Match Your Skin Tone

Discovering the ideal blush that harmonizes with your skin tone can revolutionize your makeup routine, bestowing upon you a coveted, naturally blushed appearance that exudes vibrancy and health. Amid an array of beauty enhancements from primers to foundations aimed at perfecting our skin’s appearance, the remarkable transformation a well-chosen blush can achieve often goes unnoticed. A mere touch of color can infuse life into your complexion. The essence, however, lies in pinpointing the exact shade tailored for you. Embark on this detailed journey to uncover the secrets to selecting the ideal blush for your skin tone, coupled with expert tips on mastering its application to attain that irresistible, glowing allure. Embark on the Quest for Your Skin-Matched Blush Delving into Blush Formulas Blushes transcend a universal formula; they are presented in a myriad of textures, each providing a distinct finish and application ease, catering to varied preferences and skin necessities. Selecting Your Ideal Shade Unlocking the perfect blush starts with an analysis of your skin’s undertones, aiming for shades that enhance rather than clash with your innate color. Mastering the Blush Application Art Beyond formula or shade, application dictates the success of your blush endeavor. Adhere to these insights for flawless integration: By embracing your skin tone and refining blush application skills, you unlock the doorway to a radiant, glowing complexion. Whether seeking a subtle color whisper or a bold cheek statement, the right blush emerges as your complexion’s ally, introducing dimension and warmth to any ensemble. These insights are crafted to elevate your makeup artistry, ensuring your blush not only impeccably matches your skin tone but also sustains its allure and vibrancy throughout the day. 1. How do I determine the most flattering blush shade for my fair skin?For those with fair skin, the aim is to mimic the natural, subtle flush that occurs. Shades like soft baby pink, delicate light coral, or peach are ideal, as they complement the skin without overpowering it. It’s advisable to avoid intensely bright or dark shades, as they can create a harsh contrast, disrupting the natural harmony of your complexion. 2. Can individuals with medium to light skin tones experiment with bold blush colors?Absolutely! If you have a medium to light skin complexion, you have the liberty to explore a spectrum of blush shades. Rich mauves and deep peaches are particularly flattering, enhancing the skin’s natural warmth. The key to mastering bold colors is to start with a minimal application, gradually building up to the desired intensity, thus ensuring a sophisticated, vibrant look without overwhelming the skin. 3. What blush shades are best suited for individuals with dark skin tones?Dark skin tones offer a fantastic canvas for a range of blush colors, from the strikingly bold deep fuchsia, creating a vibrant pink flush, to the more understated warm browns for a natural look, and even vivid tangerine for a standout pop of color. These rich hues complement dark skin beautifully, adding a luminous, healthy glow. 4. How can I apply cream blush to achieve a natural-looking finish?For a natural, dewy effect with cream blush,…

Tips To Prevent Eyes From Watering When Applying Makeup
Tips to Prevent Eyes from Watering When Applying Makeup

Applying makeup should be an enjoyable ritual, not a tearful struggle. Yet, many individuals experience watery eyes during makeup application, turning a beauty routine into a daunting task. Understanding eye sensitivity and the common irritants in makeup is crucial for a comfortable experience. This section delves into why our eyes react to certain products and how to mitigate this response. The Science Behind Watery Eyes Why do our eyes water when we apply makeup? The reasons can range from direct irritation to the subtle effects of certain ingredients. Exploring the causes of watery eyes and how makeup interacts with our eye area will illuminate ways to prevent this involuntary reaction. Choosing the Right Makeup Products Not all makeup is created equal, especially for those with sensitive eyes. This section guides you through selecting hypoallergenic and non-irritating makeup options. Learn about the ingredients to avoid and how to read labels to protect your eyes. Pre-Application Tips Preparing your skin and eye area before makeup application is just as important as the makeup you use. Discover cleansing and hydrating practices that can shield your eyes from irritation and enhance the durability of your makeup. Application Techniques to Minimize Irritation The way you apply makeup can significantly impact how your eyes react. This part offers insights into gentle application methods and the tools that can help reduce the risk of irritating your eyes. Eye Makeup Tips Specific tips for applying mascara, eyeliner, and eyeshadow can make a world of difference for sensitive eyes. Find out the best practices that promote a tear-free makeup application. Managing Contact Lenses and Makeup For contact lens wearers, applying makeup poses additional challenges. Learn the dos and don’ts to keep your eyes comfortable and your vision clear. Natural Remedies to Soothe Sensitive Eyes Sometimes, despite our best efforts, our eyes still feel irritated. This section explores home remedies and soothing eye drops that can calm sensitive eyes. Waterproof vs. Regular Makeup: Pros and Cons Choosing between waterproof and regular makeup involves weighing their benefits and potential irritants. Understand when to opt for waterproof products and what to consider before making your choice. Dealing with External Factors External factors like the environment and seasonal changes can exacerbate eye sensitivity. Learn how to adjust your makeup routine to these influences to keep your eyes protected. Makeup Removal: Best Practices Removing makeup gently and effectively is key to preventing irritation. This section covers the techniques and products recommended for sensitive eyes. Professional Advice from Makeup Artists Glean wisdom from makeup artists who share their expert tips, dos, and don’ts for individuals with sensitive eyes. Preventive Measures for Long-Term Eye Health Maintaining eye health goes beyond makeup. Explore how regular eye check-ups and dietary recommendations can support long-term eye health. Summarizing key points and final thoughts, this section reinforces the importance of understanding and implementing strategies to prevent watery eyes, ensuring a more enjoyable makeup experience. Embracing these tips can transform your makeup routine into a tear-free, enjoyable experience. Remember, the key to preventing watery eyes lies in understanding your sensitivities, choosing the right…

Quenching Radiance The Profound Benefits Of Water Consumption For Skin Health
Quenching Radiance: The Profound Benefits of Water Consumption for Skin Health

Water, the elixir of life, plays a vital role in our overall well-being. While its importance for bodily functions is well-known, its impact on skin health often takes a backseat. Our skin, the largest organ, requires adequate hydration to function optimally and radiate a healthy glow. In this comprehensive guide, we will dive into the world of water consumption and its profound benefits for skin health. From maintaining hydration to supporting a youthful complexion, the advantages of drinking water extend far beyond quenching our thirst. The Role of Water in Skin Health Water is essential for skin health due to several key functions it performs within the body: Benefits of Water Consumption for Skin How Much Water Should You Drink for Skin Health? While the “8×8” rule (eight 8-ounce glasses of water per day) is a commonly cited guideline, individual water needs can vary based on factors like age, activity level, climate, and overall health. A more personalized approach is to listen to your body’s signals. Thirst is an excellent indicator that your body needs water. Additionally, your urine color can offer insights into your hydration level—a light, pale yellow color indicates proper hydration. Tips for Increasing Water Consumption Expert Insights on Water and Skin Health Considerations and Additional Practices for Skin Health Water consumption isn’t just a mundane necessity; it’s a powerful tool for achieving and maintaining vibrant, healthy skin. The benefits of proper hydration extend beyond quenching your thirst, manifesting in a radiant complexion, youthful appearance, and overall skin health. By making conscious efforts to prioritize hydration through mindful consumption and complementary skincare practices, you’re laying the foundation for skin that not only looks beautiful but also functions optimally. Embrace the gift of water, and let its transformative effects illuminate your natural radiance from the inside out.

Unveiling The Luminous Secrets A Guide To Highlighter Mastery
Unveiling the Luminous Secrets: A Guide to Highlighter Mastery

In the cosmetic realm, highlighters stand as pivotal enhancers, casting a luminescent aura that subtly alters one’s appearance through precise application. These indispensable tools not only spotlight your most flattering traits but also simulate a sculpted, vigorous allure. Our discourse delves into the enchanting world of highlighters, offering insights and methodologies to imbue your visage with a glow that is both mesmerizing and inherently natural. Deciphering the Charm of Highlighters At its essence, highlighting is an art form that accentuates facial regions kissed by natural light, fostering an impression of radiance and elevation. The adept selection of a highlighter can bestow upon your complexion a semblance of dewiness and vitality, rendering it a crucial element in your beautification arsenal. Whether your aim is a whisper of shimmer or a bold radiance, grasping the foundational principles of highlighter application can catapult your cosmetic prowess to unprecedented levels. Diverse Highlighter Varieties The spectrum of highlighters is broad, encompassing various textures each suited to specific outcomes and levels of shine. Powder Highlighters: Ideal for those with oily complexions, they afford a subtle glow that can be intensified as desired. Cream Highlighters: Meld with the skin for a dewy, ethereal finish, perfect for dry or aging skin types. Liquid Highlighters: The epitome of versatility, these can be blended with foundation for a comprehensive luminous effect, catering to all skin varieties. Harmonizing Highlighter with Skin Hue The selection of a highlighter that synergizes with your skin tone is paramount for a glow that seems to emanate from within. Pale complexions are complemented by highlighters in pearl or champagne shades. For medium skin tones, peach or gold highlighters impart warmth and vibrance. Deep skin tones are beautifully enhanced with touches of rose gold or bronze. Masterful Application for Radiant Results The secret to an impeccable glow lies in the technique of application. Employ a fan brush to lightly dust powder highlighters, while fingers or a sponge are perfect for the application of cream and liquid forms. Concentrate on the facial high points – the cheekbones, brow arches, nasal bridge, and cupid’s bow. Highlighting Tailored to Facial Geometry Adapting your highlighting strategy to your face shape can significantly amplify your features. Oval Faces: Emphasize the cheek and brow bones to highlight natural contours. Round Faces: Illuminate the top of the cheekbones and temples to impart definition. Square Faces: Soften angularity by highlighting above the cheekbones, drawing attention towards the eyes. Heart-shaped Faces: Draw light to the lower cheekbones and forehead center to harmonize facial proportions. Expanding Highlighting to Embellish Further Highlighters transcend facial boundaries, offering enhancements to the eyes, lips, and body. Eyes: Brighten by applying highlighter to the inner corners and beneath the brow arch. Cheeks: Elevate cheekbones with a strategic shimmer. Lips: A touch on the cupid’s bow creates the illusion of fullness. Adapting Highlighter for Day and Night Tailor your highlighter application to the occasion – a subdued glow for daywear and intensified luminance for evening elegance. Innovative Highlighter Tricks for a Bewitching Aura Incorporate liquid highlighter into your foundation for a radiant complexion, or repurpose…

The Allure Of Vanilla Latte Manicures: A Luxurious Trend In Nail Art
The Allure of Vanilla Latte Manicures: A Luxurious Trend in Nail Art

In the ever-evolving world of nail art, new trends constantly emerge, captivating beauty enthusiasts and professionals alike. One such trend that has been gaining popularity is the Vanilla Latte Manicure. Combining sophistication and indulgence, this luxurious nail art style is inspired by the rich tones and creamy swirls of a comforting vanilla latte. From its mesmerizing color palette to its versatility in design, the Vanilla Latte Manicure offers a delightful blend of elegance and creativity. In this article, we delve into the essence of this trend, exploring its origins, techniques, and the endless possibilities it presents for nail art enthusiasts. Origin and InspirationThe Vanilla Latte Manicure takes its inspiration from the beloved beverage that has become a symbol of warmth, comfort, and indulgence. The rich caramel hues, creamy off-white tones, and swirling patterns found in a classic vanilla latte are translated into exquisite nail art designs. The trend gained traction within the nail art community as artists sought to infuse a sense of sophistication into their creations while incorporating everyday luxuries. Techniques and DesignThe key to achieving a stunning Vanilla Latte Manicure lies in the skillful application of various techniques and attention to detail. Nail technicians carefully select a range of complementary colors, including soft beige, warm caramel, creamy ivory, and hints of chocolate, to emulate the hues found in a vanilla latte. These shades are applied in strategic layers, creating an ombre effect or marbling patterns that mimic the swirls in a freshly brewed latte. For those seeking a more intricate design, artists may incorporate delicate coffee bean motifs, latte art-inspired patterns, or even tiny pearls and crystals to enhance the luxurious appeal. Additionally, nail stamping techniques and hand-painted accents can further elevate the Vanilla Latte Manicure, allowing for personalized and unique designs that reflect individual tastes and preferences. Versatility and CustomizationOne of the most enticing aspects of the Vanilla Latte Manicure is its versatility. Whether you prefer a subtle and understated look or a bold and eye-catching statement, this trend offers something for everyone. The color palette can be adjusted to suit different skin tones and preferences, allowing individuals to create a customized Vanilla Latte Manicure that perfectly complements their personal style. Furthermore, the design possibilities are virtually limitless. From classic French tips with a vanilla latte twist to intricate nail art featuring latte-inspired motifs, the Vanilla Latte Manicure can be adapted to suit any occasion or mood. Whether you’re attending a formal event, enjoying a casual outing, or simply expressing your creativity, this trend provides a canvas for endless nail art possibilities. Maintenance and CareTo ensure the longevity of a Vanilla Latte Manicure, proper care and maintenance are essential. Applying a high-quality base coat helps protect the natural nail and prevent staining. Regular touch-ups and clear topcoat applications can prolong the manicure’s lifespan, minimizing chipping and maintaining its lustrous finish. Additionally, it’s important to moisturize the cuticles and nails to keep them healthy and hydrated. The Vanilla Latte Manicure is a captivating trend that combines elegance, creativity, and the comforting appeal of a warm beverage. Its rich color palette…

Perfectly Defined: A Guide To Choosing The Right Shade Of Eyebrow Pencil
Perfectly Defined: A Guide to Choosing the Right Shade of Eyebrow Pencil

Eyebrows play a significant role in framing the face and enhancing our overall appearance. Whether you prefer a natural or bold look, using an eyebrow pencil can help you achieve perfectly defined brows. However, selecting the right shade of eyebrow pencil can be a daunting task, as it can make or break your entire makeup look. In this article, we will guide you through the process of choosing the ideal shade of eyebrow pencil that complements your hair color, skin tone, and personal preferences. From understanding undertones to considering intensity, we will equip you with the knowledge to achieve flawlessly sculpted brows. Analyze Your Hair Color:When choosing an eyebrow pencil, the first step is to analyze your natural hair color or the color you dye your hair. Match your eyebrow pencil shade to the closest color or undertone of your hair for a harmonious and balanced look. If you have light hair, opt for a shade that is one to two shades darker. For dark hair, choose a pencil that is one to two shades lighter. This will ensure your brows look natural and complement your overall hair color. Consider Your Skin Tone:Your skin tone plays a crucial role in determining the most flattering shade of eyebrow pencil. Different undertones, such as warm, cool, or neutral, should be considered to achieve a cohesive and polished look. For Warm Undertones: If you have warm undertones with hints of yellow, peach, or golden hues in your skin, opt for eyebrow pencils with warm tones. Look for shades that have a slight reddish or bronze undertone to complement your warm complexion. For Cool Undertones: If your skin has cool undertones with hints of pink or blue, choose an eyebrow pencil with cool tones. Look for shades that have a slightly ashy or taupe undertone to mimic the natural color of cool-toned hair. For Neutral Undertones: If you have a neutral undertone, you have the flexibility to choose a variety of shades. Experiment with both warm and cool tones to find the shade that enhances your brows and balances your overall look. Evaluate the Intensity:The intensity of the eyebrow pencil refers to its level of darkness or lightness. Consider the intensity that suits your desired eyebrow look and the occasion.Natural and Soft Look: If you prefer a natural and soft brow look, choose a pencil with a lighter intensity. Opt for a shade that is closer to your natural hair color or one shade darker for added definition. Bold and Defined Look: For a more dramatic and defined brow, select an eyebrow pencil with a higher intensity. Choose a shade that is one to two shades darker than your hair color for a striking effect. Test Before Committing:Before purchasing an eyebrow pencil, it is crucial to test the shade on your skin or hair. Many beauty stores provide testers or samples for you to swatch and evaluate. Test the pencil on the back of your hand or along your brow area to see how it blends with your natural hair color and complements your skin tone….

Blushing Beauty: A Comprehensive Guide To Choosing The Perfect Blush For Your Skin Tone
Blushing Beauty: A Comprehensive Guide to Choosing the Perfect Blush for Your Skin Tone

Blush is a makeup essential that adds a healthy flush of color to your cheeks, brightening up your complexion and enhancing your natural beauty. However, selecting the right blush shade to match your skin tone can be a daunting task. With numerous options available, it’s essential to understand your skin tone and undertone to pick the perfect blush that complements your features. In this in-depth guide, we will walk you through the process of identifying your skin tone and undertone and provide expert tips on choosing the ideal blush shade for a radiant and harmonious look. Determining Your Skin ToneBefore diving into blush selection, it’s crucial to determine your skin tone accurately. Skin tones generally fall into three categories: fair, medium, and deep. a. Fair Skin Tone: Fair skin usually burns easily in the sun and rarely tans. It often has a translucent quality, and veins on the wrist might appear blue or purple. b. Medium Skin Tone: Medium skin has a more balanced undertone and tans moderately in the sun. Veins on the wrist appear blue-green. c. Deep Skin Tone: Deep skin tans deeply and rarely burns. Veins on the wrist appear green. Understanding Your UndertoneApart from your skin tone, understanding your undertone is crucial for selecting the most flattering blush shade. Undertones can be warm, cool, or neutral. a. Warm Undertone: If your veins appear green and gold jewelry complements your skin better, you likely have a warm undertone. Warm undertones have hints of yellow, peach, or golden hues. b. Cool Undertone: If your veins appear blue or purple, and silver jewelry looks better on you, you likely have a cool undertone. Cool undertones have hints of pink, red, or blue. c. Neutral Undertone: If you find it challenging to distinguish whether your veins appear green or blue and both gold and silver jewelry suit you, you may have a neutral undertone. Neutral undertones have a balanced mix of warm and cool tones. Best Blush Shades for Different Skin Tones and UndertonesNow that you’ve identified your skin tone and undertone, let’s explore the best blush shades that complement each combination: a. Fair Skin Tones: Fair with Warm Undertone: Opt for soft peach, warm pink, or light coral blushes to add a natural flush to your cheeks. Fair with Cool Undertone: Choose rosy pink, cool mauve, or soft berry shades for a fresh and radiant look. Nötr Alt Tonla Adil: Şanslısın! Nötr bir alt ton olarak, yumuşak pembe, şeftali pembesi ve leylak rengi gibi çok çeşitli allık tonlarını deneyebilirsiniz. b. Medium Skin Tones: Medium with Warm Undertone: Embrace warm peach, apricot, and coral blushes for a sun-kissed glow. Medium with Cool Undertone: Opt for berry, plum, or deep rose blushes to add a pop of color to your cheeks. Nötr Alt Tonlu Orta: Nötr alt tonlu açık ten gibi, sıcak terakotadan soğuk güle kadar çeşitli allık tonlarını çekebilirsiniz. c. Deep Skin Tones: Derin ve Sıcak Alt Ton: Cildinizle çarpıcı bir kontrast oluşturmak için zengin, sıcak kiremit kırmızısı, mandalina veya derin mercan allıklarını tercih edin. Deep with Cool Undertone: Opt for bold…

Radiofrequency (rf) Skin Tightening: A Non Surgical Solution For Firmer, Smoother Skin
Radiofrequency (RF) Skin Tightening: A Non-Surgical Solution for Firmer, Smoother Skin

As we age, our skin loses elasticity and becomes looser, resulting in wrinkles and sagging. While there are surgical options such as facelifts, not everyone wants to undergo such invasive procedures. Radiofrequency (RF) skin tightening is a non-surgical alternative that can help tighten and firm the skin without the need for incisions or downtime. In this article, we will explore what radiofrequency skin tightening is, how it works, and its benefits and risks. What is Radiofrequency (RF) Skin Tightening?Radiofrequency skin tightening is a non-invasive treatment that uses energy waves to heat the skin’s deeper layers, stimulating collagen production and tightening the skin. The treatment involves the use of a handheld device that emits radiofrequency waves, which penetrate the skin and heat the underlying tissue. This causes the tissue to contract, which in turn stimulates collagen production. Collagen is a protein that gives our skin its elasticity and firmness, and as we age, our body produces less of it, leading to sagging and wrinkles. How does Radiofrequency (RF) Skin Tightening work?During a radiofrequency skin tightening treatment, a handheld device is used to apply the radiofrequency waves to the skin. The waves penetrate the skin’s deeper layers, heating the tissue and stimulating collagen production. The heat causes the collagen fibers to contract, resulting in tighter, firmer skin. The heat also triggers the body’s natural healing response, which increases blood flow and promotes cell turnover. This can lead to a reduction in the appearance of wrinkles, fine lines, and sagging skin. Benefits of Radiofrequency (RF) Skin Tightening: Non-Invasive: Radiofrequency skin tightening is a non-invasive treatment, which means that it does not require incisions or downtime. This makes it an attractive option for people who want to improve the appearance of their skin without undergoing surgery. Stimulates Collagen Production: Radiofrequency waves stimulate collagen production, which can help improve the skin’s elasticity and firmness. Collagen is a protein that gives our skin its structure, and as we age, our body produces less of it. Radiofrequency skin tightening can help reverse this process, leading to tighter, firmer skin. Improves Skin Texture: Radiofrequency skin tightening can improve the texture of the skin by promoting cell turnover. This can lead to a reduction in the appearance of wrinkles, fine lines, and other signs of aging. Quick and Easy: Radiofrequency skin tightening treatments are quick and easy, often taking less than an hour to complete. There is also no downtime required, which means that patients can return to their normal activities immediately after the treatment. Versatile: Radiofrequency skin tightening can be used on various areas of the body, including the face, neck, arms, abdomen, and thighs. This makes it a versatile treatment that can address multiple areas of concern. Risks of Radiofrequency (RF) Skin Tightening:While radiofrequency skin tightening is generally considered safe, there are some risks associated with the treatment. These include: Burns: The heat generated by the radiofrequency waves can cause burns if the skin is not properly protected. This risk can be minimized by ensuring that the skin is properly prepped and the device is used correctly. Redness and…