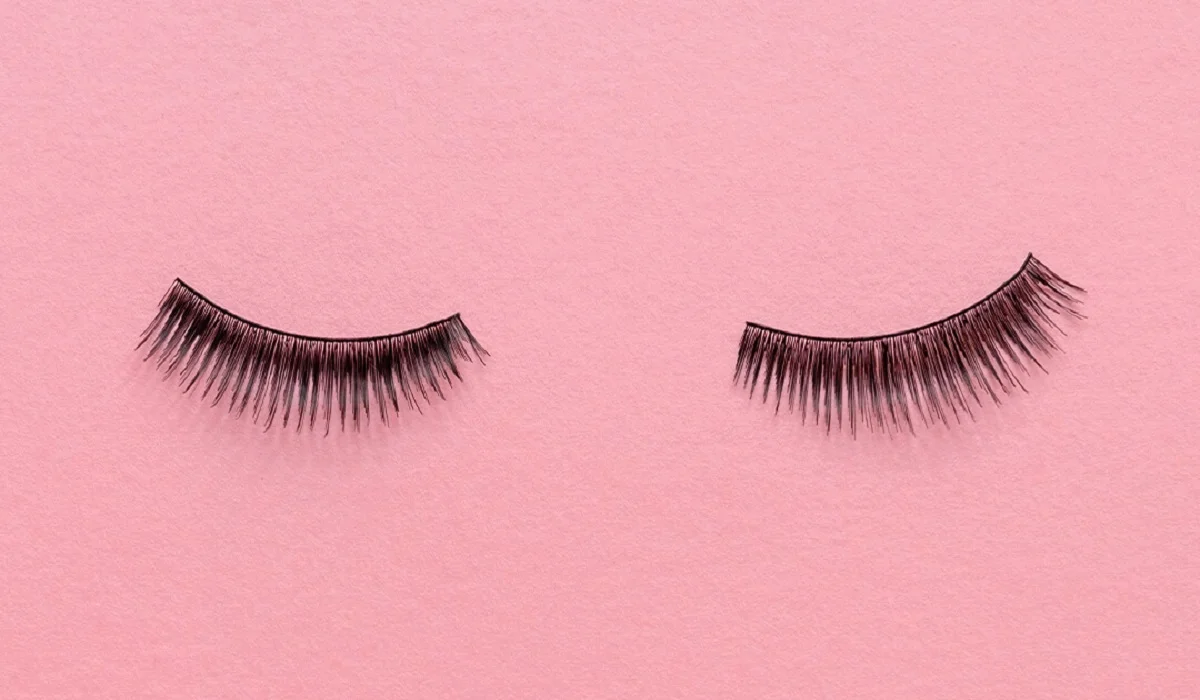
Mastering the Eyelash Curler

Transforming your lashes from straight to stunningly curled can be effortlessly achieved with the proper use of an eyelash curler, turning it into an indispensable tool in your beauty arsenal. However, mishandling it could result in discomfort, lash damage, or uneven curls. This detailed manual will guide you through mastering the eyelash curler, incorporating upkeep advice and solutions to frequent problems, enabling you to safely and effectively obtain those desirable, fluttering lashes.

Mastering The Eyelashcurler


Selecting the Ideal Eyelash Curler

Eyelash Curler Varieties

The market offers eyelash curlers in metal, plastic, and heated models. Metal curlers stand out for their sturdiness and precision in curling, while plastic variants are perfect for on-the-go use due to their lightness. For those with hard-to-curl lashes, heated eyelash curlers can achieve a more defined and enduring curl.

Choosing a Curler for Your Eye Shape

Eyelash curlers are not one-size-fits-all; their efficiency varies with different eye shapes. It’s crucial to choose a curler that complements the curvature of your eye to ensure a uniform curl and avoid discomfort. Some manufacturers provide curlers tailored to specific eye shapes such as almond, round, or deep-set.

Lash Preparation

Ensure Lashes are Clean and Dry

Commence with lashes that are devoid of any makeup or residue, as leftover products can lead to lashes sticking to the curler, risking damage. Post face-washing, ensure your lashes are thoroughly dried before proceeding with the curling process.

Warming the Curler (Optional)

To enhance the curl, consider gently warming your metal eyelash curler with a hairdryer for a brief period. Always test the curler’s temperature on your hand to confirm it’s warm, not hot, preventing any harm to your eye’s delicate surrounding skin or the lashes themselves.

Curling Your Lashes

Proper Curler Placement

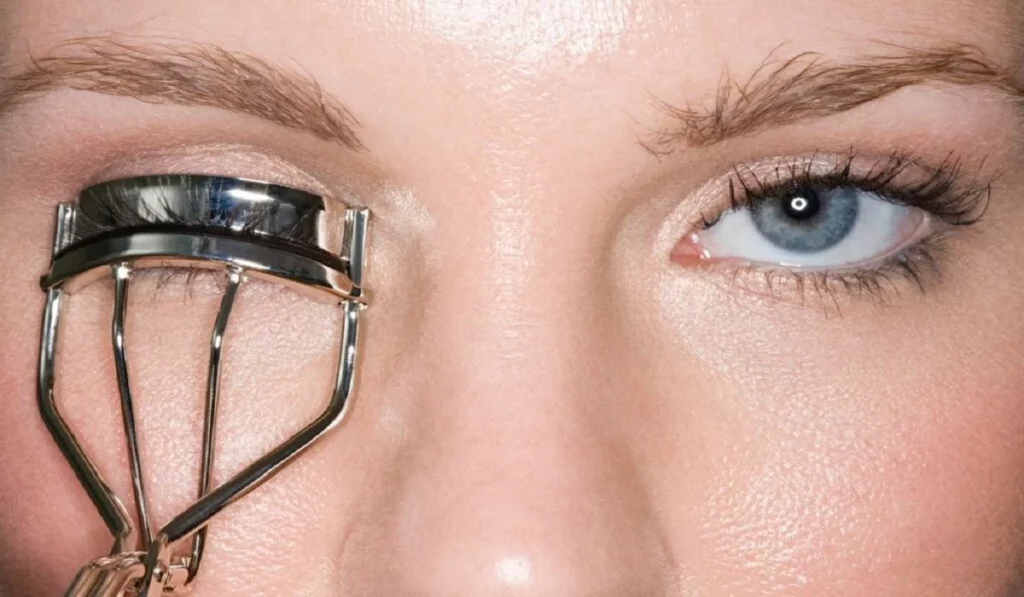
With the curler open, position your lashes between the pads, getting as close as possible to the lash base without touching the eyelid. Confirm that all lashes are captured by the curler’s opening.
Mastering The Eyelash Curler


Executing the Curl

Press the curler’s handles together gently for approximately 5 to 10 seconds. For a more natural curl, you may lightly pump the curler. Refrain from pulling or yanking the curler to avoid lash damage.

Sectional Curling

For a more pronounced curl, adopt a sectional approach: begin at the base, then mid-lash, and finally near the tips. This technique fosters a seamless, natural curl rather than an abrupt crimp.

Post-Curling

Mascara Application

Follow up the curling with your preferred mascara to set the curl. Opt for a waterproof or curl-enhancing mascara for optimal results. Applying mascara post-curling prevents the lashes from sticking to the curler and potential damage.

Curler Maintenance and Cleanliness

Eyelash Curler Cleansing

To ensure optimal performance, regularly clean your curler to eliminate any mascara residue or debris. Utilize a gentle makeup remover or isopropyl alcohol for cleaning, allowing the curler to dry thoroughly before its next use.

Pad Replacement

Change the curler’s rubber pads every few months or at signs of wear to maintain curl efficiency and lash safety. Neglecting to replace worn pads can compromise lash health and curl quality.

Addressing Common Concerns

Avoiding Eyelid Pinching

Pinching can indicate improper curler alignment or positioning. Ensure the curler is not too close to the eyelid and is suitable for your eye shape. Persistent issues may necessitate a different curler design more suited to your eye contour.

Correcting Uneven Curls

Uneven curls typically result from incomplete lash capture or inconsistent pressure application. Verify that all lashes are within the curler’s grasp and apply uniform pressure. Sectional curling might also aid in achieving a uniform curl.

Enhancing Curl Retention

For lashes that struggle to maintain a curl, consider a heated curler or pre-warm a standard curler. A waterproof or curl-retaining mascara applied right after curling can help sustain the curl longer.

With the right eyelash curler and technique, you can significantly elevate your beauty routine by achieving gorgeously curled lashes. By selecting the appropriate curler for your eye shape, preparing your lashes properly, and adhering to the outlined steps, you’ll unlock the full potential of your natural lashes. Regular maintenance and pad replacement are key to consistent, stunning results.

The Ultimate Guide: How To Properly Apply Sunscreen Under Foundation
The Ultimate Guide: How to Properly Apply Sunscreen Under Foundation

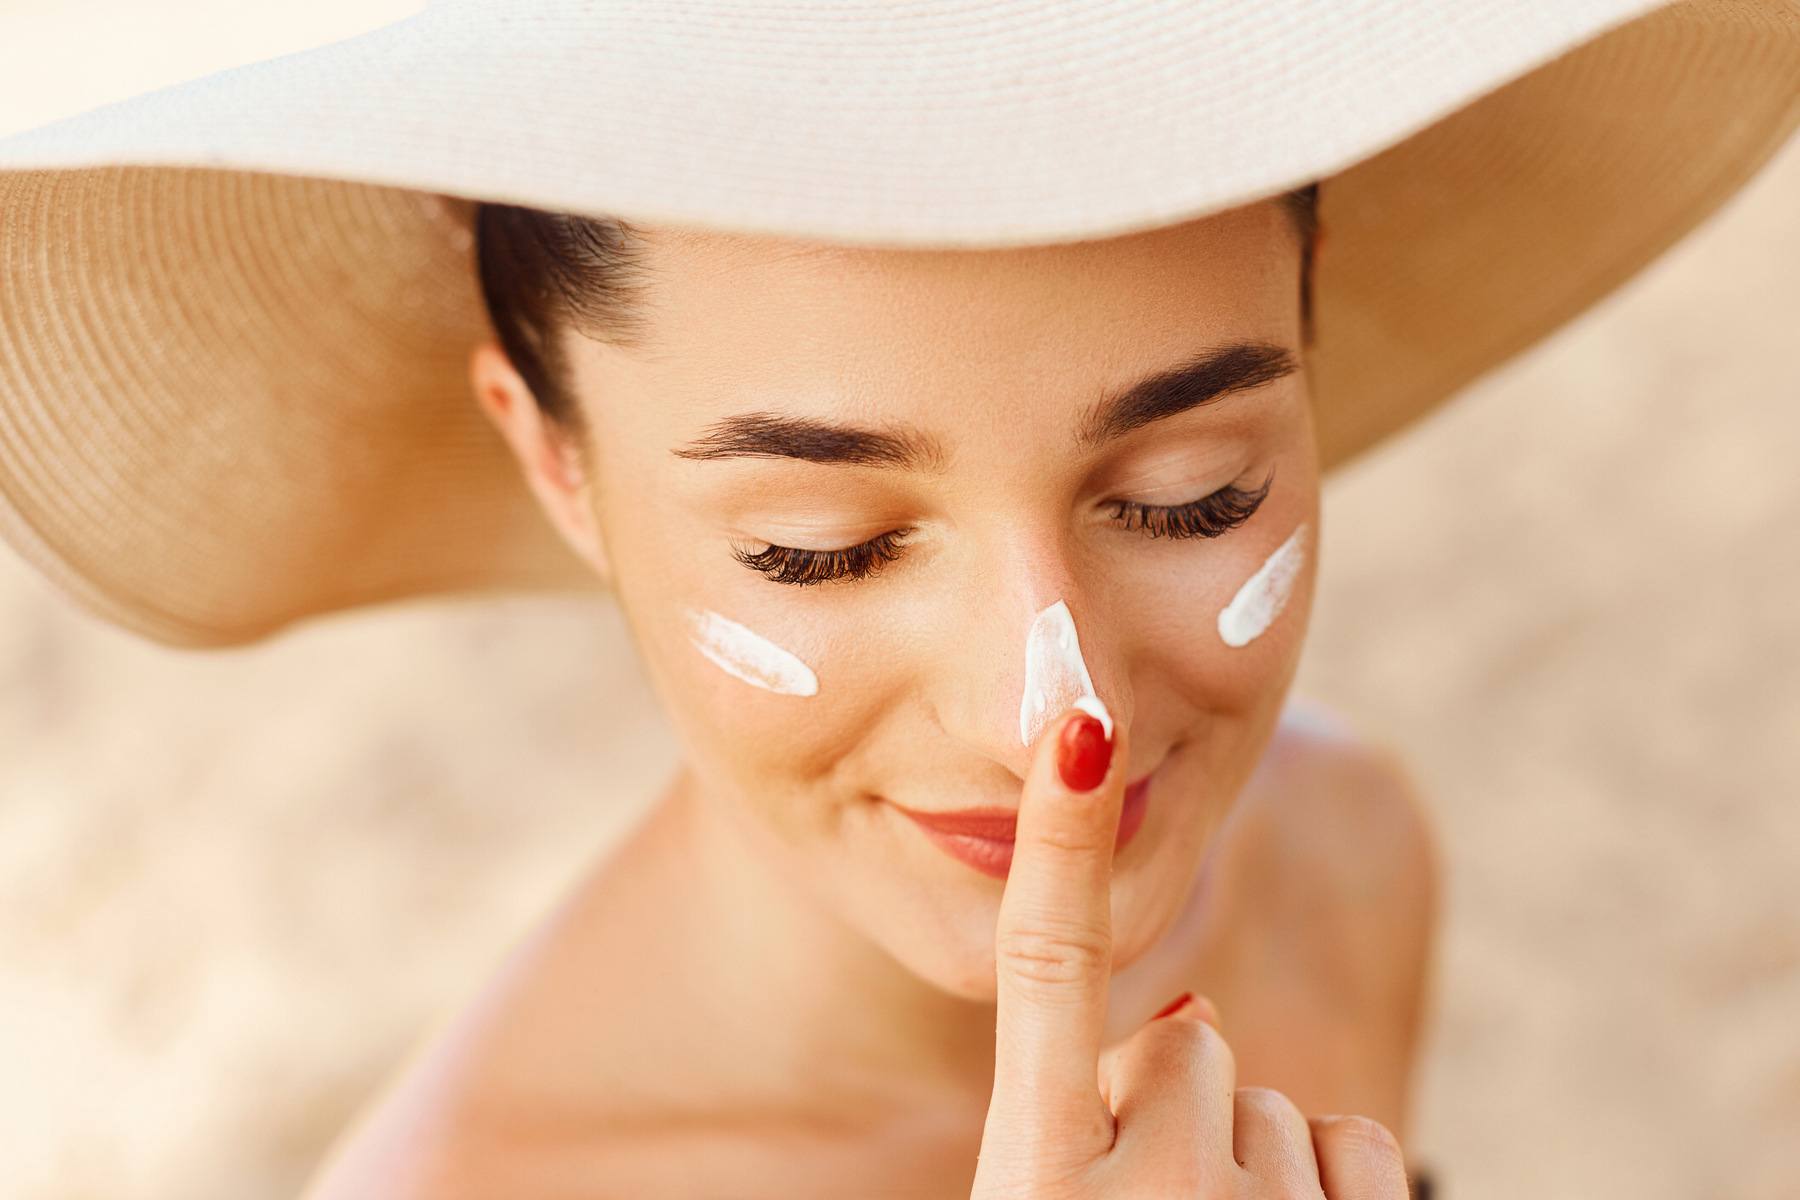
Wearing sunscreen is crucial for maintaining healthy and youthful skin, protecting it from the harmful effects of the sun’s ultraviolet (UV) rays. However, many people struggle with incorporating sunscreen into their makeup routine, particularly when it comes to applying it under foundation. In this comprehensive guide, we will walk you through the steps to ensure that you can effectively wear sunscreen under foundation, allowing you to enjoy the benefits of both sun protection and flawless makeup. Step 1: Choose the Right Sunscreen:Before applying sunscreen, it is essential to select a product that suits your skin type and provides broad-spectrum protection against both UVA and UVB rays. Look for a lightweight formula that is specifically designed for the face and has a minimum SPF (Sun Protection Factor) of 30. Opt for non-comedogenic and oil-free options to prevent clogged pores and excessive shine. Step 2: Cleanse and Moisturize:Start with a clean canvas by washing your face with a gentle cleanser. Follow up with a lightweight moisturizer suitable for your skin type. Allow the moisturizer to absorb completely before proceeding to the next step. Hydrated skin ensures a smooth application of sunscreen and foundation. Step 3: Apply Sunscreen:Take a dime-sized amount of sunscreen and dot it onto your forehead, cheeks, chin, and nose. Gently spread the sunscreen across your face, ensuring even coverage. Pay extra attention to areas prone to sun exposure, such as the bridge of the nose, cheekbones, and temples. Avoid rubbing vigorously, as it may cause the sunscreen to pill or ball up. Step 4: Wait for Sunscreen to Set:Allow the sunscreen to absorb into your skin for at least 10 to 15 minutes before applying foundation. This waiting period allows the sunscreen to form a protective barrier on your skin and ensures better adherence of the foundation. Step 5: Choose a Foundation Formula:To ensure compatibility between sunscreen and foundation, opt for a foundation with a lightweight and liquid consistency. Oil-free and water-based formulas tend to work best with sunscreen, as they minimize the risk of clogged pores and allow for smoother application. Step 6: Mix Sunscreen with Foundation (Optional):If you prefer a more streamlined application process, you can mix a small amount of sunscreen with your foundation. This method helps to ensure even distribution of sun protection and foundation, providing a combined layer of coverage. However, it is important to maintain the recommended amount of sunscreen for adequate sun protection. Step 7: Apply Foundation:Using a clean makeup brush, sponge, or your fingertips, apply the foundation onto your face in gentle, downward strokes. Start from the center of your face and blend outward for a seamless finish. Avoid using excessive pressure, as it may disrupt the sunscreen layer beneath. Step 8: Set with Powder (Optional):If you prefer to set your foundation with powder, choose a translucent or mineral-based powder with sun-protective properties. Apply a light dusting to ensure your makeup stays in place while adding an extra layer of sun protection. Step 9: Reapply Sunscreen Throughout the Day:Remember that sunscreen needs to be reapplied every two hours, especially if you are exposed…

Brow Perfection At Home The Comprehensive Guide To Diy Brow Lamination
Brow Perfection at Home: The Comprehensive Guide to DIY Brow Lamination

In the realm of beauty, eyebrows are a pivotal feature, framing the face and highlighting one’s eyes. Brow lamination, a groundbreaking beauty trend, offers a solution for those seeking fuller, more defined eyebrows without daily makeup. This treatment has traditionally been a salon-exclusive, but with the right guidance, achieving salon-quality results at home is within reach. This expanded guide dives into the nuances of DIY brow lamination, covering everything from the initial prep work to the crucial aftercare, ensuring you can safely achieve and maintain impeccable brows. Deep Dive into Brow Lamination Brow lamination works by restructuring the brow hairs, giving them a uniform, desired direction and appearance. It’s particularly beneficial for those with unruly, sparse, or downward-growing hairs, providing a fuller and more even look. This section explores the technique’s origins, its rise to prominence, and how it has become a beloved alternative to more permanent treatments like microblading, offering insight into why it’s worth considering for your brow grooming routine. Advantages of Going DIY with Brow Lamination Choosing to laminate your brows at home comes with a plethora of benefits, including cost-efficiency, the comfort of your own home, and the ability to tailor the process to your specific brow needs. Here, we’ll outline the key advantages of DIY brow lamination, from the personal satisfaction of self-care to the convenience of touch-ups on your schedule, highlighting why many beauty enthusiasts are opting to take their brow treatments into their own hands. Essential Tools for At-Home Brow Lamination Successful DIY brow lamination hinges on having the right tools and products. This comprehensive checklist ensures you’re well-prepared, listing everything from reputable brow lamination kits to the specific cleansers, brushes, and aftercare serums that will make the process smooth and effective. We also include tips for selecting quality products that are safe and reliable, ensuring your DIY endeavor leads to beautiful, healthy brows. Step-by-Step Guide: Achieving Professional-Quality Lamination With the right preparation, DIY brow lamination can be straightforward and rewarding. This detailed, step-by-step guide walks you through the entire process, from conducting a patch test to applying the lamination solution, shaping, and setting your brows. Each step is broken down with precision, incorporating professional tips and visual aids to ensure clarity and ease, empowering you to achieve professional-quality results at home. Navigating Aftercare for Lasting Results The longevity and quality of your brow lamination significantly depend on proper aftercare. This section delves into the dos and don’ts following your treatment, advising on everything from how to avoid water and makeup in the initial hours to the best practices for nourishing and maintaining your newly laminated brows. Tailored advice on extending the durability of your lamination, including recommended products and routines, ensures your brows remain flawless for as long as possible. Common Pitfalls and How to Avoid Them Even with careful planning, DIY treatments can encounter hiccups. This segment addresses the most common issues encountered during home brow lamination, such as uneven application, overprocessing, or irritation, and provides expert solutions. Learning how to anticipate and remedy these challenges will bolster your confidence, ensuring a smooth…

The Power Of Rosemary Oil For Hair Growth
The Power of Rosemary Oil for Hair Growth

Esteemed for its aromatic and therapeutic qualities, rosemary oil emerges as a cornerstone in hair rejuvenation. This discourse ventures into the quintessence of rosemary oil, illuminating its pivotal role in hair vitality augmentation. Tracing its lineage from ancient remedies to contemporary scientific validations, we unveil the diverse mechanisms through which rosemary oil revolutionizes hair care. Unraveling the Essence of Rosemary Oil Rosemary, an aromatic herb characterized by its fragrant, evergreen foliage and variably colored blossoms, transcends its culinary applications to become a vital source of nourishment and antioxidative substances. The distillation process of rosemary culminates in an oil rich in 1,8-cineole, camphor, and alpha-pinene, molecules instrumental in its healing prowess. Deciphering Rosemary Oil’s Contribution to Hair Growth Empirical research highlights the remarkable capacity of rosemary oil to foster hair growth, rivaling even traditional treatments like minoxidil. Its proficiency in enhancing scalp blood flow, thereby enriching hair follicles with essential nutrients and oxygen, underscores the method through which rosemary oil fortifies hair health and proliferation. The Multifaceted Advantages of Rosemary Oil in Hair Care Beyond stimulating hair growth, rosemary oil is lauded for reinforcing hair follicles, delaying the onset of gray hair, and addressing scalp-related ailments such as dandruff and irritation, courtesy of its anti-inflammatory and antioxidative attributes. Optimal Application Techniques for Rosemary Oil in Hair Growth The application of rosemary oil for hair growth transcends mere topical use. This segment will navigate through the preparation of a homemade rosemary oil infusion and delineate the most efficacious application practices for optimal outcomes. It also examines precautionary measures and appropriate dilution guidelines to ensure a rewarding and safe experience. Insights from User Experiences with Rosemary Oil Gleaning insights from those who have integrated rosemary oil into their hair care regime offers invaluable perspectives. This section accentuates authentic narratives and feedback, evidencing the oil’s versatility across various hair types and conditions. Synergistic Effects of Rosemary Oil with Other Natural Ingredients Rosemary oil’s efficacy is magnified when combined with other natural constituents. This exploration reveals mixtures and partnerships that amplify hair growth, alongside the ancillary benefits of melding rosemary oil with additional essential oils. Tailoring Rosemary Oil Use for Diverse Hair Needs Grasping how rosemary oil interacts with different hair profiles is vital for maximizing its utility. Advice tailored to specific hair requirements is provided, empowering all to leverage rosemary oil’s advantages. Precautions and Considerations with Rosemary Oil Use Despite its general safety, it’s imperative to acknowledge potential adverse effects and contraindications of rosemary oil use. This section discusses safety protocols and considerations for incorporating rosemary oil into your hair care routine. Final Reflections on Rosemary Oil as a Hair Growth Enhancer Concluding with a synthesis of the benefits and insights presented, this final narrative reasserts the value of rosemary oil as a natural and efficacious hair growth stimulant. It offers concluding advice and strategies for a comprehensive hair care approach. Delving into the comprehensive role of rosemary oil in hair growth enhancement reveals its status as a holistic and potent hair care solution. Incorporating rosemary oil into your regimen not only fosters healthier hair growth…

Mastering The Art Of Henna Hairdye
Mastering the Art of Henna Hair Dye

Embarking on the journey of dyeing your hair with henna can be both exciting and daunting. Henna, a natural dye made from the leaves of the Lawsonia inermis plant, offers a chemical-free option for coloring your hair, providing rich, long-lasting hues and a host of hair health benefits. This guide will walk you through each step of the process, ensuring that you achieve beautiful results with henna. Understanding Henna What is Henna? Henna is not just a hair dye; it’s a centuries-old plant-based pigment that has been used for body art and hair coloring across various cultures. It’s celebrated for its natural coloring properties and conditioning benefits. Benefits for Hair Beyond imparting vibrant color, henna strengthens, conditions, and nourishes the hair, reducing dandruff and promoting hair growth. Types of Henna Pure Henna Pure henna yields a red-orange color and is free from any additives, making it the best choice for those looking for a natural option. Henna Mixes For a wider range of colors, henna is often mixed with other natural dyes. It’s important to choose mixes free from chemicals to maintain the natural benefits of henna. Preparing Your Hair for Henna Assessing Hair Type and Condition Your hair’s starting color, type, and condition will affect how henna appears and should guide your preparation process. Pre-Dye Preparations Preparing your hair involves clarifying to remove buildup and testing the henna on a small hair section to predict the outcome. Mixing Henna for Hair Dye Ingredients Needed You’ll need high-quality henna powder, acidic liquid (like lemon juice), and optional natural additives for enhanced effects. Step-by-Step Mixing Guide Mixing henna is an art; achieving the right consistency is crucial for easy application and optimal dye release. Application Process Sectioning Hair Dividing your hair into sections ensures thorough application and even color. Applying Henna Apply the paste from roots to tips, using gloves to protect your hands from staining. Tips for Even Coverage Ensuring even coverage is key to achieving uniform color and avoiding patches. How to Dye Hair with Henna? This comprehensive guide demystifies the process, making it accessible for first-timers and those looking to perfect their technique. Post-Application Care Washing Out Henna Washing out henna requires patience and gentle care to preserve the color and avoid stripping the hair’s natural oils. Hair Care After Dyeing Post-henna care involves hydrating treatments and avoiding harsh chemicals to maintain the color and health of your hair. Troubleshooting Common Henna Hair Dye Issues Uneven Color Adjusting your application technique or mix can help achieve more uniform results in future applications. Dryness after Dyeing Incorporating natural oils and deep conditioning treatments can combat dryness associated with henna. Environmental and Health Considerations Natural and Safe Dyeing Options Choosing henna for hair coloring supports environmentally friendly and health-conscious beauty practices. Dyeing your hair with henna is a rewarding process that not only beautifies but also benefits your hair health. By following these detailed steps, you can achieve stunning, natural-looking color and embrace a more sustainable approach to hair care. Can henna cover gray hair? Yes, henna can effectively cover grays, offering…

Combination Skin: What It Is And How To Care For It
Combination Skin: What it is and How to Care for It

Combination skin is a skin type that is characterized by having both oily and dry areas on the face. People with combination skin often have an oily T-zone (forehead, nose, and chin) and dry cheeks. This can make it challenging to find the right skincare routine that balances the needs of both oily and dry areas. In this article, we will explore what combination skin is, its causes, and how to care for it. What is Combination Skin? Combination skin is a skin type that is a combination of oily and dry skin. This means that some areas of the face, typically the T-zone, produce excess oil, while other areas, usually the cheeks, are dry and flaky. Combination skin can be genetic or caused by environmental factors such as weather, pollution, and harsh skincare products. What Causes Combination Skin? The causes of combination skin are not fully understood, but genetics play a significant role. People with combination skin have a genetic predisposition to producing excess oil in the T-zone, which is then mixed with dryness in other areas of the face. Hormonal changes can also contribute to combination skin, particularly during puberty, pregnancy, and menopause. Environmental factors such as weather, pollution, and harsh skincare products can also cause combination skin. Exposure to extreme temperatures, UV radiation, and pollution can damage the skin’s natural barrier and lead to dehydration and oil overproduction. Using skincare products that are too harsh or contain alcohol and fragrances can also strip the skin of its natural oils and cause dryness and irritation. How to Care for Combination Skin Caring for combination skin requires a skincare routine that addresses both oily and dry areas of the face. The following steps can help to balance the skin’s needs and maintain healthy skin: Cleanse: Start by cleansing your face twice a day with a gentle, pH-balanced cleanser that is formulated for combination skin. Avoid cleansers that contain harsh ingredients like sulfates, alcohol, and fragrances, as these can strip the skin of its natural oils and cause dryness and irritation. Exfoliate: Exfoliation is an essential step in any skincare routine, but it is particularly important for combination skin. Exfoliating helps to remove dead skin cells, unclog pores, and promote cell turnover, which can help to reduce oil production and improve skin texture. Use a gentle exfoliator once or twice a week, depending on your skin’s sensitivity. Moisturize: Moisturizing is crucial for combination skin, as it helps to balance the skin’s oil and water content. Use a lightweight, non-comedogenic moisturizer that is formulated for combination skin. Look for ingredients like hyaluronic acid, which can help to hydrate the skin without adding excess oil. Treat: Treat any problem areas on the face, such as acne or dark spots, with targeted skincare products. Look for ingredients like salicylic acid, benzoyl peroxide, and vitamin C, which can help to unclog pores, reduce inflammation, and brighten the skin. Sun Protection: Protect your skin from UV damage by using a broad-spectrum sunscreen with at least SPF 30 every day, even if it’s cloudy outside. Look for sunscreen…

Illuminating Beauty: An In Depth Guide To Light Makeup Mirrors
Illuminating Beauty: An In-Depth Guide to Light Makeup Mirrors

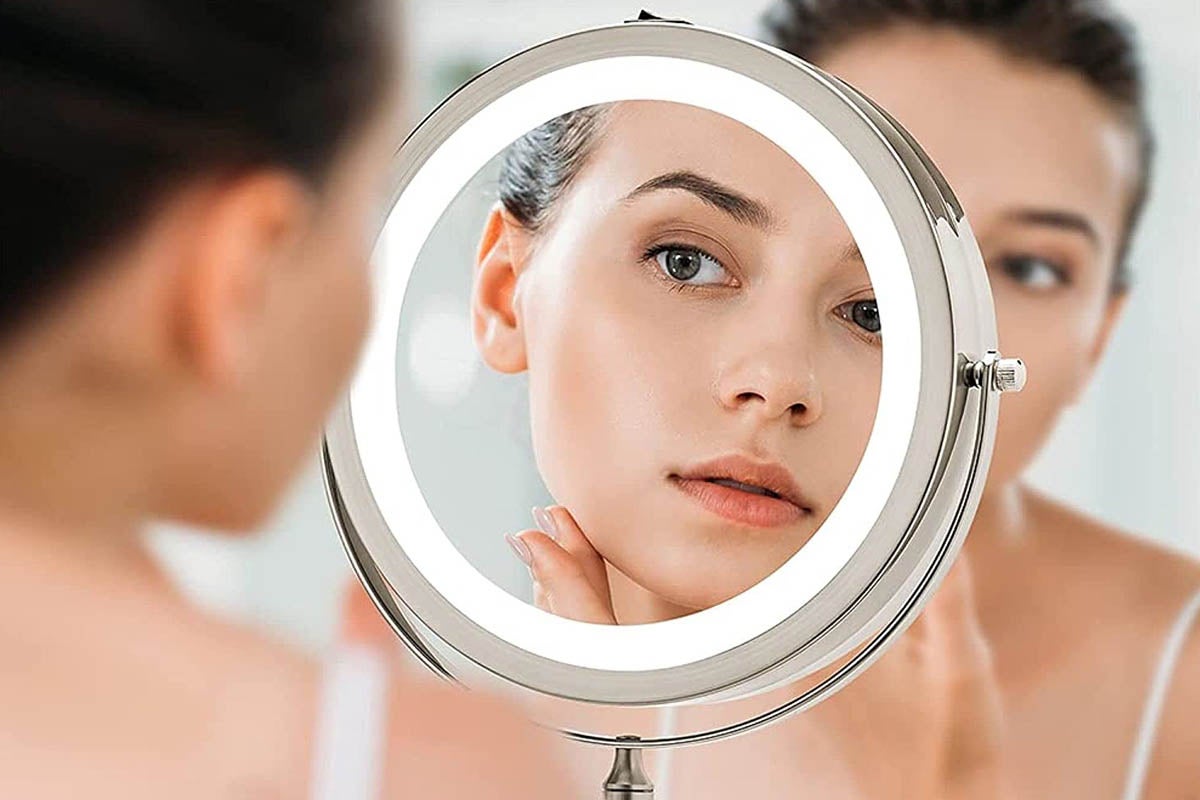
In the world of makeup, precision and attention to detail are essential for achieving flawless looks. A well-lit environment is crucial for makeup application, and this is where light makeup mirrors play a pivotal role. These mirrors are specially designed to provide optimal illumination, allowing users to see their features clearly and apply makeup with confidence. In this comprehensive guide, we will delve into everything you need to know about light makeup mirrors, their features, types, benefits, and how to choose the best one for your needs. The Purpose of Light Makeup MirrorsLight makeup mirrors are designed to create an illuminated environment that mimics natural daylight. This enhanced lighting ensures that every detail of your face is clearly visible, making it easier to apply makeup with precision. These mirrors are particularly beneficial for tasks that require precision, such as shaping eyebrows, applying eyeliner, or perfecting your foundation. Features of Light Makeup Mirrorsa. Adjustable Brightness: Most light makeup mirrors come with adjustable brightness settings. This feature allows users to customize the intensity of the light according to their preferences and the surrounding lighting conditions. b. Color Temperature Options: Some mirrors also offer color temperature adjustments, ranging from warm to cool lighting. Warm lighting is ideal for a soft and flattering glow, while cool lighting is great for more accurate color representation. c. Magnification: Light makeup mirrors often come with magnification options, typically ranging from 1x to 10x. Higher magnification is useful for close-up work, such as precise eyeliner application and skincare routines. d. Rechargeable or Plug-in: Light makeup mirrors can be powered in various ways. Some are rechargeable and cordless, allowing for portability, while others may need to be plugged into an electrical outlet. e. Built-in Storage and Organization: Certain models may feature storage compartments or trays to keep makeup essentials and tools close at hand. f. Touch Controls: Many modern light makeup mirrors utilize touch-sensitive controls, making it easy to adjust brightness and other settings with a simple tap. Types of Light Makeup Mirrorsa. Tabletop Mirrors: These mirrors are designed to sit on a table or vanity. They come in various sizes and shapes, with adjustable stands that allow users to tilt the mirror to their preferred angle. b. Wall-Mounted Mirrors: As the name suggests, these mirrors are designed to be mounted on the wall. They save space on your vanity and are perfect for those with limited counter space. c. Compact Mirrors: Compact light makeup mirrors are portable and usually smaller in size. They often feature foldable designs, making them ideal for travel or on-the-go touch-ups. d. Hollywood-style Mirrors: Inspired by classic Hollywood dressing room mirrors, these larger-than-life mirrors feature multiple bulbs or LED strips around the edges, providing even and glamorous illumination. e. Smart Mirrors: With advancements in technology, smart mirrors are now available. These mirrors can be connected to smartphones or other devices, offering additional features such as makeup tutorials, virtual try-ons, and voice-activated controls. Benefits of Light Makeup Mirrorsa. Enhanced Visibility: The primary benefit of light makeup mirrors is improved visibility, allowing you to see even the tiniest…

Face Mits 1
A Comprehensive Guide to Facial Mists

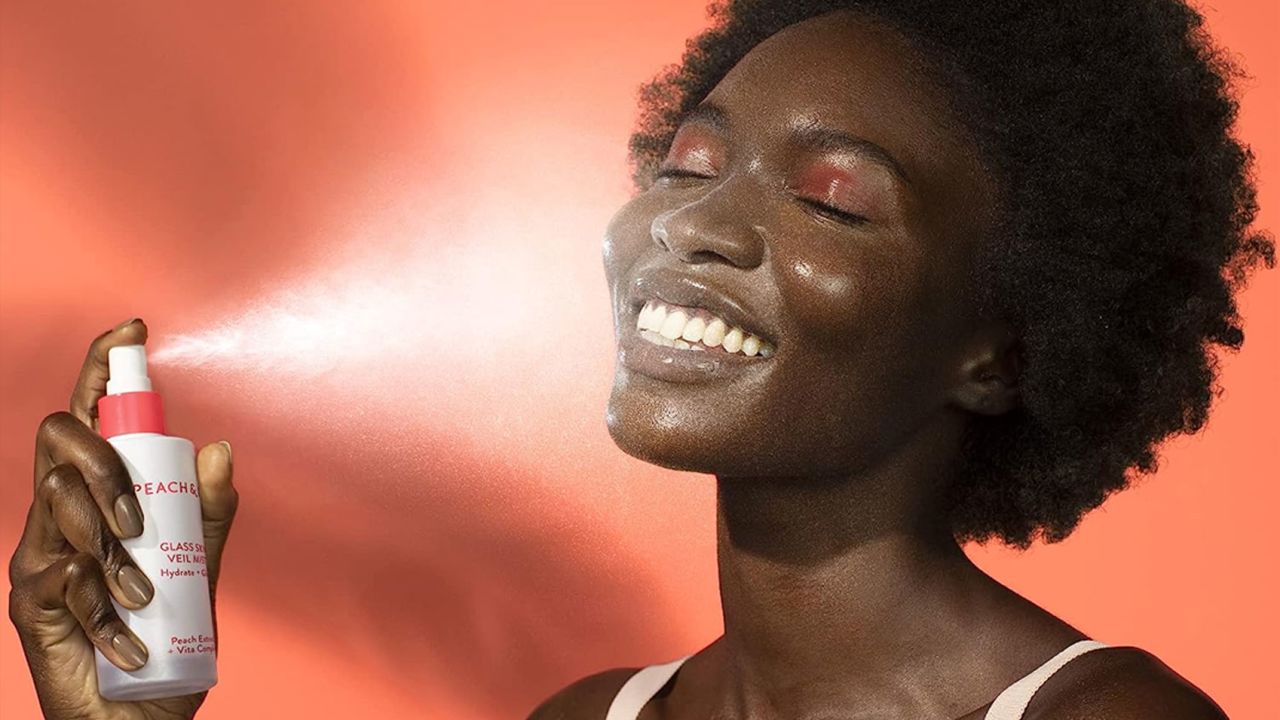
As beauty enthusiasts strive for radiant and rejuvenated skin, beauty enthusiasts continually search out innovative solutions they can incorporate into their skincare regimens. An exciting discovery has been face mists; an ingenious product which has quickly become an indispensable staple. This comprehensive guide explores everything about face mists: their history and key ingredients as well as benefits and applications, giving an insider’s view into this versatile product that holds power within delicate droplets of mist spray. Face Mist Origins:Facial mists have their origins in ancient skincare practices such as those practiced by Egyptians and Romans who valued such rituals by using water infused with botanical extracts for refreshment and hydration of their skin. Over time, however, their creation was refined further to include advanced formulations and delivery systems to become what are known today as face mists. Ingredients of Facial Mists: At the core of facial mists’ magic lies their carefully chosen ingredients – each selected for its specific properties that benefit skin health. Formulations may differ, yet common components found within face mists include: Benefits of Face Mists:Facial mists have become an invaluable addition to skincare regimes for their ability to provide numerous advantages for the skin. Notable advantages are: How to Use Face Mists:Facial mists have numerous applications. Here is our guide on how best to take advantage of them for rejuvenating purposes: Face Mists for Different Skin Types: Facial mists offer effective solutions for various skin concerns and types, with specific formulations tailored specifically for you and your concerns. When selecting one to meet these criteria: DIY Face Mists: For those who enjoy taking control of their skincare, crafting their own face mist is an engaging DIY activity, offering plenty of opportunities for customization and experimentation with various ingredients. A basic recipe might include: Ingredients include purified water, aloe vera gel, rosewater and lavender essential oil. Instructions: Conclusion: Elevating Skincare With Luxury: Facial mists have quickly become an indispensable addition to skincare regimes, embodying hydration, rejuvenation and self-care in one refreshing mist spray. From ancient roots to contemporary formulations, face mists have transformed from an occasional product used just to wake you up during the day to serving various needs and preferences alike – be it as an early wakeup call during your workday; setting spray for makeup application or aromatherapy ritual – their transformative power cannot be denied; so embrace its luxury today and let this luxurious facial spray do just what its name promises – unleash it now and experience its transformative power today! So embrace its elegance today; indulge its transformative power is undeniable! So indulge the elegance of facial spray and experience all its transformative power for yourself today and let go.

How To Prevent Lash Loss
How to Prevent Lash Loss?

Eyelashes not only play a crucial role in protecting your eyes from debris but also enhance the beauty of your eyes, contributing significantly to your facial aesthetics. However, many people experience eyelash loss due to various reasons, ranging from poor cosmetic practices to underlying health conditions. This comprehensive guide delves into the causes of lash loss and provides actionable tips to prevent it, ensuring your lashes remain healthy and robust. Eyelash loss, or madarosis, can result from several factors, including but not limited to aging, harsh cosmetic practices, certain medical conditions, and lifestyle choices. Recognizing the underlying cause is the first step towards preventing further loss and encouraging healthy lash growth. Causes of Eyelash Loss Preventive Measures for Lash Loss Gentle Makeup Use and Removal Opt for high-quality, non-irritating makeup products and be gentle when applying or removing makeup. Using a soft, oil-based remover can help prevent damage to your lashes. Nutrition and Hydration A well-balanced diet rich in vitamins and minerals supports lash growth. Foods high in protein, vitamins E and C, and omega-3 fatty acids are particularly beneficial. Proper Eyelid Hygiene Maintaining clean eyelids can prevent infections that lead to lash loss. Regularly cleaning your eyelids with a gentle cleanser can keep your lash follicles healthy. Avoiding Harsh Treatments Minimize the use of eyelash curlers and avoid harsh treatments like lash extensions and perms, which can weaken your lashes over time. Stress Management Since stress can impact lash growth, adopting stress-reduction techniques such as yoga, meditation, or regular exercise can be beneficial. Lash-enhancing Products Consider using over-the-counter lash serums that contain ingredients like peptides and biotin, which can promote lash growth. However, be cautious and choose products with proven safety records. Regular Check-ups Regular medical check-ups can help identify and treat any underlying health conditions that may be causing lash loss. When to See a Doctor? If you notice significant lash loss, it’s crucial to consult a healthcare professional to rule out any underlying medical issues. Early diagnosis and treatment can prevent further lash loss and potentially reverse the condition. Preventing eyelash loss involves a combination of gentle cosmetic practices, proper nutrition, stress management, and avoiding harsh treatments. By understanding the potential causes and adopting preventative measures, you can maintain healthy, beautiful lashes. Remember, if you experience significant lash loss, it’s important to consult a healthcare professional to address any underlying conditions. Incorporating these tips into your daily routine can significantly reduce the risk of lash loss and ensure your eyelashes remain healthy and vibrant. Remember, patience and consistency are key when it comes to lash care. With the right approach, you can enjoy the lush, beautiful lashes you desire. Can mascara cause lash loss? Yes, particularly if you use waterproof mascara frequently or do not remove your makeup gently. Is it normal to lose a few lashes daily? Yes, losing a few lashes daily is part of the natural growth cycle. However, excessive loss may indicate an underlying issue. Can lash serums help prevent lash loss? Some lash serums can nourish and strengthen lashes, reducing the risk of loss….