Concealer or Foundation: Understanding the Difference and Choosing the Right Product for Your Skin

Navigating the vast world of makeup can be overwhelming, especially when it comes to foundational products like concealer and foundation. These essentials lay the groundwork for a flawless makeup look, but their distinct purposes and application techniques can cause confusion. This guide demystifies concealer and foundation, highlighting their differences, benefits, and how to choose the right products for your skin type and concerns.
Concealer Or Foundation Understanding


Understanding Foundation

The Purpose of Foundation

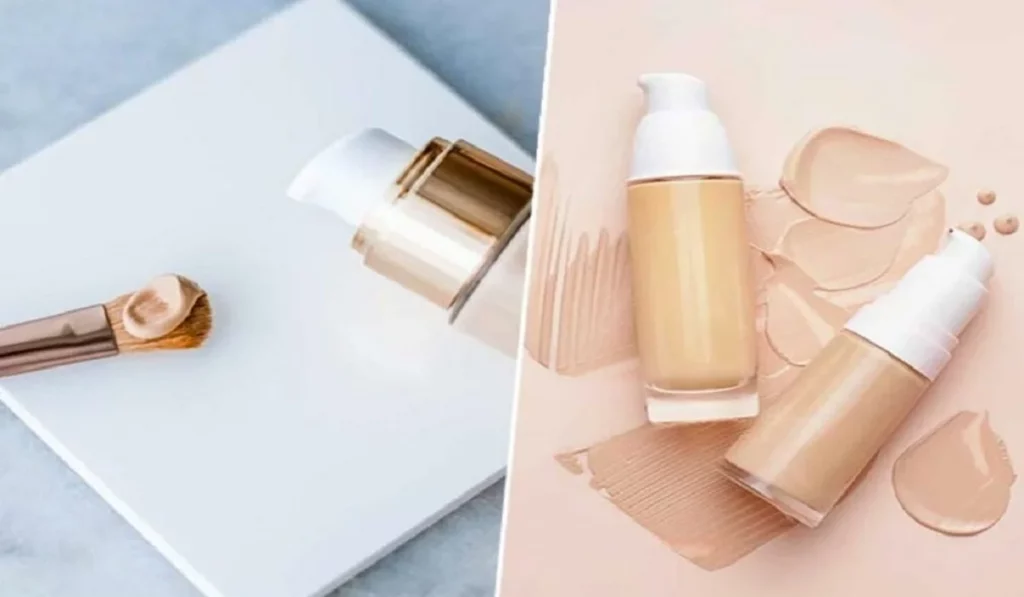
Foundation serves as a base for your makeup, designed to even out skin tone and provide a smooth canvas. It can range from sheer to full coverage, depending on the desired finish and the product’s formulation.

Types of Foundation: Liquid, Powder, Cream

Foundations come in various forms, including liquid, powder, and cream. Liquid foundations are versatile and suitable for most skin types, powder foundations work best for oily skin, and cream foundations offer dense coverage for dry or mature skin.

Matching Foundation to Your Skin Tone

Selecting the right foundation shade is crucial for a natural look. Test shades along your jawline in natural light and consider your skin’s undertone to find the perfect match.

Decoding Concealer

The Role of Concealer in Makeup

Concealer is used to cover imperfections such as blemishes, dark circles, and redness. It’s usually thicker than foundation and provides targeted coverage.

Different Types of Concealers and Their Uses

Concealers vary in consistency and coverage. Liquid concealers are great for under-eye areas, while stick or cream concealers are better for covering blemishes or scars.

Choosing the Right Shade and Formula

For under-eye concealer, choose a shade slightly lighter than your skin tone to brighten the area. For blemishes, match the concealer to your foundation shade. Consider your skin type when selecting a formula to ensure compatibility.

Foundation vs. Concealer: Key Differences

Coverage Level

Foundation provides a uniform base, while concealer offers high coverage for specific areas.

Texture and Finish

Foundations can have various finishes, from matte to dewy. Concealers typically have a thicker texture to provide concentrated coverage.

Application Techniques for Flawless Skin

Applying Foundation for Even Coverage

Start with a small amount and blend outward from the center of your face using a brush, sponge, or fingers. Build coverage as needed.

Concealer Application Tips for a Seamless Look

Apply concealer after foundation to avoid using more product than necessary. Dab gently over imperfections and blend edges for a smooth transition.

Combining Foundation and Concealer

Step-by-Step Guide for Layering

Apply foundation first to create an even base. Then, use concealer on targeted areas for additional coverage. Set with powder if desired.

Concealer Or Foundation Understanding


Tips for a Natural-Looking Finish

Blend well and choose formulas and shades that complement your skin type and color. Avoid over-application to maintain a natural appearance.

Choosing Products for Specific Skin Concerns

Best Foundations and Concealers for Dry Skin

Opt for hydrating formulas that contain moisturizing ingredients to prevent flakiness and cakey appearance.

Recommendations for Oily and Acne-Prone Skin

Look for non-comedogenic and oil-free products that provide a matte finish and control shine throughout the day.

Sensitive Skin Solutions

Choose hypoallergenic and fragrance-free products to minimize the risk of irritation and allergic reactions.

The Role of Skin Care in Makeup Application

Preparing Your Skin for Makeup

Cleanse, moisturize, and apply a primer suited to your skin type to ensure a smooth makeup application and enhance durability.


The Importance of Hydration and Primer

Hydrated skin and a good primer can significantly improve the look and longevity of your foundation and concealer.

Troubleshooting Common Makeup Issues

Avoiding Cakey Foundation

Use a light hand, build coverage gradually, and ensure thorough blending to avoid a heavy, cakey look.

Concealing Under-Eye Circles and Blemishes

Choose the correct shade and formula for your concern. Apply in thin layers and set with a light dusting of powder to prevent creasing.

In the quest for perfect makeup application, understanding the roles and differences between foundation and concealer is crucial. By choosing the right products for your skin type and mastering application techniques, you can achieve a flawless, radiant complexion that highlights your natural beauty.

Why is it important to choose the right type of foundation and concealer for my skin type?
Choosing the correct type of foundation and concealer for your skin type ensures that the products enhance your skin’s appearance without causing additional issues, such as excessive dryness or oiliness.

Can I use concealer all over my face instead of foundation?
While concealer can be used for spot treatment or under the eyes, it’s generally too heavy for use as an all-over face product. Foundation is designed for broader coverage.

How can I prevent my concealer from creasing under my eyes?
To prevent creasing, apply a small amount of lightweight, hydrating concealer, and set it with a fine, translucent powder.

Is it necessary to use both foundation and concealer?
Not necessarily. Your choice to use both depends on your desired coverage level and the condition of your skin. Some people use only concealer for a more natural look, while others prefer the full coverage achieved by using both.

How often should I replace my foundation and concealer?
Generally, replace liquid foundations and concealers every 12 months to prevent bacterial growth and ensure the best performance.

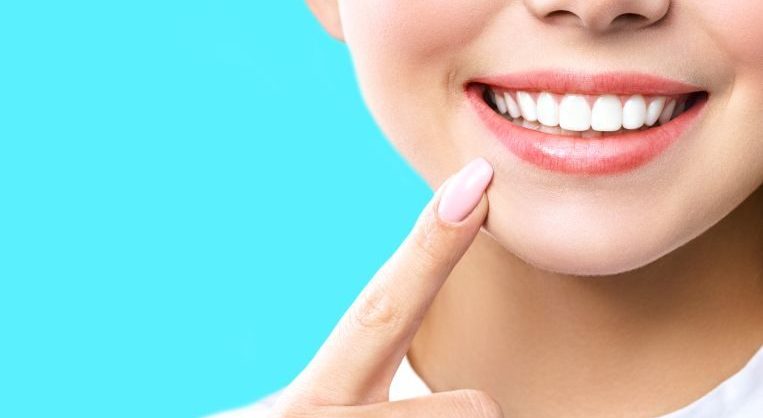

Achieving A Brighter Smile: The Most Effective Ways To Whiten Your Teeth
Achieving a Brighter Smile: The Most Effective Ways to Whiten Your Teeth

A bright, white smile is something that many people desire. However, it’s not always easy to achieve. There are many factors that can cause teeth to become discolored, such as aging, smoking, consuming certain foods and drinks, and poor dental hygiene. Fortunately, there are several effective ways to whiten your teeth and achieve the smile of your dreams. In this article, we’ll explore the most effective ways to whiten your teeth, including both professional and at-home options. Professional Teeth Whitening If you’re looking for the most effective way to whiten your teeth, professional teeth whitening is a great option. This is typically done in a dental office, and involves the use of high-concentration whitening agents. There are two main types of professional teeth whitening: In-Office Whitening: This involves the use of a high-concentration whitening gel, which is applied to your teeth by a dental professional. The gel is then activated using a special light or laser. This type of whitening treatment typically takes around an hour, and can whiten your teeth by several shades. Take-Home Whitening Kits: These kits are prescribed by a dentist and typically include a custom-made tray and a whitening gel. You’ll need to wear the tray for a certain amount of time each day, typically for several weeks. Take-home whitening kits are less expensive than in-office treatments, but they take longer to produce results. Both of these professional teeth whitening options are effective at removing stains and discoloration from your teeth. However, they can be quite expensive, with in-office treatments typically costing several hundred dollars and take-home kits costing around $100-$200. At-Home Teeth Whitening If you’re looking for a more affordable way to whiten your teeth, at-home teeth whitening options are a great choice. There are many different types of at-home whitening products available, including: Whitening Toothpaste: This type of toothpaste contains special abrasives and chemicals that can help to remove surface stains from your teeth. However, they are not effective at removing deeper stains. Whitening Strips: These are thin, flexible strips that are coated with a whitening gel. You’ll need to apply the strips to your teeth for a certain amount of time each day, typically for several weeks. Whitening strips are a relatively affordable option, with most kits costing around $20-$50. Whitening Trays: These are similar to the trays used in professional take-home whitening kits. You’ll need to fill the tray with a whitening gel and wear it for a certain amount of time each day, typically for several weeks. Whitening trays can be purchased over-the-counter or prescribed by a dentist. Whitening Pens: These are small, portable pens that contain a whitening gel. You can apply the gel directly to your teeth using the pen’s brush. Whitening pens are a convenient option, but they may not be as effective as other at-home whitening products. While at-home teeth whitening products are generally less expensive than professional treatments, they may not be as effective. They also take longer to produce results, and you may need to use them for several weeks before seeing a noticeable improvement in the…

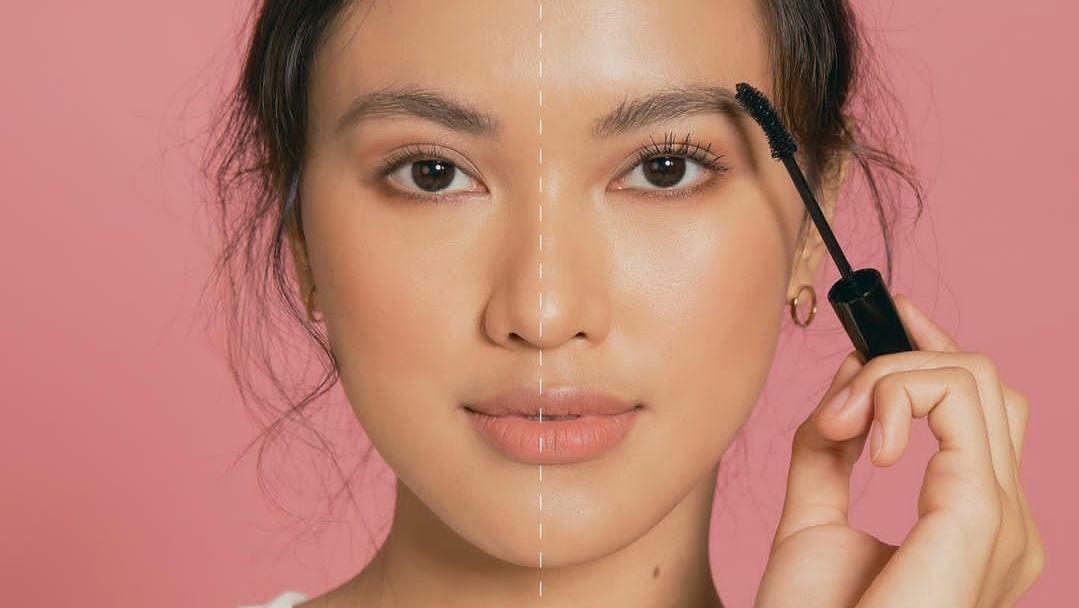
Understanding Waterproof Mascara: How It Works And Its Benefits
Understanding Waterproof Mascara: How It Works and Its Benefits

Mascara has long been associated with beauty and cosmetics. From framing eyes and increasing allure of one’s gaze to providing long-term, smudge-proof beauty benefits. Out of all the available mascara options, waterproof mascara stands as one of the standout solutions, providing long-term and smudge-resistant eyelash beauty benefits that outlast competitors such as LashBlaster or others. Let’s delve into its depths – its formulation, benefits, application tips and reasons behind its immense popularity! Waterproof Mascara 101: Understanding its EssenceDefine Waterproof MascaraA waterproof mascara is a specialty cosmetic product specifically formulated to resist exposure to elements like moisture, humidity and tears that might compromise regular mascaras – including regular ones that could smudge or run when in contact with moisture – unlike its regular counterpart which could smudge or run when coming in contact with moisture. Waterproof variants provide extended wear time as they resist these external threats to provide long wearability against water-related challenges. Formulating Magic: Waxellant Ingredients. Waterproof mascara’s strength lies in its formulation, typically packed with water-repellant or hydrophobic ingredients such as waxes, polymers and silicone compounds that create an impenetrable barrier around lashes and provide optimal coverage. Film-Forming Agents Waterproof mascaras often include film-forming agents to coat each eyelash in a water-repellent film that not only keeps out moisture, but also ensures long-term use without flaking off. These agents help waterproof mascara adhere to lashes securely without flaking off. Waterproof mascara pigments are selected based on their durability; these pigments resist break down in moisture-laden environments to maintain color intensity without smudging or running, maintaining color intensity without smudges and runs. Emollients & Conditioning Agents Waterproof mascaras include ingredients to prevent dryness caused by its water repelling properties by providing nourishment to and hydration of lashes while applying smoothly and protecting from possible drying effects. In order to provide smooth application while simultaneously feeding and moisturizing them. Smudge-Resistant Performance Waterproof mascara’s main appeal lies in its smudge-proof performance. Wearers can rely on it staying put during rainstorms, emotional outbursts and physical workouts alike – keeping their professional appearance throughout their day! Long-Lasting Wear Waterproof mascara provides long-wear, making it the ideal choice for events requiring lasting beauty such as weddings, outdoor gatherings or all-day affairs. Its ability to resist moisture ensures a fresh appearance every time! Curl Retention: Water-resistant mascara helps retain curl, even for those with straight lashes, helping them maintain lifted and curled appearance, giving eyes an open and wide appearance. No matter where life may lead you, waterproof mascara adapts easily to its surroundings, being weatherproof against raindrops or enjoying time at the beach. Its resilience against water-related challenges makes waterproof mascara the go-to product for active lifestylers. Here’s How You Can Achie Optimal Results with Your Application of It: Beginning With Clean Lashes Before applying mascara, be sure to clean and clear away all residue from your eyelashes to create the ideal surface for its application. Curl Lashes Before Application For optimal application results, curl your lashes prior to mascara application. Before applying waterproof mascara, use an eyelash curler for enhanced curl. This step maximizes lift…

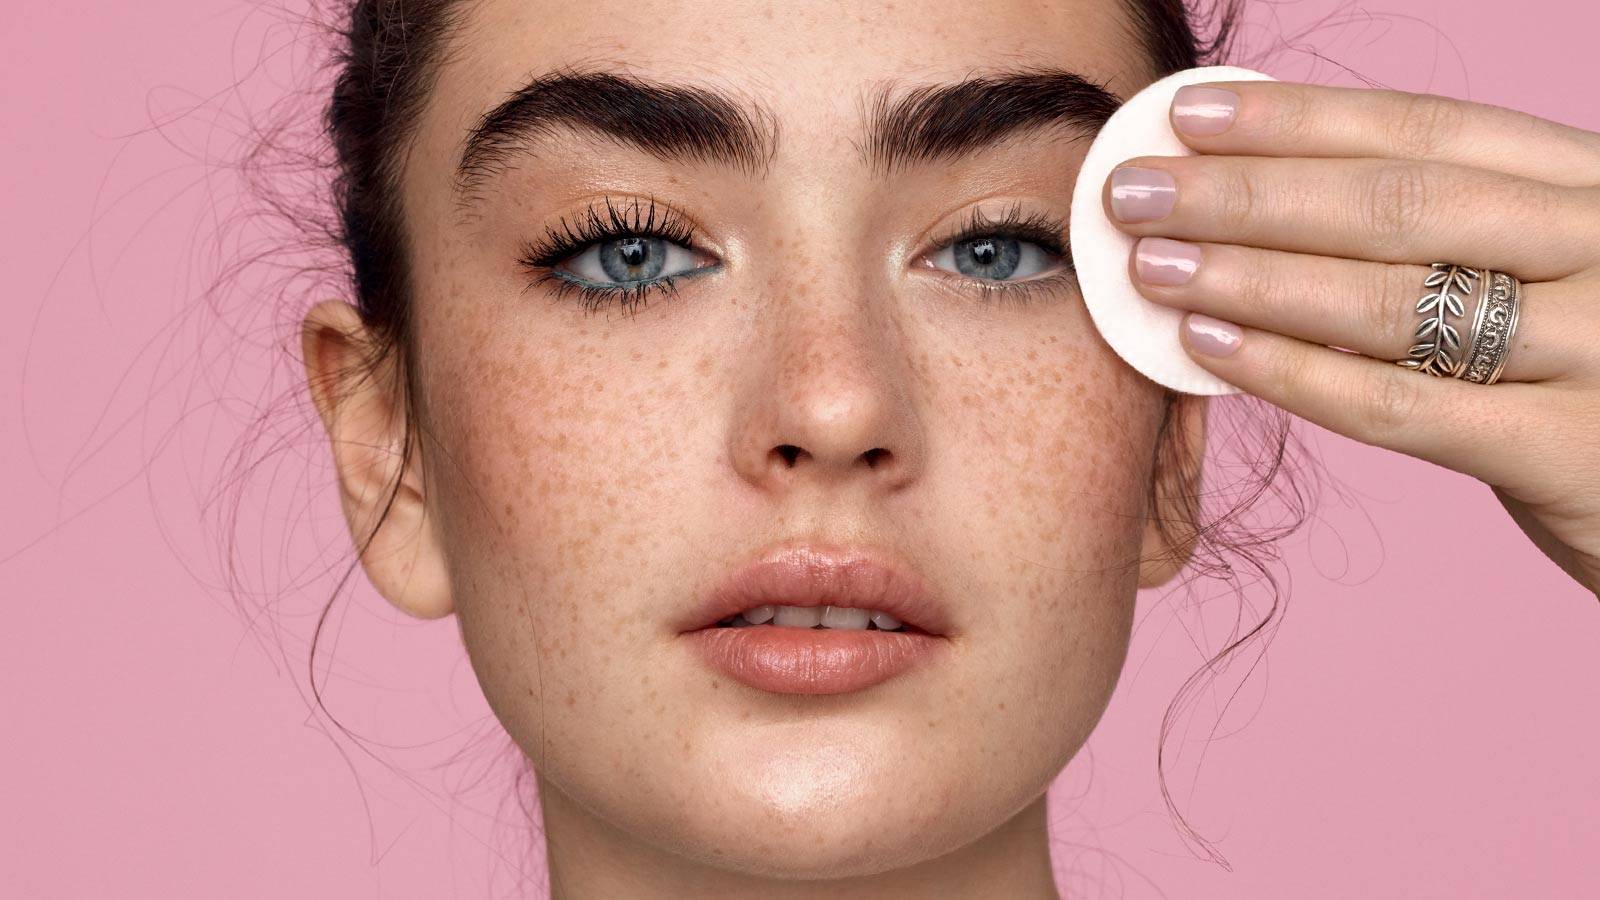
Tubing Mascara: An Innovative Approach To Luscious Lashes And Easy Removal
Tubing Mascara: An Innovative Approach to Luscious Lashes and Easy Removal

Tubing mascara has gained popularity in recent years as an innovative solution for achieving long, voluminous lashes. Unlike traditional mascaras, which rely on pigments to enhance lash appearance, tubing mascara utilizes a unique formulation that creates tiny polymer tubes around each individual lash. Not only does this provide impressive length and volume, but it also offers smudge-proof, flake-resistant, and long-lasting wear. Additionally, the removal process for tubing mascara is straightforward and gentle on the lashes. In this article, we will delve deeper into the world of tubing mascara, exploring its benefits and sharing effective techniques for its removal. Tubing mascara is a revolutionary beauty product that offers several advantages over conventional mascaras. Its formulation contains flexible polymers that wrap around each lash, creating tube-like structures that enhance length and volume. These tubes are durable and remain intact throughout the day, resisting smudging, flaking, and smearing. One of the key benefits of tubing mascara is its ability to provide a clean, clump-free application. The unique tubing formula ensures that each lash is individually coated, preventing clumping or the formation of spidery lashes. This allows for a more natural and defined look. Furthermore, tubing mascara is highly resistant to water, humidity, and oil. It remains intact even in challenging conditions, making it an excellent choice for those with oily eyelids or individuals living in humid climates. Additionally, tubing mascara is a popular choice for individuals with sensitive eyes or contact lens wearers, as it is less likely to cause irritation or discomfort. The Removal ProcessRemoving tubing mascara is a straightforward process that requires warm water and a gentle cleanser. Unlike traditional mascaras that may necessitate harsh rubbing or the use of oil-based removers, tubing mascara can be easily removed without causing damage to the lashes. Here’s a step-by-step guide on how to remove tubing mascara effectively: Begin by wetting your face with warm water. Ensure the water is comfortably warm, but not hot. Gently splash warm water onto your closed eyes, allowing the mascara to become thoroughly soaked. The warmth of the water helps loosen the tubes. Take a small amount of a gentle cleanser, such as a mild face wash or an eye makeup remover, and apply it onto your fingertips or a cotton pad. Close your eyes and use gentle circular motions to massage the cleanser onto your lashes, focusing on the roots and working your way towards the tips. This helps break down the tubes. Continue massaging for approximately 30 seconds to a minute, or until you feel the mascara starting to slide off. Be careful not to tug or pull on your lashes. Once you’re satisfied with the cleansing process, rinse your face with warm water, ensuring that all the mascara has been washed away. Gently pat your face dry with a clean towel, being careful not to rub your eyes vigorously. By following these steps, you can effectively remove tubing mascara without causing any harm or irritation to your lashes or the delicate eye area. Tips and PrecautionsWhile tubing mascara removal is generally gentle, it’s essential to keep a…

What Is The Womens Beauty 4
What is the women’s beauty

The concept of beauty has been around since antiquity. Beauty is in the eye of the beholder and can be different for each person. Many people believe that there are certain physical features that make someone beautiful, while others may focus more on character traits or personality qualities.Beauty is often seen as an attribute that reflects a person’s worth and ability to attract mates., Historically, women have had to undergo various procedures to achieve what was considered aesthetically pleasing characteristics such as makeup and hairstyles. “Women’s beauty” is defined as the beauty and attractiveness of women. It is one of the most common topics in the world. Men and women are socialized to believe that certain characteristics are beautiful. These social constructs are largely due to cultural and societal norms. It is therefore difficult to define beauty on a gender-neutral level. However, one of the definitions is that beauty is the way someone makes others feel. The concept of women’s beauty is complex because it is influenced by culture, age and personal preference. Women’s beauty is mostly defined by their skin. The skin plays a key role in determining a person’s beauty. Some people have beautiful, healthy skin. As a result, they are attractive and attractive to others. On the other hand, some people have skin that is either damaged or damaged. As a result, they are not attractive to others. Therefore, it is important for women to take care of their skin. This includes make-up, proper hygiene and regular skin checks. When they take care of their skin, they naturally have healthy, beautiful skin. Women’s beauty also depends on the way they look in their hair. There are different hairstyles for different occasions. For example, one hairstyle is for formal occasions, such as when meeting someone new. Another hairstyle is for going out and having fun. Men often pay more attention to women with beautiful hair. That is because they know that their partner is beautiful and will therefore be successful in relationships. Women’s beauty is also defined by the facial features. There are different facial features that are considered beautiful. One of the most common facial features is the lips. Men often pay attention to women with beautiful lips. This is because they know that their partner is beautiful and will therefore be successful in relationships. Although some men like women with skin, some men like women with acne. This is because some men like women with blemished skin. However, others dislike women with blemished skin. Therefore, it is important for women to take care of their skin. This includes make-up, proper hygiene and regular skin checks. When they take care of their skin, they naturally have healthy, beautiful skin. Although some men like women with long hair, some men like women with short hair. This is because men and women have different preferences. Men often like women with short hair because it shows that they are willing to please others. However, some men prefer women with long hair. This is because they believe that long hair is more beautiful…

How To Spot And Treat Damage In Dry Hair: A Comprehensive Guide
How to Spot and Treat Damage in Dry Hair: A Comprehensive Guide

Dry hair is a common hair concern that can be caused by various factors, including environmental conditions, heat styling, chemical treatments, and inadequate hair care practices. When hair lacks moisture and essential nutrients, it becomes prone to damage, leading to frizz, split ends, and overall dullness. Spotting and treating damage in dry hair is essential to restore its health, shine, and manageability. In this comprehensive guide, we will explore the signs of damage in dry hair and provide effective treatment methods to revive and nourish your locks. Signs of Damage in Dry Hair: Split Ends: Split ends are one of the first signs of hair damage. When the protective outer layer of the hair cuticle is damaged, the inner cortex becomes exposed, causing the hair to split into two or more ends. Split ends give the hair a frayed appearance and can travel up the hair shaft if left untreated. Brittle Texture: Dry hair lacks elasticity and flexibility, making it brittle and prone to breakage. When hair is damaged, it loses its ability to withstand stress and can snap easily when combed or styled. Lack of Shine: Healthy hair reflects light, creating a natural shine. However, damaged dry hair appears dull and lacks luster due to the rough and damaged cuticle. Tangles and Knots: Damaged hair has a rough surface, leading to tangles and knots that are challenging to detangle without causing further damage. Frizz and Flyaways: The cuticle damage in dry hair allows moisture to escape, causing frizz and flyaways, especially in humid conditions. Overly Porous Hair: Damage in dry hair can lead to excessive porosity, where the hair absorbs and loses moisture rapidly. Overly porous hair struggles to hold onto moisture, making it prone to dryness and further damage. Treatment Methods for Damaged Dry Hair: Trim Regularly:To combat split ends and prevent further damage, regular trims are essential. Trimming the hair every 6-8 weeks removes split ends and promotes healthy hair growth. Deep Conditioning:Deep conditioning treatments nourish and hydrate the hair, restoring moisture and improving its texture. Look for deep conditioning masks or treatments with ingredients like shea butter, argan oil, or keratin to repair and strengthen the hair. Avoid Heat Styling:Reduce the use of heat styling tools such as flat irons and curling wands, as they can cause further damage to dry hair. If you must use heat, apply a heat protectant spray and use the lowest heat setting possible. Use Sulfate-Free Shampoos:Sulfates in shampoos can strip the hair of its natural oils, making dry hair even drier. Switch to sulfate-free shampoos that are gentle on the hair and scalp. Limit Chemical Treatments:Excessive chemical treatments, such as bleaching and coloring, can worsen dry hair. Limit the use of harsh chemicals and opt for nourishing hair treatments instead. Incorporate Oils into Your Routine:Natural oils like coconut oil, jojoba oil, and argan oil can provide deep hydration and repair damaged hair. Apply a small amount of oil to damp hair or use it as an overnight treatment for intense nourishment. Hydrate from Within:Proper hydration is essential for healthy hair. Drink plenty…

Create The Perfect Eyebrows Using These Easy Eyebrow Filling Steps Kopya
Create The Perfect Eyebrows Using These Easy Eyebrow Filling Steps

Eyebrows are more than just facial features; they are the frame to the masterpiece that is your face. Perfectly filled and shaped eyebrows can significantly enhance your overall look, highlighting your best facial features and expressing your emotions with precision. Understanding the art and science behind eyebrow filling is essential for anyone looking to perfect their makeup routine. This expanded guide will cover every step, tool, and tip you need to master the skill of eyebrow filling. Understanding Eyebrow Shapes The journey to perfect eyebrows begins with a clear understanding of the natural shape of your brows and how it complements your facial structure. Each face shape benefits from different eyebrow shapes—arched brows can lift and open up the eye area on a round face, while straight brows can soften the angles of a square face. Learning to identify your face shape and corresponding brow shape is the first step to eyebrow perfection. We’ll delve into how different eyebrow shapes can enhance various facial features, providing visual harmony and balance. The Essentials for Eyebrow Filling The right tools are your best allies in achieving perfect brows. This section will explore the myriad of products available—from pencils that offer precision to powders that provide a softer look and gels that keep every hair in place. We’ll guide you in choosing the right shades to complement your hair color and skin tone, ensuring a natural and cohesive look. Step-by-Step Guide to Filling Your Eyebrows Tips for Achieving Symmetry Symmetry is often cited as the hardest goal to achieve in eyebrow filling. We’ll provide practical advice on how to measure and adjust for even eyebrows, recognizing that perfect symmetry is not always attainable or natural. Techniques for using your facial features as guides to achieve as much balance as possible will be covered extensively. Long-Lasting Eyebrow Filling Sweat, oil, and daily activities can wear down even the best-applied brow makeup. This section will focus on methods and products to ensure your brows stay perfect from morning till night, discussing waterproof products, primers, and setting sprays designed specifically for brows. Fixing Common Eyebrow Filling Mistakes From overfilled brows to mismatched colors, mistakes happen. We’ll explore common pitfalls in eyebrow filling and offer expert solutions, including how to lighten too-dark brows and reshape without starting from scratch. Advanced Eyebrow Filling Techniques For those ready to take their brow game to the next level, we’ll delve into advanced techniques such as creating texture for a more natural appearance, mastering the gradient or ombre effect, and even experimenting with eyebrow wigs for bold transformations. Maintaining Your Perfect Eyebrows Achieving the perfect brows is one thing; maintaining them is another. We’ll provide advice on regular grooming practices, touch-up strategies, and how to extend the life of your brow look between fillings. The Role of Professional Eyebrow Services While DIY techniques are invaluable, professional services like threading, waxing, and microblading offer another level of precision and longevity. We’ll discuss when it might be beneficial to seek professional help and what to expect from these services, including the benefits of professional shaping…

12 More Makeup Mistakes That Might Be Making You Look Older

Makeup is a powerful tool that, when used correctly, can enhance natural beauty, conceal imperfections, and even take years off your appearance. However, certain makeup practices can have the opposite effect, adding years to your face instead of subtracting them. This article dives deep into 12 more makeup mistakes that might be making you look older and provides expert advice on how to avoid them for a fresher, more youthful look. Understanding Makeup and Aging The relationship between makeup and perceived age is intricate. While makeup has the potential to highlight our best features, certain application techniques and product choices can inadvertently age us. Factors such as texture, color, and formula play significant roles in how makeup interacts with mature skin. It’s crucial to adapt our makeup strategies as we age to complement our changing skin, rather than emphasize the signs of aging. Mistake #1: Skipping Primer The Role of Primer in Makeup Longevity Primer is essential for creating a smooth base, filling in fine lines and enlarged pores, which become more prominent as skin ages. A silicone-based primer, for example, can blur imperfections and provide a seamless surface for the rest of your makeup, ensuring it lasts longer without settling into wrinkles. Recommendations for Mature Skin Look for hydrating primers that contain ingredients like hyaluronic acid to add moisture to the skin, which helps in achieving a plump, youthful appearance. Avoid mattifying primers, as they can dry out the skin and make fine lines more visible. Mistake #2: Overusing Powder Powder’s Aging Effect Excessive use of powder, especially heavy or mattifying formulas, can settle into fine lines and emphasize wrinkles, making the skin look older. Powder absorbs moisture, and on mature skin, it can lead to a cakey appearance. Alternative Setting Options Opt for translucent setting powders applied sparingly with a fluffy brush to areas that tend to get oily, like the T-zone. Consider switching to liquid or cream-based products that provide a dewy finish, as they help maintain skin’s natural glow. Mistake #3: Neglecting Eyebrow Care Importance of Full Eyebrows Eyebrows frame the face, and fuller brows are associated with youth. With age, brows can become sparse. Filling in your eyebrows subtly can lift the face and make you look younger. Eyebrow Filling Techniques Use a brow pencil or powder that matches your eyebrow color to fill in sparse areas with light, feathery strokes. Avoid harsh lines or overfilling, as this can look unnatural. Consider a tinted brow gel for a more natural look that also sets hairs in place. Mistake #4: Heavy Foundation Use Choosing the Right Foundation A heavy, matte foundation can settle into fine lines and wrinkles, highlighting them. Instead, opt for lightweight, hydrating formulas that provide coverage without the weight. Tinted moisturizers or BB creams are excellent alternatives for mature skin. Application Tips for a Natural Look Apply foundation with a damp beauty sponge to sheer out the coverage and create a more natural, skin-like finish. Focus on areas that need coverage rather than applying a thick layer over the entire face. Mistake #5: Incorrect Concealer…

Effortless Elegance: A Step By Step Guide On How To Remove Gel Nail Polish At Home
Effortless Elegance: A Step-by-Step Guide on How to Remove Gel Nail Polish at Home

Gel nail polish has revolutionized the world of manicures, offering long-lasting color and a glossy finish. However, the time eventually comes when you need to remove your gel nail polish to refresh your nails or switch up your look. While salon visits are a common option, learning how to remove gel nail polish at home can save you time and money. In this comprehensive guide, we will walk you through the step-by-step process of safely and effectively removing gel nail polish at home, ensuring that your nails stay healthy and pristine. Understanding Gel Nail Polish Gel nail polish differs from traditional nail polish due to its unique formula and the curing process involved. Gel polish is applied in layers and cured under a UV or LED lamp, resulting in a durable and chip-resistant finish that can last for several weeks. Tools and Supplies You’ll Need Before you start the gel nail polish removal process, gather the following tools and supplies: Step-by-Step Guide to Removing Gel Nail Polish at Home Step 1: Prep Your Workspace Choose a well-lit and comfortable space to work in. Lay down a towel or a disposable surface to catch any spills or drips. Step 2: Buff the Shine Using a nail buffer or a gentle nail file, lightly buff the surface of your gel nails. This step helps break the seal of the topcoat, allowing the acetone to penetrate and dissolve the gel polish more effectively. Step 3: Soak Cotton Pads Cut your cotton pads or cotton balls into pieces that are large enough to cover your nails. Soak them in acetone until they are fully saturated. Step 4: Apply Cotton and Foil/Clips Place the soaked cotton on your nails, ensuring that the entire nail surface is covered. Then, wrap each fingertip with a small piece of aluminum foil or use nail clips to secure the cotton in place. This creates a sealed environment that helps the acetone work more efficiently. Step 5: Wait and Relax Wait for about 10-15 minutes, allowing the acetone to soften the gel polish. Use this time to relax, catch up on a book, or simply enjoy a quiet moment. Step 6: Gently Remove the Gel Polish After the soaking time, carefully remove the foil or clips and the cotton from your nails. You’ll notice that the gel polish has started to lift and peel. Use a cuticle pusher or an orange stick to gently push away the softened gel from your nails. Be patient and avoid scraping or prying too aggressively, as this could damage your natural nails. Step 7: Hydration and Nourishment After removing the gel polish, wash your hands with soap and water to remove any residue. Apply a nourishing cuticle oil or cream to replenish moisture to your nails and cuticles. This step helps counteract the drying effects of acetone. Step 8: Moisturize Finish the process by applying a rich hand cream or moisturizer to your hands and nails. This helps keep your skin hydrated and supple. Learning how to remove gel nail polish at home can be a…