How to Choose the Perfect Blush for Your Skin Tone

Blush is a pivotal element in the makeup routine, capable of transforming your look with just a few strokes. It adds a healthy, youthful glow and dimension to the face, but selecting the perfect shade for your skin tone can be daunting. This guide will help you navigate the nuances of choosing a blush that complements your complexion beautifully.
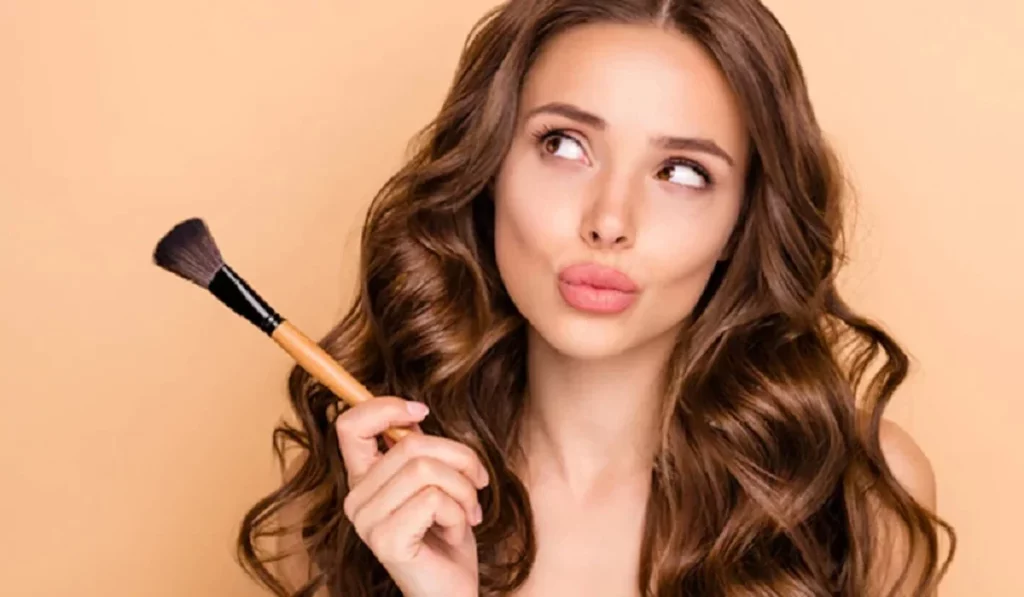
How To Choose The Perfect Blush For Your Skintone


Understanding Your Skin Tone

Identifying Warm, Cool, and Neutral Undertones

Your skin’s undertone is key to selecting makeup. Warm undertones look best with peach or coral blushes, cool undertones shine with pink or rose shades, and neutral undertones can flexibly wear either.

The Importance of Natural Lighting

Evaluate your skin tone and undertone in natural light to get the most accurate reading, ensuring you choose a blush that harmonizes naturally with your complexion.

Blush Types and Textures

Powder, Cream, Liquid, and Gel Formulas

Different blush formulas cater to different needs and preferences. Powder blushes are great for oily skin, cream and liquid for dry skin, and gel blushes offer a sheer, natural look.

Choosing the Right Texture for Your Skin Type

Match the blush texture with your skin type for the best results. Oily skin benefits from powder blushes, whereas dry skin looks radiant with cream formulas.

Selecting Blush for Fair Skin Tones

Best Shades for a Natural Glow

Fair skin tones should opt for soft peach, light pink, or coral to add a subtle warmth without overwhelming the complexion.

Avoiding Overpowering Colors

Steer clear of overly dark or bright shades that can look harsh against light skin. Instead, choose light, buildable colors.

Choosing Blush for Medium Skin Tones

Ideal Shades for Warmth and Depth

Medium skin tones are complemented by rich peach, warm mauve, and soft berry shades, which add the right amount of color for a sun-kissed look.

Balancing Pigmentation and Brightness

Select a blush with enough pigmentation to show up on your skin, but with a brightness that enhances your natural glow.

How To Choose The Perfect Blush For Your Skintone


Finding the Right Blush for Dark Skin Tones

Vibrant and Deep Tones for a Radiant Look

Dark skin tones can carry vibrant reds, deep oranges, and bold berries beautifully, enhancing the skin’s natural depth.

Ensuring Visibility and Flattering Hues

Choose highly pigmented blushes that won’t get lost on your skin, and ensure the hues complement your undertone for a flattering effect.

Application Tips for a Flawless Finish

Techniques for Blending and Placement

Apply blush to the apples of your cheeks and blend upwards towards the temples for a lifted, youthful effect. Use light strokes to build color gradually.

Tools for Application: Brushes vs. Fingers vs. Sponges

A fluffy brush is ideal for powder blush, fingers work well for cream and liquid formulas, and sponges can help blend for a seamless finish.

Common Mistakes to Avoid

Over-Application and Mismatched Undertones

Start with a light hand to avoid over-application and select shades that match your undertone to avoid a clash with your natural coloring.

Ignoring the Rest of Your Makeup Palette

Ensure your blush harmonizes with the rest of your makeup, including lipstick and eyeshadow, to create a cohesive, balanced look.

In conclusion, choosing the perfect blush involves understanding your skin tone and undertone, selecting the right formula, and applying it with techniques that enhance your natural beauty. By avoiding common pitfalls and embracing the tips outlined above, you can achieve a radiant, healthy glow that perfectly complements your complexion.

How do I determine my skin’s undertone?
Look at the veins on your wrist; green indicates warm, blue or purple suggests cool, and if you can’t decide, you likely have a neutral undertone.


Can I wear blush if I have acne or textured skin?
Yes, opt for sheer, lightweight formulas and avoid shimmer, which can accentuate texture. Focus on placement to draw attention away from problem areas.

Is there a universal blush shade that works for everyone?
While no single shade suits every skin tone, soft peach or light pink shades are generally flattering across a wide range of complexions.

How do I make my blush last longer?
Use a primer before applying foundation and set your blush with a light dusting of translucent powder or a setting spray to extend its wear.



Unlocking Success Confidence Boosters Dressing For Confidence
Unlocking Success: Confidence Boosters: Dressing for Confidence

Dressing for success involves more than simply outfits. It is about showing yourself as competent and confident. Regardless of whether you are going to a job interview, a social gathering, or just looking empowered in your daily life, your dressing can impact how you think about yourself and others. This specific write-up will discuss the psychology of dressing for success, offer suggestions for various cases, and also provide you with confidence to showcase your individual style. Understanding Dressing Psychology Clothing impacts our psychology. Dressing reflects not just our individuality but also affects behaviour and mood. It has been found that dressing in’good – feeling ‘clothes increases self-esteem and performance across a range of life activities. On the flip side, dressing in uncomfortable or insecure clothing may in fact encourage confidence and achievement. Impressions – Power of First Impressions You never have a 2nd opportunity to impress – which involves dressing for success. Regardless of whether you are meeting somebody for the very first time or even entering a brand new location, your image precedes your words. Dressing up and confidently will send the message of professionalism, expertise and credibility, making you effective in every scenario. Dressing for Different Situations Dress to be successful: No one size will fit all. What’s good for a company meeting may not do the job for a weekend trip with friends. You have to match your outfits to the occasion setting. Whether it is business professional, elegant casual or cocktail attire, understanding and following dress codes demonstrates respect for the circumstances and also causes you to feel much more relaxed. The Science Behind Confidence Boosting The connection between dress and confidence is not simply anecdotal – it is scientific. It has been found that dressing in ‘powerful’ clothes actually alters our cognitive functions, resulting in elevated feelings of confidence and assertiveness. This technique, termed enclothed cognition, illustrates just how clothing affects our action and thought. Choosing the Right Attire It is not about following the most recent fashion fads or designer labels; picking out the perfect outfit is more than that. It is about finding clothing which makes you feel at ease and confident while simultaneously flattering your figure and your skin tone. Whether you favor traditional staples or bold statement pieces, embracing your individual style is crucial to being empowered in whatever you wear. Including Confidence in Fashion Choices Confidence is definitely the greatest accessory which will elevate any wardrobe. Regardless if you are sporting a power suit or an informal outfit, dressing with self-confidence could immediately alter your look. Reminder: it is not about what you wear, but the way you put it on. Keep away from the crowd, walk purposefully, and dress to impress in any particular attire. Confidence Fashion Accessories Accessories are much more than accessories – they are ways being yourself and improve your self-esteem. No matter whether it is a statement necklace, a statement scarf or a slick watch, the right accessory can help make you look million bucks. Play with various pieces to see what speaks for you and provides…

Goodbye Acne, Hello Clean Skin!
Goodbye Acne, Hello Clean Skin!: Unveiling the Secrets to a Clear Complexion

Acne is more than just a skin condition; it’s a common struggle that affects millions worldwide. Whether you’re a teenager grappling with hormonal changes or an adult dealing with stress-induced breakouts, the quest for clear skin can seem endless. This guide dives deep into understanding acne, debunking myths, and providing a clear path to achieving and maintaining acne-free skin. Understanding Acne Causes Exploring the Root Causes of Acne Acne is primarily caused by the overproduction of oil, clogged hair follicles, bacteria, and inflammation. Hormonal fluctuations, particularly during puberty, pregnancy, and certain periods of adult life, play a significant role. Genetics can also predispose individuals to acne, making some more likely to experience severe forms than others. The Psychological Impact of Acne The effects of acne extend beyond the skin. It can severely impact self-esteem and mental well-being, leading to social withdrawal, anxiety, and depression. Acknowledging this aspect is crucial for a holistic approach to acne treatment, emphasizing the importance of addressing both physical and psychological health. The Science of Acne Differentiating Types of Acne Understanding the types of acne (such as blackheads, whiteheads, papules, pustules, and cystic acne) is fundamental in choosing the right treatment. Each type has unique characteristics and requires specific approaches to treatment. Unpacking the Causes of Acne The formation of acne involves complex biological processes, including the overproduction of sebum, proliferation of acne-causing bacteria, and inflammation of the skin. Lifestyle factors, such as diet and stress, can exacerbate these processes. Myths vs. Facts About Acne Debunking Common Acne Myths There are numerous myths surrounding acne, such as the idea that chocolate and greasy foods cause breakouts, or that sun exposure can cure acne. It’s vital to separate myth from fact to avoid counterproductive treatment efforts. The Truth Behind Home Remedies While some home remedies may offer mild benefits, others can aggravate the skin. Understanding which natural ingredients are scientifically backed is key to incorporating them safely into your skincare routine. Essential Skincare Routines Crafting a Daily Skincare Routine A gentle yet effective skincare routine is paramount for managing acne-prone skin. This includes cleansing, moisturizing, and applying treatments that target acne without over-drying or irritating the skin. Key Products for Your Skincare Arsenal Certain ingredients, such as salicylic acid, benzoyl peroxide, and retinoids, are proven to combat acne. Understanding these ingredients and their proper use is essential for curating an effective skincare regimen. Professional Treatments for Acne Recognizing When to Consult a Dermatologist Knowing when to seek professional help can save time and prevent scarring. Dermatologists can offer personalized advice, prescribe medications, and recommend treatments like chemical peels and laser therapy. Overview of Popular Acne Treatments There’s a range of professional treatments available for acne, including prescription-strength topical and oral medications, light therapy, and dermatological procedures. Each has its benefits and suitability depending on the type and severity of acne. Natural Remedies and Their Efficacy Evaluating DIY Natural Solutions Natural remedies can be a supplementary approach to acne treatment. Ingredients like tea tree oil and green tea have shown promise in reducing inflammation and acne severity. Balancing Natural Remedies…

Expert Insights And Solutions For Eliminating Ingrown Hairs
Expert Insights and Solutions for Eliminating Ingrown Hairs

Ingrown hairs, a common yet often painful issue, occur when hairs grow sideways or curl back into the skin, leading to redness, inflammation, and possible infection. This detailed guide aims to shed light on the nature of ingrown hairs, explore their causes, and introduce a variety of effective strategies for both prevention and treatment. Deciphering the Phenomenon of Ingrown Hairs Characterized by the sideways growth or curling back of hair into the skin due to clogged follicles with dead skin, ingrown hairs are a widespread concern. Although anyone can suffer from ingrown hairs, those with curly or coarse textures are more prone, especially in areas subjected to regular hair removal like the face, neck, underarms, legs, and bikini line. Root Causes of Ingrown Hairs The act of hair removal, whether through shaving, waxing, or plucking, stands as the chief culprit for ingrown hairs. The type of skin, particularly oily or thick, may further predispose individuals to this condition by facilitating follicle clogging. Additionally, tight garments and friction can aggravate the situation, trapping hairs under the skin. Strategies to Forestall Ingrown Hairs Adopting correct hair removal practices is pivotal in averting ingrown hairs. Employing a sharp razor, shaving in the hair growth direction, and using a gentle shaving cream are key. Exfoliation plays a vital role in eliminating dead skin and ensuring proper hair growth. Selecting hair removal products that align with your skin type can also significantly reduce irritation. Eradicating Ingrown Hairs For those grappling with ingrown hairs, an array of home-based and clinical solutions are available. Home-Based Remedies for Ingrown Hairs Applying warm compresses can soften the skin, facilitating the emergence of the hair. Sugar scrubs can mildly exfoliate the skin, whereas essential oils like tea tree offer antiseptic benefits to diminish inflammation and avert infections. Clinical Interventions for Ingrown Hairs Techniques such as laser hair removal and electrolysis present more permanent answers by curbing hair growth and lessening ingrown hair occurrences. Chemical peels are effective in exfoliating dead skin and preventing follicle blockages. Pharmacy Solutions Applying creams with salicylic acid or benzoyl peroxide can mitigate inflammation and address infections in ingrown hairs. Products designed for exfoliation and serums to prevent ingrown hairs are specifically formulated to stop hairs from growing inward. Importance of Exfoliation Consistent exfoliation is crucial in warding off ingrown hairs by clearing dead skin that can ensnare hairs. Both manual and chemical exfoliants prove beneficial, yet selecting a suitable type for your skin to avoid irritation is essential. Post-Removal Care and Skin Recovery Post-extraction, maintaining cleanliness and hydration in the affected area is vital. Steer clear of tight-fitting clothes to reduce friction and irritation. Using a soothing balm or lotion can aid in healing and forestall future ingrown hairs. Consulting a Healthcare Provider Should signs of infection like pus, severe discomfort, or fever arise, seeking medical counsel is crucial. Persistent ingrown hairs that defy home-based treatments may necessitate professional care. Although ingrown hairs are bothersome, adopting appropriate preventative measures and treatments can lead to smooth, trouble-free skin. Whether through at-home remedies, clinical treatments, or over-the-counter products, grasping…

What Is Microblading Transform Your Eyebrows From Sparse To Gorgeous (1)
What is microblading? Transform Your Eyebrows from Sparse to Gorgeous

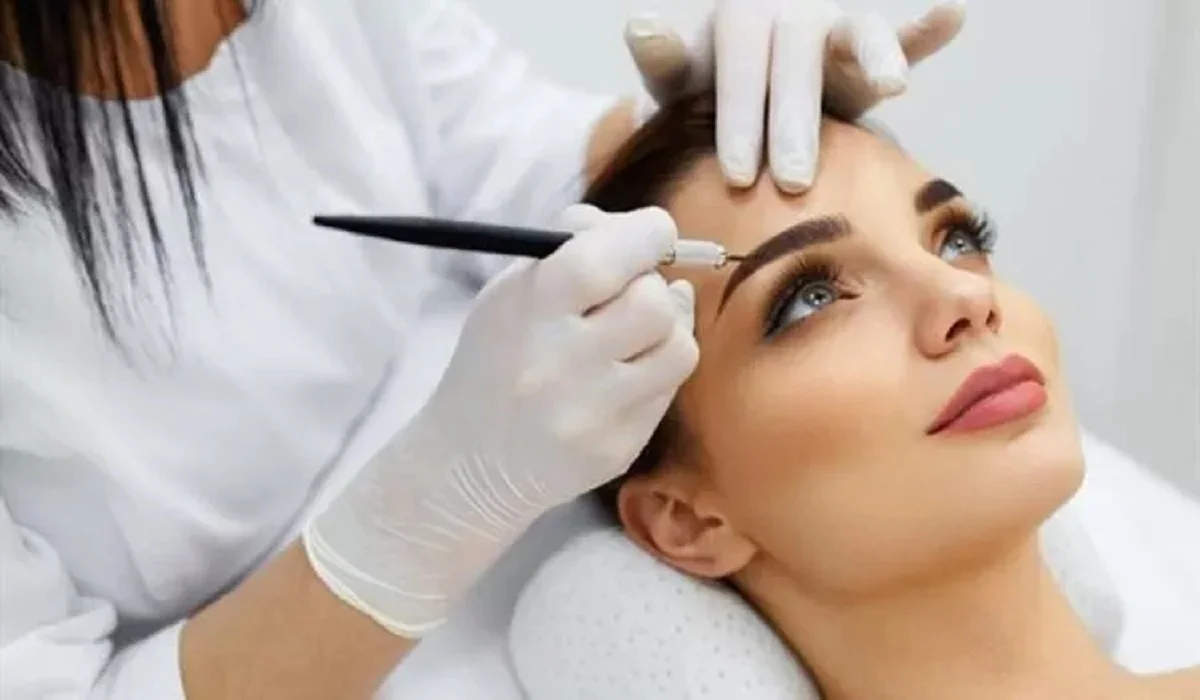
Microblading is a transformative beauty procedure that meticulously enhances the appearance of your eyebrows, offering a semi-permanent solution for those seeking fuller, more defined brows. This technique involves the manual insertion of pigment into the upper layers of skin to create the appearance of natural eyebrow hairs. However, achieving the best possible results requires more than just booking an appointment; it involves thorough preparation, understanding the process, and proper aftercare. Choosing the Right Microblading Technician The first step in your Microblading journey is to choose a skilled and certified aesthetician. Researching your options is crucial. Look for a salon that showcases an extensive portfolio of before and after photos, demonstrating their ability to produce the kind of results that captivate you. It’s essential that your chosen technician not only possesses the necessary certification but also has a wealth of experience, reflected in their hours of education and practical application. Remember, the quality of your results depends heavily on the skill and precision of the technician. State Regulations and Technician Licensing Be aware that each state has its own set of rules and regulations governing microblading. Before proceeding, verify the licensing requirements in your area and ensure your technician meets these standards. This step is crucial for both your safety and the legality of the procedure. Preparing for Your Microblading Session Proper preparation can significantly enhance the outcome of your Microblading procedure. Here are some essential tips to ensure you’re fully prepared: Understanding the Microblading Procedure Microblading is typically completed in three key steps: Preparation Initially, your aesthetician will apply a topical numbing cream to your eyebrow area to minimize discomfort. This preparation is vital for both your comfort and the steadiness of the microblading process. The Procedure Experience Pain tolerance varies from person to person. Some may only feel a slight scratching sensation, while others might experience a bit more discomfort. However, most find the procedure to be bearable, with the numbing cream significantly reducing any pain. Post-Procedure Care Immediately after your session, it’s normal for your eyebrows to appear darker and more pronounced than expected. This intensity will fade as they heal, usually within a week, resulting in a more natural look. It’s advised to avoid water exposure, including long showers and baths, during the initial healing phase to prevent the pigment from washing out prematurely. Post-Microblading Care To ensure the best healing and color retention, follow these aftercare tips: Potential Risks and How to Mitigate Them While microblading is generally safe, being informed about potential risks is crucial: Allergic Reactions Though rare, it’s possible to have an allergic reaction to the pigment used. Discuss any known allergies with your technician beforehand. Infection Infections can occur if the procedure is done with non-sterile equipment. Ensure your salon follows strict hygiene practices. Semi-Permanence Microblading results are semi-permanent. If you’re unhappy with the results, corrections or removal can be more challenging. Give yourself time to consider if microblading is right for you and choose a technician who can offer a result you’re confident you’ll be happy with. Microblading can significantly enhance your facial…

Beauty And Wellness Benefits Of Hair Oils
Beauty and Wellness Benefits of Hair Oils

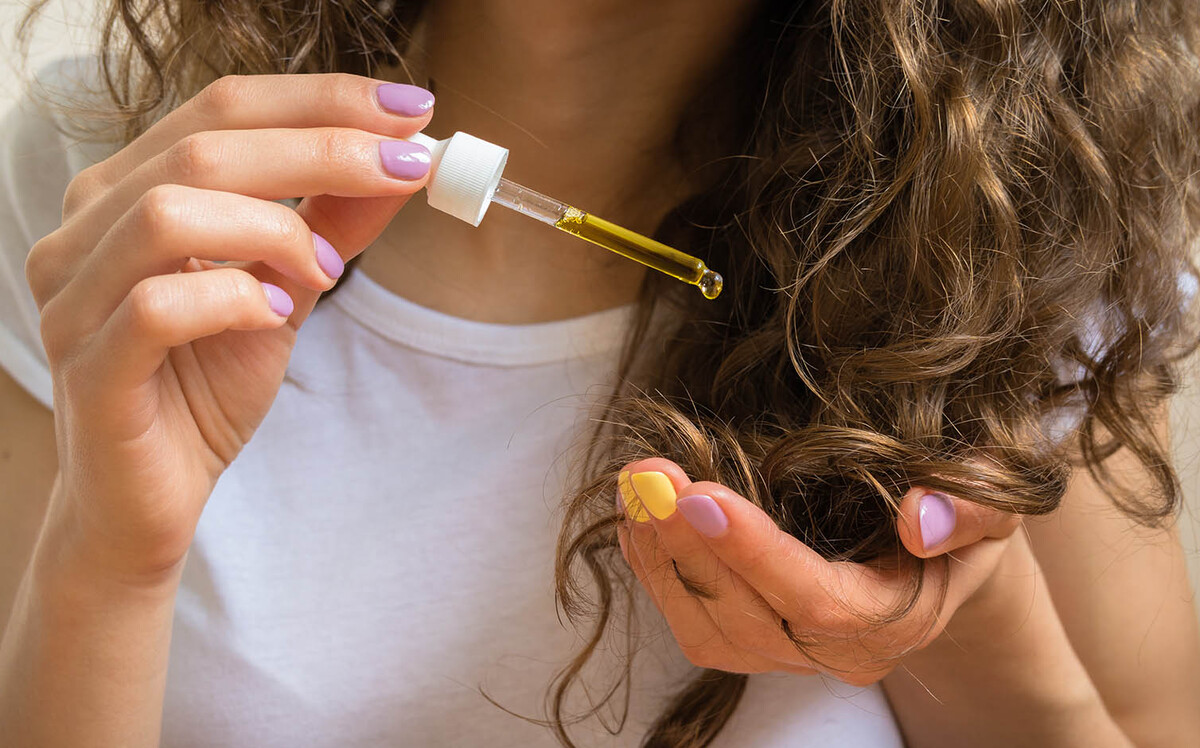
Hair has long been seen as a symbol of beauty and cultural importance; well-maintained long or short locks can bring tremendous confidence while improving appearance. Hair oils have long been revered across cultures due to their many uses; for centuries this nourishing elixir was revered due to its incredible benefits; in this guide we discuss them; including stimulating hair growth, improving overall hair health benefits as well as luxurious self-care rituals. Hair Oils Are Replete with History Understanding the significance of hair oils requires exploring their history. We will delve into ancient civilisations like Egypt and India to see how their people understood its use to maintain beautiful locks with natural oils like olive, castor and coconut oils – we will also delve into any traditions or rituals which have played an impactful role throughout time. Understanding Hair Oils and Their Science Behind them This article will delve into the science of hair oils, exploring their interactions with both hair strands and sebaceous glands of the scalp as well as examining penetration into hair shafts while simultaneously feeding sebaceous glands of scalps – knowledge in this regard is key for unlocking their full potential! Hair Oils: Benefits and Utilization Hair oils offer many advantages to all types of hair. They can promote growth, prevent loss and strengthen texture as well as shine & strength; we will explore their ability to treat problems such as dryness frizz dandruff. Hair oils come in numerous varieties Uncover all types of hair oils! From essentials such as lavender and rosemary essential oil blends to carrier oils like argan, almond and jojoba oils – discover them all. How to Use Hair Oils?In order to maximize the potential of hair oils, they must be properly utilized. We offer step-by-step guidance on how to massage and apply oils directly onto your scalp and hair; additionally we give tips for creating personalized blends tailored specifically for you and their use as part of everyday haircare practices. As part of an indulgent self-care routine, hair oils offer an indulgent self-care solution. Hair oiling can be a pleasurable and rejuvenating self-care routine that provides both physical and psychological revitalization. Applying it provides an eye-opening sensory experience which feeds both hair and mind alike – we will offer some ideas to create an inviting space in which to practice this ritual of pampering yourself! Modern haircare includes oil treatments as an essential way of maintaining healthier locks. They have multiple advantages. Hair oils have grown beyond cultural tradition to become an indispensable element of modern haircare. In this piece we explore how beauty companies have leveraged hair oils as an ingredient to develop innovative serums and leave-in treatments containing oil-infused formulas; additionally we consider any potential negative repercussions these trends might be having. Hair oils have long been part of beauty tradition; therefore this guide seeks to demonstrate their many beauty and health advantages by teaching how they can fit into your routine and reap their many rewards. Oils are proven to promote lush locks – be they longer with thicker locks, improved…

How To Spot And Treat Damage In Dry Hair: A Comprehensive Guide
How to Spot and Treat Damage in Dry Hair: A Comprehensive Guide

Dry hair is a common hair concern that can be caused by various factors, including environmental conditions, heat styling, chemical treatments, and inadequate hair care practices. When hair lacks moisture and essential nutrients, it becomes prone to damage, leading to frizz, split ends, and overall dullness. Spotting and treating damage in dry hair is essential to restore its health, shine, and manageability. In this comprehensive guide, we will explore the signs of damage in dry hair and provide effective treatment methods to revive and nourish your locks. Signs of Damage in Dry Hair: Split Ends: Split ends are one of the first signs of hair damage. When the protective outer layer of the hair cuticle is damaged, the inner cortex becomes exposed, causing the hair to split into two or more ends. Split ends give the hair a frayed appearance and can travel up the hair shaft if left untreated. Brittle Texture: Dry hair lacks elasticity and flexibility, making it brittle and prone to breakage. When hair is damaged, it loses its ability to withstand stress and can snap easily when combed or styled. Lack of Shine: Healthy hair reflects light, creating a natural shine. However, damaged dry hair appears dull and lacks luster due to the rough and damaged cuticle. Tangles and Knots: Damaged hair has a rough surface, leading to tangles and knots that are challenging to detangle without causing further damage. Frizz and Flyaways: The cuticle damage in dry hair allows moisture to escape, causing frizz and flyaways, especially in humid conditions. Overly Porous Hair: Damage in dry hair can lead to excessive porosity, where the hair absorbs and loses moisture rapidly. Overly porous hair struggles to hold onto moisture, making it prone to dryness and further damage. Treatment Methods for Damaged Dry Hair: Trim Regularly:To combat split ends and prevent further damage, regular trims are essential. Trimming the hair every 6-8 weeks removes split ends and promotes healthy hair growth. Deep Conditioning:Deep conditioning treatments nourish and hydrate the hair, restoring moisture and improving its texture. Look for deep conditioning masks or treatments with ingredients like shea butter, argan oil, or keratin to repair and strengthen the hair. Avoid Heat Styling:Reduce the use of heat styling tools such as flat irons and curling wands, as they can cause further damage to dry hair. If you must use heat, apply a heat protectant spray and use the lowest heat setting possible. Use Sulfate-Free Shampoos:Sulfates in shampoos can strip the hair of its natural oils, making dry hair even drier. Switch to sulfate-free shampoos that are gentle on the hair and scalp. Limit Chemical Treatments:Excessive chemical treatments, such as bleaching and coloring, can worsen dry hair. Limit the use of harsh chemicals and opt for nourishing hair treatments instead. Incorporate Oils into Your Routine:Natural oils like coconut oil, jojoba oil, and argan oil can provide deep hydration and repair damaged hair. Apply a small amount of oil to damp hair or use it as an overnight treatment for intense nourishment. Hydrate from Within:Proper hydration is essential for healthy hair. Drink plenty…

Tubing Mascara: An Innovative Approach To Luscious Lashes And Easy Removal
Tubing Mascara: An Innovative Approach to Luscious Lashes and Easy Removal

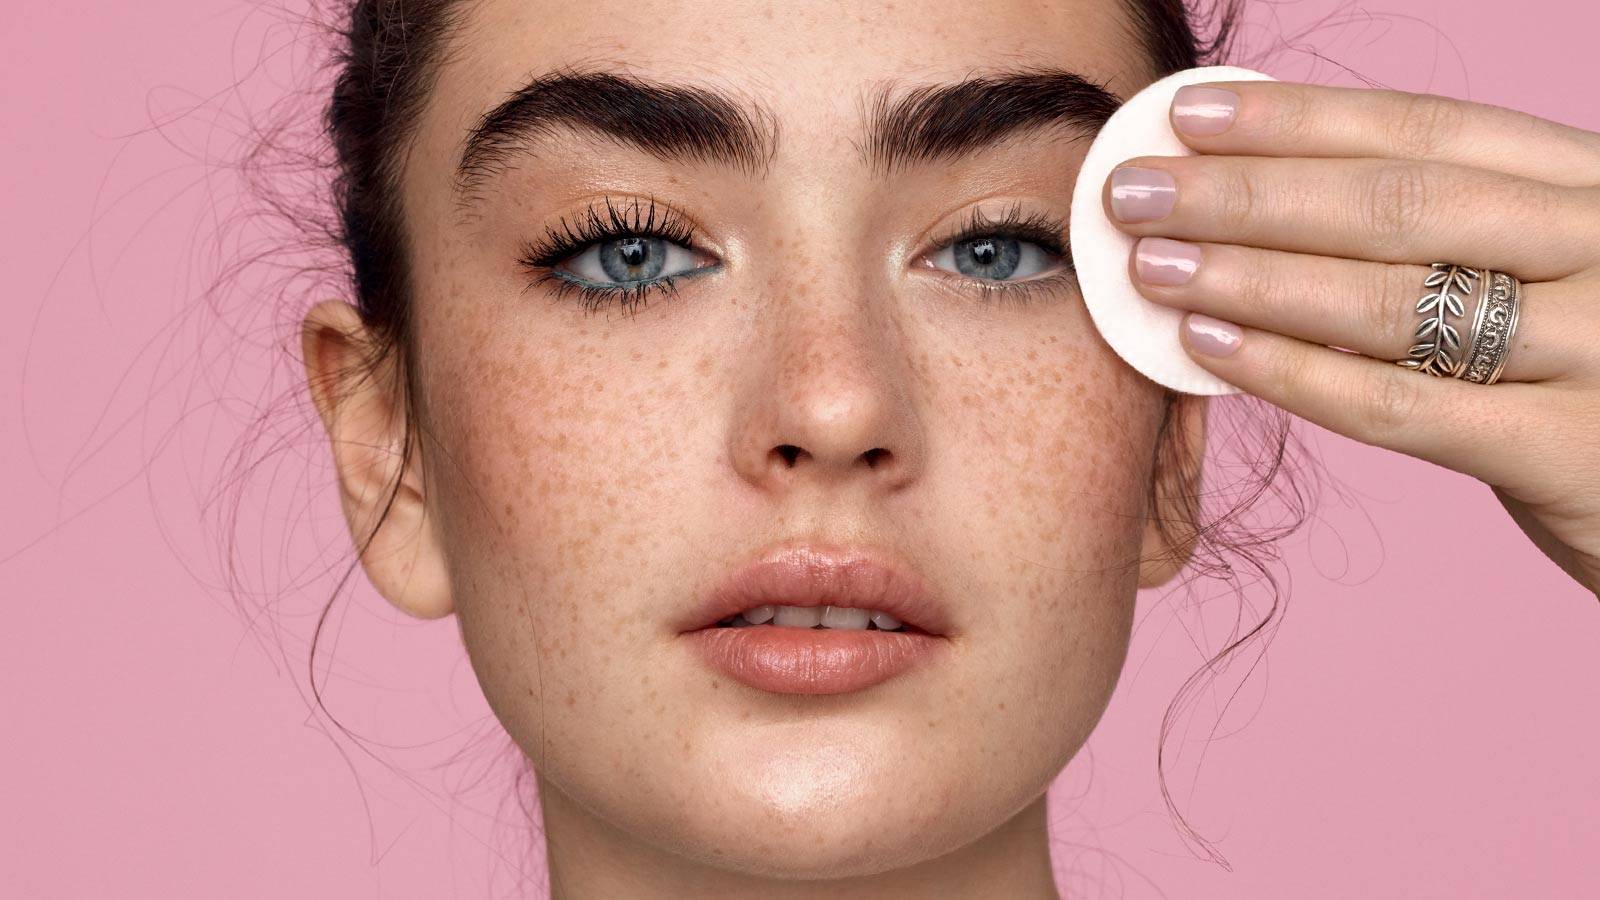
Tubing mascara has gained popularity in recent years as an innovative solution for achieving long, voluminous lashes. Unlike traditional mascaras, which rely on pigments to enhance lash appearance, tubing mascara utilizes a unique formulation that creates tiny polymer tubes around each individual lash. Not only does this provide impressive length and volume, but it also offers smudge-proof, flake-resistant, and long-lasting wear. Additionally, the removal process for tubing mascara is straightforward and gentle on the lashes. In this article, we will delve deeper into the world of tubing mascara, exploring its benefits and sharing effective techniques for its removal. Tubing mascara is a revolutionary beauty product that offers several advantages over conventional mascaras. Its formulation contains flexible polymers that wrap around each lash, creating tube-like structures that enhance length and volume. These tubes are durable and remain intact throughout the day, resisting smudging, flaking, and smearing. One of the key benefits of tubing mascara is its ability to provide a clean, clump-free application. The unique tubing formula ensures that each lash is individually coated, preventing clumping or the formation of spidery lashes. This allows for a more natural and defined look. Furthermore, tubing mascara is highly resistant to water, humidity, and oil. It remains intact even in challenging conditions, making it an excellent choice for those with oily eyelids or individuals living in humid climates. Additionally, tubing mascara is a popular choice for individuals with sensitive eyes or contact lens wearers, as it is less likely to cause irritation or discomfort. The Removal ProcessRemoving tubing mascara is a straightforward process that requires warm water and a gentle cleanser. Unlike traditional mascaras that may necessitate harsh rubbing or the use of oil-based removers, tubing mascara can be easily removed without causing damage to the lashes. Here’s a step-by-step guide on how to remove tubing mascara effectively: Begin by wetting your face with warm water. Ensure the water is comfortably warm, but not hot. Gently splash warm water onto your closed eyes, allowing the mascara to become thoroughly soaked. The warmth of the water helps loosen the tubes. Take a small amount of a gentle cleanser, such as a mild face wash or an eye makeup remover, and apply it onto your fingertips or a cotton pad. Close your eyes and use gentle circular motions to massage the cleanser onto your lashes, focusing on the roots and working your way towards the tips. This helps break down the tubes. Continue massaging for approximately 30 seconds to a minute, or until you feel the mascara starting to slide off. Be careful not to tug or pull on your lashes. Once you’re satisfied with the cleansing process, rinse your face with warm water, ensuring that all the mascara has been washed away. Gently pat your face dry with a clean towel, being careful not to rub your eyes vigorously. By following these steps, you can effectively remove tubing mascara without causing any harm or irritation to your lashes or the delicate eye area. Tips and PrecautionsWhile tubing mascara removal is generally gentle, it’s essential to keep a…

How To Choose The Best Liquid Concealer
Mastering the Art of Liquid Concealer for a Flawless Finish

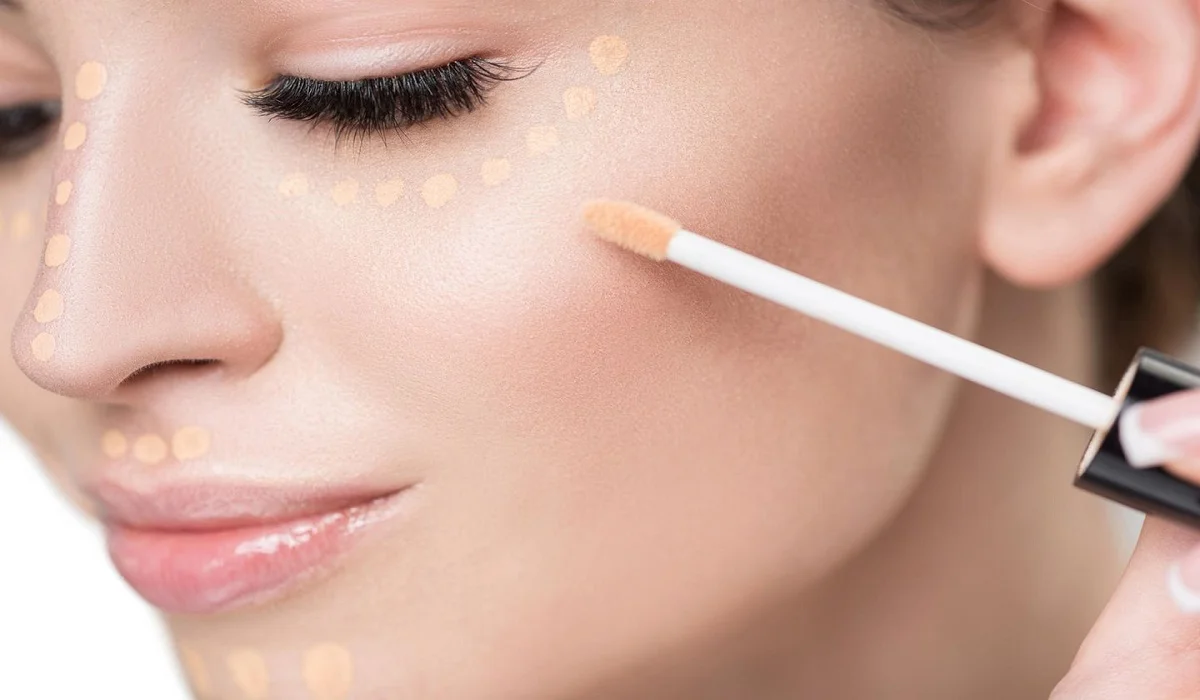
Liquid concealer isn’t just a makeup product; it’s a magic wand for your complexion. Essential for brightening the complexion, highlighting facial features, and concealing signs of fatigue or blemishes, liquid concealer serves as a color corrector. Ideally, it should be a shade or two lighter than your skin tone to effectively mask dark circles and imperfections, ensuring a seamless blend with your foundation for a natural, yet polished look. Liquid vs. Powder Concealer: Making the Right Choice The Supremacy of Liquid Concealer Liquid concealer reigns supreme in the beauty world for its ease of application, blendability, and exceptional coverage. Its dense formula surpasses traditional foundation in concealing power, catering to those seeking medium to full coverage. Understanding Powder Concealer While less common, powder concealer offers a lightweight alternative, ideal for individuals with sensitive or acne-prone skin seeking a more natural finish. Unlike liquid formulas, powder concealers boast a shine-free finish without the need for setting, and are celebrated for their durability and crease-resistant properties. Choosing Your Concealer Wisely Consider Your Skin Type Your skin type plays a pivotal role in concealer selection. Liquid concealers are versatile, catering to normal, sensitive, combination, and dry skin types by offering hydrating formulas that minimize flakiness. For oily skin, seek out oil-free liquid options that provide a matte finish without clogging pores. Coverage and Finish Determine your coverage needs: full coverage for concealing significant imperfections or medium coverage for a balance between concealment and a natural look. Your desired finish, be it dewy or matte, also influences your choice. For acne-prone skin, non-comedogenic formulas are essential, while those looking for added benefits should consider concealers with SPF. The Art of Application: Liquid Concealer Foundation First or Concealer? The application sequence depends on your foundation type. With powder foundation, apply concealer first to avoid a patchy finish. For liquid foundation, applying concealer afterward allows for precise coverage of any remaining imperfections and enhances facial contours through strategic light and shadow play. Application Techniques Apply your foundation evenly, then dot liquid concealer under the eyes, along the T-zone, or on blemishes. Using a concealer brush or damp makeup sponge, blend gently for a seamless integration with your foundation. Remember, less is more to avoid a cakey appearance. Setting Your Concealer Finalize your application with a translucent setting powder to ensure your concealer stays in place and maintains its brightness. Be mindful that the concealer should be slightly lighter than your foundation, but beware of setting powders altering its shade. Opt for a concealer one shade darker if using a tinted setting powder to compensate for any light-diffusing effects. Tips for a Flawless Finish Mastering liquid concealer is key to achieving a flawless makeup base. By selecting the right product for your skin type and coverage needs, and employing proper application techniques, you can enhance your natural beauty while concealing imperfections. Remember, the best makeup is not about transformation but about accentuating your inherent beauty with confidence and grace.