Mastering the Art of Henna Hair Dye

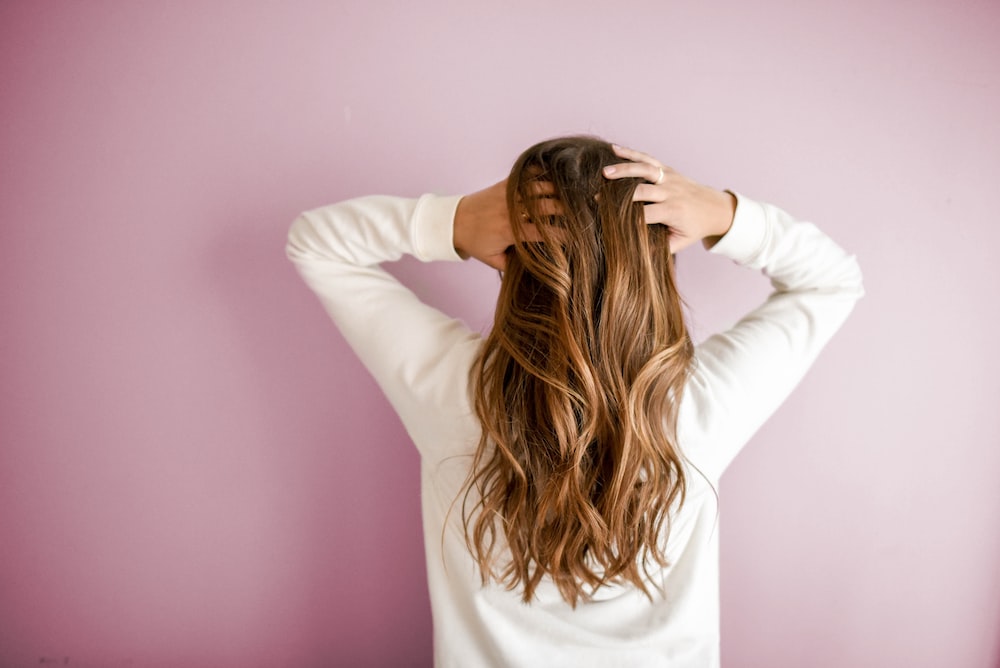
Embarking on the journey of dyeing your hair with henna can be both exciting and daunting. Henna, a natural dye made from the leaves of the Lawsonia inermis plant, offers a chemical-free option for coloring your hair, providing rich, long-lasting hues and a host of hair health benefits. This guide will walk you through each step of the process, ensuring that you achieve beautiful results with henna.
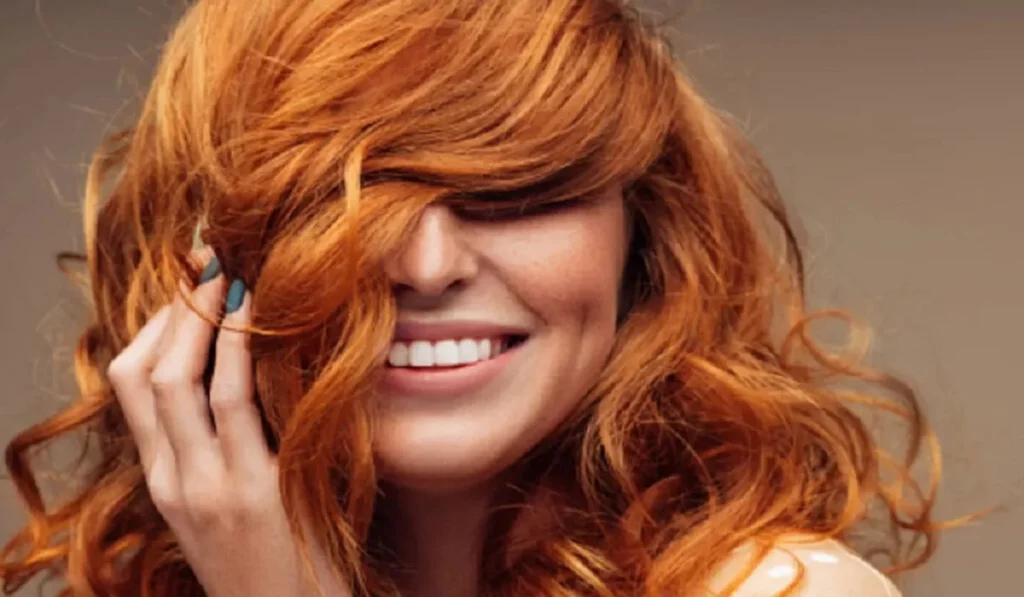
Mastering The Art Of Henna Hair Dye


Understanding Henna

What is Henna?

Henna is not just a hair dye; it’s a centuries-old plant-based pigment that has been used for body art and hair coloring across various cultures. It’s celebrated for its natural coloring properties and conditioning benefits.

Benefits for Hair

Beyond imparting vibrant color, henna strengthens, conditions, and nourishes the hair, reducing dandruff and promoting hair growth.

Types of Henna

Pure Henna

Pure henna yields a red-orange color and is free from any additives, making it the best choice for those looking for a natural option.

Henna Mixes

For a wider range of colors, henna is often mixed with other natural dyes. It’s important to choose mixes free from chemicals to maintain the natural benefits of henna.

Preparing Your Hair for Henna

Assessing Hair Type and Condition

Your hair’s starting color, type, and condition will affect how henna appears and should guide your preparation process.

Pre-Dye Preparations

Preparing your hair involves clarifying to remove buildup and testing the henna on a small hair section to predict the outcome.

Mixing Henna for Hair Dye

Ingredients Needed

You’ll need high-quality henna powder, acidic liquid (like lemon juice), and optional natural additives for enhanced effects.

Step-by-Step Mixing Guide

Mixing henna is an art; achieving the right consistency is crucial for easy application and optimal dye release.

Application Process

Sectioning Hair

Dividing your hair into sections ensures thorough application and even color.
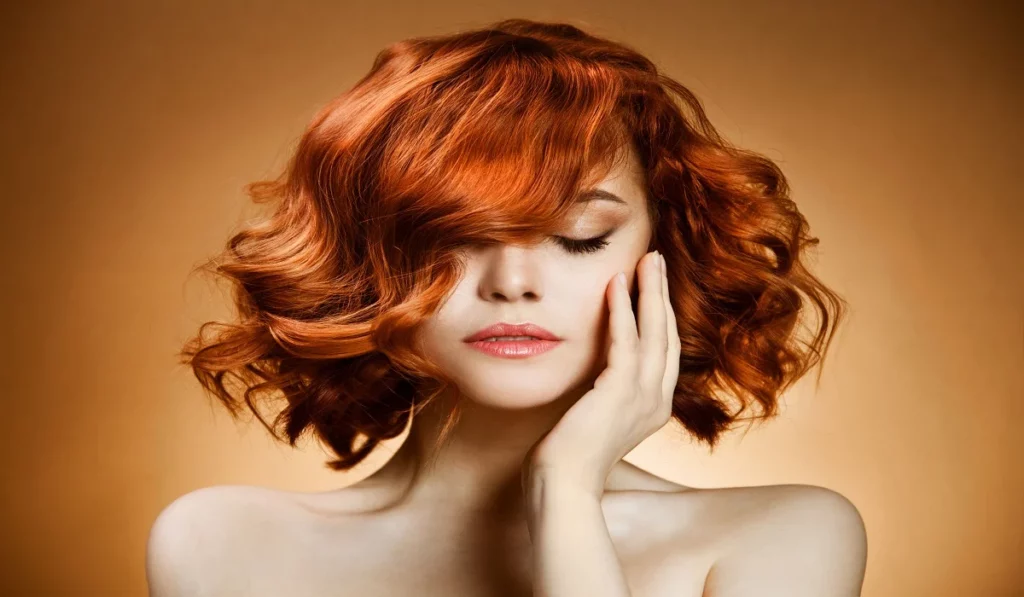
Mastering The Art Of Henna Hairdye

Applying Henna

Apply the paste from roots to tips, using gloves to protect your hands from staining.

Tips for Even Coverage

Ensuring even coverage is key to achieving uniform color and avoiding patches.

How to Dye Hair with Henna?

This comprehensive guide demystifies the process, making it accessible for first-timers and those looking to perfect their technique.

Post-Application Care

Washing Out Henna

Washing out henna requires patience and gentle care to preserve the color and avoid stripping the hair’s natural oils.

Hair Care After Dyeing

Post-henna care involves hydrating treatments and avoiding harsh chemicals to maintain the color and health of your hair.

Troubleshooting Common Henna Hair Dye Issues

Uneven Color

Adjusting your application technique or mix can help achieve more uniform results in future applications.

Dryness after Dyeing

Incorporating natural oils and deep conditioning treatments can combat dryness associated with henna.


Environmental and Health Considerations

Natural and Safe Dyeing Options

Choosing henna for hair coloring supports environmentally friendly and health-conscious beauty practices.

Dyeing your hair with henna is a rewarding process that not only beautifies but also benefits your hair health. By following these detailed steps, you can achieve stunning, natural-looking color and embrace a more sustainable approach to hair care.

Can henna cover gray hair? Yes, henna can effectively cover grays, offering a natural alternative to synthetic dyes.

How long does henna color last? Henna dye can last anywhere from 4 to 6 weeks, depending on your hair type and how often you wash it.

Is henna safe for all hair types? Henna is generally safe for most hair types, but it’s always recommended to do a strand test first.

Can I use henna over chemically treated hair? While henna is safe for use on chemically treated hair, results may vary. A strand test is advised to check for compatibility.

How can I achieve different colors with henna? Mixing henna with other natural dyes like indigo can produce a range of colors from red to deep brown and black.


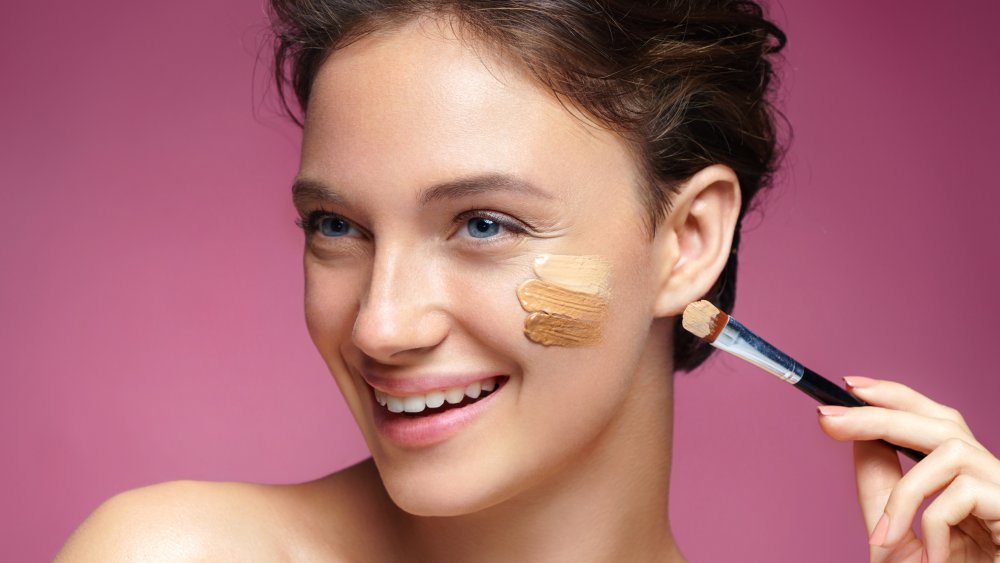
How To Achieve The Tiktok Vanilla Girl Makeupaesthetic
How to Achieve the TikTok Vanilla Girl Makeup Aesthetic

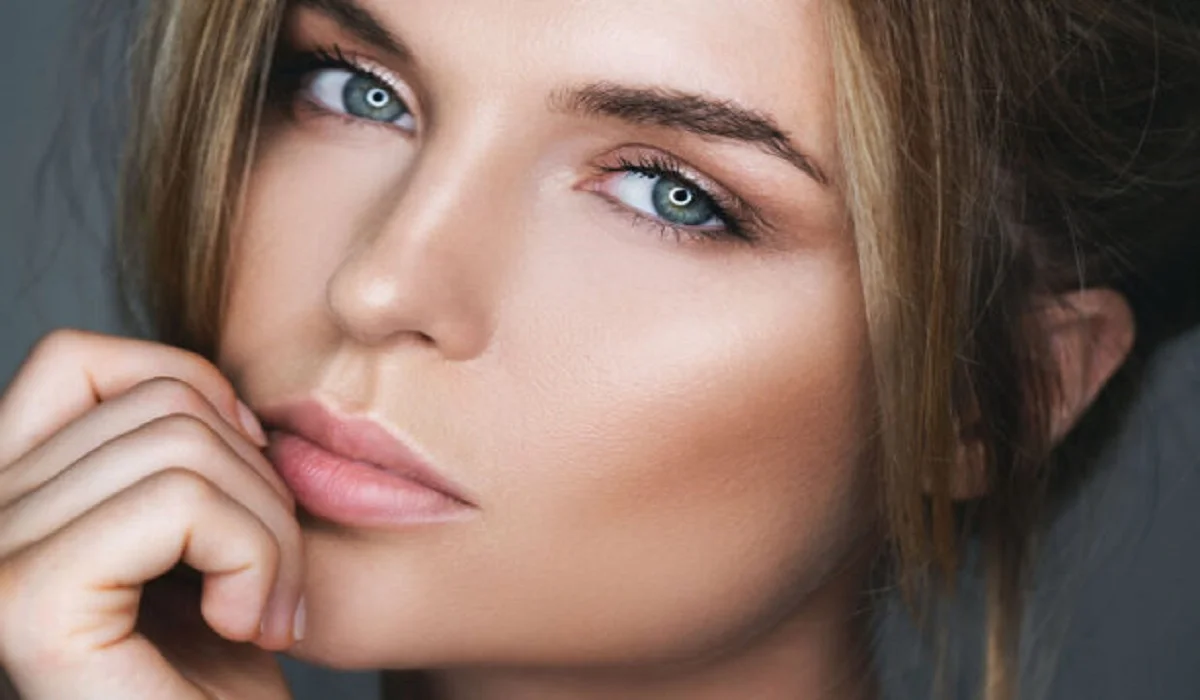
In an era where TikTok dictates the pulse of beauty and fashion trends, the Vanilla Girl makeup aesthetic has emerged as a coveted look. It’s a celebration of simplicity and natural beauty, steering away from the bold and dramatic to embrace the understated elegance of minimal makeup. This aesthetic is all about enhancing your natural features in the most subtle way. Whether you’re a seasoned makeup enthusiast or new to the beauty scene, achieving the Vanilla Girl look can be simple with the right approach. This comprehensive guide will walk you through the essential steps to mastering this effortlessly chic look, turning you into a TikTok sensation in no time. Start with a Flawless Base Achieving the Vanilla Girl makeup look begins with perfecting your canvas. Cleanse and moisturize your face to ensure a smooth and hydrated base. Opt for a tinted moisturizer or a lightweight foundation that seamlessly matches your skin tone for that barely-there effect. Application is key; use a damp beauty sponge or a foundation brush for an even and natural finish. A good base not only enhances the makeup but also cares for your skin underneath. Embrace Neutral Shades The essence of the Vanilla Girl aesthetic lies in the palette of neutral tones that complement your natural skin tone. Earthy hues of brown, beige, and nude in matte finishes are your best friends for eyeshadows and blushes. For the lips, a hint of gloss over a nude lipstick or a swipe of tinted lip balm adds the perfect touch of understated glamour. Selecting the right shades is crucial for maintaining the authenticity of the aesthetic while playing up your best features. Illuminate Your Natural Features Highlighting is a game-changer in the Vanilla Girl makeup routine. Use a highlighter that’s just a shade lighter than your skin tone and possesses a subtle shimmer, not glitter. The key areas to focus on are the tops of your cheekbones, the bridge of the nose, and the cupid’s bow. A gentle application will lend you a soft, ethereal glow that defines the Vanilla Girl look. Subtly Defined Eyes For eyes that speak volumes without saying a word, stick to neutral eyeshadows to define the crease and the outer corners. A swipe of brown or black mascara adds definition to your lashes, making your eyes appear wider and more awake. Those seeking a bit more depth can lightly line the waterline with a brown or black pencil. Remember, the goal is to enhance, not overshadow, your natural beauty. Natural Brows Are Key Brows frame the face and play a pivotal role in the Vanilla Girl aesthetic. The focus here is on full, well-groomed brows that look as natural as possible. Fill in sparse areas with a brow pencil or gel, mimicking the natural hair direction. The shade chosen should closely match your hair color to avoid a harsh contrast, keeping the overall look soft and coherent. Seal with a Dewy Finish Lock in your makeup while adding a burst of hydration with a dewy setting spray. A fine mist enriched with glycerin or…

7 Powerful Reasons Why Cancer Treatment Demandsglobalunity
7 Powerful Reasons Why Cancer Treatment Demands Global Unity

In an era where cancer continues to challenge the boundaries of medical science, the call for international cooperation has never been louder. The disease, with its myriad forms and complexities, does not recognize borders, making the global fight against it a shared responsibility. This article delves into the heart of why cancer treatment not only benefits from but requires international collaboration, highlighting the multifaceted approach needed to tackle this global health crisis. The Global Impact of Cancer Cancer remains one of the leading causes of death worldwide, with millions of new cases diagnosed annually. The economic burden of cancer is staggering, affecting not just the healthcare systems but also the productivity and wellbeing of societies. International cooperation offers a beacon of hope in pooling resources, knowledge, and expertise to combat this pervasive disease. Importance of International Cooperation Sharing research and innovation across borders can accelerate the development of new treatments and understanding of cancer. Standardizing treatment protocols globally ensures that patients, regardless of where they live, have access to the best care possible. Such collaboration fosters an environment where breakthroughs are shared, and clinical practices are harmonized for the benefit of all. Challenges in International Collaboration Despite its benefits, international collaboration in cancer treatment faces numerous challenges. Political and economic barriers, along with differences in healthcare infrastructure, can hinder cooperative efforts. However, overcoming these obstacles is essential for the greater good of global health. Case Studies: Success Stories The world has witnessed several success stories where international cooperation has made significant strides in cancer treatment. From cross-border research initiatives to global cancer treatment programs, these examples serve as a testament to what can be achieved when countries work together. Technological Advances in Cancer Treatment Advancements in technology, such as AI and machine learning, are revolutionizing oncology, offering new insights and improving patient outcomes. Telemedicine and remote care have also emerged as crucial components in making cancer care more accessible, especially in remote and underserved regions. Role of International Organizations Organizations like the World Health Organization (WHO) and various NGOs play a pivotal role in facilitating international cooperation in cancer care. Their initiatives help standardize treatments, promote research, and support low-income countries in building their oncology care capacities. Funding International Cancer Research The collaboration between governments and the private sector is crucial in funding cancer research. Innovative funding models, such as crowdfunding, have also gained traction, enabling the public to directly support cancer research initiatives. Educating and Empowering Patients Globally Empowering patients with access to information and support networks is vital in the global fight against cancer. International cooperation can help disseminate knowledge and resources, ensuring patients everywhere can make informed decisions about their care. The Future of Cancer Treatment The future of cancer treatment lies in personalized medicine and preventative strategies. By collaborating internationally, the medical community can work towards these goals, ensuring advancements benefit everyone, regardless of geographic location. Barriers to Accessing Cancer Care Addressing the barriers to accessing cancer care, especially in low-income countries, is imperative. International cooperation can help bridge these gaps, ensuring equitable access to treatments and care…

Flawless Foundation Tips And Tricks For Applying Liquid Foundation
Flawless Foundation: Tips and Tricks for Applying Liquid Foundation

Liquid foundation is a versatile and widely used makeup product that helps create a smooth and even complexion. However, achieving a flawless finish with liquid foundation requires proper application techniques and some helpful tricks. In this comprehensive guide, we will explore valuable tips and tricks to ensure that your liquid foundation application is seamless, long-lasting, and enhances your natural beauty. Prepping Your SkinBefore applying liquid foundation, it’s essential to prepare your skin to ensure a smooth and even canvas. Follow these steps to optimize your foundation application: a. Cleansing: Start with a clean face by washing away any dirt, oil, or makeup residue. Use a gentle cleanser suitable for your skin type. b. Exfoliation: Regular exfoliation helps remove dead skin cells, promoting smoother skin and preventing foundation from clinging to dry patches. Exfoliate 1-2 times per week. c. Moisturizing: Apply a lightweight, hydrating moisturizer to keep your skin supple and prevent the foundation from settling into fine lines or dry areas. d. Primer: Consider using a makeup primer to create a smooth base and extend the longevity of your foundation. Choose a primer that suits your skin type, whether you have oily, dry, or combination skin. Selecting the Right FoundationChoosing the appropriate liquid foundation for your skin type and desired coverage is crucial. Here are some pointers for selecting the right foundation: a. Skin Type: Identify your skin type (oily, dry, combination, or normal) to find a foundation that addresses your specific needs. Oil-free, matte foundations work well for oily skin, while hydrating formulas suit dry skin. b. Undertone: Determine your skin’s undertone, which can be warm, cool, or neutral. Select a foundation with a matching undertone for a natural look. c. Shade Matching: Test foundation shades on your jawline or wrist in natural light to find the most suitable match. The right shade should blend seamlessly with your neck and face. d. Coverage: Choose the level of coverage you desire—light, medium, or full—based on your skin concerns and the occasion. Applying Liquid FoundationNow that your skin is prepped and you have the right foundation, let’s explore different application techniques to achieve a flawless finish: a. Brush Application: Use a foundation brush to apply the product in downward strokes. Brushes provide even coverage and help buff the foundation into the skin for a polished look. b. Beauty Blender or Makeup Sponge: Dampen a makeup sponge or Beauty Blender and gently bounce it across your face to apply the foundation. This technique provides a natural, airbrushed finish and ensures seamless blending. c. Fingertip Application: For a more lightweight and natural finish, use clean fingers to apply the foundation. Warm the product between your fingers before patting it onto your skin. d. Layering: Start with a small amount of foundation and build up coverage gradually where needed. This approach prevents a cakey appearance and allows you to tailor the coverage to your preference. e. Sheer Application: For a light, sheer coverage, mix a drop of foundation with your moisturizer or primer before applying. Concealing and Color CorrectingTo achieve a flawless complexion, consider incorporating concealer…

How To Make Fake Freckles A Guide To Achieving Sun Kissed Splendor
How to Make Fake Freckles: A Guide to Achieving Sun-Kissed Splendor

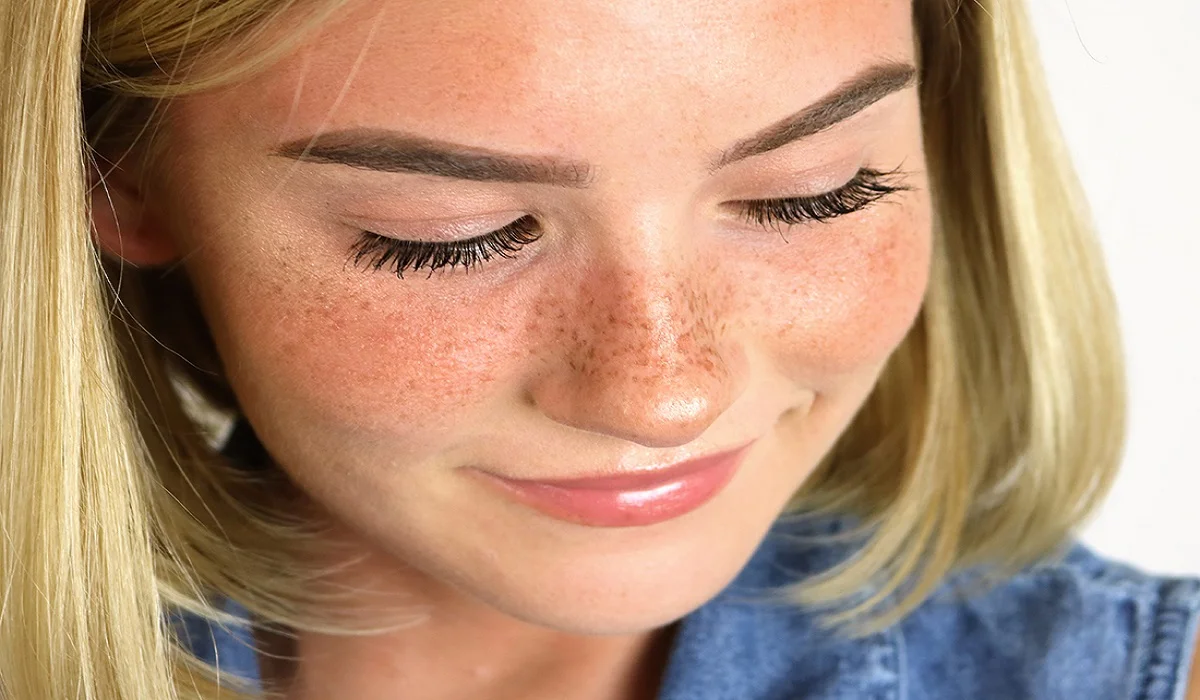
Fake freckles have become a coveted beauty trend, adored for their ability to mimic the sun-kissed speckles naturally bestowed by the sun. Unlike natural freckles that are the result of genetics and sun exposure, fake freckles offer a temporary way to sprinkle one’s face with these charming spots. This beauty trend celebrates the uniqueness and appeal of freckles, allowing anyone to adopt this endearing feature regardless of their natural skin type. Tools and Materials Needed Creating fake freckles that look authentic requires more than just a brown eyeliner. The choice of products is crucial; for a believable effect, opt for waterproof, smudge-proof pens or pencils in colors that complement your skin tone. Additionally, fine brushes or sponges can help in blending and achieving the perfect dot size. Step-by-Step Guide to Creating Fake Freckles Preparing Your Skin Begin with a clean, moisturized face. A smooth canvas is key to ensuring your fake freckles adhere well and look part of your skin. Technique for Natural-Looking Freckles Dot the product lightly across the nose and cheekbones, where the sun naturally hits. Vary the size and density of the dots for a more realistic look, and gently tap them with your fingertips or a sponge to blend them into the skin. Setting Your Freckles To ensure longevity, lightly dust a setting powder over your freckles. This step prevents them from smudging and helps integrate them seamlessly with the rest of your makeup. Different Methods for Creating Fake Freckles Using Eyeliner or Brow Pencil A fine-tipped eyeliner or brow pencil can provide the precision needed for creating small, defined dots. Choose a color that mimics natural freckles and lightly apply it to the desired areas. Freckle Stencils and Stamps For those seeking an easier application, freckle stencils and stamps offer a quick way to achieve a freckled look. Simply apply the product to the stencil or stamp and press onto the skin. Using Henna for Semi-Permanent Freckles Henna provides a semi-permanent option for those looking to enjoy their fake freckles for longer. However, practice caution with this method, as it requires a certain skill level and understanding of henna application. Tips for Achieving a Natural Look Color Matching Choosing the right color is essential. Opt for hues that naturally occur in freckles, considering your skin tone for the best match. Placement and Size Variation Randomness is key. Freckles naturally appear in an unpredictable pattern, so avoid creating uniform dots. Mix up the placement and size for authenticity. Maintaining and Removing Fake Freckles How to Make Them Last To extend the wear of your fake freckles, avoid touching your face and apply a setting spray after completing your makeup. Removing Freckles Safely When you’re ready to remove your freckles, gently cleanse your face with a makeup remover. Opt for products that are kind to your skin to avoid irritation. Common Mistakes to Avoid Overapplication Less is often more. Start with a few dots and gradually add more if needed. Overdoing it can quickly take your freckles from natural to noticeable makeup. Wrong Color Selection Using a color that’s…

Bronzed Beauty Mastering The Art Of Usingbronzer As Eyeshadow
Bronzed Beauty: Mastering the Art of Using Bronzer as Eyeshadow

Bronzer, a staple in the quest for a radiant, sun-kissed complexion, holds untapped potential beyond its traditional use. This guide unveils the versatility of bronzer as eyeshadow, offering a simple yet innovative approach to creating a warm, natural eye makeup look that’s perfect for any occasion. Choosing the Right Bronzer for Your Eyeshadow Look Identifying Your Skin Tone Selecting a bronzer that complements your skin tone is crucial. For fair skin, opt for honey-toned bronzers; medium skin tones should look for golden or rose-gold shades, while deeper skin tones can embrace rich, terracotta bronzers. Matte vs. Shimmer: Which to Choose Decide based on the desired finish. Matte bronzers are ideal for a subtle, natural look, while shimmer bronzers add a radiant glow, perfect for evening makeup. Preparation and Application Techniques Prepping Your Eyes Start with a primer to ensure a smooth application and long-lasting wear. This step prevents creasing and enhances the color of your bronzer. Application Tools and Techniques For eyeshadow application, a fluffy blending brush is essential. Begin with a light hand, gradually building up color for more intensity. Creating a Warm and Natural Eye Makeup Look Step-by-Step Guide Blending for a Seamless Finish Seamless blending is key to a natural look. Use a clean blending brush to soften any harsh lines, blending upward and outward. Advanced Tips and Tricks Using Bronzer in the Crease For a monochromatic look, blending bronzer into the crease creates a cohesive and naturally contoured eye appearance. Highlighting and Contouring the Eyes Highlight the brow bone and inner corner of the eye with a lighter, shimmering shade to complement the bronzed lids and add dimension. Day to Night: Transforming Your Look Enhancing the Look for Evening Intensify the bronzer on the outer corners and lower lash line, and add a darker shade in the crease for a smoky effect. Adding Depth with Multiple Shades Layering different shades of bronzer can add complexity to your look. Use lighter shades on the lid and darker shades in the crease and outer V. Complementing Your Bronzer Eyeshadow with Other Makeup Lip and Cheek Recommendations Opt for nude or peach-toned lip colors and a blush that mirrors the warmth of your eyeshadow for a cohesive, sun-kissed look. Balancing Your Overall Makeup Look Keep the rest of your makeup understated to let your eyes be the focal point. A light foundation, bronzer, and a touch of mascara can complete the look. Common Mistakes and How to Avoid Them Over-Application Start with a small amount of product and build gradually to avoid a muddy look. Choosing the Wrong Shade Ensure the bronzer shade complements your skin tone and undertones to avoid looking washed out or overly orange. Using bronzer as eyeshadow not only simplifies your makeup routine but also opens up a world of creativity and versatility. Embracing this technique can lead to a range of warm, natural looks that enhance your natural beauty while making the most of your makeup products. The key to mastering this art lies in choosing the right shades, blending meticulously, and balancing your overall makeup…

Diy Haircut Guide: How To Cut Your Own Hair At Home
DIY Haircut Guide: How to Cut Your Own Hair at Home

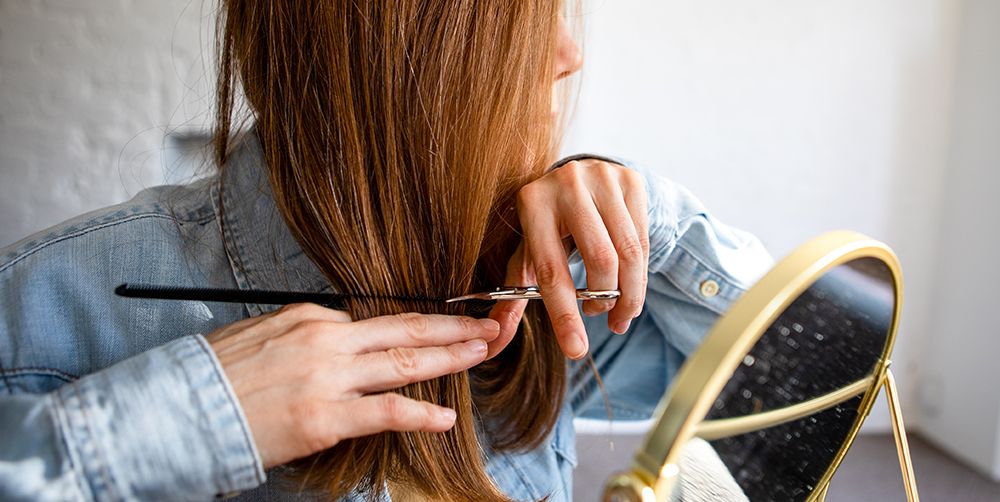
Whether you’re looking to save time and money or simply prefer the convenience of a DIY approach, cutting your own hair at home is a practical skill to have. While leaving major hair transformations to professional stylists is advisable, trimming your hair or giving yourself a simple haircut can be achieved with the right tools and techniques. In this comprehensive guide, we will walk you through step-by-step instructions on how to cut your own hair, along with helpful tips to ensure a successful and satisfying outcome. Gather the Right Tools:Before you start cutting your hair, gather the necessary tools to ensure a smooth process. You will need:Sharp haircutting scissors: Invest in a good pair of professional scissors designed for hair cutting. Using regular scissors can lead to uneven cuts and split ends. Hair clips or elastics: These will help you section your hair for easier cutting. Comb: A fine-toothed comb will assist in detangling and parting your hair. Mirror: A large, handheld mirror and a stationary mirror will allow you to see your hair from different angles during the cutting process. Spray bottle with water: Mist your hair with water to dampen it slightly before cutting. This makes the hair more manageable and prevents excessive flyaways. Decide on the Haircut:Decide on the type of haircut you want before you begin. For simple trims or maintaining your current hairstyle, follow your previous cut as a reference. If you plan to make significant changes to your hair, it’s best to seek guidance from a professional stylist to avoid potential mishaps. Start with Clean, Dry Hair:Cutting your hair when it’s clean and dry ensures more accurate results. Wash and dry your hair thoroughly before starting the haircutting process. Section Your Hair:Divide your hair into manageable sections using hair clips or elastics. Start by parting your hair down the center and then create additional sections horizontally. Pin each section securely to keep the hair you’re not cutting out of the way. Trim the Ends:For a simple trim, work with one section at a time. Take a small subsection of hair and comb it straight down. Hold the hair between your fingers and trim the ends evenly, following your desired length. Make small, cautious cuts to avoid removing too much hair at once. Create Layers (Optional):If you desire layers, you can achieve them at home with careful technique. To create face-framing layers, take a section of hair from the front and hold it at a 45-degree angle away from your face. Trim the hair diagonally, working from the shortest point to the longest point. Repeat this process on both sides of your face for balanced layers. Check for Evenness:After cutting each section, release the hair and check for evenness and balance. Use your mirror to view your hair from different angles, making any necessary adjustments to ensure a uniform cut. Tackle Bangs (Optional):If you have bangs, trim them carefully by combing them straight down over your forehead. Hold the scissors vertically and make small, gentle cuts to the desired length. Remember that it’s better to start with…

Healing
A Father’s Stand: Love, Desperation and the Power of Healing

Doctors at a hospital in Texas informed George Pickering that his son was in a state of brain death. They explained that his son showed “no brain activity” and the decision had been made to remove life support. George Pickering became distraught when he learned of his son’s apparent brain death. Pickering was unconvinced of their assessment and… GO TO THE NEXT PAGE TO CONTINUE…

What Is Cc Cream For Hair
Unlocking the Benefits of CC Cream for Hair: Nourishment, Protection, and Styling in One Product

CC creams, known for their color correction properties in the realm of cosmetics, have expanded their reach to hair care. CC cream for hair is a versatile product that offers a range of benefits, including nourishment, protection, and styling. With its multi-functional approach, CC cream has gained popularity among individuals seeking a convenient and effective solution for maintaining healthy, beautiful hair. In this article, we will delve into the world of CC cream for hair, exploring its purpose, ingredients, application, and the advantages it brings to hair care routines. Understanding CC Cream for Hair:CC cream for hair is a hybrid product that combines the benefits of a leave-in conditioner, styling cream, and heat protectant. Similar to its cosmetic counterpart, hair CC cream aims to correct, enhance, and protect hair by addressing various concerns such as frizz, dryness, dullness, and heat damage. It is formulated with a blend of nourishing ingredients and specialized compounds to provide comprehensive care for different hair types and concerns. Nourishment and Hydration:One of the primary functions of CC cream for hair is to provide nourishment and hydration to the strands. It contains ingredients like natural oils, vitamins, and proteins that deeply penetrate the hair shaft, restoring moisture, and improving the overall health of the hair. This nourishing aspect helps to combat dryness, brittleness, and split ends, leaving the hair soft, smooth, and manageable. Protection against Environmental Stressors:Hair is exposed to various environmental stressors on a daily basis, including pollution, UV radiation, and heat styling tools. CC cream for hair acts as a protective shield, helping to minimize damage caused by these external factors. It forms a barrier around the hair shaft, reducing the absorption of pollutants and shielding against the harmful effects of UV rays. Additionally, some CC creams also provide heat protection, preventing damage from styling tools like hair dryers, straighteners, and curling irons. Frizz Control and Smoothing:CC cream for hair is particularly beneficial for individuals struggling with frizz and unruly hair. Its lightweight formula helps to tame frizz, smooth flyaways, and provide a sleek and polished appearance. The cream creates a protective layer around the hair strands, sealing the cuticles and preventing moisture loss, resulting in smoother, more manageable hair. Color Enhancement and UV Protection:For those with colored or highlighted hair, CC cream can help enhance and maintain the vibrancy of the color. Some formulations contain color-correcting pigments that neutralize brassiness and maintain the color’s true hue. Additionally, the UV protection properties of CC cream help to prevent color fading and damage caused by sun exposure, allowing the hair color to remain vibrant and vibrant for longer. Versatile Styling Abilities:CC cream for hair offers versatile styling capabilities, making it a time-saving and convenient product. It provides lightweight hold and control, allowing for effortless styling and the creation of various hairstyles. Whether you prefer sleek and straight or tousled and textured, CC cream can help achieve the desired look while nourishing and protecting the hair. Application and Usage Tips:To maximize the benefits of CC cream for hair, it is important to apply it correctly. After washing and…