The Benefits and Considerations of Using Dry Shampoo

In our quest for impeccable grooming and the perfect hair day, the role of dry shampoo has become increasingly pivotal. This marvel of modern haircare, designed to refresh and revitalize our locks without the use of water, is more than just a quick fix for greasy hair. It’s a testament to the ingenious solutions that have arisen to meet the demands of our bustling lifestyles. This comprehensive guide dives deep into the essence of dry shampoo, unraveling its benefits, and shedding light on considerations to ensure you wield this powerful tool with wisdom.
The Benefits And Considerations Of Using Dry Shampoo


The Essence and Efficacy of Dry Shampoo

At its core, dry shampoo is a haircare product that promises to absorb excess sebum and other impurities from your scalp and hair, leaving it looking and feeling clean, without the need for water. Its primary ingredients, often a combination of absorbing agents like starches or alcohols, work by soaking up oil, thereby diminishing the greasy appearance that can plague our hair between washes.

The Multifaceted Benefits of Dry Shampoo

Convenience at Your Fingertips

The foremost advantage of dry shampoo is its unmatched convenience. It’s the perfect ally for those mornings when time is of the essence, allowing you to extend the life of your hairstyle or blowout without the time-consuming process of washing, drying, and styling.

A Boost of Volume and Texture

Beyond oil absorption, dry shampoo can significantly enhance the volume and texture of your hair. A quick application can transform limp and lifeless strands into a full-bodied mane, offering a texture that can hold styles more effectively.

Oil Management and Scalp Health

For individuals grappling with oily hair, dry shampoo can be a godsend. It aids in managing sebum production, ensuring that your hair remains fresh and voluminous longer. However, it’s crucial to balance its use with regular hair washing to maintain optimal scalp health.

Mastering the Application of Dry Shampoo

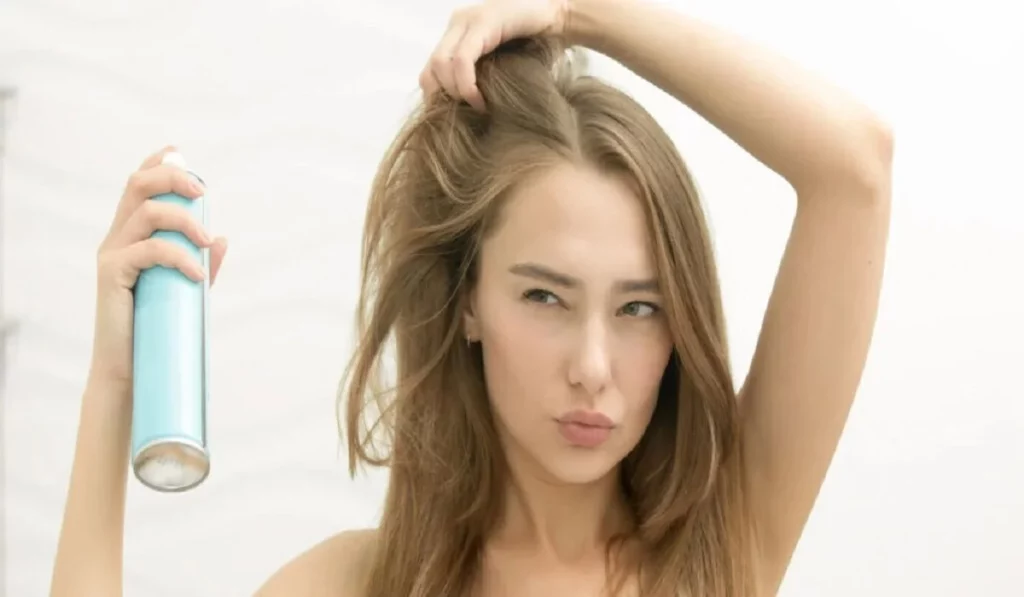
The magic of dry shampoo lies not only in its formulation but also in its application. To reap its full benefits, a correct approach is essential. Begin by shaking the container to evenly distribute the product. Hold it a few inches away from your head, targeting the roots, and apply it in short bursts. After letting it sit for a few minutes to absorb the oils, massage your scalp with your fingertips or brush your hair to remove any residual powder. This method ensures an even application, preventing the dreaded white residue and maximizing oil absorption.

Considerations for the Judicious Use of Dry Shampoo

While dry shampoo stands out for its numerous advantages, mindful usage is key to avoiding potential pitfalls. Overreliance on dry shampoo can lead to product buildup, which may clog hair follicles and impede hair health. Moreover, selecting a dry shampoo that aligns with your hair type and color, and contains ingredients that nurture rather than harm your scalp, is paramount.

The Benefits And Considerations Of Usingdry Shampoo


The Environmental Perspective

The environmental impact of dry shampoo, particularly aerosol versions, cannot be overlooked. The propellants used in aerosol cans contribute to their carbon footprint. Hence, exploring non-aerosol options, which tend to have a lesser environmental impact, can be a step towards more sustainable beauty practices.

Navigating Common Missteps

A common mistake with dry shampoo usage is overapplication, which can leave hair looking dull and heavy. To avoid this, start with a small amount and gradually increase as needed. Additionally, ensuring proper distribution and focusing on the roots rather than the entire length of the hair can prevent an unnatural appearance.

Exploring Alternatives and Embracing Balance

While dry shampoo offers a convenient shortcut to clean-looking hair, incorporating natural alternatives and adopting a balanced approach to hair care can enhance overall hair health. Natural starches like cornstarch or rice flour can serve as effective homemade dry shampoos. Embracing a holistic hair care regimen that includes regular washing, conditioning, and nourishing treatments will ensure that your hair remains healthy, vibrant, and strong.

Dry shampoo is a testament to the innovative spirit of hair care, offering a practical solution to modern-day challenges. By understanding its benefits and considerations, and applying it with care, you can integrate dry shampoo into your hair care routine in a way that enhances your hair’s beauty and health. As with all aspects of grooming and beauty, moderation is key. Embrace dry shampoo as a complement to, rather than a replacement for, traditional hair care practices, ensuring that your locks remain lustrous and healthy.

How often can I use dry shampoo? Limit dry shampoo use to a few times a week to avoid buildup and ensure your scalp remains healthy.

Can dry shampoo cause hair loss? When used appropriately, dry shampoo does not cause hair loss. However, excessive use and buildup can potentially irritate the scalp and affect hair health.

Is dry shampoo suitable for all hair types? Yes, but choosing a formula that suits your specific hair type and color can enhance its effectiveness and prevent residue.

How can I remove dry shampoo buildup? Regular washing with a clarifying shampoo can help remove buildup and keep your scalp healthy.


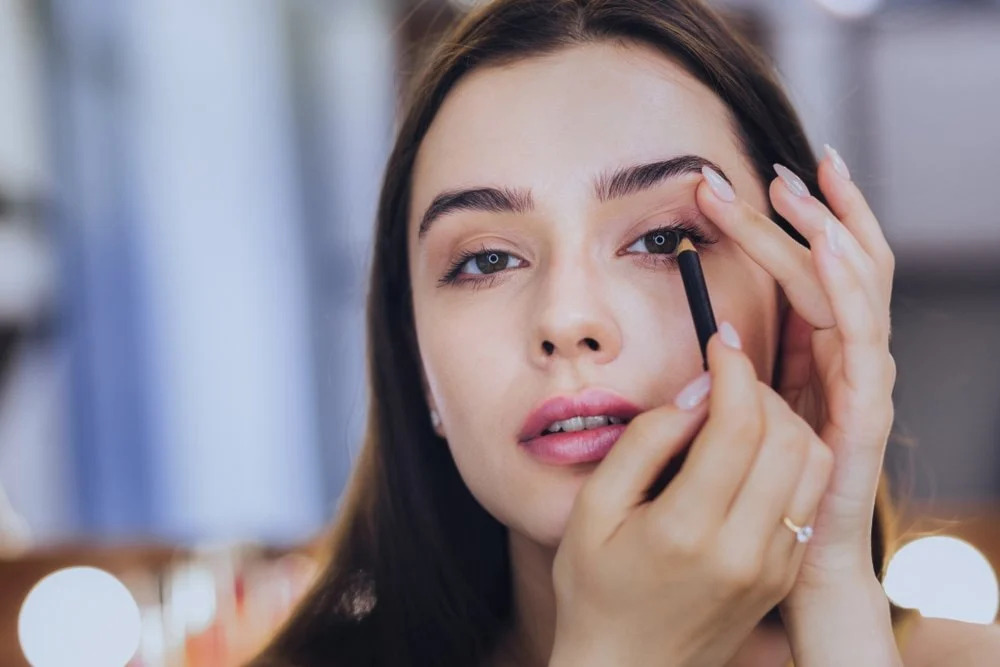
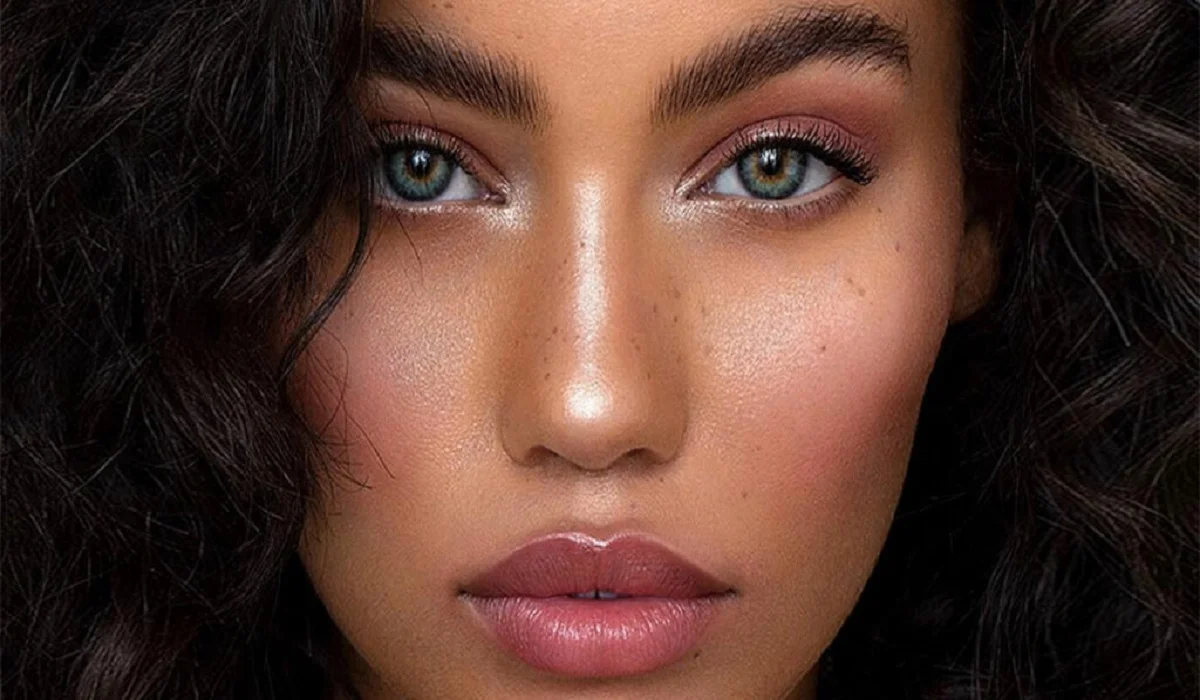
Flawless Foundation Tips And Tricks For Applying Liquid Foundation
Flawless Foundation: Tips and Tricks for Applying Liquid Foundation

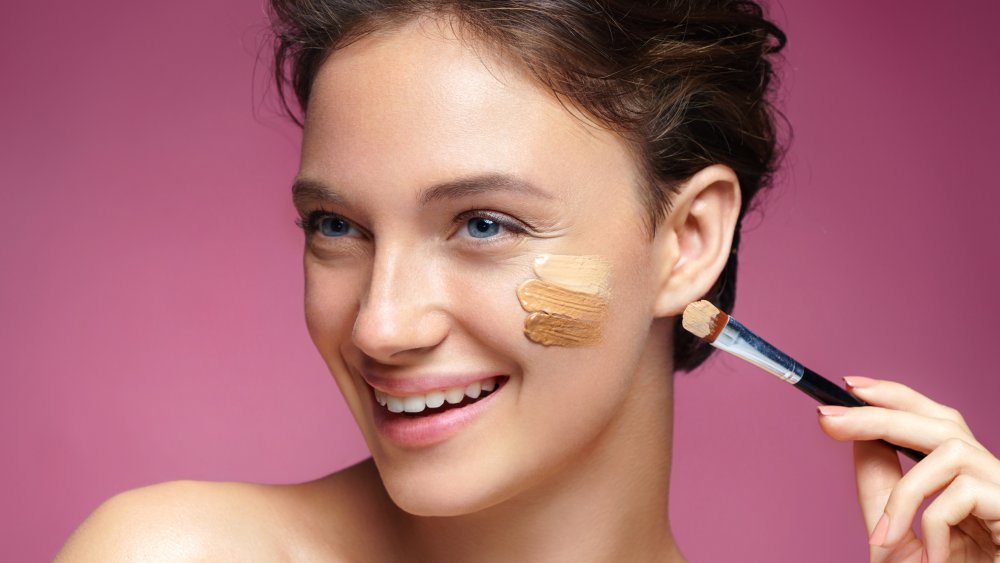
Liquid foundation is a versatile and widely used makeup product that helps create a smooth and even complexion. However, achieving a flawless finish with liquid foundation requires proper application techniques and some helpful tricks. In this comprehensive guide, we will explore valuable tips and tricks to ensure that your liquid foundation application is seamless, long-lasting, and enhances your natural beauty. Prepping Your SkinBefore applying liquid foundation, it’s essential to prepare your skin to ensure a smooth and even canvas. Follow these steps to optimize your foundation application: a. Cleansing: Start with a clean face by washing away any dirt, oil, or makeup residue. Use a gentle cleanser suitable for your skin type. b. Exfoliation: Regular exfoliation helps remove dead skin cells, promoting smoother skin and preventing foundation from clinging to dry patches. Exfoliate 1-2 times per week. c. Moisturizing: Apply a lightweight, hydrating moisturizer to keep your skin supple and prevent the foundation from settling into fine lines or dry areas. d. Primer: Consider using a makeup primer to create a smooth base and extend the longevity of your foundation. Choose a primer that suits your skin type, whether you have oily, dry, or combination skin. Selecting the Right FoundationChoosing the appropriate liquid foundation for your skin type and desired coverage is crucial. Here are some pointers for selecting the right foundation: a. Skin Type: Identify your skin type (oily, dry, combination, or normal) to find a foundation that addresses your specific needs. Oil-free, matte foundations work well for oily skin, while hydrating formulas suit dry skin. b. Undertone: Determine your skin’s undertone, which can be warm, cool, or neutral. Select a foundation with a matching undertone for a natural look. c. Shade Matching: Test foundation shades on your jawline or wrist in natural light to find the most suitable match. The right shade should blend seamlessly with your neck and face. d. Coverage: Choose the level of coverage you desire—light, medium, or full—based on your skin concerns and the occasion. Applying Liquid FoundationNow that your skin is prepped and you have the right foundation, let’s explore different application techniques to achieve a flawless finish: a. Brush Application: Use a foundation brush to apply the product in downward strokes. Brushes provide even coverage and help buff the foundation into the skin for a polished look. b. Beauty Blender or Makeup Sponge: Dampen a makeup sponge or Beauty Blender and gently bounce it across your face to apply the foundation. This technique provides a natural, airbrushed finish and ensures seamless blending. c. Fingertip Application: For a more lightweight and natural finish, use clean fingers to apply the foundation. Warm the product between your fingers before patting it onto your skin. d. Layering: Start with a small amount of foundation and build up coverage gradually where needed. This approach prevents a cakey appearance and allows you to tailor the coverage to your preference. e. Sheer Application: For a light, sheer coverage, mix a drop of foundation with your moisturizer or primer before applying. Concealing and Color CorrectingTo achieve a flawless complexion, consider incorporating concealer…

A Guide To Safely Lightening Your Skin Tone: Methods And Precautions
A Guide to Safely Lightening Your Skin Tone: Methods and Precautions

Skin tone can vary due to various factors, including genetics, sun exposure, and hormonal changes. Some individuals may desire a lighter skin tone for personal or cultural reasons. While there are several methods to achieve a lighter complexion, it is essential to approach skin lightening with caution and prioritize safety. In this comprehensive guide, we will explore various methods to lighten your skin tone, along with essential precautions to maintain skin health and avoid potential risks. Sun Protection:One of the most effective and safest ways to maintain a lighter skin tone is by protecting your skin from the harmful effects of the sun’s ultraviolet (UV) rays. UV radiation stimulates the production of melanin, the pigment responsible for skin color. Consistently using broad-spectrum sunscreen with a high SPF (30 or above) and seeking shade during peak sun hours can prevent excessive melanin production and help maintain a lighter complexion. GO TO THE NEXT PAGE TO CONTINUE… Topical Skin Lightening Products:There are numerous over-the-counter skin lightening products that contain ingredients such as hydroquinone, kojic acid, arbutin, and vitamin C. These ingredients work by inhibiting melanin production, leading to a gradual lightening of the skin. However, it is crucial to use these products with caution and follow the recommended usage instructions to avoid potential side effects such as irritation, redness, or skin sensitivity. Natural Remedies:Some natural ingredients are believed to have skin-lightening properties. For example, lemon juice, a natural source of vitamin C, is thought to have a mild bleaching effect. However, it’s essential to be cautious when using natural remedies, as some can cause skin irritation or even worsen pigmentation in certain individuals. Perform a patch test before applying any natural remedy to a larger area of your skin. Chemical Peels:Chemical peels are cosmetic treatments that involve applying a chemical solution to the skin, causing it to exfoliate and eventually peel off. This process can help improve skin tone and texture, leading to a lighter and more even complexion. However, chemical peels should be performed by a licensed professional, as they can cause skin irritation and are not suitable for all skin types. Laser Treatments:Laser treatments, such as laser resurfacing and intense pulsed light (IPL) therapy, can target melanin and dark spots in the skin, leading to a more even skin tone. These treatments should only be performed by trained dermatologists or cosmetic surgeons to avoid complications and ensure optimal results. Microneedling:Microneedling is a procedure that involves using tiny needles to create controlled micro-injuries in the skin, promoting collagen production and skin rejuvenation. It can improve skin texture and may help fade hyperpigmentation, leading to a more radiant and lighter skin tone. However, microneedling should be performed by a qualified professional to minimize the risk of infection and scarring. Precautions: Consult a Dermatologist:Before embarking on any skin-lightening journey, it is crucial to consult a dermatologist. A qualified dermatologist can assess your skin type, discuss your desired results, and recommend appropriate treatment options based on your skin’s specific needs. This consultation is essential to ensure that you choose safe and effective methods tailored to your…

11 Must Have Unconventional Beauty Tools In Yourkit
11 Must-Have Unconventional Beauty Tools in Your Kit

In a world where beauty and personal care evolve with each passing day, the tools we use to enhance our appearance have become as innovative as the products themselves. From gadgets that promise the perfect eyebrow arc to devices designed to imbue the skin with a youthful glow, the modern beauty kit is a treasure trove of weird yet wonderfully useful tools. This detailed exploration dives into 11 such instruments, revealing how they’re transforming beauty routines into an art form of precision, ease, and effectiveness. Eyebrow Molds: Shaping the Future of Brows What They Are: Eyebrow molds are flexible templates that fit over your brows, guiding the application of makeup products like powders, gels, or pencils.Why You Need Them: Achieving symmetrically shaped eyebrows that complement your facial structure can be a time-consuming challenge. Eyebrow molds simplify this process, ensuring consistent, natural-looking results that frame your face perfectly. Mascara Shield/Protector: Banishing Smudges for Good What It Is: A tool placed beneath or above the eyelashes during mascara application to prevent smudges on the skin.Why It’s Revolutionary: The mascara shield eliminates the frustration of ruining freshly applied eye makeup. It’s an essential tool for both makeup novices and enthusiasts who desire a clean, professional finish. Nail Molds: Crafting Art at Your Fingertips What They Are: Silicone or plastic molds used to create intricate nail art designs or flawless gel extensions.The Game Changer: Nail molds make salon-quality nail art accessible at home, saving time and money. They are perfect for those who wish to experiment with their nail aesthetics without the commitment to a professional salon visit. Lip Stamps: The Key to the Perfect Pout What It Is: A stamping tool that applies lipstick or gloss in a precise shape and design onto the lips.Why It’s a Must-Have: Lip stamps remove the guesswork from achieving the perfect lip shape, offering uniform application and a flawless finish in seconds, ideal for themed parties or when you’re in a rush. Curl Styling Brush: Revolutionizing Curls and Waves What It Is: A hybrid tool that combines the features of a hairbrush with a curling iron, designed to style and curl hair simultaneously.The Innovation: This tool simplifies hair styling by integrating brushing and curling into one seamless step, reducing styling time and protecting hair from excessive heat damage. Brush Cleaning Glove: Ensuring Hygiene and Longevity What It Is: A glove with various textures designed for deep cleaning makeup brushes.Why It’s Essential: Makeup brushes can harbor bacteria, leading to skin irritation or breakouts. The brush cleaning glove ensures brushes are thoroughly cleansed, extending their lifespan and safeguarding your skin’s health. Facial Sponge: Elevating Your Cleansing Routine What It Is: A soft, porous sponge designed for facial cleansing and gentle exfoliation.The Benefits: Facial sponges not only remove makeup and impurities more effectively than hand washing but also offer gentle exfoliation, promoting smoother, clearer skin. Eyelash Curler: Unlocking the Secret to Breathtaking Lashes What It Is: A handheld device that gently curls eyelashes, creating the illusion of length and volume.Why It’s Timeless: Despite its simplicity, the eyelash curler is an indispensable tool…

The Correct Order To Apply Your Makeup A Step By Step Guide
The Correct Order to Apply Your Makeup: A Step-by-Step Guide

Creating a perfect makeup look is akin to painting a masterpiece; it requires technique, the right tools, and an understanding of the proper sequence. Applying your makeup in the correct order is crucial for achieving a flawless, long-lasting finish. Whether you’re a makeup novice or looking to refine your routine, this guide will walk you through each step, ensuring your makeup application is both effective and efficient. Preparation: The Base of Flawless Makeup Cleansing: The First Step The canvas for your makeup masterpiece begins with clean skin. A gentle cleanser removes impurities and excess oil, providing a fresh base for your makeup. Moisturizing: Hydrating Your Canvas Hydration is key to preventing cakey foundation. A good moisturizer tailored to your skin type will keep your skin supple and ready for makeup application. Priming: Smoothing the Surface Primer fills in pores and fine lines, creating a smooth base that helps makeup last longer. Whether you’re aiming for a matte or dewy finish, there’s a primer for every skin type and desired effect. Foundation: The Canvas for Your Art Choosing the Right Foundation Selecting the right foundation shade and formula is paramount. Consider your skin type and the coverage you need when choosing between liquid, powder, or cream foundations. Application Techniques for a Seamless Finish Application tools can make a difference in your foundation’s finish. Whether you use a brush, sponge, or your fingers, the goal is to achieve an even, seamless coverage. Concealer: The Art of Camouflage Types of Concealers and Their Uses Concealers come in various forms and shades. Understanding the type that best suits your needs—be it for dark circles, blemishes, or redness—is crucial for effective camouflage. Application Tips for a Natural Look The key to concealer is blending. Learn to apply concealer in a way that brightens and evens out your complexion without looking heavy. Powder: Setting the Stage Loose vs. Pressed Powder Choosing between loose and pressed powder depends on your desired finish and convenience. We’ll explore the benefits of each and how they can set your makeup for longevity. Application for Long-Lasting Wear Setting your foundation and concealer with powder prevents them from shifting and reduces shine. Discover techniques for application that won’t disrupt your base. Eye Makeup: Framing Your Windows to the Soul Eyeshadow: Building the Base Eyeshadow application begins with a primer or base to ensure vibrant color and long wear. Learn how to build and blend eyeshadows for a seamless look. Eyeliner: Defining the Eyes Eyeliner can define and enhance the shape of your eyes. Whether you prefer pencil, gel, or liquid, mastering eyeliner application is key to defining your look. Mascara: The Finishing Touch Mascara adds the final touch to your eye makeup, creating the illusion of longer, fuller lashes. Discover tips for clump-free application and choosing the right mascara for your lashes. Eyebrows: The Frame for Your Masterpiece Shaping and Filling Techniques Well-defined eyebrows can transform your face. Learn about shaping and filling techniques that complement your face shape and enhance your features. Products for Eyebrow Perfection From pencils to pomades, there are myriad…

10 Proven Ways To Achieve Shiny, Healthy Lookinghair
10 Proven Ways to Achieve Shiny, Healthy Looking Hair

Achieving shiny, healthy-looking hair is a goal for many, but it often seems elusive. The key to unlocking lustrous locks lies in a combination of good habits, proper care, and knowing what works best for your hair type. This guide explores ten proven strategies to enhance the health and appearance of your hair, ensuring it shines from the inside out. 1. Regular Trims Preventing Split Ends and Breakage Regular haircuts are crucial to maintaining healthy hair. Trimming every 6-8 weeks helps prevent split ends from working their way up the shaft, causing breakage and dullness. 2. Proper Washing Routine Finding the Right Shampoo and Conditioner Select products tailored to your hair type and concerns. Using the right shampoo and conditioner can make a significant difference in your hair’s health and shine. Washing Frequency Tips Over-washing can strip your hair of natural oils, leading to dryness. Find a washing routine that maintains your hair’s natural balance. 3. Deep Conditioning Treatments Types of Hair Masks and Their Benefits Incorporate deep conditioning treatments into your routine to repair and nourish your hair. Look for masks with ingredients like keratin, argan oil, or shea butter. DIY Natural Hair Masks Explore homemade options like avocado, honey, or coconut oil masks for a natural, chemical-free way to boost moisture and shine. 4. Cold Water Rinse Sealing Hair Cuticles for Extra Shine Finish your wash with a cold water rinse to seal the cuticles, making your hair smoother and more reflective. 5. Protect Hair from Heat Using Heat Protectant Sprays Always apply a heat protectant before using styling tools. This creates a barrier between your hair and high temperatures, preventing damage. Alternatives to Heat Styling Embrace air drying or use heat-free styling methods to give your hair a break from the damage caused by heat styling tools. 6. Healthy Diet for Healthy Hair Nutrients Essential for Hair Health A diet rich in vitamins, minerals, and proteins is vital for hair health. Include foods high in vitamins A, C, D, E, zinc, iron, and omega-3 fatty acids. Foods to Incorporate into Your Diet Salmon, nuts, eggs, and leafy greens are excellent choices for promoting hair strength and shine. 7. Stay Hydrated The Impact of Water Intake on Hair Hydration plays a key role in hair health. Drinking plenty of water ensures your hair stays moisturized from the inside out. 8. Use a Silk Pillowcase Reducing Friction and Breakage Sleeping on a silk pillowcase can reduce hair breakage caused by friction with cotton pillowcases. It also helps retain hair’s natural moisture. 9. Limit Chemical Treatments The Effects of Dyes and Perms Frequent chemical treatments can lead to damage and dullness. Limit these processes and opt for more natural styling methods when possible. Seeking Professional Advice Consult with a hair care professional before undergoing significant chemical treatments to ensure the health of your hair. 10. Natural Oils for Hair Nourishment The Benefits of Oils like Coconut and Argan Natural oils can deeply nourish and restore shine to your hair. They can be used as pre-shampoo treatments or to smooth frizz and add…

Optimizing Skincare For Winter's Challenges
Optimizing Skincare for Winter’s Challenges

The arrival of winter brings a significant decrease in humidity and exposes our skin to the biting cold, often resulting in dryness, irritation, and a lackluster appearance. It’s imperative to recognize and cater to the distinct demands of your skin in this frigid climate to preserve its health and radiance. Our detailed guide delves into specialized winter skincare routines for diverse skin types, aiming to keep your skin moisturized, safeguarded, and luminous amid the winter’s chill. Navigating Winter’s Impact on Skin Winter’s frigid conditions pose a formidable threat to your skin’s protective barrier, enhancing sensitivity, promoting dryness, and potentially triggering eczema or psoriasis outbreaks. A meticulous regimen focusing on moisturization, defense, and mild treatment is essential to counter these effects. Vital Tips for Winter Skincare Hydration takes precedence in the colder months. Embracing products laden with hyaluronic acid and glycerin is key to locking in moisture. Repairing the skin barrier is equally vital, with ceramides and essential fatty acids being indispensable ingredients for reinforcing the skin’s defenses. Moreover, adopting gentle cleansing routines is crucial to preserving natural oils that are vital for skin health during winter. Moisturizers: Winter Skincare Essentials The selection of an appropriate moisturizer is crucial, with cream-based options outperforming lotions by creating a more substantial protective layer against the cold. Seek out ingredients such as shea butter, squalane, and hyaluronic acid for their profound moisturizing effects. Moisturizer application on slightly damp skin can further boost moisture absorption. Serums and Special Treatments for the Cold Season Utilizing serums rich in hyaluronic acid or vitamin E provides an extra moisture barrier, pivotal for winter skincare. Antioxidant-laden treatments are beneficial for guarding against environmental damage, and gentle exfoliation processes are recommended to eliminate dead cells without irritating the skin. Cold Weather Skin Protection The significance of sunscreen remains high in winter, as UV rays continue to pose a threat. Ensuring daily application of sunscreen, along with special care for lips and extremities, is essential to prevent drying and chapping. Lifestyle Choices Affecting Winter Skin Health Skincare transcends product application, deeply influenced by lifestyle choices. Adequate hydration and a diet rich in omega fatty acids are fundamental for internal skin moisturization. Employing humidifiers can mitigate the drying influence of indoor heaters, and managing stress is crucial for overall skin wellness. Enhancing Skin Repair During Nighttime in Winter The skin’s nighttime repair and regeneration processes present an ideal opportunity to apply richer creams or masks that aid in skin recovery. Ingredients like peptides and retinol are especially useful for nighttime application, encouraging cell renewal and addressing signs of aging. Addressing Sensitive Skin in Winter For those with sensitive skin, winter can intensify skin reactivity. It’s important to identify and steer clear of irritants, while selecting fragrance-free, hypoallergenic products that minimize irritation and soothe sensitive skin. Customized Skincare Strategies for Winter Adapting your skincare regimen to fit your specific skin type is crucial for effectively managing its needs during winter. Whether dealing with dry, oily, or combination skin, incorporating specific products and practices can help achieve a balanced, healthy state. Latest Skincare Innovations for Winter…

Create The Perfect Eyebrows Using These Easy Eyebrow Filling Steps Kopya
Create The Perfect Eyebrows Using These Easy Eyebrow Filling Steps

Eyebrows are more than just facial features; they are the frame to the masterpiece that is your face. Perfectly filled and shaped eyebrows can significantly enhance your overall look, highlighting your best facial features and expressing your emotions with precision. Understanding the art and science behind eyebrow filling is essential for anyone looking to perfect their makeup routine. This expanded guide will cover every step, tool, and tip you need to master the skill of eyebrow filling. Understanding Eyebrow Shapes The journey to perfect eyebrows begins with a clear understanding of the natural shape of your brows and how it complements your facial structure. Each face shape benefits from different eyebrow shapes—arched brows can lift and open up the eye area on a round face, while straight brows can soften the angles of a square face. Learning to identify your face shape and corresponding brow shape is the first step to eyebrow perfection. We’ll delve into how different eyebrow shapes can enhance various facial features, providing visual harmony and balance. The Essentials for Eyebrow Filling The right tools are your best allies in achieving perfect brows. This section will explore the myriad of products available—from pencils that offer precision to powders that provide a softer look and gels that keep every hair in place. We’ll guide you in choosing the right shades to complement your hair color and skin tone, ensuring a natural and cohesive look. Step-by-Step Guide to Filling Your Eyebrows Tips for Achieving Symmetry Symmetry is often cited as the hardest goal to achieve in eyebrow filling. We’ll provide practical advice on how to measure and adjust for even eyebrows, recognizing that perfect symmetry is not always attainable or natural. Techniques for using your facial features as guides to achieve as much balance as possible will be covered extensively. Long-Lasting Eyebrow Filling Sweat, oil, and daily activities can wear down even the best-applied brow makeup. This section will focus on methods and products to ensure your brows stay perfect from morning till night, discussing waterproof products, primers, and setting sprays designed specifically for brows. Fixing Common Eyebrow Filling Mistakes From overfilled brows to mismatched colors, mistakes happen. We’ll explore common pitfalls in eyebrow filling and offer expert solutions, including how to lighten too-dark brows and reshape without starting from scratch. Advanced Eyebrow Filling Techniques For those ready to take their brow game to the next level, we’ll delve into advanced techniques such as creating texture for a more natural appearance, mastering the gradient or ombre effect, and even experimenting with eyebrow wigs for bold transformations. Maintaining Your Perfect Eyebrows Achieving the perfect brows is one thing; maintaining them is another. We’ll provide advice on regular grooming practices, touch-up strategies, and how to extend the life of your brow look between fillings. The Role of Professional Eyebrow Services While DIY techniques are invaluable, professional services like threading, waxing, and microblading offer another level of precision and longevity. We’ll discuss when it might be beneficial to seek professional help and what to expect from these services, including the benefits of professional shaping…

Decoding Undertones: Understanding How Vein Color Can Indicate Your Skin Undertone

When it comes to finding the perfect makeup shades, hair colors, or clothing that flatter your complexion, understanding your skin’s undertone is key. While determining your undertone may seem like a daunting task, there is a simple method that can offer valuable insights: examining the color of your veins. The veins on your wrist can provide clues about your skin undertone, helping you make informed choices when it comes to beauty and fashion. In this article, we will delve into the correlation between vein color and undertone, explore the different undertone categories, and provide practical tips on how to determine and embrace your undertone to enhance your overall appearance. Understanding Undertones: Undertone refers to the underlying color that shines through your skin, regardless of its surface tone (fair, medium, or deep). It is categorized into three main types: cool, warm, and neutral. Cool Undertone:If you have a cool undertone, your skin may have hints of pink, red, or blue. People with cool undertones often have veins that appear bluish or purple on their wrists. Cool undertones are commonly associated with fair or light skin, but they can also be present in medium and deep skin tones. Warm Undertone:A warm undertone typically has undertones of yellow, peach, or golden hues. Veins on individuals with warm undertones may appear greenish or olive. Warm undertones are commonly found in people with golden or olive skin tones, but they can also be present in fair or deep skin tones. Neutral Undertone:A neutral undertone indicates a balance between cool and warm tones. Veins of individuals with neutral undertones may appear blue-green or a mix of blue and green. Neutral undertones are versatile and can suit a range of skin tones, from fair to deep. Determining Your Undertone Using Vein Color: To determine your undertone based on the color of your veins, follow these steps: Find natural light: Look for natural lighting or step outside to ensure accurate color perception. Examine your wrist: Observe the veins on the inside of your wrist or the underside of your forearm. Pay attention to their color and appearance. Cool Undertone: If your veins appear bluish or purple, you likely have a cool undertone. Warm Undertone: If your veins appear greenish or olive, you likely have a warm undertone. Neutral Undertone: If your veins appear blue-green or a mix of blue and green, you likely have a neutral undertone. Applying Your Undertone Knowledge: Understanding your undertone can guide your choices in various aspects of beauty and fashion: Foundation and Concealer:Knowing your undertone is crucial for selecting the right foundation and concealer shades that will blend seamlessly with your skin. Cool undertones are complemented by foundations with pink or neutral undertones, while warm undertones benefit from foundations with yellow or golden undertones. Neutral undertones can typically wear a range of shades from different undertone families. Lipstick and Blush:When choosing lipsticks and blushes, consider your undertone to find shades that enhance your natural beauty. Cool undertones tend to suit berry, pink, and blue-based red shades, while warm undertones can opt for coral, peach, and…