Create The Perfect Eyebrows Using These Easy Eyebrow Filling Steps

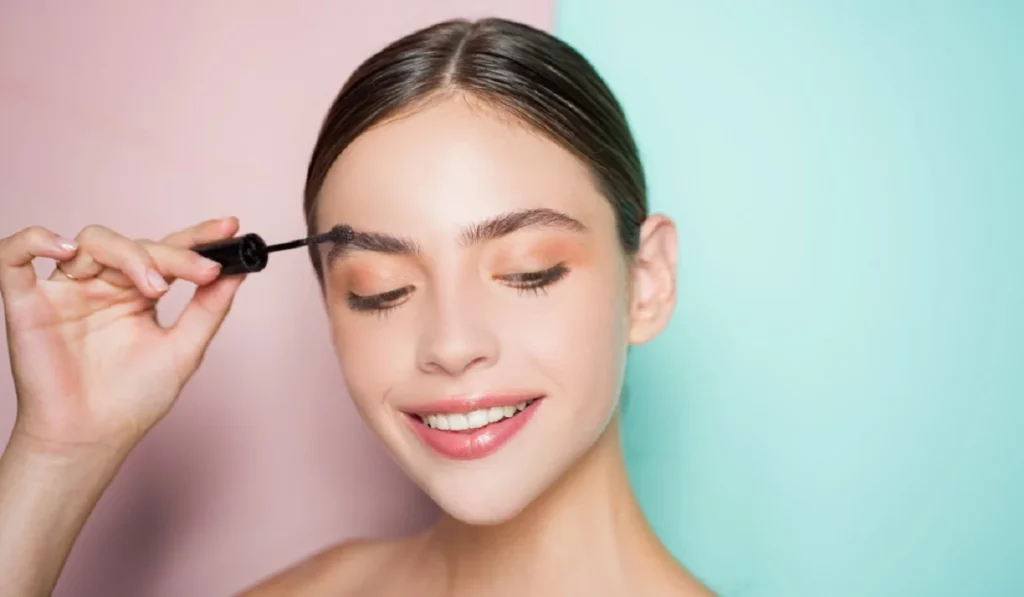
Eyebrows are more than just facial features; they are the frame to the masterpiece that is your face. Perfectly filled and shaped eyebrows can significantly enhance your overall look, highlighting your best facial features and expressing your emotions with precision. Understanding the art and science behind eyebrow filling is essential for anyone looking to perfect their makeup routine. This expanded guide will cover every step, tool, and tip you need to master the skill of eyebrow filling.
Create The Perfect Eyebrows Using These Easyeyebrow Filling Steps


Understanding Eyebrow Shapes

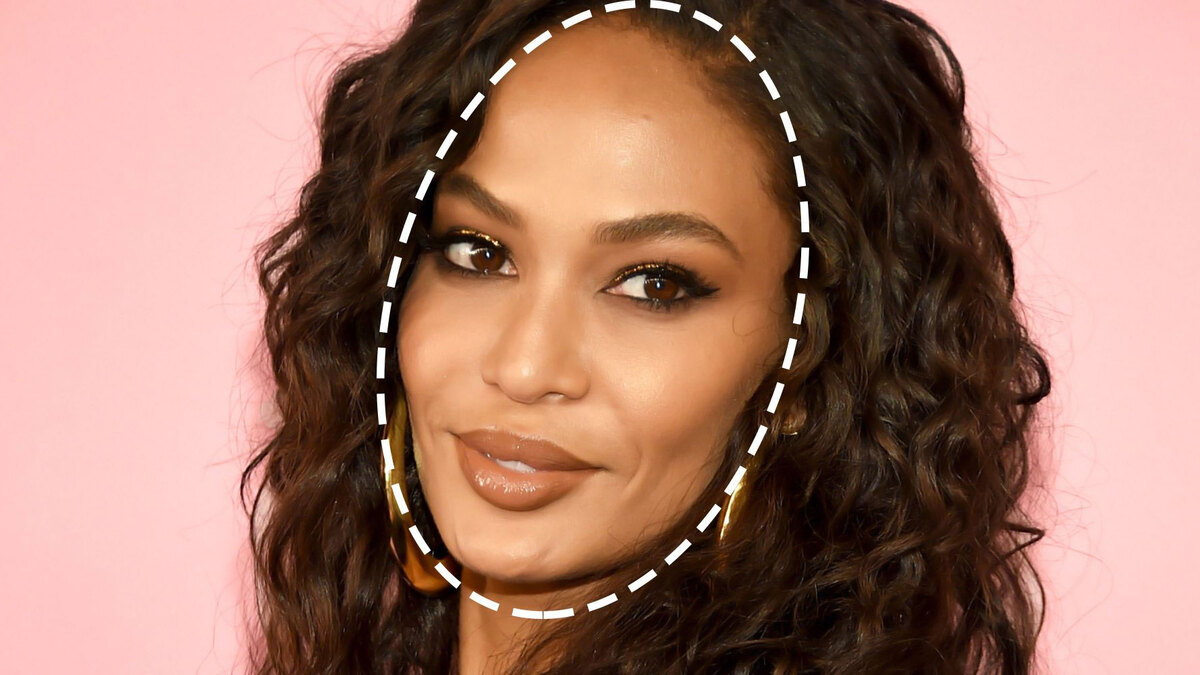
The journey to perfect eyebrows begins with a clear understanding of the natural shape of your brows and how it complements your facial structure. Each face shape benefits from different eyebrow shapes—arched brows can lift and open up the eye area on a round face, while straight brows can soften the angles of a square face. Learning to identify your face shape and corresponding brow shape is the first step to eyebrow perfection. We’ll delve into how different eyebrow shapes can enhance various facial features, providing visual harmony and balance.

The Essentials for Eyebrow Filling

The right tools are your best allies in achieving perfect brows. This section will explore the myriad of products available—from pencils that offer precision to powders that provide a softer look and gels that keep every hair in place. We’ll guide you in choosing the right shades to complement your hair color and skin tone, ensuring a natural and cohesive look.

Step-by-Step Guide to Filling Your Eyebrows

  1. Preparing Your Eyebrows: A great brow starts with preparation. We’ll talk about how to properly groom your brows before filling them, including trimming and plucking stray hairs.
  2. Sketching the Outline: Learn how to map the start, arch, and end of your brows for symmetry and balance. This step is crucial for both beginners and seasoned beauty enthusiasts.
  3. Filling In: We will detail techniques for using different products, emphasizing the importance of building color gradually and mimicking the natural direction of hair growth for realism.
  4. Blending for a Natural Look: Discover how to soften harsh lines and blend the product seamlessly into your brows and skin, creating a flawless transition.

Tips for Achieving Symmetry

Symmetry is often cited as the hardest goal to achieve in eyebrow filling. We’ll provide practical advice on how to measure and adjust for even eyebrows, recognizing that perfect symmetry is not always attainable or natural. Techniques for using your facial features as guides to achieve as much balance as possible will be covered extensively.

Long-Lasting Eyebrow Filling

Sweat, oil, and daily activities can wear down even the best-applied brow makeup. This section will focus on methods and products to ensure your brows stay perfect from morning till night, discussing waterproof products, primers, and setting sprays designed specifically for brows.

Fixing Common Eyebrow Filling Mistakes

From overfilled brows to mismatched colors, mistakes happen. We’ll explore common pitfalls in eyebrow filling and offer expert solutions, including how to lighten too-dark brows and reshape without starting from scratch.

Create The Perfect Eyebrows Using These Easyeyebrow Filling Steps


Advanced Eyebrow Filling Techniques

For those ready to take their brow game to the next level, we’ll delve into advanced techniques such as creating texture for a more natural appearance, mastering the gradient or ombre effect, and even experimenting with eyebrow wigs for bold transformations.

Maintaining Your Perfect Eyebrows

Achieving the perfect brows is one thing; maintaining them is another. We’ll provide advice on regular grooming practices, touch-up strategies, and how to extend the life of your brow look between fillings.

The Role of Professional Eyebrow Services

While DIY techniques are invaluable, professional services like threading, waxing, and microblading offer another level of precision and longevity. We’ll discuss when it might be beneficial to seek professional help and what to expect from these services, including the benefits of professional shaping and the longevity of semi-permanent options like microblading.

Perfect eyebrows are within reach with the right knowledge, tools, and techniques. This comprehensive guide aims to empower you with the confidence to experiment with and master eyebrow filling, enhancing your natural beauty and elevating your makeup routine. Remember, practice makes perfect, and perfection lies in enhancing your natural features.

  • How do I find the right eyebrow shape for my face? Identify your face shape (oval, round, square, heart, or diamond) and choose a brow shape that balances your features. Oval faces suit most shapes, round faces benefit from high arches to elongate the face, square faces match well with softly rounded brows, heart faces with soft, rounded arches to soften the chin point, and diamond faces with curved brows to soften facial angles.
  • What’s the best product for beginners to fill in eyebrows? Beginners should start with a brow pencil or a powder kit that includes a stencil. Pencils offer precision and are easier to control, making them ideal for learning to fill in and shape brows. Look for products labeled as “easy to blend” for a more forgiving application.
  • Can I use an eyeshadow to fill in my eyebrows? Yes, eyeshadow can be used to fill in eyebrows, provided it matches your eyebrow color closely. Matte shadows work best for a natural look. This can be a cost-effective and versatile option, especially if you’re experimenting with color or thickness.
  • How do I make my eyebrow filling last longer? To ensure your eyebrow filling lasts throughout the day, start with a clean, oil-free base. Apply a primer designed for the eye area to your brows before filling them in. After filling, set your brows with a clear or tinted brow gel. For extra hold, lightly dust translucent powder over the brows before the gel.
  • What should I do if I’ve over-plucked my eyebrows? If you’ve over-plucked your eyebrows, the best course of action is to let them grow back while using makeup to fill in sparse areas. Products like brow pencils, powders, or fibers can help create the illusion of fuller brows. Meanwhile, applying a brow serum or castor oil nightly can encourage hair growth.
  • How do I choose the right color for my eyebrow filler? Select a color one to two shades lighter than your hair color if you have dark hair, as this prevents brows from looking too harsh. If you have light hair, go one to two shades darker to define your brows. Always opt for a shade that matches your undertones (warm, cool, or neutral).
  • Is it necessary to use both pencil and powder? Using both pencil and powder is not necessary but can create a more defined and fuller look. A pencil defines and outlines the shape, while powder fills in color softly, creating depth. This combination works well for sparse brows needing shape and fullness.
  • How can I achieve natural-looking filled eyebrows? For natural-looking brows, use fine, hair-like strokes with a pencil or thin brush dipped in powder or pomade. Start with a lighter hand at the beginning of your brows, building color gradually and becoming slightly heavier towards the tail. Finish by blending with a spoolie brush to soften any harsh lines.
  • What is the best way to correct mistakes when filling in eyebrows? To correct mistakes, use a small, angled brush dipped in concealer to clean up around the edges of your brows. This helps define their shape and removes any excess product. For larger errors, gently remove the filler with a cotton swab dipped in makeup remover and redo the affected area.
  • Can eyebrow filling help with asymmetrical eyebrows? Yes, eyebrow filling can correct perceived asymmetries by adjusting the shape and thickness of your brows. Use makeup to subtly alter the shape of the higher or fuller brow to match its pair. Remember, slight differences are natural, and aiming for sister brows, not twins, is a realistic goal.

How To Make The Tiktok Vanilla Girl Makeup Aesthetic?
How to make the TikTok Vanilla Girl Makeup Aesthetic?

TikTok has become increasingly popular since its introduction, leading to an entirely new makeup aesthetic: Vanilla Girl makeup looks. These makeup looks focus on natural features while accentuating them subtly; many beauty experts and enthusiasts are striving to replicate them; this article offers tips and tricks on how anyone can recreate TikTok’s Vanilla Girl aesthetic for themselves. Start With a Good BaseVanilla Girl makeup is all about emphasizing natural features, so starting off right is of vital importance for this look. Before applying makeup of any sort, ensure your face has been cleansed thoroughly and moisturized to provide adequate hydration – this will allow the makeup application to go more smoothly and last longer! To create this natural effect use lightweight foundation or tinted moisturizer in matching hue. When applying these items use either damp beauty sponge or brush for even coverage. Play With Neutral TonesThe Vanilla Girl makeup aesthetic involves playing with neutral tones that flatter one’s natural skin tone, including earthy tones like brown, beige, taupe and nude in eyeshadow, blush and lipstick products. Opting for matte finishes for eyeshadow and blush while choosing glossy lips such as nude lipstick or tinted lip balm works wonderfully to complete this look. Highlight Your Natural FeaturesVanilla Girl makeup aesthetic focuses heavily on emphasizing one’s natural features, so don’t shy away from using highlighters to enhance cheekbones, nose, cupid’s bow or cupid’s bow with natural-looking glow. Try selecting one that complements your skin tone but contains subtle shimmer for best results when applying highlighter over high points of face like cheekbones, bridge of nose or center forehead to achieve natural-looking glow. Enhance Your EyesIn order to achieve the Vanilla Girl makeup aesthetic, subtly enhance your eyes. Start with neutral eyeshadow shades in order to define the crease and outer corner of the eyes; opt for brown or black mascara in order to define lashes; curled them before application of mascara can open up eyes more dramatically; for further definition you could add brown or black eyeliner pencil lining your waterline; this will make eyes seem brighter and more awake! Vanilla Girl makeup aesthetic emphasizes natural-looking brows. When filling any sparse spots in your brows with either brow gel or pencil, use small strokes that mimic natural brow hairs; don’t overdo it or use shades too dark for your skin tone, instead create groomed yet natural looking brows! Finish with Dewy SprayTo complete your Vanilla Girl makeup look, finish it off with a dewy spray that has fine mist particles to impart an authentically dewy glow and set your makeup without looking caked up or cakey. Hydration products with Glycerin as its primary component are ideal to ensure skin remains looking hydrated throughout the day. Attaining the TikTok Vanilla Girl makeup aesthetic requires using neutral tones to accentuate natural features. Start with a good base, use neutral eyeshadow shades, and highlight key areas with subtle shimmer highlights for maximum impact. Keep brows natural before setting everything with dewy spray for natural-looking glow – any beauty lover can quickly achieve the Vanilla Girl aesthetic and…

Bronzed Beauty Mastering The Art Of Usingbronzer As Eyeshadow
Bronzed Beauty: Mastering the Art of Using Bronzer as Eyeshadow

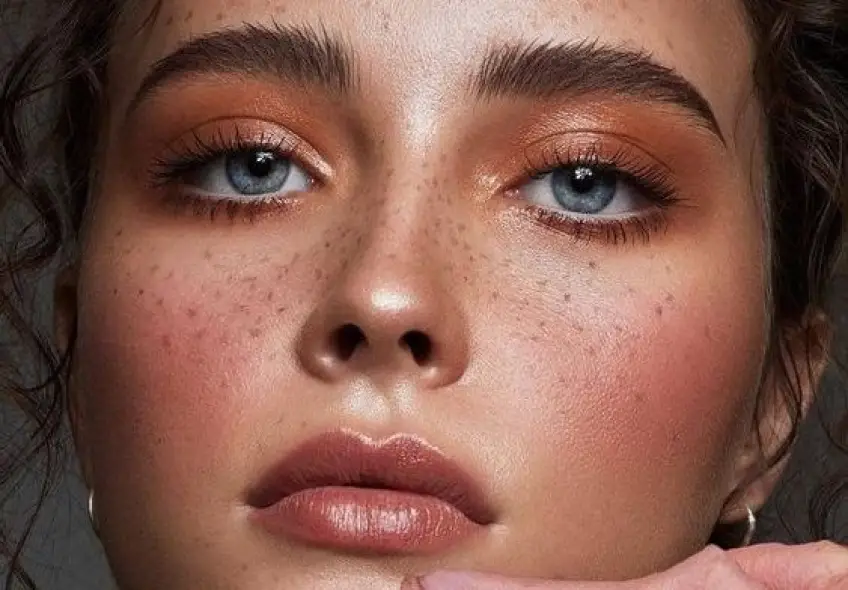
Bronzer, a staple in the quest for a radiant, sun-kissed complexion, holds untapped potential beyond its traditional use. This guide unveils the versatility of bronzer as eyeshadow, offering a simple yet innovative approach to creating a warm, natural eye makeup look that’s perfect for any occasion. Choosing the Right Bronzer for Your Eyeshadow Look Identifying Your Skin Tone Selecting a bronzer that complements your skin tone is crucial. For fair skin, opt for honey-toned bronzers; medium skin tones should look for golden or rose-gold shades, while deeper skin tones can embrace rich, terracotta bronzers. Matte vs. Shimmer: Which to Choose Decide based on the desired finish. Matte bronzers are ideal for a subtle, natural look, while shimmer bronzers add a radiant glow, perfect for evening makeup. Preparation and Application Techniques Prepping Your Eyes Start with a primer to ensure a smooth application and long-lasting wear. This step prevents creasing and enhances the color of your bronzer. Application Tools and Techniques For eyeshadow application, a fluffy blending brush is essential. Begin with a light hand, gradually building up color for more intensity. Creating a Warm and Natural Eye Makeup Look Step-by-Step Guide Blending for a Seamless Finish Seamless blending is key to a natural look. Use a clean blending brush to soften any harsh lines, blending upward and outward. Advanced Tips and Tricks Using Bronzer in the Crease For a monochromatic look, blending bronzer into the crease creates a cohesive and naturally contoured eye appearance. Highlighting and Contouring the Eyes Highlight the brow bone and inner corner of the eye with a lighter, shimmering shade to complement the bronzed lids and add dimension. Day to Night: Transforming Your Look Enhancing the Look for Evening Intensify the bronzer on the outer corners and lower lash line, and add a darker shade in the crease for a smoky effect. Adding Depth with Multiple Shades Layering different shades of bronzer can add complexity to your look. Use lighter shades on the lid and darker shades in the crease and outer V. Complementing Your Bronzer Eyeshadow with Other Makeup Lip and Cheek Recommendations Opt for nude or peach-toned lip colors and a blush that mirrors the warmth of your eyeshadow for a cohesive, sun-kissed look. Balancing Your Overall Makeup Look Keep the rest of your makeup understated to let your eyes be the focal point. A light foundation, bronzer, and a touch of mascara can complete the look. Common Mistakes and How to Avoid Them Over-Application Start with a small amount of product and build gradually to avoid a muddy look. Choosing the Wrong Shade Ensure the bronzer shade complements your skin tone and undertones to avoid looking washed out or overly orange. Using bronzer as eyeshadow not only simplifies your makeup routine but also opens up a world of creativity and versatility. Embracing this technique can lead to a range of warm, natural looks that enhance your natural beauty while making the most of your makeup products. The key to mastering this art lies in choosing the right shades, blending meticulously, and balancing your overall makeup…

How To Achieve The Tiktok Vanilla Girl Makeupaesthetic
How to Achieve the TikTok Vanilla Girl Makeup Aesthetic

In an era where TikTok dictates the pulse of beauty and fashion trends, the Vanilla Girl makeup aesthetic has emerged as a coveted look. It’s a celebration of simplicity and natural beauty, steering away from the bold and dramatic to embrace the understated elegance of minimal makeup. This aesthetic is all about enhancing your natural features in the most subtle way. Whether you’re a seasoned makeup enthusiast or new to the beauty scene, achieving the Vanilla Girl look can be simple with the right approach. This comprehensive guide will walk you through the essential steps to mastering this effortlessly chic look, turning you into a TikTok sensation in no time. Start with a Flawless Base Achieving the Vanilla Girl makeup look begins with perfecting your canvas. Cleanse and moisturize your face to ensure a smooth and hydrated base. Opt for a tinted moisturizer or a lightweight foundation that seamlessly matches your skin tone for that barely-there effect. Application is key; use a damp beauty sponge or a foundation brush for an even and natural finish. A good base not only enhances the makeup but also cares for your skin underneath. Embrace Neutral Shades The essence of the Vanilla Girl aesthetic lies in the palette of neutral tones that complement your natural skin tone. Earthy hues of brown, beige, and nude in matte finishes are your best friends for eyeshadows and blushes. For the lips, a hint of gloss over a nude lipstick or a swipe of tinted lip balm adds the perfect touch of understated glamour. Selecting the right shades is crucial for maintaining the authenticity of the aesthetic while playing up your best features. Illuminate Your Natural Features Highlighting is a game-changer in the Vanilla Girl makeup routine. Use a highlighter that’s just a shade lighter than your skin tone and possesses a subtle shimmer, not glitter. The key areas to focus on are the tops of your cheekbones, the bridge of the nose, and the cupid’s bow. A gentle application will lend you a soft, ethereal glow that defines the Vanilla Girl look. Subtly Defined Eyes For eyes that speak volumes without saying a word, stick to neutral eyeshadows to define the crease and the outer corners. A swipe of brown or black mascara adds definition to your lashes, making your eyes appear wider and more awake. Those seeking a bit more depth can lightly line the waterline with a brown or black pencil. Remember, the goal is to enhance, not overshadow, your natural beauty. Natural Brows Are Key Brows frame the face and play a pivotal role in the Vanilla Girl aesthetic. The focus here is on full, well-groomed brows that look as natural as possible. Fill in sparse areas with a brow pencil or gel, mimicking the natural hair direction. The shade chosen should closely match your hair color to avoid a harsh contrast, keeping the overall look soft and coherent. Seal with a Dewy Finish Lock in your makeup while adding a burst of hydration with a dewy setting spray. A fine mist enriched with glycerin or…

Skin Serums: An Essential Addition To Your Skincare Routine
Skin Serums: An Essential Addition to Your Skincare Routine

Healthy, glowing skin is a top priority for many people, but with the plethora of skincare products available in the market, it can be difficult to determine which ones are necessary for your skin. One product that has gained popularity in recent years is skin serums. Skin serums are highly concentrated formulas that contain active ingredients designed to penetrate the skin deeply and target specific skin concerns. In this article, we will explore what skin serums are, why they are beneficial for the skin, and how to incorporate them into your skincare routine. What are Skin Serums?Skin serums are lightweight and highly concentrated formulas that contain a high percentage of active ingredients such as vitamins, antioxidants, and peptides. The main difference between skin serums and other skincare products is their ability to penetrate the skin more deeply due to their smaller molecular size. This allows the active ingredients in skin serums to deliver targeted benefits to the skin at a cellular level, making them highly effective in treating specific skin concerns such as fine lines, wrinkles, hyperpigmentation, and acne. Why Should We Use Skin Serums?There are many benefits of using skin serums as part of your daily skincare routine. Here are some of the reasons why you should consider incorporating a skin serum into your routine: Targeted Benefits: Skin serums are highly concentrated and contain active ingredients that are specifically designed to target specific skin concerns. For example, a vitamin C serum can help brighten the skin and reduce the appearance of dark spots and hyperpigmentation, while a hyaluronic acid serum can help hydrate the skin and reduce the appearance of fine lines and wrinkles. Deep Penetration: The small molecular size of skin serums allows them to penetrate the skin deeply, delivering active ingredients to the deeper layers of the skin where they can be most effective. Lightweight Formulas: Skin serums have lightweight formulas that are easily absorbed into the skin, making them ideal for use under moisturizers and makeup. High Concentration of Active Ingredients: Skin serums contain a higher concentration of active ingredients than other skincare products, making them more effective in treating specific skin concerns. Versatility: Skin serums are available in a wide range of formulations, making them suitable for all skin types and skin concerns. How to Choose the Right Skin Serum?With so many skin serums available in the market, it can be overwhelming to choose the right one for your skin. Here are some factors to consider when choosing a skin serum: Skin Type: Consider your skin type when choosing a skin serum. If you have oily or acne-prone skin, look for a serum that contains salicylic acid or benzoyl peroxide. If you have dry or sensitive skin, look for a serum that contains hyaluronic acid or ceramides. Skin Concerns: Choose a serum that is specifically designed to target your skin concerns. For example, if you have hyperpigmentation, look for a serum that contains vitamin C or kojic acid. Ingredients: Read the label carefully and look for ingredients that are backed by research and have been proven to…

Exploring The World Of Microneedling Revitalize Your Skin
Exploring the World of Microneedling: Revitalize Your Skin

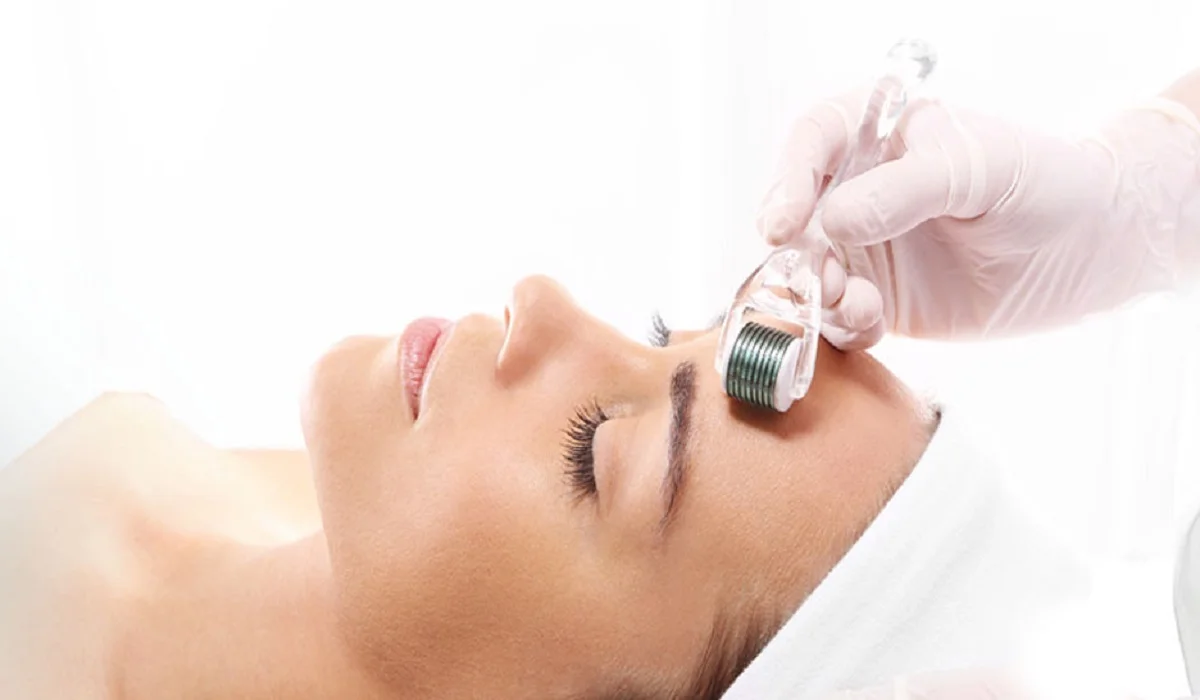
Microneedling has firmly established itself as a pivotal innovation in the realm of aesthetic and dermatological care. By inflicting minuscule injuries on the skin’s surface, it activates the body’s inherent healing mechanisms, catalyzing the generation of collagen and elastin. The outcome is a notable enhancement in skin texture, a reduction in scar visibility, minimized fine lines, and a complexion that radiates youthfulness and vitality. This comprehensive exploration will guide you through every aspect of microneedling, from its myriad benefits and the procedure itself to post-treatment care and frequently asked questions. Delving into Microneedling At its core, microneedling, or collagen induction therapy, utilizes slender needles to create almost imperceptible punctures on the skin’s uppermost layer. Renowned for its efficacy in refining the skin’s texture and tone, it is especially advantageous for mitigating scars, wrinkles, and enlarged pores, fostering skin renewal from within. The Scientific Foundation of Microneedling Microneedling’s underlying science is both straightforward and deeply rooted in biology. The microscopic injuries it induces prompt the body to initiate a healing response, which includes the production of new collagen and elastin. This response not only repairs the tiny wounds but also rejuvenates the adjacent skin that may be aged or damaged, resulting in a visibly rejuvenated appearance. The Advantages of Microneedling Device Varieties for Microneedling The market offers an array of microneedling devices, from professional-grade equipment found in clinics to home-use derma rollers. Professional treatments are generally more impactful, owing to the customizable depth of needle penetration and the intensity of the treatment. Preparing for a Microneedling Session The preparatory phase involves a consultation with a skincare expert to evaluate if your skin is suited for the treatment and to address any concerns. Avoiding certain medications and sun exposure prior to the session is advised. The Microneedling Process A standard session includes cleaning the skin, applying a numbing cream, followed by the microneedling procedure, which lasts about 30 minutes. Afterwards, a calming serum or mask may be applied to soothe the skin. Post-Treatment Care and Healing Post-treatment care is crucial for enhancing the benefits of the procedure. It involves the application of recommended serums or creams, avoiding sun exposure, and maintaining skin hydration. Safety and Potential Side Effects Microneedling is generally safe for all skin types, though some may experience redness, swelling, and sensitivity after the treatment, which usually subsides within a few days. Microneedling Across Different Skin Types This versatile treatment is suitable for a wide range of skin types and concerns, from aging to acne scars. Nonetheless, individuals with specific skin conditions should seek professional advice before proceeding. Enhancing Results with Combined Treatments For superior outcomes, microneedling can be paired with other treatments, such as PRP (Platelet-Rich Plasma) or hyaluronic acid serums, to augment the healing and rejuvenative effects. Cost Considerations and Choosing a Provider The expense of microneedling varies based on location, clinic, and treatment scope. Despite its growing accessibility, selecting a qualified provider is crucial for ensuring both safety and efficacy. Insights from Personal Experiences Testimonials from those who have experienced microneedling offer valuable perspectives and reassurance regarding the procedure’s…

What Is A Fan Brush
What is a Fan Brush?

A fan brush, often a staple in both art and beauty kits, is characterized by its unique fan-shaped bristles, designed to spread out wide while still allowing for delicate work. Originating from the need for artists to blend paint and create textures with finesse, the fan brush has a rich history in the arts. It has evolved over time, with variations developed for specific mediums and techniques. Today, it is available in several types, including soft and stiff bristles, each serving a distinct purpose. Uses of Fan Brushes in Art Fan brushes are invaluable for artists looking to achieve a range of effects in their work. They are particularly adept at blending colors on the canvas, creating smooth transitions between hues without harsh lines. This blending capability makes them ideal for skies, water, and other natural elements that require a soft touch. Additionally, fan brushes can be used to create interesting textures and patterns, such as the impression of leaves, grass, or hair, adding a layer of realism and depth to paintings. For techniques like glazing and layering, the fan brush applies thin, even coats of paint, allowing for the gradual build-up of color and luminosity. Uses of Fan Brushes in Makeup In the beauty world, fan brushes have a different set of uses but are equally cherished for their precision and versatility. Their light, feathery bristles are perfect for applying powdered makeup products like highlighters, bronzers, and blushes, offering a soft, natural finish. The unique shape of the fan brush allows for targeted application, enabling makeup artists to accentuate features like cheekbones and the bridge of the nose with ease. Additionally, fan brushes are excellent for gently sweeping away any excess or fallen product, ensuring a clean, flawless makeup application. Choosing the Right Fan Brush The key to harnessing the full potential of a fan brush lies in selecting the right one for your needs. Bristle material plays a significant role, with synthetic fibers offering durability and ease of cleaning, while natural bristles provide a softer touch ideal for sensitive skin and fine art. The size and shape of the brush will dictate its suitability for specific tasks, with larger brushes covering more area and smaller brushes offering precision. Proper care and maintenance, including regular cleaning and storage, will ensure the longevity of your fan brush. Creative Projects with Fan Brushes Beyond their traditional uses, fan brushes can inspire a variety of creative projects. Artists can experiment with different painting techniques, such as stippling and scumbling, to achieve unique effects on the canvas. DIY enthusiasts might find fan brushes handy for home decor projects, like creating textured finishes on walls or furniture. In mixed media art, the fan brush can be used to apply adhesives or create dynamic layers, adding dimension and interest to the artwork. Professional Tips for Using Fan Brushes To get the most out of your fan brush, consider the following tips from professionals: always select the right size and type of brush for your project, use a light touch to avoid overapplication of product, and experiment with…

Mastering The Art Of Crimping: A Comprehensive Guide To Correct Usage
Mastering the Art of Crimping: A Comprehensive Guide to Correct Usage

Crimping is a fundamental technique used across various industries and DIY projects to create secure and reliable connections between wires, cables, or components. Whether you’re working with electronics, automotive repairs, or crafting jewelry, understanding how to use a crimper correctly is essential to ensure the integrity and longevity of your connections. This comprehensive guide will walk you through the step-by-step process of using a crimper effectively, along with essential tips and best practices. Understanding Crimping Crimping is the process of mechanically compressing a connector or terminal onto a wire to establish a secure electrical connection or physical attachment. This technique ensures a strong bond that resists vibrations, corrosion, and other environmental factors. Crimping is commonly used in applications such as electrical wiring, network cables, automotive wiring harnesses, and more. Using the right tools and techniques is crucial to achieving consistent and reliable results. Selecting the Right Crimper Before you begin, it’s vital to choose the right crimper for your specific application. There are various types of crimpers available, each designed for different connectors and wire sizes. Common types of crimpers include: Wire Crimpers: Used for electrical connections and available in various sizes to accommodate different wire gauges. Coaxial Cable Crimpers: Designed for attaching connectors to coaxial cables, commonly used in telecommunications and audio/video installations. Terminal Crimpers: Used to secure terminals onto wires, often found in automotive and industrial applications. Modular Crimpers: Specifically designed for Ethernet cables and connectors, ensuring accurate terminations in networking projects. Step-by-Step Guide to Proper Crimping Follow these steps to ensure you’re using a crimper correctly: Prepare the Wire: Strip the insulation off the wire end to expose the bare conductor. The length of exposed wire should match the length of the connector’s barrel or terminal. Prepare the Connector: Insert the stripped wire end into the appropriate terminal or connector. Make sure the wire fits snugly, without any excess sticking out. Position the Crimper: Place the connector and wire into the appropriate slot or cavity of the crimper. Ensure that the connector is properly aligned with the crimping jaws. Apply Pressure: Squeeze the crimper’s handles firmly and evenly. The tool’s jaws will compress the connector, creating a strong and secure connection. Avoid using excessive force, as it could deform or damage the connector. Inspect the Crimp: After crimping, inspect the connection visually. The crimped terminal should tightly grip the wire without any gaps. Ensure that the wire is properly crimped and that the insulation is not damaged. Tips for Successful Crimping Use High-Quality Connectors: Invest in reliable connectors and terminals from reputable manufacturers. Quality components are essential for achieving long-lasting and reliable connections. Choose the Right Wire Size: Match the wire gauge with the appropriate terminal size. Using undersized or oversized connectors can result in poor connections and potential safety hazards. Practice Proper Technique: Maintain steady pressure while crimping, and avoid jerky or uneven movements. Consistent pressure ensures a uniform and secure connection. Perform a Pull Test: After crimping, perform a gentle tug on the wire to ensure it’s securely attached to the connector. If the wire easily detaches,…

The Science Of Sacred Serums Targeted Skincare Products
The Science of Sacred Serums : Targeted Skincare Products

Skincare superheroes like serums have emerged to provide answers to different skin concerns. There is a serum for pimples, aging skin and dehydration – there is a system for you. Mastering the science behind these effective elixirs will help you make a wise decision for your skin care regimen. Discover the science of the serum – the appeal of the serum and how you can unleash your skin’s potential. Serums: What exactly are Serums? Serums are sheer skincare products which provide very high concentrations of active ingredients deeply within the skin. Unlike moisturizers which just plough the epidermis surface area, serums penetrate deeper and will specifically target wrinkles, dullness or hyperpigmentation. The Function of Serums in Skincare Routine Serums are essential products for any skincare regime as impressive treatment products targeting certain concerns. Including serums in your day to day routine will complement your skincare products and also offer targeted solutions to numerous skin problems. Benefits of Serums Serums possess many skin benefits and ought to be part of every skin kit. From encouraging collagen production to brightening complexion, here are a number of crucial advantages of integrating serums in your daily regime : Hydration: Serum components like hyaluronic acid and glycerin are oftentimes contained in serums as these ingredients bind and retain water, making skin plump and moist.Anti Aging: Antioxidant serums with retinol and vitamin C might fight fine lines and wrinkles.Brightening: Active substances like niacinamide and kojic acid much skin tones and also give it a far more radiance.Control of Acne: Salicylic acid or tea tree oil serums clean oil blocked pores, minimize redness and prevent breakouts – ideal for acne prone skin. Which Serum Is Best There are plenty of serums available today – selecting the best one may be overwhelming. Add in the following to select the serum which best suits your requirements : Skin Type: There is a serum for oily, dry, sexy and very sensitive skin – there is one for you. Search for items made for you.Ingredients: Look at the active ingredients within the serum and at their concentrations. Research ingredients which deal with your concerns and select items with quality, scientifically evaluated formulations.Texture: Serums may be light liquids or solid gels. Pick a texture which feels at ease in your skin and goes with your skin care regime.Packaging: Select serums in oblong, airtight bottles to keep the active ingredients constant and good in light and air exposure. Application Techniques Appropriate use of serums is crucial to maximising their effectiveness and getting the most from them for your skin. Stick to these steps for optimum results : Cleanse: Begin with a fresh and dried out face for optimum absorption of the serum.Dispense: Slather a pea size drop of serum onto fingers.Pat and Press: Pat the serum on trouble areas of skin. Don’t rub or even pull at your skin to result in irritation. Follow with Moisturizer: Soak the serum in before using moisturizer to retain hydration and lock in effective ingredients. Common Ingredients in Serums Serums focus on certain skin issues with active ingredients. Listed…