How To Dye Your Hair Using Henna

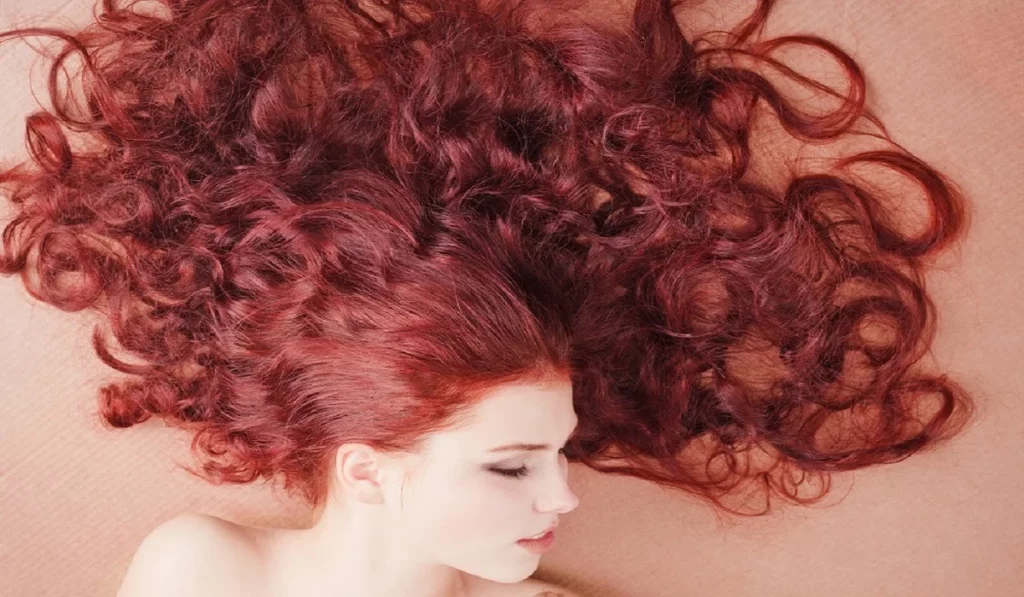
Henna has been used for centuries to dye hair, skin, and even fabrics, offering a natural alternative to chemical hair dyes. Rich in color and conditioning properties, henna not only dyes your hair but also improves hair health. This guide provides a comprehensive overview of how to dye your hair using henna, ensuring a successful transition to vibrant, naturally colored hair. The choice of henna as a hair dye is rooted in its natural composition, which ensures a chemical-free process. Unlike synthetic dyes, henna coats the hair shaft, enhancing its strength and shine without altering its structure.
How To Dye Your Hair Using Henna


Understanding Henna

Origins and Benefits

Derived from the Lawsonia inermis plant, henna has been celebrated for its dyeing and conditioning properties. It not only imparts a rich color but also reduces dandruff and conditions the scalp.

Types of Henna

Pure henna results in red-orange tones, but variations mixed with other natural dyes can achieve a range of colors from red to deep brown.

Preparing for the Henna Dyeing Process

Selecting Your Henna

Opt for body art quality henna for the purest form, ensuring no additives compromise your hair’s health or color.

Required Materials

Gather gloves, plastic wrap, a mixing bowl, and an applicator brush to start your henna dyeing journey.

The Mixing Phase

How to Mix Henna for Hair Dye

Combine henna powder with an acidic liquid like lemon juice to release the dye, adjusting the consistency to a yoghurt-like texture.

Tips for Achieving the Perfect Consistency

Adding oils or sugars can enhance the mixture’s texture, making it easier to apply and stick to your hair.

Application Techniques

Step-by-Step Guide to Applying Henna

Starting from the roots, apply the henna evenly to sections of your hair, working your way down to the tips. Ensure every strand is covered for an even color.

Ensuring Even Coverage

Divide your hair into sections and apply the mixture thoroughly, using your hands for better maneuverability and coverage.

Aftercare and Maintenance

Post-Dye Care Tips

Rinse your hair with water and a sulfate-free conditioner, avoiding shampoo for 48 hours to allow the color to set.

How To Dye Your Hair Usinghenna


Maintaining Your Color

Regular touch-ups every 4 to 6 weeks will keep your color vibrant. Using henna-infused oil treatments can also prolong the dye’s life.

Troubleshooting Common Henna Dye Issues

Dealing with Dryness or Uneven Tones

Hydrating hair masks and proper sectioning during application can mitigate dryness and ensure consistent color.

Adjusting the Color Post-Application

For darker or lighter shades, adjust the henna mixture with indigo or more water, respectively, for your next application.

How To Dye Your Hair Using Henna

Recap of Key Points: Dyeing your hair with henna is a rewarding process that not only offers a vibrant, natural color but also benefits hair health. Embracing Natural Beauty with Confidence: Henna allows you to embrace your natural beauty confidently, knowing you’re using a safe, sustainable product.

Dyeing your hair with henna offers a sustainable and health-conscious alternative to chemical dyes. By following the steps outlined in this guide, you can achieve a beautiful, natural color that enhances your hair’s overall health and appearance. Embrace the sustainable beauty of henna dyeing and enjoy the rich, vibrant colors it brings to your hair, knowing you’re making a choice that’s good for you and the environment.

  • How long does henna hair dye last? Henna hair dye typically lasts between 4 to 6 weeks, depending on your hair type, how frequently you wash your hair, and the products you use. Henna binds with the keratin in the hair, making it a semi-permanent dye that gradually fades without the obvious root line common with synthetic dyes.
  • Can I use henna on chemically treated hair? Yes, but with caution. If your hair has been chemically treated, wait at least 2 to 4 weeks before applying henna. Perform a strand test to ensure compatibility, as henna can react unpredictably with chemically treated hair. It’s advisable to consult a professional if unsure.
  • How do I know which henna color is right for me? Choosing the right henna color involves understanding the natural base color of your hair and the desired outcome. Pure henna results in red-orange tones, but mixing henna with other natural ingredients like indigo can produce browns and blacks. Conduct a strand test to preview the results before applying henna to your entire head.
  • Can henna cover gray hair? Yes, henna effectively covers gray hair, imparting rich color and shine. However, the process may require multiple applications to achieve the desired depth of color on gray strands. Some prefer to mix henna with indigo for darker shades, which can provide more coverage for grays.
  • Is it possible to remove henna from hair? Removing henna from hair is challenging due to its natural dye properties. Over time, the color may fade, but complete removal is difficult. Short of cutting the hair, the best approach is to let it grow out. Chemical removal methods can be damaging and are not recommended.
  • How often can I apply henna to my hair? Henna can be applied every 4 to 6 weeks or as needed to maintain the desired color intensity. Since henna is a natural conditioner, frequent use can improve hair health, though it’s essential to monitor your hair’s condition and adjust frequency accordingly to prevent over-saturation.

The Ultimate Guide To Achieving Soft Lips Naturally
The Ultimate Guide to Achieving Soft Lips Naturally

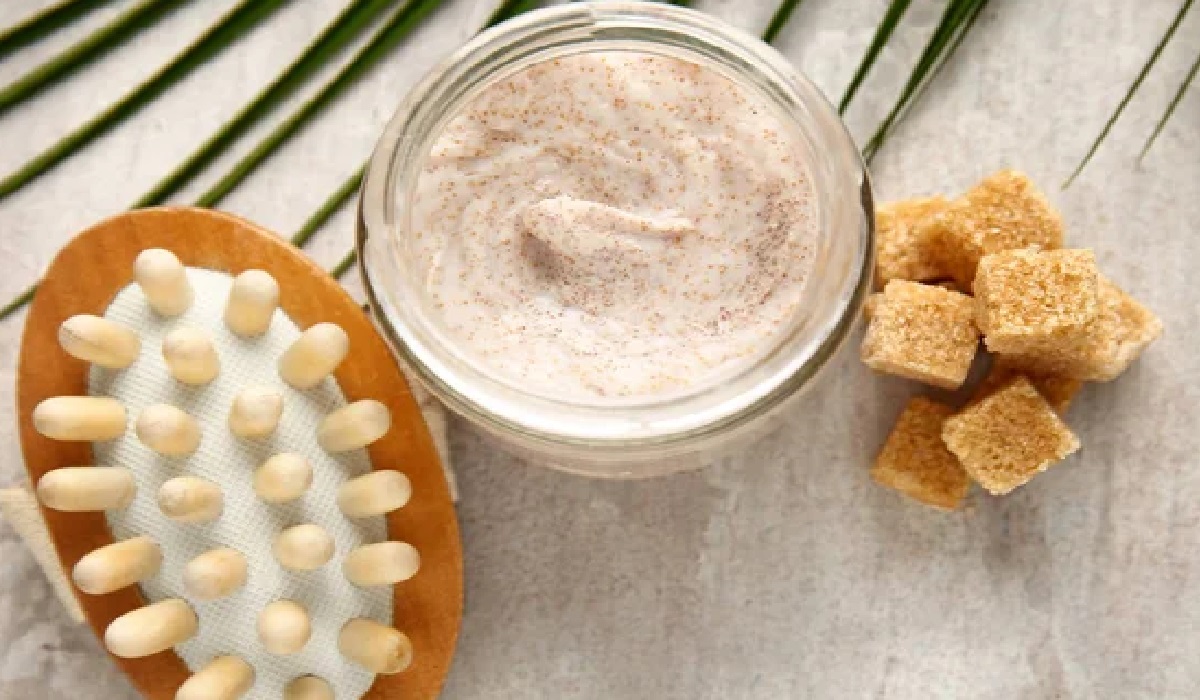
Having soft, supple lips is something that everyone desires. Unfortunately, factors such as cold weather, dehydration, and exposure to the sun can cause dry and chapped lips, making them feel rough and unattractive. Fortunately, there are many natural ways to get soft lips without resorting to expensive beauty products or treatments. In this article, we’ll explore some of the best ways to get soft lips naturally. Exfoliate Your LipsExfoliating your lips is the first step in achieving soft lips naturally. Dead skin cells can build up on the surface of your lips, causing them to feel rough and dry. By exfoliating your lips, you can remove these dead skin cells, revealing soft and smooth lips underneath. One of the easiest ways to exfoliate your lips is to use a homemade lip scrub. You can make your own lip scrub by mixing together a tablespoon of sugar with a teaspoon of honey or coconut oil. Apply the mixture to your lips and gently rub in circular motions for a few minutes. Rinse off with warm water and pat dry. Stay HydratedDrinking plenty of water is crucial for maintaining soft and supple lips. Dehydration can cause your lips to become dry and chapped, so it’s important to drink enough water throughout the day to keep your body hydrated. In addition to drinking water, you can also keep your lips hydrated by applying a moisturizing lip balm. Look for a lip balm that contains natural ingredients such as shea butter, beeswax, and vitamin E. Protect Your Lips From the SunExposure to the sun can cause your lips to become dry and chapped. To protect your lips from the sun’s harmful rays, apply a lip balm that contains SPF before heading outside. Use Natural OilsNatural oils such as coconut oil, almond oil, and jojoba oil can help to moisturize and nourish your lips, leaving them feeling soft and supple. Simply apply a small amount of oil to your lips before bed and leave it on overnight. Avoid Licking Your LipsLicking your lips can actually make them more dry and chapped. Saliva contains enzymes that can break down the skin on your lips, leading to dryness and irritation. Instead of licking your lips, reach for a moisturizing lip balm to keep them hydrated. Eat a Healthy DietEating a healthy diet can also help to keep your lips soft and supple. Foods that are rich in vitamins and antioxidants, such as fruits and vegetables, can help to nourish your lips from the inside out. Don’t SmokeSmoking can cause your lips to become dry and discolored, so it’s best to avoid smoking if you want to maintain soft and healthy lips. Be Gentle With Your LipsBeing gentle with your lips is key to maintaining their softness and preventing damage. Avoid biting or picking at your lips, and be gentle when applying lip balm or other products. Use a HumidifierIf you live in a dry climate or spend a lot of time in air-conditioned or heated spaces, a humidifier can help to add moisture to the air and prevent your…

Flawless Fitness: Gym Makeup For A Workout
Flawless Fitness: Gym Makeup for a Workout

Going to the gym may be daunting for some people, particularly for those looking their best during workouts. Although makeup might not immediately spring to mind when considering gym work outs, many women find a bit of makeup can boost confidence and feel ready to tackle any exercise routines they face. In this article we’ll talk about The Stronghold look – ideal makeup style to achieve in this setting – plus tips and tricks that’ll help achieve and maintain it during each gym workout session. The Stronghold LookThis look embodies minimalism and longevity – designed to remain put no matter how much sweating takes place! The goal is for it to look natural yet have just enough glamor. Here are its core components. Begin with an oil-free and matte-finish primer designed specifically to keep makeup in place during physical activity, applying thin layers all over your face in areas where sweat tends to collect most often. Pay particular attention when applying these foundations if sweat becomes an issue for you. Foundation: When selecting foundation or tinted moisturizer that complements the tone of your skin, ensure it is lightweight enough. Any product too thick or cakey could clog pores during exercise and make you uncomfortable during physical activities such as sports. When applying foundation with brush or sponge application, blend well. Concealers: Concealer can help cover up blemishes or dark circles under your eyes; for optimal results use something lightweight and blendable. Furthermore, color correctors may help neutralize any redness or discolorations on your face and neutralize redness or discolorations on its own. Brows: Use either clear gel or tinted tinted gel to shape and add definition to your eyebrows, giving them shape that frames your face for an impeccable appearance. Doing this will add dimension and help give a polished feel. Mascara: When selecting waterproof mascara, choose one or two coats that won’t smudge or flake off during exercise. Concentrate application efforts at outer corners so your eyes appear wider open. Lip Balm or Gloss: For an added splash of color during workout sessions, complete your look by applying tinted lip balm or gloss to add some moisture back into your lips while giving them some needed nourishment. This can keep them hydrated throughout your fitness regime! Now that you understand how to achieve the Stronghold look, here are a few tricks and tips to maintain it throughout your workout: Apply a sweat-proof setting spray: For added peace of mind and to secure the integrity of your makeup application, invest in a spray designed specifically to resist sweat and humidity. Carry oil-blotting sheets: If your workout routine leaves you oily, take oil blotting sheets along. They can help absorb excess oils while simultaneously maintaining fresh-looking makeup. Avoid Touching Your Facial Structure: As much as possible during your workout, avoid touching your facial structure too often as this could cause your makeup to smudge and spread, while potentially spreading bacteria onto the surface of the skin. Bring along a towel: Always have a small towel handy so you can wipe sweat from your…

The Spf Threshold: Understanding Why You Should Never Use Sunscreen Below 30 Spf
The SPF Threshold: Understanding Why You Should Never Use Sunscreen Below 30 SPF

Sunscreen is a crucial component of any skincare routine, providing protection against the harmful effects of the sun’s ultraviolet (UV) rays. Sun Protection Factor (SPF) is a measure of a sunscreen’s ability to shield the skin from UVB radiation, which is primarily responsible for sunburns. While a variety of SPF options are available, there is a consensus among dermatologists that using a sunscreen with an SPF below 30 is inadequate for adequate sun protection. In this article, we will explore the reasons why you should never use sunscreen below 30 SPF and understand the significance of SPF in safeguarding your skin against sun damage. Understanding SPF:SPF indicates the level of protection a sunscreen offers against UVB rays. For instance, an SPF 30 sunscreen theoretically allows you to stay in the sun 30 times longer than if you were not wearing any sunscreen before burning. SPF primarily measures protection against UVB rays, while UVA rays can also cause long-term skin damage. Therefore, it is crucial to choose a broad-spectrum sunscreen that protects against both UVA and UVB rays. Insufficient Protection from Sunburns:Using a sunscreen with an SPF below 30 significantly diminishes its ability to protect your skin from sunburns. Sunburns are not only painful but also a sign of skin damage. Sunscreens with higher SPF values provide a greater level of protection against UVB radiation, reducing the risk of sunburns and subsequent skin damage. Opting for an SPF below 30 increases your vulnerability to sunburns, making it essential to choose a higher SPF to effectively shield your skin. Inadequate Protection against Skin Cancer:Prolonged exposure to UV radiation is a major risk factor for skin cancer. Using a sunscreen with an SPF below 30 offers limited protection against UVB rays, which can lead to an increased risk of skin cancer. Skin cancer, including melanoma, the deadliest form of skin cancer, is strongly linked to sun exposure. By opting for a higher SPF sunscreen, you provide your skin with an added layer of defense against harmful UV rays, reducing the risk of developing skin cancer. Lesser Shielding against Premature Aging:UV radiation is a significant contributor to premature aging, including wrinkles, fine lines, and age spots. Sunscreens with SPF below 30 provide inadequate protection against UVB rays, allowing them to penetrate the skin and accelerate the aging process. By using a higher SPF sunscreen, you can minimize the damage caused by UV radiation, helping to preserve your skin’s youthful appearance and preventing premature aging. Increased Vulnerability to Sun Damage:Sun damage goes beyond sunburns and premature aging. Exposure to UV radiation without adequate protection can result in other harmful effects, including hyperpigmentation, uneven skin tone, and the breakdown of collagen and elastin fibers. These factors can lead to a loss of skin elasticity, sagging, and a dull complexion. To maintain the health and integrity of your skin, it is crucial to choose a sunscreen with an SPF of 30 or higher to provide robust protection against sun damage. Underestimating Sun Exposure:It is important to note that many individuals underestimate their sun exposure and the duration they spend…

Factors That Can Make Or Break Your Mascara's Quality: Understanding Key Influences
Factors That Can Make or Break Your Mascara’s Quality: Understanding Key Influences

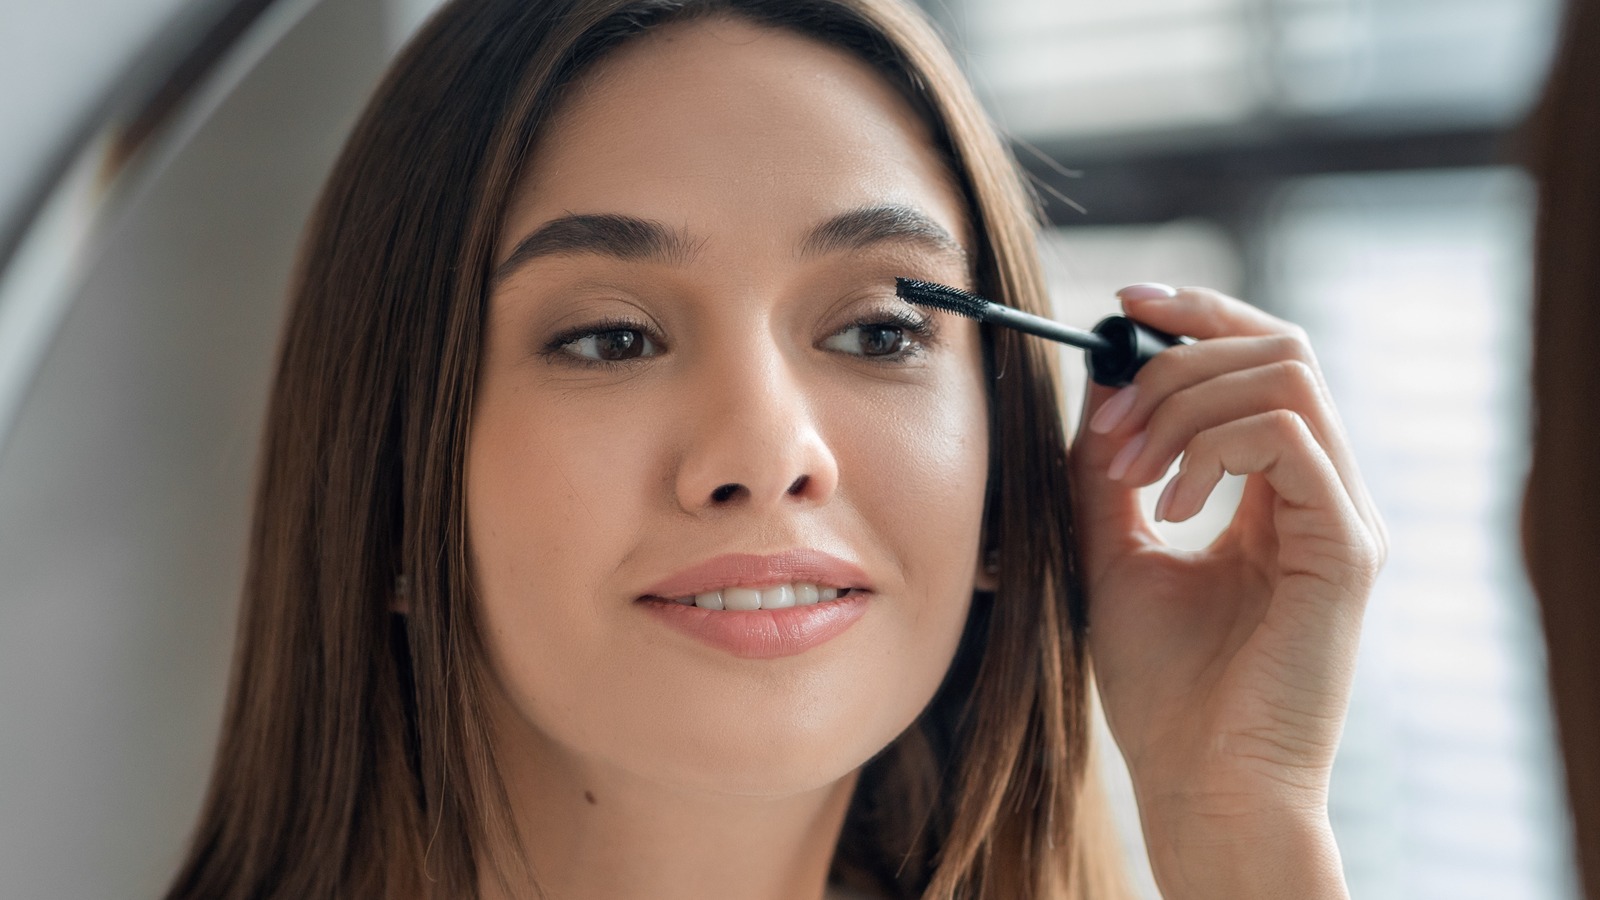
Mascara is a staple in many makeup routines, providing length, volume, and definition to lashes. However, not all mascaras are created equal, and several factors can significantly impact their quality and performance. In this article, we will explore the key factors that can make or break your mascara’s quality. By understanding these influences, you can make informed choices when selecting and using mascara to achieve the desired lash effect. Formula Composition:The quality of a mascara largely depends on its formula composition. Factors such as the type of waxes, pigments, and additives used can greatly affect the mascara’s performance. Look for mascaras that contain high-quality ingredients, as they tend to provide better coverage, enhance lash volume, and minimize clumping or flaking. Mascara is a staple in many makeup routines, providing length, volume, and definition to lashes. However, not all mascaras are created equal, and several factors can significantly impact their quality and performance. In this article, we will explore the key factors that can make or break your mascara’s quality. By understanding these influences, you can make informed choices when selecting and using mascara to achieve the desired lash effect. Formula Composition:The quality of a mascara largely depends on its formula composition. Factors such as the type of waxes, pigments, and additives used can greatly affect the mascara’s performance. Look for mascaras that contain high-quality ingredients, as they tend to provide better coverage, enhance lash volume, and minimize clumping or flaking. Brush Design:The design and quality of the mascara wand or brush play a crucial role in the application and overall outcome. Different brush shapes and bristle configurations can achieve varying effects, from lengthening to volumizing. Look for brushes that are well-designed, with bristles that are evenly spaced and of appropriate length. This ensures that the mascara coats each lash evenly and separates them for a natural and defined look. Lash Type:The natural characteristics of your lashes can significantly impact how a mascara performs on them. Factors such as length, thickness, and curl pattern vary from person to person. Consider your lash type when selecting a mascara. For example, if you have naturally long lashes, a lengthening mascara may be more suitable. If your lashes are sparse, a volumizing formula can help create the illusion of fuller lashes. Desired Effect:The desired effect you want to achieve with your mascara will determine the type of formula and brush you should choose. Different mascaras cater to specific needs, such as lengthening, volumizing, curling, or waterproof properties. Define your desired lash look and select a mascara that aligns with those goals to ensure optimal results. Application Technique:How you apply mascara can greatly impact its quality and performance. Applying too many coats or layering mascara on dry lashes can lead to clumping, flaking, and an unnatural appearance. It’s important to apply mascara in thin, even coats, starting from the base of the lashes and wiggling the wand upward. Use a lash comb or a clean spoolie brush to separate any clumps and achieve a more polished look. Product Freshness:Mascara has a limited shelf life, and using expired…

What Is Cc Cream For Hair
Unlocking the Benefits of CC Cream for Hair: Nourishment, Protection, and Styling in One Product

CC creams, known for their color correction properties in the realm of cosmetics, have expanded their reach to hair care. CC cream for hair is a versatile product that offers a range of benefits, including nourishment, protection, and styling. With its multi-functional approach, CC cream has gained popularity among individuals seeking a convenient and effective solution for maintaining healthy, beautiful hair. In this article, we will delve into the world of CC cream for hair, exploring its purpose, ingredients, application, and the advantages it brings to hair care routines. Understanding CC Cream for Hair:CC cream for hair is a hybrid product that combines the benefits of a leave-in conditioner, styling cream, and heat protectant. Similar to its cosmetic counterpart, hair CC cream aims to correct, enhance, and protect hair by addressing various concerns such as frizz, dryness, dullness, and heat damage. It is formulated with a blend of nourishing ingredients and specialized compounds to provide comprehensive care for different hair types and concerns. Nourishment and Hydration:One of the primary functions of CC cream for hair is to provide nourishment and hydration to the strands. It contains ingredients like natural oils, vitamins, and proteins that deeply penetrate the hair shaft, restoring moisture, and improving the overall health of the hair. This nourishing aspect helps to combat dryness, brittleness, and split ends, leaving the hair soft, smooth, and manageable. Protection against Environmental Stressors:Hair is exposed to various environmental stressors on a daily basis, including pollution, UV radiation, and heat styling tools. CC cream for hair acts as a protective shield, helping to minimize damage caused by these external factors. It forms a barrier around the hair shaft, reducing the absorption of pollutants and shielding against the harmful effects of UV rays. Additionally, some CC creams also provide heat protection, preventing damage from styling tools like hair dryers, straighteners, and curling irons. Frizz Control and Smoothing:CC cream for hair is particularly beneficial for individuals struggling with frizz and unruly hair. Its lightweight formula helps to tame frizz, smooth flyaways, and provide a sleek and polished appearance. The cream creates a protective layer around the hair strands, sealing the cuticles and preventing moisture loss, resulting in smoother, more manageable hair. Color Enhancement and UV Protection:For those with colored or highlighted hair, CC cream can help enhance and maintain the vibrancy of the color. Some formulations contain color-correcting pigments that neutralize brassiness and maintain the color’s true hue. Additionally, the UV protection properties of CC cream help to prevent color fading and damage caused by sun exposure, allowing the hair color to remain vibrant and vibrant for longer. Versatile Styling Abilities:CC cream for hair offers versatile styling capabilities, making it a time-saving and convenient product. It provides lightweight hold and control, allowing for effortless styling and the creation of various hairstyles. Whether you prefer sleek and straight or tousled and textured, CC cream can help achieve the desired look while nourishing and protecting the hair. Application and Usage Tips:To maximize the benefits of CC cream for hair, it is important to apply it correctly. After washing and…

How To Grow Nails Naturally 11
How to Grow Nails Naturally?

As part of an overall quest for healthy, beautiful nails, faster nail growth is often sought. While genetics, diet, and overall health all play a significant role, natural strategies exist that you can integrate into your routine in order to accelerate this process and accelerate nail growth naturally. This comprehensive guide explores various tactics on how you can naturally accelerate this process so that your nails become an emblematic symbol of vitality and well-being. Before diving into natural methods to stimulate nail growth, it’s essential to gain an understanding of its fundamentals. Nails are composed of protein called keratin and their growth occurs at their nail matrix located beneath the cuticle. Fingernails typically grow about an eighth inch (3mm) every month while toenails grow at slower rates due to factors like age, nutrition and blood circulation affecting growth rate. Protein: essential in producing keratin, the main constituent of nails. Biotin: an excellent B-vitamin known for supporting healthy nails and avoiding brittleness.Iron: Provides oxygen directly to nail matrix, aiding healthy circulation. Vitamin E: an invaluable antioxidant which supports nail health.Omega-3 Fatty Acids: Omega-3s found in fish and flaxseed can aid overall nail health and help strengthen them as a protective factor. Wear Gloves When Engaging in Household Tasks/Activities that May Expose Nails To Harsh Chemicals/Excess Moisture Utilise Acetone-free Nail Polish Removers as This Will Prevent Dryness/Biting: When engaging in household or activities which expose nails to harsh chemicals/moisture exposure, always wear protective gloves. Consequently Castor Oil: Packed full of nutrients and essential fatty acids, castor oil provides nourishment to both nails and cuticles. Gently massage in some onto each of your nails before adding more for best results. Coconut Oil: With its moisturizing properties, coconut oil has long been used to prevent nail breakage and promote growth. A small amount should be massaged onto both cuticles and nails for best results.Horsetail Extract: Horsetail is packed with silica, an essential mineral that supports nail strength and growth. Consult a healthcare provider before considering taking horsetail supplements as recommended above.Lemon Juice: Lemon juice’s acidity provides a powerful boost for strengthening nails. Combine some with olive oil for maximum benefit and soak your fingers for several minutes in this solution to promote overall good health. 8. Improve Overall Wellness:Nail health is closely connected with overall well-being, so adopting an active, nutritious lifestyle will promote strong and vibrant nails. Be sure: Accumulate Sleep: Sufficient restful sleep is crucial to cell renewal and nail cell health, including nail cells. Simplify Stress Management: Prolonged periods of high stress levels can worsen nail issues; consider practicing mindfulness techniques like meditation or yoga to manage them effectively.Regular Exercise increases blood circulation and can assist nail growth. Conclusion: Nurturing Your Nails Naturally Promoting natural nail growth involves adopting an all-encompassing approach that encompasses diet, protection measures and nurturing rituals into daily practice. By including such practices into your regiment, you can create the ideal environment for nail health to flourish – after all, healthy nails reflect overall well-being! So embrace these natural methods of nurturing nails into an expression of vitality and…

All You Need To Know About Eyebrow Threading: The Ultimate Guide
All You Need to Know About Eyebrow Threading: The Ultimate Guide

Eyebrow threading is a popular method of hair removal that originated in South Asia and has become increasingly popular in the Western world. It is a precise and relatively painless way to shape and groom eyebrows. In this guide, we will cover everything you need to know about eyebrow threading, including what it is, how it works, the benefits, and what to expect during and after the procedure. What is Eyebrow Threading?Eyebrow threading is a hair removal technique that involves twisting and pulling a thread along the skin, which removes the hair from the follicle. The thread is typically made of cotton or polyester and is doubled over, creating a loop at one end and two loose ends at the other. The practitioner holds one end of the thread in their mouth and uses the other hand to manipulate the loop, allowing them to precisely remove individual hairs from the eyebrow area. How does Eyebrow Threading Work?Eyebrow threading works by pulling out hair from the root. The practitioner will use the looped end of the thread to trap and twist individual hairs, pulling them out from the follicle. Because threading only removes hair from the root, the results can last up to 4-6 weeks before the hair grows back. Additionally, threading is a relatively gentle technique, as it does not require any chemicals or heat, making it suitable for those with sensitive skin. Benefits of Eyebrow Threading:There are several benefits to eyebrow threading. First, it is a precise technique, allowing for a more defined and tailored eyebrow shape. Second, it is less painful than other hair removal methods, such as waxing, as it does not pull on the skin. Third, threading is a quick and easy procedure that can be done in a matter of minutes. Finally, because threading only removes hair from the root, the results can last up to 4-6 weeks, making it a low-maintenance option. What to Expect During an Eyebrow Threading Procedure:If you have never had your eyebrows threaded before, you may be wondering what to expect during the procedure. First, the practitioner will ask you about the shape and style you are looking for. They will then use a white eyeliner pencil to draw on the shape of your new eyebrows. Once you have approved the shape, the practitioner will begin the threading process, using the looped end of the thread to remove hairs from the eyebrow area. You may experience some mild discomfort during the procedure, but it should not be painful. Once the threading is complete, the practitioner will apply a soothing cream or gel to the area to reduce any redness or irritation. Aftercare for Eyebrow Threading:Aftercare for eyebrow threading is relatively simple. You should avoid touching or rubbing the eyebrow area for at least 24 hours after the procedure to allow the skin to heal. You may also experience some redness or mild swelling, which should subside within a few hours. You can apply a cool compress to the area to reduce any discomfort. Finally, it is important to keep the eyebrow area…

The Best Methods To Give Your Skin A Perfectly Even Tone
The Best Methods to Give Your Skin a Perfectly Even Tone

The quest for a flawless, even skin tone is a universal beauty goal, transcending cultures and ages. An even skin tone not only signifies a healthy and youthful appearance but also boosts confidence, allowing individuals to feel their best. However, achieving this coveted complexion can be challenging due to various skin tone irregularities such as hyperpigmentation, sun spots, and uneven textures. This comprehensive guide will explore the most effective strategies, from cutting-edge professional treatments to time-honored natural remedies, to help you give your skin the perfectly even tone it deserves. Understanding Skin Tone Irregularities Causes of Uneven Skin Tone: Skin tone irregularities can arise from a multitude of factors including genetic predisposition, sun damage, hormonal fluctuations, and the natural aging process. Understanding these underlying causes is the first step towards effective treatment. The Impact of Sun Exposure: Sunlight is a significant contributor to skin tone changes, causing dark spots and premature aging. Protective measures against UV radiation are crucial for maintaining an even skin tone. Hormonal Changes and Skin Tone: Hormonal imbalances can lead to conditions like melasma, characterized by dark patches on the face. Awareness of these changes can guide appropriate skin care and treatment options. Environmental Factors: Pollution and environmental stressors can exacerbate skin tone irregularities, making a comprehensive skincare regimen essential for urban dwellers. The Basics of Skin Care for Even Tone Daily Skin Care Routine: Establishing a daily skincare routine that includes cleansing, moisturizing, and exfoliating can significantly improve skin texture and tone. Regular exfoliation removes dead skin cells, revealing fresher, more even-toned skin beneath. Importance of Sun Protection: Sunscreen is non-negotiable in the pursuit of an even skin tone. A broad-spectrum SPF 30 or higher should be applied daily, regardless of weather conditions, to protect against UV damage. Hydration and Nutrition for Skin Health: Adequate hydration and a diet rich in antioxidants play a vital role in skin health. Foods high in vitamins C and E can help protect the skin from the visible effects of environmental damage. Professional Treatments for Even Skin Tone Chemical Peels: By removing the outermost layers of the skin, chemical peels can significantly reduce the appearance of pigmentation and uneven skin texture, revealing smoother, more radiant skin. Laser Therapy: Lasers target melanin deposits and damaged skin cells, effectively treating hyperpigmentation and redness, resulting in a more uniform skin tone. Microdermabrasion: This non-invasive treatment exfoliates the top layer of skin to diminish dark spots and texture irregularities, promoting new cell growth. The Role of Dermatological Consultation: Consulting with a dermatologist can provide personalized advice and access to advanced treatments tailored to your skin’s specific needs. Natural Remedies and Their Efficacy Home Remedies for Skin Tone: Natural ingredients like lemon juice, turmeric, and aloe vera have been used for centuries to lighten dark spots and improve skin tone. However, their efficacy varies, and they should be used with caution to avoid adverse reactions. The Power of Natural Ingredients: Certain natural compounds, such as vitamin C, licorice extract, and kojic acid, have been scientifically proven to help even out skin tone when used in skincare…