How to Cover up Tattoos With Makeup

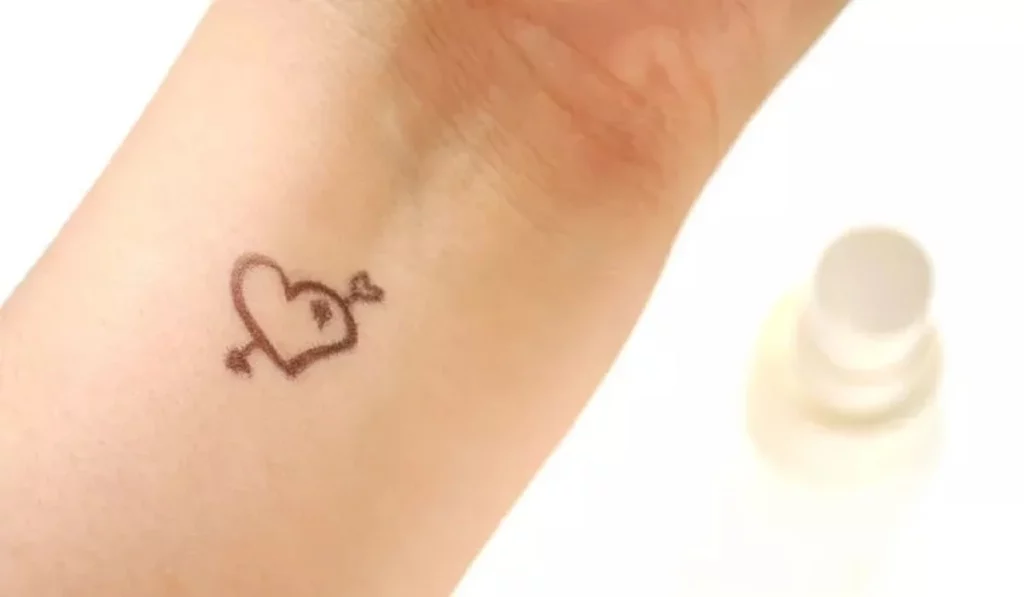
Whether for a job interview, special event, or personal reasons, there are times when you might wish to conceal a tattoo temporarily. With the right makeup and technique, covering up tattoos is entirely possible, allowing for flexibility in how and when your tattoos are visible. This comprehensive guide provides everything you need to know about hiding tattoos with makeup, ensuring a flawless finish. Covering up a tattoo with makeup is a practical solution for temporarily concealing ink without the commitment of permanent removal. The key is understanding which products to use and how to apply them for a cover-up that looks natural and stays put.
How To Cover Up Tattoos With Makeup


Understanding Tattoo Coverage Makeup

Types of Makeup for Tattoo Coverage

Heavy-duty concealers and color correctors are essential for tattoo coverage. Look for products specifically designed for covering tattoos or those used for stage makeup, as they offer the high pigmentation and coverage needed.

Selecting the Right Shade and Formula

Choose a concealer that matches your skin tone closely. If your tattoo contains vivid colors, you may need a palette of color correctors to neutralize these hues before applying concealer.

Preparing Your Skin for Makeup Application

Cleansing and Priming

Start with clean, dry skin. Use a primer to create a smooth canvas, which helps the makeup adhere better and last longer.

Importance of Hydration

Moisturize the area around the tattoo, but wait until the moisturizer is fully absorbed before applying makeup. Hydrated skin ensures an even application.
How To Cover Up Tattoos Withmakeup


Step-by-Step Guide to Covering a Tattoo With Makeup

  1. Color Correcting Techniques
    • Use color correctors to neutralize the tattoo’s colors. Green neutralizes red, orange or salmon for blue and black shades, and yellow for purple.
  2. Application of Concealer and Foundation
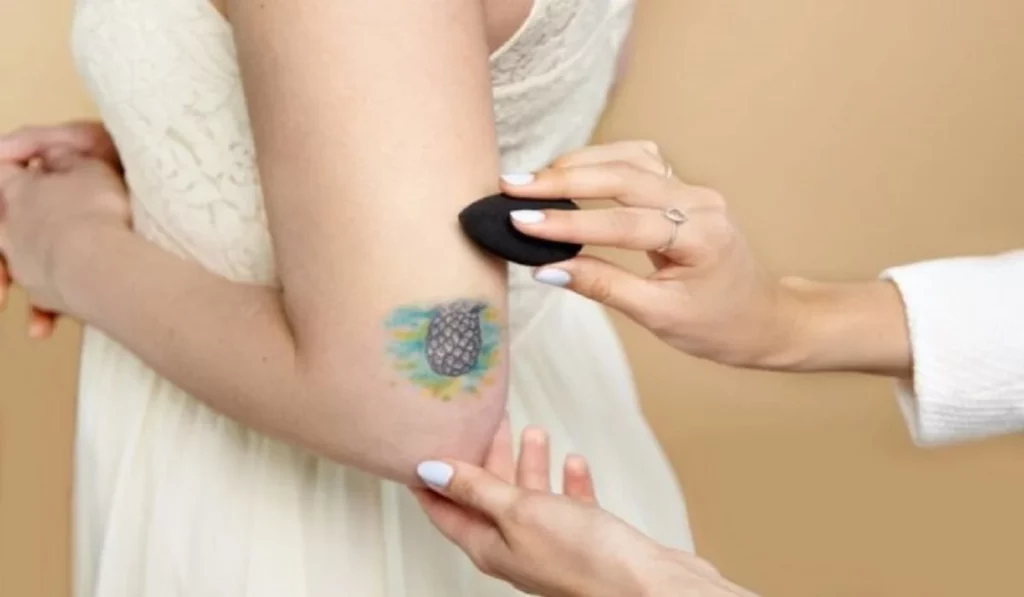
    • Apply a high-coverage concealer over the color-corrected tattoo, patting it gently to blend. Follow with a layer of foundation that matches your skin tone.
  3. Setting the Makeup for Longevity
    • Use a translucent setting powder to lock the makeup in place. Apply a generous amount, let it sit for a few minutes, then gently brush off the excess.

Tips for a Natural and Long-Lasting Finish

  • Blending Edges
    • Blend the edges of the makeup into surrounding skin to avoid noticeable lines.
  • Choosing Waterproof Products
    • Opt for waterproof makeup to prevent smudging or fading throughout the day.
  • Touch-up Tips
    • Carry a small makeup kit for touch-ups, especially if you’ll be out for an extended period.

Removing Makeup and Caring for Your Skin

Gentle Removal Techniques

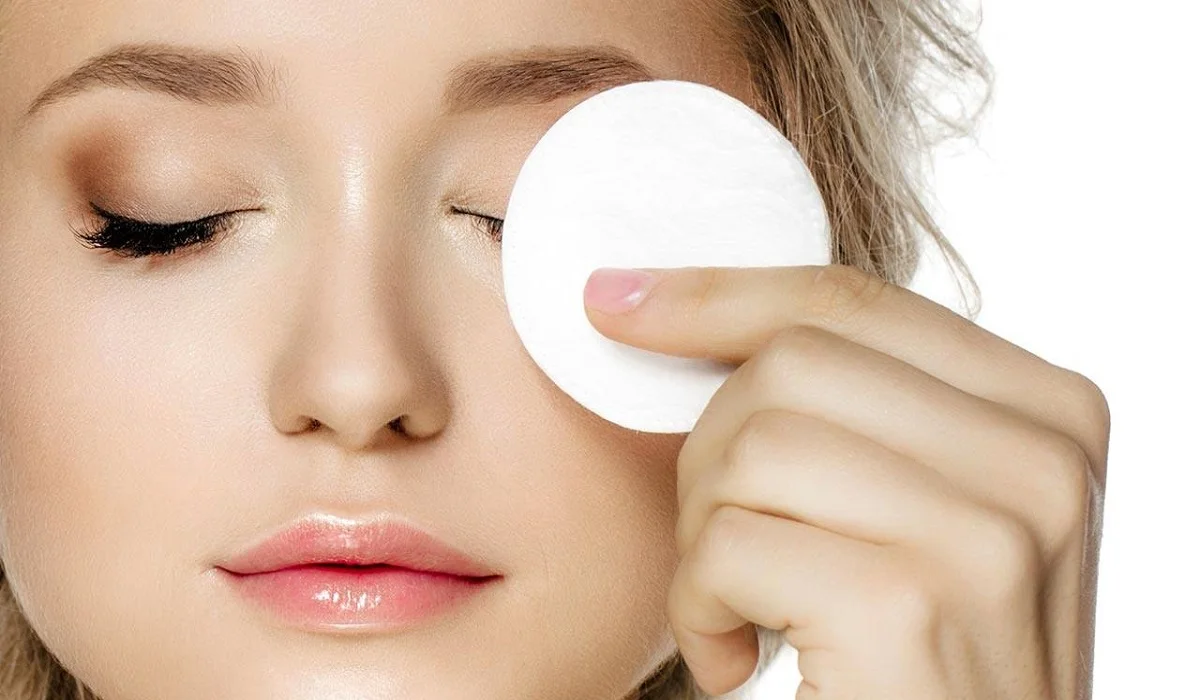
Use a gentle makeup remover or micellar water to avoid scrubbing, which can irritate the skin.

Post-removal Skin Care

After removing the makeup, cleanse the skin thoroughly and apply a nourishing moisturizer to keep the skin healthy.

How to Cover up Tattoos With Makeup

Recap of Key Points: Concealing tattoos with makeup is a viable option for those seeking temporary coverage. By selecting the right products and following proper application techniques, you can achieve a cover-up that looks natural and withstands the rigors of your day.

Covering tattoos with makeup is an art that combines the right products with skillful application to achieve a natural-looking concealment. Whether for a special occasion or everyday need, the ability to temporarily hide your tattoos gives you control over your appearance. With practice and patience, anyone can master this technique, embracing the flexibility and confidence that comes with flawless tattoo coverage.

  • Can I cover a new tattoo with makeup?
  • How long does tattoo makeup cover last?
  • Can covering a tattoo with makeup cause damage to the tattoo?
  • Is it safe to use regular foundation to cover tattoos?
  • How can I ensure the makeup doesn’t transfer to my clothes?


What Is Scrub And What Does It Do
What is Scrub and What Does It Do?

Navigating the path to luminous, vibrant skin, the inclusion of scrubs has become indispensable within the realm of meticulous skincare practices. Acting as a crucial intermediary that seamlessly connects the acts of cleansing and hydrating, scrubs are instrumental in not just refining the texture of the skin but significantly elevating its overall vitality. Delve into the core of what scrubs represent, unravel their extensive benefits, and discover actionable insights for seamlessly weaving them into your daily skincare ritual. The Essence of Scrubs: Pioneers of Skin Transformation Fundamentally, a scrub is crafted as a skin care concoction aimed at the gentle eradication of dead skin cells, grime, and additional contaminants blanketing the skin’s exterior. This exfoliation process is key to reviving the skin, ushering in an era of smoother and more effervescent skin layers below. Moreover, the very action of scrubbing invigorates circulation, infusing the skin with a renewed sense of vitality and radiance. But what elevates scrubs to an essential status within skincare? Unveiling the Mechanisms Behind Scrubs Scrubs come to life through their meticulously designed formulations, encompassing minute particles or granules that, upon being massaged onto the skin, perform the act of mechanical exfoliation. This transcends the capabilities of standard cleansing, promoting deeper purification while simultaneously fostering blood circulation and lymphatic detoxification, thus revitalizing skin wellness from within. Exploring the Diversity of Scrubs and Their Distinctive Merits Gel-Based Scrubs: Perfect for delivering hydration and a cooling sensation, these scrubs stand as a solace, especially after exposure to the sun or vigorous physical activities.Natural Exfoliators – Sugar and Salt Scrubs: Offering a spectrum of abrasiveness, these scrubs afford a personalized exfoliation experience.Coffee Scrubs: Laden with antioxidants, these variants not only slough off dead skin cells but also contribute to skin tightening and enhanced circulation. Incorporating Scrubs into Your Skincare Regimen Adopting a scrub into your routine is uncomplicated yet demands conscientiousness to sidestep the pitfalls of over-exfoliation. Here is a methodical approach: Begin with Cleansed Skin: Initiating with a pristine base ensures the scrub’s efficacy.Gentle Application: Employ soft, circular strokes to massage the scrub onto your skin, ensuring the process remains gentle.Rinse Off Completely: Utilize lukewarm water to remove the scrub, unveiling rejuvenated and lively skin.Hydrate: Conclude with a moisturizing agent to deeply nourish the newly exfoliated skin. Selecting an Ideal Scrub for Your Skin Type Oily Skin: Seek scrubs designed to regulate oil secretion whilst preserving natural moisture.Dry Skin: Opt for scrubs embedded with hydrating elements that promise gentle exfoliation, thereby preventing additional dryness.Sensitive Skin: Favor scrubs with fine particles and calming ingredients to reduce potential irritation. Custom Scrubs: Tailored to Your Skin’s Specifications Crafting scrubs within the comfort of your home allows for an unparalleled level of customization to cater to your skin’s unique requirements. Utilizing ingredients like sugar, olive oil, and lemon not only facilitates natural exfoliation but also ensures skin revival. Nonetheless, recognizing your skin type and sensitivities is paramount to guarantee the safety and efficacy of your DIY endeavors. Scrubs stand as formidable allies in the quest for thriving, resplendent skin. By gaining a comprehensive understanding of…

Expert Tips For Hassle Free Makeup Removal And Skin Brightening
Expert Tips for Hassle-Free Makeup Removal and Skin Brightening

Removing makeup is an essential step in any skincare routine, crucial for maintaining healthy, clear skin. Proper makeup removal prevents clogged pores, breakouts, and skin irritation, ensuring your skin can breathe and rejuvenate overnight. This guide provides a detailed, step-by-step approach to effectively remove makeup, highlighting best practices, recommended products, and aftercare tips for optimal skin health. Understanding the Importance of Makeup Removal The journey to flawless skin begins with understanding why thorough makeup removal is non-negotiable. This section delves into the adverse effects of sleeping with makeup on, including accelerated aging and increased susceptibility to environmental damage. Learn about the significance of removing makeup to maintain the integrity of your skin barrier and prevent common skin concerns. Step 1: Choosing the Right Makeup Remover The first step in your makeup removal routine is selecting a product that suits your skin type and the kind of makeup you use. From micellar water and cleansing oils to makeup removal wipes and balms, this part explores the various options available, offering guidance on choosing the most effective and gentle formula for your needs. Step 2: Removing Eye Makeup Gently Eye makeup, especially waterproof products, requires special attention due to the delicate nature of the skin around the eyes. This section provides tips for safely and gently removing mascara, eyeliner, and eyeshadow, reducing the risk of irritation and ensuring no residue is left behind. Step 3: Cleansing Your Face Thoroughly After addressing the eye area, the next step focuses on removing foundation, concealer, and other face makeup. Discover techniques for using your chosen cleanser to dissolve and lift away makeup, dirt, and oil, ensuring a deep clean that leaves your skin fresh and clear. Tips for double cleansing are also included for those wearing heavy or long-wear makeup. Step 4: Toning and Moisturizing Post-cleansing care is crucial for restoring your skin’s natural balance. This section emphasizes the importance of using a gentle toner to remove any lingering traces of makeup and balance the skin’s pH, followed by a hydrating moisturizer to nourish and protect the skin barrier. Special Considerations for Sensitive Skin Individuals with sensitive skin may require special considerations during the makeup removal process. This part provides recommendations for hypoallergenic, fragrance-free products and techniques that minimize irritation, ensuring a soothing and effective makeup removal experience for all skin types. The Role of Exfoliation Incorporating exfoliation into your skincare routine can enhance the effectiveness of makeup removal and improve overall skin health. Learn about the benefits of exfoliation for removing dead skin cells and promoting cell renewal, along with advice on how to exfoliate safely without over-stripping the skin. Aftercare: Nurturing Your Skin Post-Makeup After makeup removal, taking additional steps to care for your skin can make a significant difference in its appearance and health. This section covers aftercare practices such as applying targeted treatments, serums, and overnight masks to address specific skin concerns and support skin recovery and rejuvenation. Common Mistakes to Avoid Even with the best intentions, common mistakes during the makeup removal process can compromise skin health. This segment highlights pitfalls to…

The Power And Benefits Of Vitamin C Serums 2
The Power and Benefits of Vitamin C Serums

Vitamin C serums have become an invaluable addition to many skincare routines and have earned much praise. Vitamin C’s numerous advantages make this ingredient one of the key players for attaining radiant complexions, so we will explore why adding one into your routine could make a big difference for long-term skin health. In this comprehensive guide we’ll also look into its science as well as all its possible applications – be that brightening, protecting or rejuvenating. Chapter 1 – Vitamin C Chemistry and Applications Understanding the effects of vitamin C serums requires delving deeper into their science. We will do just that here: Ascorbic Acid: the purest form of vitamin C, revered for its potent antioxidative capabilities and role in collagen synthesis. Stability Issues: Vitamin C’s fragile nature poses difficulties when applied in skincare formulations, making stability maintenance an ongoing battleground. Derivatives of Vitamin C: Stable forms such as sodium ascorbyl phosphate and ascorbyl glucoside that offer effective alternatives. Chapter 2: Benefits of Vitamin C Serums Vitamin C serums provide numerous skincare advantages and should be an indispensable addition. Brightening: How vitamin C effectively combats hyperpigmentation, evens out skin tone and imparts a radiant radiance to give a glowing appearance to skin. Antioxidant Protection: Vitamin C’s role as an antioxidant protector lies in neutralizing free radicals, shielding our bodies from environmental harm, and delaying premature aging. Collagen Synthesis: Vitamin C stimulates collagen synthesis for improved skin elasticity and to decrease fine lines and wrinkles, ultimately contributing to reduced fine lines and wrinkles. Chapter 3 : Selecting an Appropriate Vitamin C Serum Not all vitamin C serums are created equal, so selecting one specifically tailored to your skin’s needs is of vital importance. We will discuss: Concentration: An optimal concentration of vitamin C serums should provide effective results without leading to irritation. Formulation: When considering formulation, texture and additional ingredients to suit the skin type you have, make sure they match. Packaging: Opaque packaging plays an essential part in maintaining vitamin C’s shelf life and protecting its stability. Chapter 4: Integrating Vitamin C Serums Into Your Routine Implementing a vitamin C serum into your skincare routine takes careful planning. Application Tips: Learn the proper way to utilize vitamin C serums by layering them up with other products in your routine and applying when and how often. Frequency: Finding an optimal combination and frequency of application that allows maximum benefits without overburdening skin is the goal. Pair with Other Actives: How can vitamin C and other skincare ingredients, such as retinol and hyaluronic acid, work in concert for maximum effect? Chapter 5: Addressing Common Issues Vitamin C serums provide numerous advantages, yet users may encounter certain concerns about them. Let us address them here: Potential Irritation: How to minimize potential irritation for those with sensitive skin and the value of patch testing are two topics we cover here. Storage Guidelines for Vitamin C Serums: Follow these best practices when storing vitamin C serums to preserve their efficacy and avoid oxidization. Chapter 6 : Home-Made Vitamin C Serums For those who enjoy taking an interactive…

Diy Haircut Guide: How To Cut Your Own Hair At Home
DIY Haircut Guide: How to Cut Your Own Hair at Home

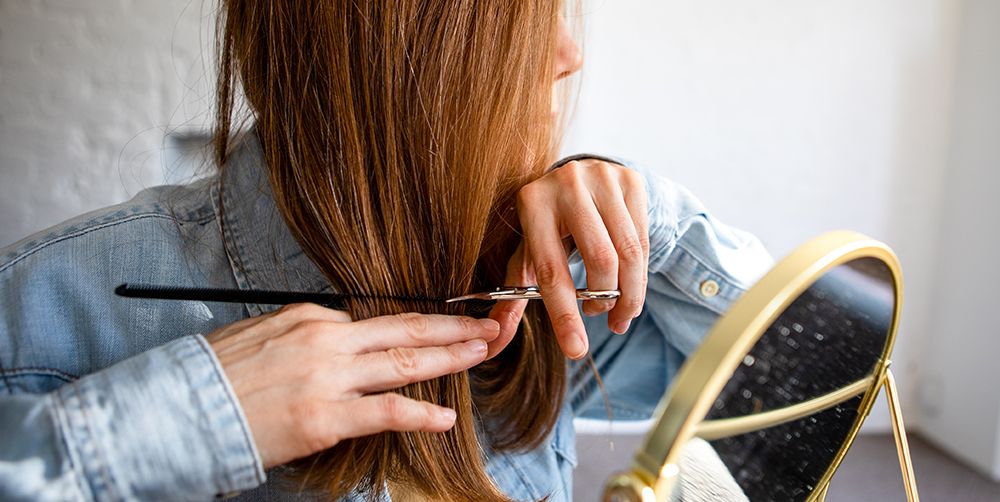
Whether you’re looking to save time and money or simply prefer the convenience of a DIY approach, cutting your own hair at home is a practical skill to have. While leaving major hair transformations to professional stylists is advisable, trimming your hair or giving yourself a simple haircut can be achieved with the right tools and techniques. In this comprehensive guide, we will walk you through step-by-step instructions on how to cut your own hair, along with helpful tips to ensure a successful and satisfying outcome. Gather the Right Tools:Before you start cutting your hair, gather the necessary tools to ensure a smooth process. You will need:Sharp haircutting scissors: Invest in a good pair of professional scissors designed for hair cutting. Using regular scissors can lead to uneven cuts and split ends. Hair clips or elastics: These will help you section your hair for easier cutting. Comb: A fine-toothed comb will assist in detangling and parting your hair. Mirror: A large, handheld mirror and a stationary mirror will allow you to see your hair from different angles during the cutting process. Spray bottle with water: Mist your hair with water to dampen it slightly before cutting. This makes the hair more manageable and prevents excessive flyaways. Decide on the Haircut:Decide on the type of haircut you want before you begin. For simple trims or maintaining your current hairstyle, follow your previous cut as a reference. If you plan to make significant changes to your hair, it’s best to seek guidance from a professional stylist to avoid potential mishaps. Start with Clean, Dry Hair:Cutting your hair when it’s clean and dry ensures more accurate results. Wash and dry your hair thoroughly before starting the haircutting process. Section Your Hair:Divide your hair into manageable sections using hair clips or elastics. Start by parting your hair down the center and then create additional sections horizontally. Pin each section securely to keep the hair you’re not cutting out of the way. Trim the Ends:For a simple trim, work with one section at a time. Take a small subsection of hair and comb it straight down. Hold the hair between your fingers and trim the ends evenly, following your desired length. Make small, cautious cuts to avoid removing too much hair at once. Create Layers (Optional):If you desire layers, you can achieve them at home with careful technique. To create face-framing layers, take a section of hair from the front and hold it at a 45-degree angle away from your face. Trim the hair diagonally, working from the shortest point to the longest point. Repeat this process on both sides of your face for balanced layers. Check for Evenness:After cutting each section, release the hair and check for evenness and balance. Use your mirror to view your hair from different angles, making any necessary adjustments to ensure a uniform cut. Tackle Bangs (Optional):If you have bangs, trim them carefully by combing them straight down over your forehead. Hold the scissors vertically and make small, gentle cuts to the desired length. Remember that it’s better to start with…

Unveiling The Magic: Exploring Transparent Eyeliner
Unveiling the Magic: Exploring Transparent Eyeliner

When it comes to enhancing the eyes and creating captivating makeup looks, eyeliner plays a pivotal role. From classic black to vibrant colors, eyeliners come in various shades and formulas. However, a recent trend that has taken the beauty world by storm is transparent eyeliner. In this article, we will delve into the world of transparent eyeliner, understanding what it is, how it works, and the unique benefits it offers. Whether you’re a makeup enthusiast or curious about the latest beauty trends, join us as we unveil the magic of transparent eyeliner. Understanding Transparent Eyeliner:Transparent eyeliner, also known as clear eyeliner or invisible eyeliner, is a revolutionary cosmetic product designed to enhance the eyes without the traditional appearance of a visible line. Unlike traditional eyeliners that come in pigmented shades, transparent eyeliner appears colorless or translucent when applied. It provides a subtle, natural look that defines the eyes without overpowering other elements of the makeup. How Does Transparent Eyeliner Work?Transparent eyeliner typically comes in the form of a gel or liquid with a clear consistency. The formula usually includes polymers or film-forming agents that create a thin, invisible line along the lash line. These polymers adhere to the skin, creating a barrier that gives the illusion of a defined eye shape without the appearance of visible eyeliner. Transparent eyeliner works by enhancing the natural contours of the eye, making it look more awake and defined. Versatility in Eye Makeup:One of the key advantages of transparent eyeliner is its versatility in eye makeup looks. Unlike traditional eyeliners that can sometimes limit the range of styles, transparent eyeliner can be seamlessly incorporated into various makeup looks. Whether you prefer a natural “no-makeup” look, a soft and subtle enhancement, or a bold and dramatic eye, transparent eyeliner provides a versatile tool to achieve your desired effect. Smudge-Free and Long-Lasting:Transparent eyeliner often boasts smudge-free and long-lasting properties. Since it doesn’t contain pigments that can transfer or fade, it has a higher resistance to smudging, smearing, or running throughout the day. This makes it particularly suitable for those with oily eyelids or in humid climates where traditional eyeliners may struggle to maintain their integrity. With transparent eyeliner, you can enjoy a defined eye look that lasts from morning to night without the need for constant touch-ups. Accentuating Eye Shape:One of the primary goals of eyeliner is to accentuate and enhance the natural shape of the eyes. Transparent eyeliner excels in this area by defining the eyes without overpowering them. By tracing a clear line along the lash line, transparent eyeliner helps to create the illusion of fuller lashes and a more lifted eye appearance. It can also be used to subtly elongate or reshape the eye shape, allowing for endless possibilities in eye makeup experimentation. Complementing Diverse Makeup Styles:Transparent eyeliner seamlessly complements a wide range of makeup styles. It is particularly effective when paired with vibrant eyeshadows or intricate eye art, as it adds definition and structure without competing for attention. Additionally, transparent eyeliner works harmoniously with other eye-enhancing products like mascara and false lashes, allowing them…

Radiance Unlocking 5 Habits To Glowing Skin Beyond The Beauty Aisle
Radiance Unlocking: 5 Habits to Glowing Skin Beyond the Beauty Aisle

And it might take only 5 simple habits each day to get radiant skin: Hydration, sleep, diet, gentle care, and stress control. How you can unlock them and stop buying that awful cream that never works. A healthy body shows glowing healthy skin. Although the well-being industry pushes more and more products promising remarkable results, radiant skin develops health through habits each day. Five essential affordable habits to improve body, skin, and outlook – inexpensive practices that guarantee a great look and feeling – are discussed. Focus on feeling great: “5 skin-saving daily habits without expensive products”: The Power of Hydration Skin Health: Nourishing from Within The Importance of a Balanced Diet: Sleep How and Why it Heals the Skin: Skincare Keep it Simple: Stress Reduction Practices What Relaxation Means to the Mind and Skin: In the long run, radiant skin just mirrors habits which nourish your body from the inside out. Great skin requires hydration, sleep, nutrition, mild skincare, and stress management – not costly creams. Your skin will glow with wellness. And remember it is a marathon and not a sprint. Little changes make a huge impact with time.

Dermaplaning: The Popular Skincare Treatment Explained

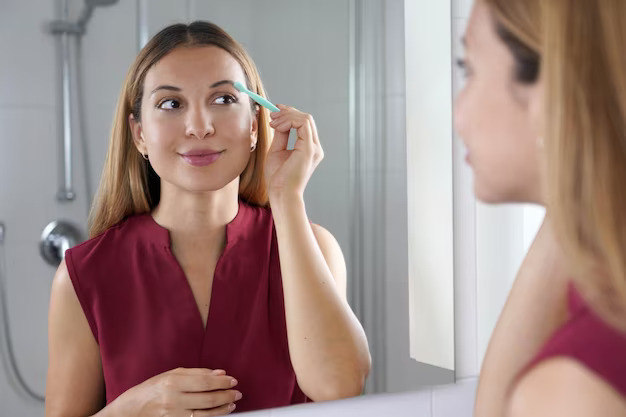
Dermaplaning is a non-invasive, exfoliating skincare treatment that has gained popularity in recent years. It involves the use of a sharp, surgical-grade scalpel to remove the outermost layer of dead skin cells and vellus hair (also known as peach fuzz) from the face. The result is a smoother, brighter, and more radiant complexion. In this article, we’ll explore the benefits, risks, and considerations for dermaplaning. Benefits of Dermaplaning One of the primary benefits of dermaplaning is its ability to exfoliate the skin. The scalpel removes the outer layer of dead skin cells, which can help to reduce the appearance of fine lines, wrinkles, and acne scars. Additionally, by removing the dead skin cells, it allows for better absorption of skincare products, making them more effective. This can be especially beneficial for individuals who have hyperpigmentation or uneven skin tone, as the exfoliation can help to even out the complexion. Another benefit of dermaplaning is the removal of vellus hair. While many people are hesitant to remove peach fuzz, it can actually be beneficial for the skin. Vellus hair can trap dirt and oil, which can contribute to breakouts. By removing the hair, it can help to prevent breakouts and make the skin appear smoother and more refined. Dermaplaning is also a quick and painless procedure. It typically takes around 30 minutes to complete and is done in-office by a licensed esthetician or dermatologist. Unlike other exfoliating treatments, such as chemical peels, dermaplaning does not require any downtime. Patients can immediately return to their normal activities without any redness or irritation. Risks and Considerations While dermaplaning is generally considered safe, there are some risks and considerations to keep in mind. The use of a sharp scalpel on the face can be dangerous if not done correctly, so it’s important to only have the procedure done by a licensed professional. It’s also important to avoid any sun exposure for a few days after the procedure, as the skin will be more sensitive. Another consideration is that dermaplaning is not suitable for everyone. Individuals with active acne, eczema, or rosacea should avoid the procedure, as it can exacerbate these conditions. Additionally, those with a history of cold sores should take precautions, as the procedure can trigger an outbreak. It’s also important to note that dermaplaning is a temporary solution. While the results can last for a few weeks, the skin will eventually return to its natural state. For best results, it’s recommended to have the procedure done every 4-6 weeks. How to Prepare for Dermaplaning Before having a dermaplaning treatment, it’s important to properly prepare your skin. This includes avoiding any exfoliating treatments for at least a week prior to the procedure. It’s also important to avoid any sun exposure or tanning beds for at least a week before the procedure. On the day of the procedure, it’s important to arrive with a clean face, free of any makeup or skincare products. The esthetician or dermatologist will then apply a numbing cream to the face, which will help to minimize any discomfort during the procedure….

A Beginner's Guide To Applying Eyeliner: Tips And Techniques For A Flawless Look
A Beginner’s Guide to Applying Eyeliner: Tips and Techniques for a Flawless Look

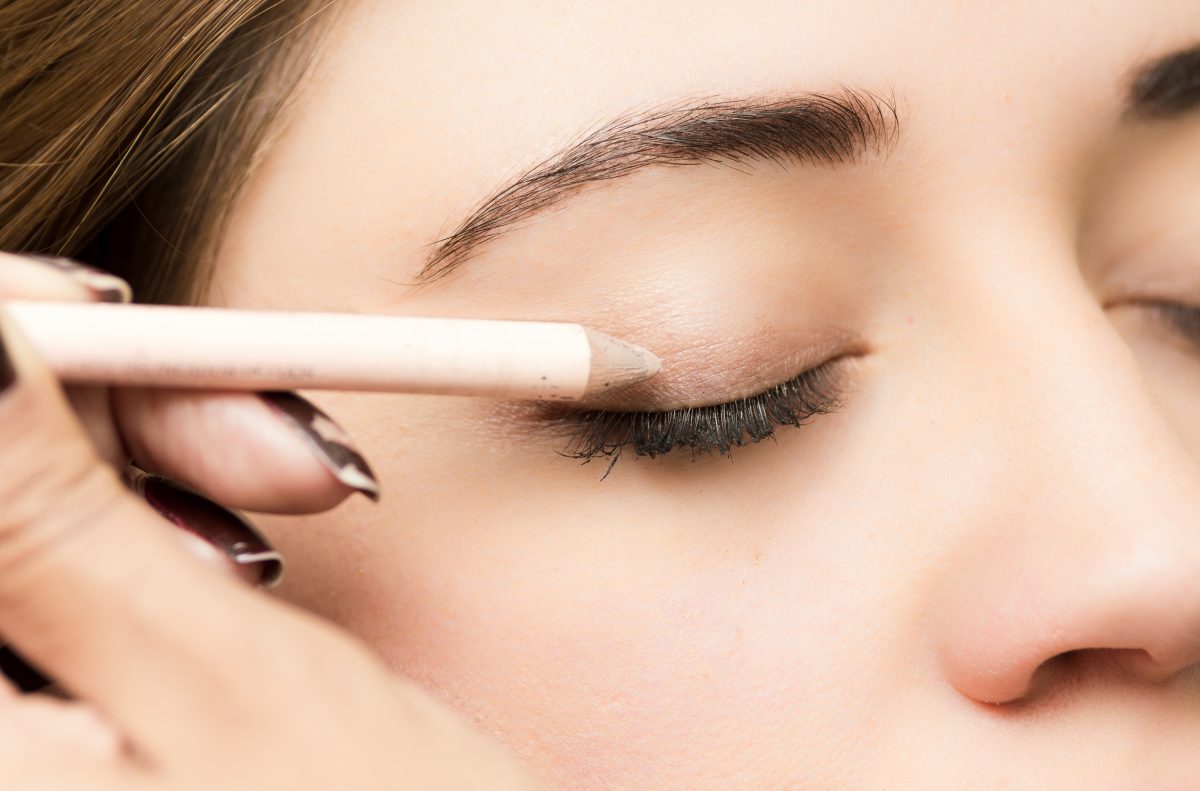
Eyeliner is an essential tool in every woman’s makeup kit. It has the power to transform your look instantly, making your eyes appear bigger, brighter, and more defined. However, for many beginners, applying eyeliner can be a daunting task. With so many types, formulas, and techniques to choose from, it can be overwhelming to know where to start. In this beginner’s guide, we will go over the basics of applying eyeliner and give you tips and techniques to help you achieve a flawless look. Types of Eyeliner There are several types of eyeliners available in the market, and each one comes with its own set of pros and cons. Here are some of the most popular types of eyeliner: Pencil Eyeliner – This is the most common type of eyeliner and is perfect for beginners. Pencil eyeliners come in a range of colors, textures, and finishes. They are easy to apply, smudge-able, and can create a soft or intense look. Liquid Eyeliner – Liquid eyeliner is more challenging to apply than pencil eyeliner, but it offers a more precise and defined look. Liquid eyeliners are available in a range of formulas, including matte, glossy, and glittery. Gel Eyeliner – Gel eyeliner is a hybrid between liquid and pencil eyeliner. It has a creamy texture that glides smoothly on the eyelids, providing a long-lasting, smudge-proof finish. Eyeshadow as Eyeliner – You can also use eyeshadow as eyeliner by wetting a brush and applying it along the lash line. This technique provides a soft, smoky look that is perfect for a daytime look. Choosing the Right Eyeliner for You When choosing an eyeliner, consider your skill level, eye shape, and desired look. If you are a beginner, start with a pencil eyeliner, which is easy to apply and forgiving. If you have smaller eyes, avoid using thick lines and opt for a thin, natural look. If you have round eyes, elongate them by creating a winged or cat-eye look. Tips and Techniques for Applying Eyeliner Here are some tips and techniques to help you apply eyeliner like a pro: Start with a clean, moisturized eye area. This will help the eyeliner glide on smoothly and prevent smudging. Use a primer or eyeshadow base to ensure that the eyeliner stays in place. Rest your elbow on a flat surface to keep your hand steady while applying eyeliner. Hold the eyeliner like a pen and start by drawing a thin line along the lash line. Use short strokes and connect them to create a smooth, continuous line. For a natural look, smudge the eyeliner with a brush or your finger. For a dramatic look, create a winged or cat-eye look by extending the line outwards and upwards. If you make a mistake, don’t worry. Use a cotton swab dipped in makeup remover to correct any errors. To avoid smudging, set the eyeliner with a matching eyeshadow or a translucent powder. Finally, apply mascara to enhance the eyeliner and complete the look. Eyeliner is a versatile makeup tool that can enhance your natural beauty and transform your…