How to Clean a Beauty Blender?

Beauty blenders have revolutionized the way we apply makeup, offering a flawless finish that brushes and fingers simply cannot match. Made from hydrophilic foam, they’re designed to absorb water, allowing makeup to sit on the surface and blend seamlessly into the skin. However, this same feature that makes them so effective also makes them a breeding ground for bacteria if not cleaned properly.
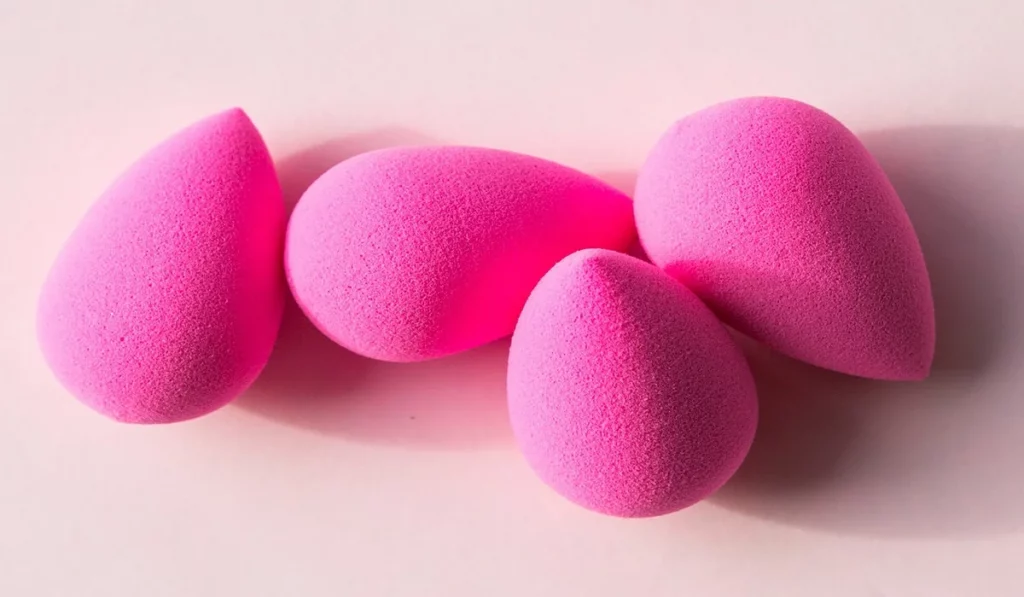
How To Clean A Beautyblender


Preparation for Cleaning

Before diving into the cleaning process, you’ll need a few essentials: mild soap (liquid or bar), warm water, a clean towel, and a drying area. Start by wetting your beauty blender under warm running water, squeezing it several times to ensure it’s fully saturated.

Daily Cleaning Techniques

For daily cleaning, a quick rinse under warm water with a bit of soap will do. Gently work the soap into the sponge with your fingers, rinse thoroughly until the water runs clear, and then squeeze out any excess water. This daily ritual can significantly extend the life of your beauty blender and prevent the buildup of harmful bacteria.

Deep Cleaning Methods

Every week, your beauty blender deserves a deep clean. Fill a bowl with warm water and a squirt of gentle soap, submerge your beauty blender, and let it soak for a few hours. After soaking, gently massage the sponge to release trapped makeup and rinse thoroughly. For stubborn stains, olive oil mixed with dish soap can work wonders.

Natural and Eco-Friendly Cleaning Options

If you prefer a more natural approach, consider using a mixture of baking soda and water to form a paste. This natural abrasive can help remove stubborn stains without damaging the sponge. Rinse thoroughly after application to remove any residue.

Drying and Storage Tips

After cleaning, it’s crucial to dry your beauty blender properly to prevent mold growth. Squeeze out any excess water with a clean towel and leave it in a well-ventilated area away from direct sunlight. Avoid storing it in airtight containers while it’s still damp.

Troubleshooting Common Issues

Stains and odors can be persistent problems, but soaking your beauty blender in a vinegar and water solution can help neutralize odors and loosen stains. Regular cleaning and proper storage are key to preventing these issues.
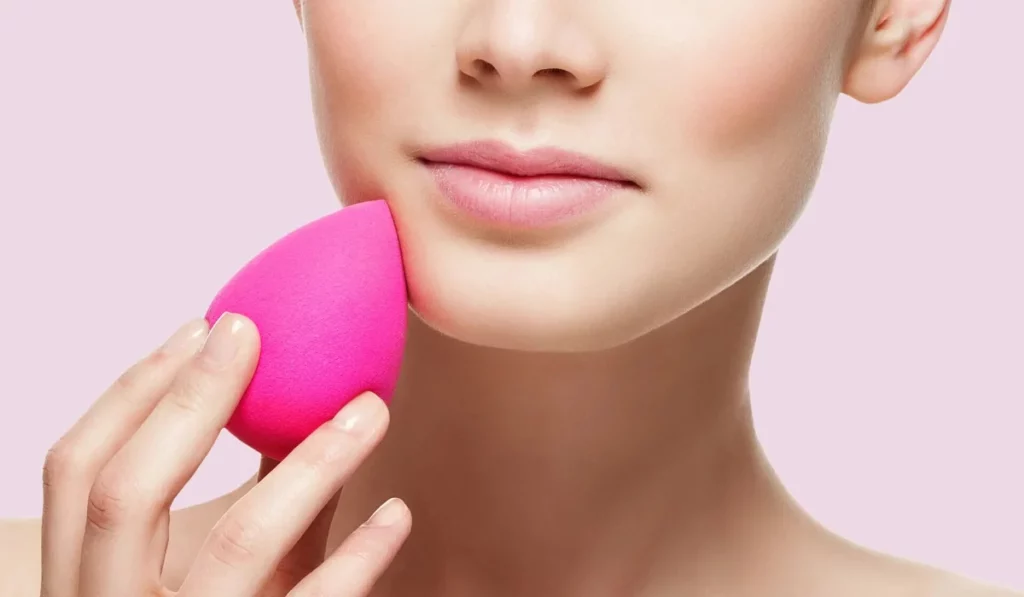
How To Clean A Beauty Blender


How to Clean a Beauty Blender

This consolidated guide emphasizes the importance of both daily and deep cleaning routines, utilizing both commercial and natural cleaning agents, and following proper drying and storage protocols to maintain your beauty blender’s effectiveness and longevity.

Maintaining a clean beauty blender is crucial for flawless makeup application and skin health. By incorporating these cleaning methods into your beauty routine, you can ensure that your beauty blender remains in top condition, providing the perfect blend every time.

How often should I clean my Beauty Blender?

To ensure your Beauty Blender remains hygienic and performs at its best, it’s recommended to clean it after every use. Daily cleaning removes makeup residue, oils, and bacteria, preventing skin irritations or breakouts. For a thorough deep clean, aim to do so once a week. This routine helps maintain the sponge’s integrity and extends its usability.

Can I use a microwave to disinfect my Beauty Blender?

Yes, you can use a microwave to disinfect your Beauty Blender, but it must be done correctly to avoid damaging the sponge. First, mix mild soap with water in a microwave-safe cup, ensuring the mixture is sudsy. Fully submerge your Beauty Blender in the solution, then microwave it for about 60 seconds. Carefully remove it (the cup will be hot), and rinse your sponge under cold water until the water runs clear. This method helps kill bacteria but should be used as part of your cleaning routine, not as a substitute for regular cleaning.

What are the signs that it’s time to replace my Beauty Blender?

While regular cleaning can extend the life of your Beauty Blender, it won’t last forever. Look out for these signs that it’s time for a replacement:

  • The sponge has visible tears or deformities.
  • It no longer expands or becomes soft when wet.
  • Persistent stains or odors that don’t go away with thorough cleaning.
  • The texture changes, affecting makeup application.

Replacing your Beauty Blender every 3 to 6 months is a good practice, depending on usage and care, to ensure the best performance and hygiene.

Is it safe to share my Beauty Blender with others?

Sharing makeup tools like Beauty Blenders can transfer bacteria and lead to skin problems. It’s best to avoid sharing your sponge with others, even after cleaning. If you must share, ensure it’s thoroughly cleaned and disinfected before and after use.

What type of soap is best for cleaning a Beauty Blender?

Opt for gentle, fragrance-free soaps to clean your Beauty Blender. Liquid dish soap, gentle bar soaps, or specially formulated brush and sponge cleansers work well. These soaps effectively break down makeup and oils without harming the sponge’s material. Avoid harsh detergents or those with moisturizers that can leave a residue.

Can I clean my Beauty Blender with baby shampoo?

Yes, baby shampoo can be a safe and gentle option for cleaning your Beauty Blender. Its mild formula effectively cleanses without containing harsh chemicals that could degrade the sponge. However, ensure thorough rinsing to remove all shampoo residues, which might affect the sponge’s performance.

Remember, the key to a flawless makeup application lies not just in the skill but also in the tools you use, and keeping those tools clean is crucial for the best results and skin health.


Understanding Makeup Primer: Functions And Application Techniques
Understanding Makeup Primer: Functions and Application Techniques

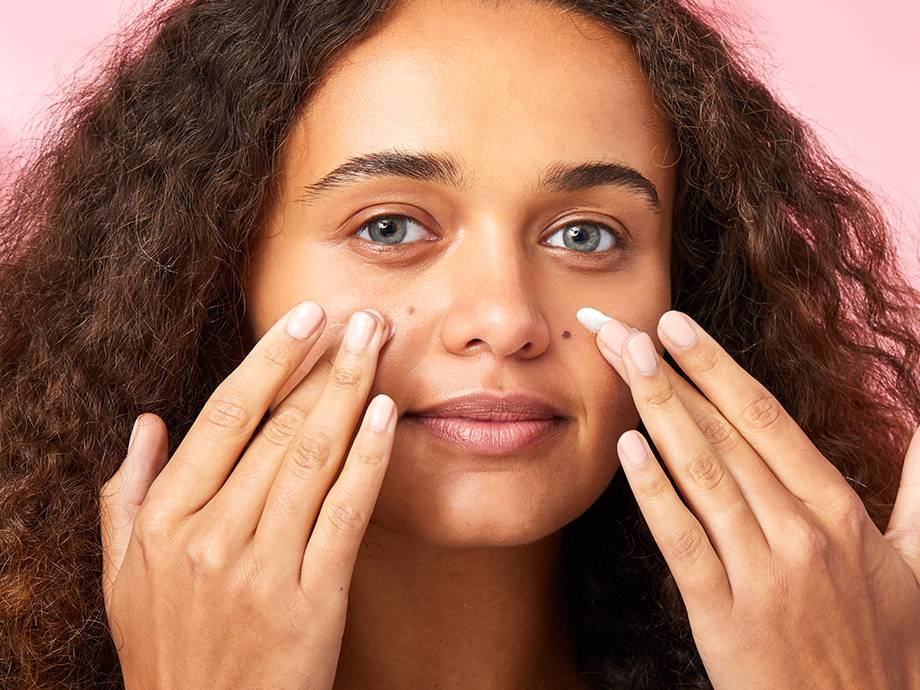
Makeup primer is an essential product in the cosmetics industry, designed to create a smooth base for foundation and enhance the longevity and appearance of makeup. In this guide, we will explore the basics of makeup primer, its functions, and provide an overview of how to effectively use it in your beauty routine. What is Makeup Primer?Makeup primer is a cosmetic product applied before foundation or other makeup to prep the skin for smoother application and improved longevity. It is typically with ingredients that help fill in fine lines, minimize the appearance of pores, and create a barrier between the skin and makeup, resulting in a flawless finish. Functions of Makeup Primer Smoothing Texture: Primers are designed to create a smooth canvas for foundation application by filling in fine lines, wrinkles, and pores, resulting in a more even complexion.Extending Makeup Wear: A good primer helps makeup adhere to the skin and prevents it from fading, creasing, or melting throughout the day, ensuring a longer-lasting and fresher look. Oil Control: Some primers are specifically keeping to control excess oil production, the skin matte and reducing shine.Color Correction: Certain primers are tinted to help correct specific skin concerns, such as redness, dullness, or discoloration, providing a more even and balanced complexion. Hydration and Nourishment: Some primers contain moisturizing ingredients that hydrate the skin and improve its texture, resulting in a smoother makeup application. How to Use Makeup PrimerCleanse and Moisturize: Start with clean, moisturized skin. Gently cleanse your face and follow up with your regular moisturizer. Allow the moisturizer to absorb fully before applying the primer.Choose the Right Primer: Select a primer that suits your specific needs, whether it’s oil control, color correction, or hydration. Consider your skin type and any specific concerns you may have, such as large pores or uneven texture. Apply a Small Amount: Dispense a small amount of primer onto your fingertips or the back of your hand. Remember that a little goes a long way, so start with a pea-sized amount and add more if needed.Dot and Blend: Apply the primer onto the center of your face and then dot it on your forehead, cheeks, nose, and chin. Gently blend the primer using your fingertips, a brush, or a makeup sponge, working it into the skin in upward and outward motions. Focus on Problem Areas: Pay extra attention to areas that require additional smoothing or coverage, such as enlarged pores or fine lines. Pat the primer into these areas for more targeted results.Allow Absorption: Give the primer a few moments to settle into the skin and fully absorb before applying foundation or other makeup products. This allows the primer to create a smooth base for seamless makeup application. Proceed with Makeup Application: Once the primer has absorbed, apply your foundation, concealer, and other makeup products as usual. Notice how the primer helps the makeup adhere better and enhances its overall appearance.Touch-Up Throughout the Day: If necessary, carry a small tube of primer with you for touch-ups during the day. Gently pat a small amount onto areas that may need…

Closeup,macro,of,woman,face,with,blue,eyes,make Up.,fashion
Revealing the Beauty of Blue Eyes

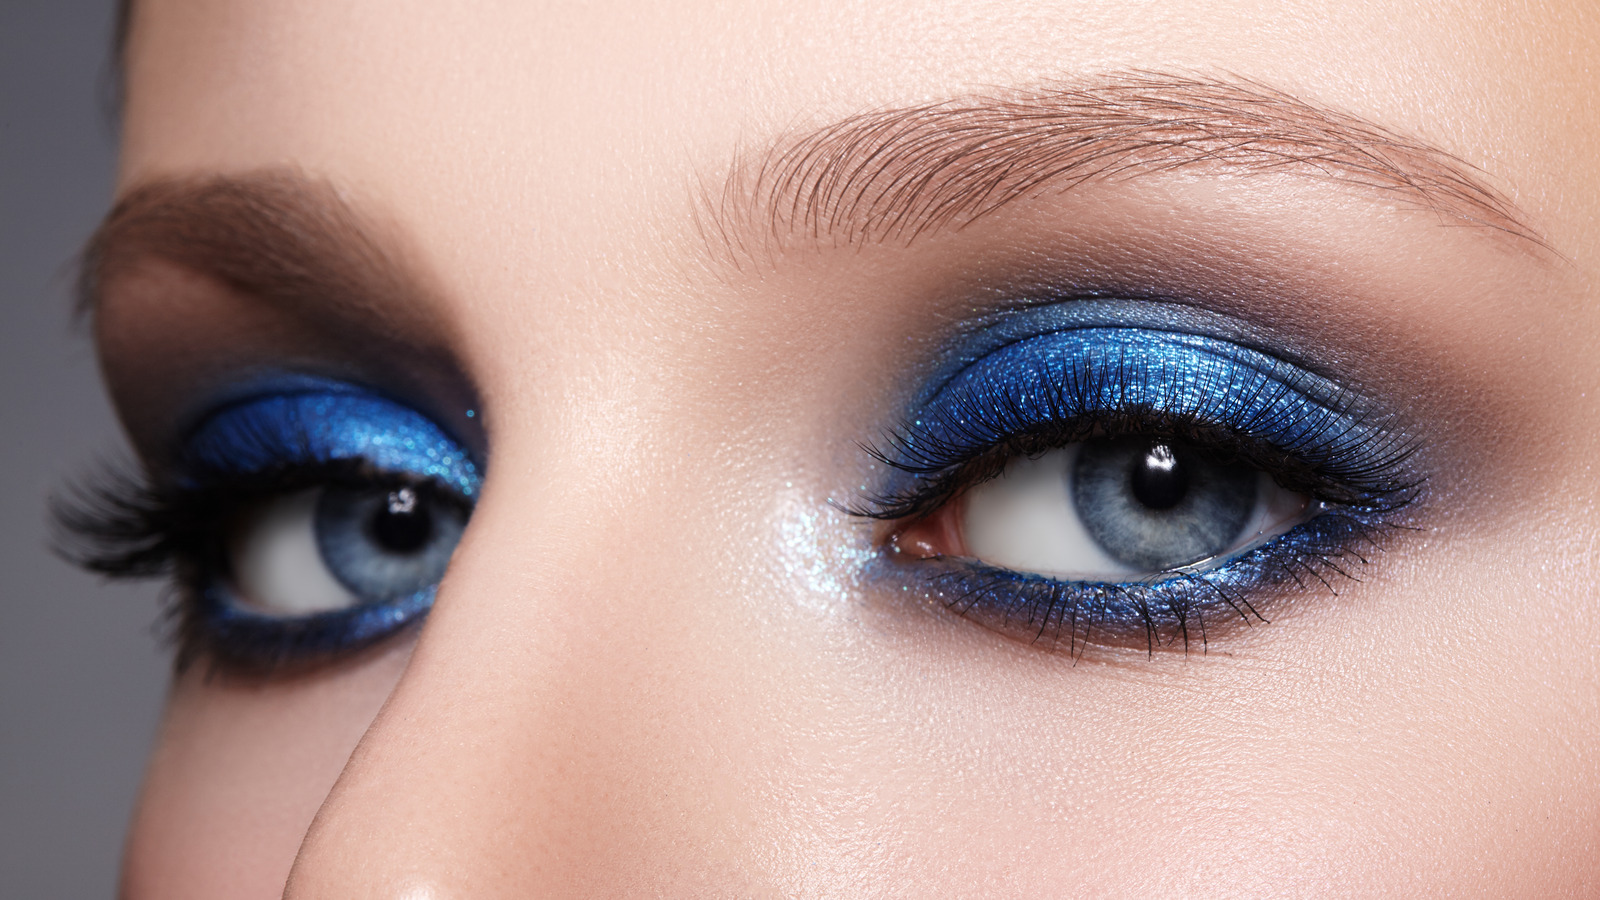
Eyes have always held an alluring allure; for those blessed with striking blue eyes, eyeshadow can serve as the canvas to highlight and emphasize them further. From daily looks to bold statements, choosing an appropriate eyeshadow shade can elevate your gaze and take it to new heights – in this exploration we unveil an assortment of captivating looks tailored specifically for blue-eyed individuals. Understanding Complementary Colors: Understanding complementary colors is key when it comes to creating eyeshadow looks designed to emphasize blue eyes. Warm tones such as orange, copper and earthy browns make excellent choices to amplify and bring out their richness – providing the ideal contrast against their cool tone of blue. This timeless eyeshadow look is ideal for everyday wear, offering subtle enhancement that brings out the natural beauty of blue eyes. Warm brown hues add depth without overshadowing; creating an adaptable and timeless appearance suitable for any special occasion or event. Welcome the warmth of a sunset with this eyeshadow look that brings out blue eyes’ captivating glow. A combination of peach hues and burnt orange tones bring life and vibrancy to this look; conjuring vivid imagery associated with dusk. Ideal for evening events and occasions where your eyes need to command attention! Explore purples and lavenders for an air of dreaminess and ethereality, or explore light lavender to deep plum transitioning between them for added dimension and allure, creating a whimsical aesthetic. Blue eyes contrast beautifully against these calming tones for a captivating contrast effect, mesmerizing audiences wherever they may roam. Their soft transition between light lavender to deep plum adds dimension and allure that sets this eyeshadow look apart as an option to those wanting something different from standard everyday eyeshadow looks. Amp up the drama with an eyeshadow look that elevates drama through sophistication: an alluring smoky eye that adds intensity and depth to blue eyes. Cool tones like gray and charcoal create an arresting contrast, drawing the focus towards your blue eye color as the center point. Perfect for evening events or making an impressionful statement, this sophisticated yet alluring eyeshadow look exudes sophistication and allure. Plunge into oceanic hues with an amazing teal eyeshadow look! Teals and aquas work well when combined with blue eyes for an engaging and eye-catching effect – ideal for summer events when adding sea-inspired elegance into your gaze! This eyeshadow look makes an impactful statement! Gold shimmer adds luxuriousness and glamour, exacerbating blue eye’s natural luminosity for an eye-catching effect that exudes luxuriousness. Perfect for special events or simply when exuding sophisticated charm, this eyeshadow look elevates glamor! Use olive tones’ earthy charm for an eyeshadow look that stands out. Green hues – olive and forest green in particular – bring depth and intensity to blue eyes, providing depth without losing elegance or sophistication. This look makes an excellent statement! Expert Tips for Enhancing Blue Eyes Utilize an Eyeshadow Primer To enhance long-term and vibrant wear of eye shadow looks, an eyeshadow primer can ensure their longevity and vibrancy by helping avoid creasing while making colors pop more vividly….

What Is A Fan Brush
What is a Fan Brush?

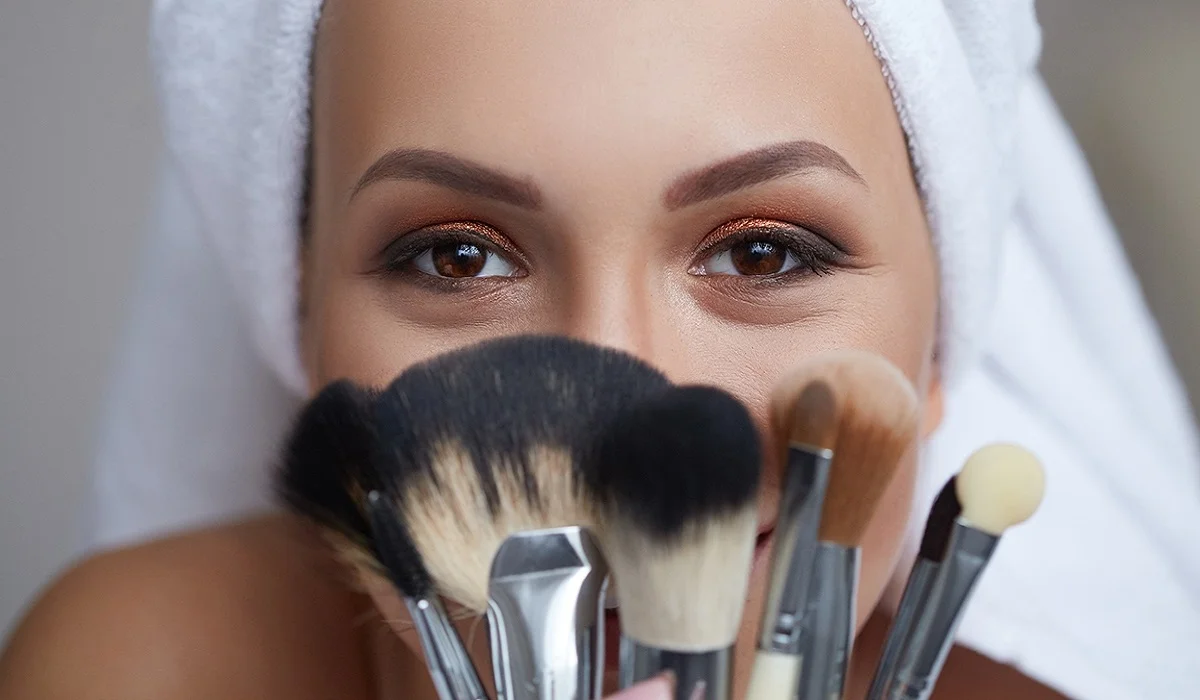
A fan brush, often a staple in both art and beauty kits, is characterized by its unique fan-shaped bristles, designed to spread out wide while still allowing for delicate work. Originating from the need for artists to blend paint and create textures with finesse, the fan brush has a rich history in the arts. It has evolved over time, with variations developed for specific mediums and techniques. Today, it is available in several types, including soft and stiff bristles, each serving a distinct purpose. Uses of Fan Brushes in Art Fan brushes are invaluable for artists looking to achieve a range of effects in their work. They are particularly adept at blending colors on the canvas, creating smooth transitions between hues without harsh lines. This blending capability makes them ideal for skies, water, and other natural elements that require a soft touch. Additionally, fan brushes can be used to create interesting textures and patterns, such as the impression of leaves, grass, or hair, adding a layer of realism and depth to paintings. For techniques like glazing and layering, the fan brush applies thin, even coats of paint, allowing for the gradual build-up of color and luminosity. Uses of Fan Brushes in Makeup In the beauty world, fan brushes have a different set of uses but are equally cherished for their precision and versatility. Their light, feathery bristles are perfect for applying powdered makeup products like highlighters, bronzers, and blushes, offering a soft, natural finish. The unique shape of the fan brush allows for targeted application, enabling makeup artists to accentuate features like cheekbones and the bridge of the nose with ease. Additionally, fan brushes are excellent for gently sweeping away any excess or fallen product, ensuring a clean, flawless makeup application. Choosing the Right Fan Brush The key to harnessing the full potential of a fan brush lies in selecting the right one for your needs. Bristle material plays a significant role, with synthetic fibers offering durability and ease of cleaning, while natural bristles provide a softer touch ideal for sensitive skin and fine art. The size and shape of the brush will dictate its suitability for specific tasks, with larger brushes covering more area and smaller brushes offering precision. Proper care and maintenance, including regular cleaning and storage, will ensure the longevity of your fan brush. Creative Projects with Fan Brushes Beyond their traditional uses, fan brushes can inspire a variety of creative projects. Artists can experiment with different painting techniques, such as stippling and scumbling, to achieve unique effects on the canvas. DIY enthusiasts might find fan brushes handy for home decor projects, like creating textured finishes on walls or furniture. In mixed media art, the fan brush can be used to apply adhesives or create dynamic layers, adding dimension and interest to the artwork. Professional Tips for Using Fan Brushes To get the most out of your fan brush, consider the following tips from professionals: always select the right size and type of brush for your project, use a light touch to avoid overapplication of product, and experiment with…

Navigating The Challenge Of Preventingteeth Discoloration
Navigating the Challenge of Preventing Teeth Discoloration: A Guide to Protecting Your Sparkling Smile

A dazzling smile is widely regarded as a hallmark of wellness, attractiveness, and self-assurance. Yet, keeping that sparkle isn’t straightforward, given the daily habits that may cause our teeth to lose their brilliance. By identifying and avoiding the main culprits of discoloration, you can take significant steps toward preserving the sparkle of your smile. This guide explores the top five factors leading to teeth discoloration, offering advice and techniques to evade these common pitfalls and maintain a gleaming, healthy smile. Decoding Teeth Discoloration The reasons behind teeth discoloration are varied, encompassing diet, oral hygiene, and more. It is crucial to distinguish between extrinsic stains, which mar the tooth’s surface, and intrinsic stains, which lie deeper and pose a greater challenge to remove. Recognizing these causes enables individuals to actively prevent teeth discoloration. Diet’s Influence on Teeth Shade The impact of our diet on teeth color is substantial. Some foods and drinks are infamous for causing stains. Being aware of which ones to limit or avoid can have a notable effect on the luminosity of your smile. 1. Coffee and Tea: The Harsh Reality Despite their popularity for their invigorating properties, coffee and tea are prominent offenders in teeth staining. Their intense pigments cling to the enamel, gradually dimming your smile. Adopting routines such as drinking water post-consumption can help lessen their staining impact. 2. Tobacco: A Hazard to Your Smile The use of tobacco, through smoking or chewing, introduces noxious chemicals that lead to severe teeth discoloration. Abstaining from tobacco not only boosts your overall health but is also essential for keeping your smile white. 3. Red Wine: Benefits with a Catch Although red wine is celebrated for its health advantages, it is equally known for causing teeth stains. Its acidity and rich pigments can compromise the enamel, though moderation and diligent oral care can mitigate these effects. 4. Sodas and Acidic Drinks: Dual Threats Acidic drinks, like sodas, wear down the enamel, rendering the teeth more prone to stains. Choosing healthier alternatives and curbing consumption can safeguard your smile. 5. Berries and Vibrantly Colored Foods: Innocent Offenders Berries, despite their antioxidant benefits, can leave stains on teeth due to their deep hues. Conscious consumption and thorough oral hygiene can lessen their staining potential. Preventing and Maintaining a White Smile Adhering to daily oral hygiene practices, including brushing, flossing, and rinsing with mouthwash, is vital in averting discoloration. Regular visits for dental checkups and cleanings further contribute to a luminous smile. Opting for Professional Teeth Whitening For immediate enhancements, professional teeth whitening provides a reliable and efficient method. Understanding the various treatments available assists in selecting the most suitable option. Natural Teeth Whitening Solutions While certain home remedies may offer benefits, it’s crucial to approach teeth whitening cautiously. Knowledge of safe practices ensures the preservation of your smile’s health. The Foundation of a Bright Smile: Oral Hygiene Excellent oral hygiene is essential for maintaining a gleaming smile. Choosing appropriate dental care products plays a significant role in preventing discoloration. Lifestyle Changes for Enhancing Your Smile Embracing healthy habits and avoiding those that…

Unveiling The Jelly Skin C Beauty Technique: Radiant And Hydrated Complexion
Unveiling the Jelly Skin C-Beauty Technique: Radiant and Hydrated Complexion

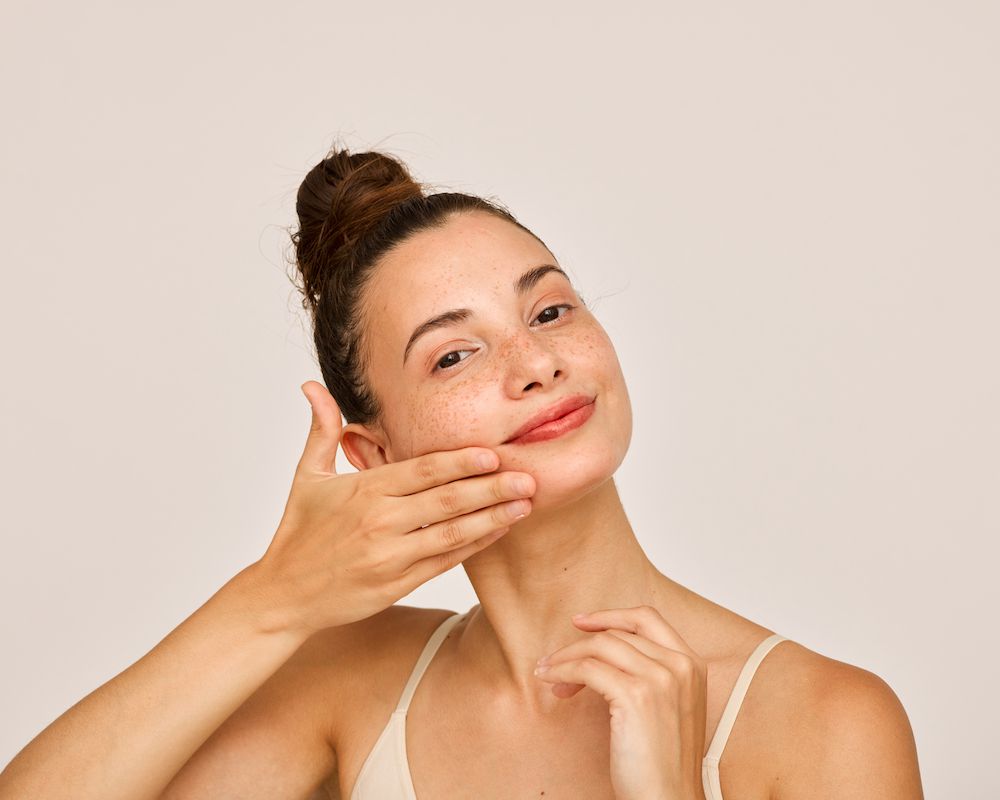
The world of skincare is constantly evolving, introducing innovative techniques and trends from different corners of the globe. One such trend that has gained significant popularity is the Jelly Skin C-Beauty Technique. Originating from China, this skincare approach focuses on achieving a radiant and hydrated complexion reminiscent of the plump and translucent appearance of jelly. In this article, we will delve into the concept of Jelly Skin, explore the steps involved in the C-Beauty Technique, and discuss the key benefits it offers for your skin. Understanding Jelly Skin:Jelly Skin refers to a dewy, translucent, and hydrated complexion that appears plump, supple, and radiant. Inspired by the smooth and bouncy texture of jelly, this skincare concept aims to achieve a youthful and healthy-looking appearance. Jelly Skin prioritizes hydration and focuses on enhancing the skin’s natural glow by nourishing it from within. The C-Beauty Technique:The C-Beauty Technique encompasses a multi-step skincare routine designed to achieve Jelly Skin. It involves a combination of meticulous cleansing, intensive hydration, and targeted treatments to promote a translucent and luminous complexion. Let’s explore the key steps involved in the C-Beauty Technique: a. Double Cleansing: The C-Beauty Technique begins with a thorough double cleansing method, using an oil-based cleanser to remove makeup, SPF, and sebum, followed by a water-based cleanser to eliminate any remaining impurities. Double cleansing ensures a clean canvas for subsequent skincare steps. b. Gentle Exfoliation: Exfoliation is crucial in the Jelly Skin C-Beauty Technique, but it focuses on gentle exfoliation rather than harsh scrubs. Enzyme-based or chemical exfoliators are preferred to remove dead skin cells and promote a smoother texture without causing irritation or stripping the skin. c. Hydrating Toner: Hydration takes center stage in the C-Beauty Technique. A hydrating toner, often referred to as an essence or a lotion, is applied to infuse the skin with moisture and improve its ability to retain hydration. This step helps to plump the skin, creating a bouncy and resilient appearance. d. Essence and Serums: Next, lightweight essences and serums are used to address specific skin concerns. These products contain concentrated active ingredients that target issues such as uneven skin tone, dullness, or fine lines. They penetrate deeply into the skin, promoting clarity and enhancing overall radiance. e. Moisturizing and Sealing: Moisturization is essential in achieving Jelly Skin. A rich moisturizer is applied to replenish and lock in moisture, providing long-lasting hydration and nourishment. Some C-Beauty enthusiasts also incorporate a sealing step by using a facial oil or an occlusive product to create a protective barrier and prevent moisture loss. f. Sun Protection: The C-Beauty Technique emphasizes the importance of sun protection to maintain skin health and prevent sun damage. A broad-spectrum sunscreen with a high SPF is applied as a final step to shield the skin from harmful UV rays. Key Benefits of the Jelly Skin C-Beauty Technique:The Jelly Skin C-Beauty Technique offers several key benefits for your skin: a. Intense Hydration: By prioritizing hydration, the technique helps to restore the skin’s moisture balance, resulting in a plump and supple complexion. Well-hydrated skin appears more youthful and vibrant. b….

Discover The Three Crucial Elements That Harmyour Hair
Discover the Three Crucial Elements That Harm Your Hair

Hair serves as a mirror to our identity and well-being. Yet, many of us inadvertently partake in activities that compromise its health. In this exploration, we address the “Three Crucial Elements That Harm Your Hair,” identifying the key offenders of hair damage and providing practical advice to protect and enhance the condition of your hair. The Consequences of Heat StylingFrequently resorting to heat styling tools such as straighteners, curling irons, and blow dryers for hair styling can inflict considerable harm. These devices deprive hair of its essential oils, resulting in dryness, breakage, and split ends. It is imperative to master proper techniques and adopt protective strategies to mitigate such damage. The Detrimental Effects of Chemical TreatmentsChemical treatments, including dyeing, straightening, and perming, offer a transformation of the hair’s natural appearance but at a cost to its integrity, causing dryness, fragility, and hair loss. This section will guide you through safely engaging with chemical hair treatments. Physical Harm from Styling MethodsTight hairdos and incorrect brushing or combing methods can physically damage your hair. We will explore the dangers of such practices and provide guidance on styling your hair while preserving its health. The Influence of Environmental StressorsExposure to the sun and pollution subjects our hair to environmental stressors, leading to color fade, dryness, and weakening. Shielding your hair from these factors is crucial for its health and longevity. The Significance of Nutrition for Hair HealthNutrition plays a crucial role in maintaining hair health. Deficiencies in essential nutrients can cause hair loss and a dull appearance. Essential nutrients for hair health will be highlighted, along with advice on their dietary inclusion. Genetic Factors in Hair HealthGenetics play a key role in determining hair texture, density, and growth, affecting hair health. We will examine the impact of genetics and strategies to counteract genetic predispositions to hair damage. Effective Hair Care Practices to Prevent Damage Adopting a sound hair care routine is vital to prevent damage. This segment will offer tips on gentle cleansing, conditioning, and the advantages of protective hairstyles to maintain optimal hair condition. The Necessity of Regular Hair TrimsTo prevent split ends and encourage healthy growth, regular trims are indispensable. The benefits of periodic trims for maintaining hair health and appearance will be discussed. Natural Solutions for Hair RestorationEmploying natural oils, masks, and herbal treatments can deeply nourish and restore damaged hair. We will investigate potent natural remedies for hair rejuvenation. Understanding Hair Care ProductsSelecting appropriate hair care products is essential. An insight into the science of hair products will be provided to help you choose wisely based on your hair’s unique requirements. Salon Interventions for Hair RecoveryFor severely damaged hair, professional salon treatments can offer intensive conditioning and restoration. The advantages of professional consultation and treatments for hair recovery will be outlined. Do-It-Yourself Hair Care AdviceFor DIY enthusiasts, this section will share tips for creating homemade hair masks and gentle styling techniques. The Psychological Impact of Hair DamageThe state of our emotional health can significantly affect hair health. The psychological dimensions of hair damage and strategies for managing them will be discussed….

The Ultimate Guide To Makeup Brushes: What They Are And What They're Used For
The Ultimate Guide to Makeup Brushes: What They Are and What They’re Used For

Makeup brushes are an essential tool for any makeup lover. With so many different types of brushes available, it can be overwhelming to know which ones to use for what purpose. In this beginner’s guide, we’ll break down the most common makeup brushes and what they’re used for. Foundation BrushA foundation brush is typically flat and has densely packed bristles. It’s used to apply liquid or cream foundation evenly to the face. To use, apply a small amount of foundation to the back of your hand or directly onto the brush. Starting at the center of your face, blend the foundation outward using circular motions. Beauty BlenderA beauty blender is a makeup sponge that’s used to apply foundation, concealer, or other liquid products. To use, dampen the sponge and squeeze out any excess water. Apply a small amount of product to the sponge and bounce it onto your skin, blending as you go. Powder BrushA powder brush is typically large and fluffy, with loosely packed bristles. It’s used to apply powder products, such as setting powder or bronzer, to the face. To use, dip the brush into the powder and tap off any excess. Apply the powder to your face using sweeping motions. Blush BrushA blush brush is typically smaller and more tapered than a powder brush. It’s used to apply blush to the cheeks. To use, dip the brush into the blush and tap off any excess. Smile to locate the apples of your cheeks, and apply the blush using circular motions. Contour BrushA contour brush is typically angled and has densely packed bristles. It’s used to apply contour products, such as powder or cream contour, to the hollows of the cheeks, temples, and jawline. To use, dip the brush into the product and tap off any excess. Apply the contour using sweeping motions, blending as you go. Highlighter BrushA highlighter brush is typically smaller and more tapered than a powder brush. It’s used to apply highlighter to the high points of the face, such as the tops of the cheekbones, brow bone, and cupid’s bow. To use, dip the brush into the highlighter and tap off any excess. Apply the highlighter using sweeping motions. Eyeshadow BrushAn eyeshadow brush is typically small and flat or slightly fluffy. It’s used to apply eyeshadow to the eyelids. To use, dip the brush into the eyeshadow and tap off any excess. Apply the eyeshadow to your lid using sweeping or patting motions. Crease BrushA crease brush is typically small and tapered. It’s used to apply eyeshadow to the crease of the eye, to create depth and dimension. To use, dip the brush into the eyeshadow and tap off any excess. Apply the eyeshadow to the crease using back-and-forth motions, blending as you go. Blending BrushA blending brush is typically fluffy and dome-shaped. It’s used to blend out harsh lines and create a seamless transition between eyeshadow shades. To use, dip the brush into the eyeshadow and tap off any excess. Use circular or windshield-wiper motions to blend out any harsh lines. Angled BrushAn angled…

Defying Odds A Tale Of Resilience And Inspiration
Defying Odds: A Tale of Resilience and Inspiration

Mackenzie, Macey and Madeline are teenage triplets who live relatively normal lives today; yet when their conception occurred it was much different; Mackenzie Macey used to be joined at their pelvises; they now each use crutches but manage life quite well thanks to crutch use and crutch surgery performed by Dr. James Stein of Children’s Hospital Los Angeles several months post birth in 2003 – they were 10 months old at this point – to separate them. Now the girls look… GO TO THE NEXT PAGE TO CONTINUE…