The Transformative Benefits of Using Leave-In Conditioner

Leave-in conditioner isn’t just another step in your hair care routine; it’s a game-changer for anyone looking to elevate their hair health, appearance, and manageability. Unlike traditional conditioners that you rinse out after a few minutes, leave-in conditioners stay in your hair until the next wash, providing extended benefits and continuous care.
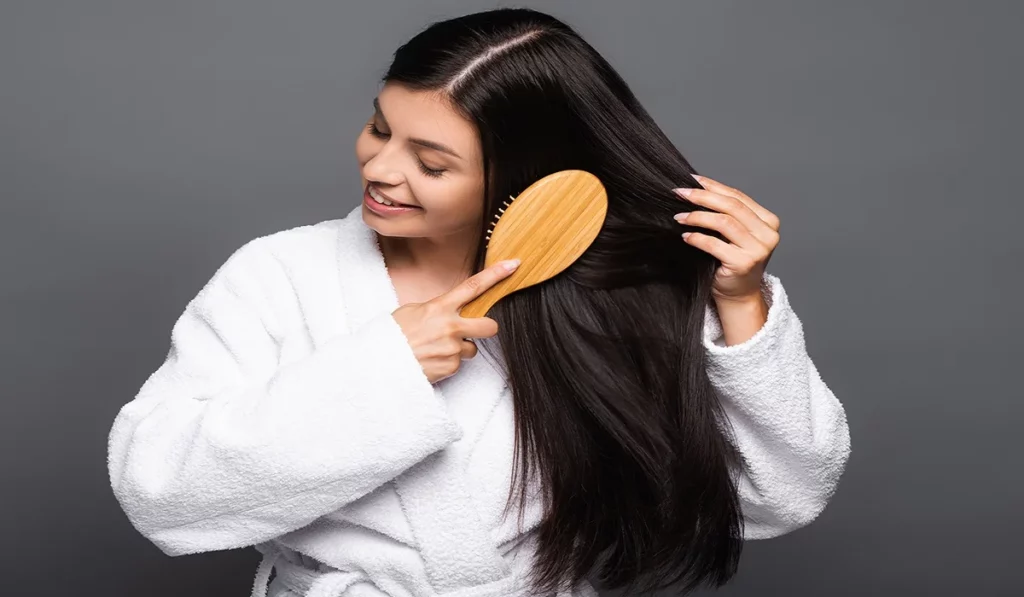
What Are The Benefits Of Using Leavein Conditioner


Moisture Retention

Hydration is crucial for maintaining healthy hair, and leave-in conditioners are formulated to lock in moisture, combating dryness and breakage. They’re especially beneficial for curly, coarse, or textured hair types that naturally tend to be drier.

Enhanced Manageability

Tangles and knots can lead to breakage and hair loss. Leave-in conditioners smooth the hair cuticle, making detangling a breeze and improving overall hair texture, making it softer and easier to style.

Protection from Environmental Damage

Exposure to pollutants and the sun’s UV rays can wreak havoc on your hair. Leave-in conditioners can form a protective shield around your hair, minimizing damage and keeping your locks healthy and vibrant.

Prevention of Heat Damage

For those who regularly use heat styling tools, leave-in conditioners are essential. They create a barrier on the hair, reducing the risk of heat damage and helping to maintain hair integrity over time.

Promotes Hair Growth

Healthy hair starts at the scalp. Leave-in conditioners with nourishing ingredients can help to soothe and moisturize the scalp, creating an optimal environment for hair growth while strengthening hair follicles.

Adds Shine and Softness

Dull, lifeless hair can be transformed into luscious, shiny locks with the right leave-in conditioner. It helps to smooth the hair’s surface, reflecting light better and enhancing your hair’s natural luster.

Reduces Frizz and Flyaways

Humidity can make hair unmanageable and frizzy. Leave-in conditioners help to seal the hair cuticle, preventing moisture from swelling the strands and keeping your hair smooth and sleek.

Versatility and Convenience

Whether you have straight, wavy, curly, or kinky hair, there’s a leave-in conditioner that’s perfect for your hair type and concerns. Its ease of use and the immediate impact it makes on hair health and styling make it a staple in many routines.

Customizable Formulations

With a wide range of formulations available, you can find leave-in conditioners that target specific issues like scalp health, color protection, or volume boosting. This customization ensures that you’re not just caring for your hair but optimizing its health and style.
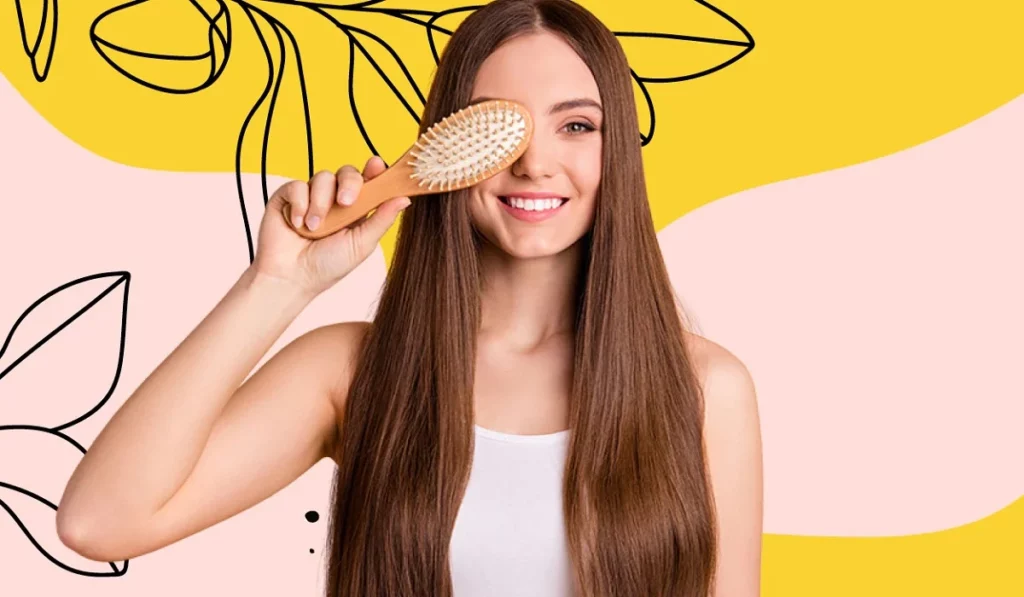
What Are The Benefits Of Using Leave In Conditioner


Understanding the Distinct Roles of Traditional and Leave-In Conditioners in Hair Care

Traditional conditioners and leave-in conditioners serve unique purposes in the realm of hair care. The primary function of a traditional conditioner is to mitigate the effects of shampooing. Shampoo, while essential for cleansing the hair of impurities and excess oils, can strip the hair of its natural moisture. To counteract this, a traditional conditioner is applied to damp hair immediately following the use of shampoo. Its role is to replenish moisture, enhance strength, and offer protection to the hair strands. This process is an integral component of hair restoration, vital for maintaining the hair’s health. After the conditioner is evenly distributed through the hair, often with the aid of a comb or brush for detangling, it is thoroughly rinsed out.

In contrast, leave-in conditioners are formulated to be applied after the hair is washed and slightly dried, remaining in the hair to provide ongoing moisture and nourishment. These formulations are especially beneficial for enhancing the hair’s manageability, smoothness, and shine, facilitating easier styling without weighing the hair down. Their lightweight nature distinguishes them from their rinse-out counterparts, offering a different kind of care that focuses on long-term hair conditioning.

Selecting the Ideal Leave-In Conditioner Tailored to Your Hair’s Needs

Navigating the plethora of leave-in conditioners available on the market requires an understanding of your hair’s specific needs and the benefits of various ingredients. Key ingredients to look for include botanical extracts, natural oils, antioxidants, and vitamins that promote hair health. Identifying your hair type—whether it be thick or thin, colored, normal, dry, oily, straight, curly, or processed—is crucial in selecting a leave-in conditioner that addresses your particular hair concerns.

For instance, those with dry or fine hair might opt for a lightweight leave-in conditioner to impart shine without causing greasiness. Conversely, individuals with dry, curly, or overly processed hair might benefit from a creamier leave-in conditioner enriched with natural oils to deeply hydrate and nourish. For colored hair, it’s advisable to choose products that are “color-safe” and sulfate-free to prevent fading and maintain hair vitality.

Application Techniques for Leave-In Conditioner

To maximize the benefits of leave-in conditioner, it is important to follow a proper application routine:

  • Start by cleansing your hair with shampoo and conditioner suited to your hair type.
  • After washing, either leave your hair damp or lightly towel-dry it. This is the optimal condition for applying leave-in conditioner, as it helps the hair absorb the product more effectively.
  • Distribute the leave-in conditioner evenly throughout your hair, focusing on areas that require the most attention. Since this product does not require rinsing, ensure it is thoroughly worked into the hair.
  • Detangle your hair with a brush or comb to ensure even distribution of the product and to facilitate easier styling.
  • Proceed to style your hair as desired, now enhanced with the conditioning and protective benefits of the leave-in product.

This comprehensive approach to selecting and applying leave-in conditioner will aid in achieving healthier, more manageable hair, tailored to the unique requirements of your hair type.

How often should I use leave-in conditioner?

The frequency can vary based on your hair type and needs. However, using it after every wash is a good practice for most hair types.


Can leave-in conditioner be used on dry hair?

Yes, it can be applied to dry hair to add moisture, refresh styles, or tame frizz and flyaways, making it incredibly versatile.

Is it suitable for color-treated hair?

Absolutely. Many leave-in conditioners are specifically formulated to protect color-treated hair, helping to maintain color vibrancy and prevent fading.

In conclusion, the benefits of incorporating a leave-in conditioner into your hair care routine are extensive. From providing essential hydration and protection to enhancing manageability and promoting growth, it’s a powerhouse product that can truly transform your hair. By selecting a formula that aligns with your specific hair needs, you can enjoy a healthier, more beautiful mane.


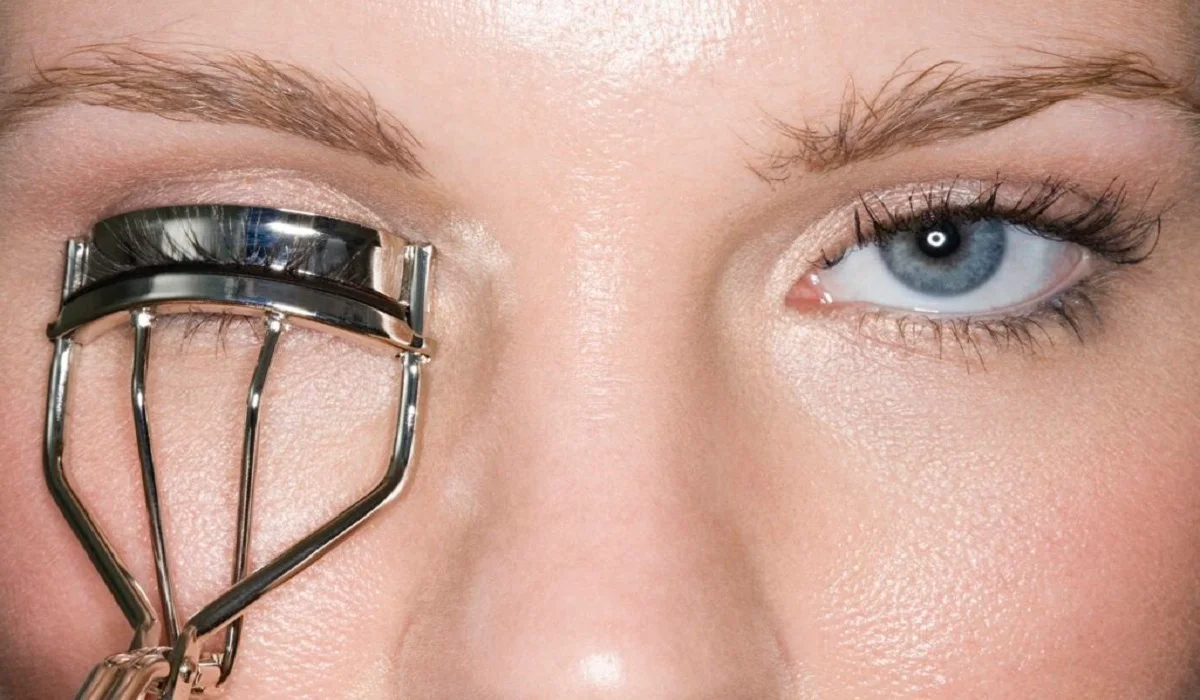
Henna Vs. Regular Tattoos: An In Depth Comparison Of Body Art Forms
Henna vs. Regular Tattoos: An In-Depth Comparison of Body Art Forms

Choosing between henna and regular tattoos can be a challenging decision for anyone looking to get body art done on their skin. Both options have their unique characteristics, advantages, and considerations that can influence the final choice. In this comprehensive article, we will compare henna tattoos and regular tattoos, providing all the necessary information to help individuals make an informed decision. From the creation process to the duration, pain factor, design possibilities, and potential risks, we will explore each aspect of these body art forms. Section 1: Understanding Henna and Regular Tattoos 1.1 Henna Tattoos: Henna tattoos are temporary body art made using natural henna plant powder. The powder is mixed with water to form a paste, which is applied to the skin using a piping bag. The dye from the henna plant stains the skin temporarily, creating intricate and mesmerizing patterns. Henna tattoos are a popular choice for those seeking a temporary design without the permanence of regular tattoos. 1.2 Regular Tattoos: Regular tattoos, also known as permanent tattoos, involve using a tattoo machine gun, tattoo needles, and tattoo ink. The tattoo gun pushes the ink into the dermis layer of the skin, resulting in long-lasting body art. Regular tattoos offer a vast array of design possibilities and can be highly detailed and intricate. Section 2: Comparing Henna and Regular Tattoos 2.1 The Process of Creating: Henna tattoos rely on a henna paste that is skillfully applied to the skin’s surface. The patterns are created by the artist pushing the paste out of the piping bag. On the other hand, regular tattoos involve the use of a tattoo machine gun and needles to insert ink into the dermis, creating a permanent design. Both techniques require skilled professionals, but the application methods are vastly different. 2.2 Duration of the Tattoos: Henna tattoos are temporary and typically last between 4 and 7 days, with the possibility of lasting up to 12 days with high-quality henna paste. After this period, the dye fades away, leaving the skin clear again. Regular tattoos, however, are designed to be permanent and can last a lifetime if desired. Tattoo removal options, such as laser tattoo removal, are available for those who want to remove a regular tattoo. 2.3 The Pain Issue: Henna tattoos are pain-free as the henna paste is placed on the skin’s surface. Conversely, getting a regular tattoo involves piercing the skin with needles, causing pain and discomfort during the process. However, the pain level can vary depending on the tattoo’s location, size, and the skill of the artist. The healing process of a regular tattoo can also cause some discomfort, but proper aftercare can minimize any issues. 2.4 Design Possibilities: Henna tattoos are limited in design possibilities compared to regular tattoos. Henna’s application technique is suited for pattern work, while regular tattoos offer limitless design options with intricate details, shading, and various colors. Regular tattoos’ versatility allows for almost lifelike creations, providing a wide range of design choices. 2.5 Skin Impact and Risks: Henna tattoos, when done with natural henna plant powder, have minimal impact…

Exploring Microcurrent Facial: Benefits, Process, And Risks
Exploring Microcurrent Facial: Benefits, Process, and Risks

Microcurrent facial is a non-invasive cosmetic treatment that uses low-level electrical currents to stimulate the facial muscles, tighten the skin, and improve overall skin appearance. This procedure is gaining popularity among people who want to look younger without undergoing surgical procedures like facelifts or Botox injections. In this article, we will delve into the microcurrent facial treatment, its benefits, process, and risks. What is Microcurrent Facial?Microcurrent facial is a non-surgical cosmetic treatment that uses low-level electrical currents to stimulate facial muscles and improve overall skin appearance. The procedure involves the use of a microcurrent device that emits low-frequency electrical currents that mimic the body’s natural electrical currents. These currents stimulate the facial muscles, improve circulation, and promote collagen production. GO TO THE NEXT PAGE TO CONTINUE… Benefits of Microcurrent Facial: Stimulates Collagen Production: Microcurrent facial stimulates collagen production, which is essential for maintaining skin elasticity, reducing wrinkles, and fine lines. Reduces Wrinkles and Fine Lines: Microcurrent facial tightens the skin, reduces wrinkles, and fine lines by stimulating facial muscles. Improves Skin Texture: Microcurrent facial helps to improve skin texture, making it smoother and more even. Increases Blood Circulation: Microcurrent facial improves blood circulation, bringing more nutrients and oxygen to the skin cells, resulting in healthier, glowing skin. Lifts and Tones the Face: Microcurrent facial tones facial muscles, resulting in a lifted and more youthful appearance. Process of Microcurrent Facial:The microcurrent facial process involves the following steps: Cleansing: The first step is to cleanse the face thoroughly to remove any dirt, oil, or makeup. Toning: The next step is to apply a toner to the face to restore its natural pH balance. Application of Conductive Gel: A conductive gel is applied to the face to help the microcurrent device glide smoothly over the skin. Microcurrent Treatment: The microcurrent device is then applied to the face, and low-level electrical currents are delivered to stimulate facial muscles. Mask Application: A mask is applied to the face to hydrate and soothe the skin. Moisturizing: The final step is to apply a moisturizer to lock in the moisture and provide additional hydration to the skin. Risks of Microcurrent Facial:Although microcurrent facial is generally safe, it may cause some risks, including: Skin Sensitivity: Microcurrent facial may cause skin sensitivity, redness, or irritation. Muscle Fatigue: Overstimulation of facial muscles may cause muscle fatigue or soreness. Nerve Damage: If the microcurrent device is not used correctly, it may cause nerve damage. Not Suitable for Everyone: Microcurrent facial is not suitable for everyone, including people with pacemakers or other electronic medical devices. Microcurrent facial is a non-surgical cosmetic treatment that uses low-level electrical currents to stimulate facial muscles, tighten the skin, and improve overall skin appearance. The benefits of microcurrent facial include stimulating collagen production, reducing wrinkles and fine lines, improving skin texture, increasing blood circulation, and lifting and toning the face. However, microcurrent facial may cause some risks, including skin sensitivity, muscle fatigue, nerve damage, and not suitable for everyone. Before undergoing microcurrent facial treatment, consult a qualified aesthetician or dermatologist to discuss if it is suitable for your skin…

Unlocking The Secrets To Managing Atopic Dermatitis
Unlocking the Secrets to Managing Atopic Dermatitis

Atopic Dermatitis, commonly known as eczema, presents a persistent skin challenge characterized by itchy, inflamed patches. The quest for a universal cure remains elusive, yet the evolution of therapeutic approaches brings hope and alleviation to many sufferers. This article ventures into an array of available treatments, cutting-edge therapeutic developments, and the criticality of personalizing treatment for individual needs… GO TO THE NEXT PAGE TO CONTINUE…

Mastering The Art Of Crimping: A Comprehensive Guide To Correct Usage
Mastering the Art of Crimping: A Comprehensive Guide to Correct Usage

Crimping is a fundamental technique used across various industries and DIY projects to create secure and reliable connections between wires, cables, or components. Whether you’re working with electronics, automotive repairs, or crafting jewelry, understanding how to use a crimper correctly is essential to ensure the integrity and longevity of your connections. This comprehensive guide will walk you through the step-by-step process of using a crimper effectively, along with essential tips and best practices. Understanding Crimping Crimping is the process of mechanically compressing a connector or terminal onto a wire to establish a secure electrical connection or physical attachment. This technique ensures a strong bond that resists vibrations, corrosion, and other environmental factors. Crimping is commonly used in applications such as electrical wiring, network cables, automotive wiring harnesses, and more. Using the right tools and techniques is crucial to achieving consistent and reliable results. Selecting the Right Crimper Before you begin, it’s vital to choose the right crimper for your specific application. There are various types of crimpers available, each designed for different connectors and wire sizes. Common types of crimpers include: Wire Crimpers: Used for electrical connections and available in various sizes to accommodate different wire gauges. Coaxial Cable Crimpers: Designed for attaching connectors to coaxial cables, commonly used in telecommunications and audio/video installations. Terminal Crimpers: Used to secure terminals onto wires, often found in automotive and industrial applications. Modular Crimpers: Specifically designed for Ethernet cables and connectors, ensuring accurate terminations in networking projects. Step-by-Step Guide to Proper Crimping Follow these steps to ensure you’re using a crimper correctly: Prepare the Wire: Strip the insulation off the wire end to expose the bare conductor. The length of exposed wire should match the length of the connector’s barrel or terminal. Prepare the Connector: Insert the stripped wire end into the appropriate terminal or connector. Make sure the wire fits snugly, without any excess sticking out. Position the Crimper: Place the connector and wire into the appropriate slot or cavity of the crimper. Ensure that the connector is properly aligned with the crimping jaws. Apply Pressure: Squeeze the crimper’s handles firmly and evenly. The tool’s jaws will compress the connector, creating a strong and secure connection. Avoid using excessive force, as it could deform or damage the connector. Inspect the Crimp: After crimping, inspect the connection visually. The crimped terminal should tightly grip the wire without any gaps. Ensure that the wire is properly crimped and that the insulation is not damaged. Tips for Successful Crimping Use High-Quality Connectors: Invest in reliable connectors and terminals from reputable manufacturers. Quality components are essential for achieving long-lasting and reliable connections. Choose the Right Wire Size: Match the wire gauge with the appropriate terminal size. Using undersized or oversized connectors can result in poor connections and potential safety hazards. Practice Proper Technique: Maintain steady pressure while crimping, and avoid jerky or uneven movements. Consistent pressure ensures a uniform and secure connection. Perform a Pull Test: After crimping, perform a gentle tug on the wire to ensure it’s securely attached to the connector. If the wire easily detaches,…

Navigating The Challenge Of Preventingteeth Discoloration
Navigating the Challenge of Preventing Teeth Discoloration: A Guide to Protecting Your Sparkling Smile

A dazzling smile is widely regarded as a hallmark of wellness, attractiveness, and self-assurance. Yet, keeping that sparkle isn’t straightforward, given the daily habits that may cause our teeth to lose their brilliance. By identifying and avoiding the main culprits of discoloration, you can take significant steps toward preserving the sparkle of your smile. This guide explores the top five factors leading to teeth discoloration, offering advice and techniques to evade these common pitfalls and maintain a gleaming, healthy smile. Decoding Teeth Discoloration The reasons behind teeth discoloration are varied, encompassing diet, oral hygiene, and more. It is crucial to distinguish between extrinsic stains, which mar the tooth’s surface, and intrinsic stains, which lie deeper and pose a greater challenge to remove. Recognizing these causes enables individuals to actively prevent teeth discoloration. Diet’s Influence on Teeth Shade The impact of our diet on teeth color is substantial. Some foods and drinks are infamous for causing stains. Being aware of which ones to limit or avoid can have a notable effect on the luminosity of your smile. 1. Coffee and Tea: The Harsh Reality Despite their popularity for their invigorating properties, coffee and tea are prominent offenders in teeth staining. Their intense pigments cling to the enamel, gradually dimming your smile. Adopting routines such as drinking water post-consumption can help lessen their staining impact. 2. Tobacco: A Hazard to Your Smile The use of tobacco, through smoking or chewing, introduces noxious chemicals that lead to severe teeth discoloration. Abstaining from tobacco not only boosts your overall health but is also essential for keeping your smile white. 3. Red Wine: Benefits with a Catch Although red wine is celebrated for its health advantages, it is equally known for causing teeth stains. Its acidity and rich pigments can compromise the enamel, though moderation and diligent oral care can mitigate these effects. 4. Sodas and Acidic Drinks: Dual Threats Acidic drinks, like sodas, wear down the enamel, rendering the teeth more prone to stains. Choosing healthier alternatives and curbing consumption can safeguard your smile. 5. Berries and Vibrantly Colored Foods: Innocent Offenders Berries, despite their antioxidant benefits, can leave stains on teeth due to their deep hues. Conscious consumption and thorough oral hygiene can lessen their staining potential. Preventing and Maintaining a White Smile Adhering to daily oral hygiene practices, including brushing, flossing, and rinsing with mouthwash, is vital in averting discoloration. Regular visits for dental checkups and cleanings further contribute to a luminous smile. Opting for Professional Teeth Whitening For immediate enhancements, professional teeth whitening provides a reliable and efficient method. Understanding the various treatments available assists in selecting the most suitable option. Natural Teeth Whitening Solutions While certain home remedies may offer benefits, it’s crucial to approach teeth whitening cautiously. Knowledge of safe practices ensures the preservation of your smile’s health. The Foundation of a Bright Smile: Oral Hygiene Excellent oral hygiene is essential for maintaining a gleaming smile. Choosing appropriate dental care products plays a significant role in preventing discoloration. Lifestyle Changes for Enhancing Your Smile Embracing healthy habits and avoiding those that…

Optimizing Skincare For Winter's Challenges
Optimizing Skincare for Winter’s Challenges

The arrival of winter brings a significant decrease in humidity and exposes our skin to the biting cold, often resulting in dryness, irritation, and a lackluster appearance. It’s imperative to recognize and cater to the distinct demands of your skin in this frigid climate to preserve its health and radiance. Our detailed guide delves into specialized winter skincare routines for diverse skin types, aiming to keep your skin moisturized, safeguarded, and luminous amid the winter’s chill. Navigating Winter’s Impact on Skin Winter’s frigid conditions pose a formidable threat to your skin’s protective barrier, enhancing sensitivity, promoting dryness, and potentially triggering eczema or psoriasis outbreaks. A meticulous regimen focusing on moisturization, defense, and mild treatment is essential to counter these effects. Vital Tips for Winter Skincare Hydration takes precedence in the colder months. Embracing products laden with hyaluronic acid and glycerin is key to locking in moisture. Repairing the skin barrier is equally vital, with ceramides and essential fatty acids being indispensable ingredients for reinforcing the skin’s defenses. Moreover, adopting gentle cleansing routines is crucial to preserving natural oils that are vital for skin health during winter. Moisturizers: Winter Skincare Essentials The selection of an appropriate moisturizer is crucial, with cream-based options outperforming lotions by creating a more substantial protective layer against the cold. Seek out ingredients such as shea butter, squalane, and hyaluronic acid for their profound moisturizing effects. Moisturizer application on slightly damp skin can further boost moisture absorption. Serums and Special Treatments for the Cold Season Utilizing serums rich in hyaluronic acid or vitamin E provides an extra moisture barrier, pivotal for winter skincare. Antioxidant-laden treatments are beneficial for guarding against environmental damage, and gentle exfoliation processes are recommended to eliminate dead cells without irritating the skin. Cold Weather Skin Protection The significance of sunscreen remains high in winter, as UV rays continue to pose a threat. Ensuring daily application of sunscreen, along with special care for lips and extremities, is essential to prevent drying and chapping. Lifestyle Choices Affecting Winter Skin Health Skincare transcends product application, deeply influenced by lifestyle choices. Adequate hydration and a diet rich in omega fatty acids are fundamental for internal skin moisturization. Employing humidifiers can mitigate the drying influence of indoor heaters, and managing stress is crucial for overall skin wellness. Enhancing Skin Repair During Nighttime in Winter The skin’s nighttime repair and regeneration processes present an ideal opportunity to apply richer creams or masks that aid in skin recovery. Ingredients like peptides and retinol are especially useful for nighttime application, encouraging cell renewal and addressing signs of aging. Addressing Sensitive Skin in Winter For those with sensitive skin, winter can intensify skin reactivity. It’s important to identify and steer clear of irritants, while selecting fragrance-free, hypoallergenic products that minimize irritation and soothe sensitive skin. Customized Skincare Strategies for Winter Adapting your skincare regimen to fit your specific skin type is crucial for effectively managing its needs during winter. Whether dealing with dry, oily, or combination skin, incorporating specific products and practices can help achieve a balanced, healthy state. Latest Skincare Innovations for Winter…

Achieving Radiant Skin: A Comprehensive Guide On How To Make Your Skin Glow
Achieving Radiant Skin: A Comprehensive Guide on How to Make Your Skin Glow

Attaining a flawless, luminous complexion is an aspiration shared by many, emblematic of vitality, youthfulness, and overall health. The path to achieving such enviable skin transcends mere topical applications; it necessitates a comprehensive regimen that marries skincare with nutrition, lifestyle choices, and emotional equilibrium. This manual ventures into the critical steps and methodologies necessary for unveiling the inherent glow of your skin, providing guidance for a personalized skincare regimen that caters to your distinctive requirements. The quest for luminous skin stands as a testament to ultimate skincare success. Its allure goes beyond mere surface-level beauty, signaling robust health, adequate hydration, and a harmonious lifestyle. Through a holistic lens, this manual examines the cultivation of a radiant complexion, underscoring the necessity of recognizing and catering to the specific demands of your skin, thereby fostering its internal and external nourishment. Understanding Your Skin Type Embarking on the journey toward radiant skin begins with a thorough understanding of your skin type. The nature of your skin, be it dry, oily, mixed, or sensitive, will dictate the specifics of your skincare regimen. This segment aims to aid in the identification of your skin type and propose customized routines that guarantee your skin’s optimal health and luminosity. The Importance of a Balanced Diet The foundation of a radiant complexion is built from within. Essential nutrients such as vitamins C and E, omega-3 fatty acids, and antioxidants are pivotal in maintaining skin health, enhancing its glow, and shielding it from damage. This section will guide you through the dietary choices that contribute to a natural radiance and identify foods that should be avoided to preserve your skin’s peak condition. Hydration: The Key to Supple Skin Maintaining hydration is crucial for achieving a soft, elastic skin texture. This chapter delves into the significance of adequate water intake and highlights hydrating skincare products designed to preserve your skin’s moisture equilibrium, with recommendations tailored for various skin types. Cleansing and Exfoliation The foundations of radiant skin lie in proper cleansing and consistent exfoliation. Learn about selecting suitable products that cleanse effectively without stripping away natural oils, and how exfoliation uncovers fresh, glowing skin by eliminating dead cells and facilitating cellular renewal. Moisturizing Strategies Moisturizing is indispensable for attaining a glowing complexion. This section offers insights into choosing the right moisturizers and oils that not only lock in moisture but also strengthen the skin’s barrier, yielding a luminous, dewy appearance. Sun Protection Safeguarding your skin against the sun is paramount to avoiding damage and preserving its glow. This part explains the critical role of SPF, how to select appropriate sunscreen, and additional protective measures to defend your skin from the detrimental effects of UV exposure. The Power of Antioxidants Antioxidants are vital for protecting the skin from environmental stressors and combating signs of aging. Discover the most effective antioxidants for skincare and how to incorporate antioxidant-rich foods into your diet to bolster skin health from within. Incorporating Serums and Essences Serums and essences provide targeted solutions to specific skin issues with concentrated formulas. This section explores how these potent products can amplify…

Heated Eyelash Curler 1
What is a Heated Eyelash Curler? How to use it Heated Eyelash Curler?

Beauty enthusiasts seeking captivating eyes and mesmerizing gazes have long relied upon innovative tools that change traditional makeup routines to meet this goal. One such innovative device is the heated eyelash curler; an ingenious device promising longer-term, natural looking curled lashes. In this comprehensive exploration we unearth all their intricacies; from their origins and development through technology implementation as well as expert tips to maximize their potential use. Heated Eyelash Curlers’ Origins Curling eyelashes has long been part of beauty rituals in various cultures across time and geography; various societies use various rudimentary tools for this task, which have evolved through time into modern heated eyelash curlers with longer-term curling capabilities than their predecessors could offer. Recent years, heated eyelash curlers have gained widespread use as more enduring curling results can be achieved than with conventional methods. Understanding Heated Eyelash CurlersA heated eyelash curler is an innovative beauty device used to improve the natural curve of eyelashes. While manual curlers rely on pressure alone for this task, heated ones use controlled heat inflicted with batteries or USB rechargeable mechanisms in order to reshape them more safely and quickly than their competitors. With convenient features that enable quick curling results while being safe to use every day – such as USB rechargeability mechanisms – heated curlers have proven immensely popular due to their ease and effectiveness! Science Behind Eyelash CurlersHeated eyelash curlers work by adhering to basic principles of heat styling. Each device contains a heating element located either at its base or wand that, once warmed up, delivers controlled heat directly onto lashes upon contact – temporarily breaking apart hydrogen bonds within their structure so reshaping becomes simpler and quicker. To fully appreciate how heated eyelash curlers function, it’s crucial to understand their key components. Heating ElementAt the heart of any device is its heating element which rapidly warms to desired temperature for curling eyes quickly and efficiently.Curling Wand: Curling Wands make contact with eyelashes directly in order to lift and curl gently for smooth results. Temperature Settings: Whilst some devices offer options to customize temperature settings quickly for curling process if required (Wand only or Curling Wand both).Many heated eyelash curlers feature adjustable temperature settings to cater to various lash types and user preferences. Their power sources range from batteries or USB charging for portability when on-the-go beauty is desired. Step-By-Step Guide on How to Use a Heated Eyelash CurlerAlthough introducing heat near one’s eyes may seem intimidating, using a heated eyelash curler is actually quite simple and provides optimal results when followed correctly. Follow these steps for optimal results: Step 1: Begin With Clean Lashes For optimal curling results, ensure your eyelashes are free from mascara or eye makeup before beginning Step 2 of Heated Curler: Turn It On Now. Turn the device on and allow it to reach the temperature you prefer; if your device features adjustable settings, start at an intermediate setting. Step 3: Holding the Curler Correctly: Steps 4-5 of curling process. Wedge the heated eyelash curler so its wand faces upward for optimal control during curling…