Unveiling the Luminous Secrets: A Guide to Highlighter Mastery

In the cosmetic realm, highlighters stand as pivotal enhancers, casting a luminescent aura that subtly alters one’s appearance through precise application. These indispensable tools not only spotlight your most flattering traits but also simulate a sculpted, vigorous allure. Our discourse delves into the enchanting world of highlighters, offering insights and methodologies to imbue your visage with a glow that is both mesmerizing and inherently natural.
Unveiling The Luminous Secrets A Guide To Highlightermastery


Deciphering the Charm of Highlighters

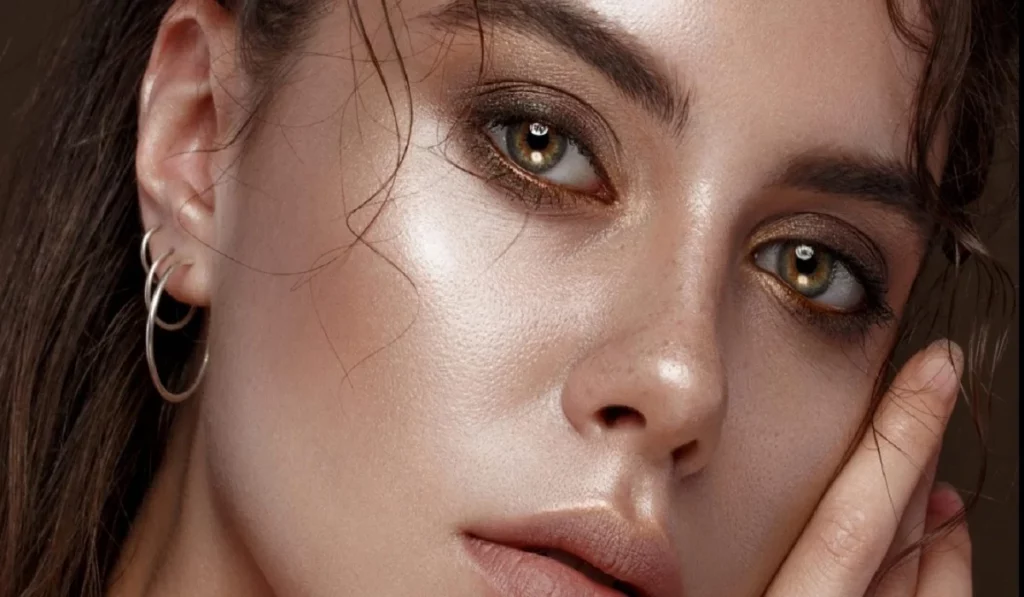
At its essence, highlighting is an art form that accentuates facial regions kissed by natural light, fostering an impression of radiance and elevation. The adept selection of a highlighter can bestow upon your complexion a semblance of dewiness and vitality, rendering it a crucial element in your beautification arsenal. Whether your aim is a whisper of shimmer or a bold radiance, grasping the foundational principles of highlighter application can catapult your cosmetic prowess to unprecedented levels.

Diverse Highlighter Varieties

The spectrum of highlighters is broad, encompassing various textures each suited to specific outcomes and levels of shine.

Powder Highlighters: Ideal for those with oily complexions, they afford a subtle glow that can be intensified as desired.

Cream Highlighters: Meld with the skin for a dewy, ethereal finish, perfect for dry or aging skin types.

Liquid Highlighters: The epitome of versatility, these can be blended with foundation for a comprehensive luminous effect, catering to all skin varieties.

Harmonizing Highlighter with Skin Hue

The selection of a highlighter that synergizes with your skin tone is paramount for a glow that seems to emanate from within.

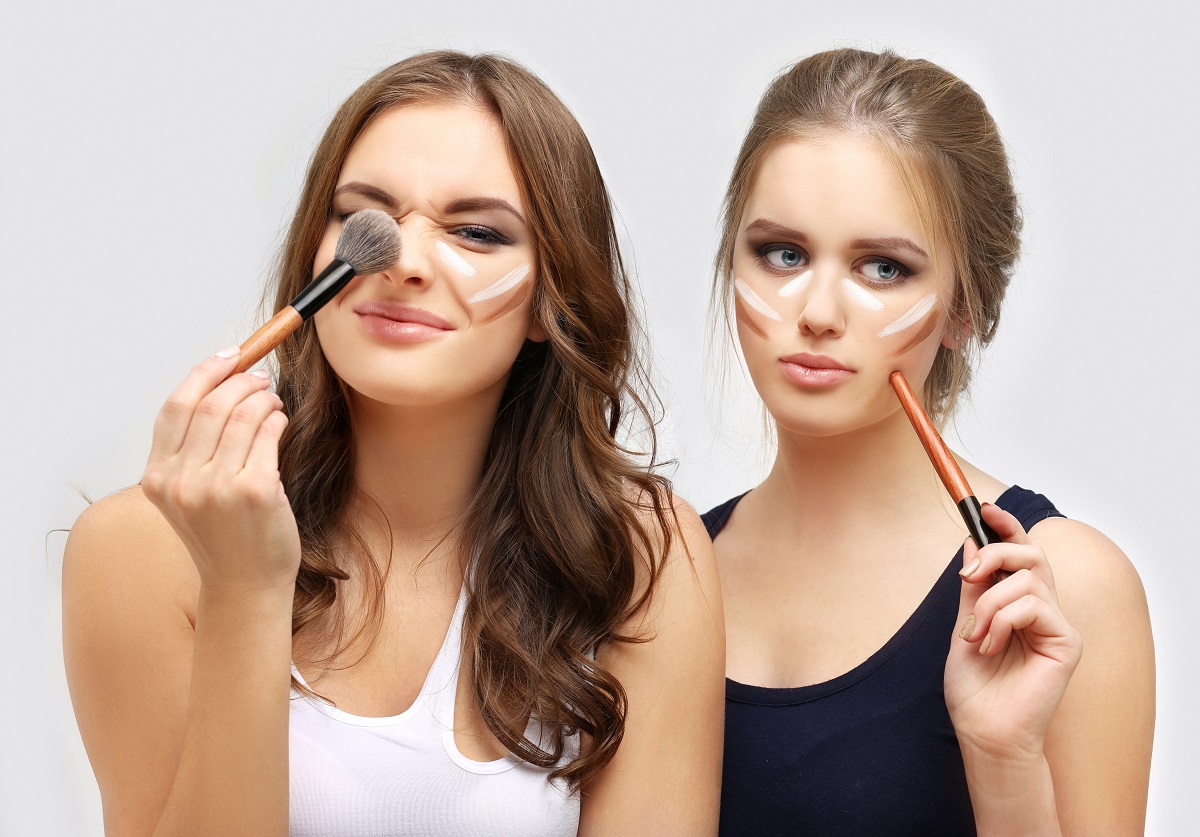
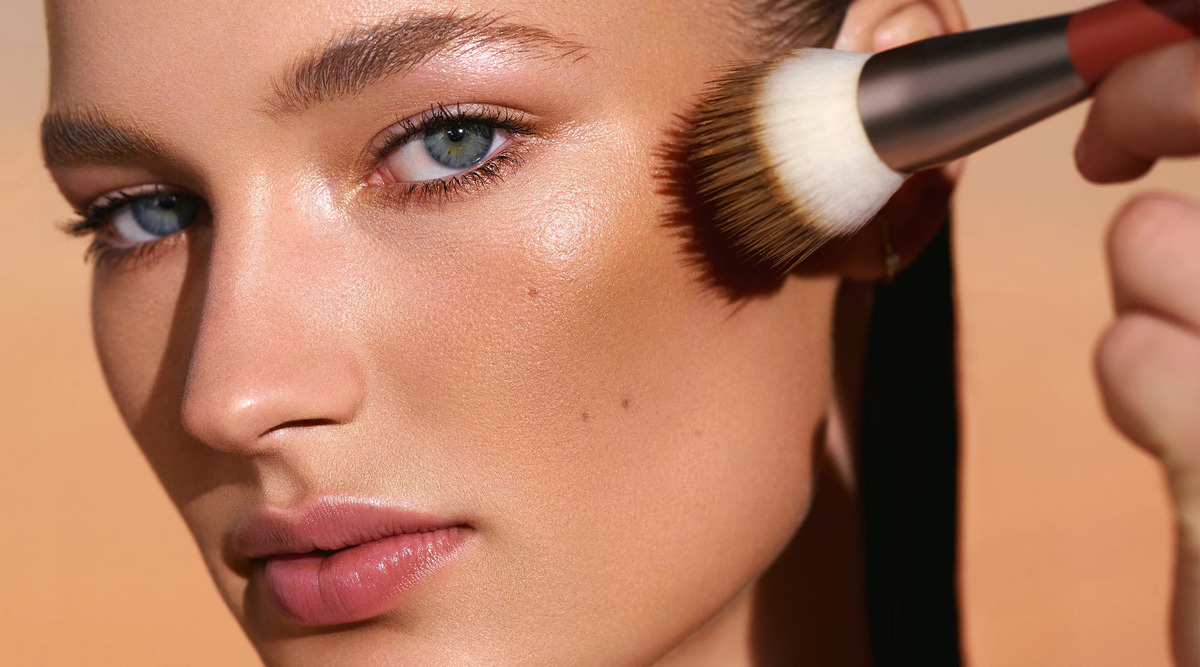
Pale complexions are complemented by highlighters in pearl or champagne shades. For medium skin tones, peach or gold highlighters impart warmth and vibrance. Deep skin tones are beautifully enhanced with touches of rose gold or bronze. Masterful Application for Radiant Results The secret to an impeccable glow lies in the technique of application. Employ a fan brush to lightly dust powder highlighters, while fingers or a sponge are perfect for the application of cream and liquid forms. Concentrate on the facial high points – the cheekbones, brow arches, nasal bridge, and cupid’s bow.

Highlighting Tailored to Facial Geometry

Adapting your highlighting strategy to your face shape can significantly amplify your features.

Oval Faces: Emphasize the cheek and brow bones to highlight natural contours.

Round Faces: Illuminate the top of the cheekbones and temples to impart definition.

Square Faces: Soften angularity by highlighting above the cheekbones, drawing attention towards the eyes.

Heart-shaped Faces: Draw light to the lower cheekbones and forehead center to harmonize facial proportions.
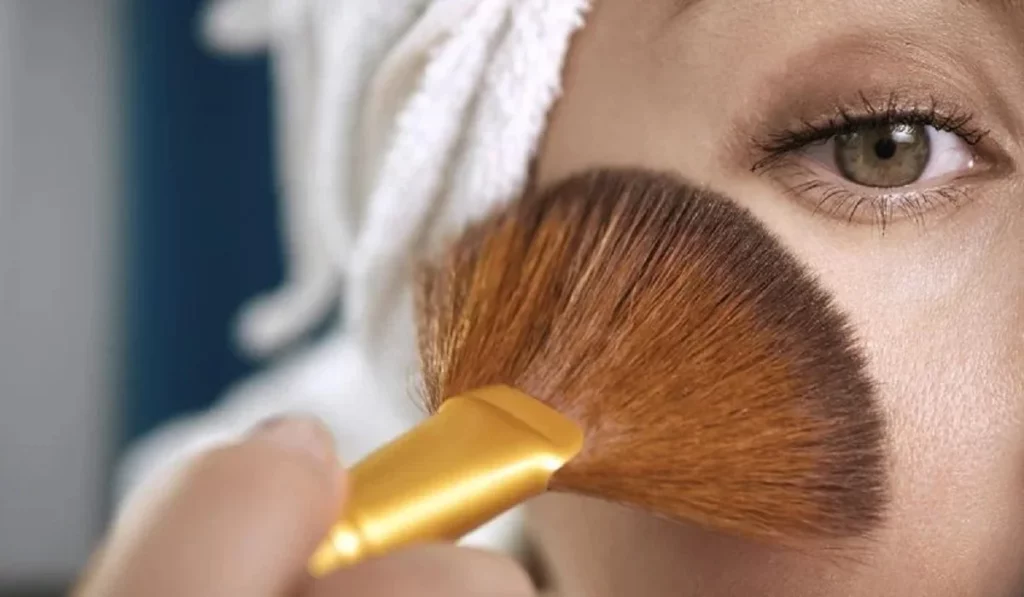


Unveiling The Luminous Secrets A Guide To Highlighter Mastery


Expanding Highlighting to Embellish Further

Highlighters transcend facial boundaries, offering enhancements to the eyes, lips, and body.

Eyes: Brighten by applying highlighter to the inner corners and beneath the brow arch.

Cheeks: Elevate cheekbones with a strategic shimmer.

Lips: A touch on the cupid’s bow creates the illusion of fullness.

Adapting Highlighter for Day and Night

Tailor your highlighter application to the occasion – a subdued glow for daywear and intensified luminance for evening elegance.

Innovative Highlighter Tricks for a Bewitching Aura

Incorporate liquid highlighter into your foundation for a radiant complexion, or repurpose powder highlighter as a shimmering eyeshadow for a unified aesthetic.

Securing a Lasting Radiance


Pre-highlighter skincare, focusing on hydration and exfoliation, ensures a seamless application and an inner glow.

The Evolution of Highlighters

Anticipate advancements in the highlighter domain, promising eco-friendliness and a spectrum of shades catering to every skin tone.

Highlighters wield the power to subtly enhance and illuminate your inherent beauty. Armed with the correct products and techniques, alongside a dash of inventiveness, you can master a glow that accentuates your finest features. The essence of mastering highlighter lies in blending and restraint, allowing your natural radiance to shine through.

Selecting the Perfect Highlighter Shade for Your Skin Tone Choosing the right highlighter shade is paramount for attaining a subtle, natural luminescence. Individuals with lighter skin should gravitate towards highlighters with pearl or champagne undertones to illuminate their complexion without overwhelming it. For those with a medium complexion, peach or golden hues can enhance the natural warmth of their skin. Meanwhile, individuals with darker skin may find that rose gold or bronze shades impart a luxurious, radiant glow. It’s essential to consider your skin’s undertones—be it cool, warm, or neutral—to ensure the highlighter seamlessly blends with your natural coloring.

Mastering Highlighter Use on Oily Skin Highlighters can indeed be embraced by those with oily skin without exacerbating shine. Opt for powder-based highlighters, which absorb excess sebum and render a matte effect, and apply these only to the high points of the face you wish to highlight. Steer clear of the T-zone or other oil-prone areas. Employing a mattifying primer or setting powder can further mitigate shine, allowing the highlighter to distinctly shine through in targeted areas.

Navigating the Pitfalls of Excessive Highlighter Application Excessive highlighter application can lead to an unwarranted shiny or artificial look. To avoid this, initiate with a modest amount of highlighter, incrementally building up to the desired level of radiance. Utilizing appropriate tools, such as a fan brush for powders or a dampened beauty sponge for cream or liquid formulas, facilitates precise application. Aim to emulate a natural sheen by concentrating on areas naturally kissed by light, including the cheekbones, brow bones, and nose bridge.

Embracing Highlighter Without Foundation for a Natural Aesthetic Highlighter can certainly be applied on bare skin to achieve a gentle, natural glow that subtly accentuates your features without necessitating a full-coverage foundation. This minimalist approach suits those favoring light makeup or seeking an effortless method to enliven their complexion. Ensure your skin is well-cleansed, hydrated, and primed to enhance the highlighter’s blending ability and durability.

Ensuring Highlighter Durability Throughout the Day To guarantee your highlighter’s longevity, employing a primer as a foundational layer beneath your makeup can be beneficial. This creates a smooth base, enhancing the highlighter’s staying power. After highlighter application (alongside any other makeup), setting everything with a fine, durable setting spray can prevent the highlighter from fading or smudging, ensuring a lasting glow.

Dual-Purposing Highlighter as Eyeshadow for Unified Makeup Harmony Highlighters can also serve as exquisite, shimmering eyeshadows, enriching your makeup with cohesive luminosity. This technique works splendidly with powder highlighters, though cream and liquid versions can be adeptly applied to the eyelids for a radiant effect. Applying highlighter as eyeshadow, particularly on the eyelid and inner eye corners, can brighten and visually enlarge the eyes, ensuring a seamlessly blended, radiant finish.



Unveiling The Magic: Exploring Transparent Eyeliner
Unveiling the Magic: Exploring Transparent Eyeliner

When it comes to enhancing the eyes and creating captivating makeup looks, eyeliner plays a pivotal role. From classic black to vibrant colors, eyeliners come in various shades and formulas. However, a recent trend that has taken the beauty world by storm is transparent eyeliner. In this article, we will delve into the world of transparent eyeliner, understanding what it is, how it works, and the unique benefits it offers. Whether you’re a makeup enthusiast or curious about the latest beauty trends, join us as we unveil the magic of transparent eyeliner. Understanding Transparent Eyeliner:Transparent eyeliner, also known as clear eyeliner or invisible eyeliner, is a revolutionary cosmetic product designed to enhance the eyes without the traditional appearance of a visible line. Unlike traditional eyeliners that come in pigmented shades, transparent eyeliner appears colorless or translucent when applied. It provides a subtle, natural look that defines the eyes without overpowering other elements of the makeup. How Does Transparent Eyeliner Work?Transparent eyeliner typically comes in the form of a gel or liquid with a clear consistency. The formula usually includes polymers or film-forming agents that create a thin, invisible line along the lash line. These polymers adhere to the skin, creating a barrier that gives the illusion of a defined eye shape without the appearance of visible eyeliner. Transparent eyeliner works by enhancing the natural contours of the eye, making it look more awake and defined. Versatility in Eye Makeup:One of the key advantages of transparent eyeliner is its versatility in eye makeup looks. Unlike traditional eyeliners that can sometimes limit the range of styles, transparent eyeliner can be seamlessly incorporated into various makeup looks. Whether you prefer a natural “no-makeup” look, a soft and subtle enhancement, or a bold and dramatic eye, transparent eyeliner provides a versatile tool to achieve your desired effect. Smudge-Free and Long-Lasting:Transparent eyeliner often boasts smudge-free and long-lasting properties. Since it doesn’t contain pigments that can transfer or fade, it has a higher resistance to smudging, smearing, or running throughout the day. This makes it particularly suitable for those with oily eyelids or in humid climates where traditional eyeliners may struggle to maintain their integrity. With transparent eyeliner, you can enjoy a defined eye look that lasts from morning to night without the need for constant touch-ups. Accentuating Eye Shape:One of the primary goals of eyeliner is to accentuate and enhance the natural shape of the eyes. Transparent eyeliner excels in this area by defining the eyes without overpowering them. By tracing a clear line along the lash line, transparent eyeliner helps to create the illusion of fuller lashes and a more lifted eye appearance. It can also be used to subtly elongate or reshape the eye shape, allowing for endless possibilities in eye makeup experimentation. Complementing Diverse Makeup Styles:Transparent eyeliner seamlessly complements a wide range of makeup styles. It is particularly effective when paired with vibrant eyeshadows or intricate eye art, as it adds definition and structure without competing for attention. Additionally, transparent eyeliner works harmoniously with other eye-enhancing products like mascara and false lashes, allowing them…

How To Use An Eyelash Curler
How to Use an Eyelash Curler

Transforming your lashes with an eyelash curler can dramatically enhance your look, creating an illusion of wider, more vibrant eyes that captivate and allure. While the prospect of using an eyelash curler may seem intimidating to some, this guide is designed to demystify the process, guiding you to safely and effectively achieve the perfect lash curl. Understanding Eyelash Curlers: A Primer Diverse Eyelash Curler Options The realm of eyelash curlers is filled with options to suit every need. The traditional manual curler, known for its simplicity and effectiveness, stands as the go-to choice. For those in pursuit of a more enduring curl, heated eyelash curlers gently warm lashes into shape. Precision curlers, on the other hand, are engineered to meticulously curl lashes at the eye’s corners or shorter lashes with exactitude. Lash Preparation: The Foundation for Curling Ensuring Lashes are Clean and Dry The cornerstone of a successful curl lies in beginning with lashes that are both clean and dry. Residues from makeup or oils can impede the curling process. A gentle cleanse followed by careful drying not only primes your lashes but also safeguards them against potential damage inflicted by the curler. The Mascara Dilemma: Before or After Curling? A common query revolves around the optimal timing for mascara application relative to curling. Applying mascara before curling can result in clumped lashes and potential damage, as the wet mascara may cause the curler to adhere to the lashes. It is advisable, therefore, to first curl your lashes and subsequently apply mascara, thus enhancing and preserving the curl. Mastering the Eyelash Curler: A Step-by-Step Tutorial Choosing the Ideal Curler Selecting an eyelash curler that complements your eye shape and lash length is critical. Wide-eyed individuals might favor a broader curler, while those with smaller eyes might find a narrower one more fitting. A flatter curve is often recommended for those with straighter lashes. Executing the Perfect Curl Enhancing Curl Longevity Employing heating techniques, such as a lightly warmed hairdryer on the curler (testing to ensure it’s not excessively hot), can significantly bolster the curl’s endurance. Alternatively, specialized heated curlers offer a secure way to achieve a more pronounced, lasting curl. Navigating Common Pitfalls Steer clear of over-curling to avoid lashes that look unnaturally bent or risking lash damage. Regularly cleaning your curler to remove any mascara residue is also essential to prevent lash sticking and pulling. Eyelash Curler Upkeep Recognizing When to Replace Your Curler Regularly inspect your curler for wear signs, like damaged pads or diminished tension, and replace as necessary to maintain effectiveness and safety. Maintaining a Clean Curler Frequent cleaning with a gentle soap and thorough drying are paramount to prevent bacterial accumulation and ensure optimal performance. Exploring Advanced Techniques Experimenting with varying curl intensities, from a subtle uplift to a dramatic curl, and utilizing additional tools like eyelash combs can refine your results for a flawless look. With diligent practice and adherence to the right techniques, mastering the eyelash curler can significantly enhance your makeup routine, drawing attention to your eyes with a natural, captivating allure. Perfect curls…

Mastering Eyebrow Stabilizers And Primer For Flawless Makeup Application
Mastering Eyebrow Stabilizers and Primer for Flawless Makeup Application

Eyebrow stabilizers and primers are essential tools in the world of makeup, helping to create a polished and long-lasting look. Eyebrow stabilizers, also known as brow gels or pomades, are designed to keep your eyebrows in place, providing definition and structure. Primers, on the other hand, are products that create a smooth canvas for makeup application, enhancing its longevity and improving overall coverage. In this guide, we will delve into the world of eyebrow stabilizers and primers, exploring their benefits and providing step-by-step instructions on how to use them effectively. Section 1: Understanding Eyebrow StabilizersEyebrow stabilizers come in various forms, such as gels, waxes, and pomades, and are available in a range of shades to match different hair colors. These products offer several benefits, including: Shape and Definition: Eyebrow stabilizers help tame unruly hairs and provide control to shape and define your brows. They offer a solution for those with sparse or overgrown eyebrows, allowing you to create a more precise and polished look. Long-lasting Hold: By setting your eyebrows in place, stabilizers ensure that your desired shape stays intact throughout the day, resisting smudging or fading caused by natural oils or sweat. Section 2: How to Use Eyebrow StabilizersUsing an eyebrow stabilizer is a straightforward process that requires a few simple steps: Prep and Cleanse: Start by cleansing your face and removing any residual makeup or oils from your eyebrows. This ensures better adherence and longevity of the product. Choose the Right Shade: Select an eyebrow stabilizer that matches your hair color or is slightly lighter for a more natural effect. Application: Using a small, angled brush or a spoolie, lightly dip it into the product and remove any excess. Begin applying the stabilizer in short, feathery strokes following the natural shape of your brows. Fill in any sparse areas and gradually build up the intensity until you achieve your desired look. Blending and Setting: After applying the stabilizer, use a clean spoolie or a brow brush to blend the product evenly through your eyebrows. This step helps create a seamless, natural finish. Finally, set your brows with a clear brow gel or a transparent mascara to ensure the longevity of the stabilizer throughout the day. Section 3: Unveiling the Power of PrimersPrimers act as a crucial step in your makeup routine, serving as a base to even out the skin’s texture and improve the longevity of your makeup. Their benefits include: Smoothing and Pore Minimizing: Primers fill in fine lines, pores, and other imperfections, creating a smooth canvas for foundation application. Enhanced Makeup Adherence: Primers help makeup products, such as foundation and concealer, adhere better to the skin, ensuring a flawless and long-lasting finish. Section 4: How to Use PrimersUsing a primer is an essential step for achieving a flawless makeup look. Here’s how to apply it effectively: Cleanse and Moisturize: Begin by cleansing your face and applying a lightweight moisturizer suitable for your skin type. Allow the moisturizer to fully absorb before moving on to the primer. Choose the Right Primer: Select a primer that suits your specific needs,…

What Is Microblading Transform Your Eyebrows From Sparse To Gorgeous (1)
What is microblading? Transform Your Eyebrows from Sparse to Gorgeous

Microblading is a transformative beauty procedure that meticulously enhances the appearance of your eyebrows, offering a semi-permanent solution for those seeking fuller, more defined brows. This technique involves the manual insertion of pigment into the upper layers of skin to create the appearance of natural eyebrow hairs. However, achieving the best possible results requires more than just booking an appointment; it involves thorough preparation, understanding the process, and proper aftercare. Choosing the Right Microblading Technician The first step in your Microblading journey is to choose a skilled and certified aesthetician. Researching your options is crucial. Look for a salon that showcases an extensive portfolio of before and after photos, demonstrating their ability to produce the kind of results that captivate you. It’s essential that your chosen technician not only possesses the necessary certification but also has a wealth of experience, reflected in their hours of education and practical application. Remember, the quality of your results depends heavily on the skill and precision of the technician. State Regulations and Technician Licensing Be aware that each state has its own set of rules and regulations governing microblading. Before proceeding, verify the licensing requirements in your area and ensure your technician meets these standards. This step is crucial for both your safety and the legality of the procedure. Preparing for Your Microblading Session Proper preparation can significantly enhance the outcome of your Microblading procedure. Here are some essential tips to ensure you’re fully prepared: Understanding the Microblading Procedure Microblading is typically completed in three key steps: Preparation Initially, your aesthetician will apply a topical numbing cream to your eyebrow area to minimize discomfort. This preparation is vital for both your comfort and the steadiness of the microblading process. The Procedure Experience Pain tolerance varies from person to person. Some may only feel a slight scratching sensation, while others might experience a bit more discomfort. However, most find the procedure to be bearable, with the numbing cream significantly reducing any pain. Post-Procedure Care Immediately after your session, it’s normal for your eyebrows to appear darker and more pronounced than expected. This intensity will fade as they heal, usually within a week, resulting in a more natural look. It’s advised to avoid water exposure, including long showers and baths, during the initial healing phase to prevent the pigment from washing out prematurely. Post-Microblading Care To ensure the best healing and color retention, follow these aftercare tips: Potential Risks and How to Mitigate Them While microblading is generally safe, being informed about potential risks is crucial: Allergic Reactions Though rare, it’s possible to have an allergic reaction to the pigment used. Discuss any known allergies with your technician beforehand. Infection Infections can occur if the procedure is done with non-sterile equipment. Ensure your salon follows strict hygiene practices. Semi-Permanence Microblading results are semi-permanent. If you’re unhappy with the results, corrections or removal can be more challenging. Give yourself time to consider if microblading is right for you and choose a technician who can offer a result you’re confident you’ll be happy with. Microblading can significantly enhance your facial…

Brain Power Challenge

Welcome to the Ultimate IQ Challenge! Are you ready to test your limits? This IQ test is designed to push your analytical skills to their peak. You have 20 minutes to answer 20 carefully crafted questions. Did you know? The average IQ in the U.S. is 98. Can you prove you’re smarter than the average American? Push your boundaries and see where you stand. Challenge yourself and aim for the top! Start the Test

Micellar Water: A Gentle And Effective Way To Cleanse Your Skin
Micellar Water: A Gentle and Effective Way to Cleanse Your Skin

Micellar water has become a popular skincare product in recent years, and for good reason. This gentle and effective cleansing solution is perfect for removing dirt, oil, and makeup without the need for harsh chemicals or excessive rubbing. In this article, we will explore the benefits of using micellar water and why it has become a must-have in many people’s skincare routines. What is Micellar Water? Micellar water is a gentle and effective cleansing solution that is made up of tiny micelles, which are clusters of fatty acid esters. These micelles are attracted to dirt, oil, and makeup, and can easily lift and remove them from the skin’s surface. The solution is usually water-based, making it suitable for all skin types, including sensitive skin. Benefits of Using Micellar Water Cleanses the SkinMicellar water is a great way to cleanse your skin, as it can remove dirt, oil, and makeup without the need for harsh chemicals or excessive rubbing. The micelles in the solution act like magnets, attracting and lifting away impurities from the skin’s surface. This gentle cleansing method can help prevent irritation and breakouts, making it a great choice for those with sensitive skin. Hydrates the SkinMicellar water contains hydrating ingredients, such as glycerin and panthenol, which can help to moisturize and soothe the skin. Unlike traditional cleansers, which can strip the skin of its natural oils, micellar water can help to maintain the skin’s moisture balance, leaving it feeling soft and supple. Helps to Remove MakeupMicellar water is an effective way to remove makeup, as the micelles can easily lift away even waterproof mascara and long-wearing foundation. This gentle cleansing method can help to prevent damage to the delicate skin around the eyes and can reduce the risk of irritation or redness. Can be Used as a TonerMicellar water can also act as a toner, helping to balance the skin’s pH levels and prepare it for further skincare products. This is because the solution is water-based and does not contain any alcohol, which can be drying and irritating to the skin. Using micellar water as a toner can help to leave your skin feeling clean, refreshed, and balanced. Convenient to UseMicellar water is incredibly easy to use, making it a convenient addition to any skincare routine. Simply soak a cotton pad in the solution and gently wipe it over your face to remove dirt, oil, and makeup. There is no need for rinsing, which can be especially helpful when you are on-the-go or traveling. How to Use Micellar Water Using micellar water is incredibly easy. Here’s how to do it: Start by choosing a micellar water that is suited to your skin type. Soak a cotton pad in the solution and gently wipe it over your face, taking care to avoid the delicate skin around your eyes. Repeat until all dirt, oil, and makeup have been removed. There is no need to rinse, but if you prefer, you can follow up with a gentle cleanser or toner. Use micellar water in the morning and evening as part of your regular…

7 Essential Steps To Perfectly Filed Nails Elevate Your Manicuregame
7 Essential Steps to Perfectly Filed Nails: Elevate Your Manicure Game

Learn how to hone this skill for beautiful and healthy nails. Introduction Properly maintained nails are more than just a style statement; they’re a condition of one’s personal hygiene and one of the first things people notice about you in social and professional interactions. Whether you have an essential job interview, a critical date, or just want to look and feel your best, the state of your nails is bound to get noticed. This step-by-step guide is intended to help you master all of the aspects of nail filing, to guarantee that not only do they look fantastic but also remain healthy . The Critical Aspect of Nail Maintenance Why You Only Have One Chance to Make a First Impression? You might not be able to conduct business with someone or communicate your love for them immediately. But your nails don’t have that luxury – they touch everything you do: giving and receiving, opening bags of chips, flipping through books, and who knows what else. You may be unable to immediately establish a rapport with others, but you can always rely on your nails – whether they exude warmth and care or suggest “I got this far, what’re you going to do about it?.” However, it is not only a matter of passive stress relief and feeling good “in your skin” – it is a question of survival . The Meeting Point Between Beauty and Health Looking for the Best Fitting Nail Tools How to Figure Out the Grit Code Not all nail files are created equal; they come in different grit sizes and strengths to fit differing nails and filing requirements. While a grit size of around 240 is safe for everyone, as it is smooth enough to protect the nail bed and superior enough to file the nail successfully. Tools to Nail Types Once again, if one has weak or defective nails, a diamond file such as the Diamancel range may make all the difference. Do not be frightened by the phrase “diamond,” as most metal nail files are sharper and harmfully the nail surface more than ever. Glass is another good choice, but it is always more expensive due to its good quality. Glass files can be utilized on any kind of nail because they are not as PMY as other substances, and a gloss finish means that there are less chances that a nail will cut. The Nail Filing Art Although selecting the proper sort of nail file is essential, it is idle without proper filing procedure. People must never “saw” through their nails to remove them, as they will harm the nail edge and make them soft and simple to rip. Put a pointy edge back on the nail since the original is with no edges off to construct upon. Proper File Start by placing your hammer file at an angle on one file side. Pass the device of the file just over the nail. Achieve the desired form, focusing always on the edges in a gentle bevel with small balls beneath the files’ middle. Nail Forms:…

The Pros And Cons Of Hair Dye What You Need To Know
The Pros and Cons of Hair Dye: What You Need to Know

Hair dyeing is a common practice for both enhancing one’s appearance and expressing individuality. However, like any beauty treatment, it comes with its set of advantages and disadvantages. This article delves into the various aspects of hair dyeing, offering insights into what you need to know before deciding to color your hair. Understanding Hair Dye Hair dye comes in various forms, each serving different purposes and offering different results. From temporary sprays to permanent color changes, understanding how hair dye works can help you make better choices for your hair health and appearance. Pros of Hair Dye Enhancing Your Look Hair dye can dramatically change your look, giving you a new level of confidence. Whether you’re covering grays or just looking for a change, the right hair color can enhance your features and skin tone. Covering Gray Hair For many, hair dye is a means to cover gray hair, helping to maintain a youthful appearance and feel more comfortable with their looks. Experimentation with Colors Hair dye offers the freedom to experiment with different colors, allowing you to express your personality and style in unique ways. Boosting Self-Confidence A new hair color can significantly boost self-confidence, making individuals feel more attractive and refreshed. Cons of Hair Dye Potential Damage to Hair Chemical dyes can damage hair, leading to dryness, breakage, and loss of natural shine. Allergic Reactions Some individuals may experience allergic reactions to the chemicals found in hair dyes, which can range from mild irritation to severe health issues. Maintenance and Cost Colored hair requires more maintenance, including regular touch-ups and specialized hair care products, which can become costly over time. Limitations on Color Changes Frequent dyeing and drastic color changes can further damage hair and may not always produce the desired results due to underlying pigment and hair condition. Choosing the Right Hair Dye Understanding the differences between permanent, semi-permanent, and temporary dyes, as well as natural versus chemical options, can guide you to the best choice for your hair health and styling needs. Preparing Your Hair for Dyeing Proper preparation, including assessing your hair’s condition and applying pre-dye treatments, can minimize damage and enhance dye uptake for better results. Application Tips for Best Results Whether opting for a professional application or a DIY approach, following the product instructions, conducting a patch test, and using the right tools are crucial for achieving the best and safest results. Post-Dye Hair Care Maintaining your hair’s health and color post-dyeing involves using conditioning treatments and color preservation techniques to extend the life of your new hue. Alternatives to Traditional Hair Dye For those concerned about the chemicals in traditional dyes, alternatives like henna or color depositing shampoos and conditioners offer a safer way to change hair color. Making an Informed Decision Before diving into hair dyeing, consider your needs, lifestyle, and the potential impact on your hair. Consulting with a professional can provide personalized advice and ensure you make an informed decision. Dyeing your hair can be an exciting way to change your appearance, but it’s important to weigh the pros and cons….