What Is a Hot Roller? How to Use Hot Rollers for Hair?

In an era where hair styling trends come and go with the seasons, finding a tool that stands the test of time is akin to discovering a hidden gem in the vast beauty landscape. Among the myriad of styling tools, hot rollers have consistently held a place of honor. Not just a nod to vintage glamour or a memory of our mothers’ beauty routines, hot rollers are making a significant comeback, merging old-school charm with modern technology to offer stunning, volumized curls. This guide dives deep into the world of hot rollers, exploring their benefits, how to use them effectively, and tips for selecting the perfect set for your hair.
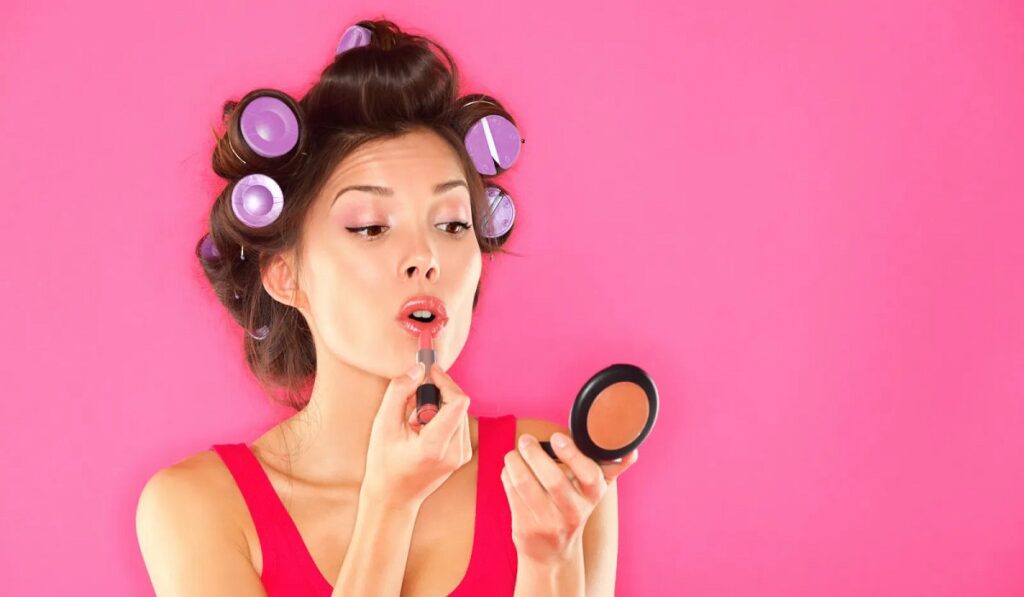
What Is A Hot Roller How To Use Hot Rollers For Hair


What Are Hot Rollers?

Tracing their roots back to the golden age of Hollywood and the everyday elegance of the past generations, hot rollers are a testament to the timeless pursuit of beautiful hair. Unlike their more static predecessors, today’s hot rollers have embraced technological advancements to offer more than just curl setting; they provide heat-induced styling for long-lasting, perfectly sculpted curls.

The Mechanism Behind Hot Rollers

Hot rollers operate on a simple yet effective principle. These cylindrical tools are heated in a special container before being applied to sections of the hair. Similar to curling irons, but without the need for continuous manual operation, they are left in the hair for a set period to shape and mold the hair into curls or waves, offering a hands-free styling experience.

How to Use Hot Rollers

The thought of integrating heat into hair styling can seem daunting at first, but using hot rollers is surprisingly straightforward and can yield professional-looking results with a bit of practice.

Preparation Is Key

  • Start with thoroughly brushed, tangle-free hair. If your hair tends to knot easily, consider using a detangling brush to ensure a smooth base for roller application.
  • Preheat your rollers according to the manufacturer’s instructions. This step is crucial for achieving optimal results, as properly heated rollers are more effective at curl formation.

Application Tips

  • Work in small sections. Apply a heat protectant spray and a light hair oil to each segment before rolling to protect your hair from heat damage and add a glossy finish.
  • Start rolling from the ends of your hair, moving upwards toward the scalp. Secure each roller in place with the pins or clips provided.
  • Vary the direction of the rollers (some inward, some outward) to add dimension and a more natural-looking volume to your style.

Choosing the Right Hot Rollers

Selecting the ideal hot rollers for your hair type and desired style involves understanding key features and specifications.

Temperature Settings

  • The ability to adjust temperature is essential, especially for those with fine or damage-prone hair. Lower heat settings minimize damage while still allowing for effective styling.

Roller Sizes

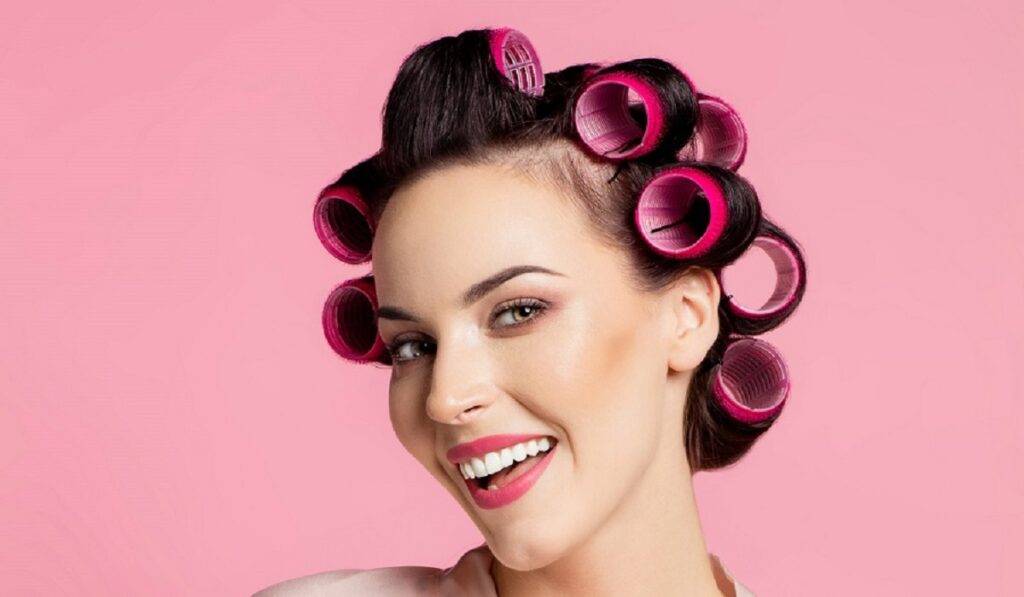
  • The size of the rollers determines the type of curl or wave produced. Larger rollers create soft waves and volume, while smaller rollers are perfect for tighter curls or more defined styles.
What Is A Hot Rollerhow To Use Hot Rollers For Hair


Incorporating Hot Rollers Into Your Styling Routine

Hot rollers, with their blend of convenience and efficiency, offer a versatile styling solution. Whether you’re aiming for a bombshell blowout, soft romantic curls, or just adding some extra oomph to your everyday look, hot rollers can achieve it with a touch of vintage flair.

Mastering the Use of Hot Rollers for Stunning Curls

1. Is there a risk of hair damage with hot rollers?
Indeed, similar to other heated styling devices, hot rollers carry the potential for hair damage if misused or overused. To mitigate such risks, it’s crucial to apply a heat protectant spray before setting the rollers and to steer clear of using them on damp hair. Opting for rollers that offer variable temperature controls can also enable you to adjust the heat to a level that’s gentle on your hair.

2. Optimal duration for keeping hot rollers in place?
The ideal time to leave hot rollers in your hair varies, influenced by factors such as your hair’s texture, the intensity of the curl you aim for, and the rollers’ temperature. A general guideline is to wait around 15-20 minutes or until the rollers have fully cooled down, ensuring the curls set properly. Thinner hair may do well with a shorter period, whereas thicker strands might benefit from a longer duration.

3. Can individuals with short hair use hot rollers?
Absolutely, hot rollers are versatile enough for short hair lengths. The key is to select rollers of a size that complements your hair length, with smaller rollers being particularly effective for short strands, ensuring the hair wraps around them adequately.

4. Advisability of applying hot rollers on damp hair?
Applying hot rollers to damp hair is ill-advised due to the heightened risk of steam damage, which can lead to hair becoming fragile and prone to breakage. It’s best to start with hair that’s dry and free of tangles for optimal results.

5. Selecting the appropriate roller size for your hair?
The curl’s tightness and the overall volume of your hairstyle are directly impacted by the roller’s size. For voluminous waves and loose curls, larger rollers are preferable, whereas smaller rollers are the go-to for achieving more defined curls. Your desired hairstyle and hair length should guide your choice of roller size.

6. Techniques for attaining naturally appearing curls with hot rollers?
For curls that echo the natural variability of hair waves, employ rollers of varying sizes and alternate the rolling direction for each hair section (towards and away from your face). This approach produces a diverse pattern of curls, enhancing the natural appeal.


7. Usage of hot rollers on hair extensions: Yay or Nay?
You can use hot rollers on hair extensions with caution. Verify that the extensions are crafted from genuine human hair to avoid the melting risk associated with synthetic materials. Additionally, a lower temperature setting is advisable to safeguard both the extensions and your natural hair.

8. Maintenance tips for hot rollers?
Ensure the rollers have cooled down completely before you store them away. Wipe them with a slightly moist cloth to remove any residual styling products. Keeping the rollers in their case or a clean, dry area will prevent dust accumulation and damage.

9. Strategies to shield the scalp from heat?
Opt for rollers designed with cool-touch ends or handles to protect both your scalp and fingers from heat-induced injuries. Moreover, exercise caution to avoid placing the heated portion of the roller in direct contact with your scalp.

10. Is overnight wear of hot rollers advisable?
Sleeping with hot rollers is not recommended. Unlike softer alternatives such as foam rollers or flexi rods, hot rollers are rigid and can cause discomfort, disrupt sleep patterns, and pose a risk of prolonged heat exposure to the scalp.

Equipped with these comprehensive insights, you’re now poised to navigate the use of hot rollers with greater expertise, paving the way for you to craft exquisite curls or waves with added assurance.

The resurgence of hot rollers is a nod to the enduring allure of voluminous, bouncy hair. By understanding the basics of hot roller selection and use, you’re well on your way to achieving salon-worthy curls at home. Embrace the elegance of yesteryears with the convenience of today’s technology, and let your hair make a statement that transcends time.

All You Need To Know About Eyebrow Threading: The Ultimate Guide
All You Need to Know About Eyebrow Threading: The Ultimate Guide

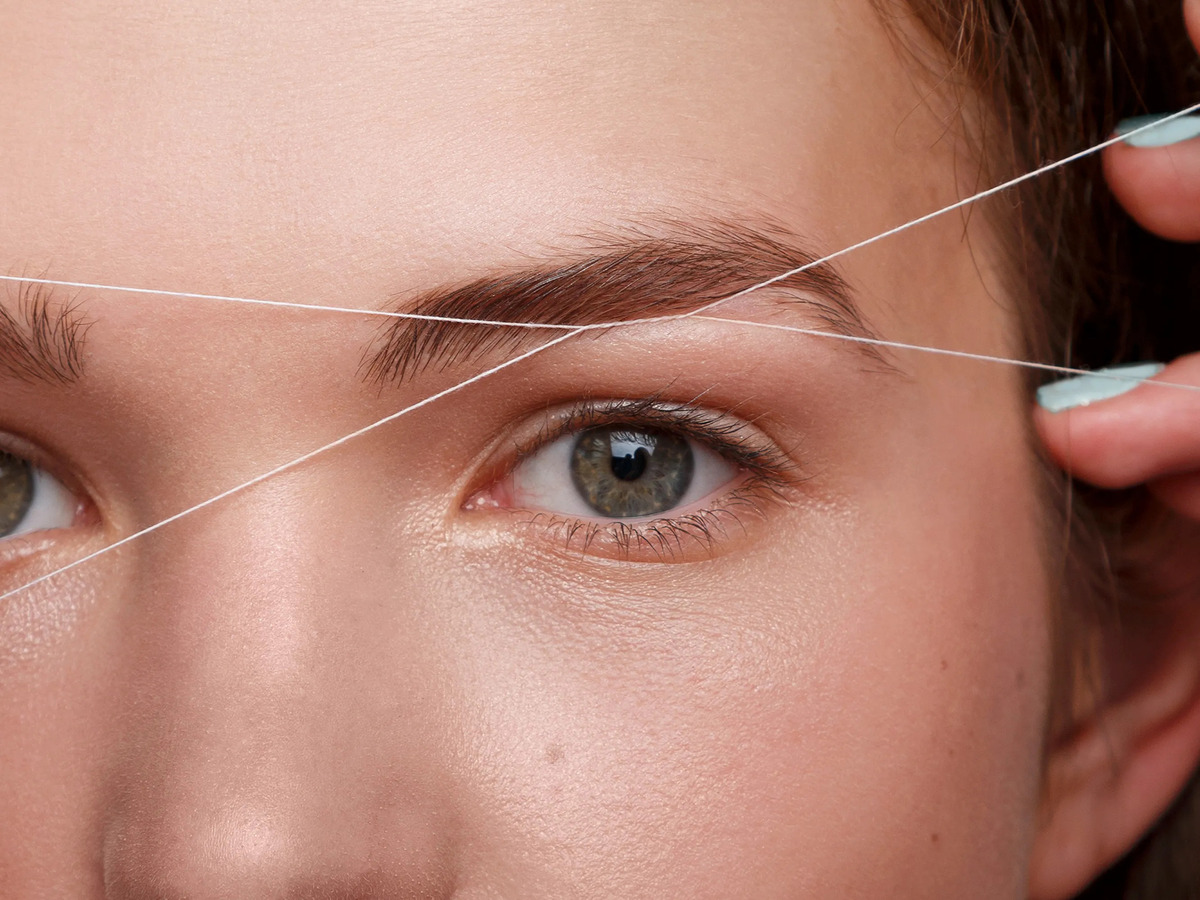
Eyebrow threading is a popular method of hair removal that originated in South Asia and has become increasingly popular in the Western world. It is a precise and relatively painless way to shape and groom eyebrows. In this guide, we will cover everything you need to know about eyebrow threading, including what it is, how it works, the benefits, and what to expect during and after the procedure. What is Eyebrow Threading?Eyebrow threading is a hair removal technique that involves twisting and pulling a thread along the skin, which removes the hair from the follicle. The thread is typically made of cotton or polyester and is doubled over, creating a loop at one end and two loose ends at the other. The practitioner holds one end of the thread in their mouth and uses the other hand to manipulate the loop, allowing them to precisely remove individual hairs from the eyebrow area. How does Eyebrow Threading Work?Eyebrow threading works by pulling out hair from the root. The practitioner will use the looped end of the thread to trap and twist individual hairs, pulling them out from the follicle. Because threading only removes hair from the root, the results can last up to 4-6 weeks before the hair grows back. Additionally, threading is a relatively gentle technique, as it does not require any chemicals or heat, making it suitable for those with sensitive skin. Benefits of Eyebrow Threading:There are several benefits to eyebrow threading. First, it is a precise technique, allowing for a more defined and tailored eyebrow shape. Second, it is less painful than other hair removal methods, such as waxing, as it does not pull on the skin. Third, threading is a quick and easy procedure that can be done in a matter of minutes. Finally, because threading only removes hair from the root, the results can last up to 4-6 weeks, making it a low-maintenance option. What to Expect During an Eyebrow Threading Procedure:If you have never had your eyebrows threaded before, you may be wondering what to expect during the procedure. First, the practitioner will ask you about the shape and style you are looking for. They will then use a white eyeliner pencil to draw on the shape of your new eyebrows. Once you have approved the shape, the practitioner will begin the threading process, using the looped end of the thread to remove hairs from the eyebrow area. You may experience some mild discomfort during the procedure, but it should not be painful. Once the threading is complete, the practitioner will apply a soothing cream or gel to the area to reduce any redness or irritation. Aftercare for Eyebrow Threading:Aftercare for eyebrow threading is relatively simple. You should avoid touching or rubbing the eyebrow area for at least 24 hours after the procedure to allow the skin to heal. You may also experience some redness or mild swelling, which should subside within a few hours. You can apply a cool compress to the area to reduce any discomfort. Finally, it is important to keep the eyebrow area…

What Is A Charcoalmask
What Is a Charcoal Mask?

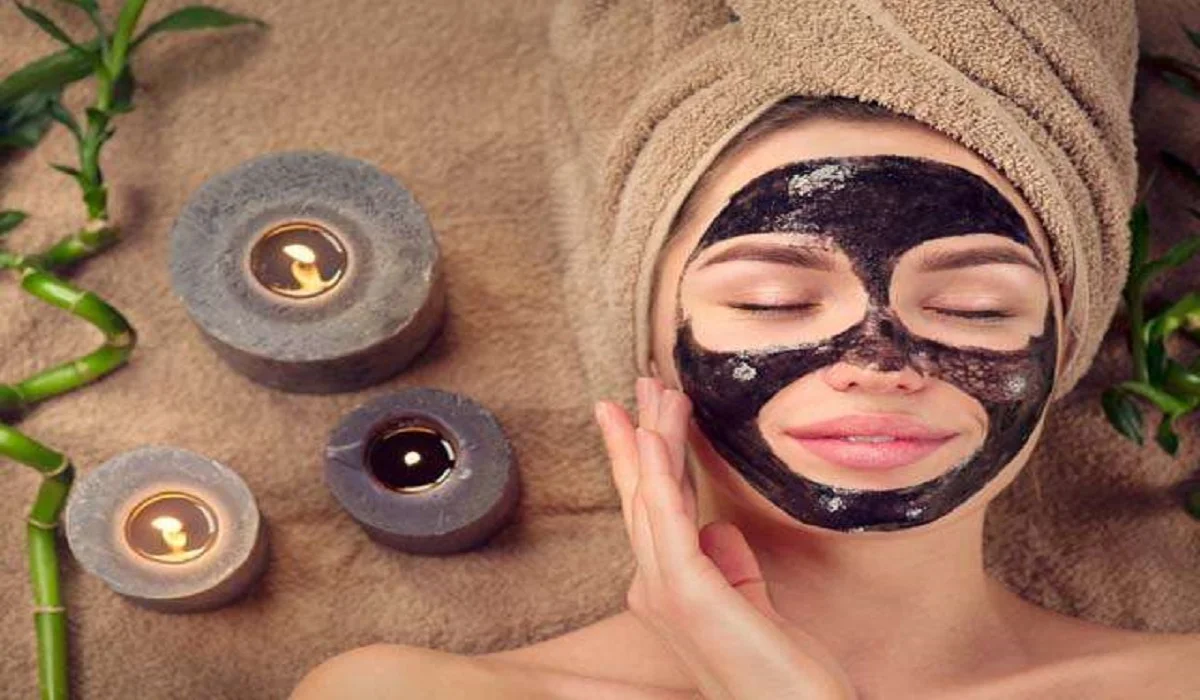
The beauty and skincare realm has witnessed a remarkable surge in the adoption of charcoal masks, celebrated for their profound cleaning and detoxifying capabilities. But the question arises, what are charcoal masks, and how do they perform their skin-transforming feats? In this discussion, we demystify the concept of charcoal masks, delving into their merits, varieties, and the optimal way to integrate them into your skincare regimen. The Scientific Foundation of Charcoal MasksAt the heart of charcoal masks lies activated charcoal, renowned for its ability to function as a magnet, drawing in and ensnaring dirt, oil, and toxins from the epidermis and its underlying pores. The porous characteristic of activated charcoal facilitates the entrapment of these contaminants, which are subsequently eliminated upon the removal of the mask. Key Components in Charcoal MasksIn addition to activated charcoal, these formulations typically incorporate other elements such as clays, tea tree oil, or salicylic acid, each chosen for its capacity to augment the mask’s purifying and calming effects. These ingredients collectively work to diminish oiliness, ward off acne, and pacify the skin. Detoxification Mechanism of Charcoal MasksThe detoxifying procedure employed by charcoal masks is straightforward yet potent. As the mask dries, activated charcoal attracts and captures impurities lodged within the pores, not only cleansing the skin but also minimizing pore visibility and thwarting future acne outbreaks. Varieties of Charcoal MasksCharcoal masks come in various formats, catering to individual preferences and skin needs, each with its distinct application and removal methodology. Peel-off VariantsDesigned to harden upon application, these variants form a peelable layer that, upon removal, strips away dead skin cells and surface debris. Wash-off VariantsThese are rinsed off with water, offering a milder detoxification alternative, ideal for sensitive skin types or those seeking a less intense cleansing experience. Sheet Mask VariantsThese blend the convenience of a no-mess application with the hydrating benefits of a fabric sheet mask, enriched with activated charcoal. Advantages of Charcoal MasksIncorporating charcoal masks into your skincare routine promises a myriad of benefits: Optimal Application of Charcoal MasksFor maximum efficacy, it’s vital to adhere to correct application practices. Preparation and Application:Initiate with a cleansed face, ensuring even application while steering clear of the eyes and lips. Duration and Frequency:Maintain the mask for the suggested duration—typically 10 to 20 minutes—and limit use to once or twice weekly for optimal skin health. Post-Application Care:Conclude with a moisturizer to hydrate and seal in the mask’s benefits. Potential Adverse Effects and SafeguardsGenerally, charcoal masks are safe for most skin types, though some individuals may encounter dryness or irritation. Awareness of Side Effects:Being cognizant of potential adverse effects equips users to manage them effectively. Risk Mitigation:Conduct a patch test prior to using a new charcoal mask, especially for sensitive skin, and meticulously follow usage instructions. DIY Charcoal Mask FormulationsFor enthusiasts of homemade skincare solutions, here are straightforward recipes for crafting your charcoal masks. Simple DIY Charcoal Mask:Combine activated charcoal powder with aloe vera gel for a calming, purifying mask. Charcoal Mask for Acne-Prone Skin:Blend activated charcoal with tea tree oil and water to target acne while soothing the skin….

The Ultimate Guide To Achieving Soft Lips Naturally
The Ultimate Guide to Achieving Soft Lips Naturally

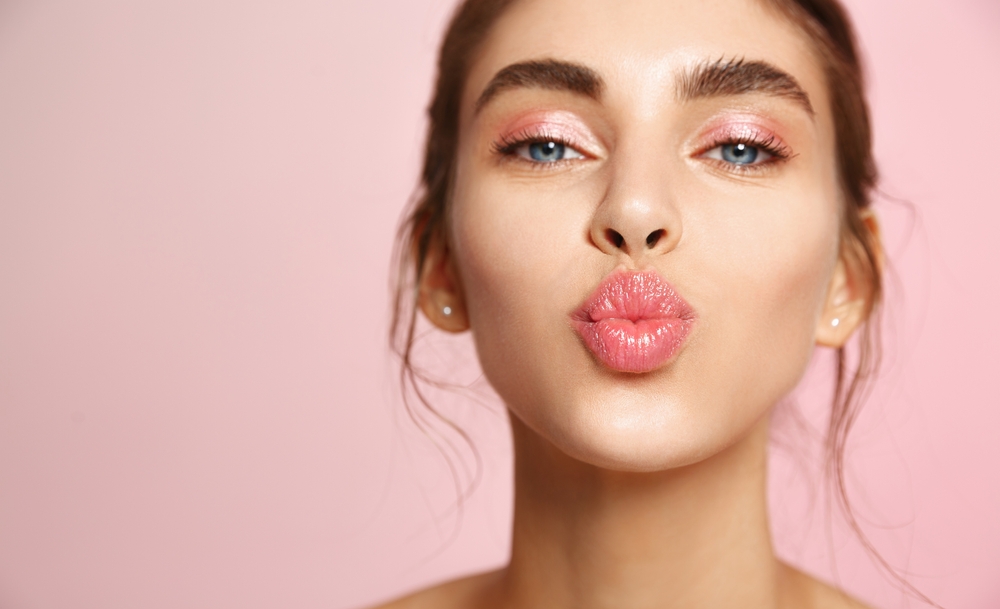
Having soft, supple lips is something that everyone desires. Unfortunately, factors such as cold weather, dehydration, and exposure to the sun can cause dry and chapped lips, making them feel rough and unattractive. Fortunately, there are many natural ways to get soft lips without resorting to expensive beauty products or treatments. In this article, we’ll explore some of the best ways to get soft lips naturally. Exfoliate Your LipsExfoliating your lips is the first step in achieving soft lips naturally. Dead skin cells can build up on the surface of your lips, causing them to feel rough and dry. By exfoliating your lips, you can remove these dead skin cells, revealing soft and smooth lips underneath. One of the easiest ways to exfoliate your lips is to use a homemade lip scrub. You can make your own lip scrub by mixing together a tablespoon of sugar with a teaspoon of honey or coconut oil. Apply the mixture to your lips and gently rub in circular motions for a few minutes. Rinse off with warm water and pat dry. Stay HydratedDrinking plenty of water is crucial for maintaining soft and supple lips. Dehydration can cause your lips to become dry and chapped, so it’s important to drink enough water throughout the day to keep your body hydrated. In addition to drinking water, you can also keep your lips hydrated by applying a moisturizing lip balm. Look for a lip balm that contains natural ingredients such as shea butter, beeswax, and vitamin E. Protect Your Lips From the SunExposure to the sun can cause your lips to become dry and chapped. To protect your lips from the sun’s harmful rays, apply a lip balm that contains SPF before heading outside. Use Natural OilsNatural oils such as coconut oil, almond oil, and jojoba oil can help to moisturize and nourish your lips, leaving them feeling soft and supple. Simply apply a small amount of oil to your lips before bed and leave it on overnight. Avoid Licking Your LipsLicking your lips can actually make them more dry and chapped. Saliva contains enzymes that can break down the skin on your lips, leading to dryness and irritation. Instead of licking your lips, reach for a moisturizing lip balm to keep them hydrated. Eat a Healthy DietEating a healthy diet can also help to keep your lips soft and supple. Foods that are rich in vitamins and antioxidants, such as fruits and vegetables, can help to nourish your lips from the inside out. Don’t SmokeSmoking can cause your lips to become dry and discolored, so it’s best to avoid smoking if you want to maintain soft and healthy lips. Be Gentle With Your LipsBeing gentle with your lips is key to maintaining their softness and preventing damage. Avoid biting or picking at your lips, and be gentle when applying lip balm or other products. Use a HumidifierIf you live in a dry climate or spend a lot of time in air-conditioned or heated spaces, a humidifier can help to add moisture to the air and prevent your…

Unveiling Confidence Tailoring Makeup Techniques For The Square Face Shape 1
Unveiling Confidence: Tailoring Makeup Techniques for the Square Face Shape

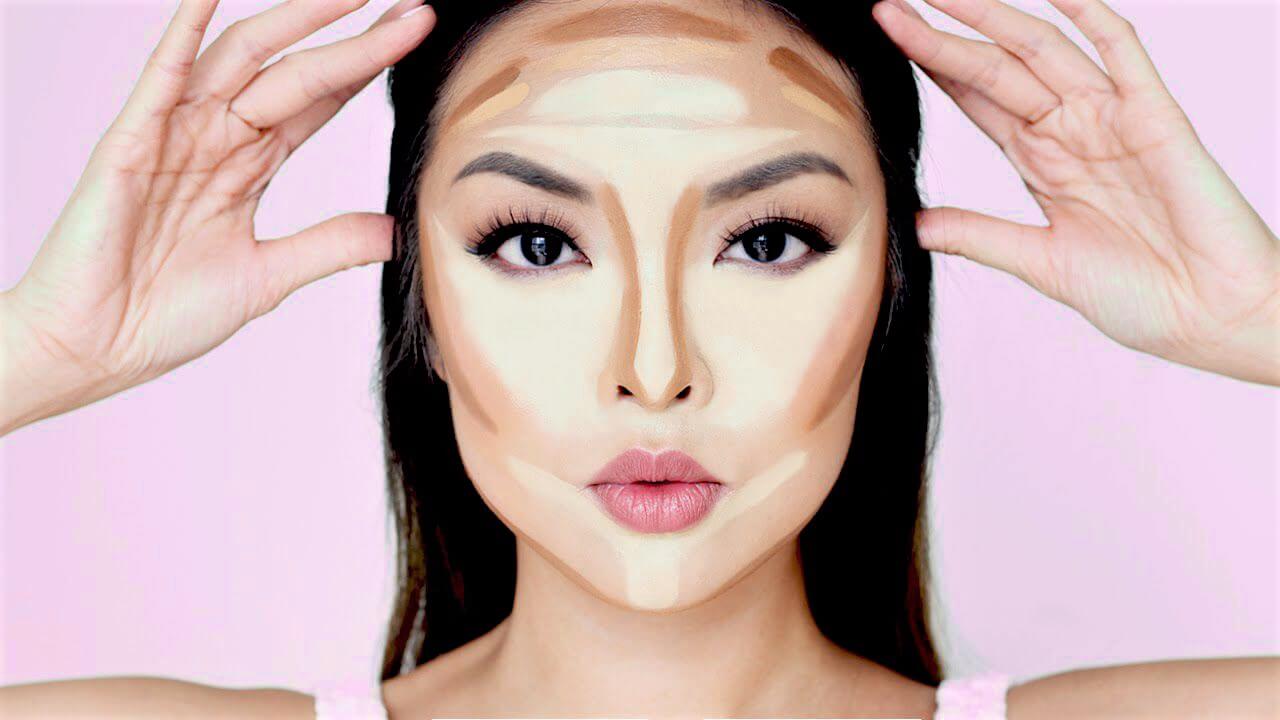
Makeup is a powerful tool that allows us to enhance our features and express our individuality. When it comes to a square face shape, characterized by a strong jawline, straight sides, and a broad forehead, the right makeup techniques can soften angles and highlight your unique beauty. Whether you’re aiming to create balance, play up your favorite features, or achieve a more contoured look, understanding how to tailor your makeup to your square face shape is essential. In this comprehensive guide, we’ll explore customized makeup tips and techniques that will empower you to embrace your square face shape and radiate confidence. Understanding the Square Face Shape Before diving into makeup application, it’s crucial to grasp the distinctive characteristics of the square face shape: With this understanding, you can strategically use makeup to create harmony and enhance your facial features. Creating a Smooth Canvas Prepping your skin is the foundation of any makeup look. Follow these steps to ensure your skin is ready for makeup application: Contouring and Highlighting Contouring and highlighting techniques can create balance and soften the angles of a square face shape. Here’s how: Eye Makeup Techniques Eyes are a focal point of any makeup look. Consider these tips to complement your square face shape: Lip Makeup Recommendations Lips are another feature you can play up to create balance on your square face: Blush Application Blush can add warmth and softness to your square face shape: Final Touches Complete your makeup look with these final touches: Mastering makeup techniques that complement your square face shape empowers you to highlight your unique beauty while creating harmony and balance. By employing methods that soften angles, enhance your features, and add dimension, you can confidently embrace your facial structure. Remember that makeup is an art form, and experimenting with different styles and techniques allows you to discover what makes you feel most empowered and beautiful. With the right makeup techniques, you can celebrate your square face shape and showcase your confidence to the world.

The Allure Of Sea Salthairspray
The Allure of Sea Salt Hairspray

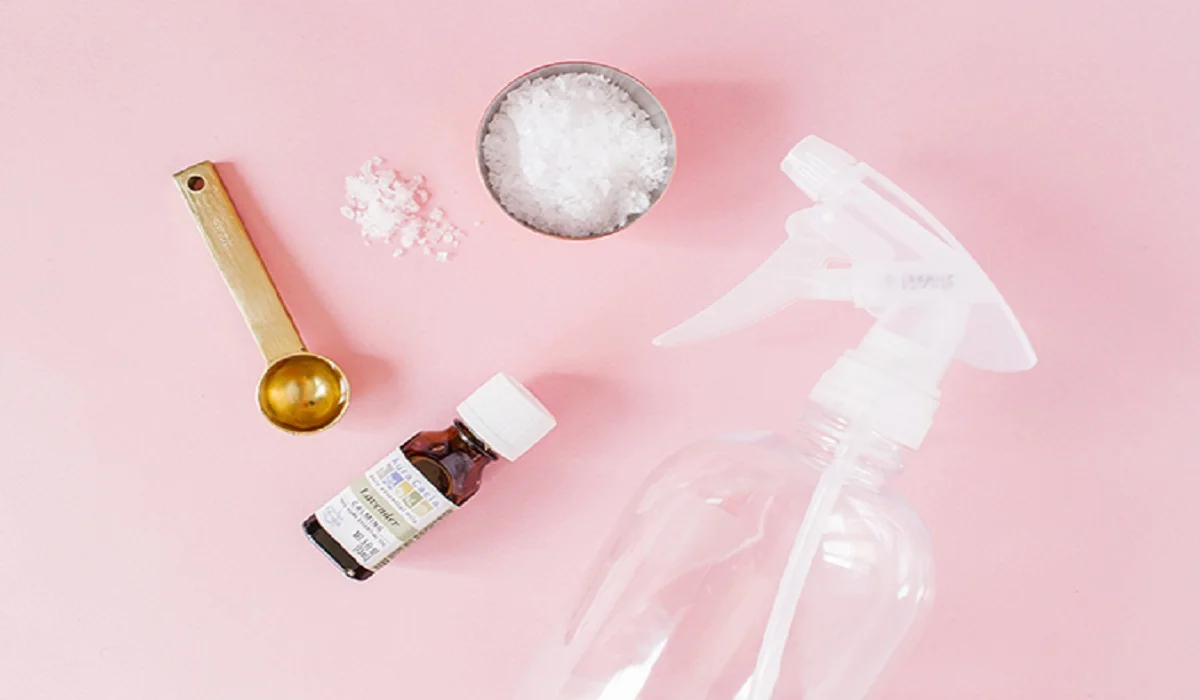
Within the expansive realm of haircare solutions, Sea Salt Hairspray stands out as a cherished selection, rivaling the essential dry shampoo in popularity. Its acclaim is well-deserved; this miraculous concoction bestows upon your hair an enviable vitality and volume, solidifying its position as a staple in daily hairstyling routines. However, the magic of Sea Salt Hairspray extends beyond mere volume enhancement. This guide aims to enlighten you on its comprehensive benefits, optimal usage techniques, and the simplicity of crafting your personalized version at home. Unraveling the Mystique of Sea Salt Hairspray Esteemed among hairstyling aficionados and homegrown experts, Sea Salt Hairspray is celebrated for its ability to texture hair, closely replicating the effect saltwater has on our tresses. Contrary to what its name might suggest, it forgoes a potent fragrance, presenting itself as an inclusive solution for anyone eager to amplify their hair’s natural charm. Regardless of whether your hair is curly and seeks definition, or straight and yearns for added volume, this spray stands as your quintessential ally in sculpting the ideal hairstyle. Maximizing the Efficacy of Sea Salt Hairspray To achieve unparalleled results, initiate the process on clean, slightly moist hair. Prior to application, ensure your hair is devoid of tangles and remnants of other styling products, then proceed to evenly distribute the spray from the mid-lengths to the tips. Employing a subtle scrunch or twist will further define waves or curls. Embrace the essence of a naturally windswept, beachy appearance by allowing your hair to air dry, steering clear of towel drying to avert frizz and potential damage. Sea Salt Spray’s Adaptability Across Hair Varieties Sea Salt Hairspray exhibits no prejudice, offering a spectrum of advantages to all hair types: Crafting Your Own Sea Salt Hairspray: Formulas Catered to Specific Hair Needs For Curly Hair: A concoction blending sea salt and heated water until dissolved, enriched with melted coconut oil and a hint of leave-in conditioner for a moisturizing effect. For Dry Hair: A mix of sea salt and warm water, enhanced with Epsom salt and macadamia oil to hydrate while texturizing. For Thin Hair: A solution of sea salt in warm water, amalgamated with avocado oil and a selection of essential oils for fragrance and additional moisture. Poised for a Textural Revolution? Armed with this knowledge and the tools for creation, you stand ready to leverage the transformative power of Sea Salt Hairspray. Whether you’re experimenting with crafting your blend or honing your application technique, the allure of voluminous, textured hair is now within your grasp. Which homemade recipe will you venture to explore first?: Sea Salt Hairspray transcends the ordinary, positioning itself as more than just a styling aid; it is a portal to achieving the coveted, effortless beachy waves. With its universal appeal across hair types and the feasibility of DIY variations, it becomes an indispensable component in the hair care repertoire of those in pursuit of a natural, textured look. Yield to the allure of sea salt and witness your hair flourish with unprecedented volume and dynamism. Can I use sea salt spray on colored…

How To Cover Up Tattoos Withmakeup
How to Cover up Tattoos With Makeup

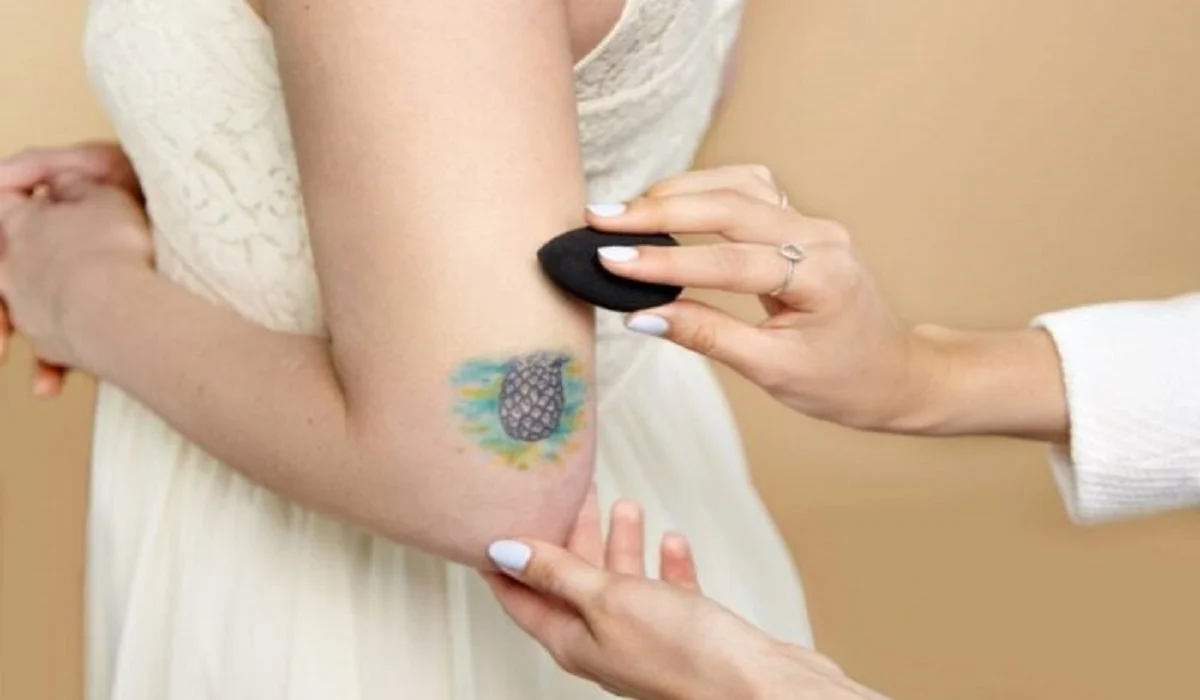
Whether for a job interview, special event, or personal reasons, there are times when you might wish to conceal a tattoo temporarily. With the right makeup and technique, covering up tattoos is entirely possible, allowing for flexibility in how and when your tattoos are visible. This comprehensive guide provides everything you need to know about hiding tattoos with makeup, ensuring a flawless finish. Covering up a tattoo with makeup is a practical solution for temporarily concealing ink without the commitment of permanent removal. The key is understanding which products to use and how to apply them for a cover-up that looks natural and stays put. Understanding Tattoo Coverage Makeup Types of Makeup for Tattoo Coverage Heavy-duty concealers and color correctors are essential for tattoo coverage. Look for products specifically designed for covering tattoos or those used for stage makeup, as they offer the high pigmentation and coverage needed. Selecting the Right Shade and Formula Choose a concealer that matches your skin tone closely. If your tattoo contains vivid colors, you may need a palette of color correctors to neutralize these hues before applying concealer. Preparing Your Skin for Makeup Application Cleansing and Priming Start with clean, dry skin. Use a primer to create a smooth canvas, which helps the makeup adhere better and last longer. Importance of Hydration Moisturize the area around the tattoo, but wait until the moisturizer is fully absorbed before applying makeup. Hydrated skin ensures an even application. Step-by-Step Guide to Covering a Tattoo With Makeup Tips for a Natural and Long-Lasting Finish Removing Makeup and Caring for Your Skin Gentle Removal Techniques Use a gentle makeup remover or micellar water to avoid scrubbing, which can irritate the skin. Post-removal Skin Care After removing the makeup, cleanse the skin thoroughly and apply a nourishing moisturizer to keep the skin healthy. How to Cover up Tattoos With Makeup Recap of Key Points: Concealing tattoos with makeup is a viable option for those seeking temporary coverage. By selecting the right products and following proper application techniques, you can achieve a cover-up that looks natural and withstands the rigors of your day. Covering tattoos with makeup is an art that combines the right products with skillful application to achieve a natural-looking concealment. Whether for a special occasion or everyday need, the ability to temporarily hide your tattoos gives you control over your appearance. With practice and patience, anyone can master this technique, embracing the flexibility and confidence that comes with flawless tattoo coverage.

Secrets To Achieving Timeless Elegance And Selfassurance For Women
Secrets to Achieving Timeless Elegance and Self-Assurance for Women

Embarking on the quest for beauty transcends mere aesthetics, intertwining with the essence of inner well-being and self-assurance. This exploration sheds light on pivotal beauty wisdom that spans the entirety of a woman’s grooming practices, from skincare and cosmetics to hair maintenance and lifestyle adjustments. It aims to equip women with the tools necessary to unveil their most empowered selves. Deciphering Your Skin’s LanguageAt the heart of any successful beauty regimen lies the ability to discern and cater to your skin’s specific requirements. Identifying whether your skin leans towards oily, dry, combination, or sensitive is crucial for fostering a radiant complexion. This section offers insights into determining your skin type and customizing your skincare approach to enhance its natural health and luminosity. The Pillars of SkincareUpholding a regular skincare routine is fundamental in preserving the skin’s vigor and luster. Here, we discuss indispensable daily practices every woman should embrace, highlighting the importance of UV protection and the revitalizing effects of nighttime routines. Internal Enhancers for Outer BeautyTrue beauty emanates from within. This part focuses on dietary strategies that support vibrant skin, including nutrient-rich superfoods and the importance of staying hydrated to maintain skin’s suppleness and delay aging signs. The Transformative Power of ExfoliationExfoliation is crucial for unmasking youthful, radiant skin beneath. Learn about selecting the proper exfoliation technique for your skin type and the advantages of incorporating regular exfoliation into your skincare regime for a flawless complexion. Hydration StrategiesMoisturizing is indispensable for every skin type. We delve into the optimal moisturizers tailored to specific skin types and the significance of ingredients such as hyaluronic acid in sustaining skin moisture and fullness. Strategies for Graceful AgingMany aspire to age with grace. This section reveals preventative skincare measures and natural solutions that mitigate aging signs, fostering a youthful, glowing visage. Makeup MasteryElevate your makeup game with insights on achieving a perfect foundation, mastering the art of highlighting and contouring, and strategies to ensure your makeup remains intact throughout the day. The Role of a Wholesome LifestyleBeauty is a holistic endeavor that benefits greatly from a balanced lifestyle. Discover the beauty-enhancing effects of regular exercise and stress reduction techniques that have a positive impact on your skin. Secrets to Radiant HairYour hair serves as a magnificent crown, deserving of utmost care. Explore the benefits of natural oils, protective measures against hair damage, and optimal washing practices for maintaining vibrant, healthy hair. The Power of SleepThe significance of quality sleep cannot be overstressed in its contribution to skin health. Uncover the relationship between sleep and skin wellness, along with strategies to ensure a peaceful night’s sleep. Cultivating Inner BeautyThe essence of beauty lies in confidence and self-care. Adopt meditation and mindfulness to nurture a sense of inner calm that radiates outwardly. Adjusting Beauty Routines with the SeasonsTailor your beauty practices to align with seasonal changes. We provide essential advice and product recommendations to keep your skin and hair in prime condition, regardless of the climate. Embracing Cutting-edge Beauty InnovationsKeep abreast of the latest advancements in skincare technology. Learn the effective use of beauty gadgets for enhanced…

Nourish Your Brain Illuminate Your Skin Mind Body Connection Outer Glow Mental Health
Nourish Your Brain, Illuminate Your Skin: Mind-Body Connection: Outer Glow: Mental Health

Welcome to a journey of holistic beauty, where the road to radiant skin starts with nurturing your mind. This guidebook will discuss just how psychological well being and exterior glow are related – and also how you can obtain glowing skin from within. The Mind-Body Connection The mind body connection is an important phenomenon which demonstrates how mental well being impacts physical health. Think about many ways mental health impacts skin health and look. The Relationship Between Mental Health and Skin Health: Explore just how emotional health correlates with skin problems, from stress induced breakouts to positive psychological states which impact epidermis radiance.Pressure and the Skin: Learn how stress activates inborn inflammation reactions which bring about a sequence of hormonal changes which can intensify skin disorders like pimples, eczema and psoriasis.Why Good Mental Health Makes Outer Glow Better: See how fostering a good mentality is able to result in healthier skin: texture, toughness, and tone. Stress & Skin Health Stress is a silent destroyer of skin health and will bring about havoc on our skin in numerous ways. Let us uncover the signs of stress and its effect on the skin’s look and vigor. Signs of Stress: Learn how to recognize the telltale signs of stress in your skin – from irritating zits to more delicate to dryness and exhaustion. Stress Management for a Healthy Skin For optimum skin health and vitality, learn stress management strategies which promote inner peace & resiliency. Methods for Relieving Stress: Try some stress relief techniques including meditation, progressive muscle relaxation and visualization.Mindfulness & Meditation: Adopt mindfulness and meditation to relax, eliminate anxiety, and also increase internal peace which radiates through your skin.Exercise & Physical Activity: Use the mood-boosting effects of exercise to combat emotional stress, release endorphins and stimulate circulation for a glowing complexion.Lifestyle Habits That Are Healthy: Set aside time for self care, eat right and get a lot of rest to build muscle mass for resistance to stress.Getting Professional Help: In case stress is unbearable and is impacting your everyday life and your skin health, look for help from psychological health professionals. What Good Mental Health Habits Will Make Your Skin Shine? Building positive mental health practices is the secret to glowing skin. Practicing gratitude: Have a gratitude attitude to quit feeling negative and concentrate on appreciation instead, creating happiness and happiness which radiates from your skin.Self-Care Rituals: indulge in daily self-care habits which nourish the mind, soul and body – whether it is a face treatment, a shower or a meditation.Resilience Building: Develop mental toughness by viewing issues as opportunities for development, discovery and learning, after which you can weather the storms of life with dignity and grace.To build Healthy Relationships: Put helpful and helpful role models close to you which allow you to really feel in touch and appreciated.Sleep Takes Priority: Make good sleep a number one priority for self care – let your body & brain recharge, repair and restore for luminous skin. Support for Mental Health & Skin Health via Nutrition Healthy foods for psychological well being and skin vitality…