How to Achieve the TikTok Vanilla Girl Makeup Aesthetic

In an era where TikTok dictates the pulse of beauty and fashion trends, the Vanilla Girl makeup aesthetic has emerged as a coveted look. It’s a celebration of simplicity and natural beauty, steering away from the bold and dramatic to embrace the understated elegance of minimal makeup. This aesthetic is all about enhancing your natural features in the most subtle way. Whether you’re a seasoned makeup enthusiast or new to the beauty scene, achieving the Vanilla Girl look can be simple with the right approach. This comprehensive guide will walk you through the essential steps to mastering this effortlessly chic look, turning you into a TikTok sensation in no time.
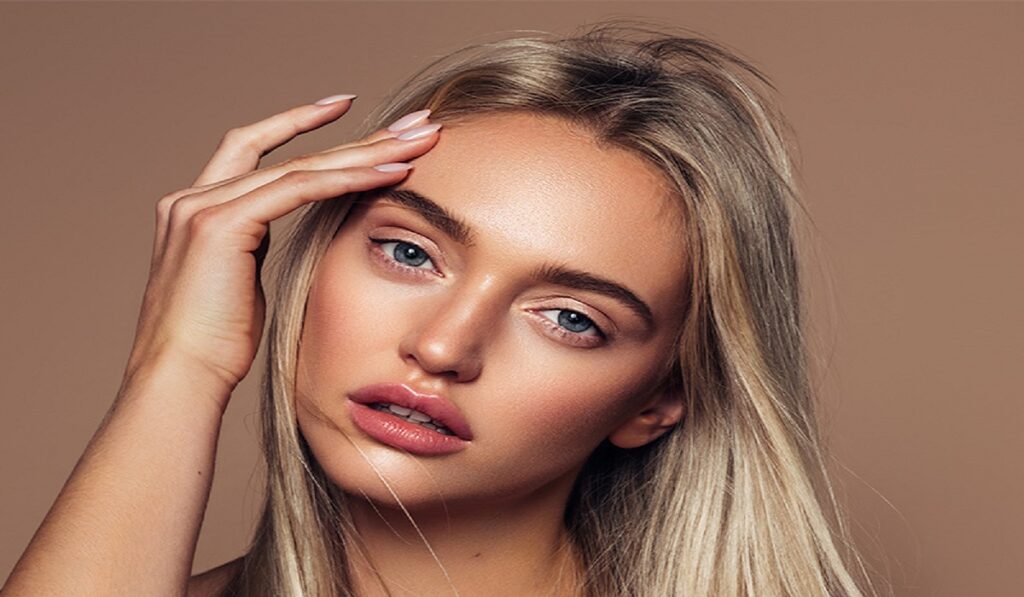
How To Achieve The Tiktok Vanilla Girl Makeup Aesthetic


Start with a Flawless Base

Achieving the Vanilla Girl makeup look begins with perfecting your canvas. Cleanse and moisturize your face to ensure a smooth and hydrated base. Opt for a tinted moisturizer or a lightweight foundation that seamlessly matches your skin tone for that barely-there effect. Application is key; use a damp beauty sponge or a foundation brush for an even and natural finish. A good base not only enhances the makeup but also cares for your skin underneath.


Embrace Neutral Shades

The essence of the Vanilla Girl aesthetic lies in the palette of neutral tones that complement your natural skin tone. Earthy hues of brown, beige, and nude in matte finishes are your best friends for eyeshadows and blushes. For the lips, a hint of gloss over a nude lipstick or a swipe of tinted lip balm adds the perfect touch of understated glamour. Selecting the right shades is crucial for maintaining the authenticity of the aesthetic while playing up your best features.


Illuminate Your Natural Features

Highlighting is a game-changer in the Vanilla Girl makeup routine. Use a highlighter that’s just a shade lighter than your skin tone and possesses a subtle shimmer, not glitter. The key areas to focus on are the tops of your cheekbones, the bridge of the nose, and the cupid’s bow. A gentle application will lend you a soft, ethereal glow that defines the Vanilla Girl look.


Subtly Defined Eyes

For eyes that speak volumes without saying a word, stick to neutral eyeshadows to define the crease and the outer corners. A swipe of brown or black mascara adds definition to your lashes, making your eyes appear wider and more awake. Those seeking a bit more depth can lightly line the waterline with a brown or black pencil. Remember, the goal is to enhance, not overshadow, your natural beauty.


Natural Brows Are Key

Brows frame the face and play a pivotal role in the Vanilla Girl aesthetic. The focus here is on full, well-groomed brows that look as natural as possible. Fill in sparse areas with a brow pencil or gel, mimicking the natural hair direction. The shade chosen should closely match your hair color to avoid a harsh contrast, keeping the overall look soft and coherent.


Seal with a Dewy Finish

Lock in your makeup while adding a burst of hydration with a dewy setting spray. A fine mist enriched with glycerin or other moisturizing ingredients will not only set your makeup for longer wear but also provide that sought-after healthy glow. This step is essential for achieving the luminous finish characteristic of the Vanilla Girl aesthetic.


Lips That Speak Volumes Without Saying Much

A nude or natural lip color ties the whole Vanilla Girl look together. Whether you prefer gloss for a plump effect or a matte finish for subtlety, ensure the shade complements your skin tone. This is not about making a statement but about enhancing your natural lip color for a polished look.


Optional: Enhance with Natural-looking False Lashes

For those desiring a bit more drama, natural-looking false lashes can add volume and length without compromising the aesthetic’s integrity. Choose lashes that blend seamlessly with your natural ones, applying them meticulously to avoid any visible demarcation.


Ensure Longevity with Translucent Powder

Set your makeup to last all day with a light dusting of translucent powder. Focus on areas prone to oiliness to maintain a fresh look. A little goes a long way; over-application can detract from the dewy finish you aim to achieve.

How To Achieve The Tiktok Vanilla Girl Makeupaesthetic


Refresh with a Face Mist

A hydrating face mist as a final step can add a refreshing dewy finish. It’s not just about setting the makeup; it’s about giving your skin a quick hydrating boost. Choose a mist that offers both setting properties and skin benefits.


Practice and Patience

Mastering the Vanilla Girl makeup aesthetic is a journey of discovery. It may take a few tries to find the perfect product combination that works for your unique features. Remember, practice makes perfect, and patience will lead you to achieve this effortlessly chic look.


The TikTok Vanilla Girl makeup aesthetic is more than just a trend; it’s a celebration of natural beauty and simplicity. By following these steps, you can embrace this look with confidence, knowing you’re highlighting the best version of yourself. Whether you’re stepping out for a casual day or looking to impress with subtle elegance, the Vanilla Girl makeup look is versatile and timeless. Embrace your natural beauty and let your inner Vanilla Girl shine.

  • How can I ensure my makeup lasts all day while maintaining the Vanilla Girl aesthetic? To ensure longevity, focus on preparing your skin with a good moisturizer, use a lightweight foundation or tinted moisturizer, set your makeup with a translucent powder in oily areas, and finish with a dewy setting spray.
  • What are the best eyeshadow colors for the Vanilla Girl makeup look? Stick to neutral and earthy tones like browns, beiges, and taupes. Matte finishes are preferred to maintain the look’s subtle elegance.
  • Can I still use eyeliner with the Vanilla Girl makeup aesthetic? Yes, but use it sparingly. A thin line on the waterline using a brown or black pencil can add definition without overpowering the natural look.
  • How do I choose the right lip color? Opt for nude or natural shades that closely match your natural lip color. The aim is to enhance rather than transform your lips.
  • Is it necessary to use false lashes? False lashes are optional. If you choose to use them, select natural-looking ones that enhance your lashes subtly.
  • What’s the key to achieving a natural-looking brow? Use a brow gel or pencil to fill in sparse areas with light, hair-like strokes. Choose a color that matches your hair for a coherent look.

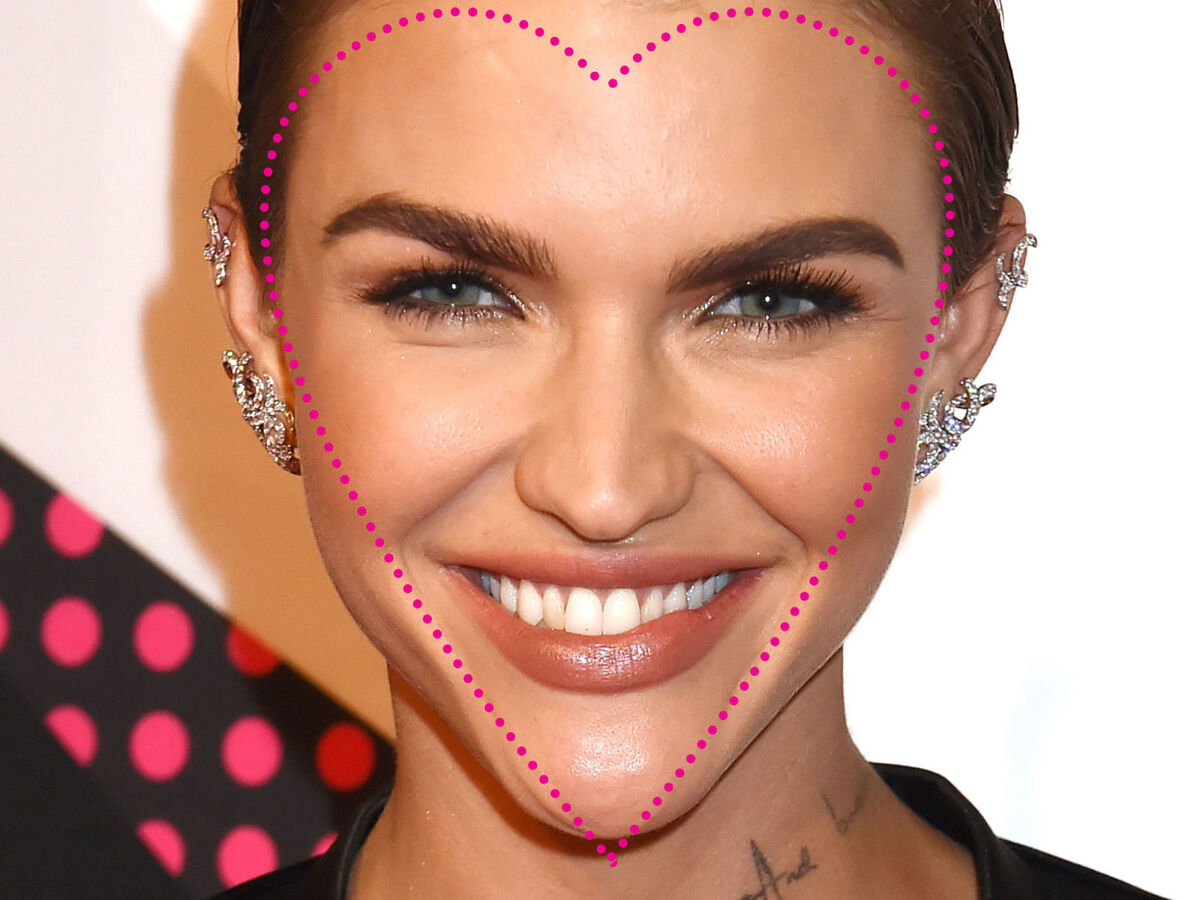

 Heart Shaped Face 2
Unveiling Elegance: Mastering Makeup Techniques for the Heart-Shaped Face

A heart-shaped face is characterized by a broad forehead, high cheekbones, and a delicate pointed chin. This unique facial structure possesses a natural grace that can be accentuated with the right makeup techniques. Whether you’re aiming to soften your angles, highlight your best features, or create a balanced look, understanding the art of makeup application is key. In this comprehensive guide, we’ll delve into tailored makeup tips and techniques that will enhance the beauty of your heart-shaped face, ensuring you radiate confidence and elegance. Understanding the Heart-Shaped Face Before embarking on makeup application, it’s essential to understand the nuances of the heart-shaped face. Key features include: With this understanding, you can strategically use makeup to balance your features and highlight your best attributes. Creating a Flawless Canvas A well-prepped canvas is essential for any makeup look. Follow these steps to create the perfect base for your makeup: Contouring and Highlighting Contouring and highlighting help balance the features of a heart-shaped face. Follow these techniques: Eye Makeup Techniques Eyes are a focal point of any makeup look. Consider these tips to complement your heart-shaped face: Lip Makeup Recommendations Lips are another feature you can play up to create harmony on your heart-shaped face: Blush Application Blush can add warmth and dimension to your heart-shaped face: Final Touches Complete your makeup look with these final touches: Conclusion The art of makeup is a wonderful tool to enhance your natural beauty, and understanding the nuances of your heart-shaped face allows you to achieve a harmonious and balanced look. By employing techniques that soften angles, accentuate features, and create an overall sense of elegance, you can confidently embrace your unique facial structure. Remember that makeup is an exploration of creativity, so feel free to experiment and adapt these tips to suit your personal style and preferences. With the right makeup techniques, you can elevate your heart-shaped face’s inherent beauty and showcase your radiant confidence to the world.

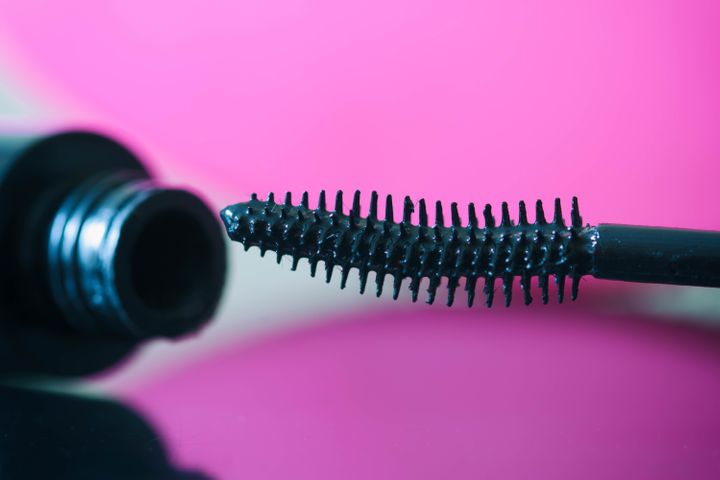
Understanding The Different Types Of Mascara Brushes A Comprehensive Guide 222
Understanding the Different Types of Mascara Brushes: A Comprehensive Guide

Mascara is an essential makeup item that can enhance the look of your eyelashes by making them appear longer, thicker, and more voluminous. But, have you ever wondered why there are so many types of mascara brushes available in the market? Each brush has its unique shape, size, and bristle type, which can affect the application, formula, and overall results of your mascara. In this comprehensive guide, we’ll dive into the different types of mascara brushes, their features, and how they can impact your lash game. Whether you’re a makeup newbie or a seasoned pro, this article will help you understand the differences between mascara brushes and choose the one that suits your needs. Classic Straight BrushThe classic straight brush is the most common type of mascara brush that you’ll find in almost every mascara tube. It features a cylindrical shape with evenly spaced bristles that are straight and uniform in length. This brush is ideal for separating and defining your lashes, as it can reach even the tiniest hairs in your lash line. However, the classic straight brush may not be the best option if you’re looking for volume or curl. Its shape is relatively basic, and it may not be able to lift your lashes or create a dramatic effect. Also, if you have short lashes, a straight brush may not be the best option as it won’t be able to reach the roots. Curved BrushThe curved brush has a crescent moon shape that follows the natural curve of your eye. It’s designed to lift and curl your lashes from the roots, creating a more dramatic effect. The curved brush is ideal for those with straight or downward-facing lashes, as it can help create an upward lift. The bristles on a curved brush may be slightly longer on the outer edge and shorter on the inner edge. This design allows for better control and precision when applying mascara to the inner and outer lashes. However, a curved brush may not be the best option for those with short lashes, as it may not be able to reach all the hairs. Tapered BrushThe tapered brush has a pointed shape that resembles a cone. It’s wider at the base and tapers to a point at the tip, which allows for better control and precision. A tapered brush is ideal for creating a more natural look, as it can reach the inner and outer corners of your eyes and coat each lash individually. The pointed tip of a tapered brush can also be used to apply mascara to your lower lashes without smudging. This brush is ideal for those with short or sparse lashes, as it can add length and volume without clumping or flaking. Ball Tip BrushThe ball tip brush has a rounded shape at the tip, which resembles a small ball. This brush is ideal for adding volume and curl to your lashes, as it can coat each hair evenly and separate them for a more dramatic effect. The ball tip brush is also perfect for applying mascara to your lower…

The Ultimate Guide To Understanding Eye Creams Types Benefits
The Ultimate Guide to Understanding Eye Creams: Types, Benefits, and How to Choose the Right One for Your Skin

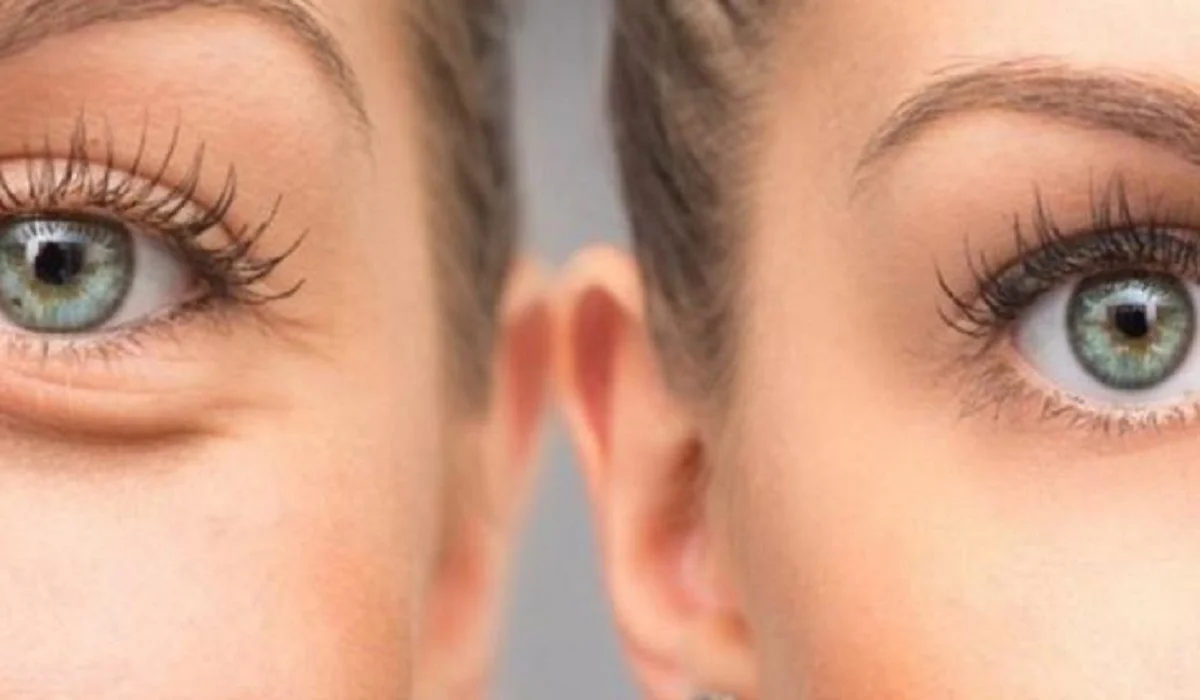
In the intricate world of skincare, the area around our eyes demands special attention. Thinner and more sensitive than the rest of our face, this area is often the first to show signs of fatigue, age, and stress. Enter the hero of our tale: eye creams. Far from being a mere moisturizer, a well-chosen eye cream can be transformative, addressing everything from dark circles to fine lines with precision. This guide dives deeper into the world of eye creams, detailing their types, myriad benefits, and how to navigate the sea of options to find your perfect match. Decoding Eye Creams: A Closer Look The fundamental purpose of eye cream is to cater to the unique needs of the skin around our eyes. This skin is not only thinner but also has fewer oil glands, making it more susceptible to dryness, and hence, aging. Eye creams are meticulously formulated to be gentle yet potent, aiming to hydrate, protect, and rejuvenate. Varieties of Eye Creams: Tailored to Your Needs For Hydration: Moisture-Rich Formulas Those plagued by dry, flaky skin around the eyes should seek out hydration heroes like hyaluronic acid and glycerin. These ingredients draw moisture into the skin, plumping it up and smoothing out fine lines that are all too visible in a dehydrated state. For Brightness: Combatting Dark Circles Dark circles can make us look tired even after a restful night. Brightening eye creams infused with vitamin C, niacinamide, or caffeine can help. They work by improving blood circulation, protecting against environmental damage, and inhibiting melanin production. For Aging: The Anti-Wrinkle Warriors With age, we may notice fine lines and a loss of elasticity around our eyes. Anti-aging eye creams boast ingredients like retinol and peptides, known for stimulating collagen production, speeding up cell turnover, and fighting free radicals. For Firmness: Lifting and Tightening To combat sagging skin and puffiness, look for firming eye creams. Key ingredients might include collagen-boosting compounds and caffeine, which not only firms but also reduces swelling by constricting blood vessels. The Broad Spectrum of Eye Cream Benefits Selecting Your Ideal Eye Cream Choosing an eye cream is no small feat, given the plethora of options available. Your selection should hinge on your primary skin concern, skin type, and age. Here’s how to narrow down your choices: Navigating Common Eye Cream Pitfalls While eye creams can work wonders, common missteps can hinder their effectiveness. Using too much product or applying it too close to the eyes can lead to irritation and puffiness. A pea-sized amount, gently patted onto the orbital bone with your ring finger, is sufficient and safe. Incorporating Eye Cream into Your Daily Ritual For eye creams to truly work their magic, consistency is key. Apply your chosen formula morning and night after cleansing but before your face moisturizer. This ensures that the active ingredients directly target the skin, unimpeded by barriers. Final Thoughts: The Window to Your Soul Deserves the Best Care The skin around our eyes tells our stories—of laughter, of sleepless nights, of years well-lived. Choosing the right eye cream is not just…

Airbrush Makeup: Unveiling The Flawless Finish And How To Achieve It
Airbrush Makeup: Unveiling the Flawless Finish and How to Achieve It

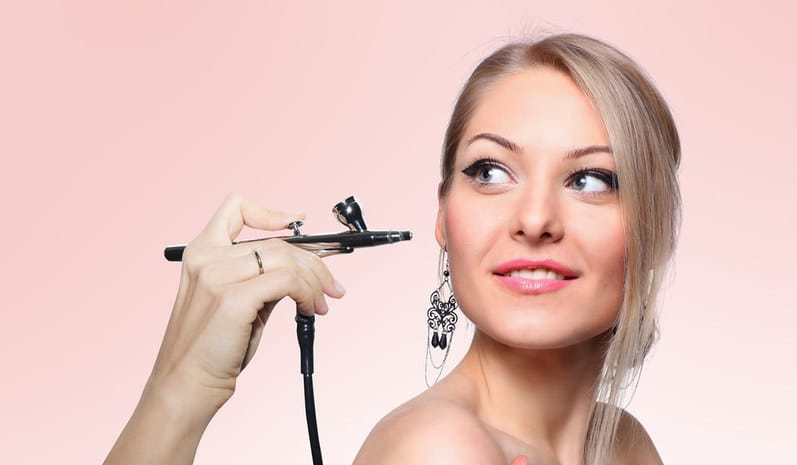
Airbrush makeup has gained popularity in the beauty industry for its ability to create a flawless, long-lasting, and natural-looking complexion. Utilizing an airbrush gun and specialized makeup formulas, this technique offers a seamless application that leaves the skin looking smooth and radiant. In this article, we will explore the world of airbrush makeup, discussing its benefits, application process, and tips for achieving the coveted airbrushed look. Whether you’re a makeup enthusiast or a professional artist, understanding airbrush makeup can elevate your makeup game to new heights. What is Airbrush Makeup?Airbrush makeup is a technique that involves applying makeup through an airbrush gun, which delivers a fine mist of foundation, blush, highlighter, and other makeup products onto the skin. The makeup formula is typically water-based, silicone-based, or a combination of both. This method allows for precise control and even distribution of makeup, resulting in a flawless, lightweight, and natural finish. Benefits of Airbrush Makeup:Airbrush makeup offers several advantages over traditional makeup application techniques: Flawless Finish: The microfine mist of makeup particles creates a seamless, second-skin effect, minimizing the appearance of imperfections and providing a smooth, airbrushed finish. Longevity: Airbrush makeup is known for its exceptional staying power. The formula adheres to the skin, resisting sweat, humidity, and transfer, making it ideal for special occasions, weddings, or events that require long-lasting makeup. Buildable Coverage: The airbrush technique allows for customizable coverage. By layering the makeup in thin, even passes, you can achieve sheer to full coverage, depending on your preferences and the desired look. Lightweight and Natural: Airbrush makeup feels lightweight on the skin, as the ultra-fine particles create a breathable layer. The result is a natural-looking finish that doesn’t look heavy or cakey. The Airbrush Makeup Process:To achieve the airbrushed look, follow these steps:Step 1: Prep the Skin: Start with a clean and moisturized face. Ensure your skin is well-hydrated to create a smooth canvas for makeup application. Step 2: Choose the Right Formula: Select an airbrush makeup formula that suits your skin type and desired finish. Water-based formulas are suitable for most skin types, while silicone-based formulas provide a longer-lasting and more waterproof finish. Step 3: Set Up the Airbrush System: Assemble your airbrush system according to the manufacturer’s instructions. This typically involves connecting the airbrush gun to an air compressor and adjusting the airflow and pressure settings. Step 4: Test the Spray: Before applying the makeup to your face, it’s crucial to test the spray on a tissue or your hand to ensure the desired coverage and adjust the air pressure if necessary. Step 5: Apply Foundation: Begin by applying the foundation. Hold the airbrush gun approximately six to eight inches away from your face and move it in small, circular motions. Start from the center of your face and work outward for an even application. Step 6: Build Coverage: For areas that require more coverage, such as blemishes or redness, apply additional layers of foundation using light, overlapping passes. Gradually build the coverage to achieve your desired look. Step 7: Add Blush, Contour, and Highlight: Once the foundation is applied,…

Hair Loss Prevention: Strategies For Strong And Healthy Hair
Hair Loss Prevention: Strategies for Strong and Healthy Hair

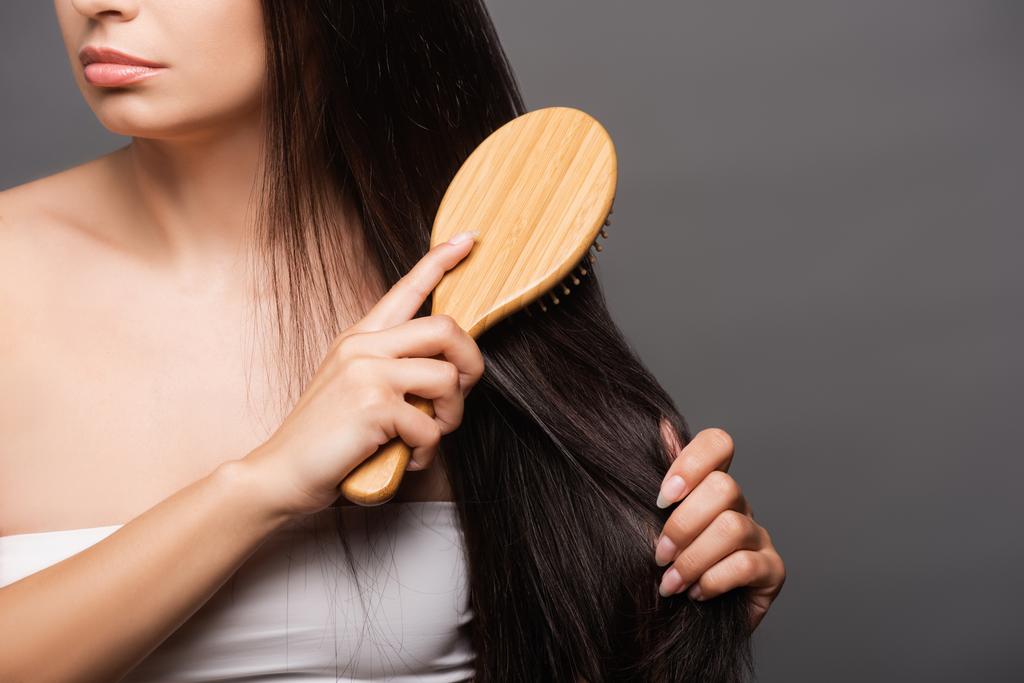
Hair loss can be a distressing experience for both men and women, impacting self-confidence and overall well-being. While some degree of hair shedding is normal, excessive hair loss may be a sign of an underlying issue that needs attention. Fortunately, there are several effective strategies to prevent hair loss and promote the growth of strong, healthy hair. In this comprehensive guide, we will explore the causes of hair loss, lifestyle factors that contribute to it, and actionable steps to prevent hair loss and maintain luscious locks. Understanding Hair Loss and Its Causes Hair loss, also known as alopecia, can occur for various reasons. Some common causes include: Genetics: Family history plays a significant role in determining the likelihood of hair loss. If you have a family history of hair thinning or baldness, you may be more susceptible to it. Hormonal Changes: Hormonal imbalances, such as those experienced during pregnancy, menopause, or conditions like polycystic ovary syndrome (PCOS), can lead to hair loss. Medical Conditions: Certain medical conditions, including thyroid disorders, scalp infections, and autoimmune diseases, can contribute to hair loss. Stress and Trauma: Physical and emotional stress can lead to temporary hair loss. A sudden shock, surgery, or extreme weight loss can trigger a condition known as telogen effluvium, causing hair to enter a resting phase and shed. Nutritional Deficiencies: A lack of essential nutrients, such as iron, zinc, biotin, and vitamin D, can negatively impact hair health and growth. Hairstyles and Hair Treatments: Excessive hairstyling, tight hairstyles, and the use of harsh hair treatments can cause hair breakage and damage. Preventive Measures for Hair Loss Maintain a Healthy DietA balanced and nutrient-rich diet is crucial for healthy hair growth. Incorporate the following foods into your diet to support strong and vibrant hair: a. Protein-Rich Foods: Hair is primarily composed of protein, so ensure your diet includes sources like lean meats, fish, eggs, and plant-based proteins like legumes and quinoa. b. Iron-Rich Foods: Iron is essential for healthy hair growth. Consume iron-rich foods such as spinach, lentils, and fortified cereals. c. Omega-3 Fatty Acids: Omega-3 fatty acids, found in fish, walnuts, and flaxseeds, promote hair health by reducing inflammation and supporting scalp health. d. Biotin-Rich Foods: Biotin, also known as vitamin B7, is vital for hair growth. Include foods like eggs, almonds, and sweet potatoes in your diet to get an adequate amount of biotin. e. Vitamin C: Vitamin C aids in collagen production, which supports hair structure. Citrus fruits, strawberries, and bell peppers are excellent sources of vitamin C. Take Hair Supplements (Under Medical Supervision)If you suspect a deficiency of specific nutrients that may be contributing to hair loss, consult a healthcare professional before taking supplements. Overconsumption of certain vitamins and minerals can have adverse effects, so it’s essential to get personalized recommendations based on your individual needs. Practice Good Hair CareProper hair care can help prevent damage and minimize hair loss: a. Gentle Shampooing: Use a mild shampoo and avoid washing hair too frequently, as excessive shampooing can strip the scalp of natural oils. b. Condition Regularly: Conditioning helps keep…

Scientists Bust Myth That Eggs Are Bad For Your Heart A Heart Healthy Revelation
Scientists Bust Myth That Eggs Are Bad for Your Heart: A Heart-Healthy Revelation

Eggs have been a nutritional controversy, particularly on the heart health issue. Debate has centered on cholesterol in eggs and its suspected link with heart problems. However new researches have smashed the perception, proving that eggs are great for the heart. We take you from misconception to clarity about eggs and cholesterol and heart health. The Egg Debate: A Historical Overview The tale of eggs being branded villains in the diet saga began in the 2nd half of the twentieth century. Health recommendations initially stated you need to limit your egg consumption since eggs are loaded with cholesterol and could worsen heart problems. Myth its Origin This particular belief arose from early studies which related high-cholesterol in the bloodstream with higher heart disease risk. Eggs have dietary cholesterol so that they were likely to raise this risk. Dietary Guidelines The Shift Nevertheless, as nutrition science advanced, the role of dietary cholesterol in heart health also developed. The role of saturated fats and the difference between’good’ (HDL) and ‘bad’ (LDL) cholesterol have become more relevant in assessing dietary risks. Cholesterol: Basics – Understanding the Basics Good vs Bad Cholesterol Cholesterol is not always bad. It plays crucial roles in the body by forming cell membranes and hormones. The key is balancing HDL (which protects against heart disease LDL and) (which increases it risk). What the Body Processes Dietary Cholesterol The response to dietary cholesterol is individualized. Cholesterol-rich foods have little impact on blood cholesterol. Latest Scientific Findings Meta-Analyses and Their Conclusions The latest meta-analyses discovered that for the majority of individuals, consuming eggs doesn’t increase cardiovascular disease risk considerably. These studies address general eating habits and lifestyle variables that influence cardiovascular health. Heart Health Effects of Eggs Eggs have finally acquired reputation as being loaded with protein, vitamins and minerals which could help in a balanced diet. Eggs in Balanced Diet Nutritious Benefits Beyond Cholesterol Besides cholesterol, eggs have vitamin D, B vitamins and proteins. They are often part of a heart healthy diet when eaten in moderation. How to Include Eggs In Your Diet? How to balance egg consumption within a nutritious diet is crucial. What this means is pairing eggs with veggies in addition to whole grains, not processed and high-fat meals. Experts Discuss Egg Consumption Official Dietary Recommendations Some current dietary guidelines emphasize whole foods and healthy diets instead of concentrating on individual nutrients like cholesterol. Views from Cardiology Nutrition Experts Numerous nutritionists and cardiologists today suggest having eggs in your heart healthy diet plan, citing their nutrition and also the absence of evidence that they raise heart disease risk in the overall public. Researchers Bust Myth That Eggs Are Bad for Your Heart The consensus among scientists is apparent : When eaten in moderate amounts, eggs don’t cause most heart problems. This section confirms the article title and also shows the change in scientific understanding. Role of Lifestyle Factors Exercise Diet Heart health is associated with numerous factors, including physical activity and diet quality. As a food, eggs can fit this particular lifestyle. Stress Management Heart Health Stress and…

Diy Haircut Guide: How To Cut Your Own Hair At Home
DIY Haircut Guide: How to Cut Your Own Hair at Home

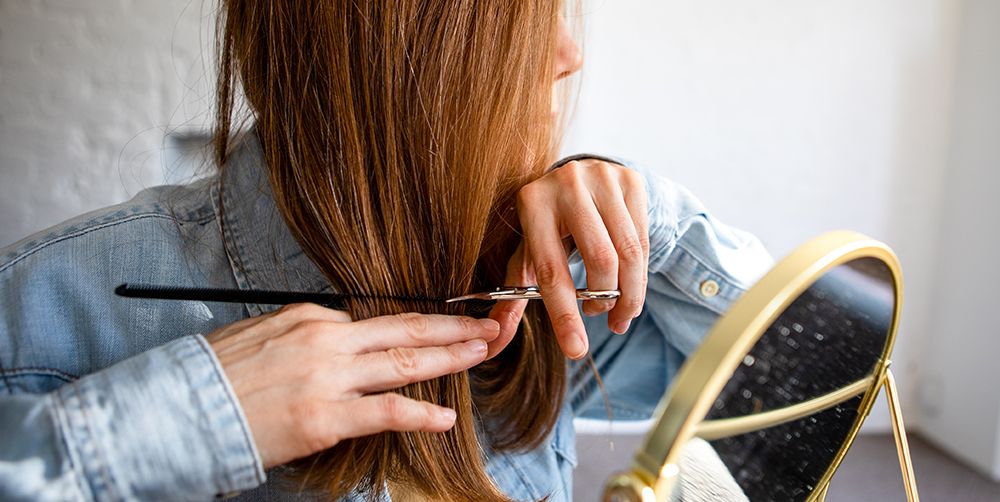
Whether you’re looking to save time and money or simply prefer the convenience of a DIY approach, cutting your own hair at home is a practical skill to have. While leaving major hair transformations to professional stylists is advisable, trimming your hair or giving yourself a simple haircut can be achieved with the right tools and techniques. In this comprehensive guide, we will walk you through step-by-step instructions on how to cut your own hair, along with helpful tips to ensure a successful and satisfying outcome. Gather the Right Tools:Before you start cutting your hair, gather the necessary tools to ensure a smooth process. You will need:Sharp haircutting scissors: Invest in a good pair of professional scissors designed for hair cutting. Using regular scissors can lead to uneven cuts and split ends. Hair clips or elastics: These will help you section your hair for easier cutting. Comb: A fine-toothed comb will assist in detangling and parting your hair. Mirror: A large, handheld mirror and a stationary mirror will allow you to see your hair from different angles during the cutting process. Spray bottle with water: Mist your hair with water to dampen it slightly before cutting. This makes the hair more manageable and prevents excessive flyaways. Decide on the Haircut:Decide on the type of haircut you want before you begin. For simple trims or maintaining your current hairstyle, follow your previous cut as a reference. If you plan to make significant changes to your hair, it’s best to seek guidance from a professional stylist to avoid potential mishaps. Start with Clean, Dry Hair:Cutting your hair when it’s clean and dry ensures more accurate results. Wash and dry your hair thoroughly before starting the haircutting process. Section Your Hair:Divide your hair into manageable sections using hair clips or elastics. Start by parting your hair down the center and then create additional sections horizontally. Pin each section securely to keep the hair you’re not cutting out of the way. Trim the Ends:For a simple trim, work with one section at a time. Take a small subsection of hair and comb it straight down. Hold the hair between your fingers and trim the ends evenly, following your desired length. Make small, cautious cuts to avoid removing too much hair at once. Create Layers (Optional):If you desire layers, you can achieve them at home with careful technique. To create face-framing layers, take a section of hair from the front and hold it at a 45-degree angle away from your face. Trim the hair diagonally, working from the shortest point to the longest point. Repeat this process on both sides of your face for balanced layers. Check for Evenness:After cutting each section, release the hair and check for evenness and balance. Use your mirror to view your hair from different angles, making any necessary adjustments to ensure a uniform cut. Tackle Bangs (Optional):If you have bangs, trim them carefully by combing them straight down over your forehead. Hold the scissors vertically and make small, gentle cuts to the desired length. Remember that it’s better to start with…