From Play-Doh to Sunscreen: The Dangers of Skincare for Kids Explained

Children are facing an increasing amount of pressure to maintain a skincare routine, and dermatologists are growing anxious about the potential risks and health ramifications. This article offers a comprehensive rundown of the trend, as well as an overview of the reasons experts are growing more concerned about its implications for children.

From Play Doh To Sunscreen The Dangers Of Skincare For Kids Explained


The Changing Face of the Beauty Industry

The beauty industry has transitioned to target a younger audience, and there is an influx of products being marketed to children. As a result, more and more children are becoming users of skincare products, and dermatologists are raising concerns about the dangers of early adoption. However, it’s vital that these dangers are fully understood, as a child’s skin is fundamentally different and more sensitive than an adult’s.

The Market for Children’s Skincare

In recent years, the market for skincare products for children has expanded dramatically, with numerous brands offering ranges dedicated to a younger audience. This boom is largely the result of a turn in focus towards skin health, as well as aggressive marketing aimed at both parents and youngsters.

Why Children’s Skin is Different

Children’s skin is different from adults’ skin: It’s more delicate, more susceptible to irritation, and takes longer to form its own protective barrier. That’s because children’s skin has a different composition, is thinner, and performs its barrier function differently than adult skin, causing it to be more susceptible to moisture loss and external damage from harsh skincare ingredients.

The Dangers of Early Skincare Adoption

Using skincare in kids could pose a number of risks to skin condition, allergy development, and overall health. A number of ingredients can disrupt skin development, create allergies, or cause long-term health issues, making caution and knowledge two powerful skincare choices for children.

Common Harmful Ingredients in Children’s Skincare

Beware of the alarming chemicals housed in many skincare products for kids, including synthetic fragrance, parabens, and sulfates, because they can be harsh on young skin.

Expert Dermatologists’ Warnings

What do dermatologists think of the increasing phenomenon of kids using skincare products?Read their take on protecting sensitive, youthful skin.

Alternatives to Traditional Skincare for Children

Skip the chemicals and opt for the naturals in children’s skincare. Ingredients to look for, contain, and avoid as well as the brand leading the way in gentle, non-toxic children skincare.

From Play Doh To Sunscreenthe Dangers Of Skincare For Kids Explained


How Parents and Guardians Can Help

Ultimately, parents and guardians are responsible for overseeing and guiding their children’s skincare routines. Here are some considerations that can help ensure that the products used on kids are safe, appropriate, and beneficial to their skin health.

Choosing Safe Skincare Products for Kids

Selecting safe kids skincare products is no easy task. This portion of the article gives an overview of how parents can approach product selections, including latching onto ingredient lists, looking for particular certifications, and seeking out dermatologist-recommended options.

The Psychological Impact of Early Beauty Standards

Introducing kids to skincare and beauty standards at a young age can lead to some significant psychological outcomes. This section examines what steering youth into beauty routines can do to their self-esteem and body image and how it’s establishing unhealthy standards in children.

The Environmental Impact of Skincare Products

In addition to the health concerns, one of the other noteworthy elements of the skincare industry are its environmental implications. This will take a closer look at how children’s skincare products are leaving their environmental footprints from the time they’re made to when they’re disposed.

Case Studies: Adverse Reactions in Children

Several real-life examples of children’s adverse reactions to skincare products really help to drill home the potential that these things have to go wrong. They show why it’s important for parents to be on their game and making informed decisions about what they put on their kids.

Regulatory Perspective on Skincare for Children

This looks at the laws and regulations that currently exist around children’s skincare products, as well as checks and balances in place to protect this young consumer.

Creating A Healthy Skincare Routine For Children

Learning to create a healthy skincare routine needn’t be overwhelming or unsafe; this portion offers direction on creating a safe and effective regime that’s as simple as it is healthy for the skin.

The Future Of Children’s Skincare

Finally, what’s to come in the future of skin care for children; exploring innovation, trends, and future trends in the children’s skincare industry, and how what’s known, and what’s demanded by consumers will shape the products offered.

FAQs On Children’s Skincare And Safety

This final portion looks at some of the most commonly asked questions and concerns parents have in regard to children’s skincare and answers them with a strong understanding of what’s currently know about children’s skin and what hier bodies need to grow and thrive.


The children’s skincare trend offers both potential benefits and pitfalls. It is important to keep young skin healthy, but the judgement to proceed with a child’s skincare program needs to be exercised with care and attention to the health of the child. With clear information and expert advice, is it possible that effective skincare — not harmful — could be a healthy habit to establish for the children in our lives?

The Ultimate Guide To Makeup Brushes: What They Are And What They're Used For
The Ultimate Guide to Makeup Brushes: What They Are and What They’re Used For

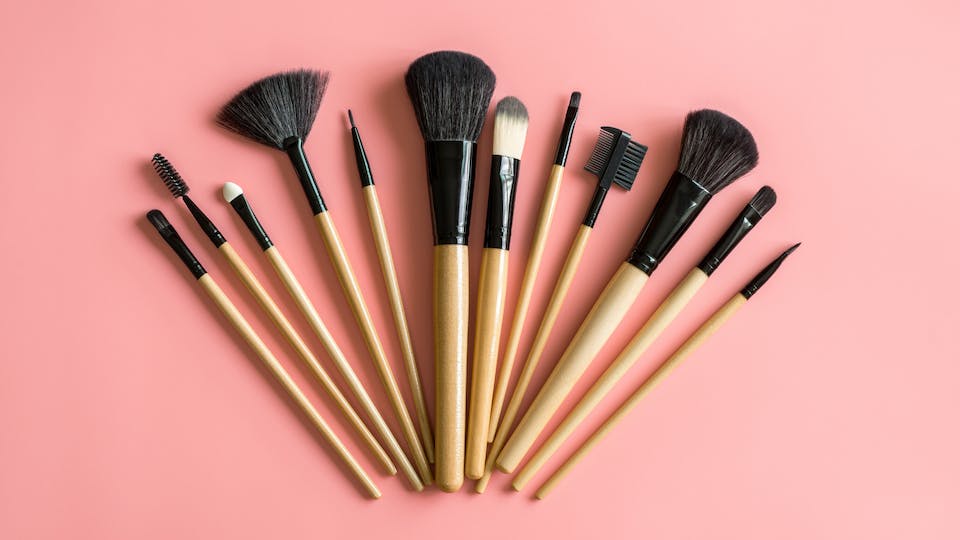
Makeup brushes are an essential tool for any makeup lover. With so many different types of brushes available, it can be overwhelming to know which ones to use for what purpose. In this beginner’s guide, we’ll break down the most common makeup brushes and what they’re used for. Foundation BrushA foundation brush is typically flat and has densely packed bristles. It’s used to apply liquid or cream foundation evenly to the face. To use, apply a small amount of foundation to the back of your hand or directly onto the brush. Starting at the center of your face, blend the foundation outward using circular motions. Beauty BlenderA beauty blender is a makeup sponge that’s used to apply foundation, concealer, or other liquid products. To use, dampen the sponge and squeeze out any excess water. Apply a small amount of product to the sponge and bounce it onto your skin, blending as you go. Powder BrushA powder brush is typically large and fluffy, with loosely packed bristles. It’s used to apply powder products, such as setting powder or bronzer, to the face. To use, dip the brush into the powder and tap off any excess. Apply the powder to your face using sweeping motions. Blush BrushA blush brush is typically smaller and more tapered than a powder brush. It’s used to apply blush to the cheeks. To use, dip the brush into the blush and tap off any excess. Smile to locate the apples of your cheeks, and apply the blush using circular motions. Contour BrushA contour brush is typically angled and has densely packed bristles. It’s used to apply contour products, such as powder or cream contour, to the hollows of the cheeks, temples, and jawline. To use, dip the brush into the product and tap off any excess. Apply the contour using sweeping motions, blending as you go. Highlighter BrushA highlighter brush is typically smaller and more tapered than a powder brush. It’s used to apply highlighter to the high points of the face, such as the tops of the cheekbones, brow bone, and cupid’s bow. To use, dip the brush into the highlighter and tap off any excess. Apply the highlighter using sweeping motions. Eyeshadow BrushAn eyeshadow brush is typically small and flat or slightly fluffy. It’s used to apply eyeshadow to the eyelids. To use, dip the brush into the eyeshadow and tap off any excess. Apply the eyeshadow to your lid using sweeping or patting motions. Crease BrushA crease brush is typically small and tapered. It’s used to apply eyeshadow to the crease of the eye, to create depth and dimension. To use, dip the brush into the eyeshadow and tap off any excess. Apply the eyeshadow to the crease using back-and-forth motions, blending as you go. Blending BrushA blending brush is typically fluffy and dome-shaped. It’s used to blend out harsh lines and create a seamless transition between eyeshadow shades. To use, dip the brush into the eyeshadow and tap off any excess. Use circular or windshield-wiper motions to blend out any harsh lines. Angled BrushAn angled…

Tips To Make The Wedding Of Your Dream Makeup
Tips to Make the Wedding of Your Dream Makeup

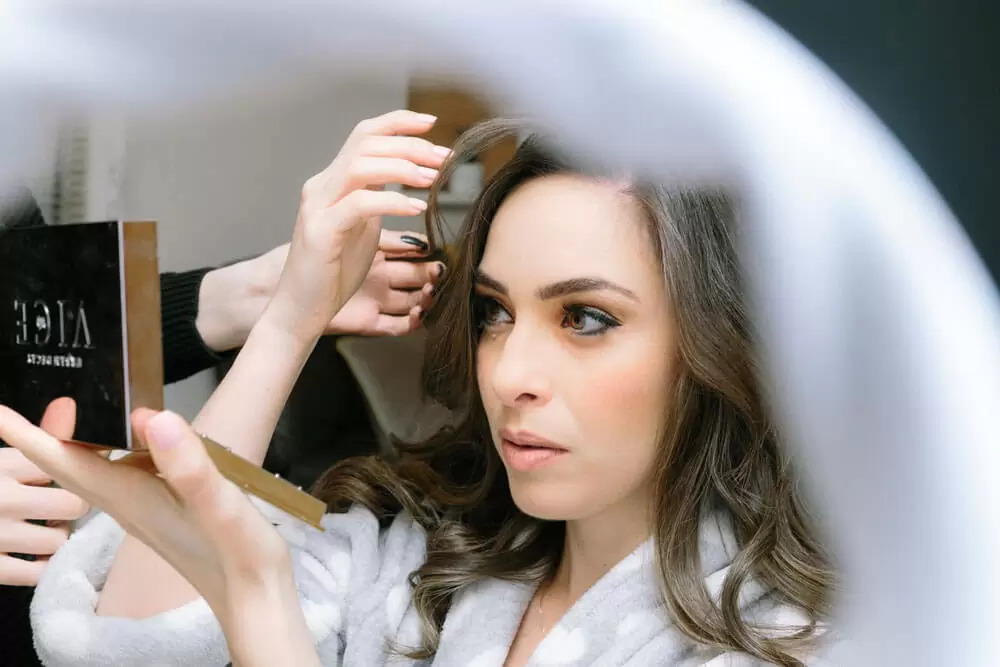
At every wedding celebration of love and union is an emotional day filled with meticulous planning of every last detail and the spotlight shining bright on the bride-to-be. Of the numerous decisions to be made for this grand occasion, wedding makeup should take top priority; hiring professional artists may help with this aspect or undertaking it on your own may prove useful; either way achieving wedding makeup of your dreams takes careful planning, preparation and personal flair for maximum effect – here is our complete guide of tips and tricks designed to ensure beauty and confidence on this milestone day! 1. Starting With SkincareAchie a flawless makeup look begins with skincare. In the months prior to your wedding day, establish an effective regimen designed to address acne, dry skin and uneven tone with regular cleansing, exfoliation and moisturization for radiant and flawless complexions. Tip: Plan in advance to take care of any specific skincare requirements by scheduling professional facials or dermatological treatments with qualified providers. 2. Trial Runs Are NecessaryIt is crucial that both brides and grooms make time for trial runs ahead of the big day to try different looks and find one that complements both your features and vision for how your day should unfold. By conducting multiple runs before, this ensures your final selection satisfies both of these objectives. Tip: Wear something similar to your wedding dress color during your trial makeup appointment in order to judge how the makeup will match up against it. 3. Consider Your Wedding Style Makeup should complement the overall aesthetic and atmosphere of your event, from romantic garden ceremonies and city receptions, to beachside affairs and celebrations. Adapt it according to what works for each of these occasions! Tip: Select makeup colors that complement the hues in your wedding color palette for a polished and cohesive appearance. 4. Enhance Your Natural Features: Wedding makeup should emphasize, rather than hide your natural beauty. Focus on emphasizing the highlights in terms of eyes, lips or cheekbones in particular and subtly contour to add dimension while not looking over-dramatic. Tip: Choose natural-looking false eyelashes to increase definition, while still remaining comfortable for every day use. 5. Long-Lasting Formulas Are KeyWedding days can be filled with joyous memories. Makeup that stays put all day or night such as foundation, mascara and eyeliner will ensure a fresh appearance for photos taken all night long! Tip: Use translucent powder to set your makeup and reduce shine and keep everything in its proper place. 6. Coordinate With Your HairstyleYour hair and makeup should match effortlessly and harmonize. Discussing plans with a makeup artist to make sure the overall effect is harmonious is key for creating an aesthetically pleasing overall look. Tip: For an updo look, emphasize your eyes and lips for maximum impact. With loose flowing locks, go for more neutral yet romantic makeup to complete the look. 7. Photography-Friendly MakeupWedding photographs capture special memories for eternity, so your makeup should be camera-ready. Avoid products with SPF as these may cause flashback when photographed; choose matte finish foundation to minimize…

7 Essential Steps To Perfectly Filed Nails Elevate Your Manicuregame
7 Essential Steps to Perfectly Filed Nails: Elevate Your Manicure Game

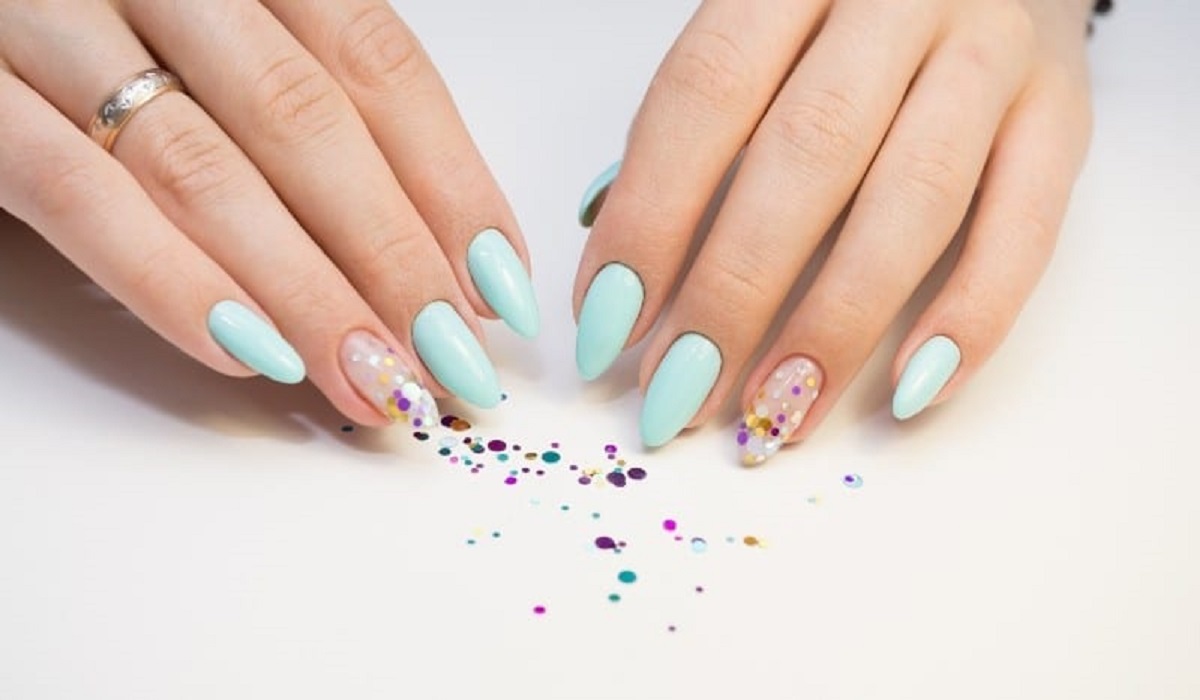
Learn how to hone this skill for beautiful and healthy nails. Introduction Properly maintained nails are more than just a style statement; they’re a condition of one’s personal hygiene and one of the first things people notice about you in social and professional interactions. Whether you have an essential job interview, a critical date, or just want to look and feel your best, the state of your nails is bound to get noticed. This step-by-step guide is intended to help you master all of the aspects of nail filing, to guarantee that not only do they look fantastic but also remain healthy . The Critical Aspect of Nail Maintenance Why You Only Have One Chance to Make a First Impression? You might not be able to conduct business with someone or communicate your love for them immediately. But your nails don’t have that luxury – they touch everything you do: giving and receiving, opening bags of chips, flipping through books, and who knows what else. You may be unable to immediately establish a rapport with others, but you can always rely on your nails – whether they exude warmth and care or suggest “I got this far, what’re you going to do about it?.” However, it is not only a matter of passive stress relief and feeling good “in your skin” – it is a question of survival . The Meeting Point Between Beauty and Health Looking for the Best Fitting Nail Tools How to Figure Out the Grit Code Not all nail files are created equal; they come in different grit sizes and strengths to fit differing nails and filing requirements. While a grit size of around 240 is safe for everyone, as it is smooth enough to protect the nail bed and superior enough to file the nail successfully. Tools to Nail Types Once again, if one has weak or defective nails, a diamond file such as the Diamancel range may make all the difference. Do not be frightened by the phrase “diamond,” as most metal nail files are sharper and harmfully the nail surface more than ever. Glass is another good choice, but it is always more expensive due to its good quality. Glass files can be utilized on any kind of nail because they are not as PMY as other substances, and a gloss finish means that there are less chances that a nail will cut. The Nail Filing Art Although selecting the proper sort of nail file is essential, it is idle without proper filing procedure. People must never “saw” through their nails to remove them, as they will harm the nail edge and make them soft and simple to rip. Put a pointy edge back on the nail since the original is with no edges off to construct upon. Proper File Start by placing your hammer file at an angle on one file side. Pass the device of the file just over the nail. Achieve the desired form, focusing always on the edges in a gentle bevel with small balls beneath the files’ middle. Nail Forms:…

Choosing The Perfect Brush For Bronzer Application: A Comprehensive Guide
Choosing the Perfect Brush for Bronzer Application: A Comprehensive Guide

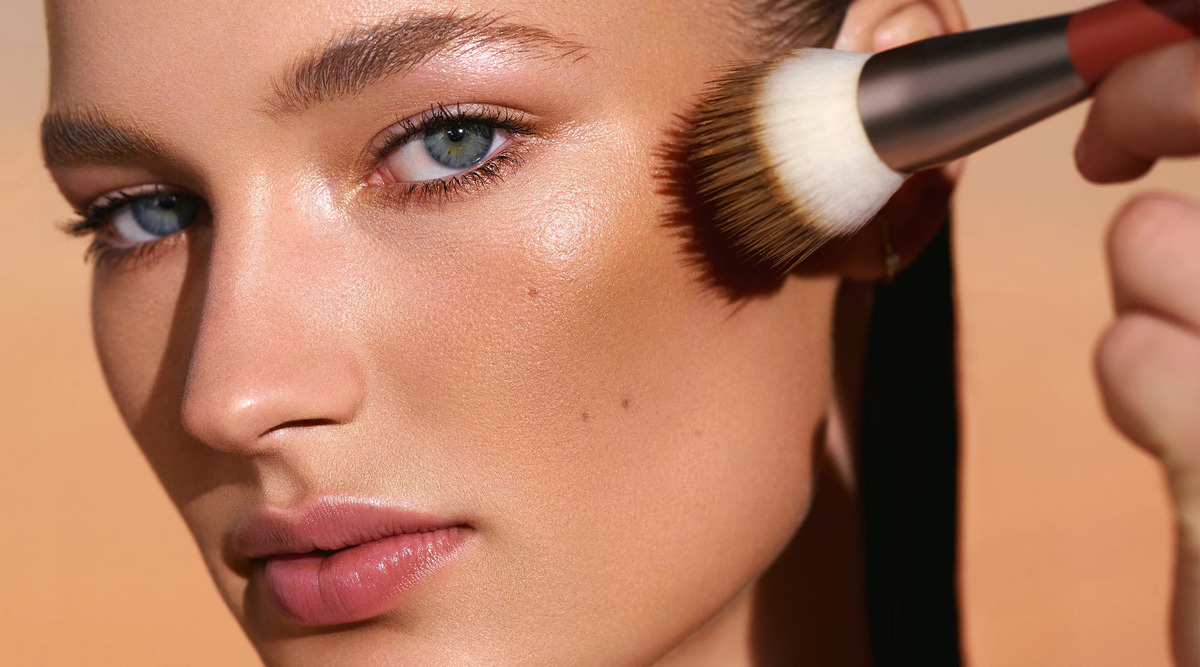
Bronzer is a versatile and beloved makeup product that adds warmth, dimension, and a healthy sun-kissed glow to your complexion. However, achieving a flawless bronzed look requires more than just the right product; it also depends on the tools you use. When it comes to applying bronzer, selecting the appropriate brush is essential. The brush you choose can influence the application, blending, and overall outcome of your bronzer. In this comprehensive guide, we will explore the different types of brushes available for bronzer application, their unique characteristics, and how to pick the perfect one for your makeup routine. The Importance of the Right Brush Before delving into the various types of brushes, it’s important to understand why choosing the right brush for bronzer application matters: Types of Brushes for Bronzer Application Choosing the Right Brush for Your Bronzer Selecting the right brush for your bronzer is a combination of personal preference and the specific look you want to achieve. Here are some factors to consider when choosing the perfect brush: Using Your Chosen Brush for Bronzer Application Once you’ve selected the perfect brush for your bronzer, follow these steps for effective bronzer application: Choosing the right brush for bronzer application is a vital step in achieving a flawless makeup look. The type of brush you select influences the precision, blending, and overall finish of your bronzer. Whether you’re aiming for a subtle sun-kissed glow or a sculpted, contoured appearance, there’s a perfect brush for every technique and preference. By considering your desired outcome, skin type, and application technique, you can confidently select the ideal brush to enhance your makeup routine and bring out your natural radiance.

Bronzed Beauty Mastering The Art Of Usingbronzer As Eyeshadow
Bronzed Beauty: Mastering the Art of Using Bronzer as Eyeshadow

Bronzer, a staple in the quest for a radiant, sun-kissed complexion, holds untapped potential beyond its traditional use. This guide unveils the versatility of bronzer as eyeshadow, offering a simple yet innovative approach to creating a warm, natural eye makeup look that’s perfect for any occasion. Choosing the Right Bronzer for Your Eyeshadow Look Identifying Your Skin Tone Selecting a bronzer that complements your skin tone is crucial. For fair skin, opt for honey-toned bronzers; medium skin tones should look for golden or rose-gold shades, while deeper skin tones can embrace rich, terracotta bronzers. Matte vs. Shimmer: Which to Choose Decide based on the desired finish. Matte bronzers are ideal for a subtle, natural look, while shimmer bronzers add a radiant glow, perfect for evening makeup. Preparation and Application Techniques Prepping Your Eyes Start with a primer to ensure a smooth application and long-lasting wear. This step prevents creasing and enhances the color of your bronzer. Application Tools and Techniques For eyeshadow application, a fluffy blending brush is essential. Begin with a light hand, gradually building up color for more intensity. Creating a Warm and Natural Eye Makeup Look Step-by-Step Guide Blending for a Seamless Finish Seamless blending is key to a natural look. Use a clean blending brush to soften any harsh lines, blending upward and outward. Advanced Tips and Tricks Using Bronzer in the Crease For a monochromatic look, blending bronzer into the crease creates a cohesive and naturally contoured eye appearance. Highlighting and Contouring the Eyes Highlight the brow bone and inner corner of the eye with a lighter, shimmering shade to complement the bronzed lids and add dimension. Day to Night: Transforming Your Look Enhancing the Look for Evening Intensify the bronzer on the outer corners and lower lash line, and add a darker shade in the crease for a smoky effect. Adding Depth with Multiple Shades Layering different shades of bronzer can add complexity to your look. Use lighter shades on the lid and darker shades in the crease and outer V. Complementing Your Bronzer Eyeshadow with Other Makeup Lip and Cheek Recommendations Opt for nude or peach-toned lip colors and a blush that mirrors the warmth of your eyeshadow for a cohesive, sun-kissed look. Balancing Your Overall Makeup Look Keep the rest of your makeup understated to let your eyes be the focal point. A light foundation, bronzer, and a touch of mascara can complete the look. Common Mistakes and How to Avoid Them Over-Application Start with a small amount of product and build gradually to avoid a muddy look. Choosing the Wrong Shade Ensure the bronzer shade complements your skin tone and undertones to avoid looking washed out or overly orange. Using bronzer as eyeshadow not only simplifies your makeup routine but also opens up a world of creativity and versatility. Embracing this technique can lead to a range of warm, natural looks that enhance your natural beauty while making the most of your makeup products. The key to mastering this art lies in choosing the right shades, blending meticulously, and balancing your overall makeup…

Keratin 1
What is keratin care?

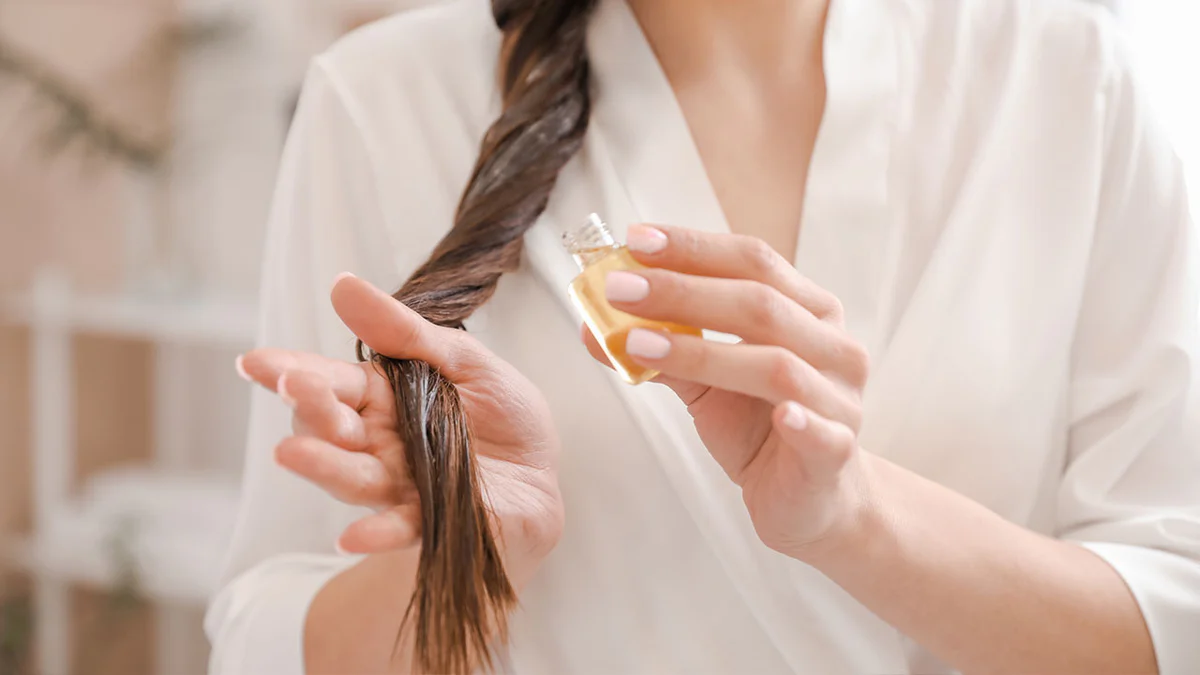
Keratin is an essential protein component that serves as the building block for our hair, nails and the outermost layer of our skin. When it comes to maintaining healthy locks and maintaining their beauty, understanding keratin’s benefits for haircare are paramount in order to maintaining them at peak condition. Let’s dive deep into its world and uncover its contribution towards overall hair wellbeing! Keratin: An Overview of Its Function and Composition: Keratin is a fibrous structural protein found at the core of hair strands and composed mostly of amino acids derived from cysteine that provides strength, structure, and resilience for healthy hair follicles. Keratin’s unique composition also makes it a key element of various hair care treatments and products available today. Keratin for Hair Benefits: Here Are Three Advantages Strength and Resilience Keratin plays an integral part in strengthening hair shafts, imparting strength, and increasing overall resilience. By binding with existing structures within hair strands, it helps prevent breakage while strengthening each individual strand for external stressors such as weather changes. Keratin therapy may even restore vitality to damaged or weakened tresses by helping restore vitality while decreasing the chance of split ends. Smoothness and ManageabilityKeratin stands out among its many advantages as an exceptional solution for smoothness and manageability, working to eliminate frizz for an easier styling experience. Keratin can particularly beneficial to individuals suffering from unruly or frizzy locks by creating an even surface and making styling simpler each day. Keratin should become part of everyone’s daily styling regimen for optimal results! Keratin contributes to hair’s elasticity, an integral factor for its flexibility. Elastic locks stretch without snapping back when stretched without breakage allowing various styling options without jeopardizing its health; this advantage can especially come in handy for people who engage in heat styling or other forms of hairstyling regularly. Repair for Damage Repair Keratin’s reparative properties make it an invaluable ally in combatting these damages to hair from heat styling tools, chemical treatments and environmental elements. By filling gaps in hair cuticle gaps it repairs damage by filling any missing portions and restore the overall integrity of hair shaft; ultimately resulting in hair that looks and feels healthier! Reduce Porosity:High porosity can result in excessive moisture absorption or loss, leaving hair more susceptible to dryness or breakage. Keratin helps combat this issue by filling gaps and creating a smoother surface – not only will this benefit overall texture of hair but it will also create more balanced moisture levels throughout. Professional Keratin Treatments Are Renowned For Their Long-Lasting Smoothing Effects:Keratin treatments are well known for providing lasting smoothing effects. By creating a protective shield around each hair strand, these treatments create long-term smoothness – making keratin treatments an appealing semi-permanent solution to manage frizzy or unruly locks. Overall, keratin’s benefits to hair extend well beyond its surface layers; from structural issues and overall hair health benefits to smoother, stronger and more manageable locks due to professional treatments or products infused with this transformative protein. Keratin stands as an indispensable ingredient when it comes to haircare products and professional…

Metallic Freckles 1
Dazzling Trend: Metallic Freckles

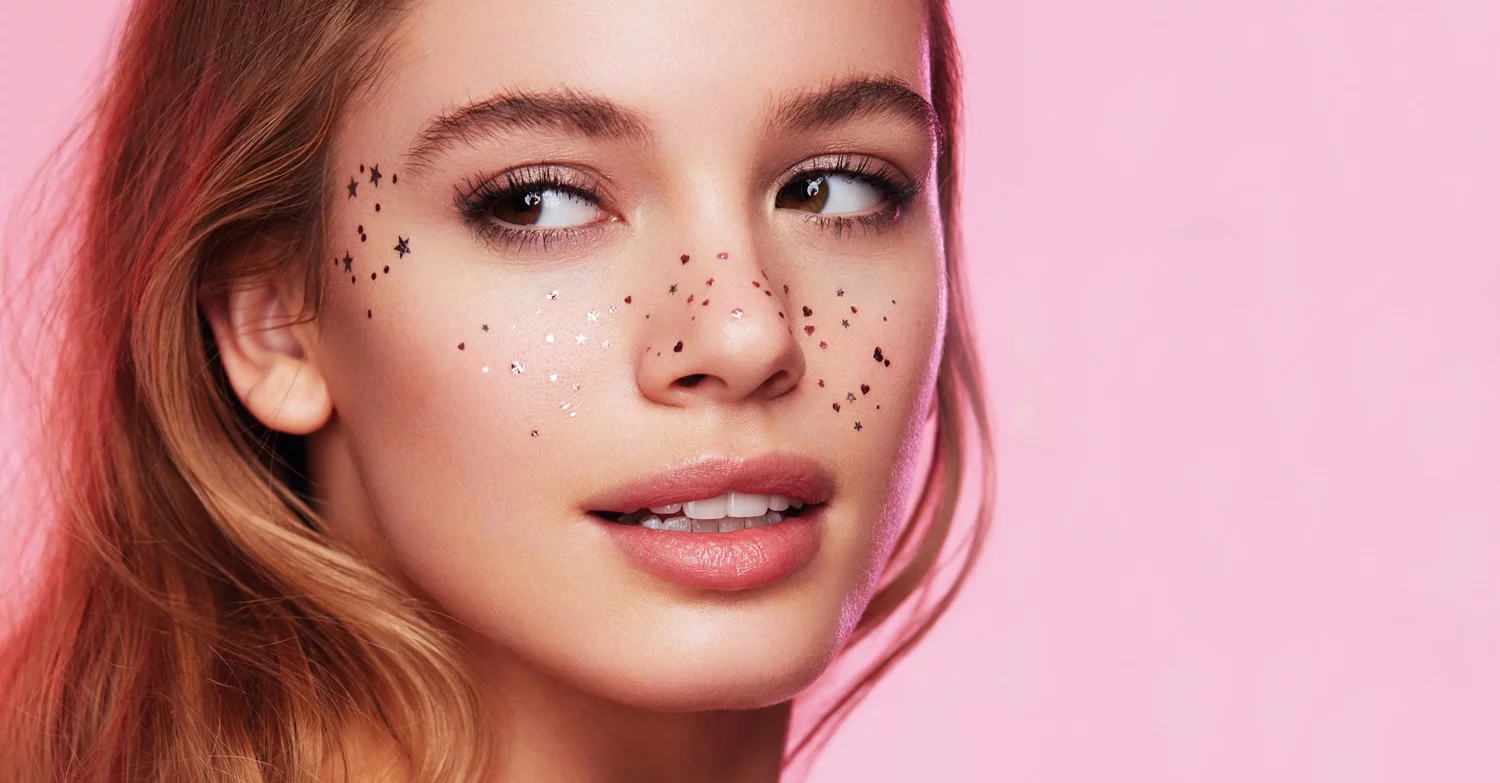
Trends emerge and attract enthusiasts in the beauty and cosmetics world constantly, expanding boundaries and breaking conventional standards. One such enthralling trend that is making waves these days is metallic freckles; unlike natural sun-kissed marks associated with summer, metallic freckles add luminosity and playfulness into makeup application – this article delves deep into their history, application techniques and artistic influence within beauty trends. Metallic Freckles Trend OriginWhile freckles have always been celebrated as distinctive features that add character and depth to an individual’s beauty, the metallic freckles trend takes them even further. Driven by creativity and self-expression, metallic freckles allow makeup enthusiasts to experiment with new looks while adding an air of fantasy into their makeup regimens. Materials and Formulations Metallic freckles can be achieved using products specifically tailored to add shimmering and reflective qualities to the skin, such as freckle pens, metallic liquid eyeliners or specially-formulated metallic pigments. Their lightweight formulation allows for easier application while the metallic finish adds glamour and depth to this aesthetic. Applying Metallic FrecklesAchieving perfect metallic freckles requires delicate hands and artistic vision – here is our step-by-step guide on how to accomplish this captivating look: Prep Your Skin: Begin by starting off with clean, moisturized skin. A primer may help create an ideal surface to adhere metallic freckles on, creating an easy application process and seamless results. Choose Your Products: Select metallic freckle products in shades that enhance or contrast with your skin tone for best results. Gold, rose gold and silver tend to be popular choices among customers but there’s plenty more options out there that suit individual taste! Decide the PlacementDetermine where you would like the freckles to appear – areas such as the bridge of your nose, along with cheeks or even your forehead are popular options – however remember to use creativity when choosing their placement and adapt it according to what works for your desired look. Precision in ApplicationUse either the applicator included with your metallic freckle product, or use a fine-tipped brush, for precision application of metallic freckle products. Gently dot spots of product onto targeted areas by lightly dotting; vary size and spacing to create natural but whimsical effects. Blend for Naturalism: To avoid an artificial look, lightly tap freckles with your clean fingertip or makeup sponge so as to blend them seamlessly with the skin tone and achieve naturalistic aesthetic. This step will ensure seamless integration into your natural complexion. Layer for Intensity:Metallic freckles offer the advantage of being easily buildable; gradually layer product until reaching your desired level of luminosity and shimmer. Make Your Metallic Freckles Stay Put:Finish the look off right by spraying setting spray to secure metallic freckles throughout the day and give a radiant finish. Not only will this step extend their longevity but will add an eye-catching shimmer. Celebrity Influence and Red Carpet Glamour:Metallic freckles’ rise has been greatly amplified due to the increasing influence of celebrities embracing this beauty trend on red carpets and social media platforms like red carpets. Makeup artists working for A-Listers have expertly integrated metallic freckles into…

The Importance Of Using A Base Coat During Your At Home Manicure Session
The Importance of Using a Base Coat During Your At-Home Manicure Session

The allure of a professional-looking manicure from the comfort of home has never been stronger. With the advent of high-quality nail care products available for consumer purchase, the dream of achieving a salon-worthy finish without stepping out the door is now a reality. Essential to this DIY manicure kit is the often-overlooked yet crucial base coat, a foundational element that sets the stage for a flawless finish. What is a Base Coat? Definition and Purpose: A base coat is a clear or slightly tinted polish applied before the color coat. Its primary role is to prepare the nail surface for color application, ensuring a smooth, even, and long-lasting finish. Types of Base Coats and Their Benefits: From strengthening formulas to ridge fillers, each type of base coat serves a specific purpose, addressing various nail concerns while providing a solid foundation for nail color. The Importance of a Base Coat Protection Against Staining: One of the key benefits of applying a base coat is its ability to protect nails from staining, especially when using dark or highly pigmented colors. Enhancing Nail Strength: For those with brittle or weak nails, a base coat can add an extra layer of strength, reducing the likelihood of breakage and peeling. Smoothing the Nail Surface: A quality base coat can fill ridges and imperfections, creating a perfectly smooth canvas for color application. Improving Polish Adhesion: By forming a sticky layer, a base coat enhances the adhesion of the nail polish, extending the life of your manicure. Choosing the Right Base Coat Factors to Consider: Selecting the right base coat involves considering your nail type, concerns, and the finish you desire. Recommended Products for Different Nail Types: Recommendations will include products tailored to strengthen, hydrate, or smooth nails, ensuring there’s an ideal base coat for everyone. Step-by-Step Guide to Applying Base Coat Preparing Your Nails: Proper nail preparation is essential for a successful application. This section will guide readers through cleaning, filing, and buffing their nails for optimal results. Application Tips for an Even Coat: Achieving an even base coat is key to a flawless manicure. This guide will offer tips and techniques to master the application process. The Role of Base Coat in Nail Health Preventing Yellowing and Damage: Regular use of a base coat can prevent the yellowing and damage often caused by frequent nail polish application. Nutrient-Infused Base Coats for Nail Care: Highlighting base coats infused with vitamins and nutrients that promote nail health and growth. Comparing Base Coats with Top Coats and Nail Hardeners Differences and Purposes: This section will clarify the distinct roles of base coats, top coats, and nail hardeners, ensuring readers understand when and how to use each product. DIY Manicure Tips and Tricks Achieving Long-lasting Results: Tips for extending the life of your manicure, from application techniques to maintenance advice. Creative Ways to Enhance Your Manicure: Inspiration for readers to get creative with their at-home manicure sessions, incorporating art, accents, and more. Troubleshooting Common Manicure Issues Peeling and Chipping: Solutions and preventive measures for common manicure pitfalls, ensuring your hard work…